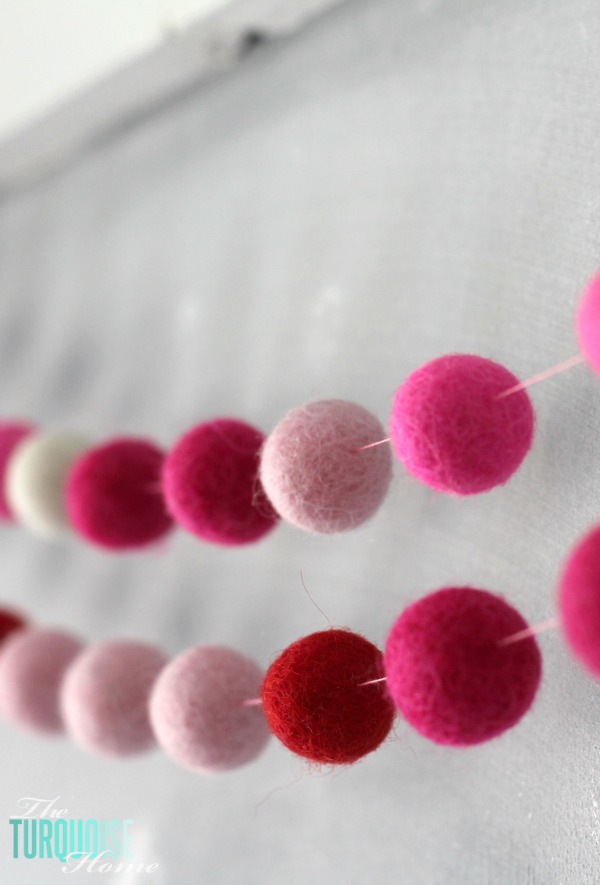
Follow these easy step-by-step directions to make a felt ball garland! A DIY felt ball garland works as decor for any season, holiday or celebration, or as a fun touch in your kids’ playroom or bedrooms!
Felt ball garlands are adorable and honestly the simplest way to bring fun decor into any space. They’re also cheap and quick to make! My advice is to make one for every color scheme and rotate them all year long!
I made this particular garland for Valentine’s Day, but you can make one for any holiday or any time of year! It looks lovely draped over a framed piece of art or a large chalkboard.
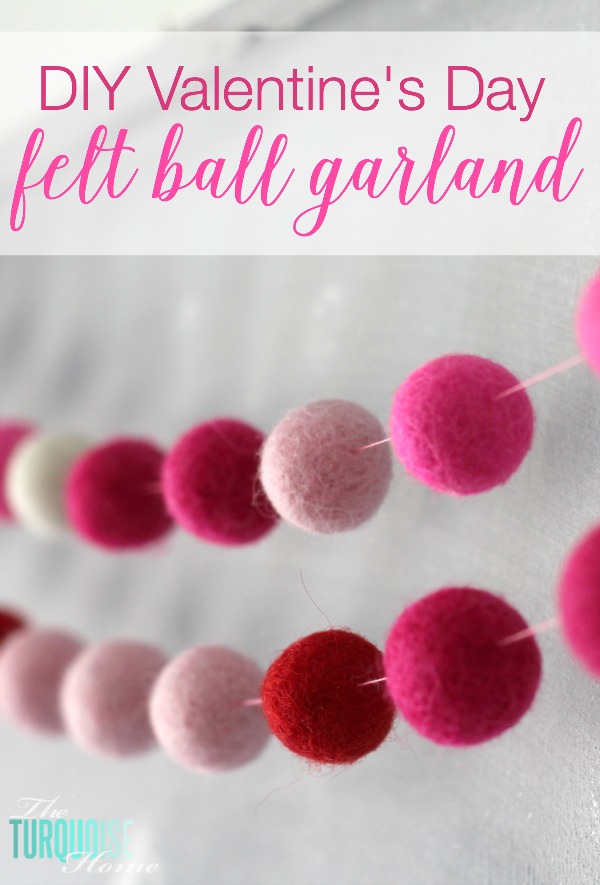
I like to add a bit of festivity to my kitchen chalkboard too. I try not to make it too themed, but I enjoy nodding to the current season or holiday.
I came up with this simple felt ball garland after falling for the one I bought from Minted. (Psst… if you don’t have a few minutes to craft your own garland, you can simply buy one here!)
How adorable is that?!?
It’s so easy to make that it almost feels silly for me to explain it.
I love adding simple, budget-friendly craft decor to my home! I’ve shared how to make Tissue Paper Stained Glass (kids craft), and this Love One Another Free Printable could be turned into a homemade card. I also love baking this cookie cake every Valentine’s Day! I hope these ideas inspire you to create a home you love.
Before You Begin to Make a Felt Garland
1. Decide How Long to Make Your Garland
This tells you how much string to cut. I suggest 7 feet as a good length, but think about where the garland will hang and let that guide your choice.
2. What Type of Garland Will You Make?
You can space the felt balls out along the string, or group them tightly side by side. If they touch each other, you’ll need considerably more balls.
Use the length you chose to work out how many felt balls to order. Or you can order a garland kit and skip the math altogether!
3. Choose Your Color Palette
Will it be a multicolored felt ball garland or a single-color one? You can even mix in fun embellishments like stars, jingle bells or hearts!
Supplies to Make a Felt Ball Garland
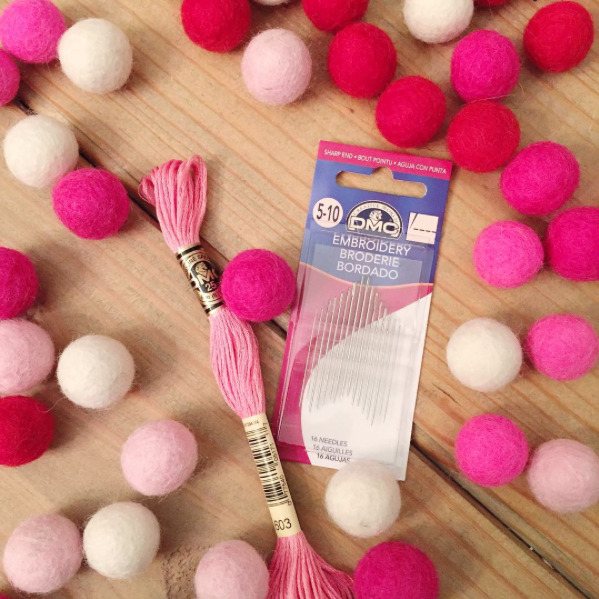
- 50 Felt Wool Balls – (choose the wool balls only OR the garland kit for everything you need)
- The shop also sells a felt ball garland kit, so you can choose any color of wool felt balls you like!
- Needle
- String or thread (mine is about 7 feet long)
Instructions for Making a DIY Felt Ball Garland
This is so straightforward it barely needs instructions, but I’ll walk you through it anyway!
1. Gather Your Felt Balls
I bought mine from the wool Etsy shop I mentioned earlier, but if you’re feeling crafty you can make your own felt balls too. Here’s a link to a great DIY felt ball tutorial.
2. Cut and Prepare the String
Cut your string about 12 inches longer than the finished length you want. Then tie a knot at one end.
3. Thread the Needle
Thread your needle onto the end of the string opposite the knot.
4. Thread the Balls Onto the String
Use a large metal embroidery or yarn needle to string the felt balls onto the string. If the balls are dense this can be tough, so work on a sturdy surface for extra leverage if you need it.
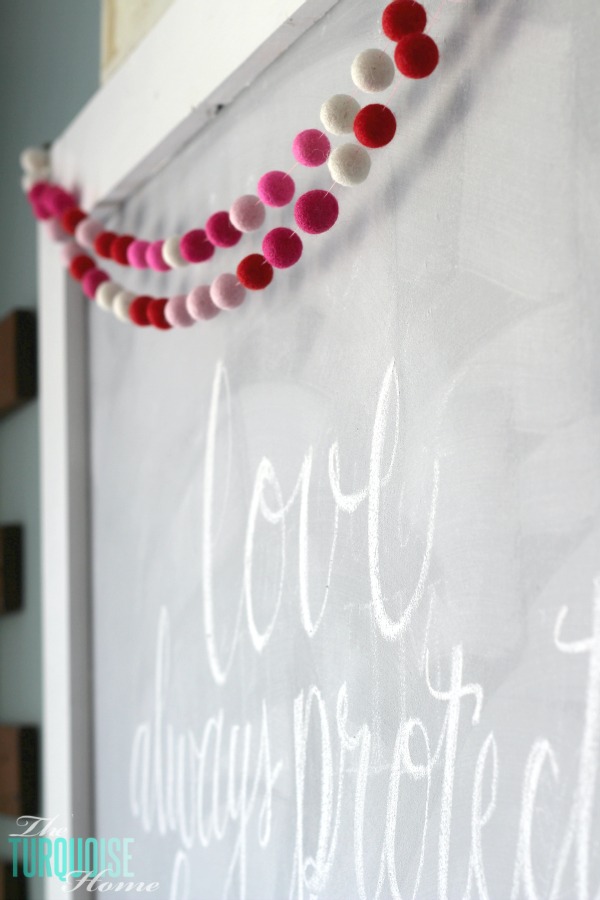
If you’re using more than one color, lay out your pattern before you start. I arranged the colors before stringing them, but I forgot I’d be doubling the garland on the chalkboard, so I would have done it differently had I remembered.
Keep threading the felt balls until the garland is finished! Space them however looks best to you.
5. Tie Off the End of the String
Once the garland is complete, tie off the end of the string.
Now your felt wool ball garland is ready to hang over a doorway or above a framed piece of art. These look so sweet in a nursery or kids’ playroom!
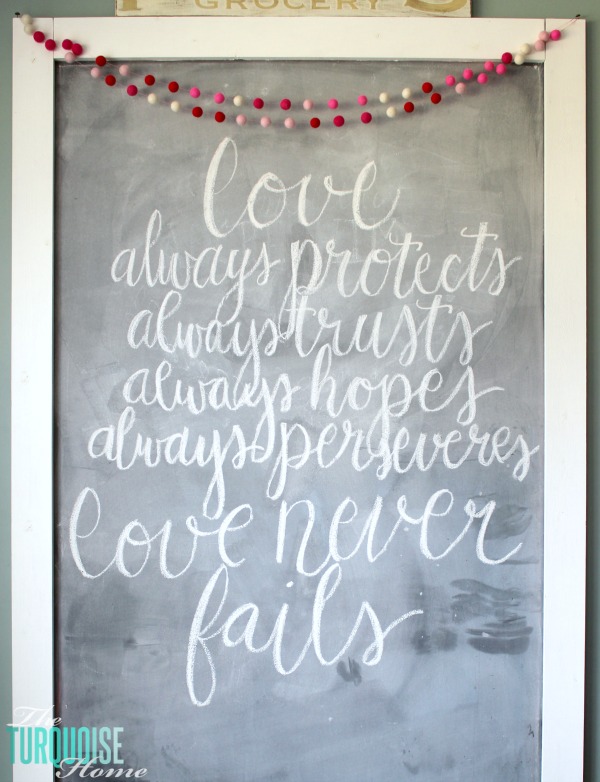
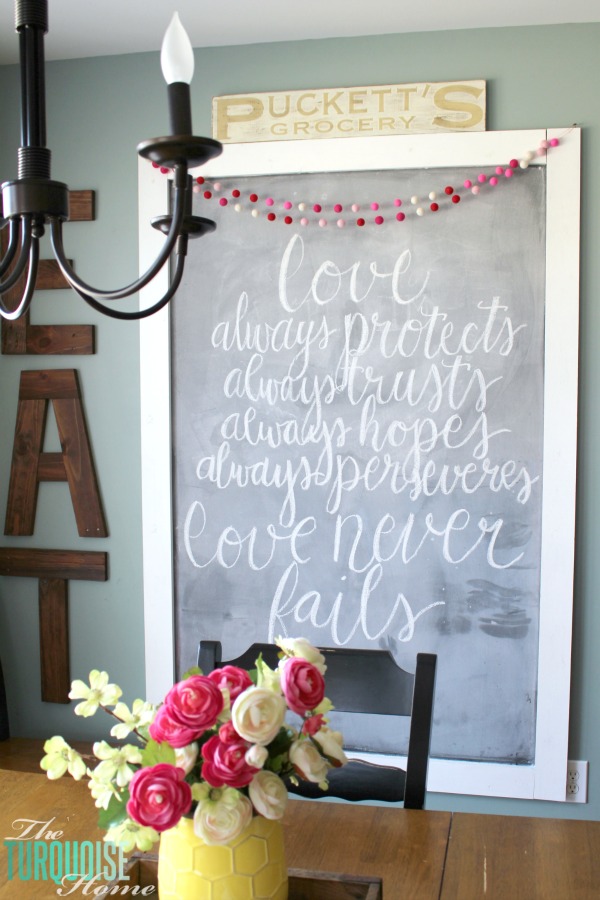
Here’s mine hanging on my chalkboard, with a little Scripture I wrote there.
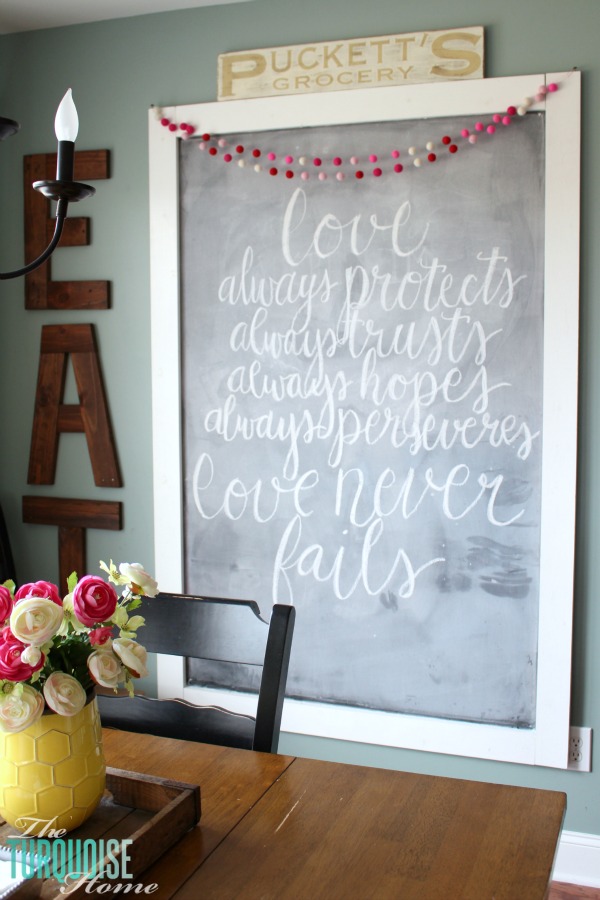
You also get a sneak peek at my new chandelier above my kitchen table. I moved the EAT sign over here by the chalkboard, but now I think there’s a bit too much lettering packed into this one little corner.
I think I’ll hang a galvanized clock on the other side of the chalkboard. I may also move that Puckett’s Grocery sign up there to a new spot. We’ll see.
For now, we’re simply enjoying the easy decor and planning our next DIY project right here in the kitchen.
How do you like to celebrate Valentine’s Day? Do you go all out, or do a simple refresh with a few minimal holiday touches?
If you loved this craft idea, don’t forget to pin it or share it on Facebook so you can find it later!
More Posts You Will Love:PinPin