Turn leftover scraps from your fabric pile into a simple DIY rag garland. It’s the cutest decor for any season!
I already showed you how to use scrap fabric for adorable heart appliqué pillows. Today we’re going to use up even more of those scraps by making a Spring rag garland!
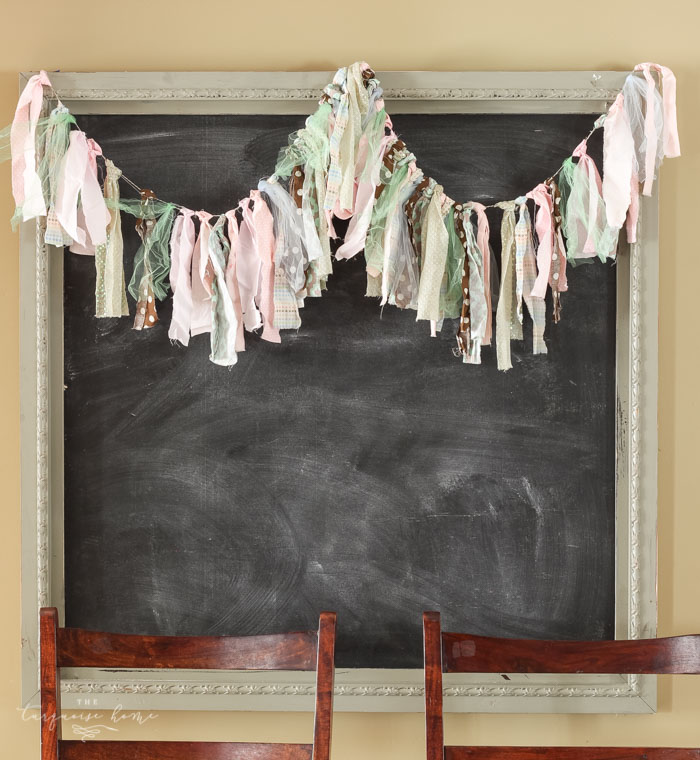
This project is so quick, you can finish it in under an hour. That leaves time during nap time to brew a cup of tea, put your feet up and enjoy the garland you just made!

What You’ll Need to Make a DIY Rag Garland
- Fabric scraps about 20 inches long
- Scissors
- Twine or string

How to Make a DIY Rag Garland
1. Gather Your Fabric
Scraps work great. So does a tutu or a new piece from the craft store. Use whatever makes you happy! I find that a mix of textures looks lovely together. You can also add extras like ribbon, or make a bunch of punch-outs (like these) and stitch them together to hang from the garland. Go wild!

2. Cut your string or twine to the length you need
Consider whether you want it to drape down or be tied up in several spots.
3. Tie your fabric, ribbon or anything else onto your string or twine
Alternate colors and textures in a loose, unstructured pattern.
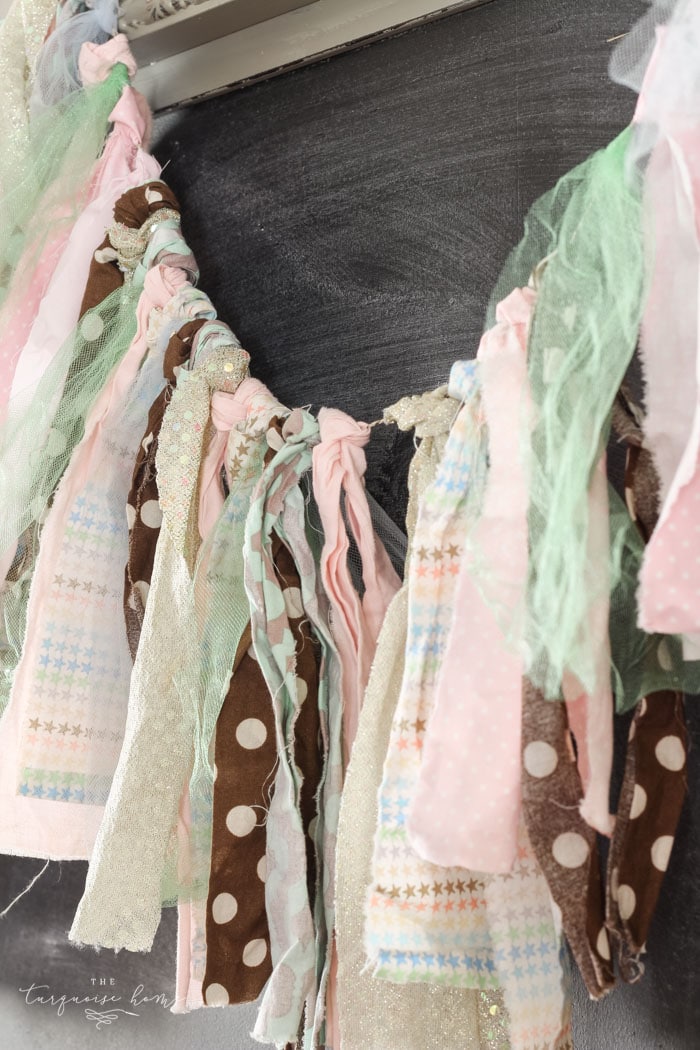
4. Step back and see if the rag garland needs trimming
The lengths should vary a bit, but not too much.
That’s it! I love a simple project, don’t you? Now you have a cute, festive rag garland that will last all spring long, and you still have time for that bath you’ve been dreaming about. Or a good book, or catching up on your latest Netflix binge. Or my personal favorite nap-time activity: a nap!
More Posts You Will Love: