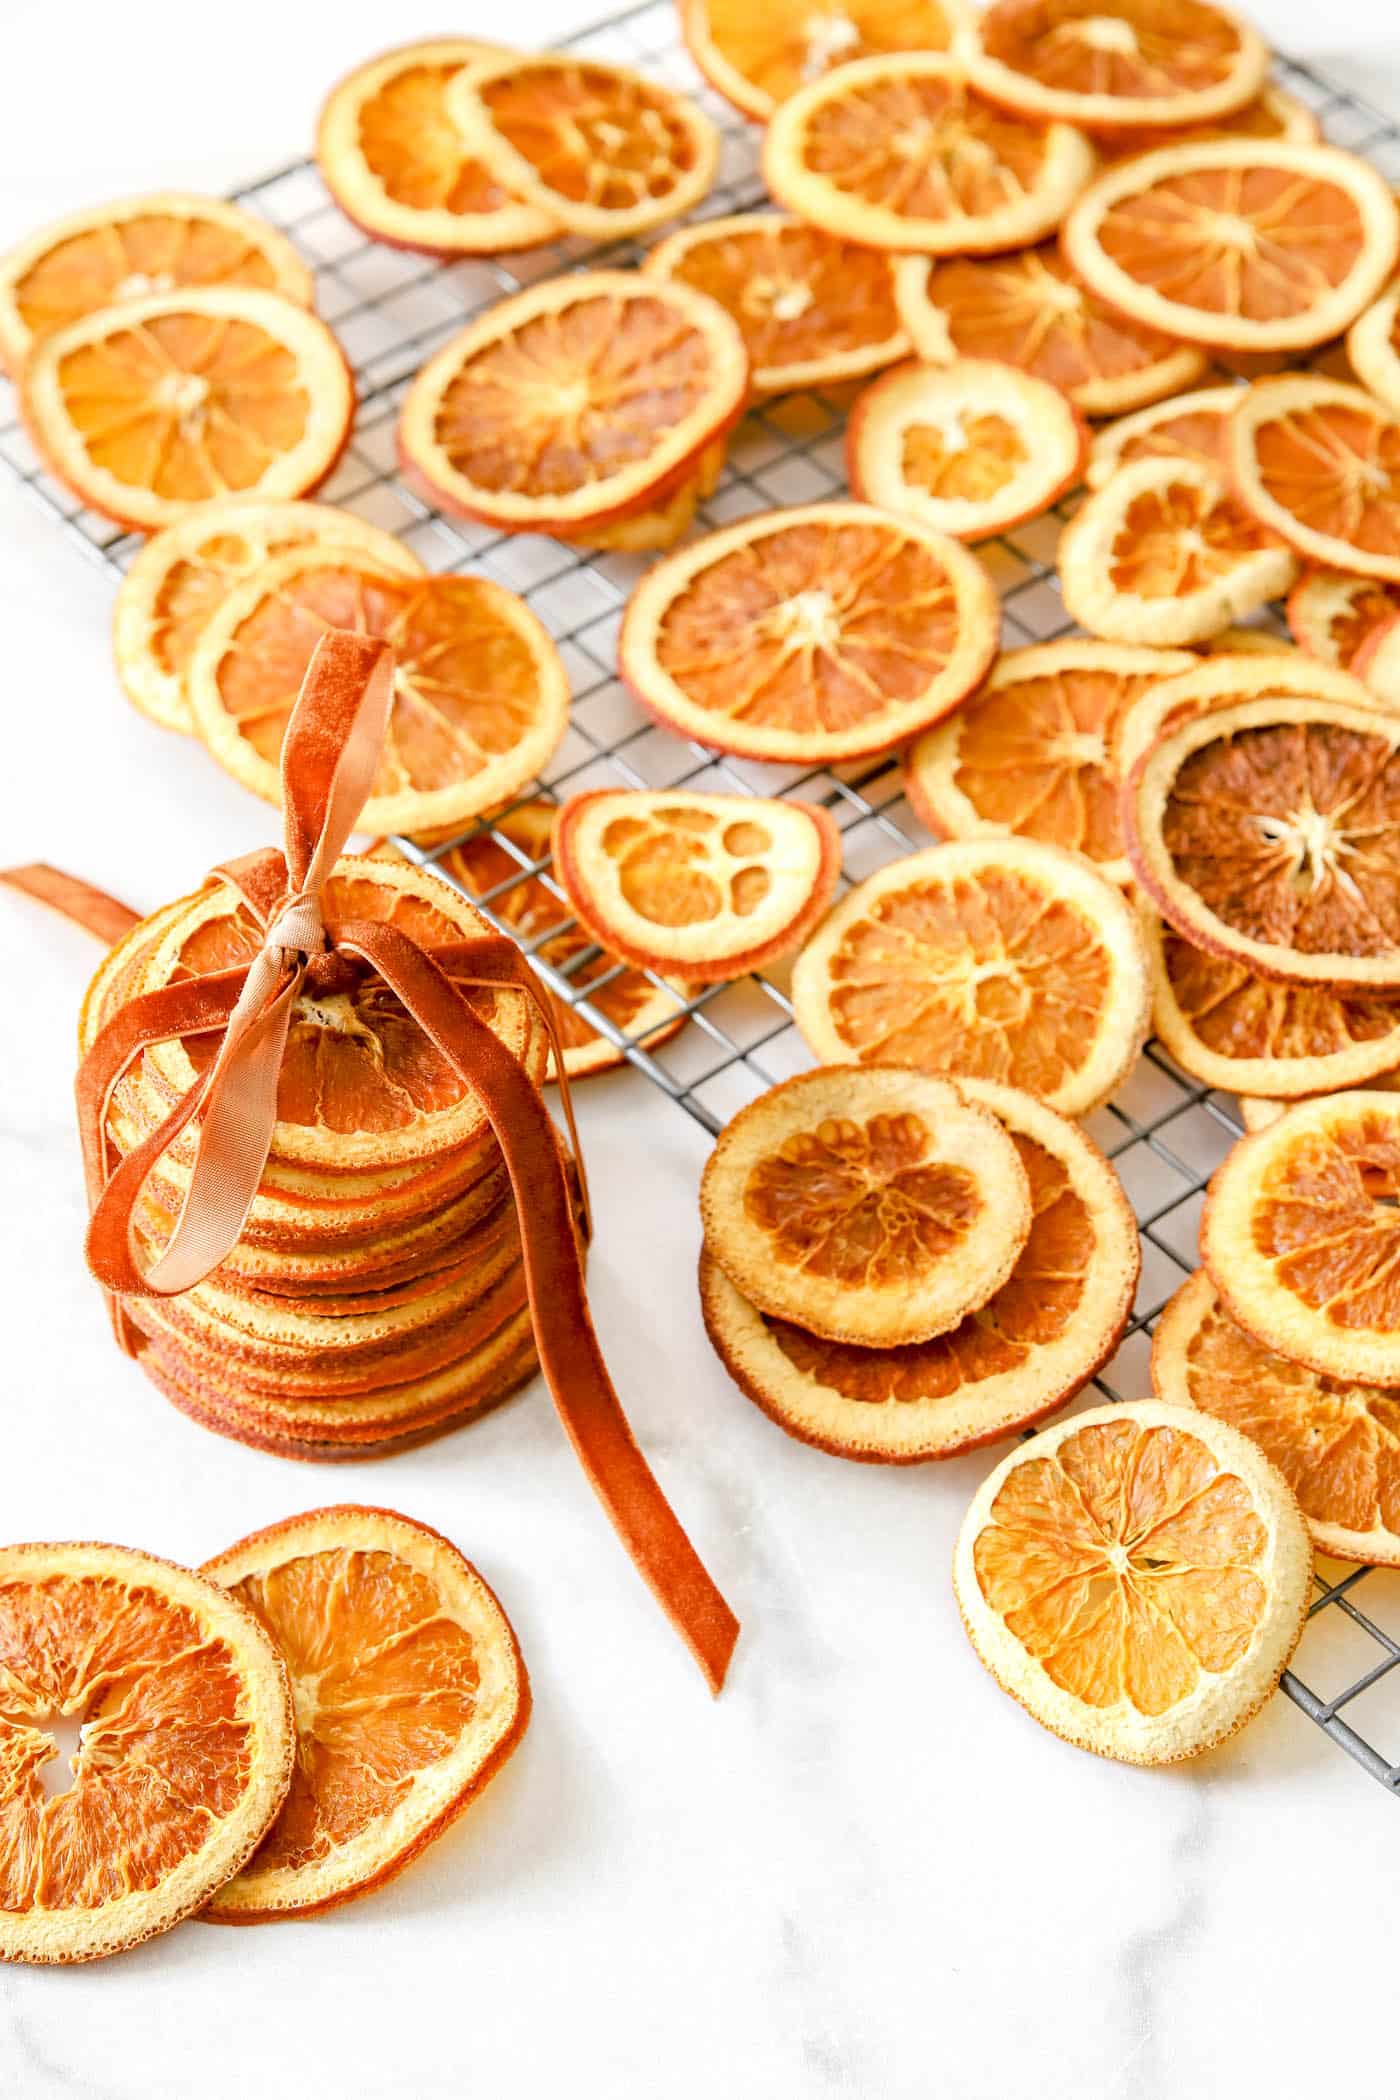
Orange slices aren't just for snacking; they're a DIY lover's dream for home decor and crafts! Whether you want a rustic holiday garland, a pop of color on a wreath or a more visually appealing potpourri blend, dried orange slices bring natural beauty and versatility to any project.

The best part? Drying orange slices is an easy, cost-effective way to add handmade charm to your home.
I feel like everyone and their mother has dehydrated oranges before, so it's a bit silly for me to share this. But I had never done it until a few weeks ago, and when I posted a little video on my Instagram, I got several questions about how to do it!
So here I am with the easiest tutorial ever. After some trial and error, I think I've got the perfect guide for making the prettiest homemade dried orange slices!
This guide will walk you through drying orange slices step by step, share tips for perfectly preserved slices, and inspire you with creative ways to use them. Let's get started!

Why Dry Orange Slices?
Before we dig into the how-to, here's why dried orange slices are so popular with DIYers and home decorators:
They're Pretty
Of course! The vibrant orange color and translucent glow of dried slices look stunning, especially when displayed in natural light or on a Christmas tree with lights. Their rustic appeal pairs perfectly with boho, farmhouse, country, cottage and holiday-inspired decor.
Cost-Effectiveness
Compared to expensive store-bought decorations, dried oranges are an affordable option. A few fresh oranges will give you a stash of beautiful dried slices for a fraction of the cost. And if done right, they'll last you for many years!
Eco-Friendly
Say goodbye to artificial decor and hello to sustainable alternatives! Dried orange slices are biodegradable, making them a greener choice for your next craft project.
Versatility
From festive garlands to scented ornaments or even drink garnishes, orange slices can do it all. Plus, they work in every season, not just the holidays.
Now that you know why they're amazing, grab some fresh oranges and let's dry them!
How to Dry Orange Slices
Drying orange slices at home is as simple as gathering your materials, slicing the oranges and baking them. Easy peasy! Here are the instructions for everything you need to know.
Materials Needed:
Gather these supplies to get started.
- Fresh oranges (larger, firmer varieties like navel or blood oranges slice best)
- Sharp knife (the sharpest serrated knife you own)
- Cutting board
- Baking tray (I love THESE!)
- Parchment paper
- Oven (or dehydrator)
- Paper towels
- Cooling rack
Steps for How to Make Dried Orange Slices in the Oven
1. Preheat the Oven
Start with a low temperature, like 170 degrees F. I increased the temperature every hour while drying the oranges, but you'll start really low and increase as needed. Low, steady heat keeps the oranges from burning while letting them dry out evenly.
2. Slice the Oranges
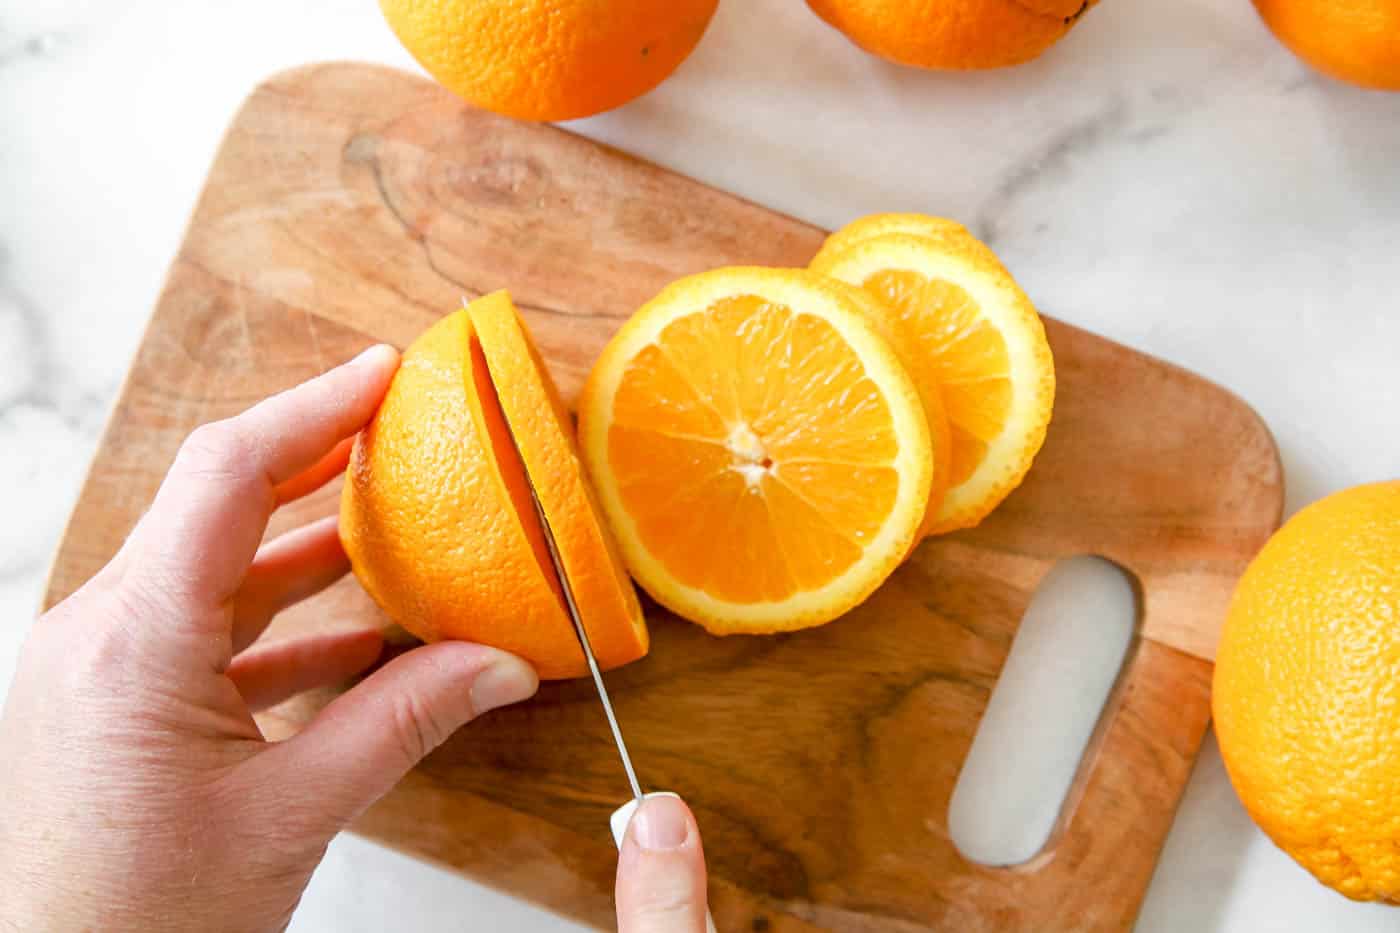
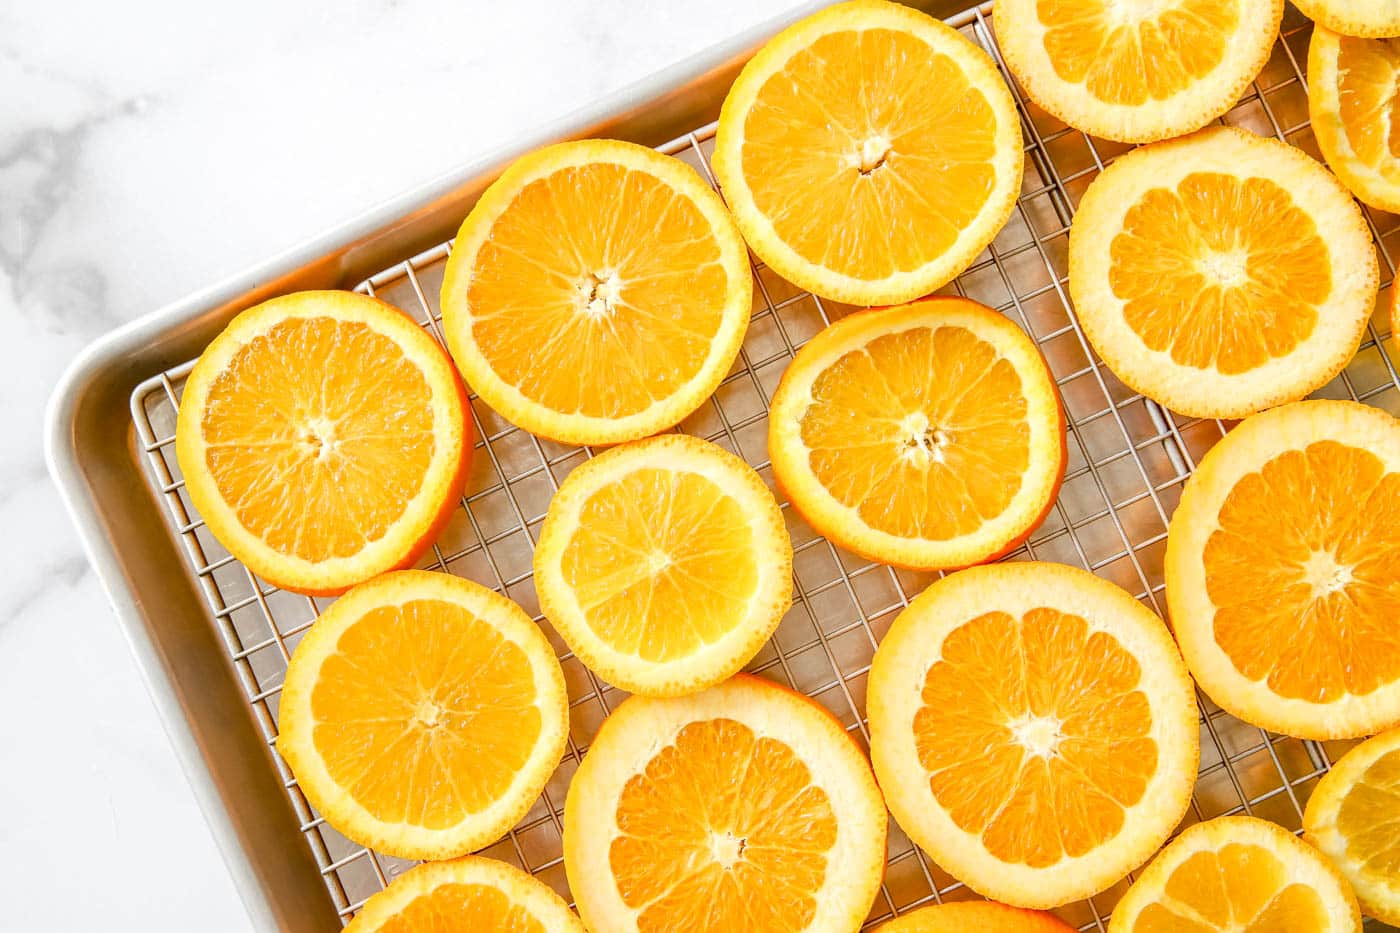
Using the sharpest serrated knife you own, slice the oranges 1/4 inch thick or less. If they're too thick, they're hard to dry all the way through, and if they're too thin, they'll curl up at the edges and possibly burn.
You can also use a mandoline slicer to slice the oranges evenly, just watch those fingers!
3. Remove as Much Moisture as Possible
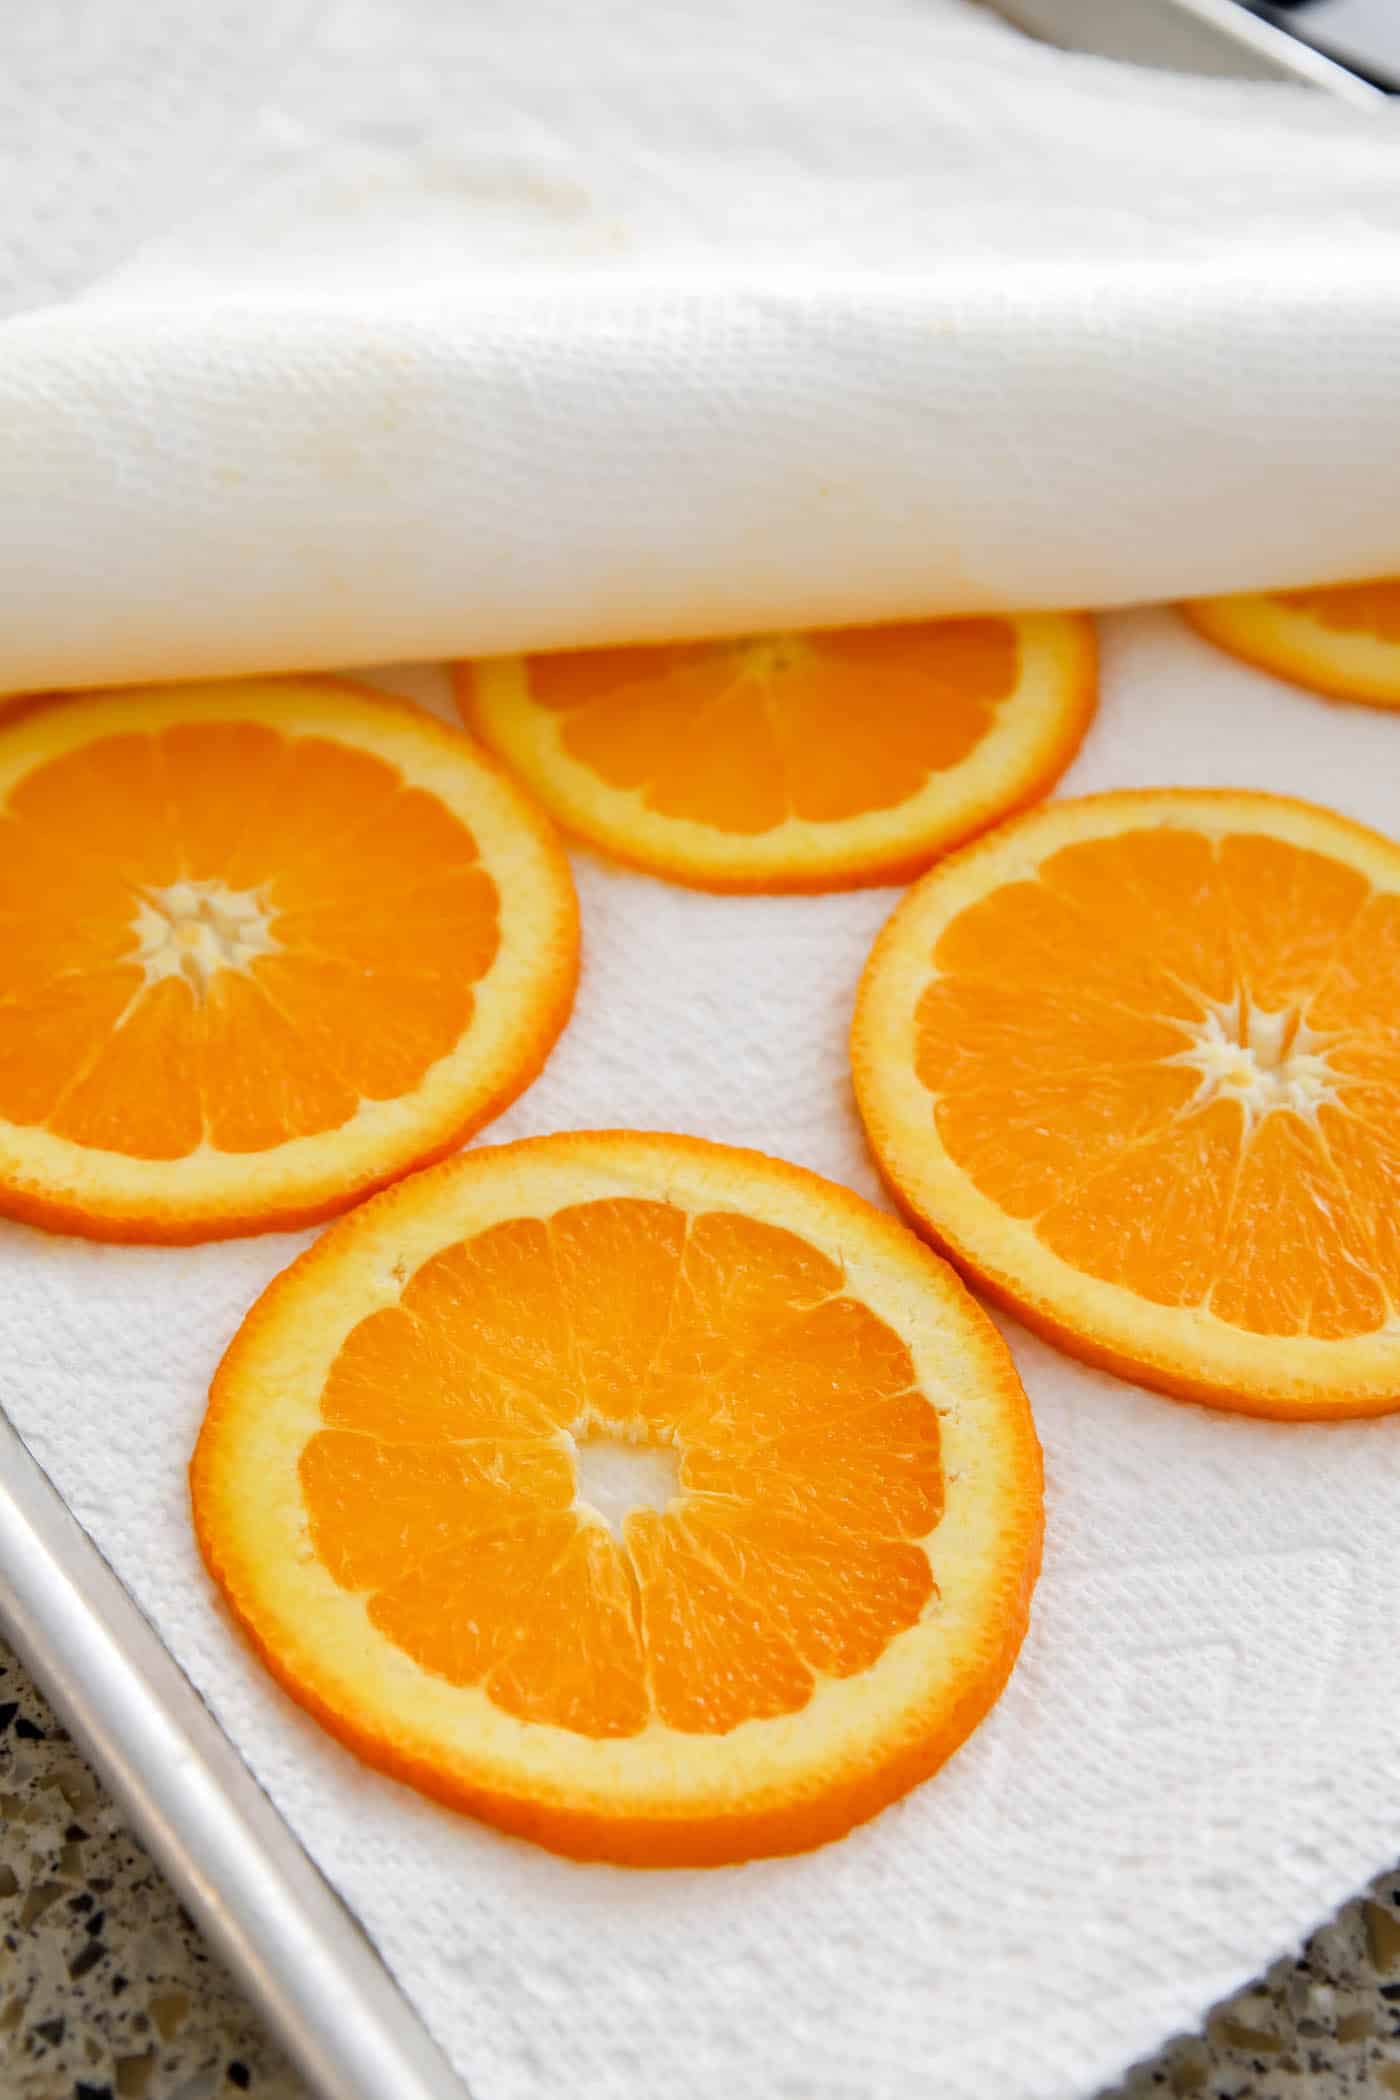
Here's the KEY to drying oranges, which I didn't do the first time I tried this! You must remove as much moisture from the oranges as possible by gently blotting any excess moisture from the slices.
I triple-lined the baking sheet with paper towels, then pressed down on the slices with another triple stack of paper towels.
I also blotted them every time I turned them over while drying, so keep those paper towels handy!
Quick Tip
Sprinkle Some Sugar
- Sprinkle some powdered sugar on top of the orange slices for a brighter color and a glossy finish once they're dry!
- I tried half of my oranges this way and half without. The results weren't substantially different, but I do think the color was slightly brighter and I could definitely see a sheen.
- If you're making these for garnishes or snacks, they'll taste a bit sweeter!
4. Arrange Oranges on the Baking Tray
Place parchment paper on your baking tray to prevent sticking. Lay the orange slices flat in a single layer with space between them. Overlapping slices can lead to uneven drying.
Note: The first time I tried this project, I set an oven-safe cooling rack over the baking sheet, thinking it would help them dry faster. That wasn't the case. The parchment paper on the baking sheet wicked moisture away much more efficiently!
5. Bake Low and Slow & Flip Often
Bake the orange slices for 3-4 hours or more! Flip them every 30 minutes to dry both sides evenly. Blot any excess moisture with paper towels after each flip.
Increase the temperature by 10 degrees every hour, but don't exceed 200 degrees F.
I ended up baking some of mine for 5+ hours. There's no set time limit, so just keep flipping and checking until they're done. Keep an extra close eye on them toward the end to prevent burning.
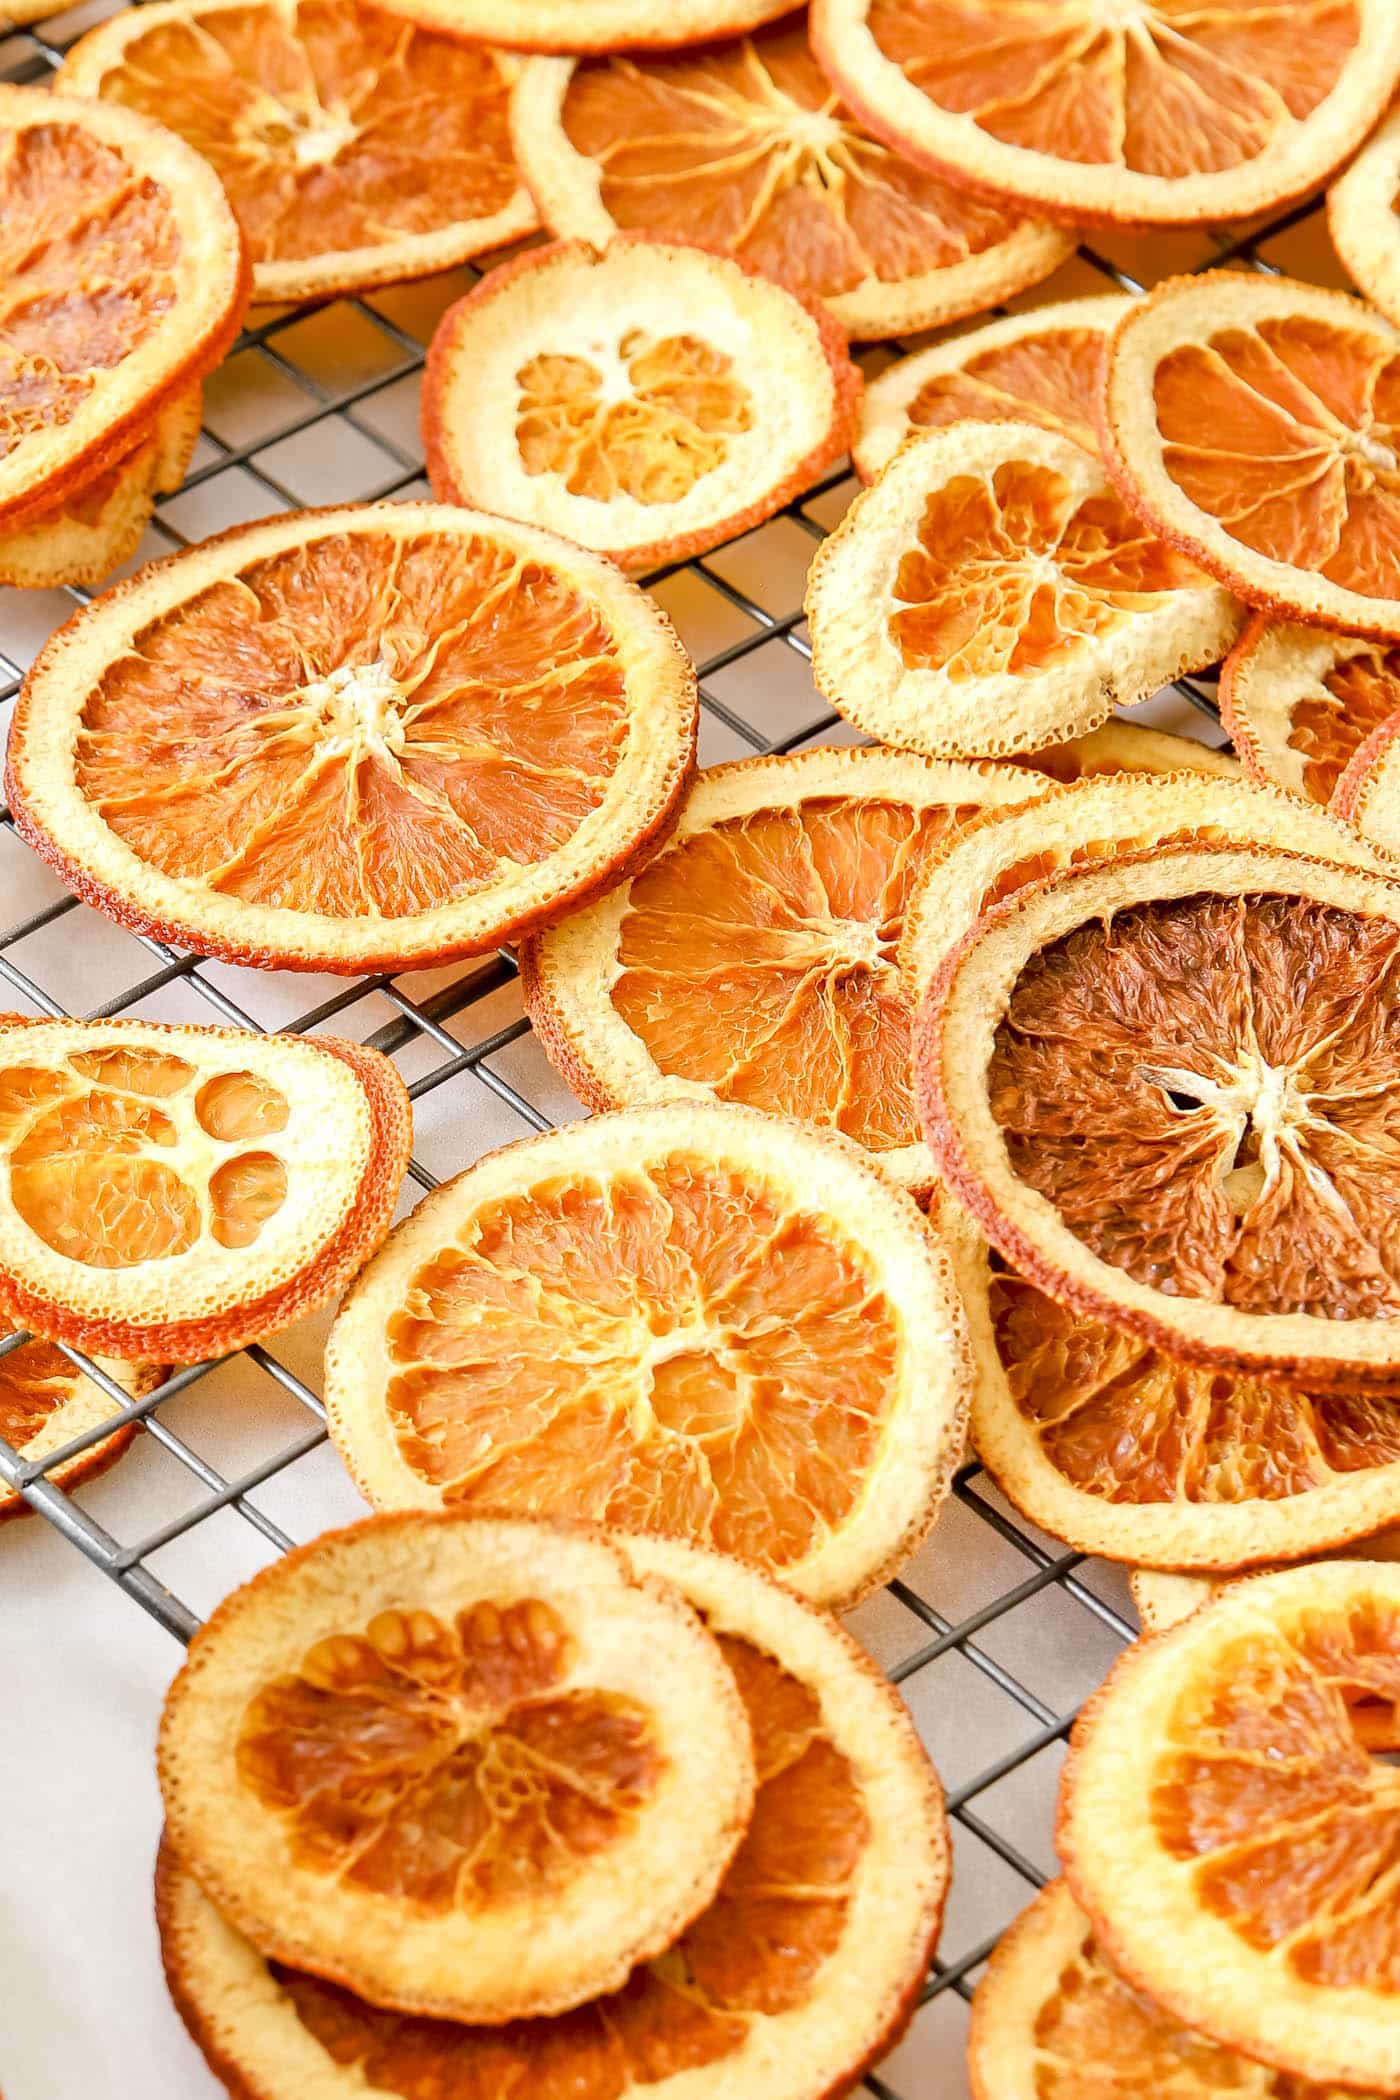
You'll know they're finished drying when you drop one on the counter and it "thunks" and the flesh is completely hard. If it's even a little soft, keep it in the oven.
Some slices will dry faster than others, so remove them as they finish and return the rest to the oven for more drying time!
6. Cool and Cure
Once the slices are dry to the touch and slightly translucent, take them out of the oven. Place them on a wire rack to air dry for about 24 hours. This lets them firm up and makes sure any remaining moisture evaporates.
Alternate Method Using a Dehydrator
If you own a dehydrator, set it to 135°F (57°C) and lay the slices flat on the trays. Dehydrating can take 6-12 hours, depending on the humidity.
Pro Tips for Perfectly Dried Orange Slices
Even Sizing: Keep slices a uniform thickness to avoid under- or over-drying.
Watch Oven Temperature: Every oven is different, so check your slices often to prevent burning.
Add Variety: Mix up your dried citrus decor with slices of lemons, limes and grapefruits for extra color and charm.
Enhance the Aroma: Sprinkle ground cinnamon or cloves on the slices before drying for festive, fragrant decor. Or add essential oils, like cinnamon bark or orange, to the slices after drying instead.
Creative Ways to Use Orange Slices
Now that you have a batch of dried orange slices, here are some fun and creative ways to use them:
1. Holiday Garland
String dried slices onto twine or ribbon to create a festive garland for your mantel or Christmas tree. Add cinnamon sticks and star anise for an extra holiday touch.
2. Home Decor
Arrange slices in a glass vase for a simple centerpiece, or add them to a wreath for seasonal flair. You can also hot glue them onto gifts for elegant wrapping ideas.
3. Potpourri or Stovetop Simmer Pot
Add dried orange slices to a mix of dried flowers, cinnamon sticks and essential oils for a natural potpourri blend that smells amazing. Or simmer cranberries, dried orange slices, cinnamon sticks, star anise, rosemary sprigs or other greenery and cloves in a pot of boiling water on the stove for an aromatic treat!
4. Drink Garnishes
Use dried orange slices to garnish cocktails, teas, holiday drinks or mulled wine. They add a touch of elegance and a burst of citrus aroma.
5. Scented Ornaments
Thread some ribbon through an orange slice and hang it on your tree. Bonus points if you add cloves for an old-fashioned holiday feel.

How to Store Dried Orange Slices
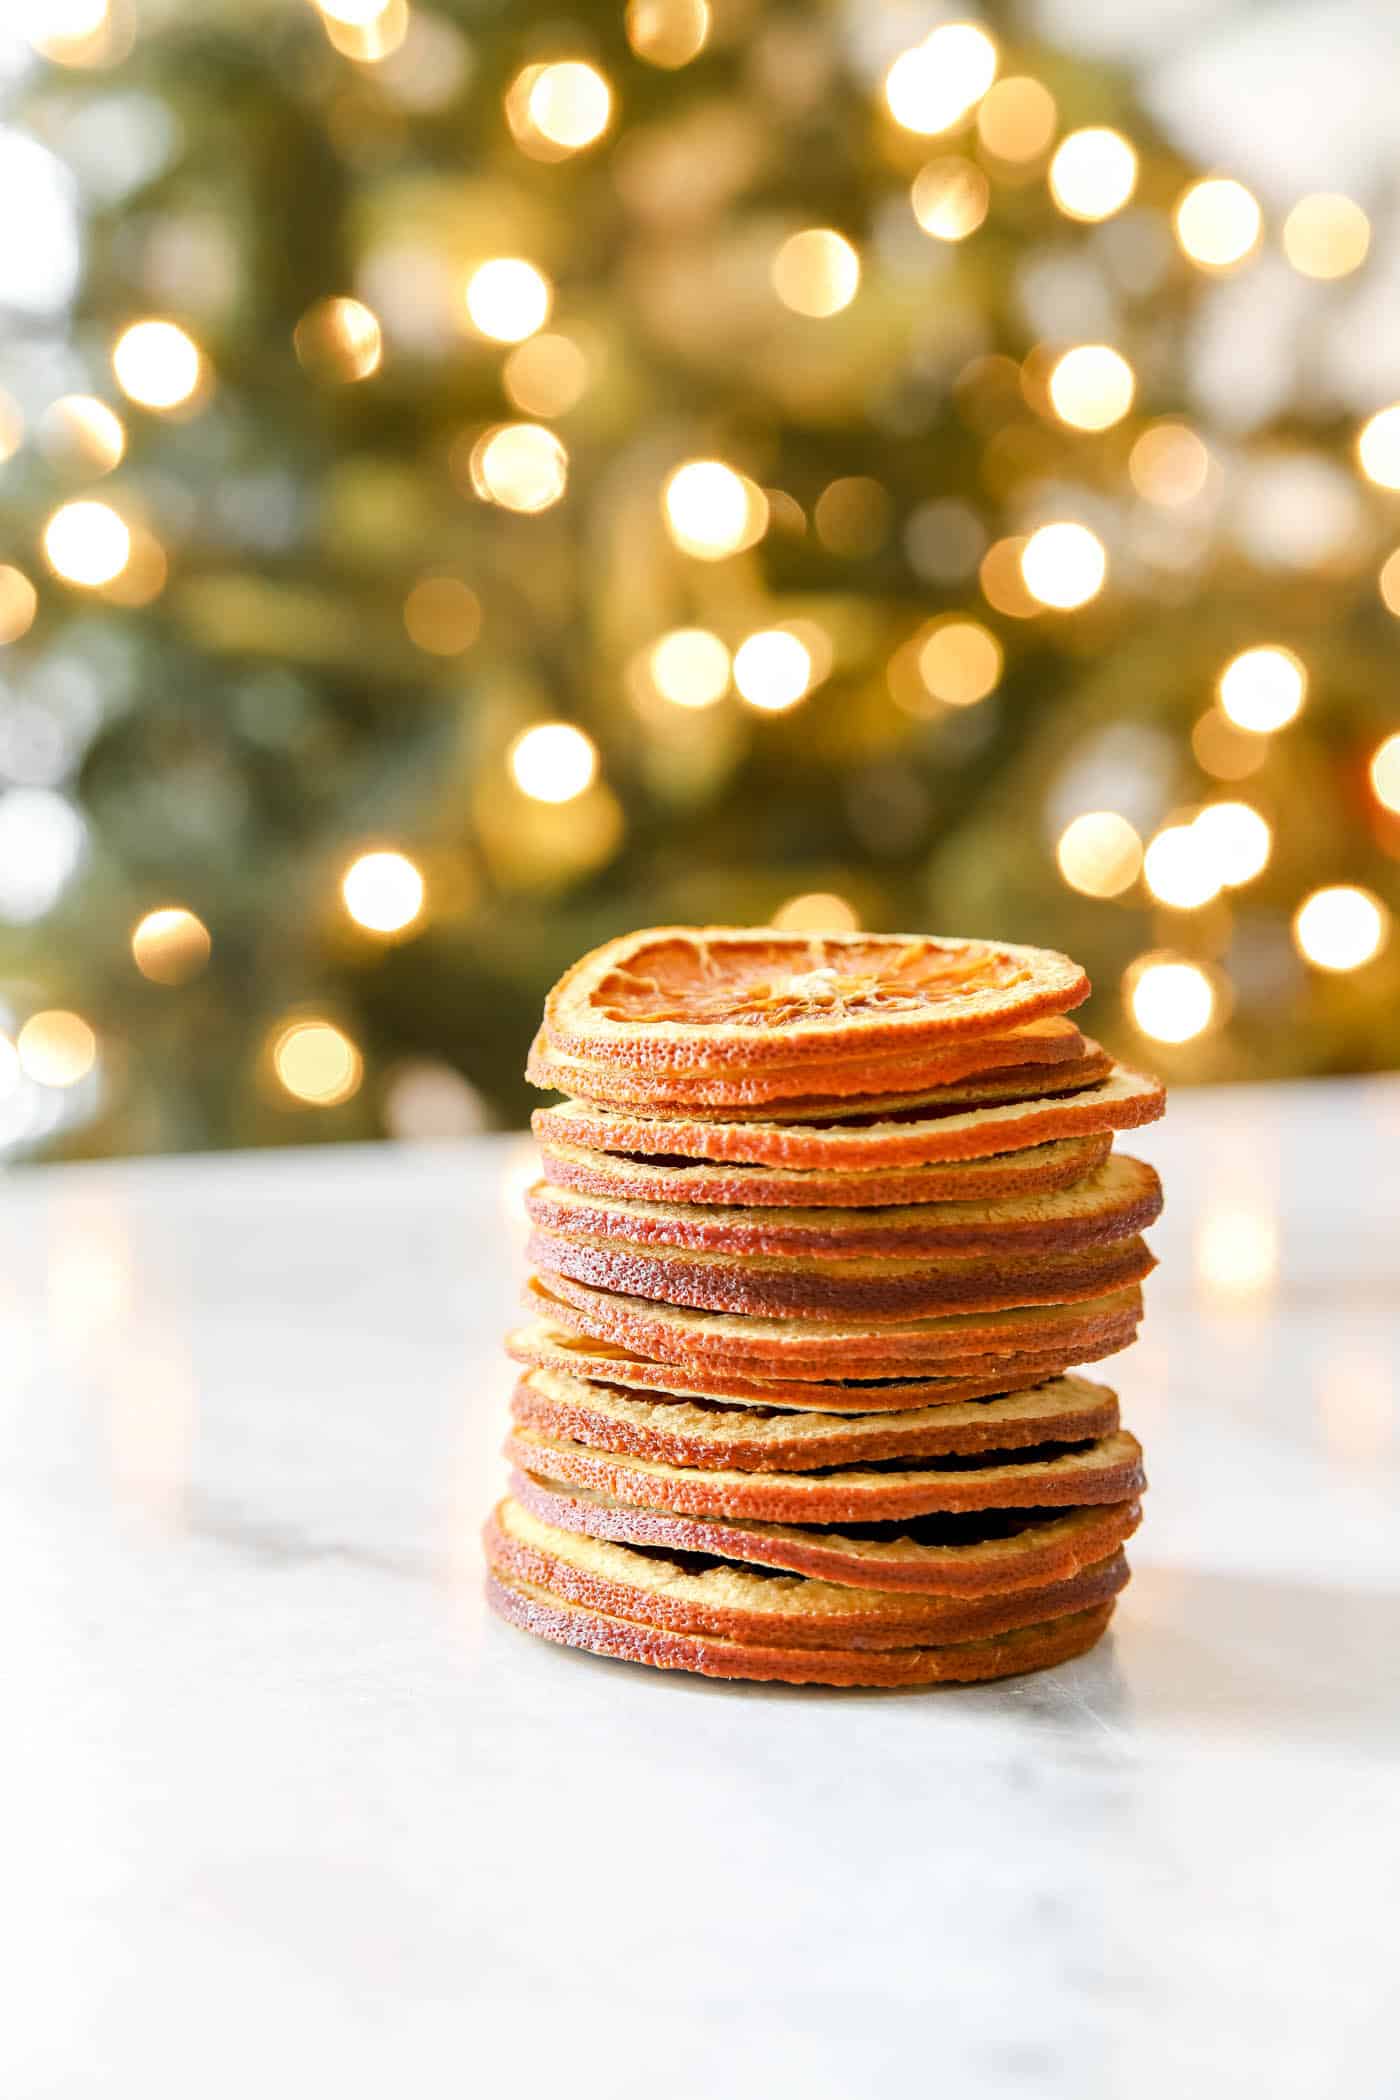
To keep your dried orange slices looking and smelling their best, store them in an airtight container in a cool, dry place. They can last several months if stored properly, though their vibrant color may fade over time.
If you're using them for food or drinks, store them separately in a food-safe container and keep them away from moisture.
Add a Rustic Charm to Your Projects Today
Drying orange slices is a fun, simple and sustainable DIY project anyone can try. Whether you're creating holiday garlands, garnishing cocktails or snacking on them, these vibrant slices are sure to impress. Why not give it a go this weekend and add a touch of natural beauty to your home decor?
Do you have tips or creative ideas for dried orange slices? Share them with us in the comments below!
More Posts You Will Love: