This sweet flower and moss letter first appeared in Baby G's gallery wall. It's such an easy DIY, and I love the final result.
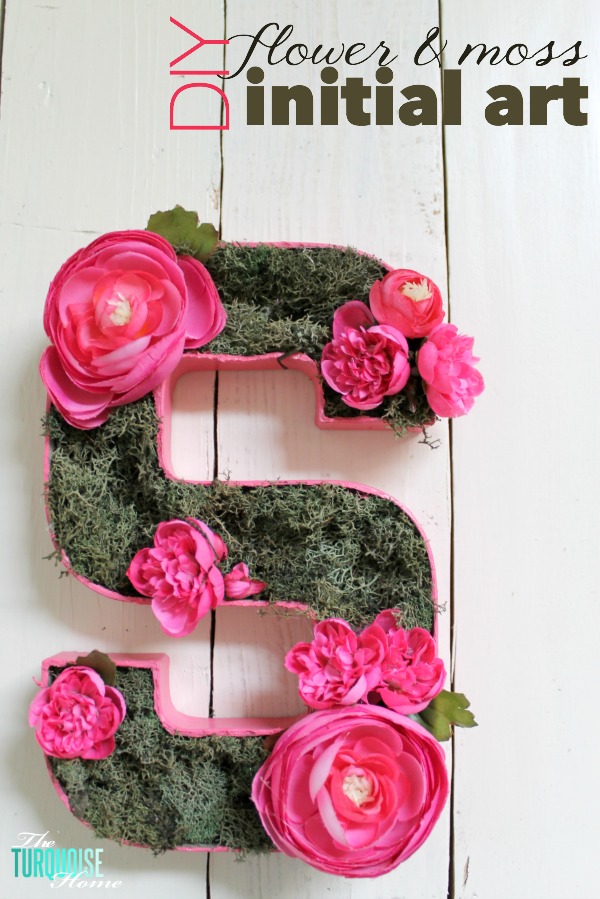
At first I planned to make it out of flowers only, but you'll see why I changed my mind in a bit.
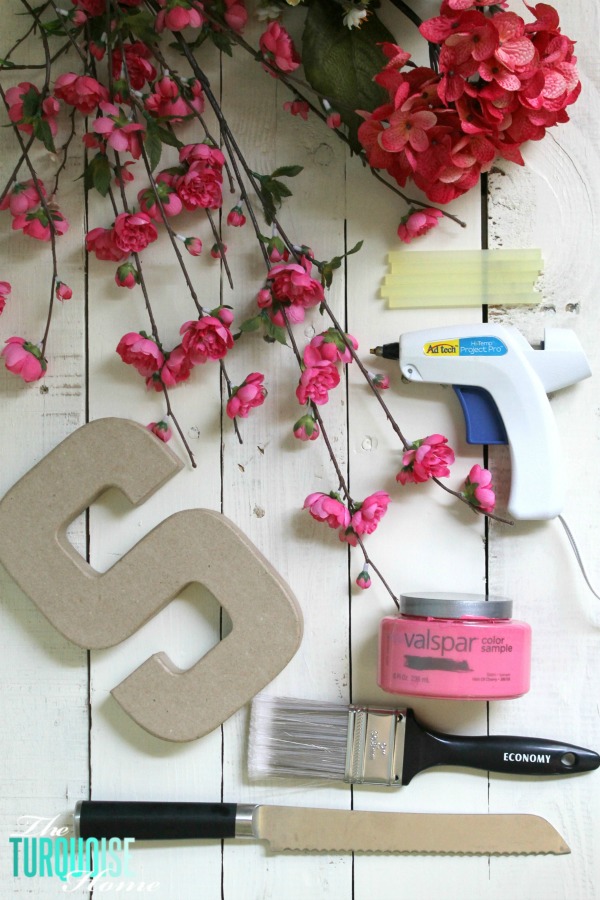
OK, here's what you'll need:
- Paper mache letter (or here)
- Flowers (probably faux ones)
- Craft moss
- Glue gun and glue sticks
- Paint
- Brush
- Serrated knife
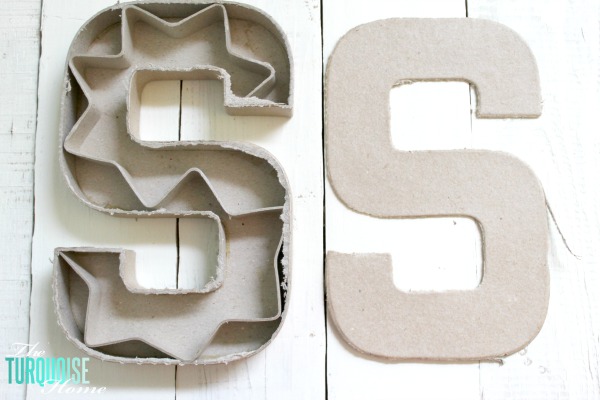
Start by cutting the top off your paper mache letter. I used a bread knife from the kitchen, and it worked great! Once I got under one edge, it was easy to cut the rest off.

Toss the paper inside and the "top" piece. You can see where some of the edges weren't perfect, but I pulled those extra pieces off later.
Now paint the outside of your letter. If I had to do it over, I'd paint the inside of the sides as well.
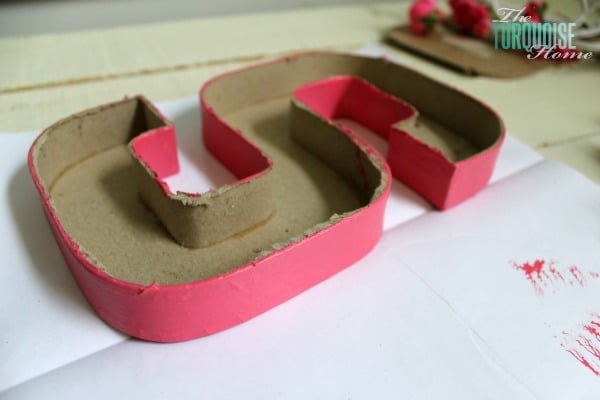
I was just going to put flowers inside the letter and hot glue them down to fill it up. But I quickly realized I needed something underneath the flowers to "hide" the bottom. So I grabbed some moss from my craft closet.
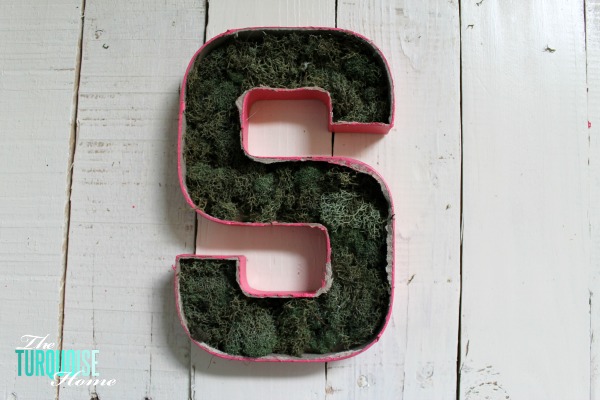
I used my glue gun to attach it to the bottom of the letter.
Then I started adding flowers and realized less is more! I liked the moss with a few flowers tucked here and there, but not all over the place.
I also found that I needed to paint the top rim of the letter and remove some of the extra paper along the rim. Then I attached more moss up the sides of the letter.
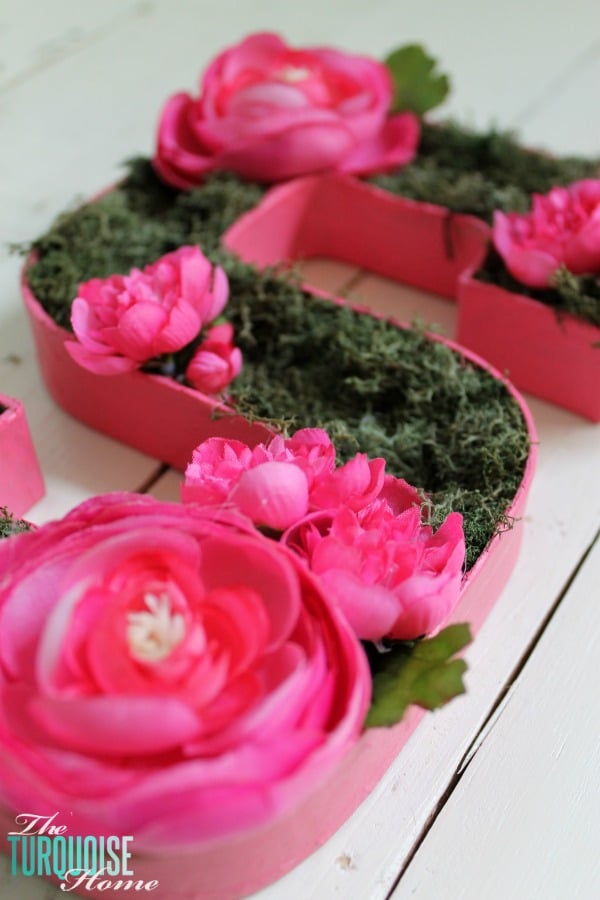
This simple project had plenty of twists and turns, but it all worked out, and I think it turned out better than I ever imagined!
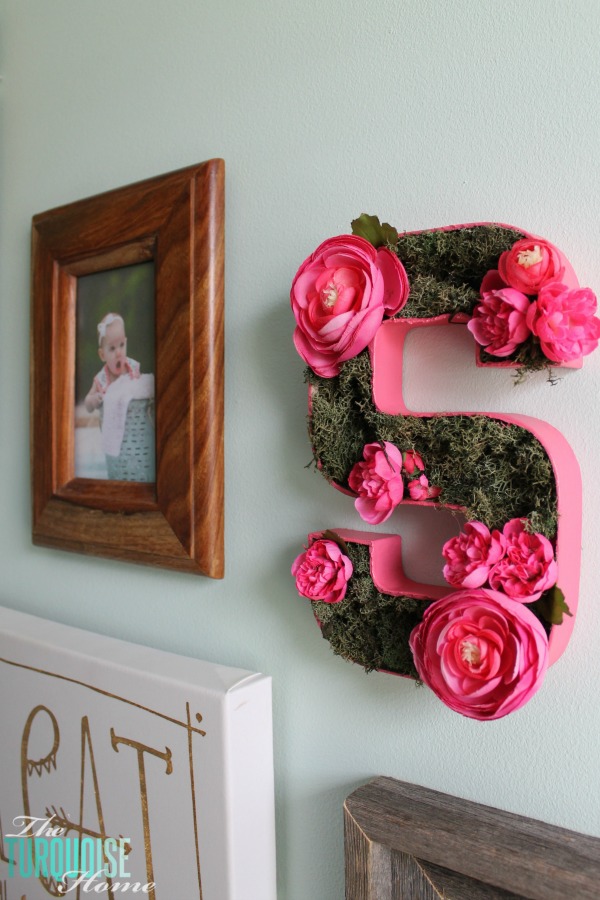
Do you think it's perfectly darling?? I just love it!
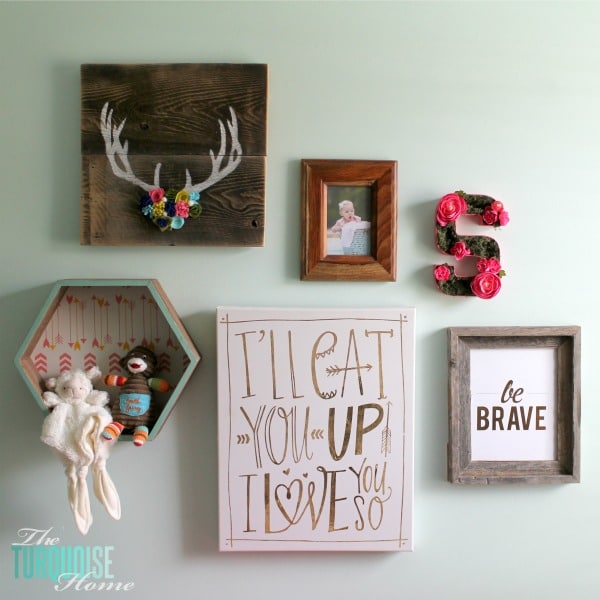
See all the details of the baby girl's woodland nursery gallery wall HERE.
Thanks for stopping by! Have you made any simple, cute crafts lately?
More Posts You Might Like:SaveSave