I know you’re all going to think I’m crazy and tell me to finish one room at a time, but I often can’t stop myself from jumping from room to room. When inspiration strikes, I just follow it.
The other day I was on a quick errand at Hobby Lobby when I froze in front of a sweet hair bow and accessories holder in the girls’ room decor aisle. I loved it, but I wanted it in different colors. Aha, a DIY idea was born! I already owned the perfect frame, the same one I used here, and I just knew I could turn it into a cute accessory display for Miss A’s room.
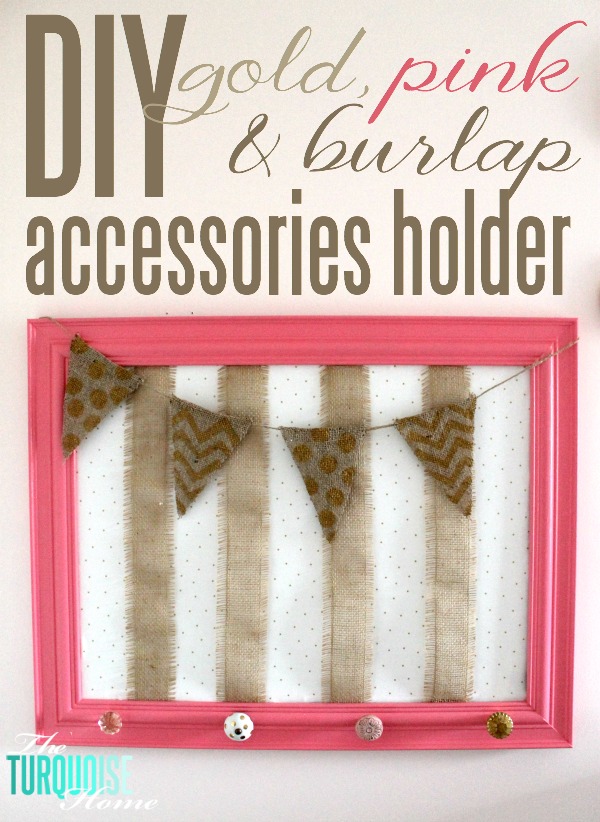
I’ve been gradually refreshing her room since we bought her big girl furniture last fall. I just ordered new bedding and I’m swapping out other decor bit by bit. It’s going to look so sweet with a gold and pink ballerina theme. Before I show you the full picture, though, I want to finish Baby G’s nursery. I was too excited about this little DIY to wait, so I had to make it now and share it too!
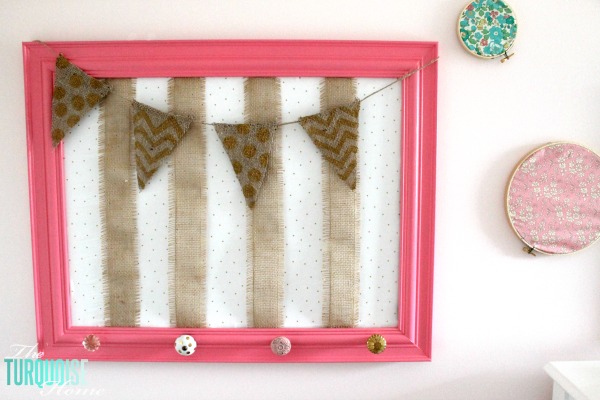
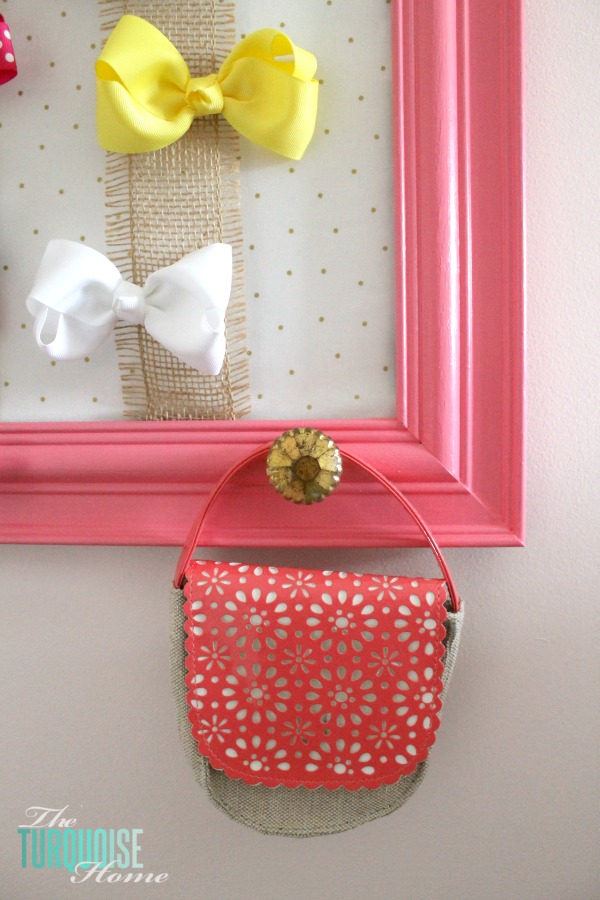
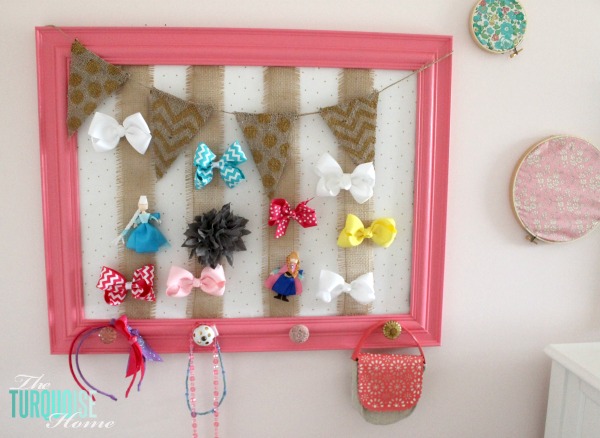
She already had an older hair bow holder I’d made a few years back, but it was getting too small for her growing collection. I love how this one turned out, and we can hang necklaces, hair bands and purses from the knobs.
Gather these supplies:
- frame (painting it is optional)
- foam core board
- fabric (the adorable gold polka dot fabric is from Hobby Lobby)
- burlap ribbon
- spray glue
- burlap fabric
- twine
- gold paint (plus a brush)
- knobs (mine came from Hobby Lobby)
Making a Bow Holder
1. Find an Old Frame & Paint It
I already had a pink painted frame left over from a project in Miss A’s room a few years back. I removed the printed Instagram photos and used the empty frame. If yours isn’t painted yet, this is the step to do it.
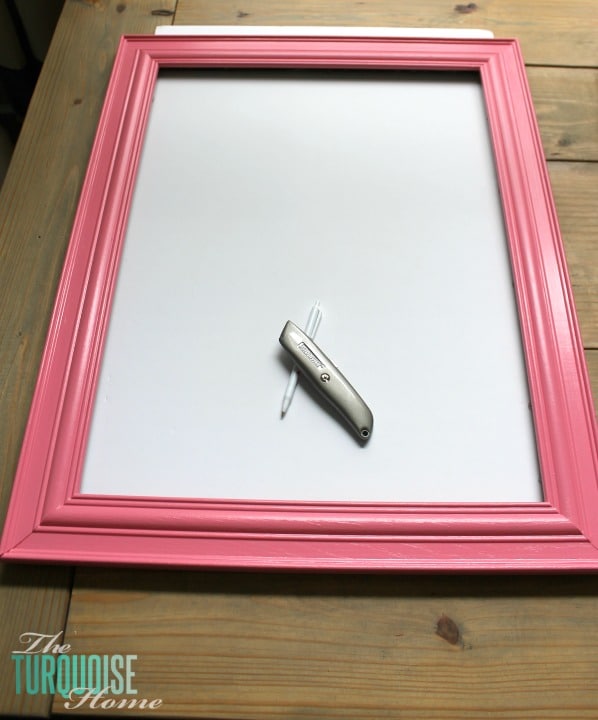
2. Attach a Foam Board Backing
Trim the foam board so it fits behind the frame, then set it to one side.
3. Attach Ribbon Vertically to the Frame
Next I cut the burlap ribbon and hot glued the pieces to the back of the frame’s inset, where the foam board would eventually sit.
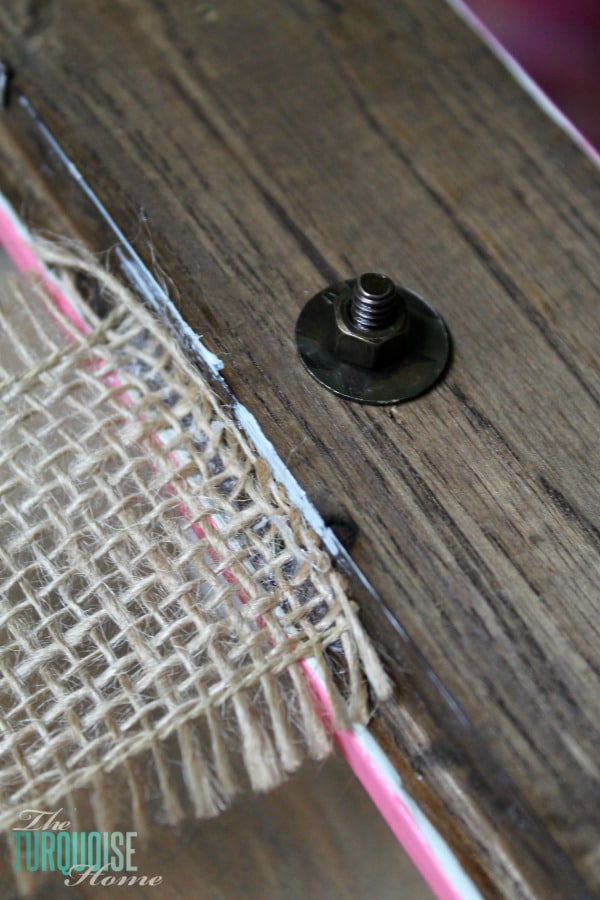
4. Drill holes in the frame and attach your knobs.
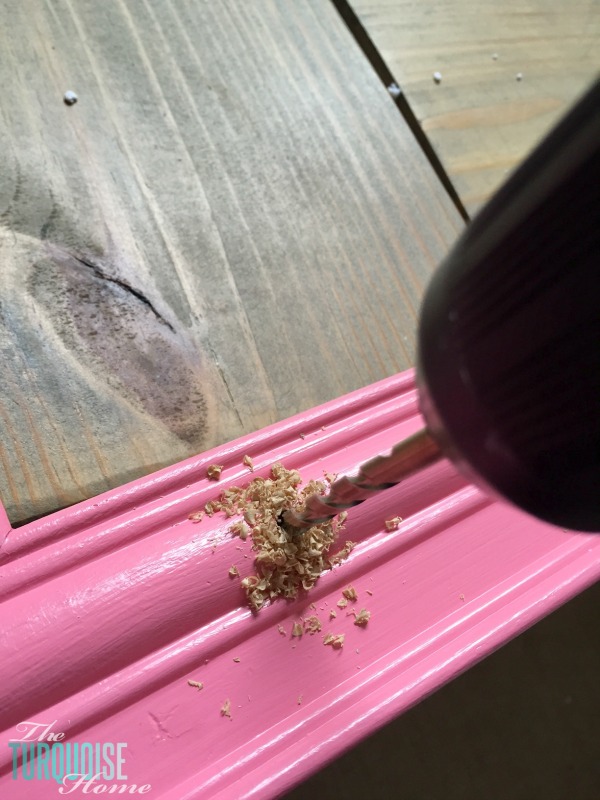
5. Cut your fabric to fit the foam board.
Next, spray on the adhesive and press the fabric onto the foam board. I do this outdoors because the fumes are so strong.
6. Slide the foam board into the back of the frame.
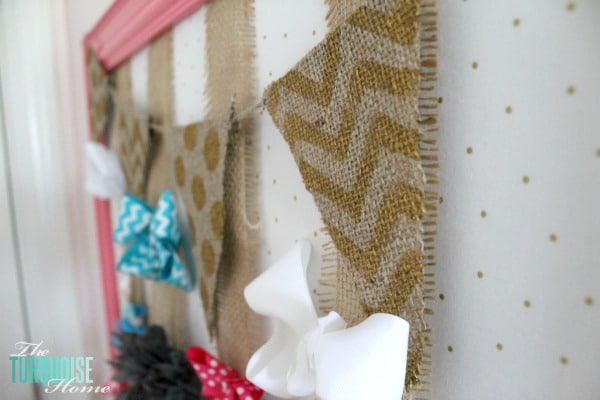
7. Optional: Adorable Bunting
Then I made a little burlap bunting from burlap and twine I already had on hand. I added gold painted details with chevron and polka dot patterns. See how I make bunting here.
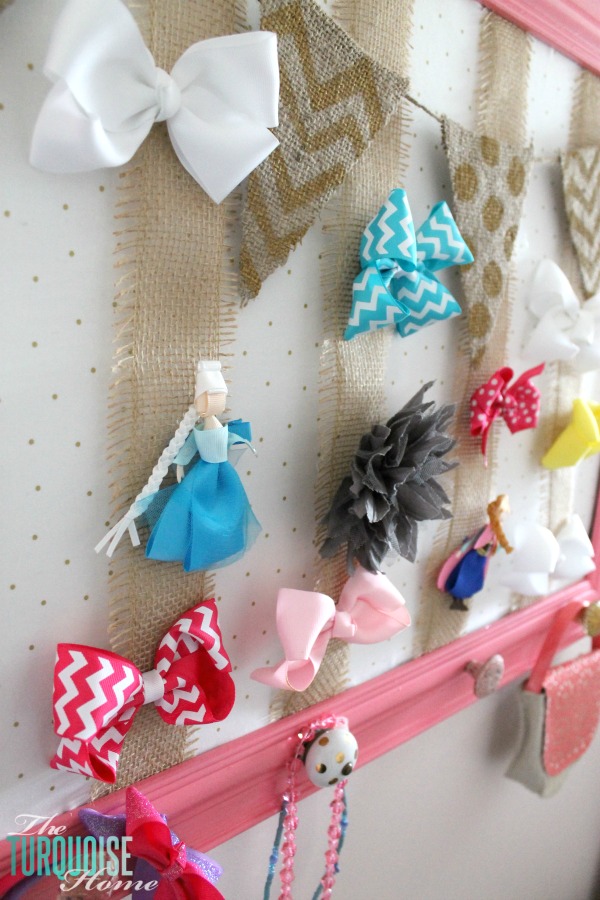
8. Fill the Holder with Pretty Bows and Accessories
Add your bunting, hang the new holder on the wall, and fill it with all of the pretty things!
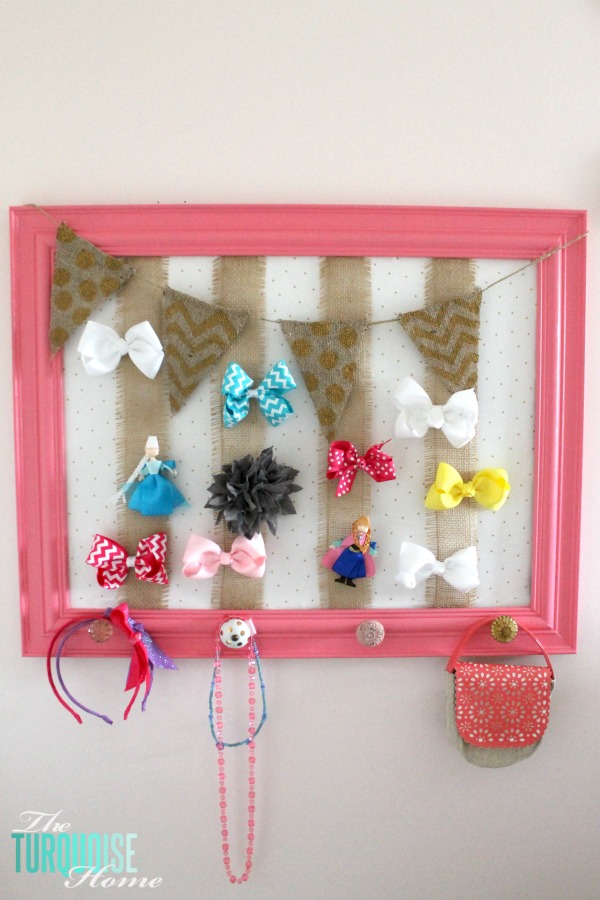
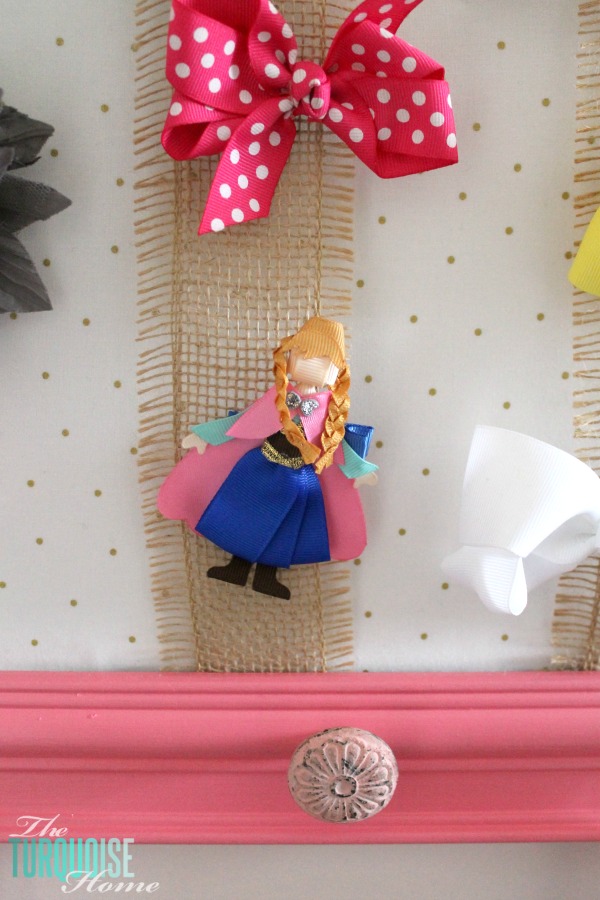
Isn’t the sweet Anna from Frozen bow adorable?? Miss A got it for Christmas from her cousins and she loves it, along with her Elsa bow.
My daughter was thrilled when I showed her the new accessory holder. She absolutely LOVES her girly things and anything pink and gold! I’m so glad we finally have a place for all of her special treasures.
More Favorite Posts You’ll Enjoy: