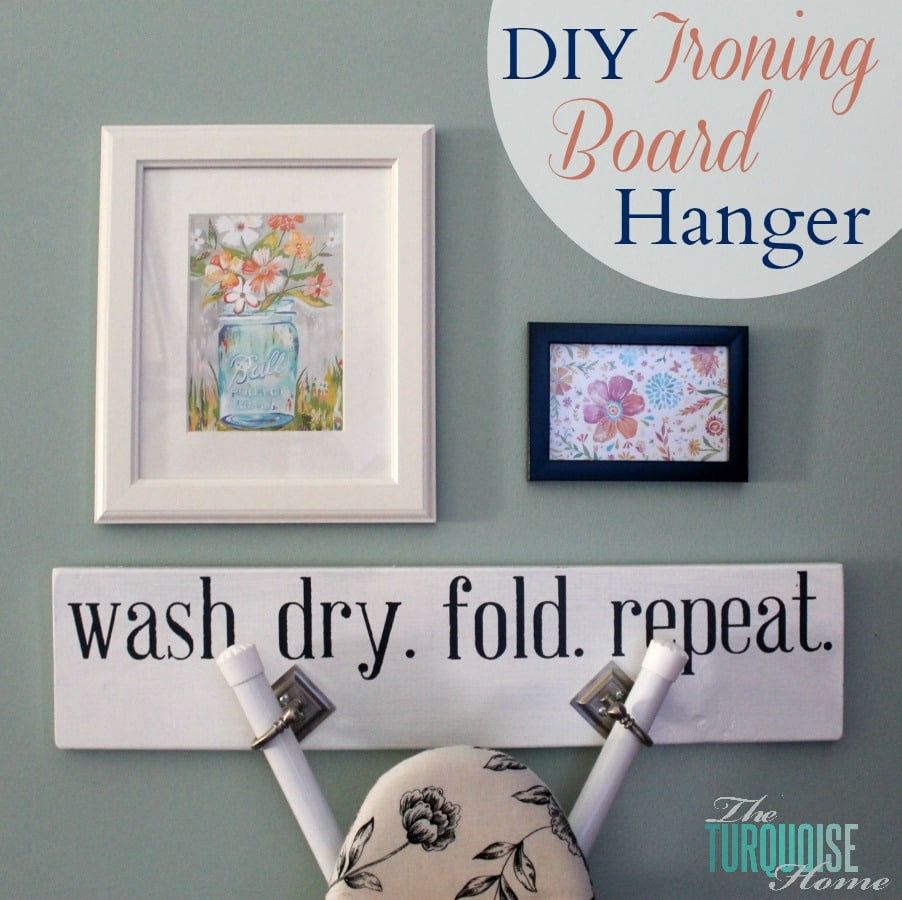
This easy DIY ironing board hanger tutorial will show you how to build your own custom hanger. It's the perfect way to make your laundry room cute without losing function!
After this week, y'all are going to think I'm never going to post about anything but my Silhouette, paint and contact paper. And you might be right for today and tomorrow. I think I'm just so happy to have an easy solution for stenciling. Maybe someday soon I'll branch out with my Silhouette and try a different medium on a different kind of project.
But for now I'm just getting my feet wet, so contact paper and paint it is!
You may have forgotten that I've been working on my laundry room. For almost a whole year. It's hands-down the question I get most from my friends. "Have you finished your laundry room yet?"
Nope, not yet.
I still have a couple of things to make. It's been on the back burner for other things like summertime, Haven, fall and now the holidays.
But I did finally finish a project I've been wanting to do since, oh say, January. I've had the materials on hand and ready to go forever. I just haven't taken the time to finish it.
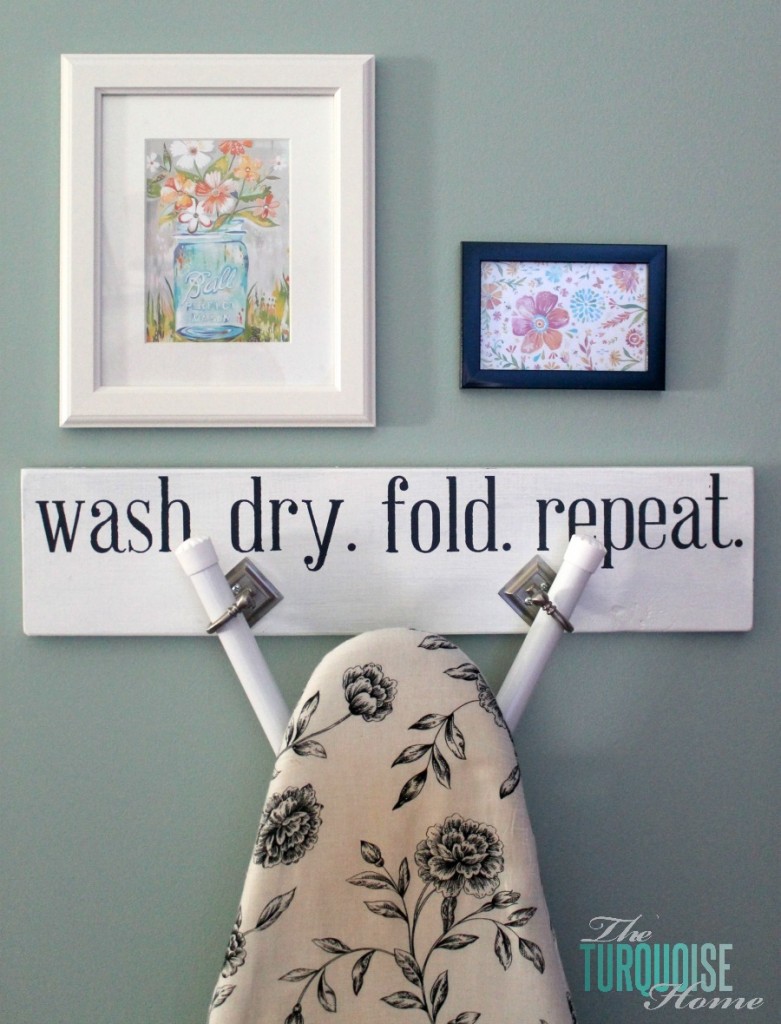
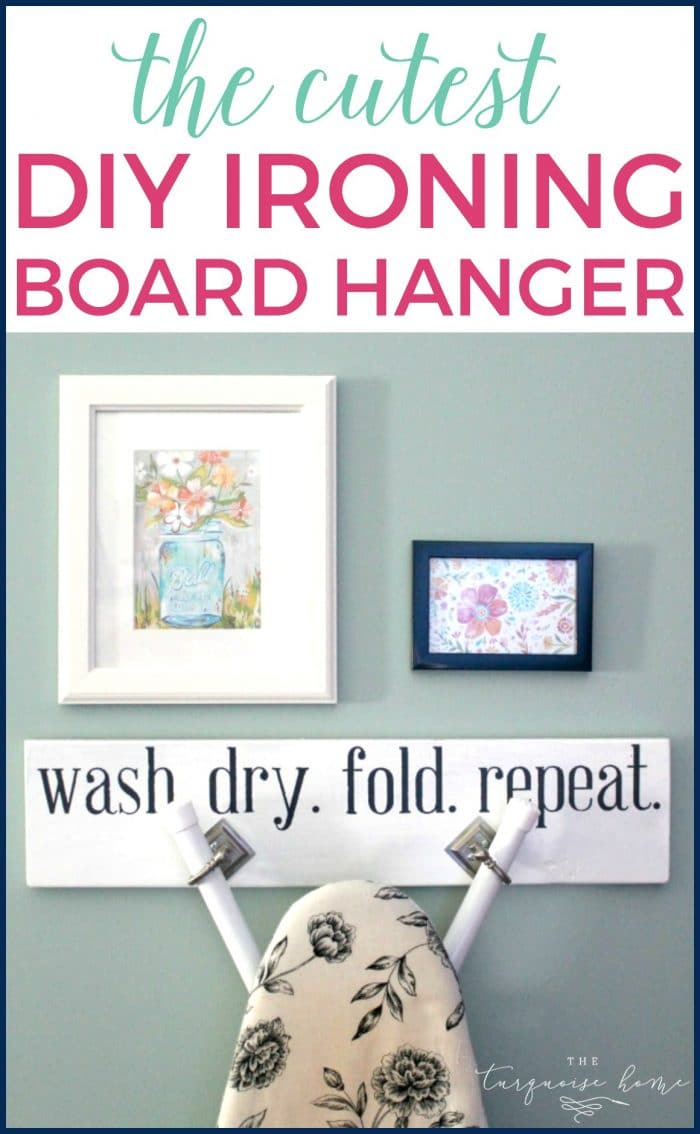
I made this ironing board hanger that you may have seen floating around the Interweb already. {I was originally inspired by this hanger from The House of Smiths.} I thought it was the perfect way to hang up my ironing board in a fun and pretty way.
What you'll need:
1. Silhouette {I have a Cameo.}
2. Contact paper
3. Paint
4. Board
5. Hooks
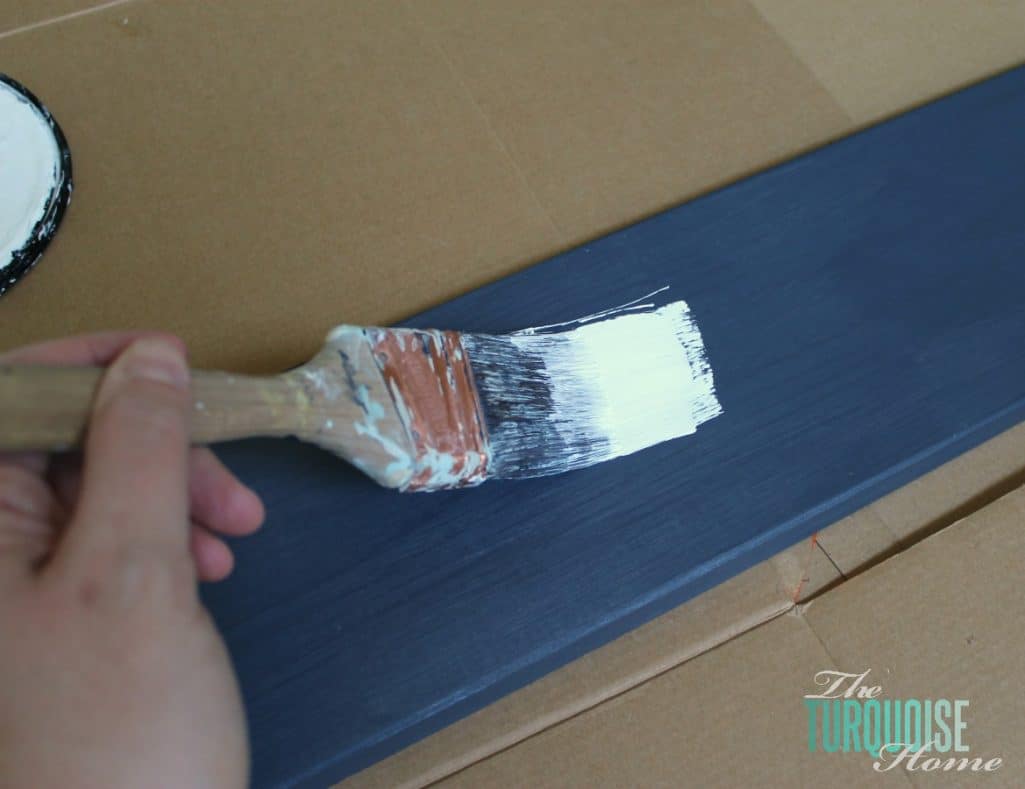
First, I found a board in my scrap wood pile and painted it navy, then gave it a second coat of white. I planned to distress it some, but decided against it once it was finished. I may change my mind and still distress it at some point.
Then I laid the board and the ironing board on the ground and figured out where to place the hooks.
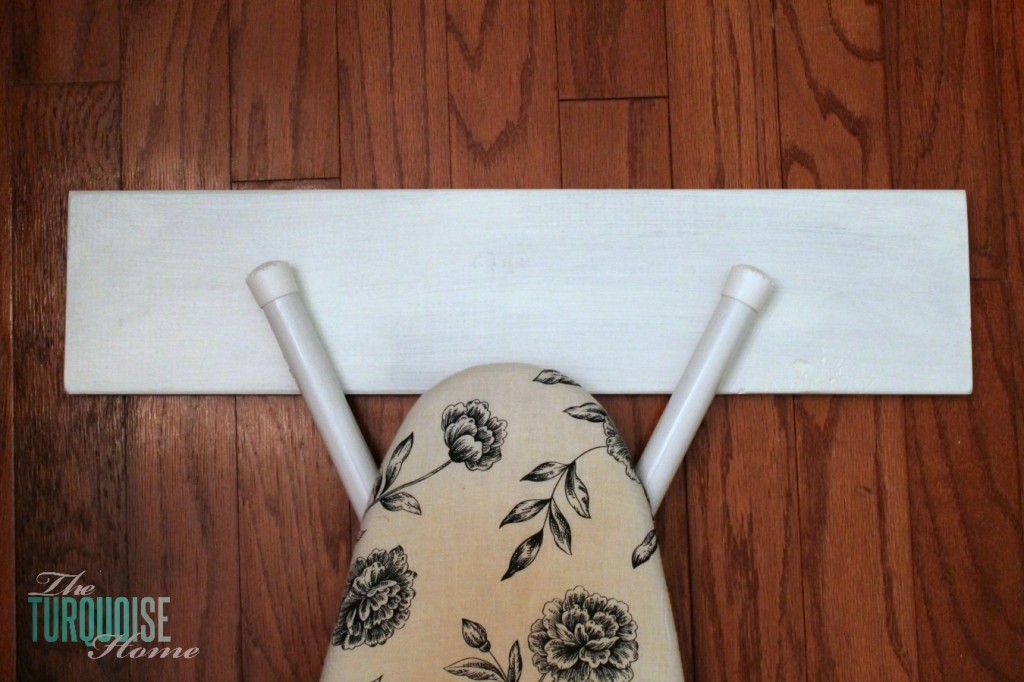
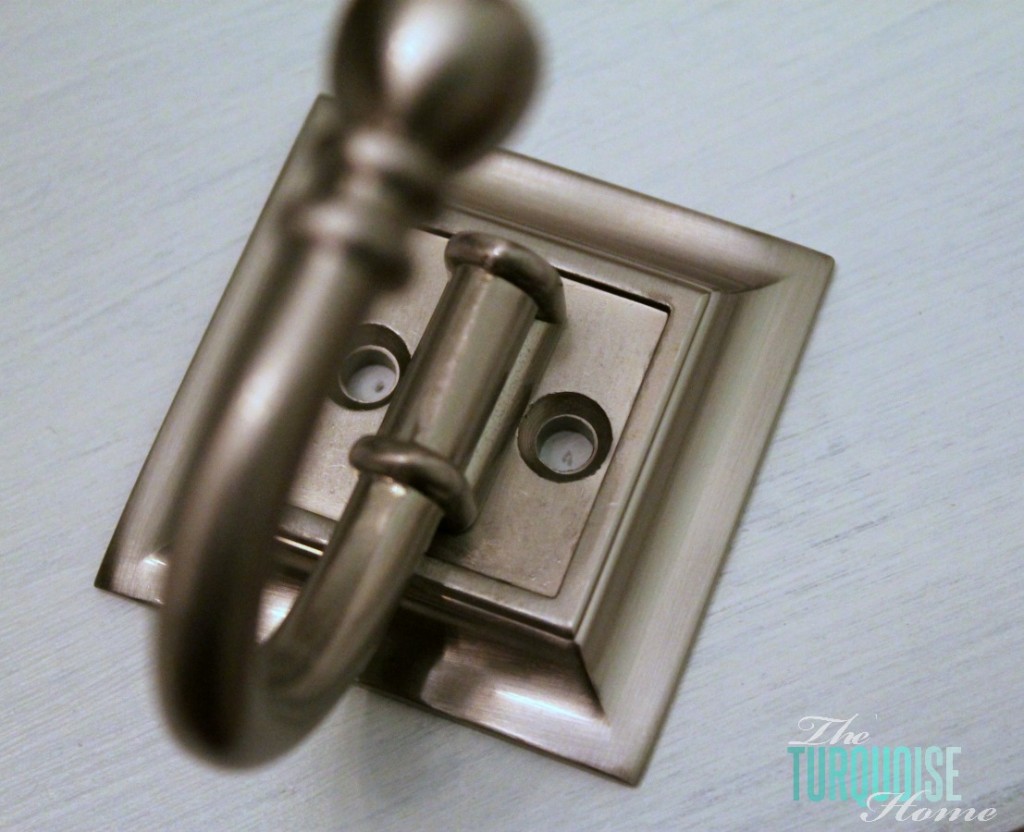
I marked the middle of the holes I needed to drill, then drilled screws into the right spots. It would have been a lot easier if my ironing board had T-legs. I even thought about buying a new ironing board just for this project. But that would be silly. I do hope to buy a new ironing board cover soon, because the one I've had since we got married is pretty singed, as you can clearly see.
Then I used Photoshop Elements to create a blank document the same size as the board. This helps me visualize where the words will go and what size font I'll need. {I used the font: Abraham Lincoln.}
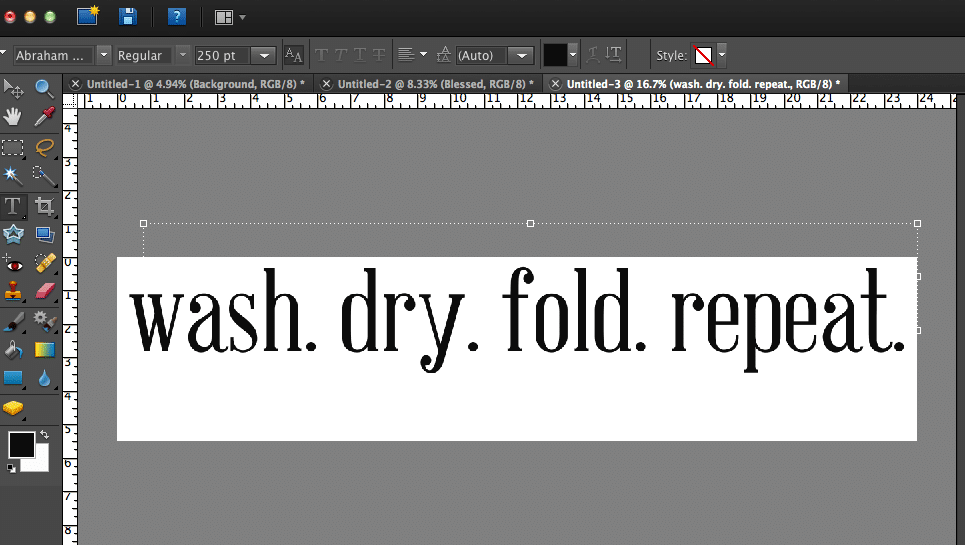
Then I used the same font size and set the words up in my Silhouette Studio. I only changed their placement so I could cut them all out at one time.
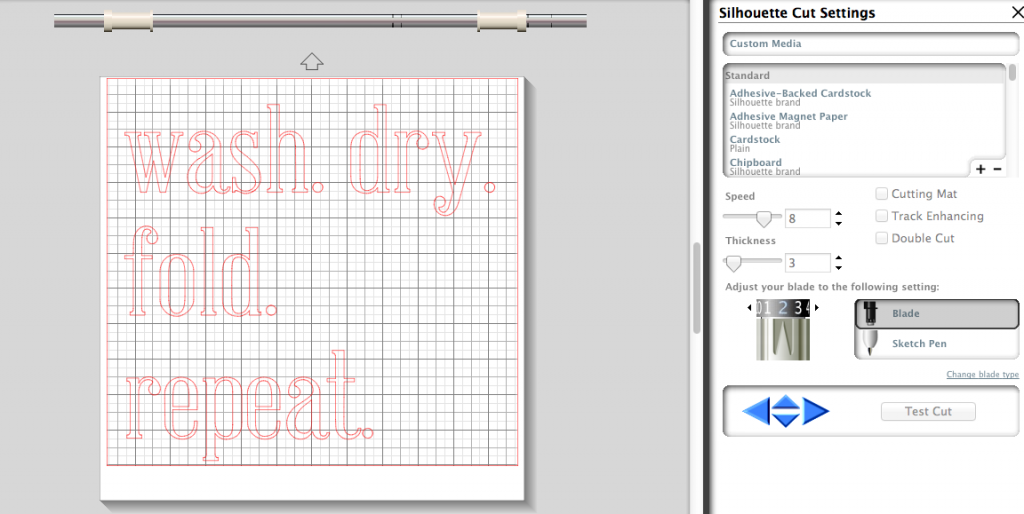
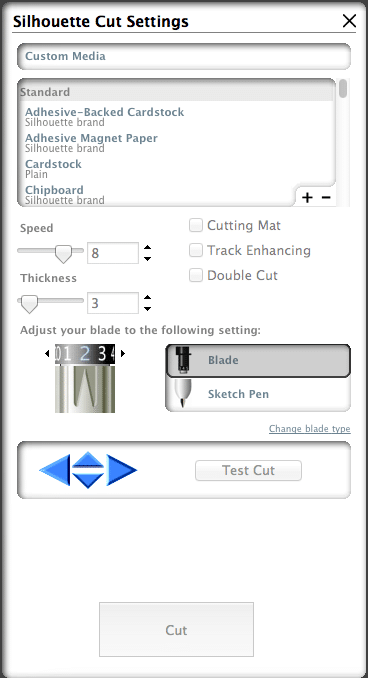
Here are the cut settings I used to cut the stencil out of the contact paper. Be sure to un-click the cutting mat, because you can feed the contact paper directly into your Silhouette.
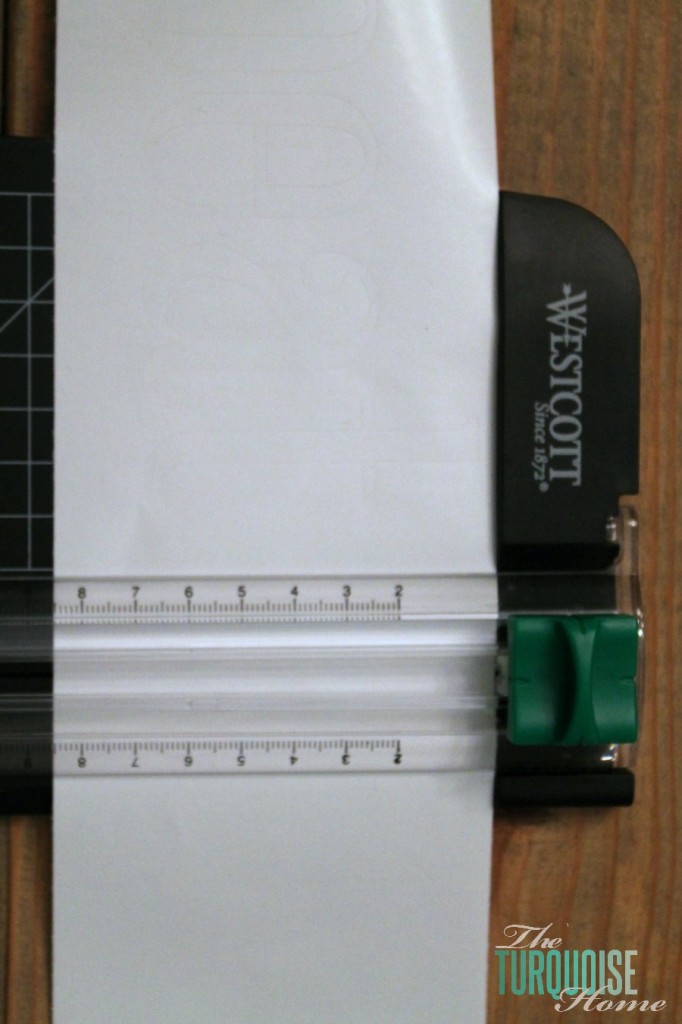
Once the contact paper was cut, I separated the words with my paper cutter. This kept the lines pretty straight, so it was easier to line up the stencils.
Then I placed them on the board, before peeling off the backing of the contact paper, making sure they could all line up correctly.
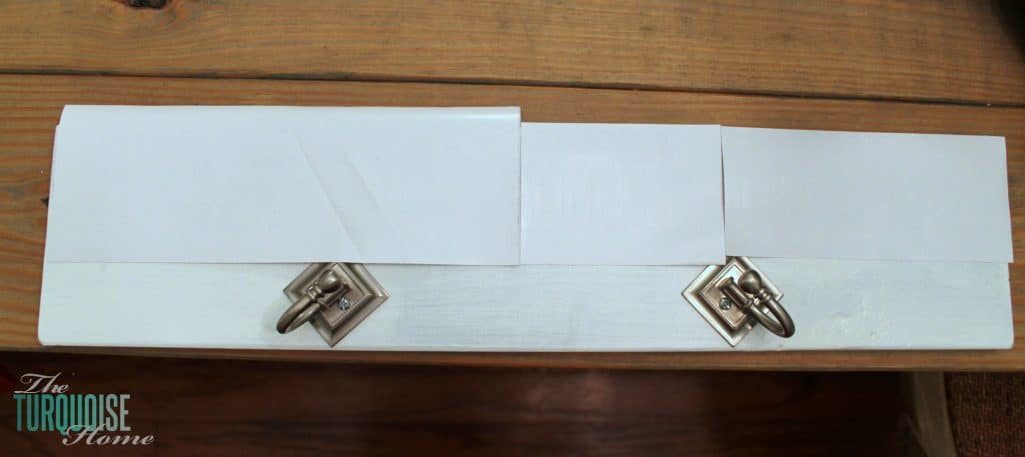
After they were arranged correctly, I took the first word and peeled off the backing. I made sure to keep the stencil cutout intact.
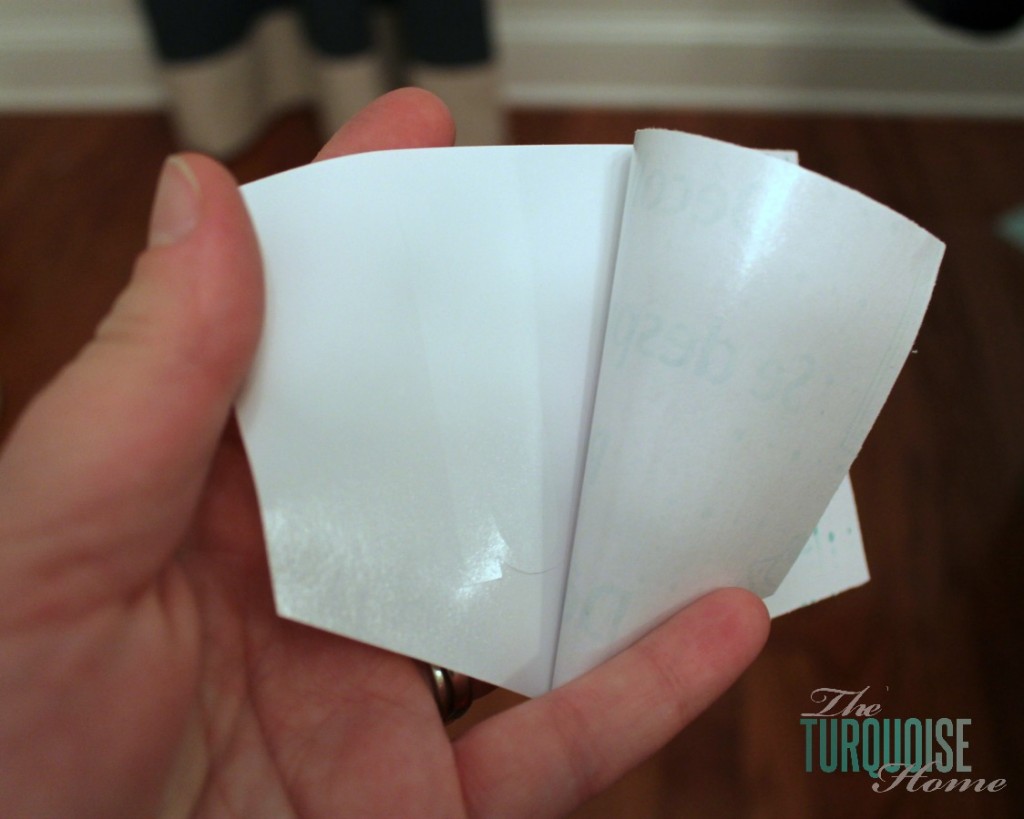
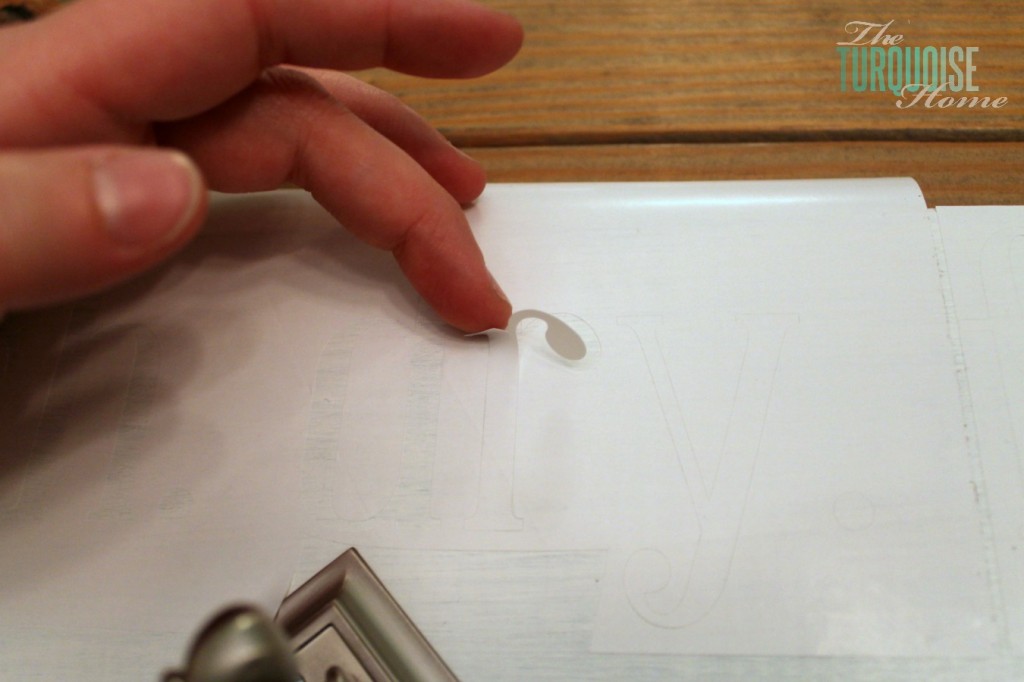
Once the stencils were all in place, I carefully pulled out the letters where I wanted the paint to show through.
Then I painted over them with some navy paint I had on hand.
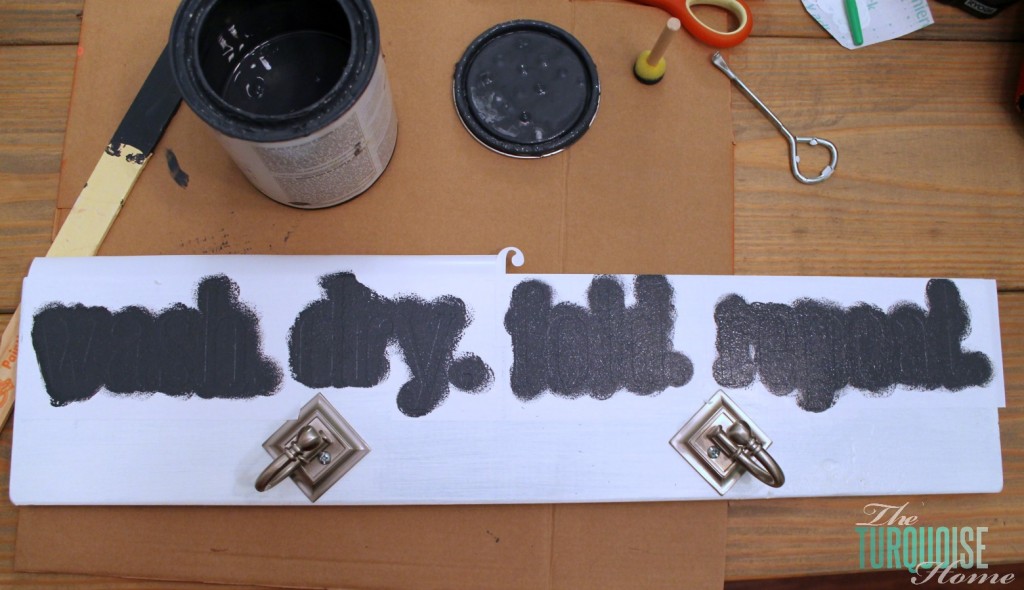
I pulled up the contact paper pretty quickly after that. You don't want the paint to dry on there, or it might peel the paint right back off. Mine did lift a little in some places anyway, so I went back with a tiny brush and touched it up.
I styled it with some cute Katie Daisy prints in the dining room. Ha! My laundry room has no natural light, so I wanted to show it off in a brighter spot. And goodness! Someone go buy this girl a new ironing board cover. Yikes!!
I'm so excited to finally get the ironing board hung up in the laundry room instead of leaning against the wall in our bedroom! Yay!!
P.S. I finally hung it up in the laundry room with this awesome system!
More Posts You Will Love: