Have you ever spotted a beautiful old dresser at a thrift store or inherited a table from Grandma that just needs a little love? Refinishing wood furniture is one of the easiest (and most budget-friendly!) ways to give tired, dated pieces a brand-new life. And the best part? You don't need to be a pro to do it!
In today's guide, I'll walk you through refinishing wood furniture step by step so you can feel confident tackling your next project. With a little time, elbow grease and some simple supplies, you'll be amazed at the transformation.
So, where do we start? I've been slowly making over (or really, just decorating) my younger daughter's bedroom this year. The next part of that makeover is a jewelry station for her room! I also needed a way to store all of her "treasures" neatly.
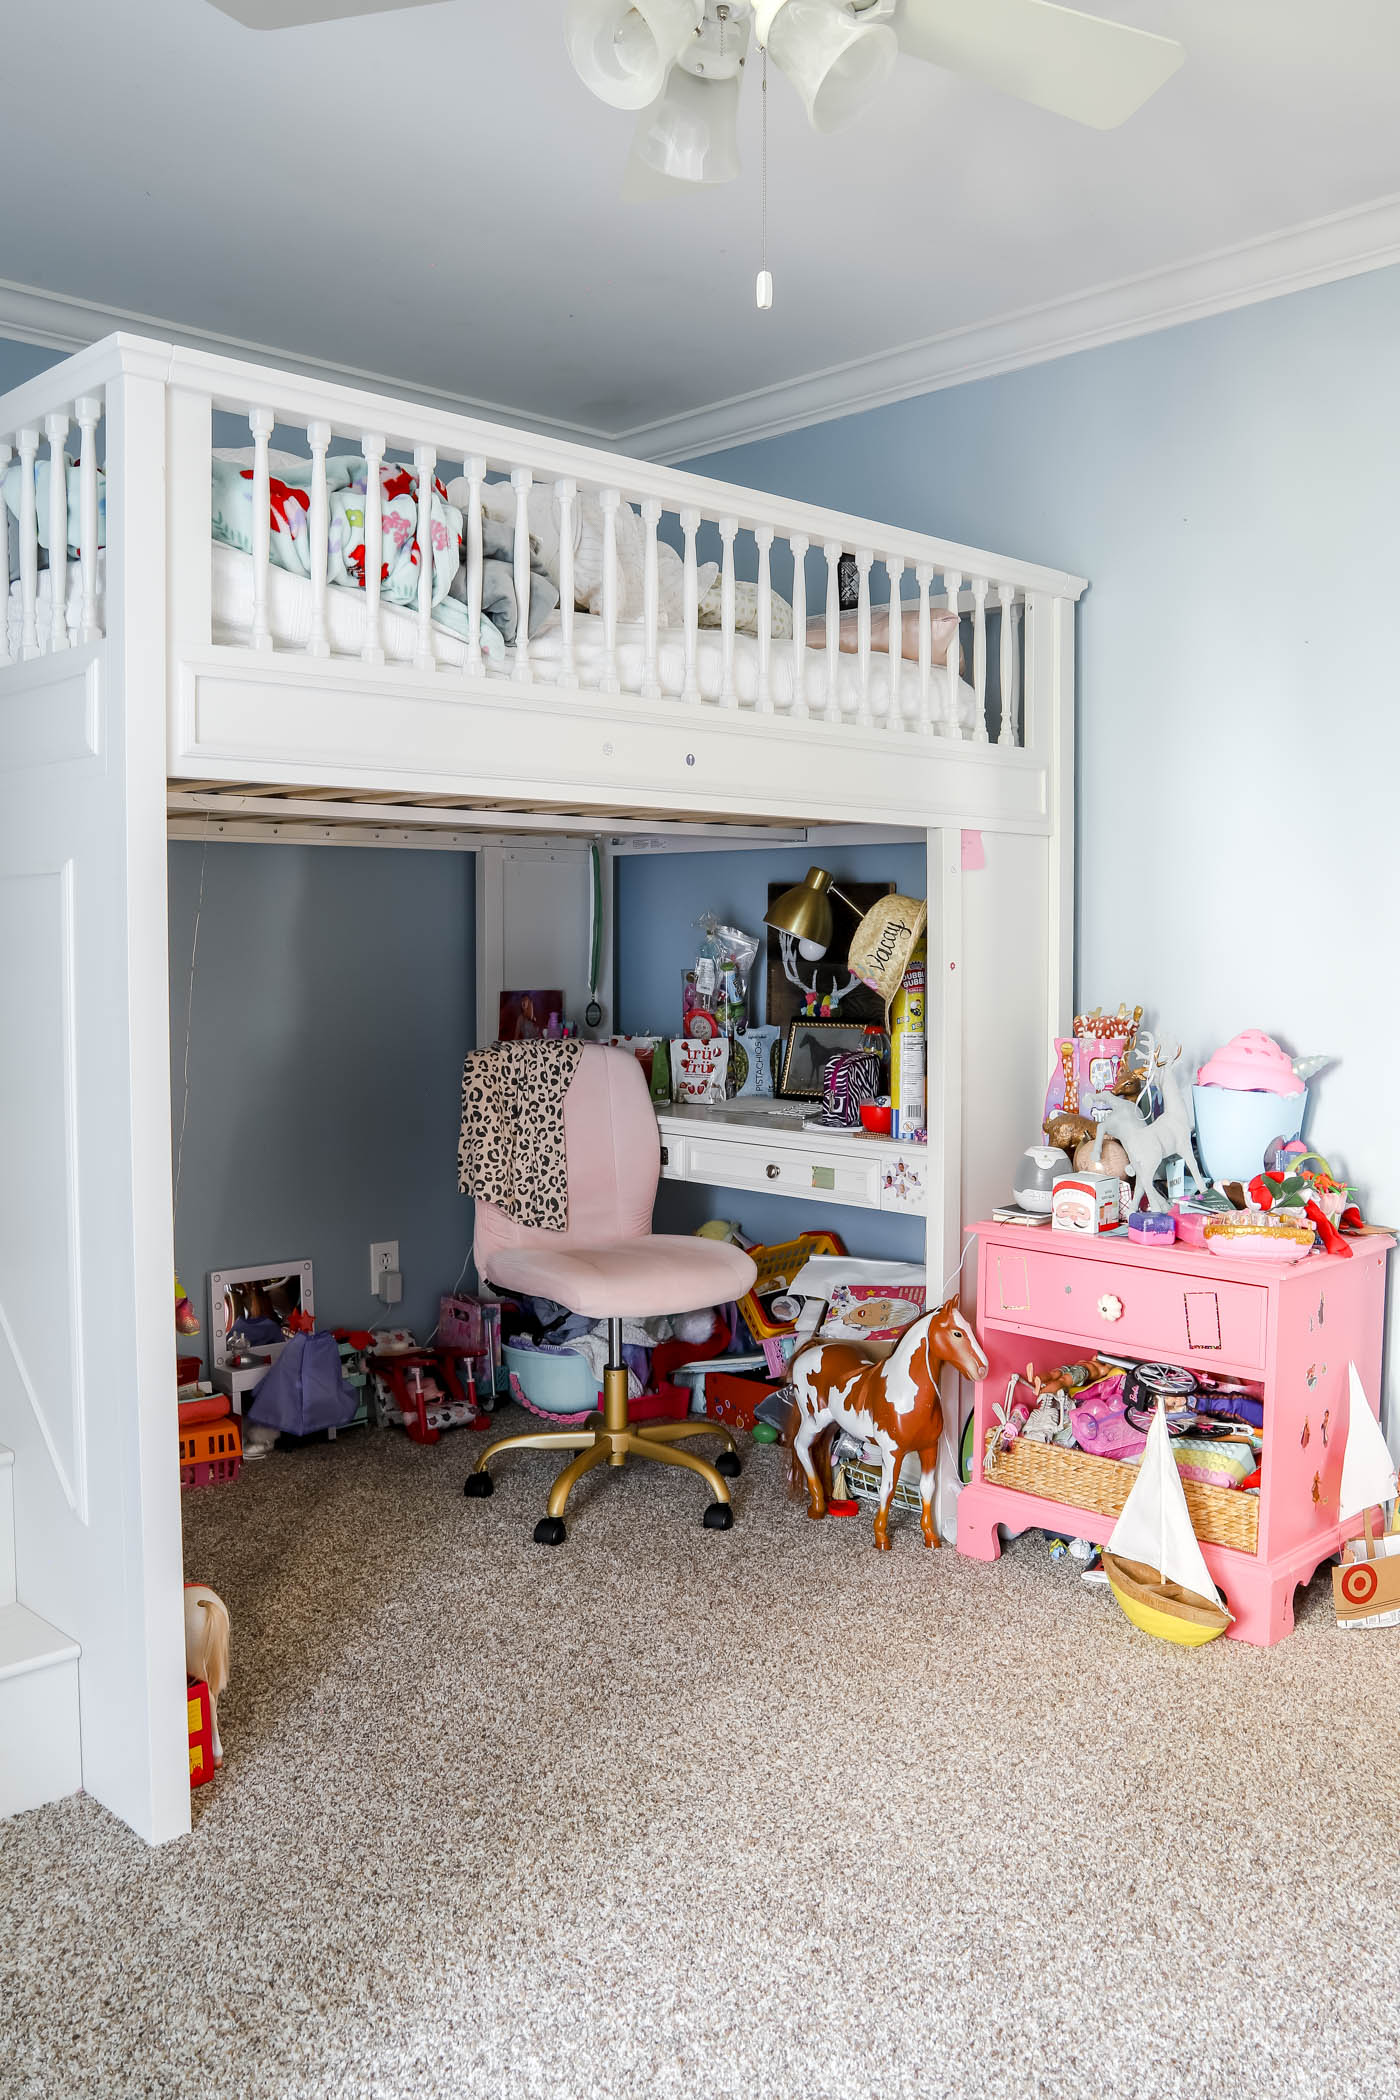
See this messy desk and nightstand situation?
This was my budget-friendly solution to make the space more visually appealing and give her a place to display and try on her jewelry! Let's dive in!

Why Refinish Instead of Replace?
Refinishing wood furniture is kinder to your wallet, and it's also eco-friendly and sentimental. A solid wood piece can last for generations… sometimes all it needs is a refresh to bring out its natural beauty again. Plus, you get the satisfaction of a DIY project and the chance to stand back and say, "I did that!"
That's exactly why I decided to refinish this old changing table sitting in our garage. I'm in the middle of decorating my younger daughter's room, and I needed a small dresser for a specific spot.
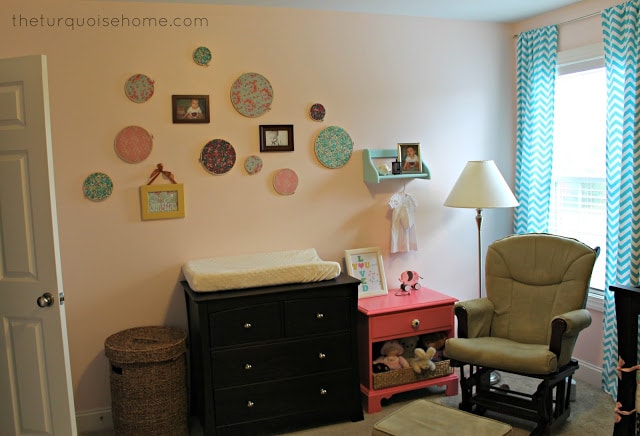
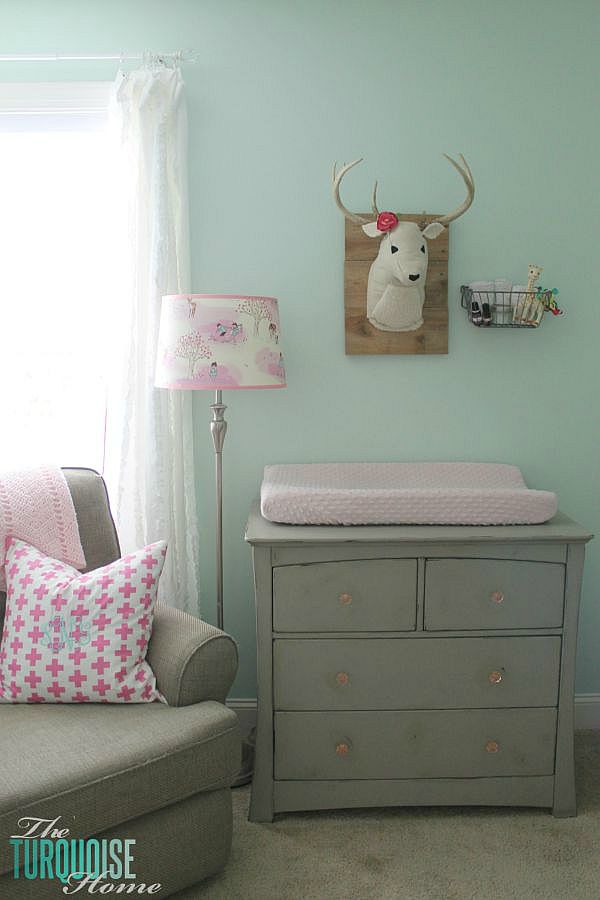
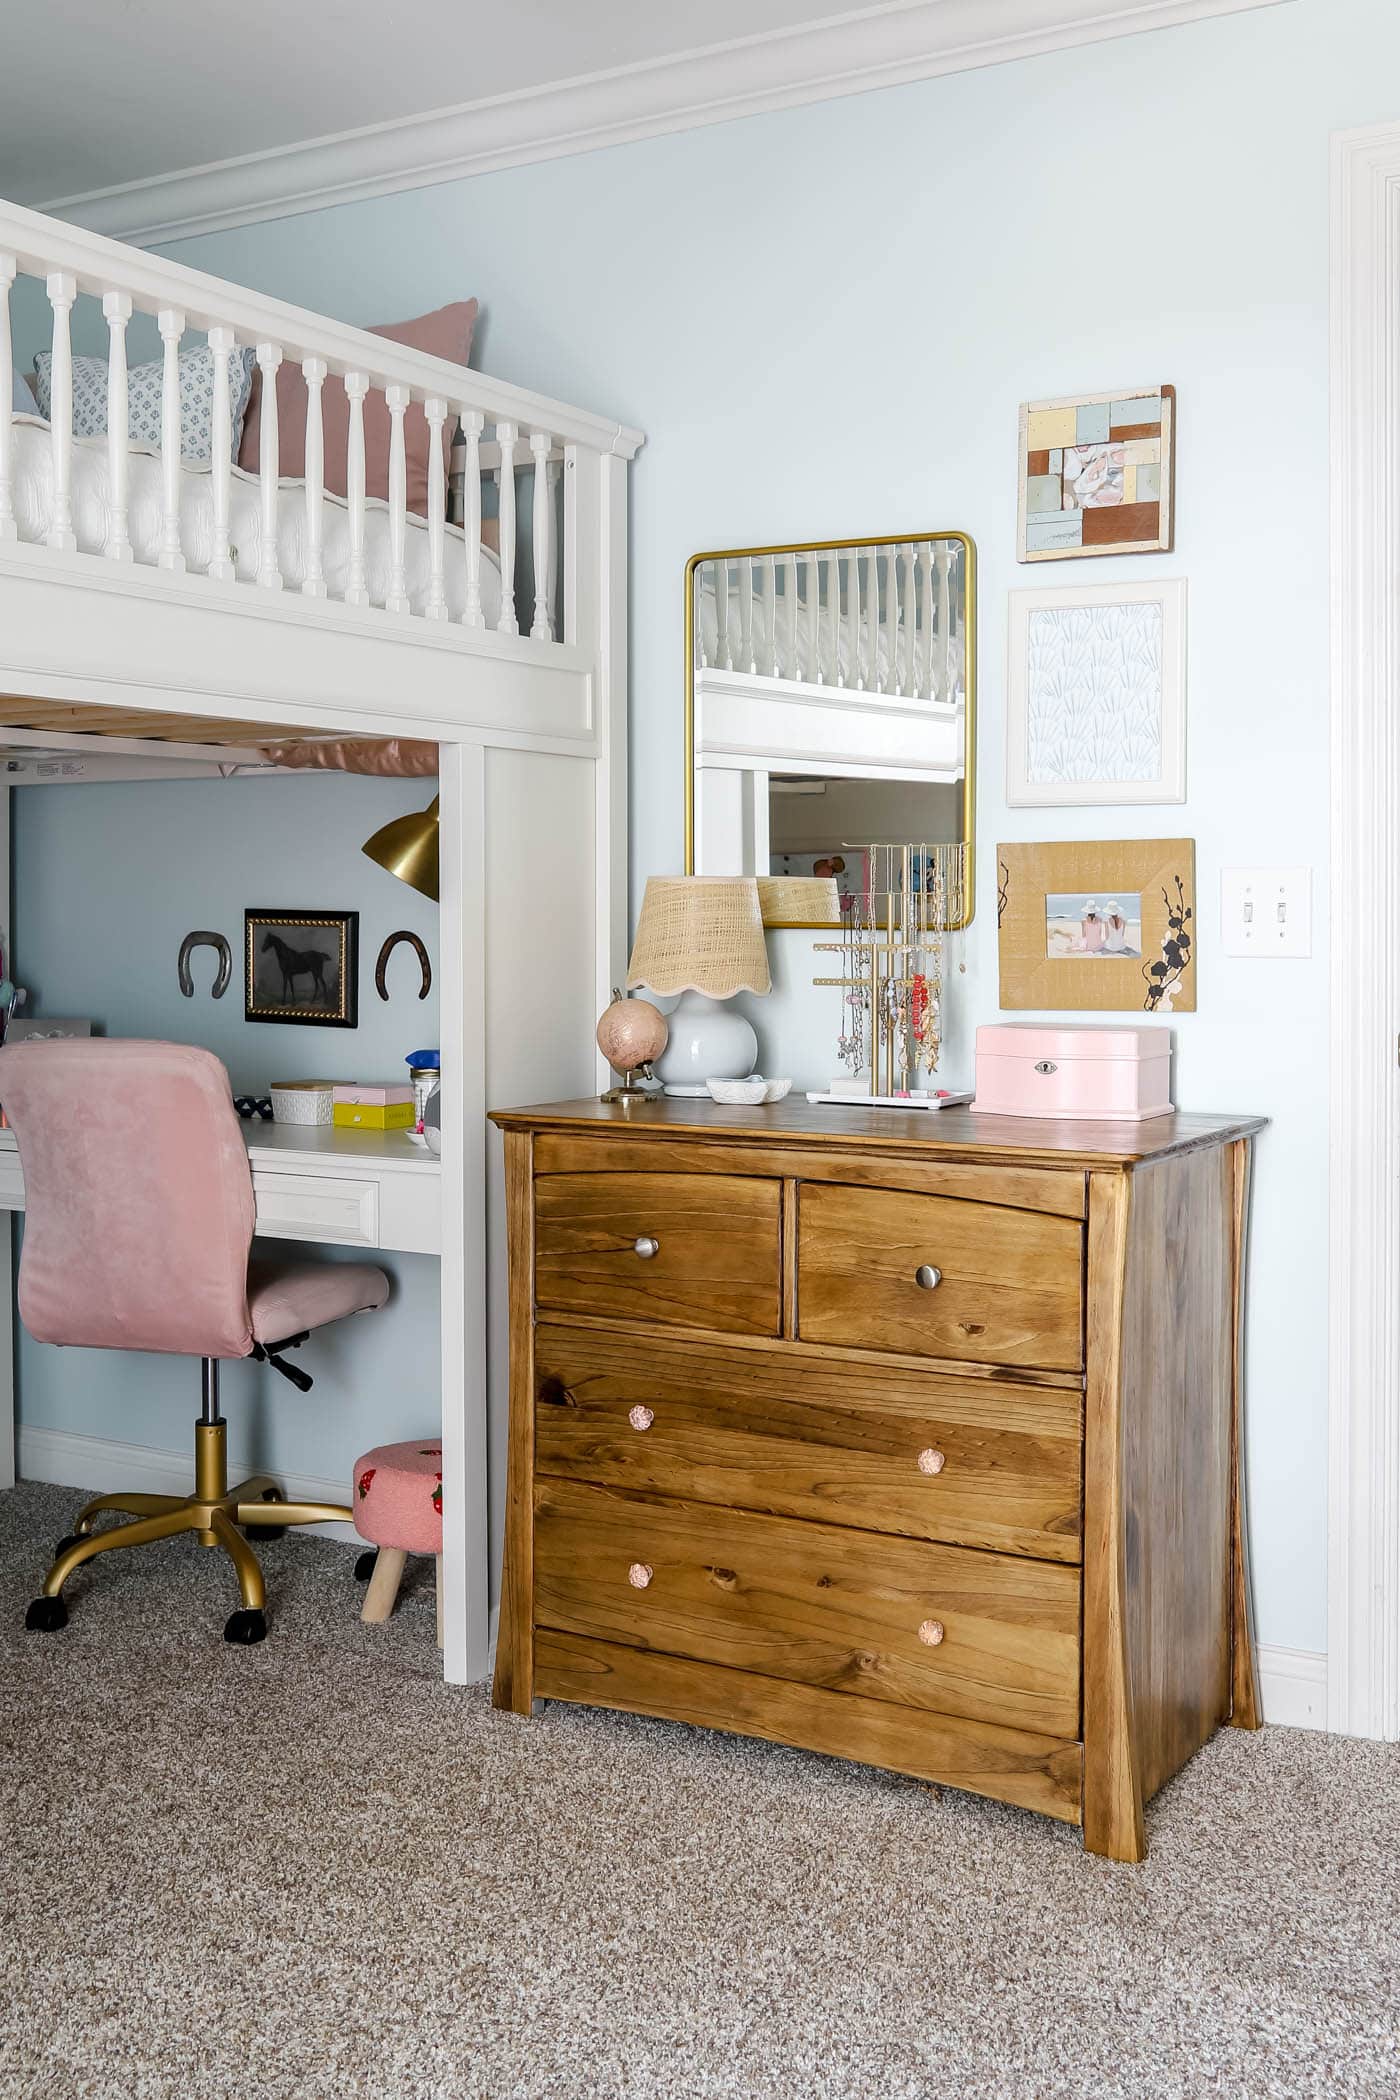
The dresser used to be my girls' changing table when they were babies, but I moved it out of her room about a year ago to make space for a larger dresser. The funny thing is, the old changing table fits the space perfectly… and since it's solid wood, I knew it still had plenty of life left in it! Now it's the perfect piece for storing her little treasures out of sight, with a nice surface on top for jewelry and decor. I'm honestly so glad it didn't sell at our yard sale last year!
Supplies You'll Need
Before you start, gather your supplies so you're not running around mid-project. Here's a basic list:
- Drop cloth or tarp
- Screwdriver (to remove hardware)
- Citristrip (or another chemical paint stripper gel)
- Sandpaper (coarse, medium and fine grit)
- Orbital or sheet sander (or a sanding block)
- Wood cleaner or mild soap and water
- Safety gear (gloves, mask, safety glasses)
- Wood conditioner (optional)
- Wood stain (or paint)
- Paint brushes, rags or foam applicators
- Polyurethane or finishing wax for sealing
How to Refinish Furniture for Staining or Painting
I don't know if I'd do all of this work just to repaint a piece. But you can, if you want a clean slate! I'd mostly use this process if I wanted to re-stain a piece. If I wanted to paint it, I'd lightly sand the old finish and paint right over it!
1. Choose Your Piece & Prep Your Space
Pick a sturdy wood piece with good "bones." Clear a well-ventilated workspace, like a garage or outdoor area, and lay down a drop cloth to protect the floor. The dresser was already in my garage, so it was an easy choice, aside from the unbearable heat this summer!
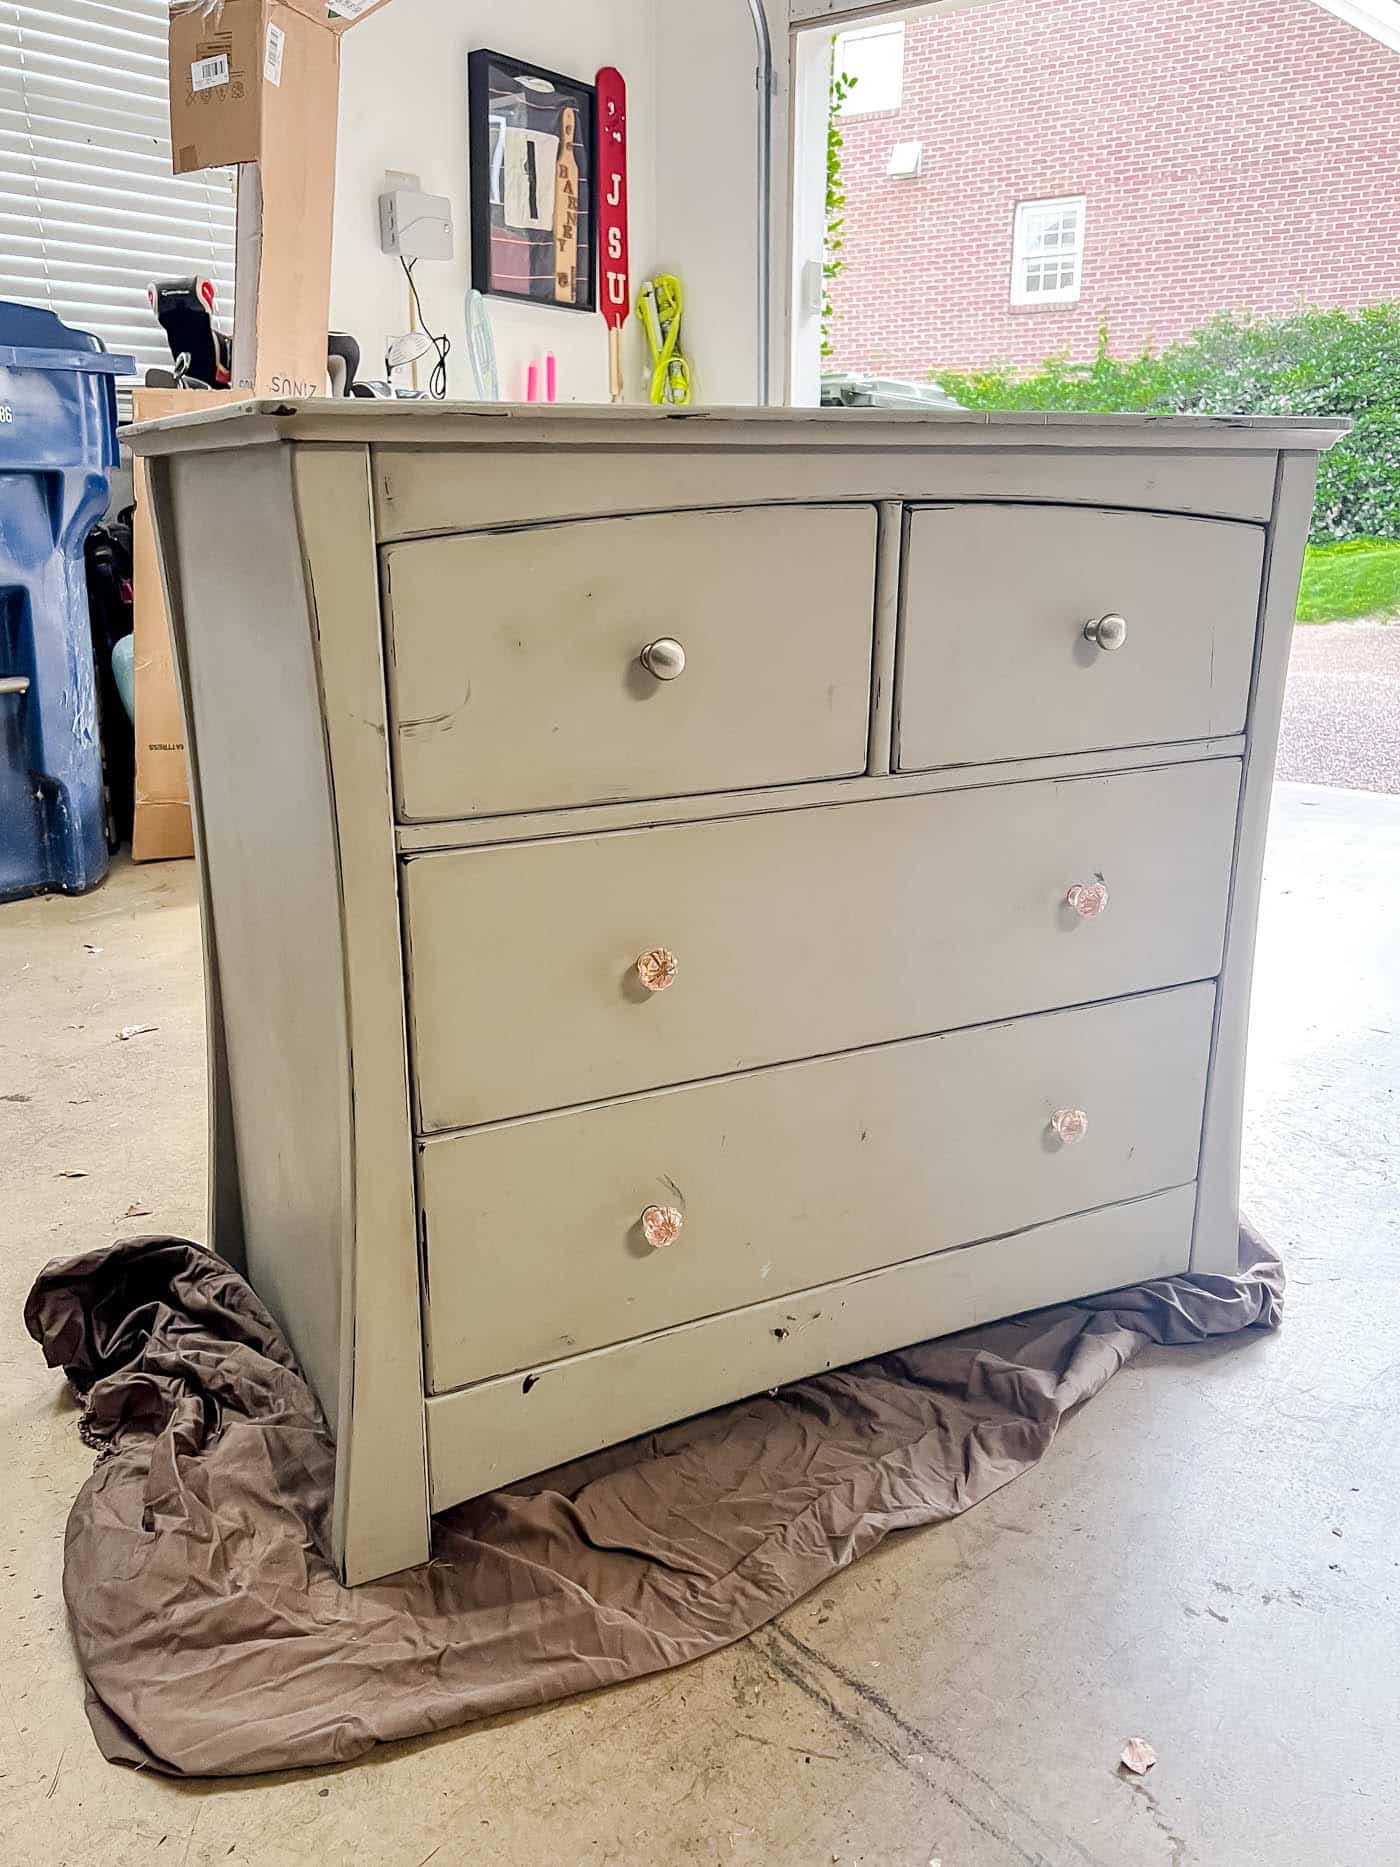
Remove any drawers, doors or hardware. Keep the hardware in a labeled bag so it's easy to reattach later.
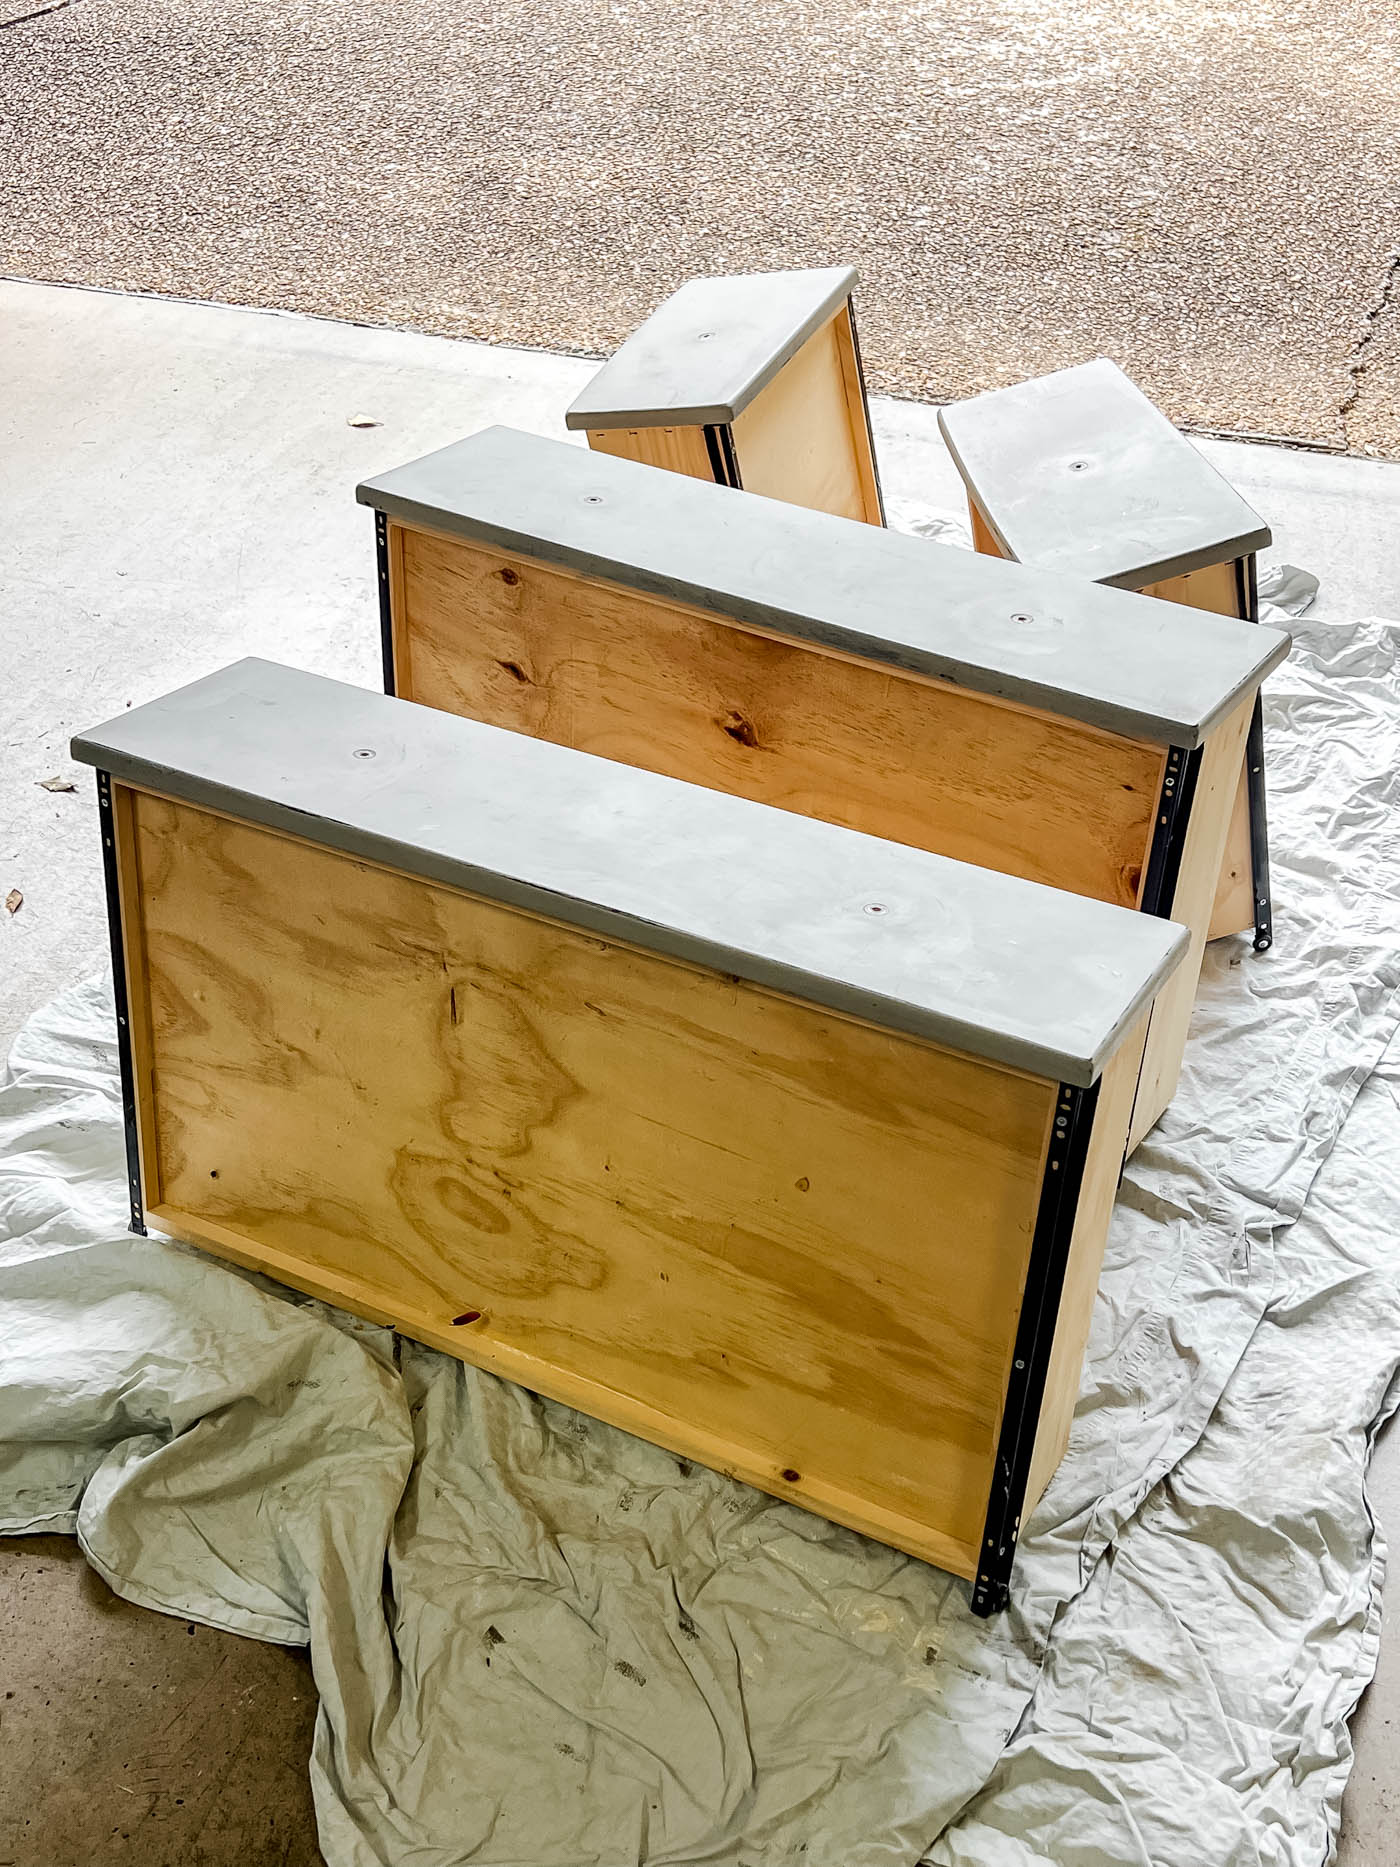
2. Clean Thoroughly
Even if your furniture looks clean, years of grime and polish can build up on the surface. Wipe everything down with a wood cleaner or a simple soap-and-water mix. Let it dry completely before moving on.
I'll be honest, I kind of skipped this step, or at least didn't do it thoroughly. I knew I'd be stripping the paint and sanding it down, so it would get cleaned in the process. If I were painting over this piece, I would definitely NOT skip this step.
3. Strip the Old Paint
Apply a thick layer of Citristrip paint stripping gel to the furniture and let it sit according to the instructions. The key is not to let the stripper gel dry out, or it becomes hard to remove. If you need to leave it for a while, wrap the furniture in plastic wrap so it keeps working longer without drying out!
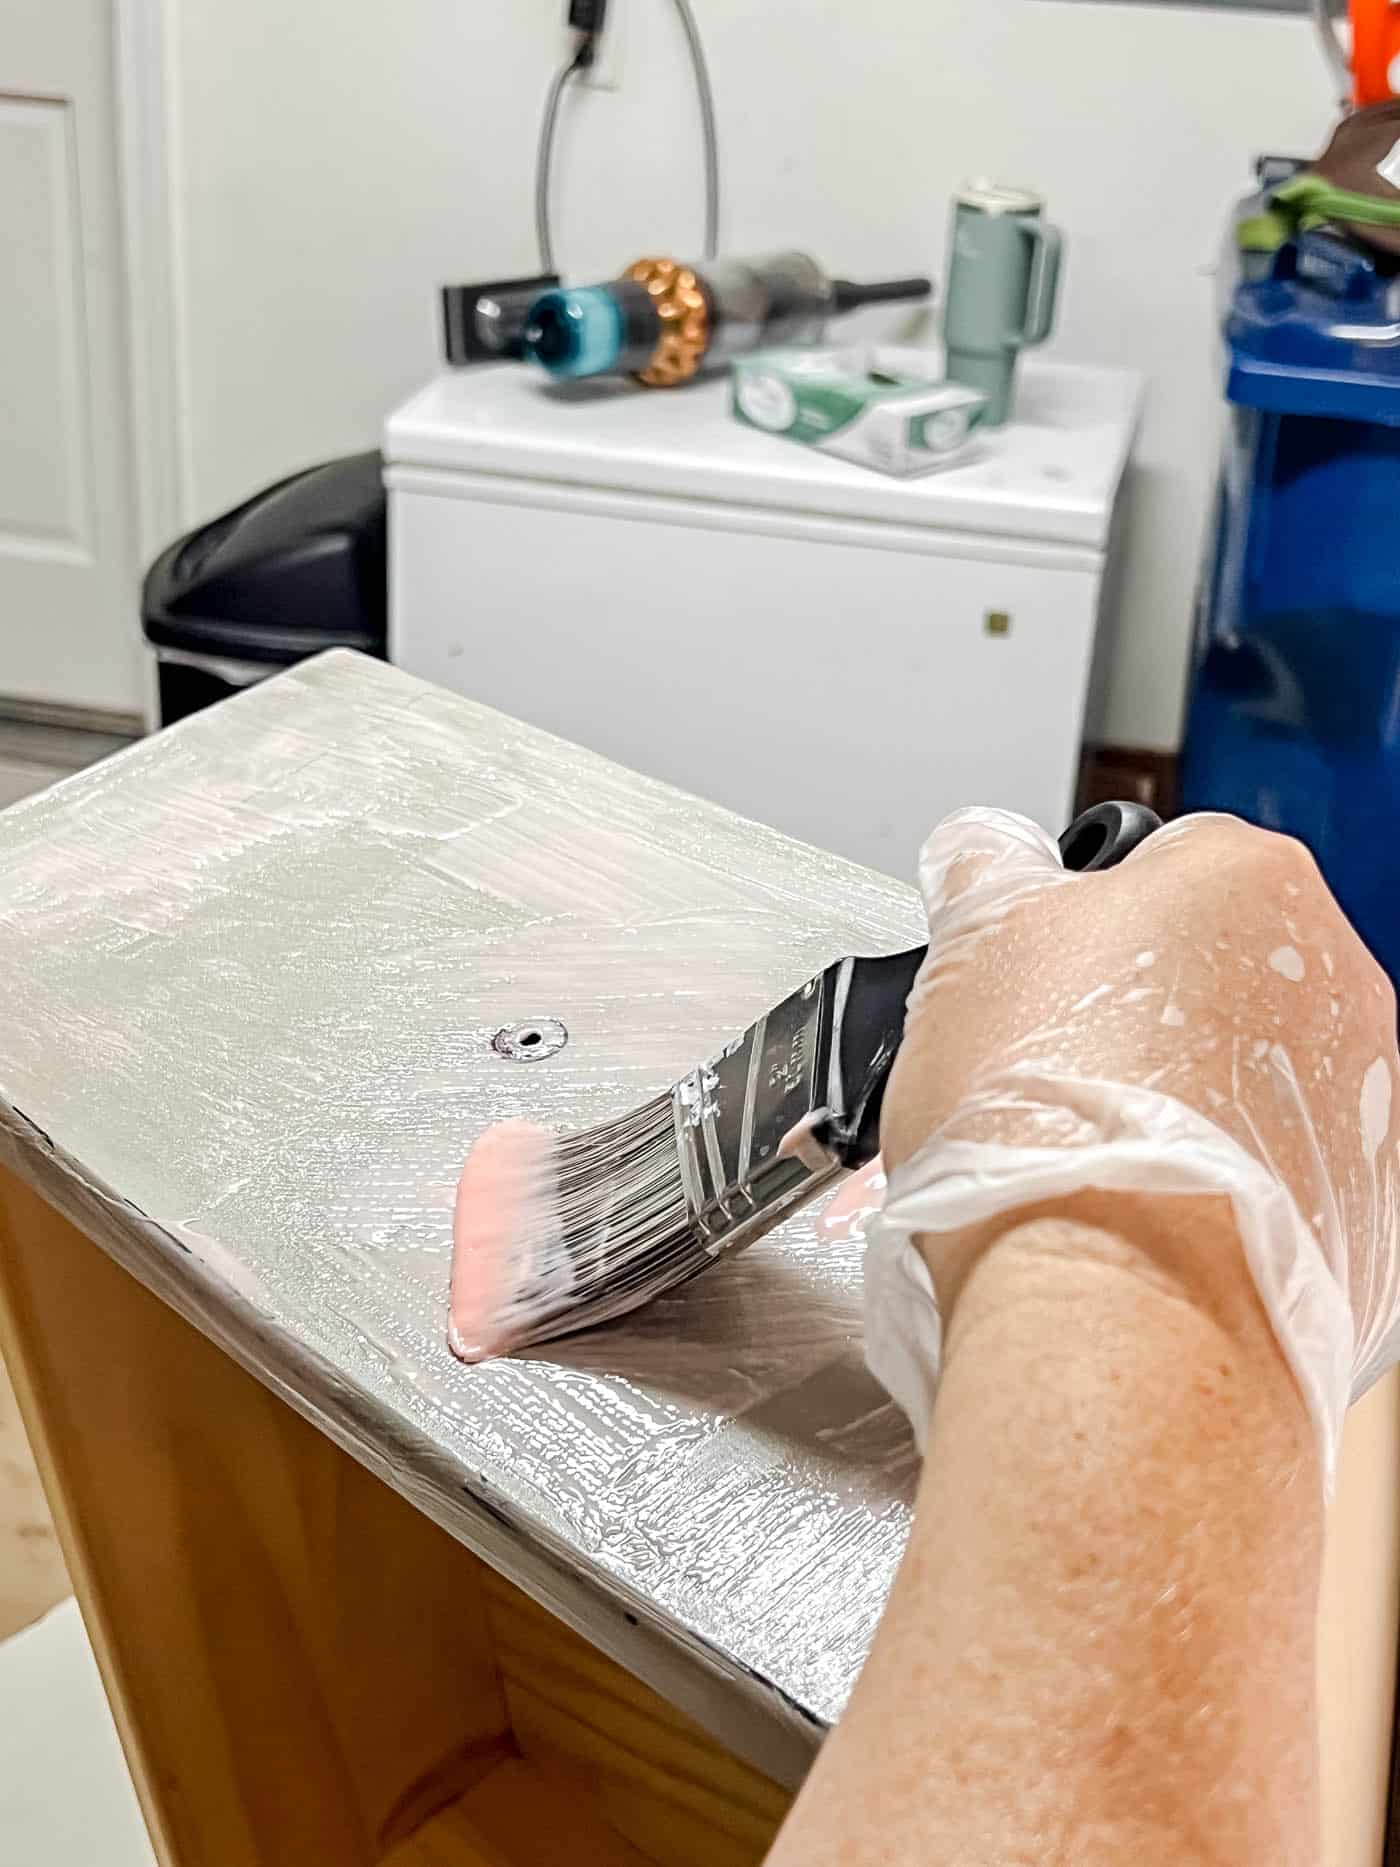
Use a scraper or putty knife to gently lift off the gel, and the old paint, varnish or stain will come off with it!
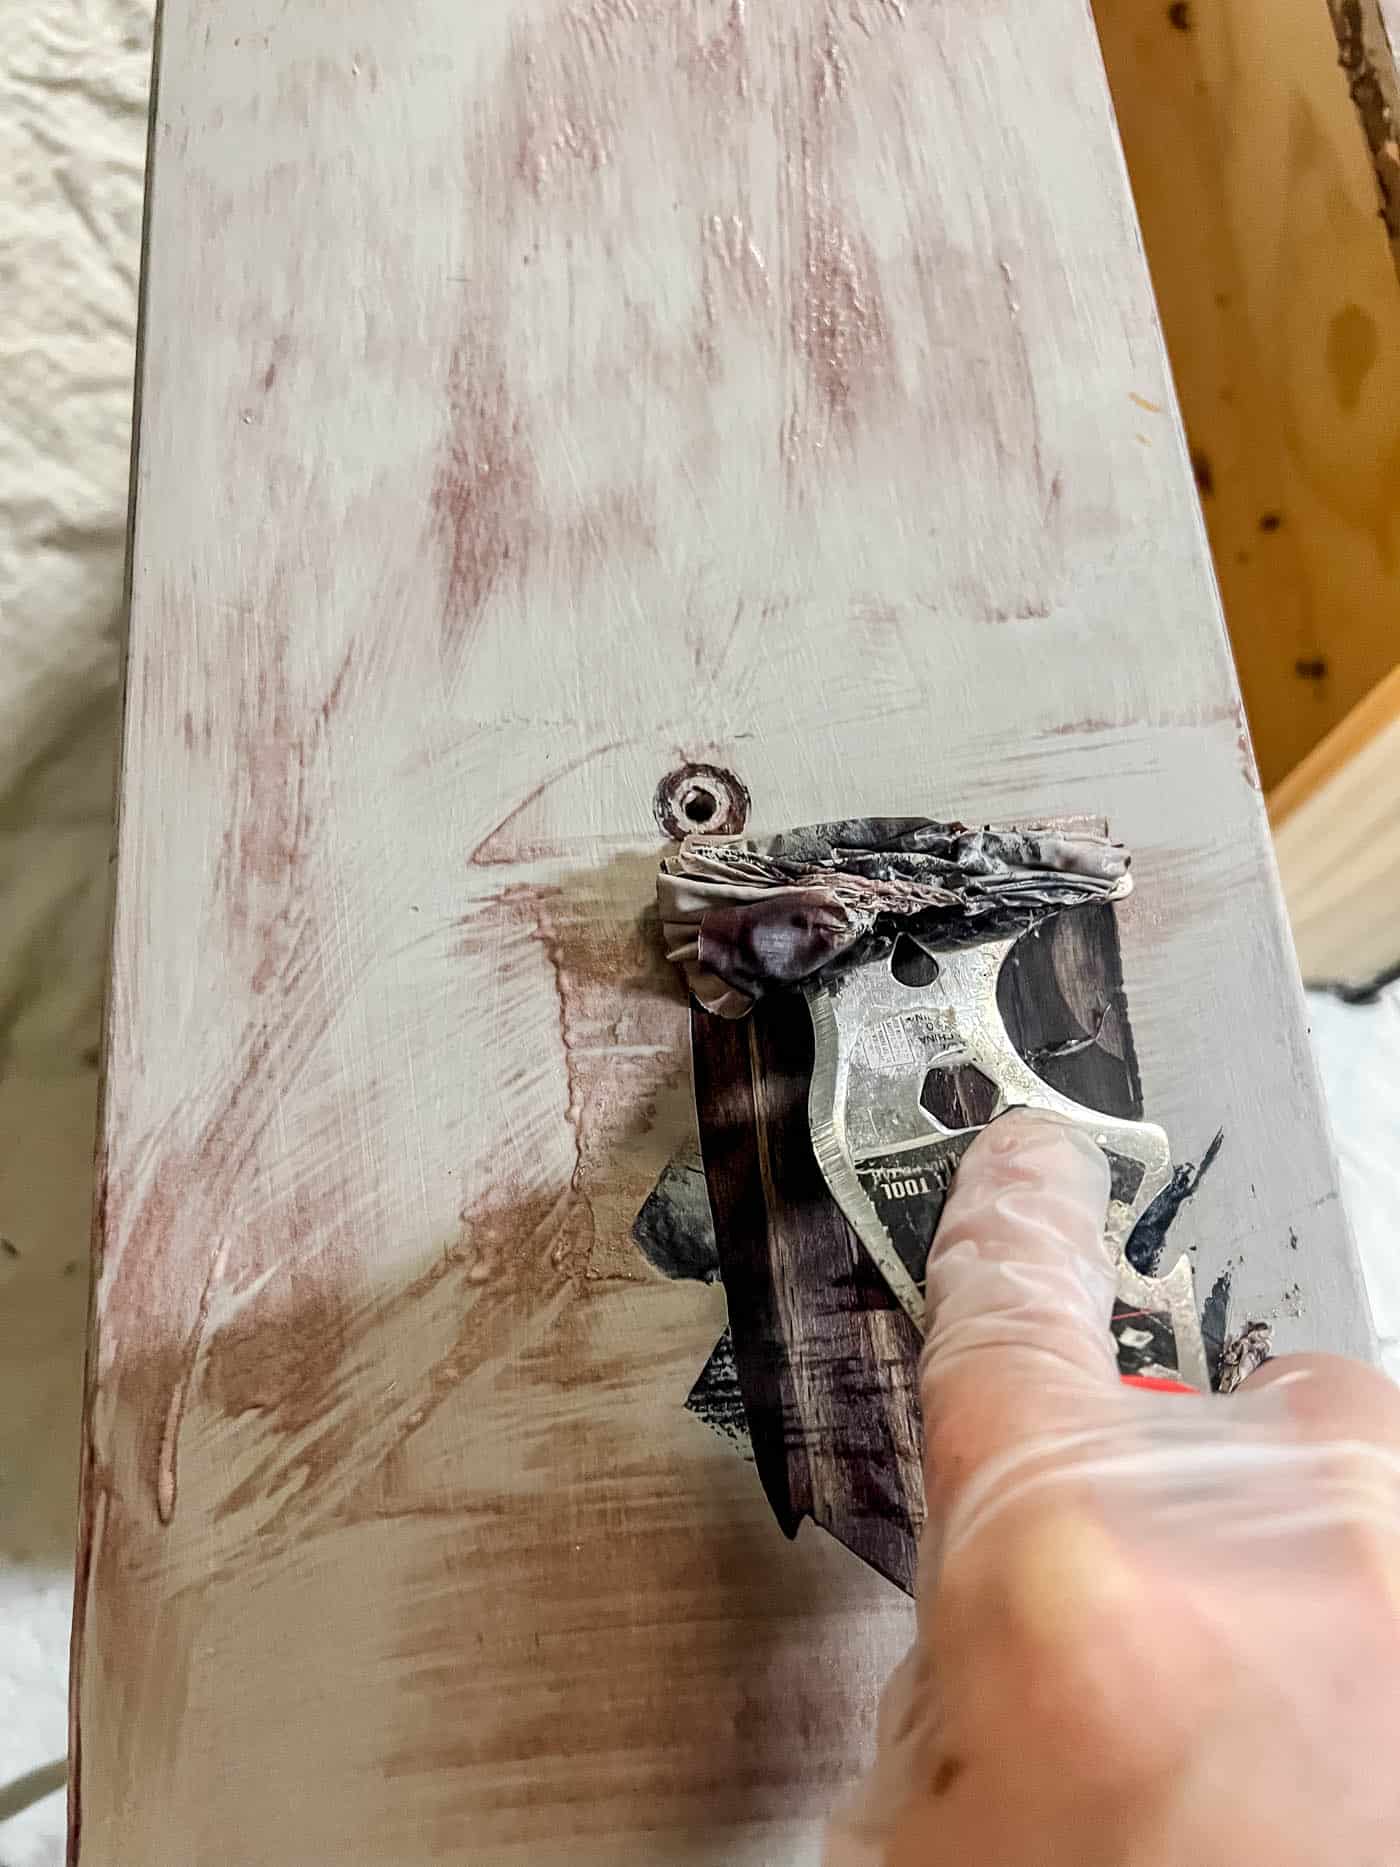
Tip: At this point, if there are any holes, cracks or gashes in the wood, you can fill them with wood filler. Do this before the sanding step.
4. Sand the Surface
Sanding is the most important step in learning how to refinish wood furniture. Start with coarse-grit sandpaper to remove any leftover finish after using the paint stripper. Then work your way up to medium and fine grit for a smooth surface.
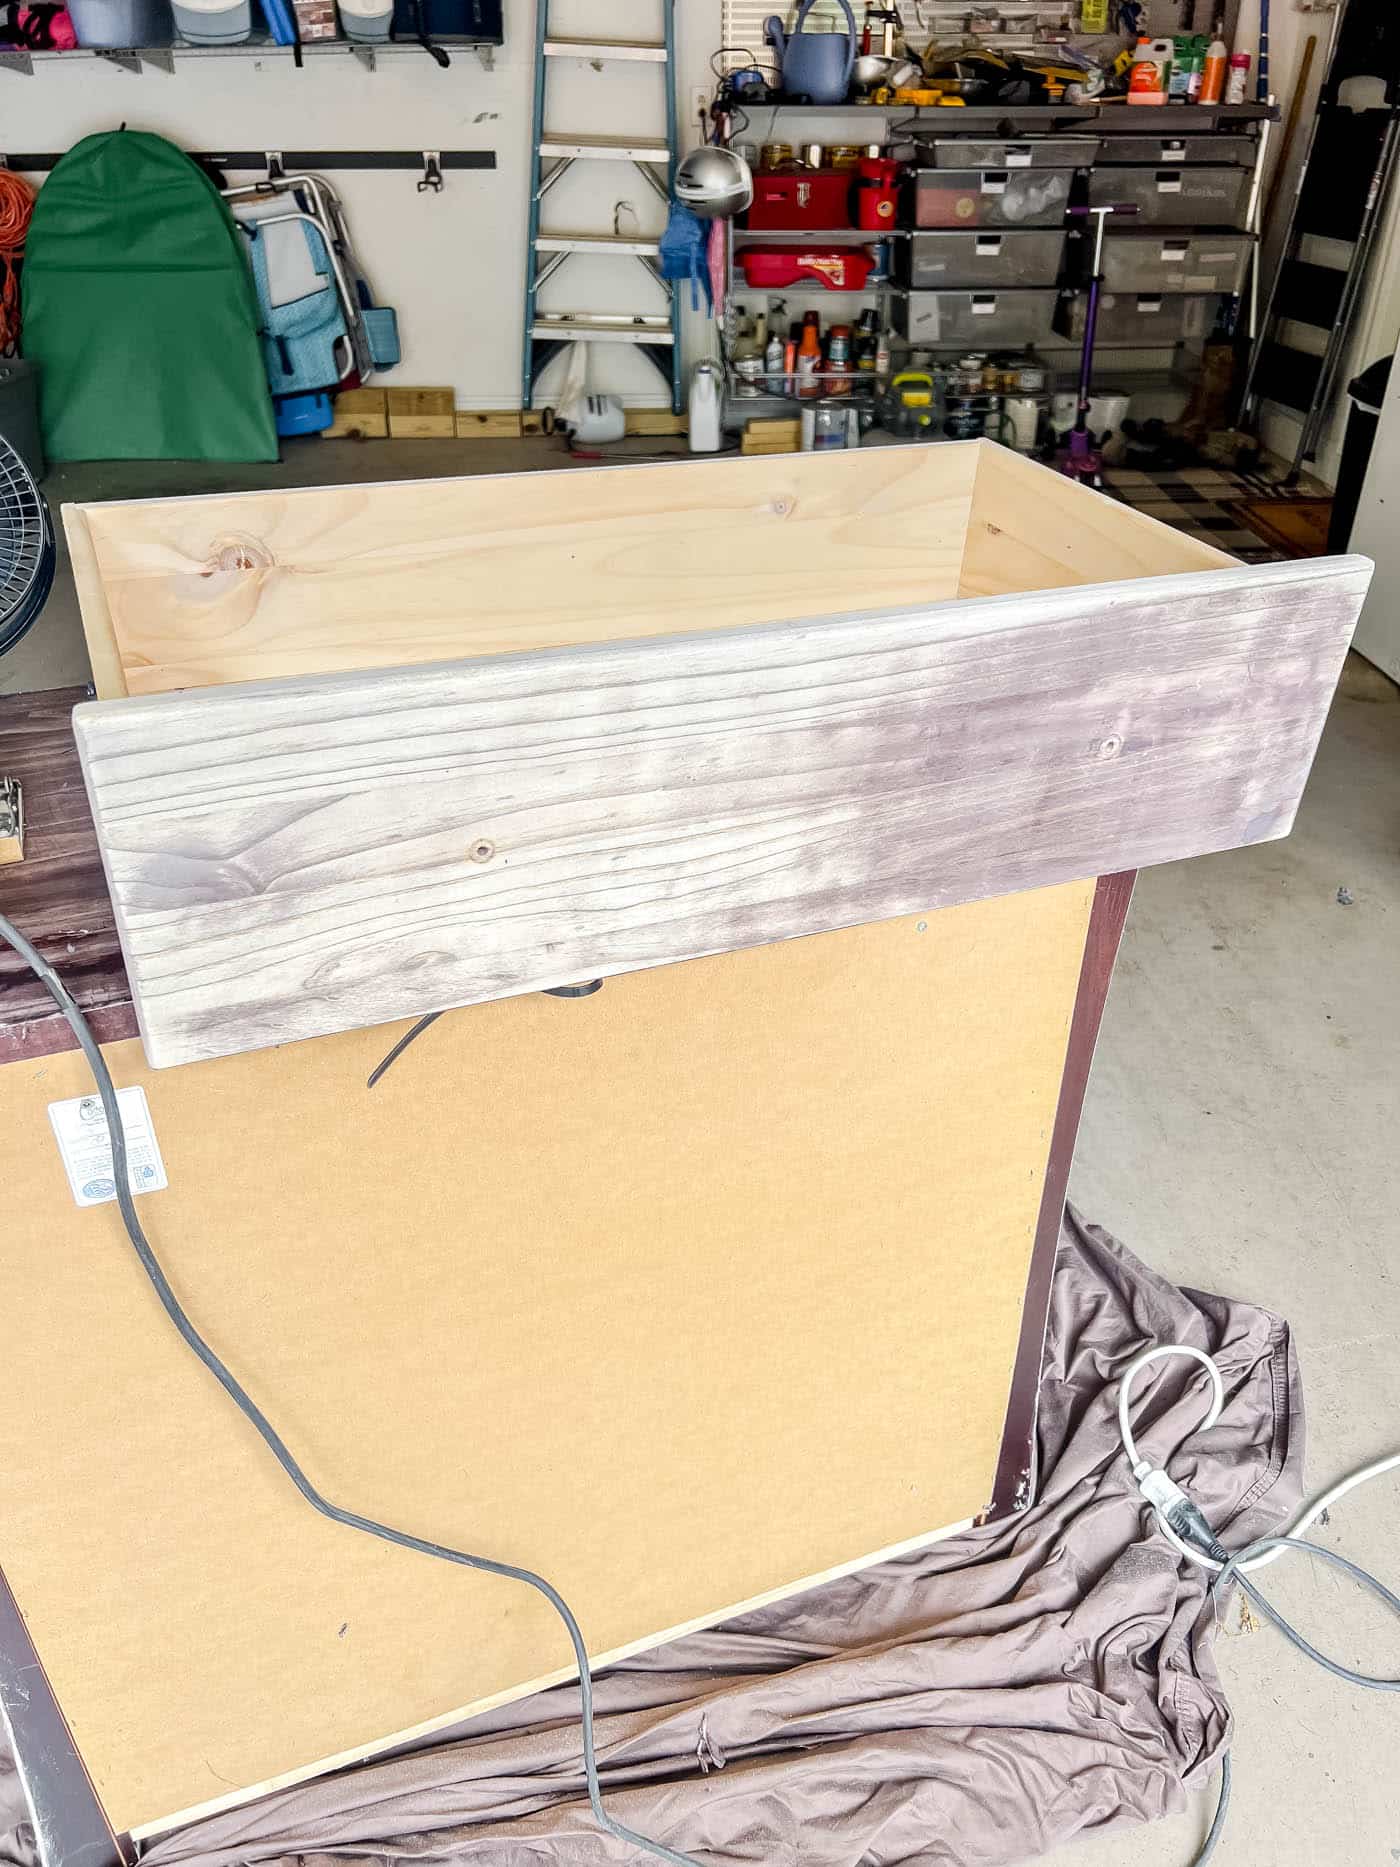
I used 80 grit sandpaper first, followed by 180 grit and finished with 220 grit. I used what I had on hand!
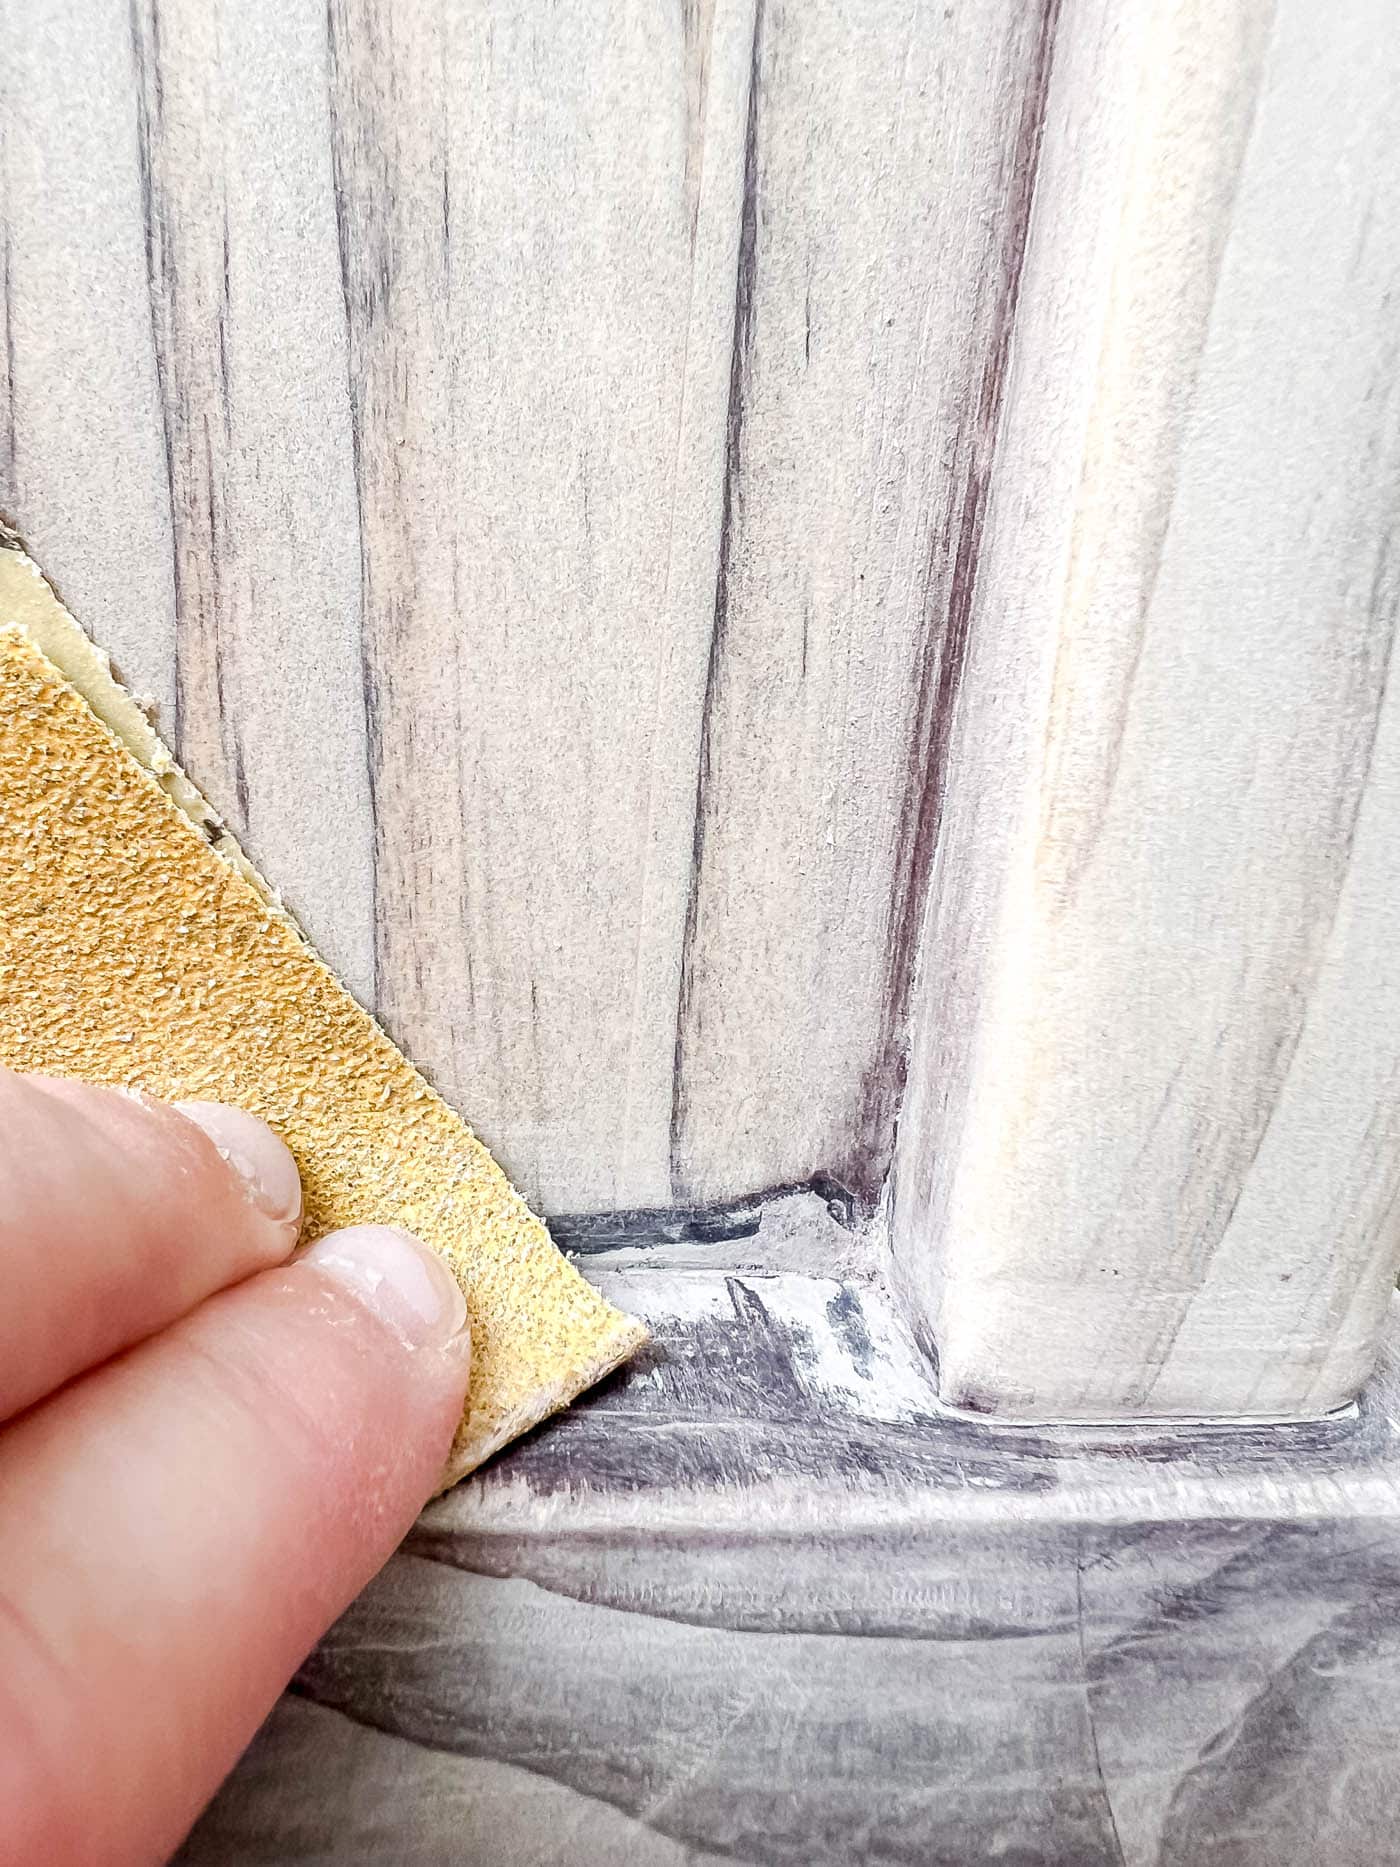
Tip: Always sand in the direction of the wood grain to avoid scratches.
If you're using an orbital sander, it'll save you time, but hand-sanding works fine for smaller or more detailed pieces.
Personal experience: I used my trusty sheet sander, which I prefer to an orbital sander when stripping furniture I plan to re-stain. It's easier to sand with the grain using a sheet sander. I've found orbital sanders leave noticeable swirl marks in the wood that show up once you stain the piece.
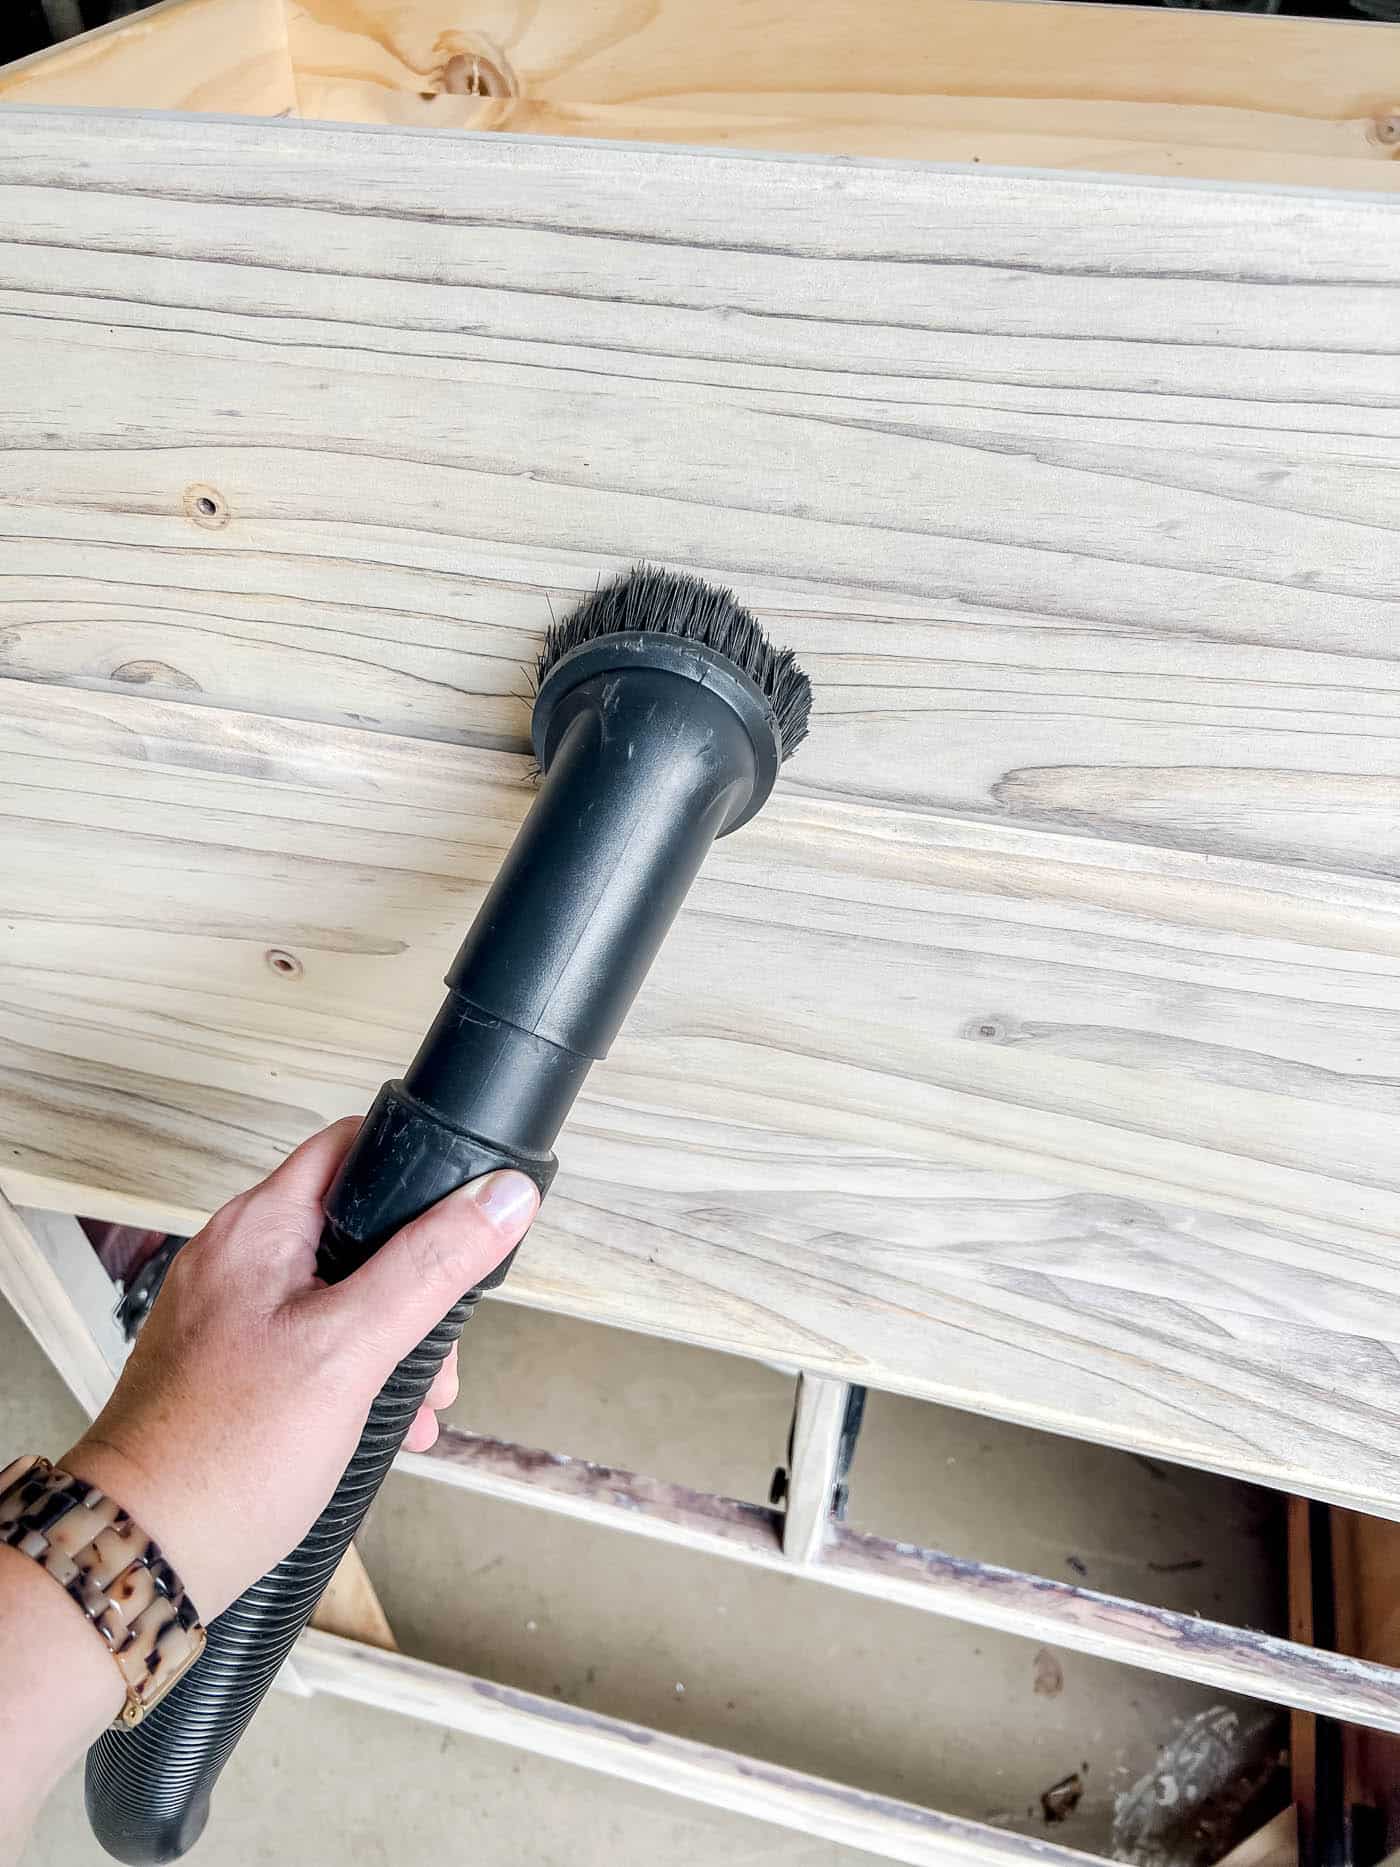
Before moving on, vacuum the whole piece and wipe it down with a damp cloth before staining or painting.
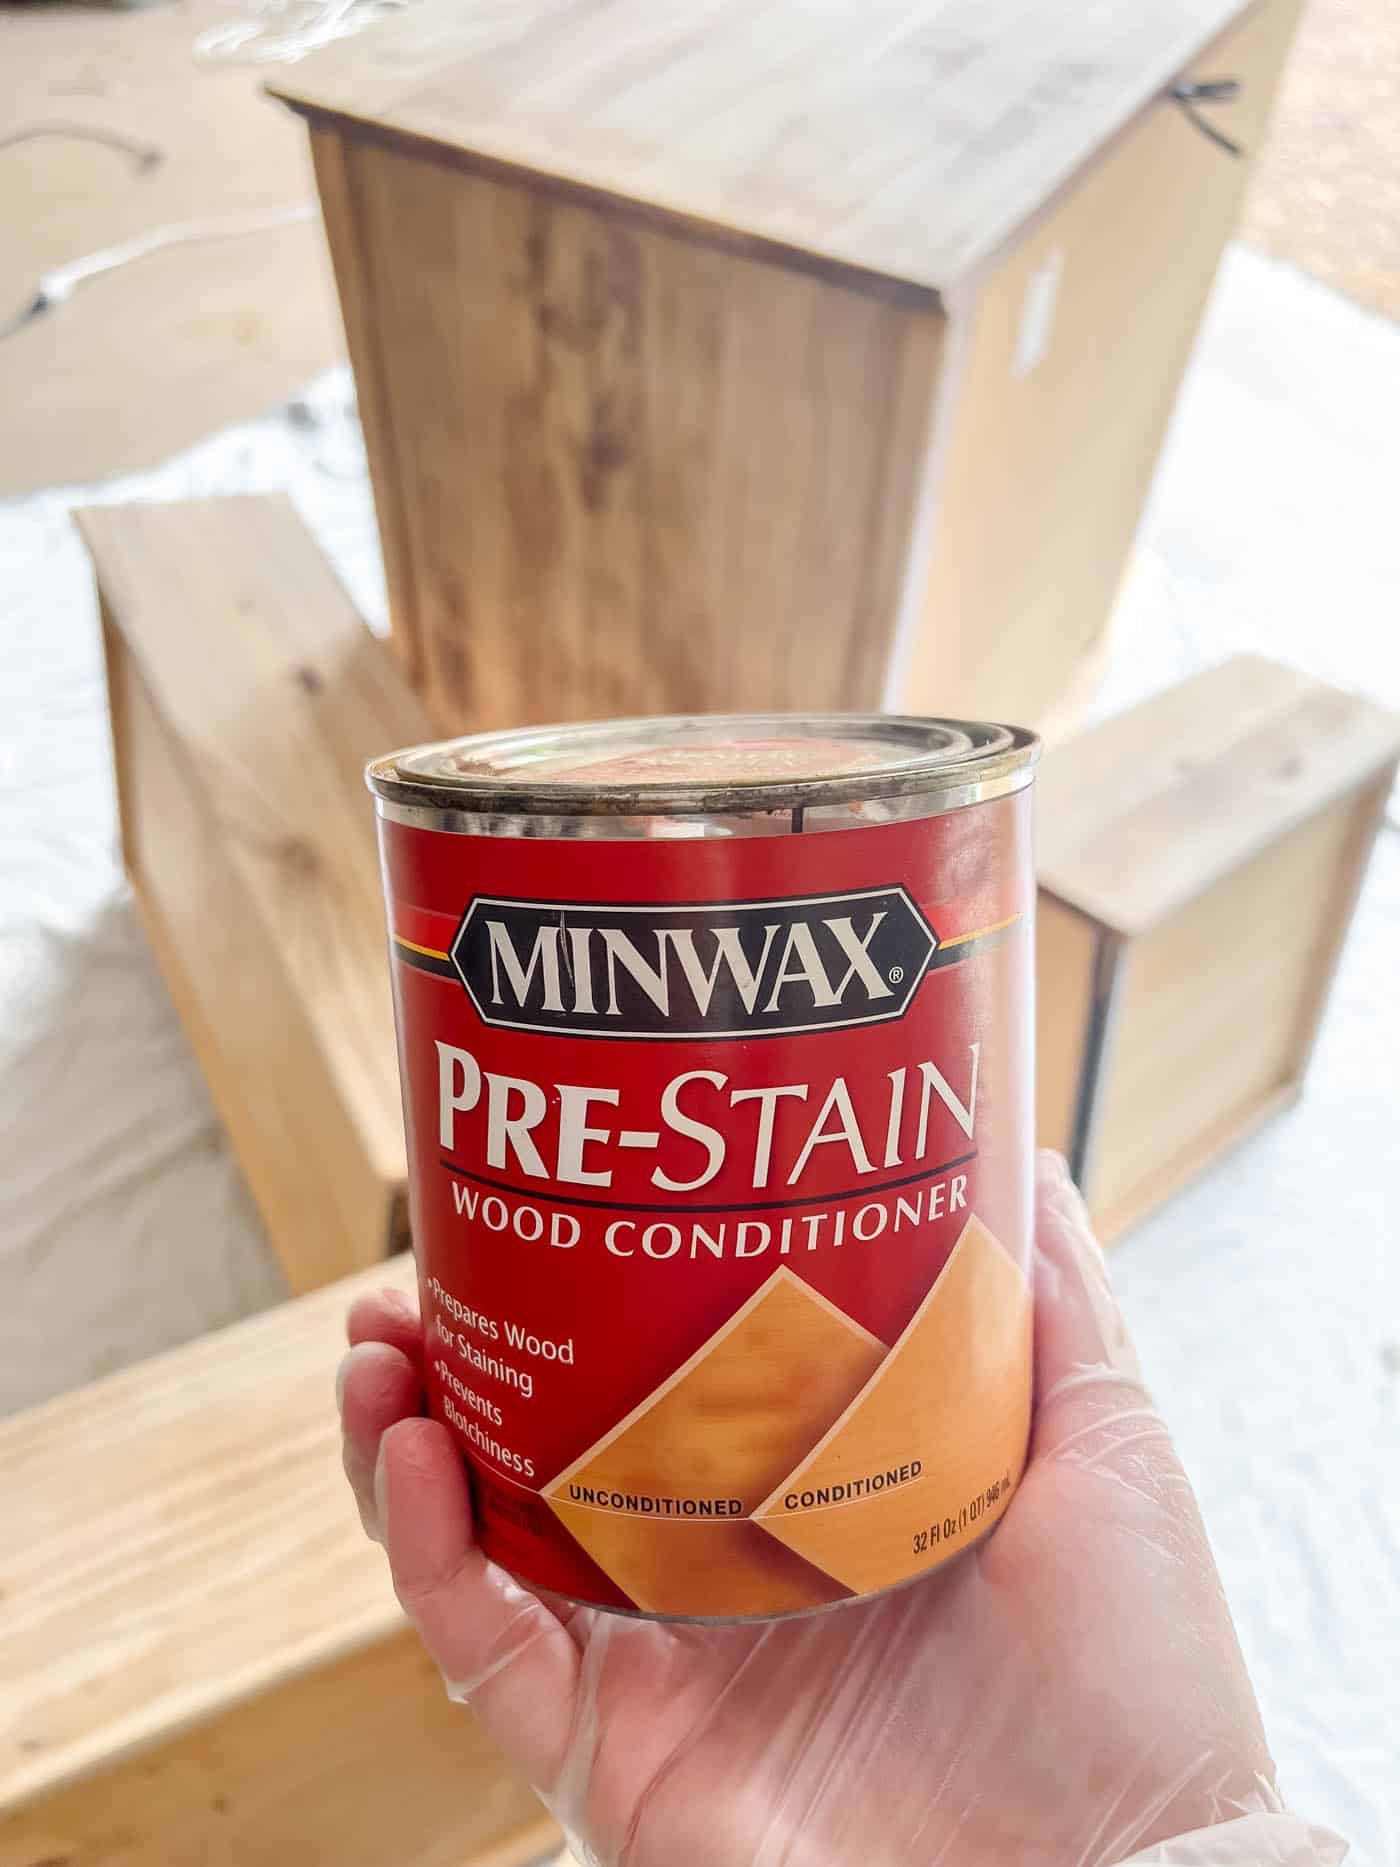
Optional: Condition the bare wood with wood conditioner before staining for a more even stain finish.
5. Apply Stain or Paint
Now the fun begins! Decide whether you want to highlight the natural beauty of the wood with stain or go for a fresh pop of color with paint.
- For stain: Apply with a rag or foam applicator, then wipe off the excess. You can layer coats for a deeper tone.
- For paint: Use a good-quality paintbrush or sprayer for a smooth, even finish.
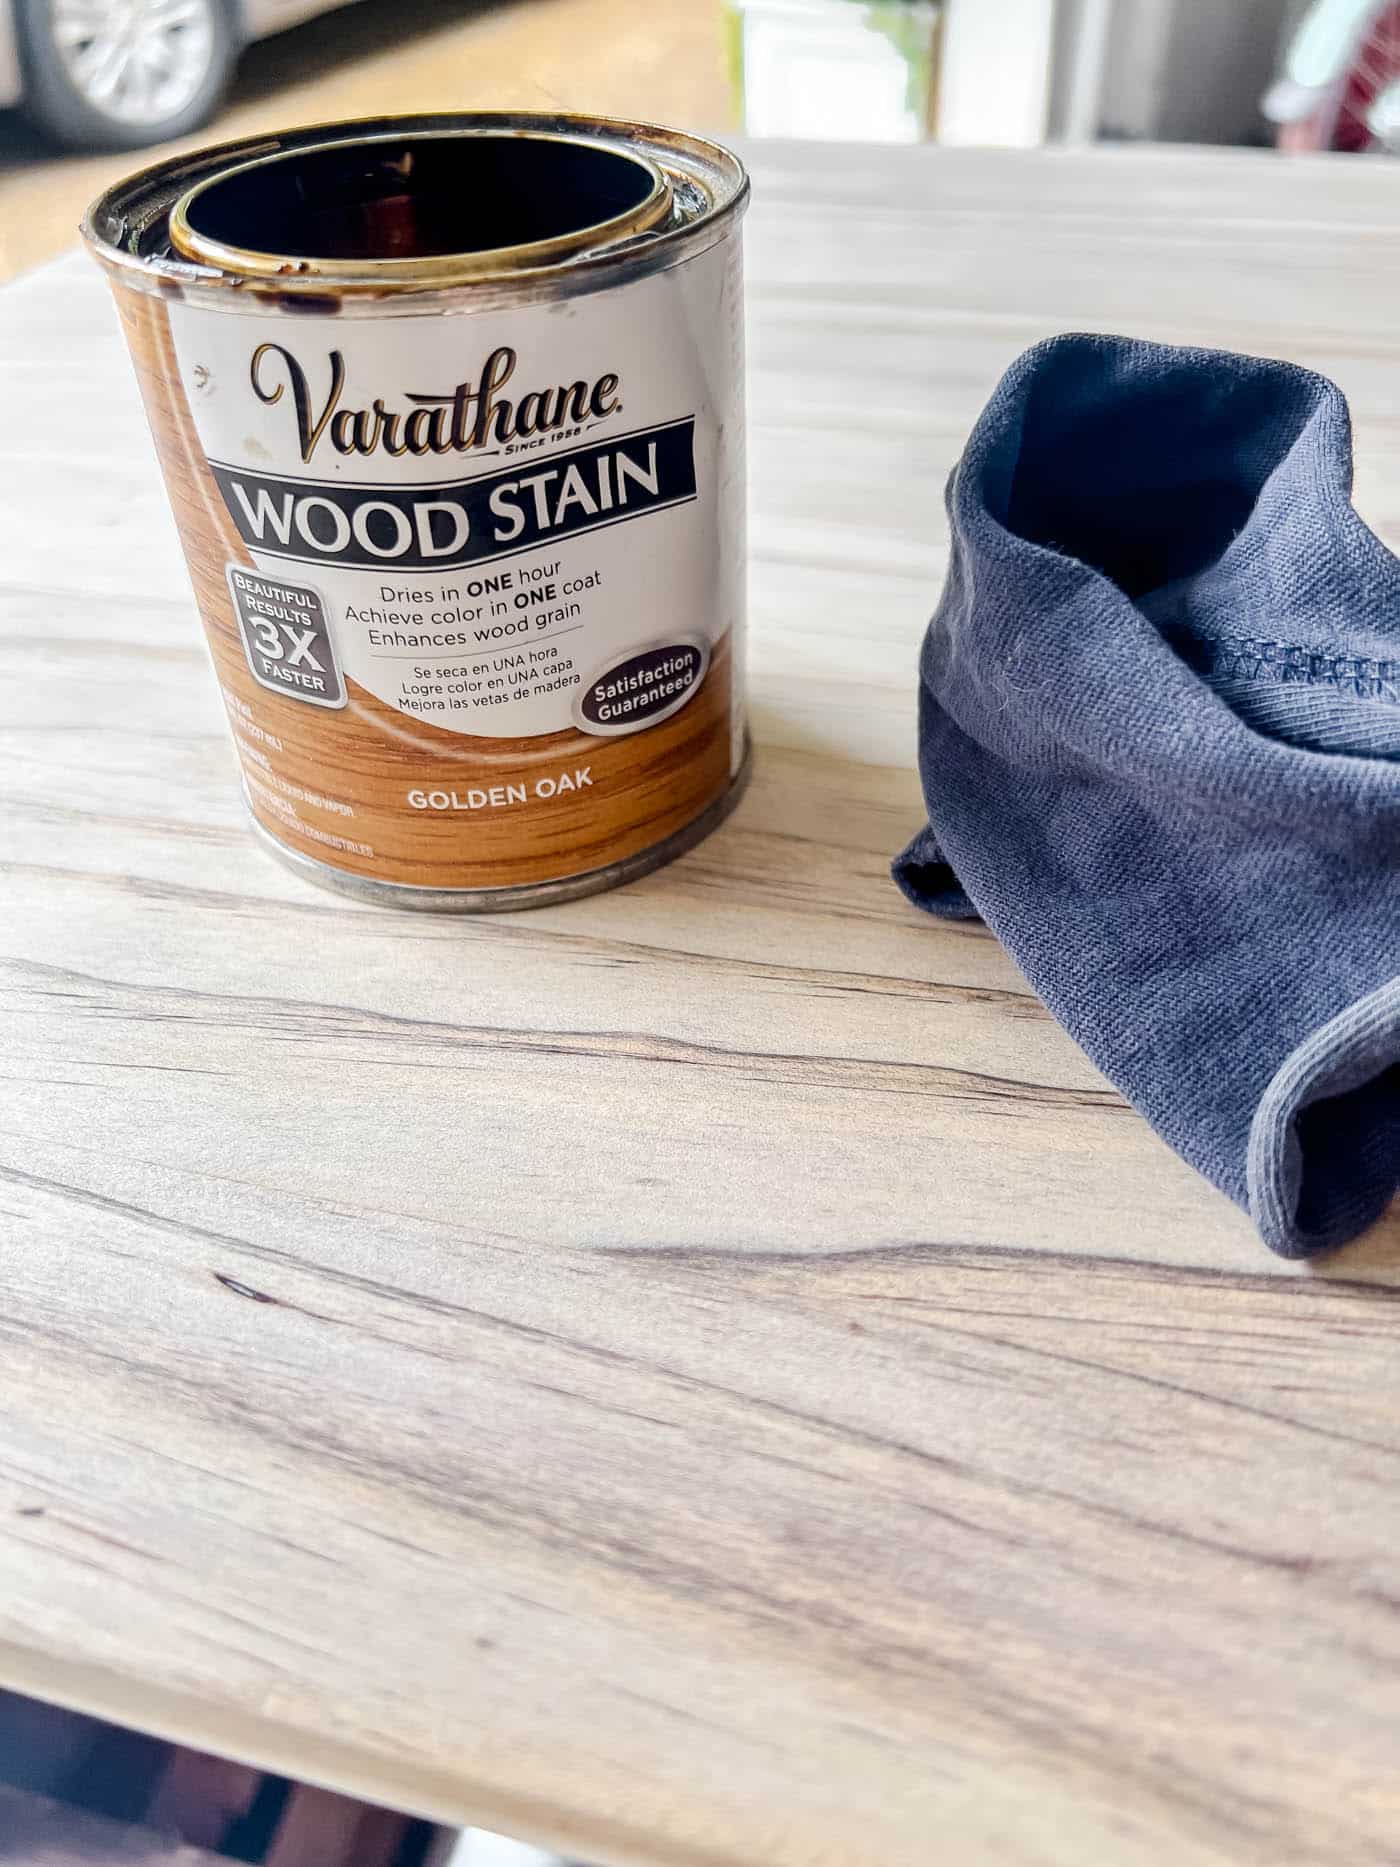
Let each coat dry fully before adding another. And follow any instructions on the can for ideal working conditions and temperatures.
Once everything is dry, wipe the furniture down with a damp clean cloth or tack cloth before moving on to the next step.
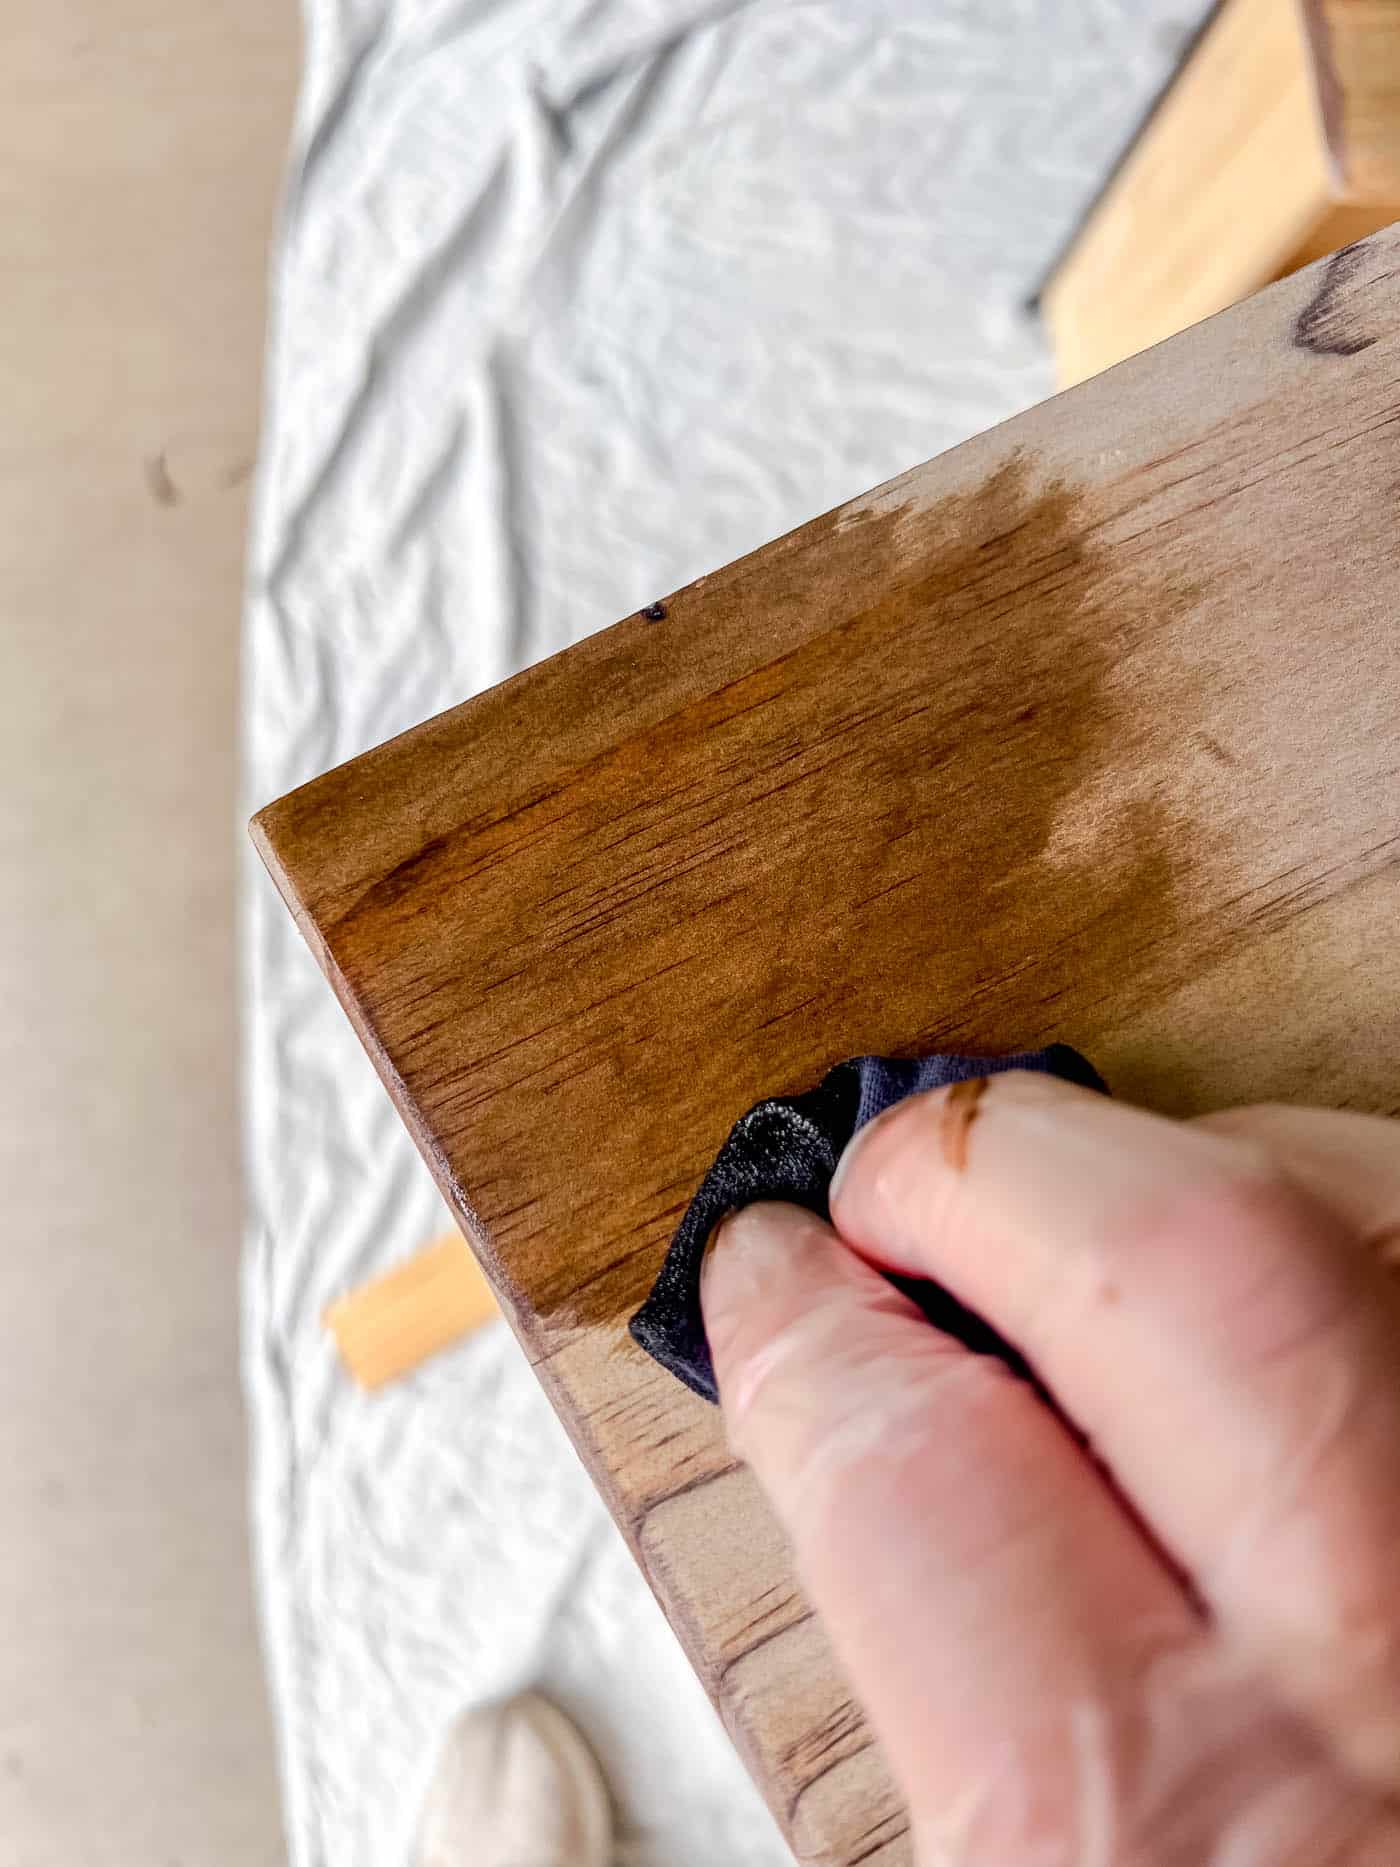
Tip: Since stain is oil-based and has to be cleaned up with mineral spirits, I use a disposable cloth or foam brush to apply it. That way I can just throw it away when I'm done!
6. Seal the Finish
To protect your hard work, seal the piece with a topcoat. Polyurethane is great for durability (perfect for tables or dressers), while furniture wax gives a softer, more natural finish.
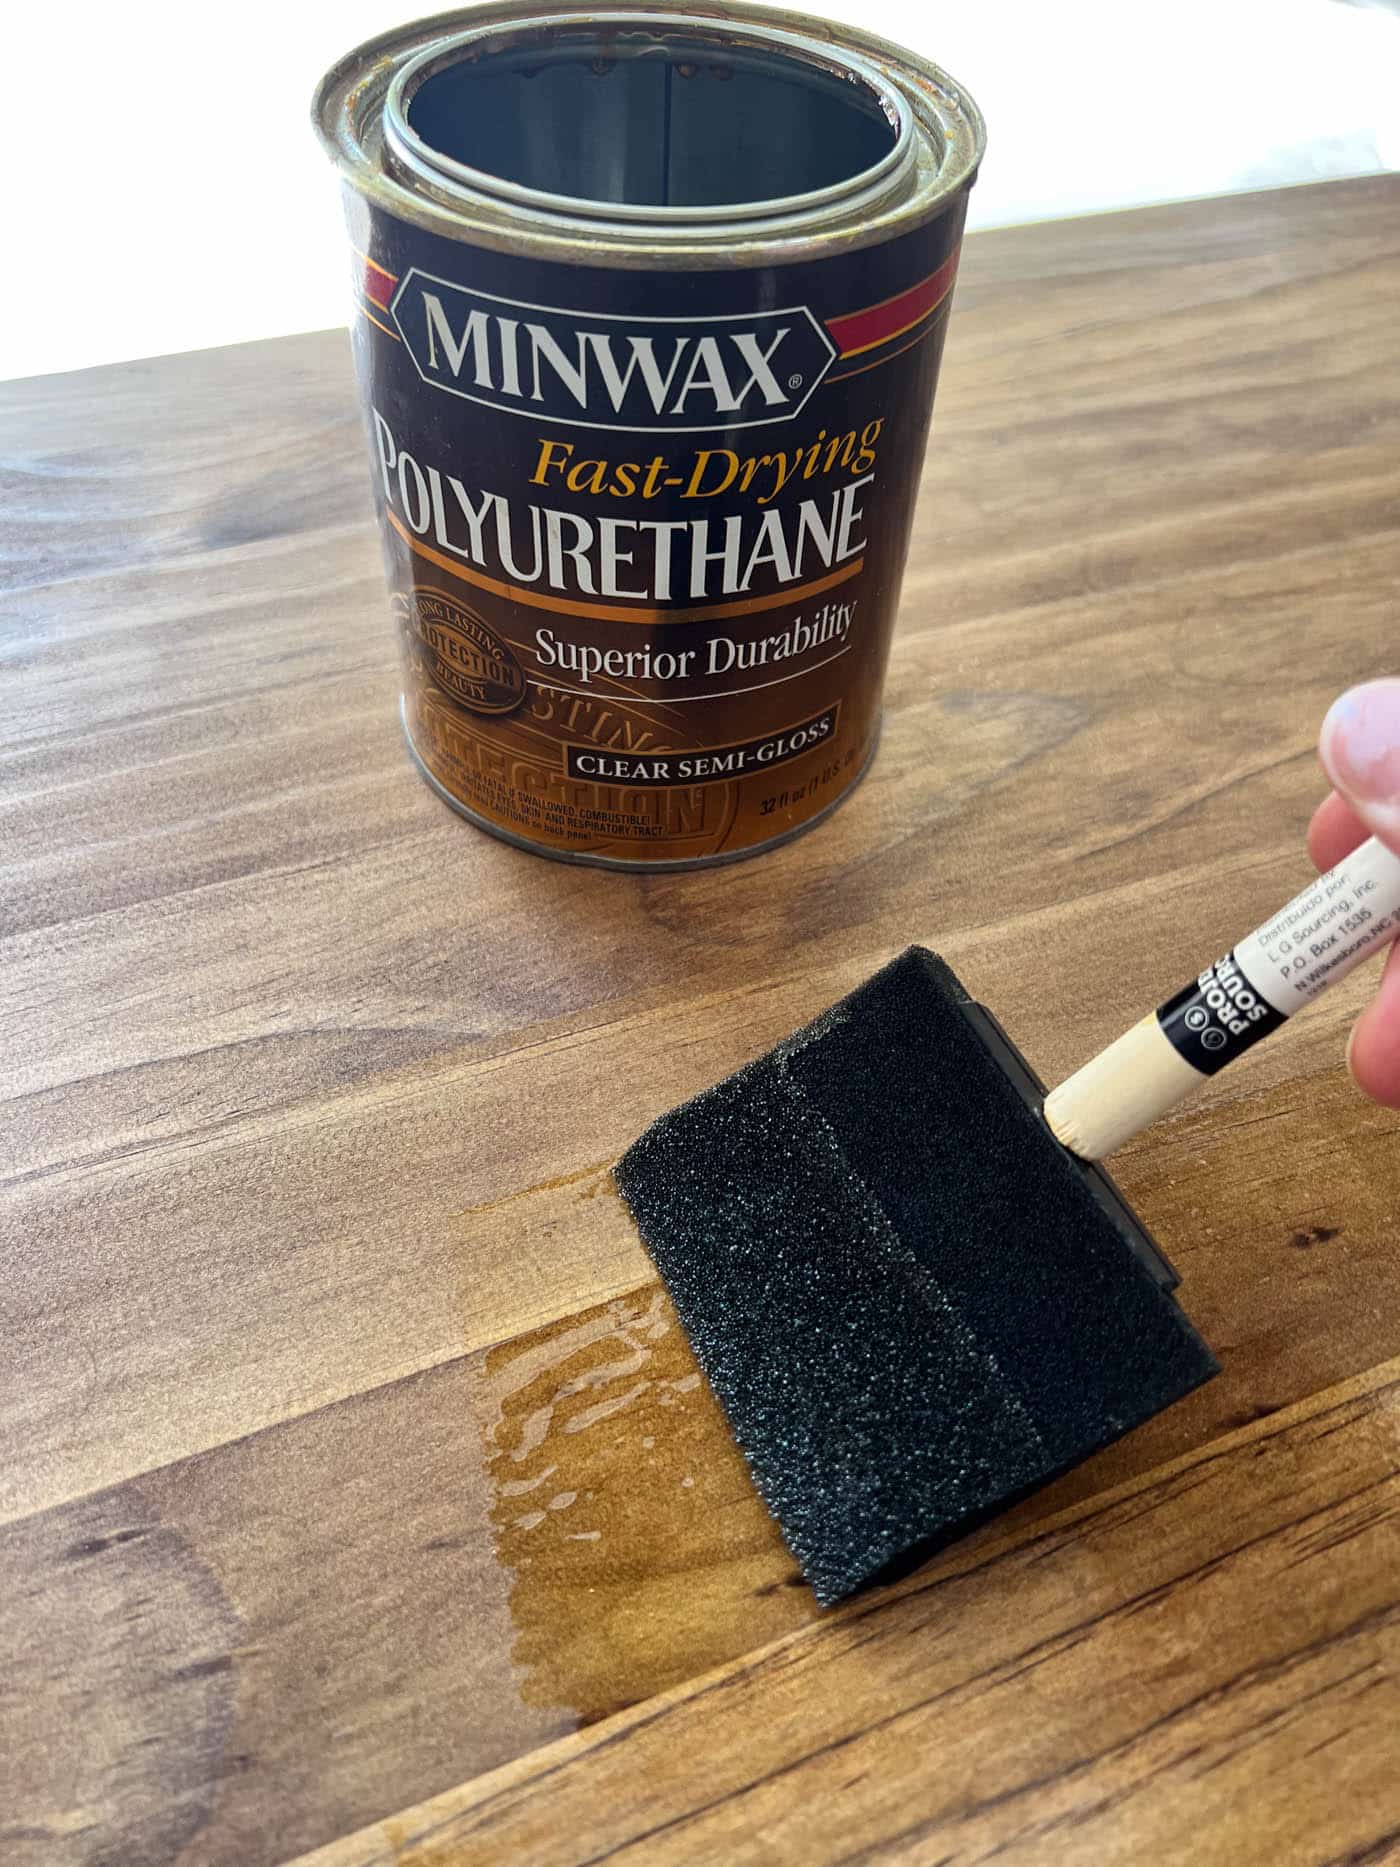
Apply thin, even layers and let them cure as directed. I used a quick-drying Minwax polyurethane in a semi-gloss finish. I would have preferred matte, but I was using what I already had!
7. Reassemble & Style
Once everything is dry, reattach your hardware or swap in new knobs and pulls. It's a simple way to add extra character without spending much.
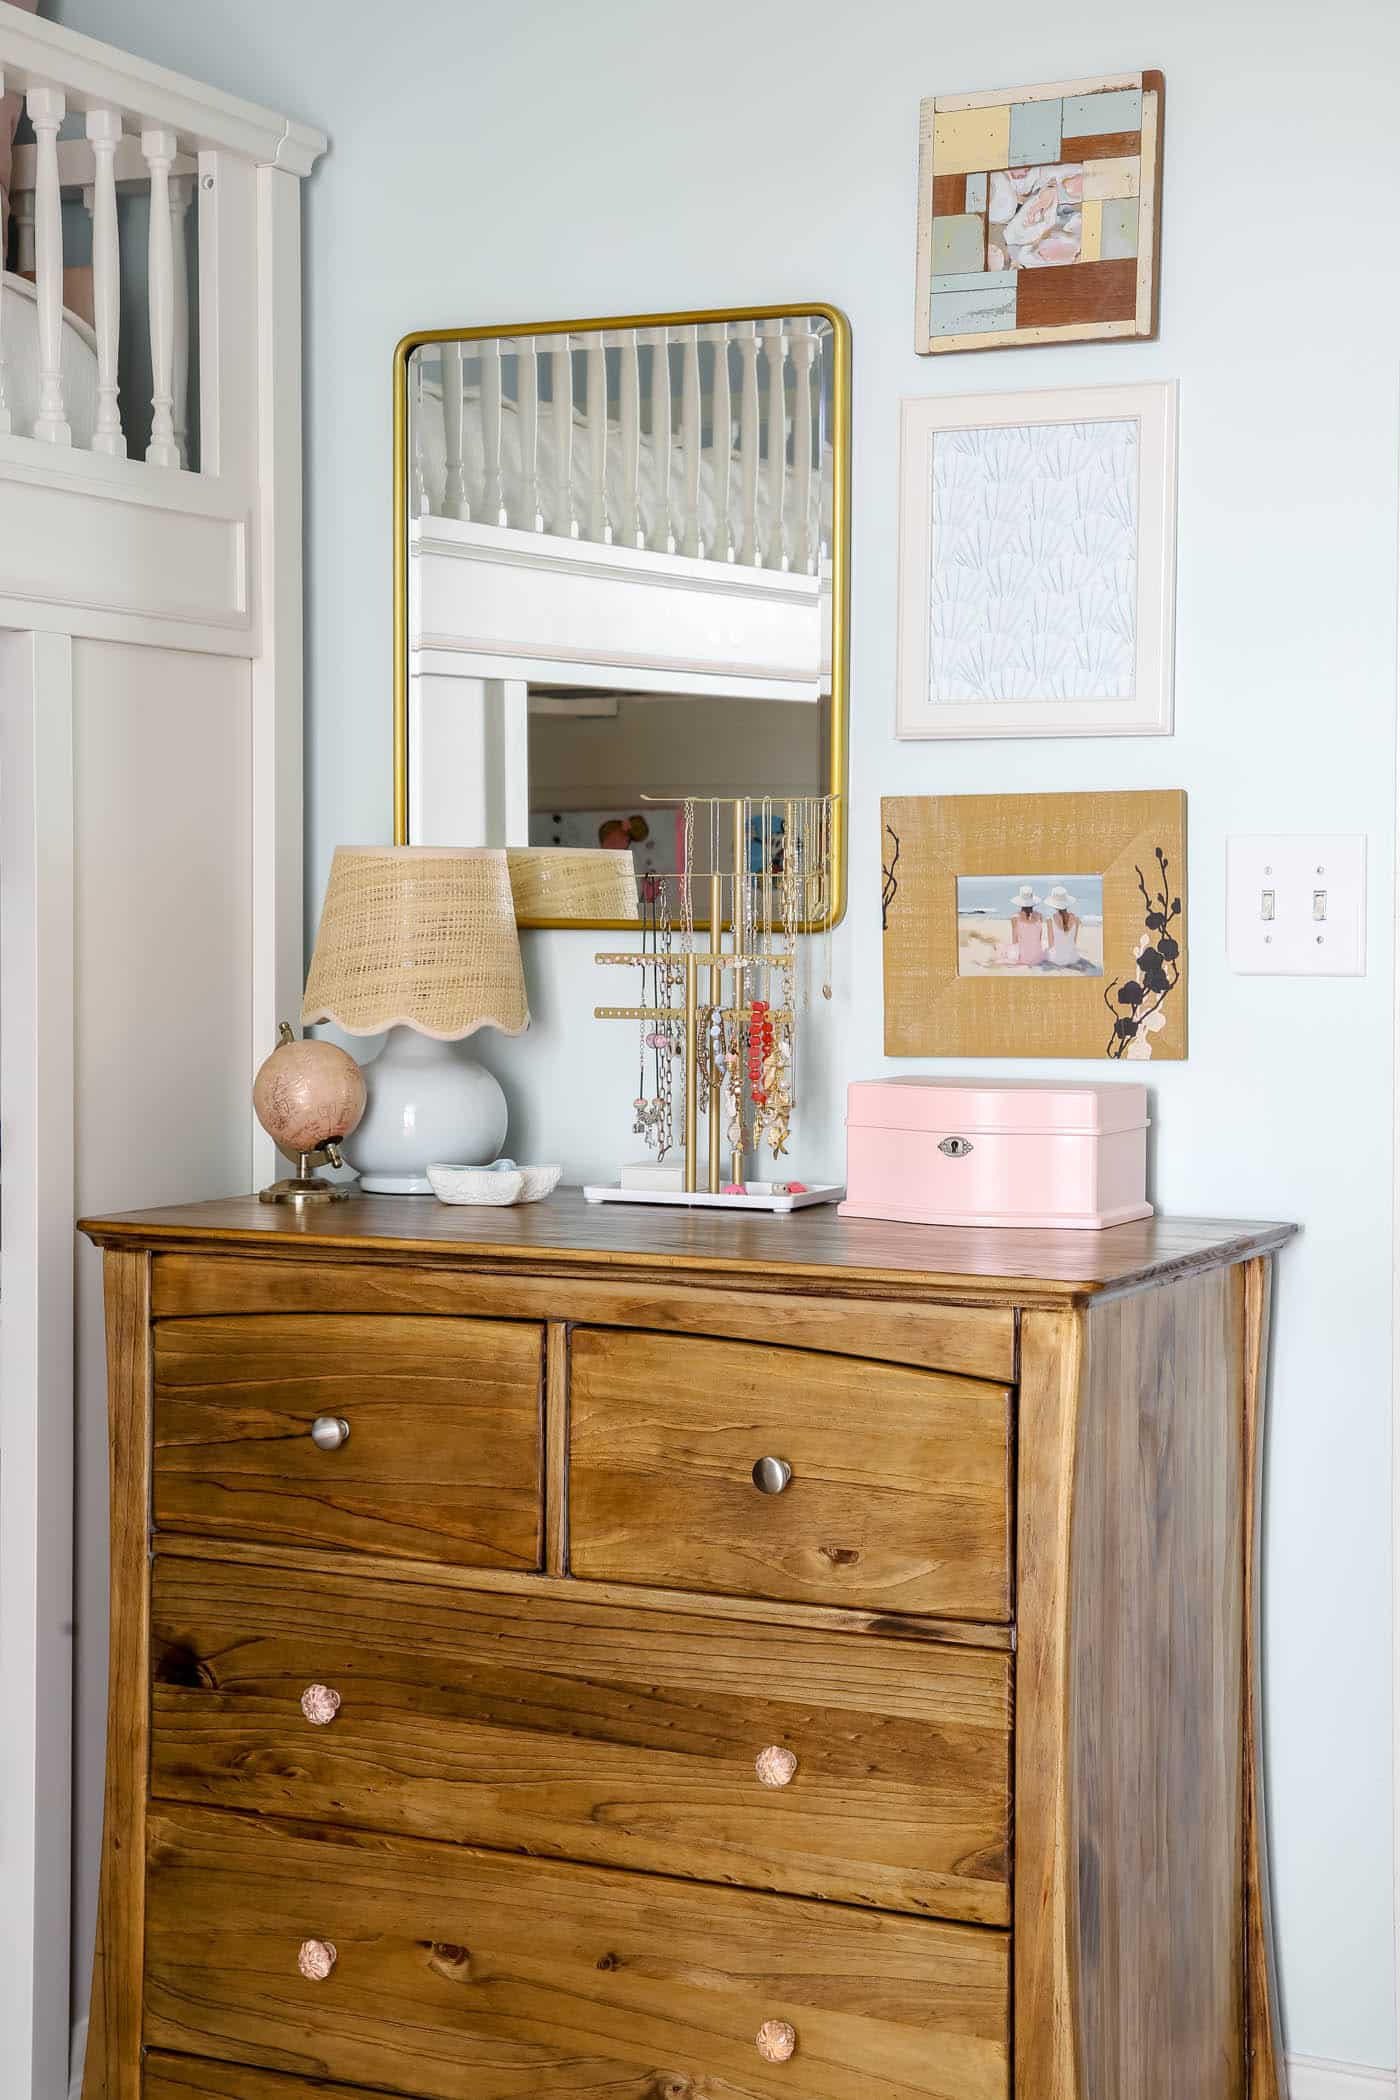
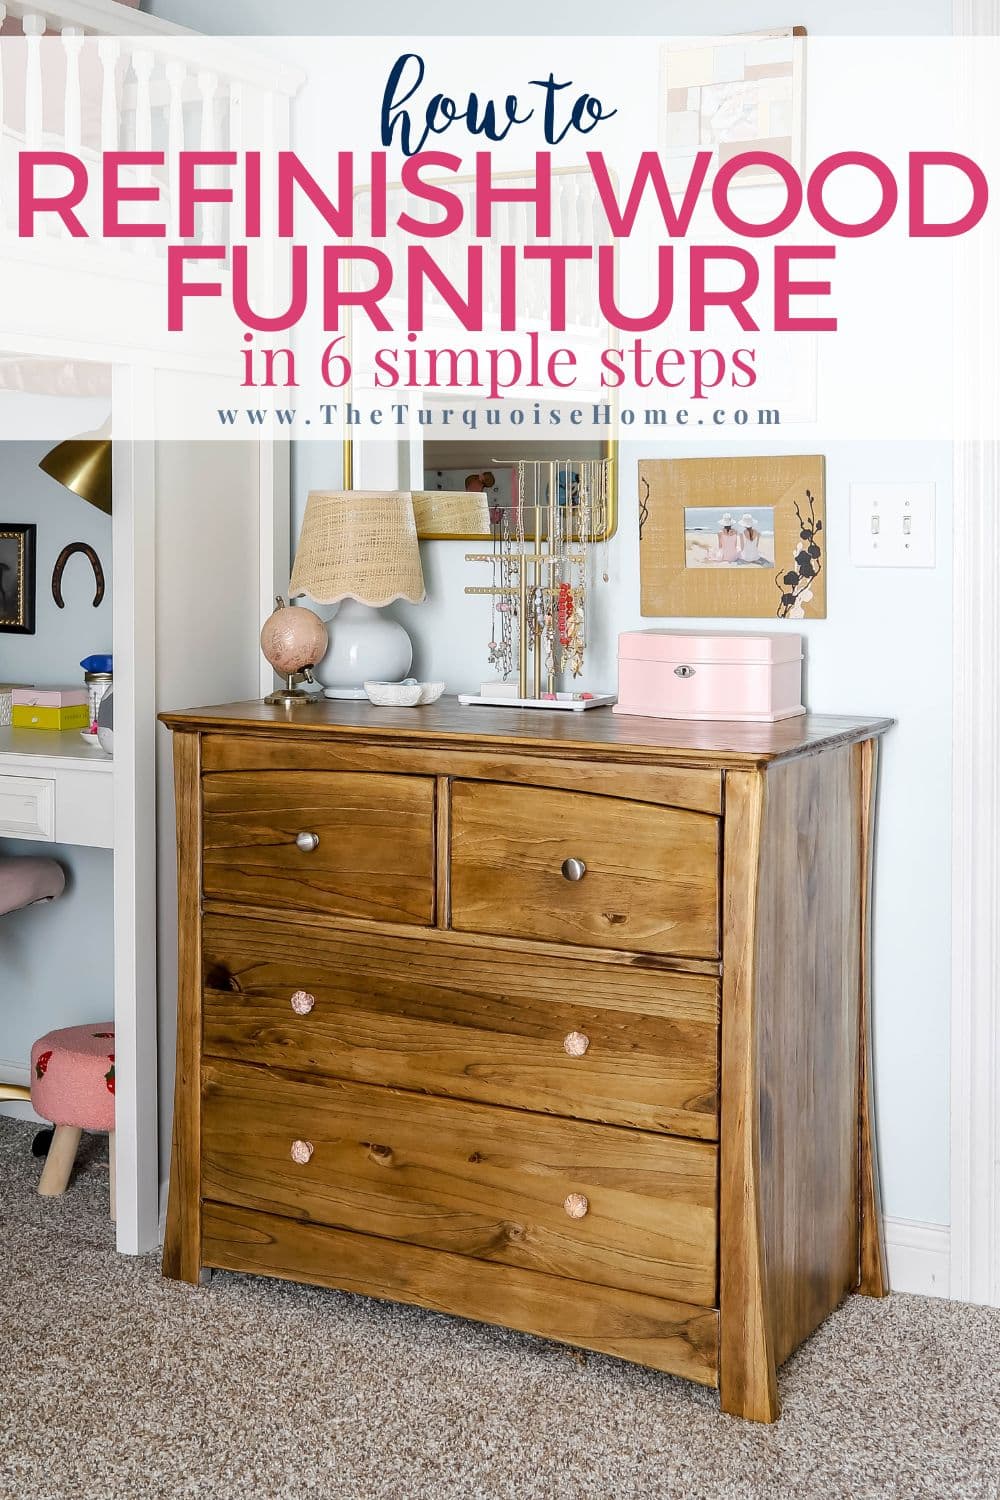
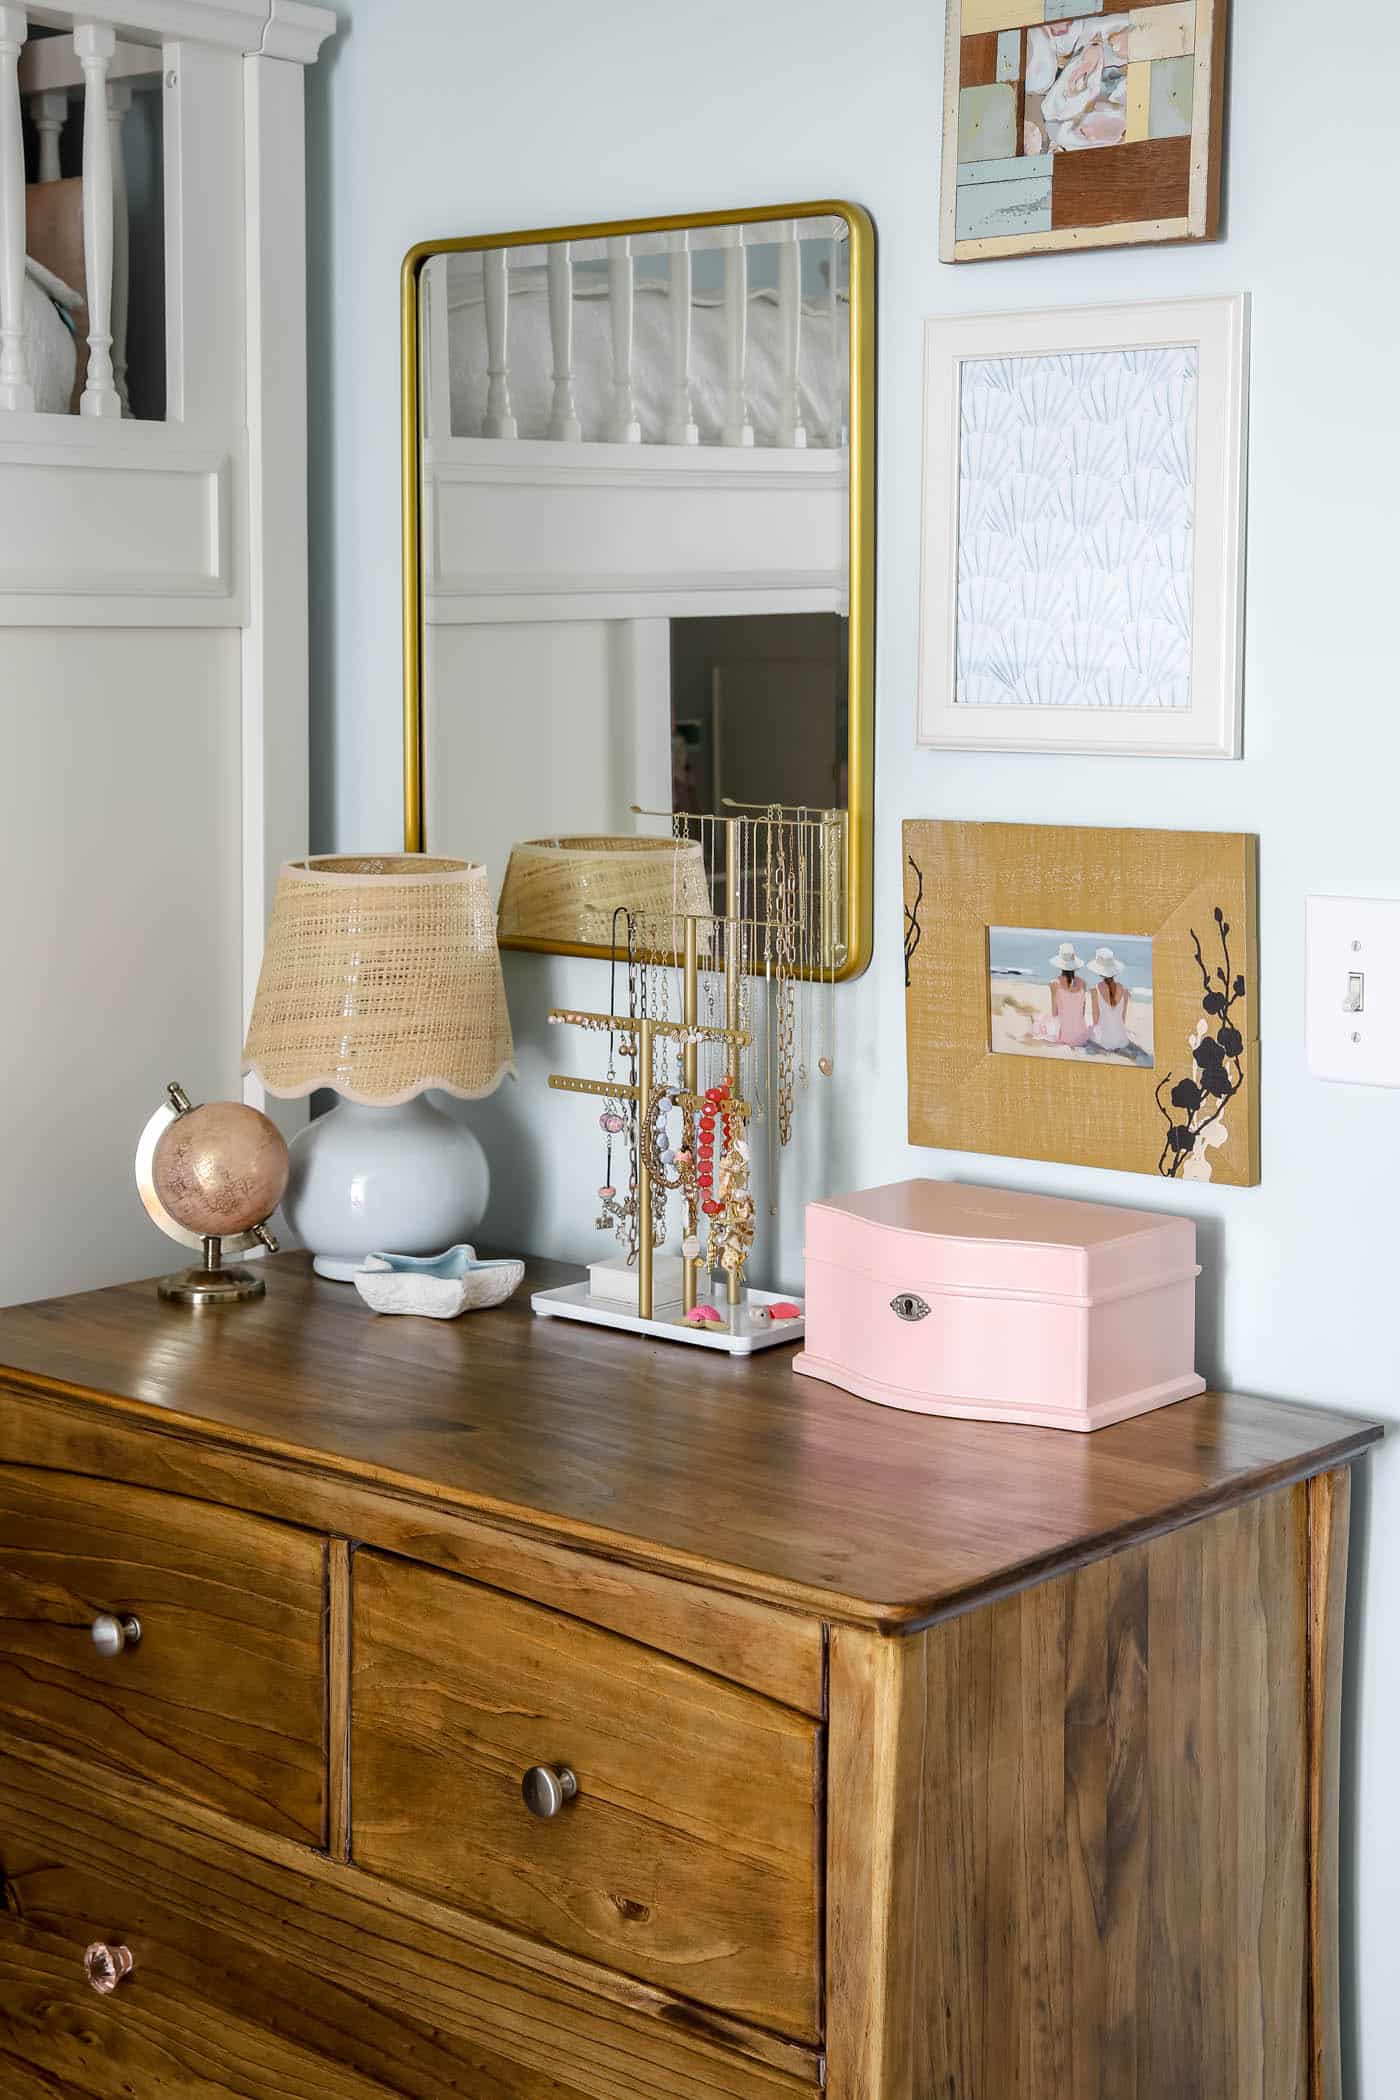
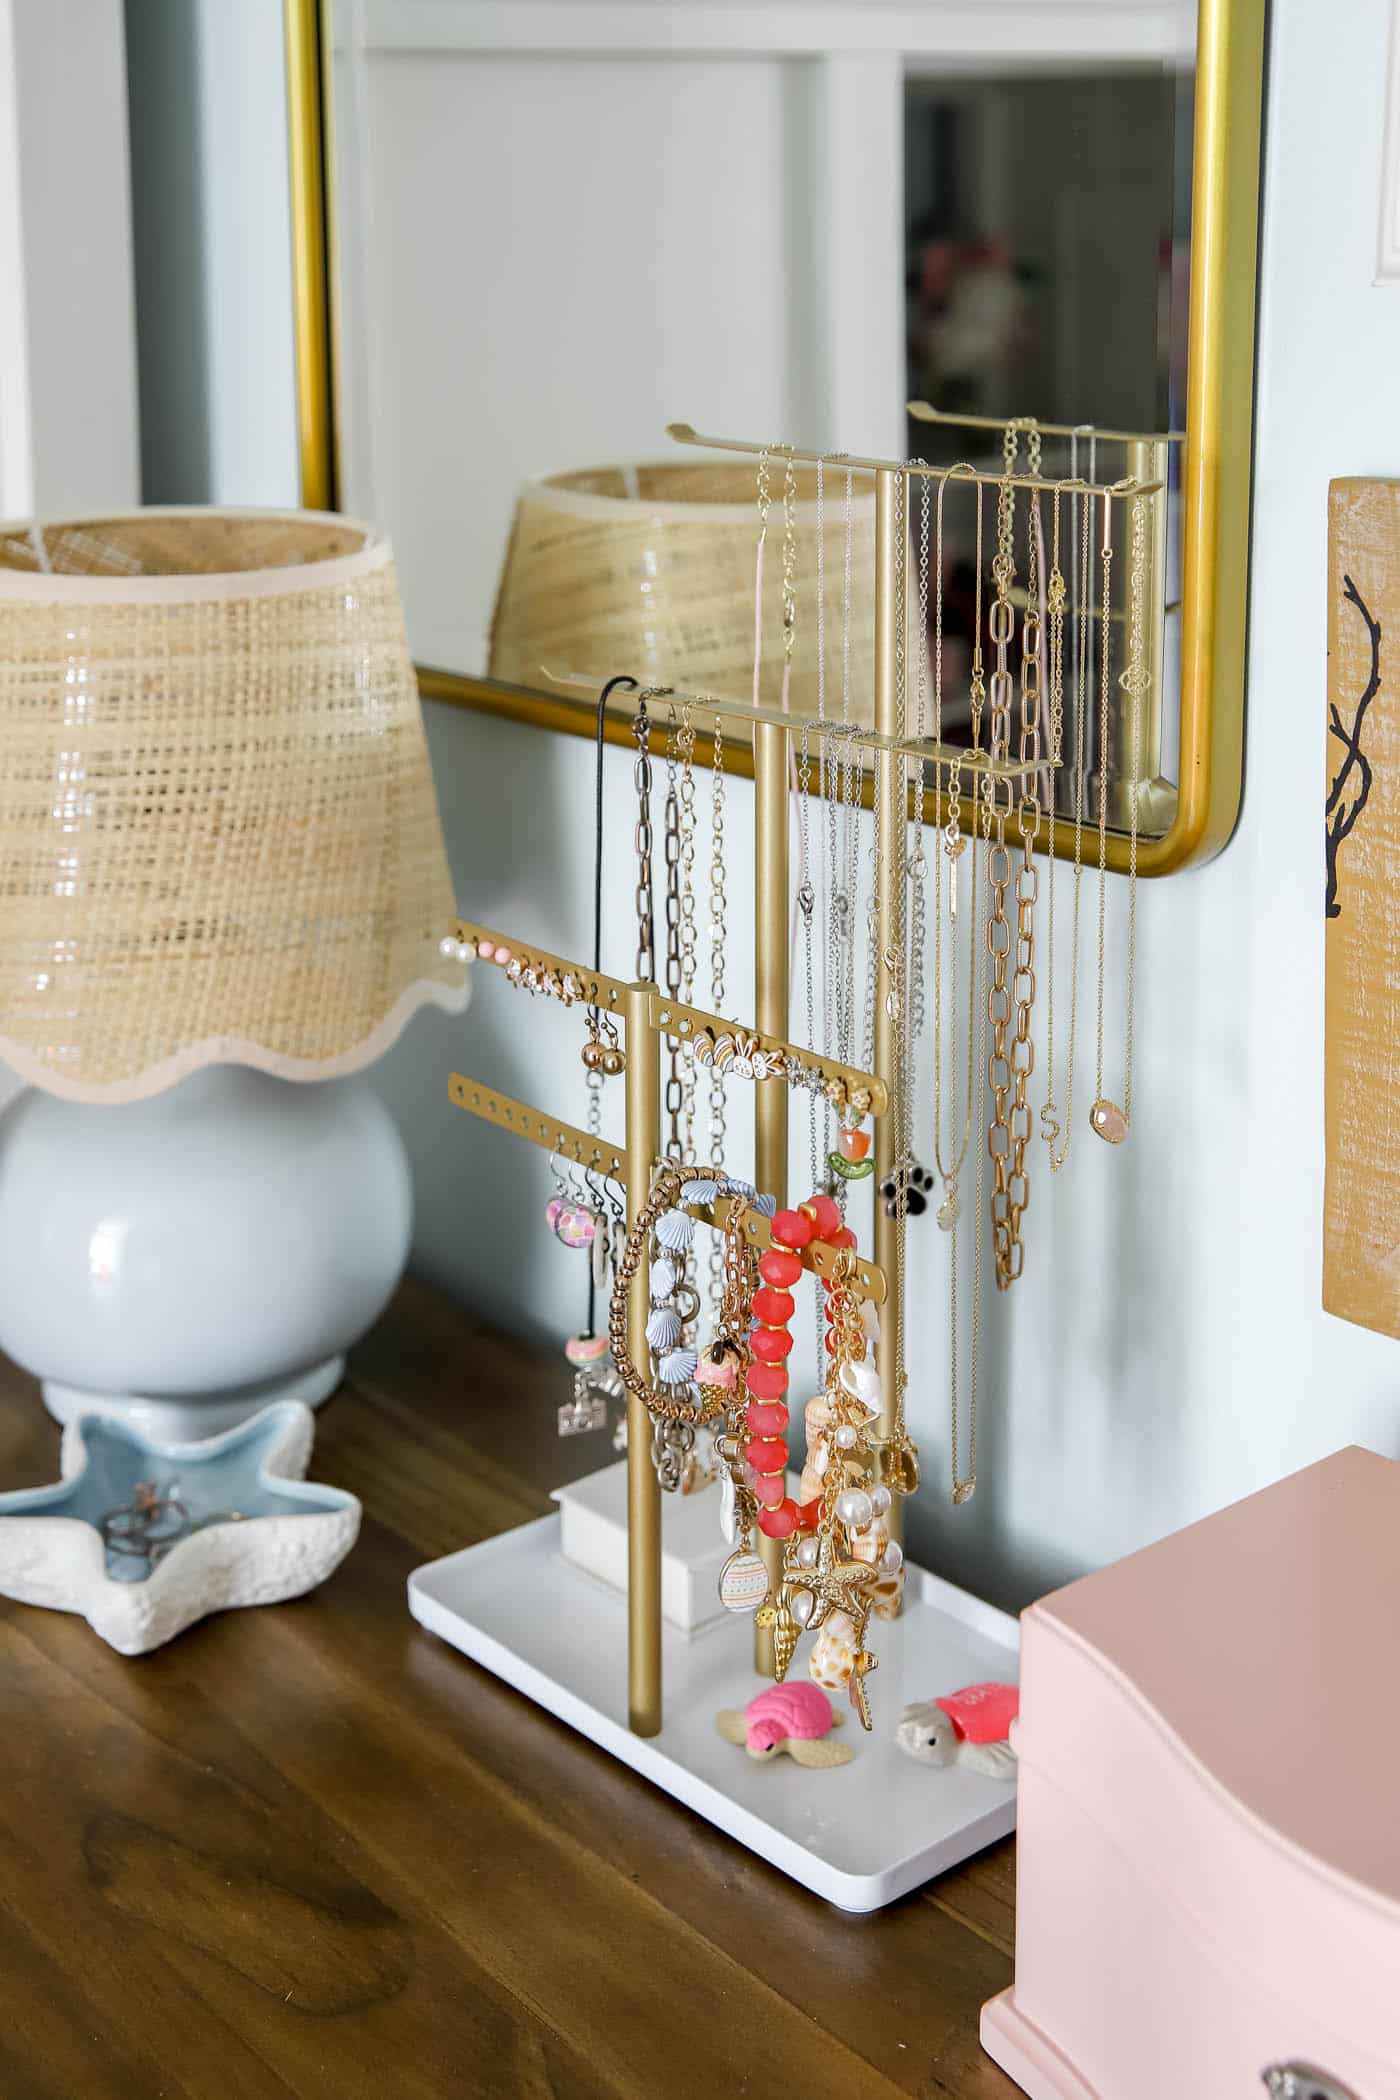
Slide the drawers back in, admire your beautiful "new" piece and style it in your home. I love how this piece turned out! The warm golden oak stain brings the beachy vibe I wanted for this space. And the jewelry stand is a great addition for keeping her necklaces and bracelets visible and untangled!
Common Mistakes to Avoid
- Skipping sanding: It may feel tedious, but sanding is crucial for a smooth, lasting finish. And sand with the wood grain, not against it.
- Applying thick coats: Thin, even layers of stain, paint and sealer look better and dry faster. The only thing that should be thick is the stripper gel!
- Rushing the process: Drying time matters, so be patient for the best results. I had to wait longer for the polyurethane to dry because of the heat and humidity. So don't rush it if you don't have to!
Final Thoughts
Learning how to refinish wood furniture is such a rewarding skill. Whether you're saving a family heirloom or flipping a thrifted treasure, this DIY project is budget-friendly, eco-conscious and just plain fun.
So the next time you see a scratched-up dresser or a faded table, don't toss it… refinish it! You'll love the beauty and personal satisfaction it brings into your home.
Have you ever tried refinishing furniture? Tell me in the comments what piece you'd love to transform. I'd love to cheer you on!
More Posts You Will Love: