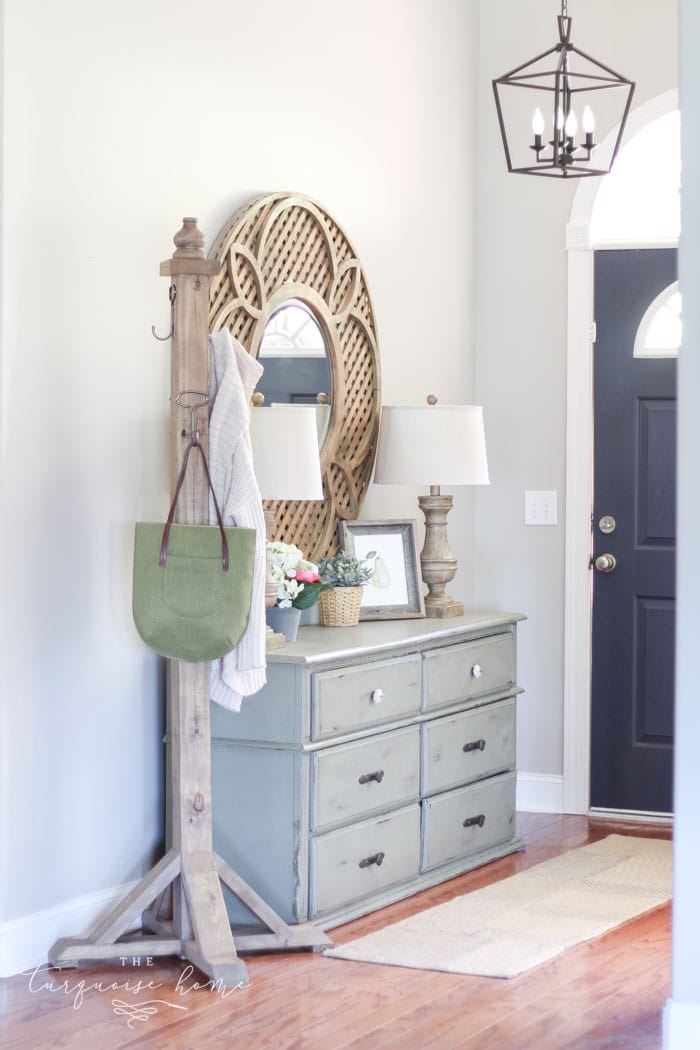
This wooden DIY coat rack uses simple pine boards from your local home improvement store and costs under $25 in lumber. It's a straightforward build that gives guests plenty of room to hang their coats and bags in your entryway!
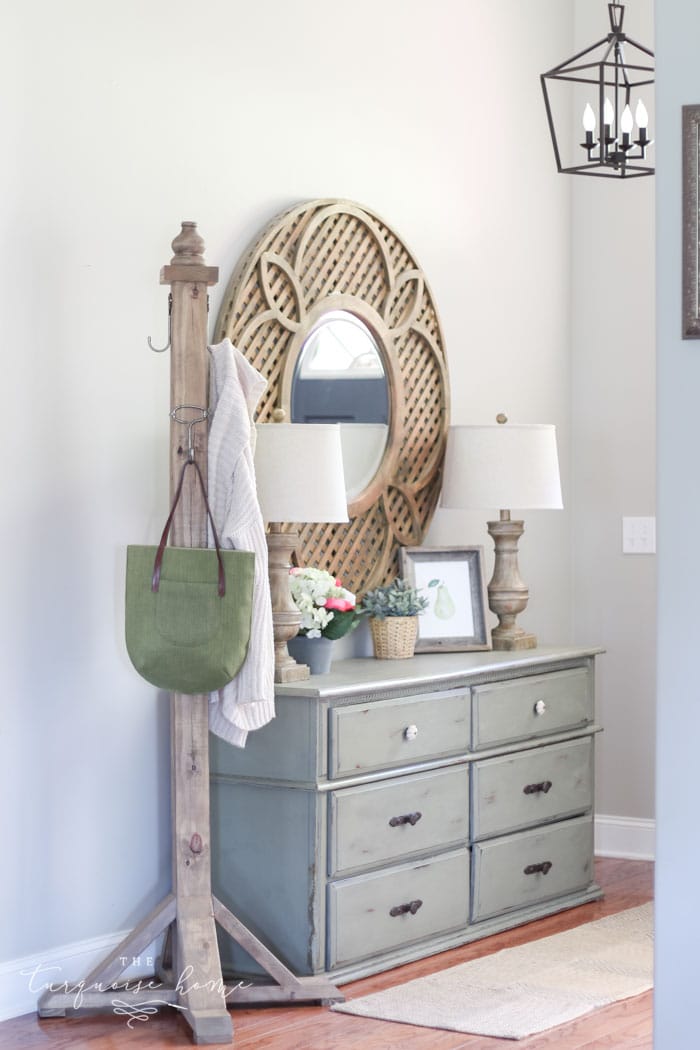
As a Southern woman who takes hospitality seriously, I feel bad that it took me this long to make a spot for guests to hang their coats and bags. Honestly, I'm not sure what my priorities were.
While I've been decluttering and rethinking how my home functions, I realized my entryway was missing a place to hang things. I owe a big apology to the guests from the past 6 years who had to find the nearest empty spot to set their things down when they visited.
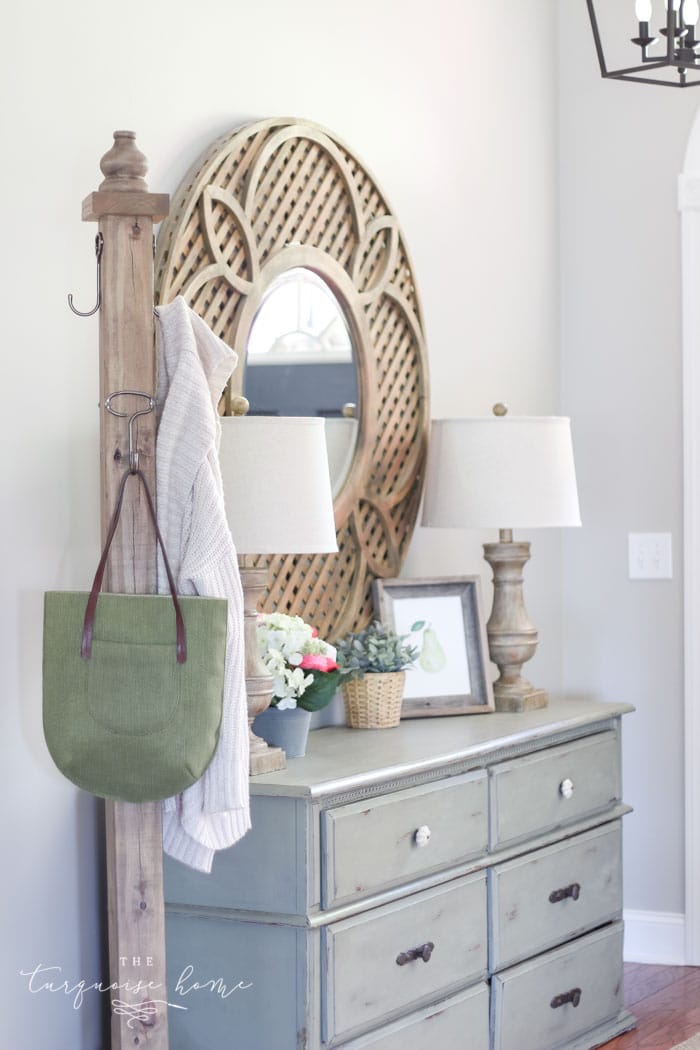
The fix has finally arrived! It's a super easy freestanding DIY coat rack that I built quickly one morning last week while my daughter was at preschool. I used the plans from Shanty 2 Chic and followed them exactly. It's easy, and it's a great first project for anyone getting into building their own furniture.
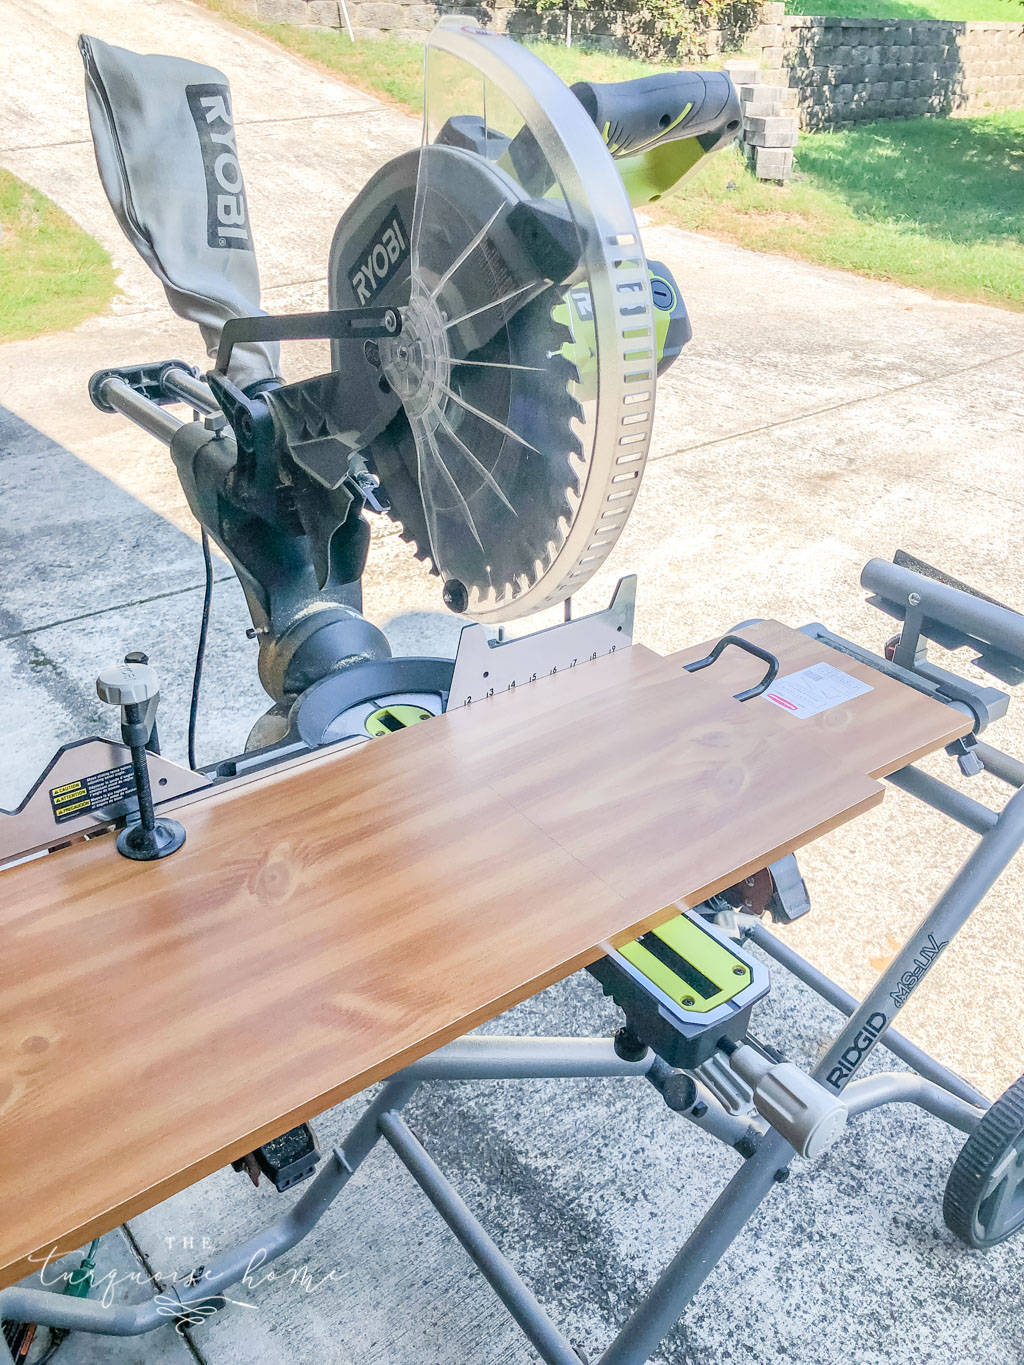
I was really excited to try the 12 inch sliding miter saw I bought at the end of last year. I had used it once or twice for small cuts, but this was my first real project, and I wanted to put its larger blade to work. Cutting my 4 x 4 post was much easier than it was with my old 10 inch (non-sliding) miter saw. I also love the laser guide that shows exactly where the cut will land, which really helped with the angled cuts I had to make.
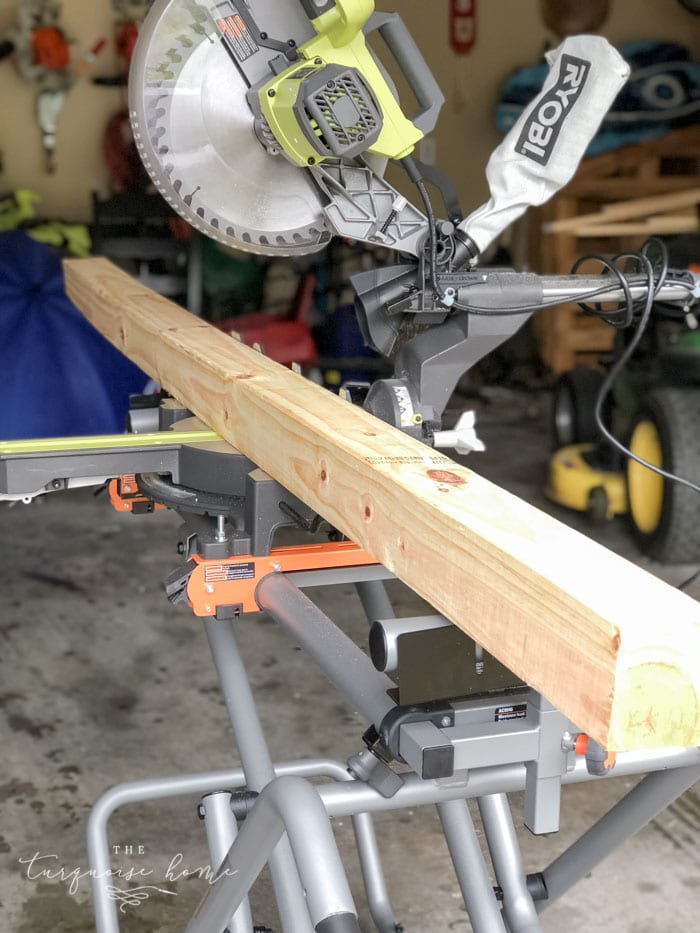
There was a small learning curve with the new miter saw, but it didn't take long to get comfortable with everything it can do. Love it!!
I also bought a rolling miter saw stand, and it's a really great upgrade from my old setup, where I had to lift my miter saw from the floor to a table and back every time. Never again!!
My new saw stays attached to the stand, which I fold up in the corner of my garage. Seriously. When I'm ready to cut, I just wheel it outside, open it up, and I'm good to go! It's the easiest thing ever, and I wish I'd bought it sooner! (I need to make a video someday to show you how handy it really is!)
But back to the coat rack, and I'll walk you through how I made it...
Supplies & Tools You'll Need for a DIY Coat Rack
- 1 – 4 x 4 x 8 foot board
- 1 – 2 x 4 x 10 foot board
- 1 furniture foot (for the decorative top)
- 1 scrap piece of 2 x 6 (about 5.5 inches wide)
- 1 scrap piece of 1 x 3 (roughly 16″ long)
- 4 decorative hooks – the ones I bought are discontinued, but these hooks would be a great substitute!
- Miter Saw
- Drill
- Sander
- Kreg Jig
- 2.5 inch Kreg Jig screws
- Brad Nailer
- Wood Glue
- 2 inch wood screws
- Stain and/or paint of your choice
- Brush

Steps to Build a DIY Coat Rack
Step 1. Cut your 4 x 4 post to 6 feet.
My local hardware store now carries untreated 4 x 4 posts, and I was thrilled! Yay! I had trouble finding one that was perfectly straight, but it was close enough. I cut off the most curved end, and now it's hard to tell it isn't straight!
Step 2. Cut 4 pieces of the 2 x 4 at 13.5 inches long.
One end gets a straight cut and the other gets a 45 degree angle. Measure the 13.5 inches from the pointed tip to the opposite straight end. (See a photo of them three pictures down.) These will be the legs of the coat rack.
Step 3. Measure the width of your 2 x 4 legs, then cut the 1 x 3 into 4 pieces at that length.
It should be around 3.5 inches, but 2 x 4 dimensions vary from place to place, so measure before cutting. These will be the feet of the legs.
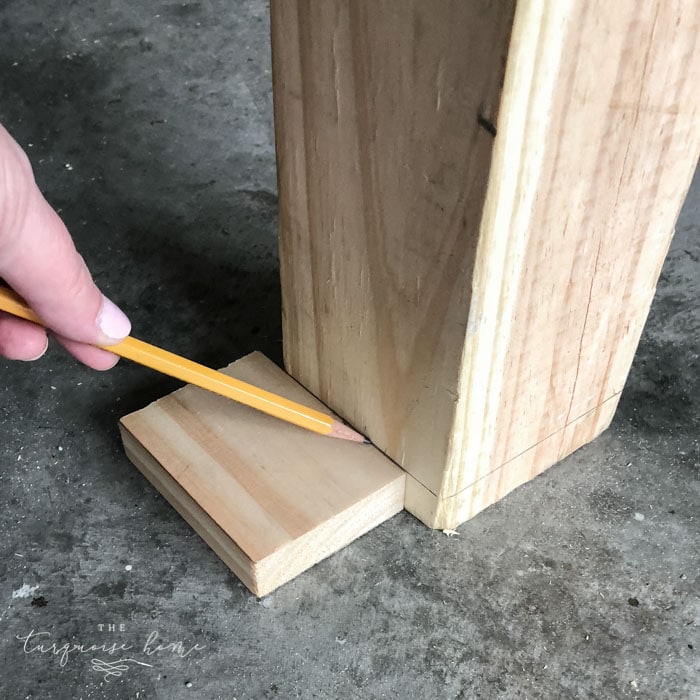
Step 4. Use one of the "feet" pieces to measure along the bottom of the 4 x 4 post.
This marks where the legs will attach to the post.
Tip: Attach your legs a little lower than the line you draw. I put mine exactly on the line, and the post ended up just a bit taller than the legs. I had to trim half an inch off the post with a hand saw so it would sit correctly on the legs.
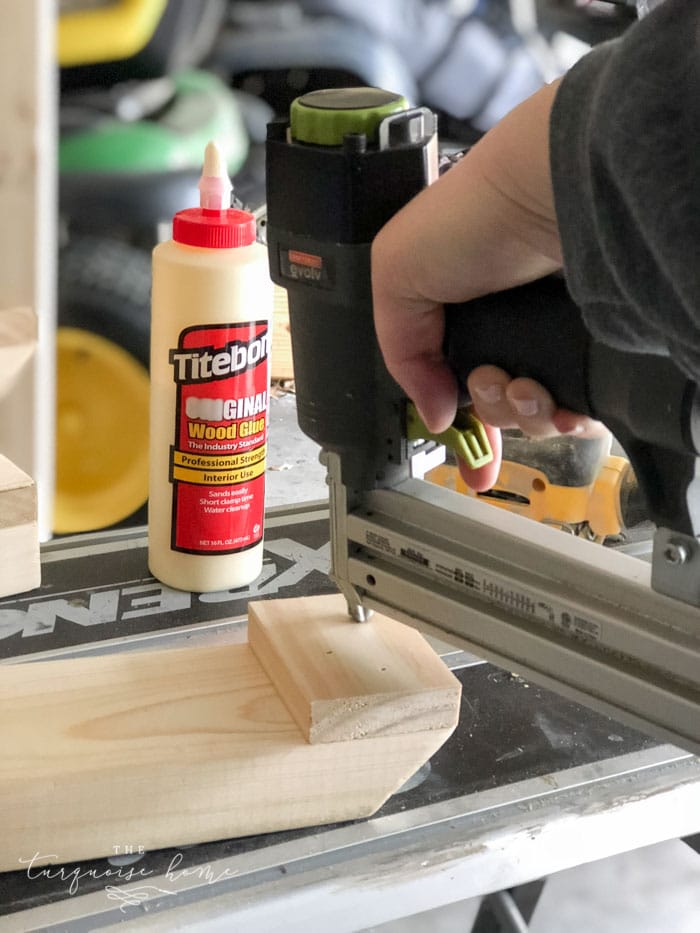
Step 5. Attach the 1 x 3 feet to the 2 x 4 legs
Attach the two pieces to the bottom of the angled end of each leg, flush with the long angled edge. Use wood glue and your brad nailer.
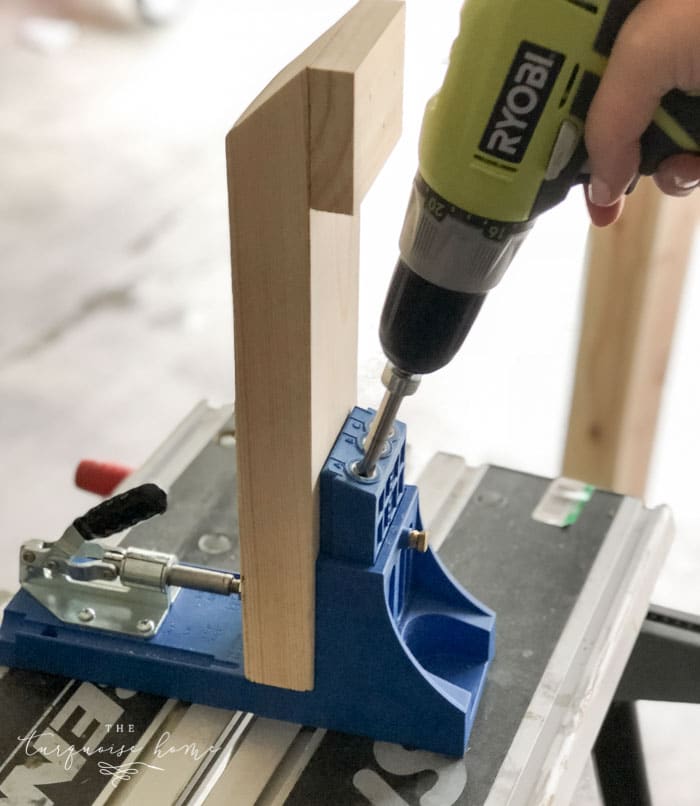
Step 6. Drill 2 – 1.5 inch Kreg Jig holes into the straight end of the legs, on the underside.
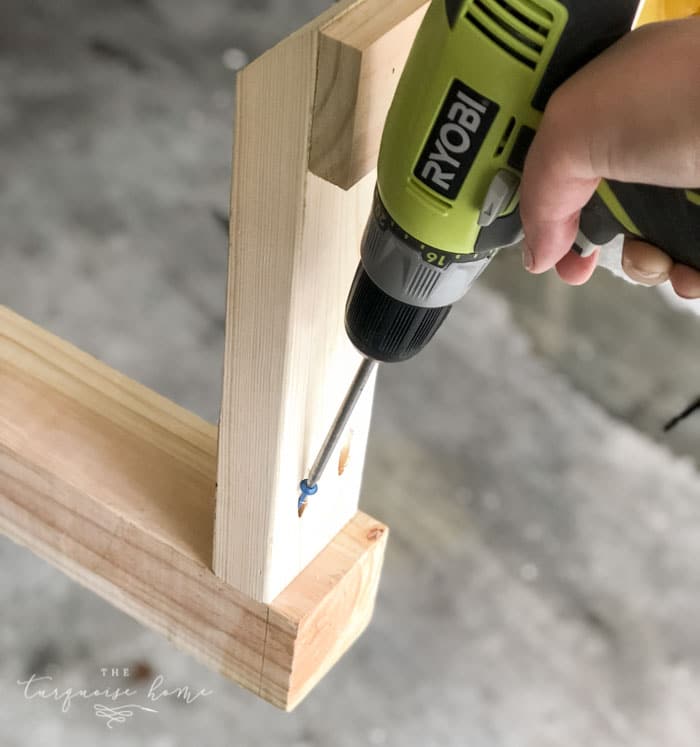
Step 7. Attach the legs to the 4 x 4 post at the line you drew earlier with the feet.
Remember my tip and attach them just below the line so the post won't stick up above the legs. Use wood glue and 2.5 inch Kreg Jig screws.
Step 8. Cut 4 pieces of 2 x 4 at 13 inches long.
Both ends get 45 degree angles that are perpendicular to each other, not parallel. The boards should measure 13 inches from long end to long end. These are the braces that connect the legs and the post.
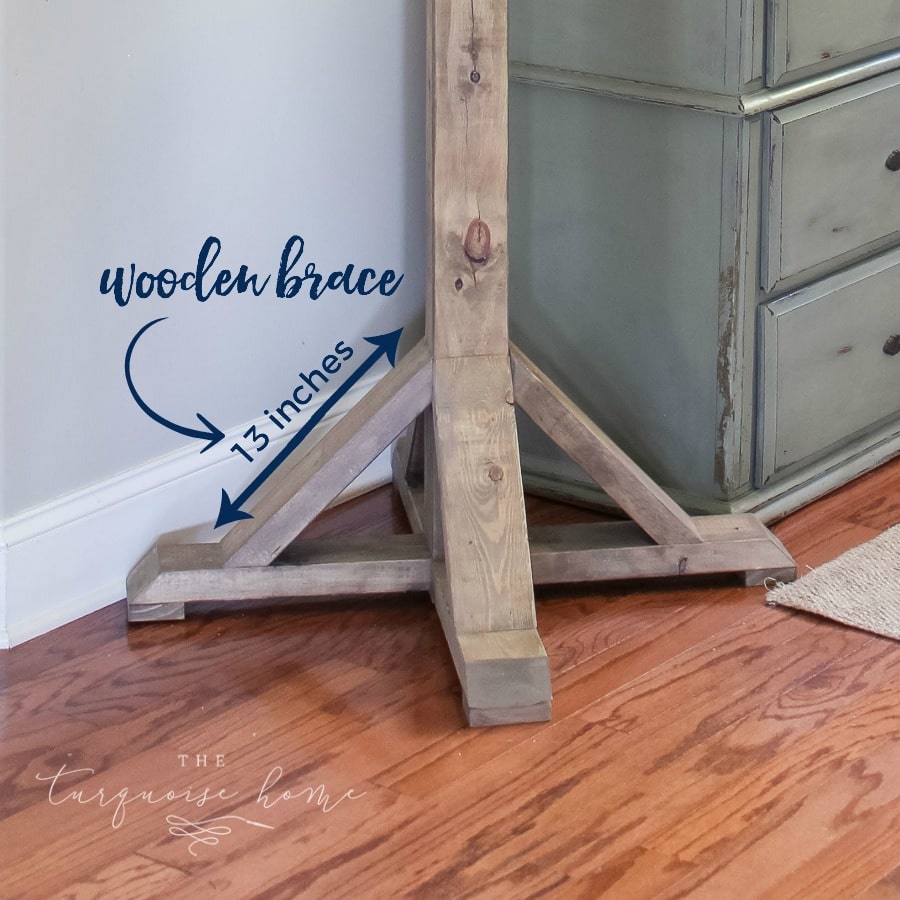
Step 9. Attach the braces to the post and legs with wood glue and your brad nailer.
Step 10. Cut a 5 1/2 inch by 5 1/2 inch square from a scrap board.
A scrap 2 x 6 makes this easy, and you only need to cut a 5 1/2 inch piece from it. Or, like me, you can use a 2 x 8 (all I had on hand) and cut a 5 1/2 x 5 1/2 square from it. I used my new sliding miter saw, and it made these cuts super easy!
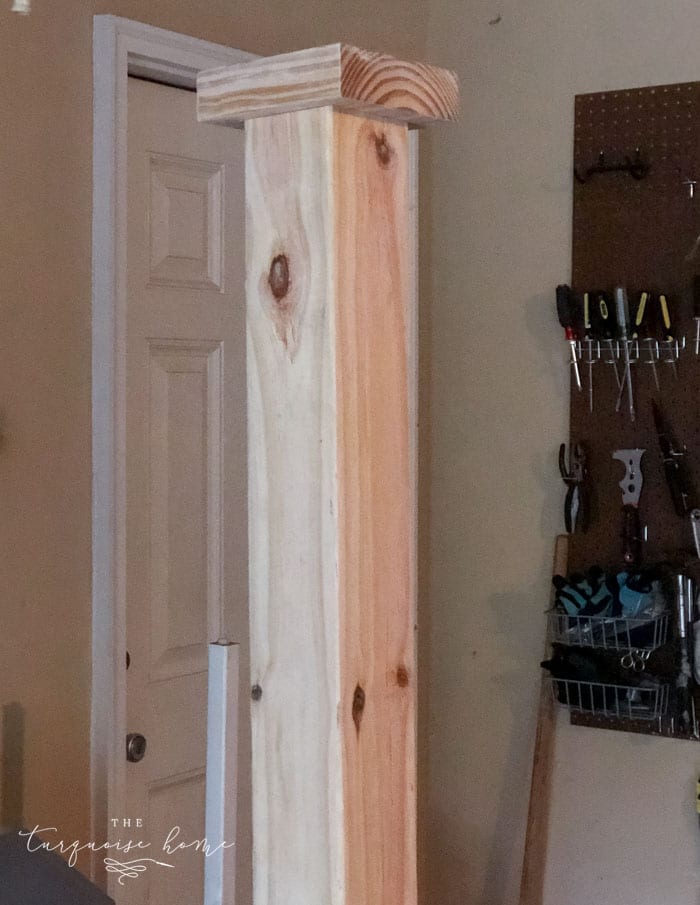
Step 11. Screw the 5 1/2 inch scrap piece to the top of the post with wood glue and wood screws.
Step 12. Attach the furniture foot to the top of the post and the scrap piece.
Drill a pilot hole in the center of the 5 1/2 inch scrap, using a bit slightly smaller than the screw on the bottom of the furniture foot.
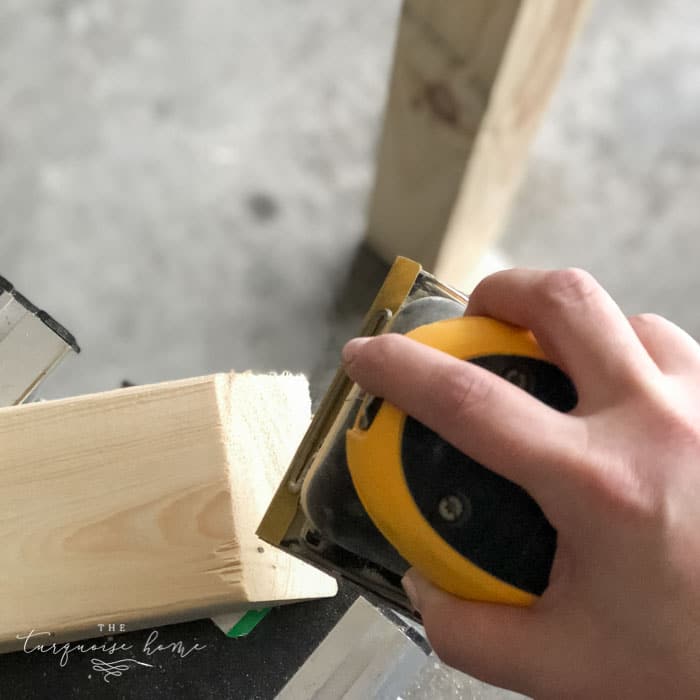
Step 13. Sand everything with fine sandpaper.
I used my trusty DeWalt sander, which I love. I actually sanded everything before assembly, but either order works. Wipe everything down with a damp lint-free cloth to remove all the dust.
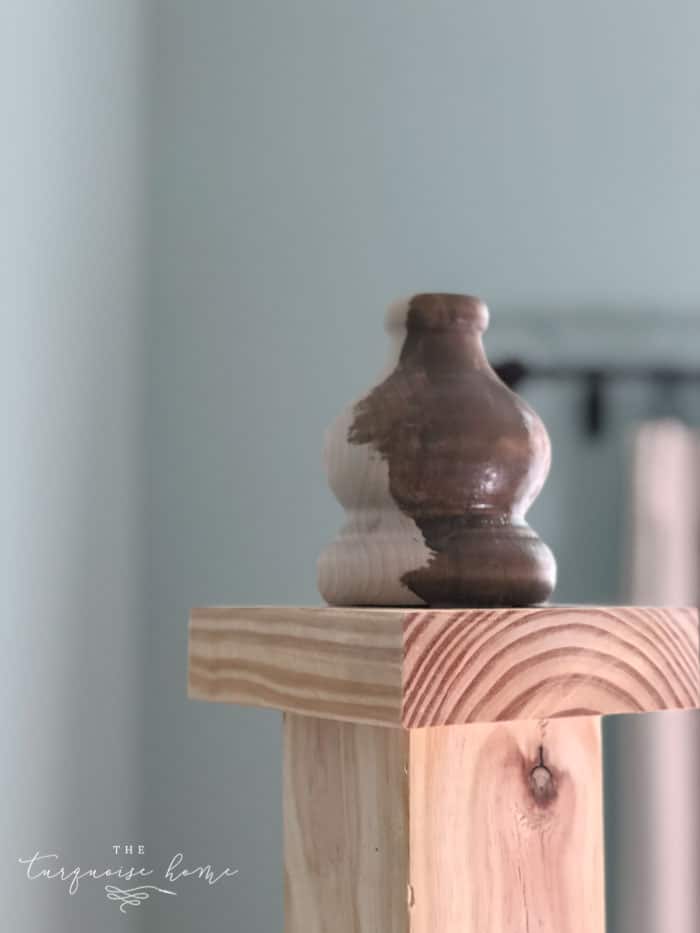
Step 14. Stain or Paint.
I used my favorite stain, Weathered Stain from Old Barn Milk Paint. I love how easy it is to apply. It's zero VOC and non-toxic, so I can use it indoors without fumes, and it's water based, so cleanup is a breeze. Honestly, the best part is the color. There's no mixing different stains to get the look I want, and this shade is always my favorite!
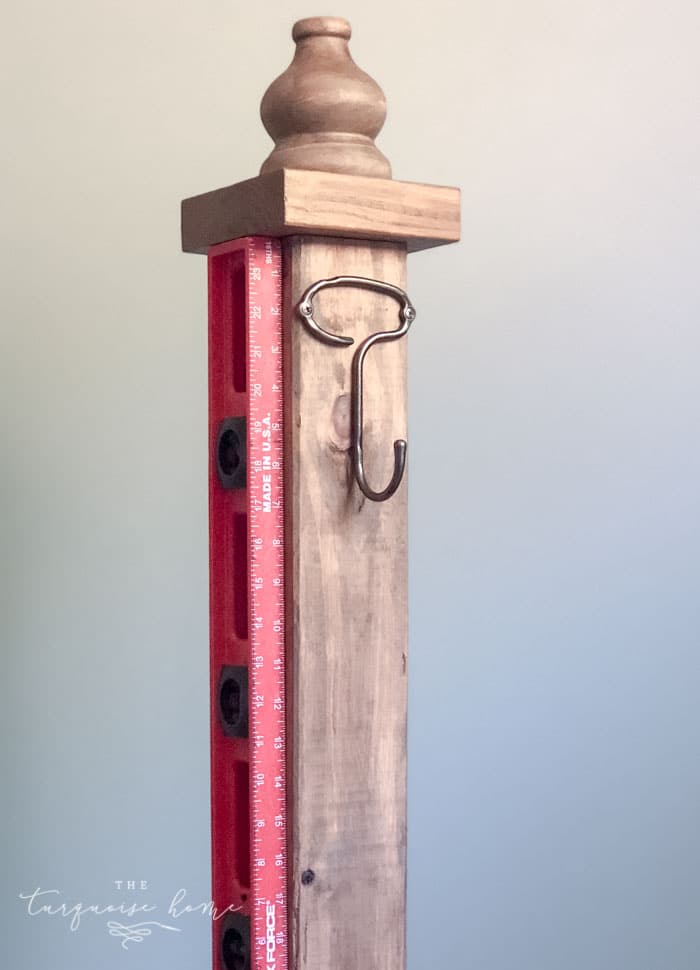
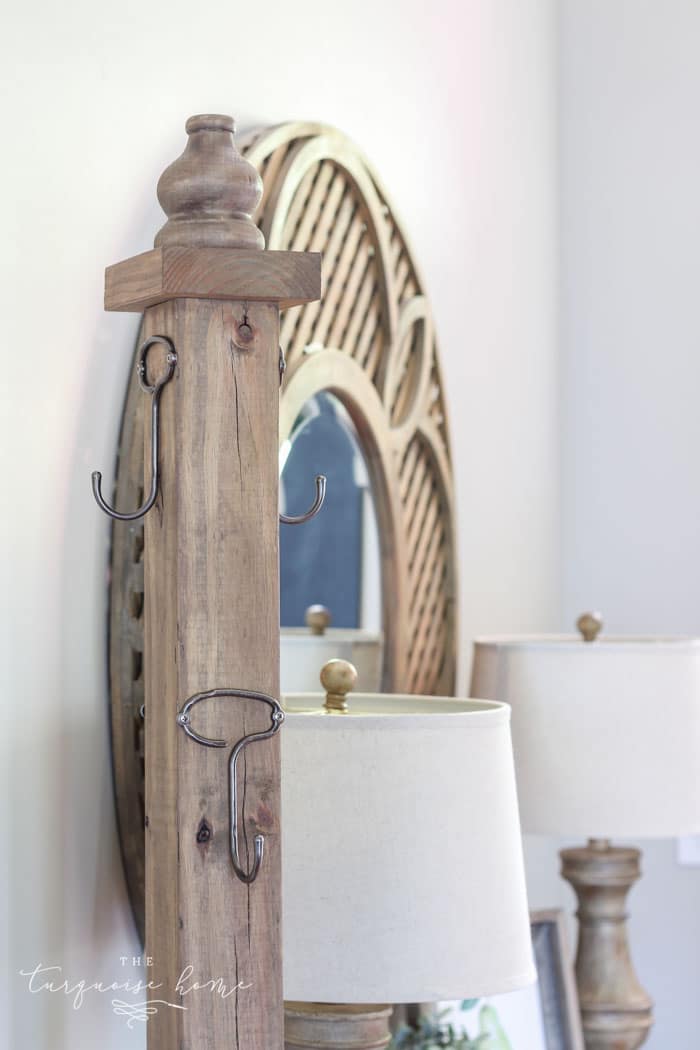
Step 15. Add your hooks!
Pre-drill the holes before attaching anything like this, and make sure the bit is smaller than the screw you'll use. I picked up these adorable modern hooks here! I placed them 2 inches down on two sides and 13 inches down from the top of the post on the other sides.
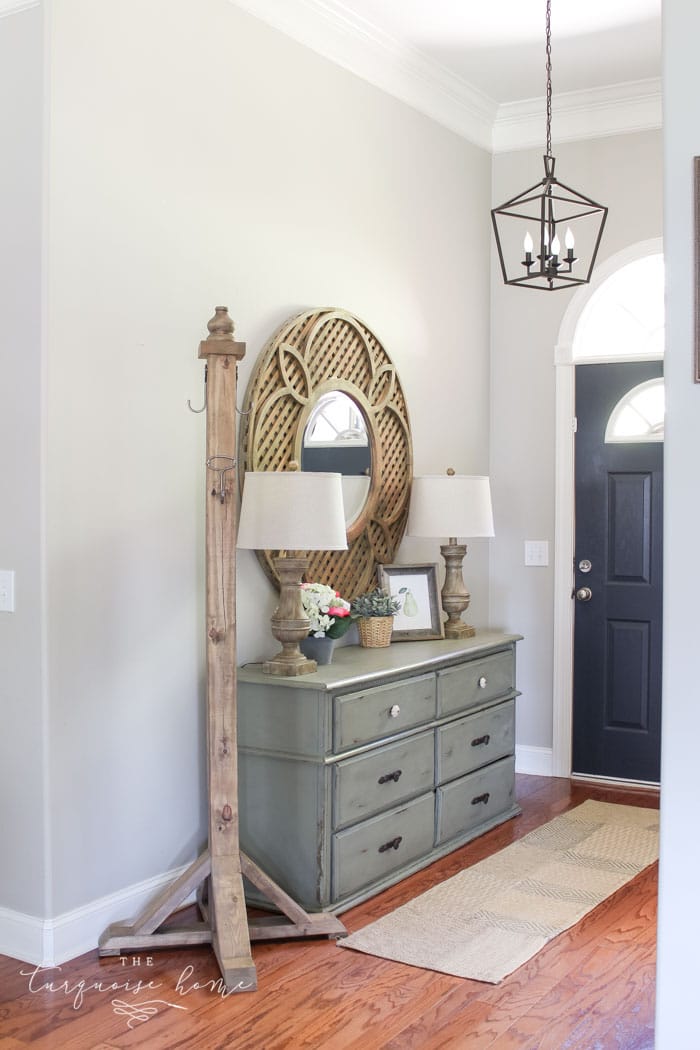
That's it! Your new coat rack is finished, and now you can greet guests properly and give them a perfect spot to hang their coats, bags and scarves! Enjoy!
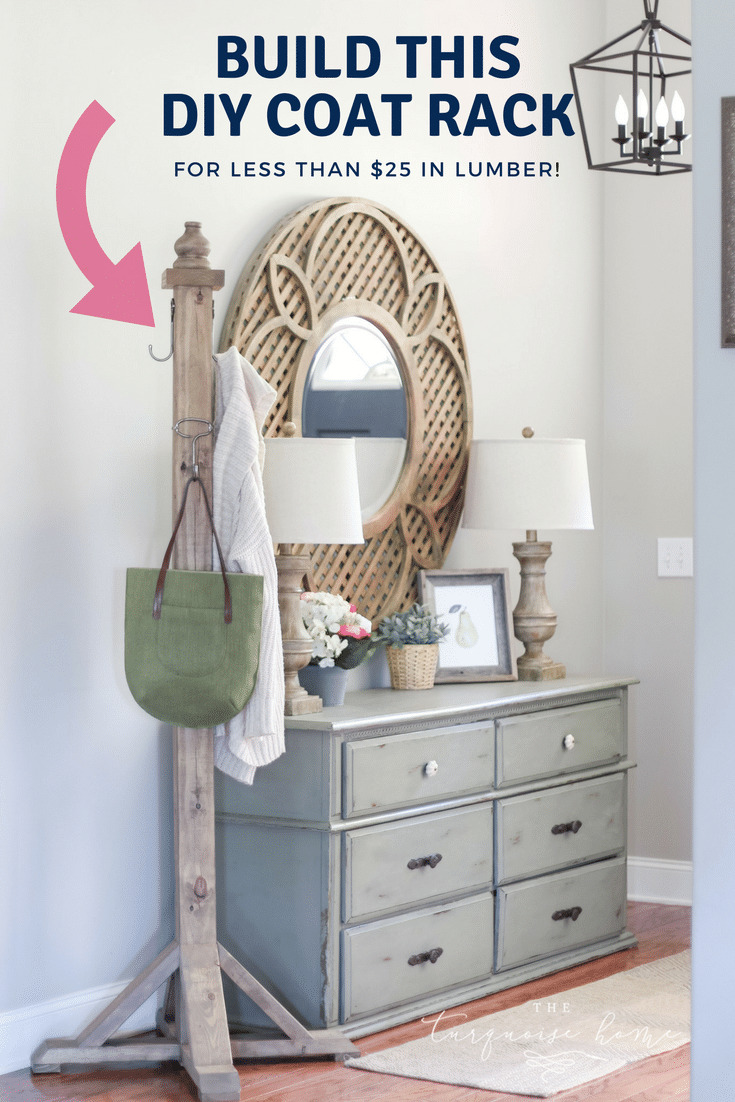
Shop the tools I used in this post by clicking the images below!
PinPin
More Posts You Might Like:PinPin
- How to Pick the Best Entryway Rug
- 17 Gorgeous Entryway Light Fixtures That Are Easy to Install
- DIY Lamb's Ear and Peony Wreath
- Spring Tablescape Ideas
- 15 Clever Storage Ideas for Small Entryways
PinPin
PinPin