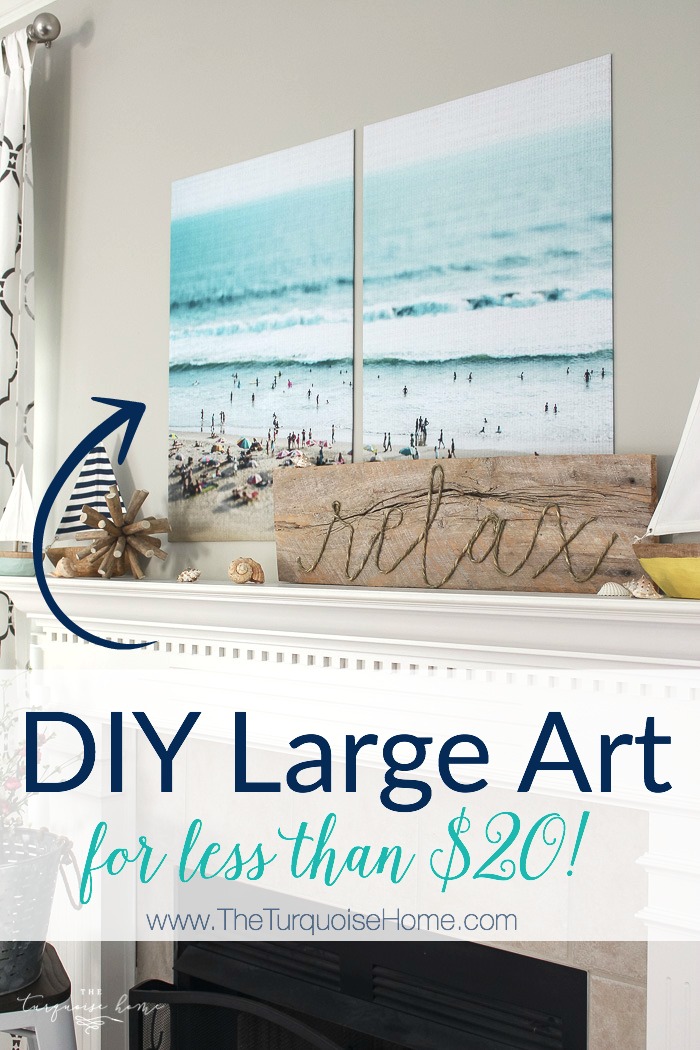
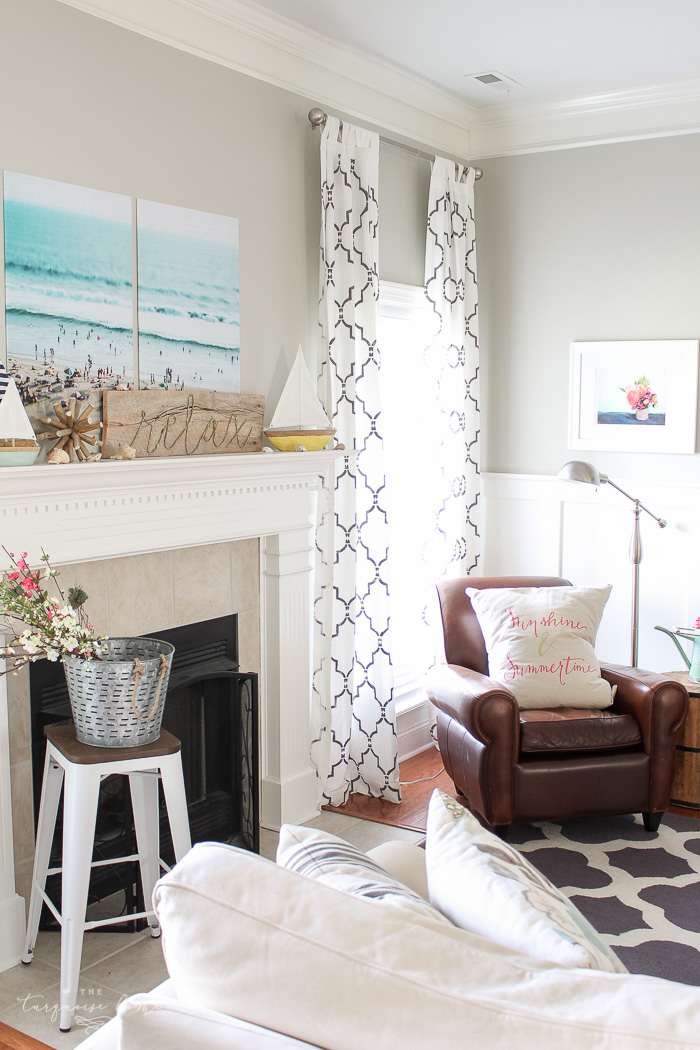
These color engineer prints make a fabulous large wall decor solution on a budget! This print cost less than $12, and I adore both the result and the price!
When I started brainstorming my summer mantel for this year, I knew I wanted a big dose of color as the main attraction. I had my DIY abstract art that I could have put up there, but I wanted something more horizontal than vertical. So I decided I wanted some art up there, but I didn't want to spend much money.
I searched through my vacation photos from past beach trips, but I couldn't really find anything. And I knew that if I printed something large enough to fill my space, it would cost an arm and a leg to frame it.
Of course I'm a DIYer, so I could build a frame. But that didn't sound like the right fit.
Then I remembered this post from my friend April at House by Hoff. Yes! It was the perfect solution. Well, except that it wasn't a color print.
I found that you can get engineer prints in black and white up to 36″ x 48″, but I didn't find anything about color engineer prints. So I did a little more digging, refusing to give up on my dream, and found that you actually CAN print them in color for a few bucks more. Hallelujah!
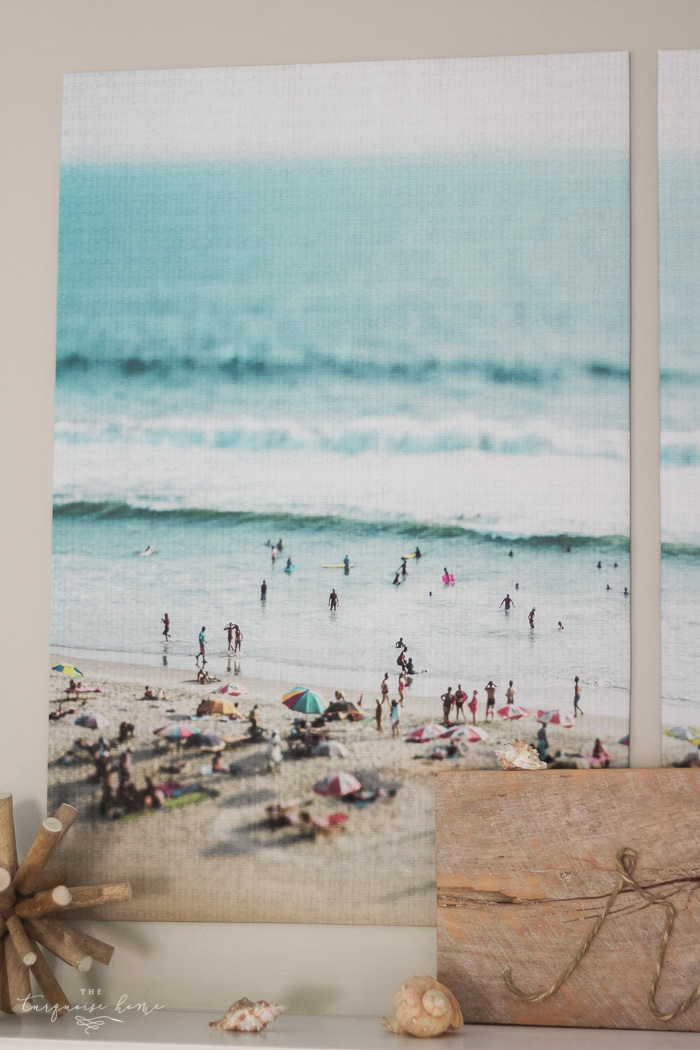
So I did just that! I couldn't find a photo of mine that I liked, so I went to the next best place: Etsy! I found this fabulous, downloadable, colorful beach scene on Etsy.
The exact print isn't available any longer, but this one is very similar, from the same photographer. Then I downloaded the photo and sent it over to Staples for next-day turnaround. I couldn't wait to get my new art up on the walls!
I bought two large pieces of foam board, but made sure they were smaller than my print so I could wrap the print around all of the sides.
What You'll Need to Make Large Color Engineer Prints
- Large engineer print (I bought my color engineer print from Staples in the 36″ x 48″ size. I ordered online and picked it up the next day. You'll want a hi-res picture for it to look good at this size.)
- 2 – 20″ x 30″ foam boards
- Scissors
- Double-sided tape
- Command strips (optional)
That's all you need!
How to Make DIY Engineer Prints
Here's how I created my large wall decor. It's so simple.
1. Gather Your Supplies
Find a large, clean work surface, like the kitchen table or dining table.
2.
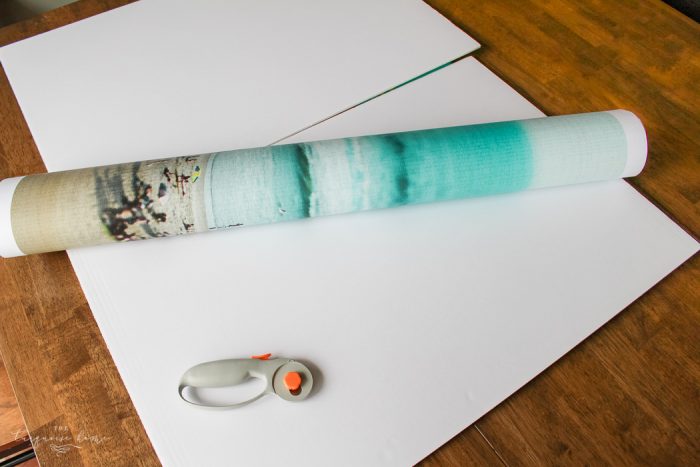
I rolled out my large engineer print on the dining room table. I made sure the table was nice and clean (and dry), since it usually has several-day-old kiddie food stuck to it. The engineer print is just regular printer paper, so if it gets wet or dirty, it'll be ruined.
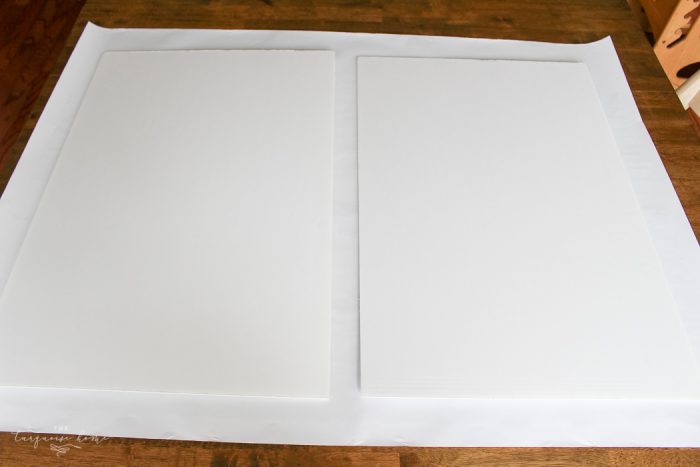
I cut the print down the middle and positioned my two foam boards on each section of the print, about 1 inch away from the middle cut line. Then I drew a cut line about 1 to 2 inches around the foam boards and cut them out.
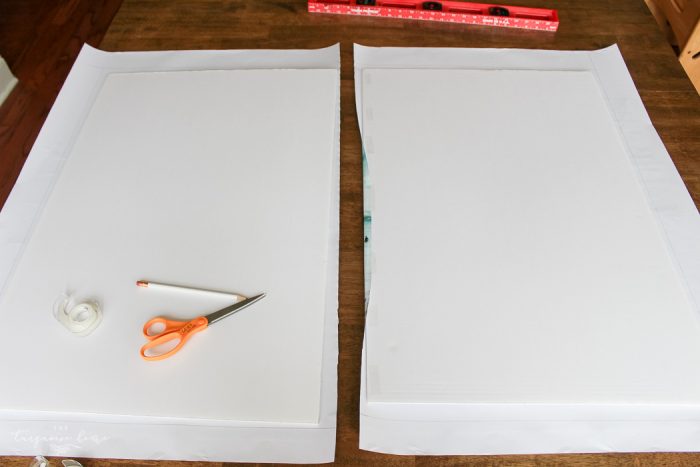
Next I grabbed my double-sided tape and taped the 1 to 2 inch flaps down to the backs of the foam boards, starting with the middle of the long inside edge. Once all sides were glued down, I flipped them over, attached command strips to the back, and hung them over my mantel!
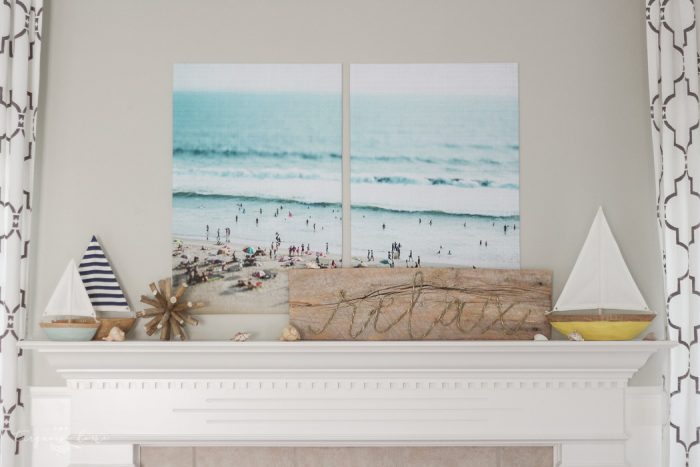
Yay!! I love the results, and the total cost was less than $20. You can't beat that! I don't know yet if I'll save them for next summer or hang them in another room when the season is over, but I'm OK with using them this season and then tossing them. Well, I'll keep the foam board. There's no reason to throw out perfectly good foam board!
Looking at my mantel right now, you'd never know those were cheap color engineer prints taped to foam. I love it!
What picture would YOU print and hang on your wall?
More Posts You Might Enjoy: