These simple-to-build DIY sliding barn doors are an easy way to add character to your home. We used pine and a few household tools to make these beautiful and functional hand-crafted doors.
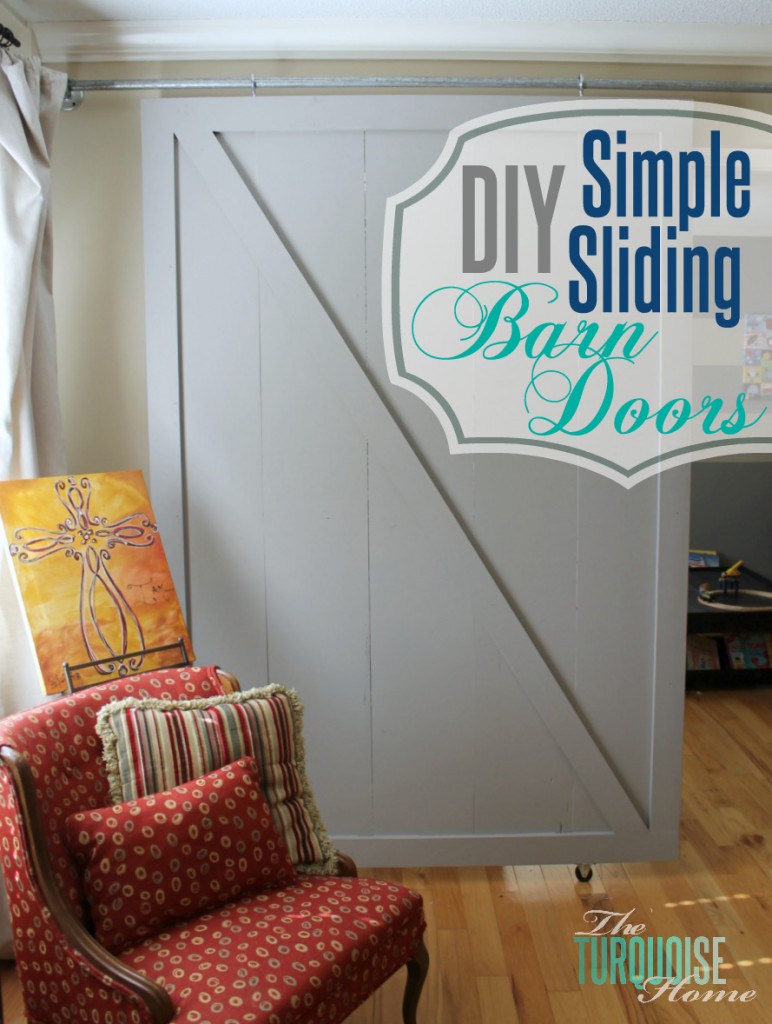
Let's talk about barn doors, shall we? We've all seen these beauties around the blogland for a while. You might think they're old and outdated, but in the right situation, a sliding barn door offers great flexibility while giving your home tons of character.
I recently built two rather large barn doors for my friend Emily as part of her Dining Room to Play Room Makeover last week. They were super simple. She looked around for ready-made doors that would work in her space, but her doorway was almost 10 feet wide, so finding the right size and number of doors proved impossible.
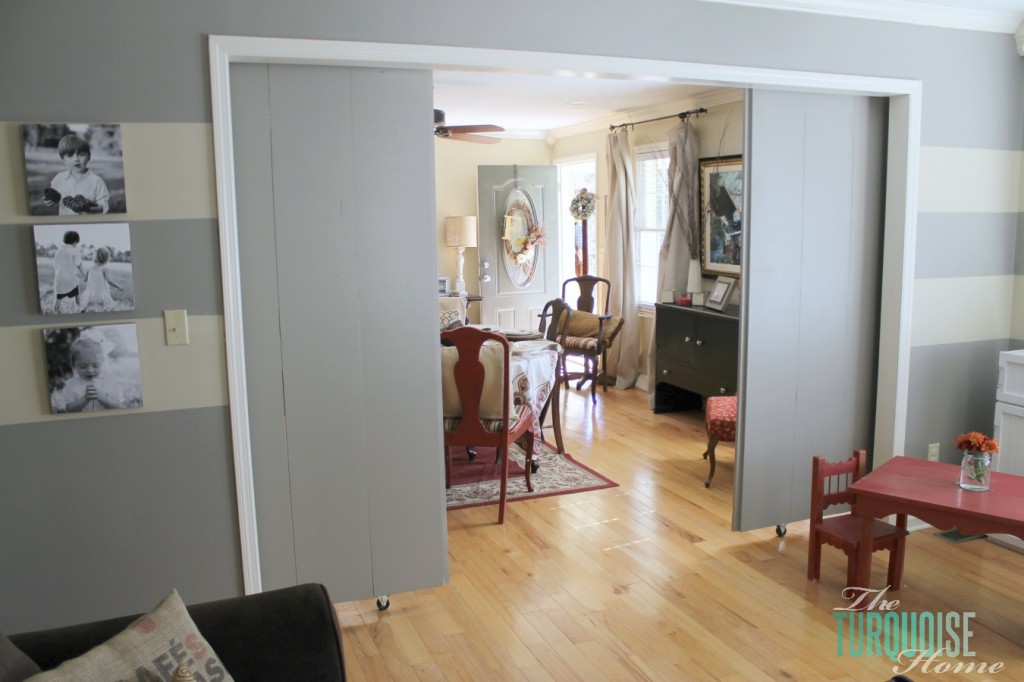
So we opted to build them instead. The total cost for just the wood for the doors was right around $175. So it's not the cheapest DIY project, but they are quite large.
We wanted them to slide all the way open while covering the doorway completely when closed. I've listed the supplies we used for one door. If you're going to build two, you'll double some items where needed.

Tools Needed for DIY Barn Doors
Lumber supplies {we used high-quality pine}:
- 5 – 1×12 @ 7 feet – enough to cover the width of your door opening; and if your ceilings are taller than 8 feet, you'll want a longer length
- 4 – 1×4 @ 8 feet – enough to frame your door
- 1 – 1×4 @ 10 feet – you'll want this piece to be long enough to span diagonally across your door
Hardware supplies:
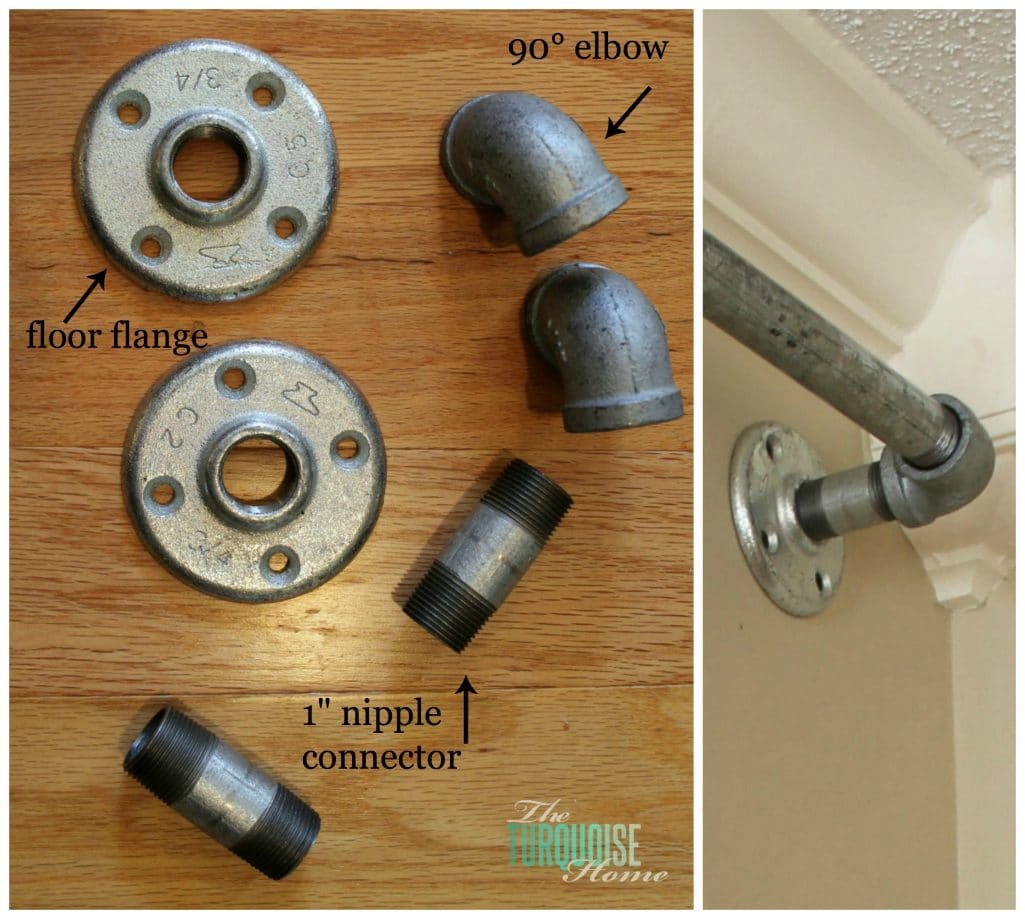
- 1 – 3/4 inch galvanized pipe – cut to the width of your opening, plus however far you want your door to slide past the opening. Have the hardware store thread the cut pipe on both ends so you can screw it into the 90° elbows. Be sure to allow room for the elbows and floor flanges on both ends.
- 2 – floor flanges (make sure you buy the same size opening as your pipe)
- 2 – 1 inch nipples
- 2 – 90° elbow
- 2 – casters {non-swiveling}
- 2-3 – eye hooks {large enough for your pipe to fit through}
**You'll want all of your hardware to have the same size opening so that everything fits together. Ours were all 3/4 inch.
Tools & other Materials:
- Miter saw or circular saw
- Kreg Jig {see instructions for an alternative if you don't own a Kreg Jig}
- Screwdriver
- Nail gun & brad nails
- Sander and sandpaper
Wood glue
Various screws
How to Build a Sliding Barn Door
Like I said, building the barn doors was really simple. Although, I highly recommend having two people help if you're building doors this big.
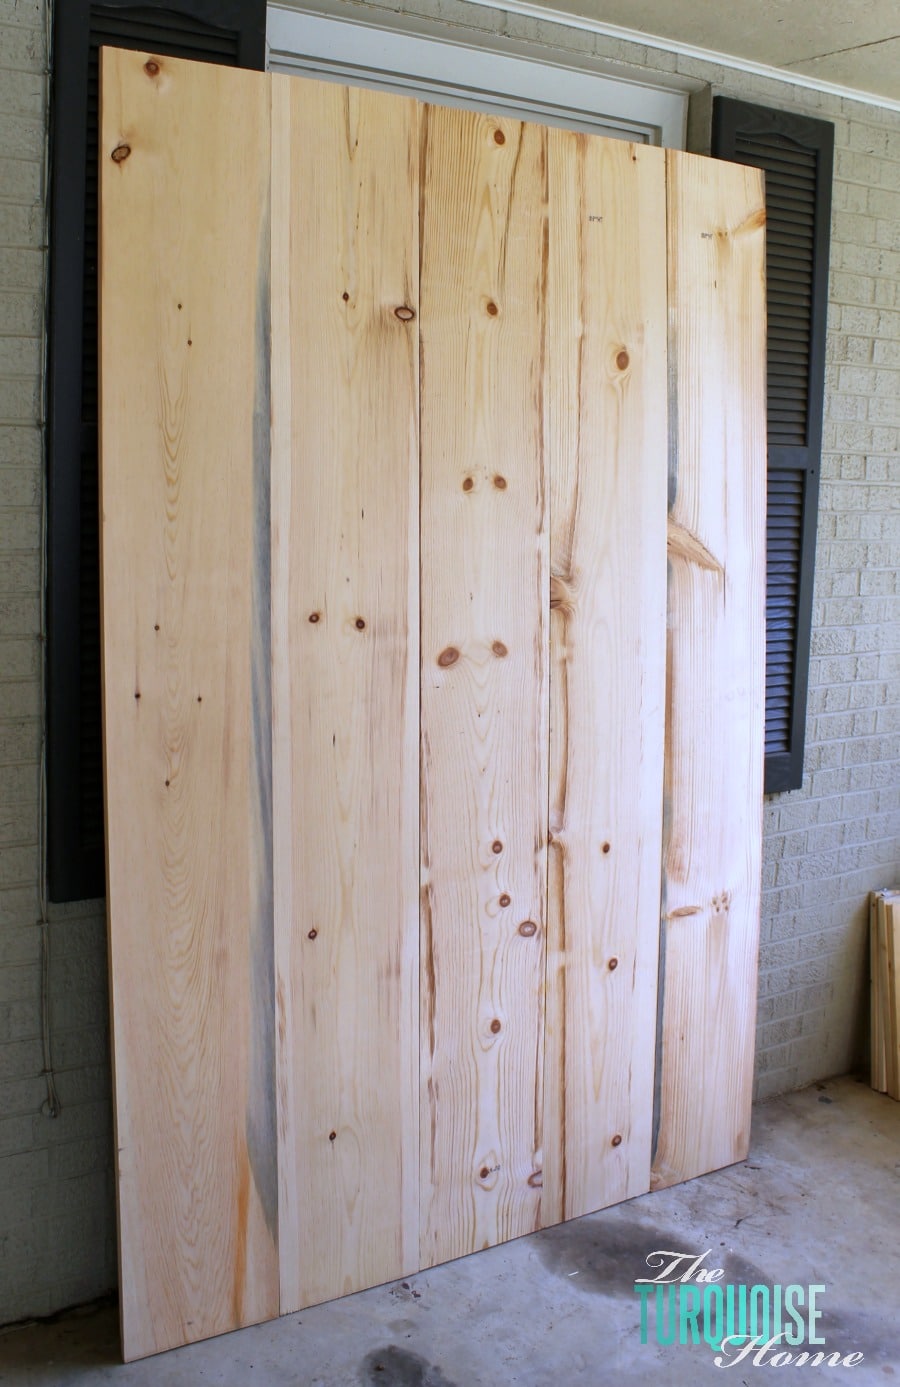
First, we lined up all of our 1×12 boards and screwed them together using my Kreg Jig and wood glue. {If you don't have a Kreg Jig, I highly recommend one for any and all wood building projects. I've used mine here and here.} If you don't have a Kreg Jig, glue all of the boards together and attach a couple of pieces of wood across all of the 1×12s on the back of the door.
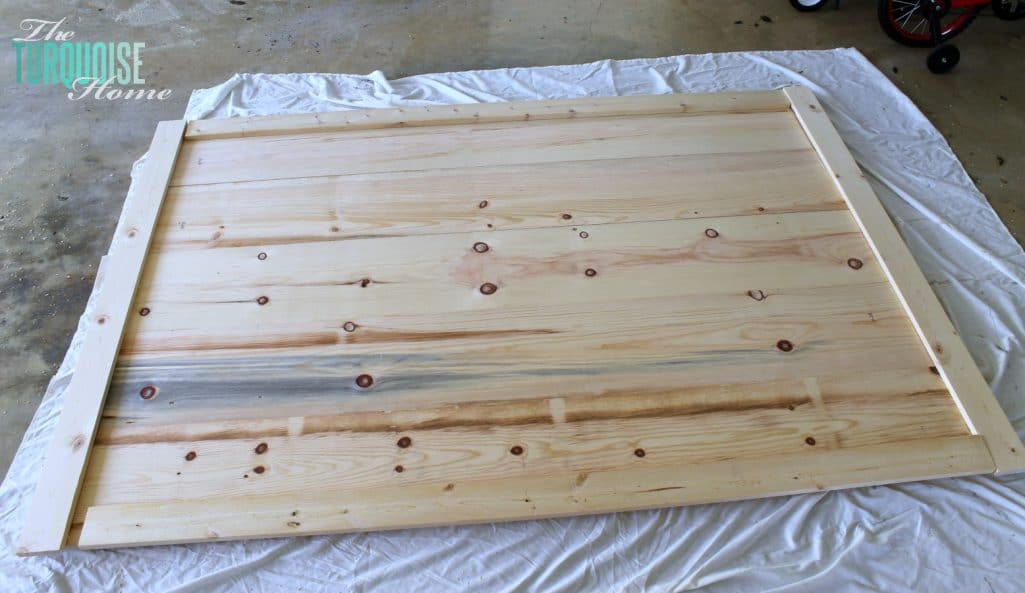
Then we cut the 1×4 boards for the frame using my miter saw and attached them with my nail gun.
To cut the diagonal piece, I laid it on the door and used a straight edge to draw a line where I wanted to cut. I don't do angles and all that mathematical jazz, so I just had to figure it out by looking at it.
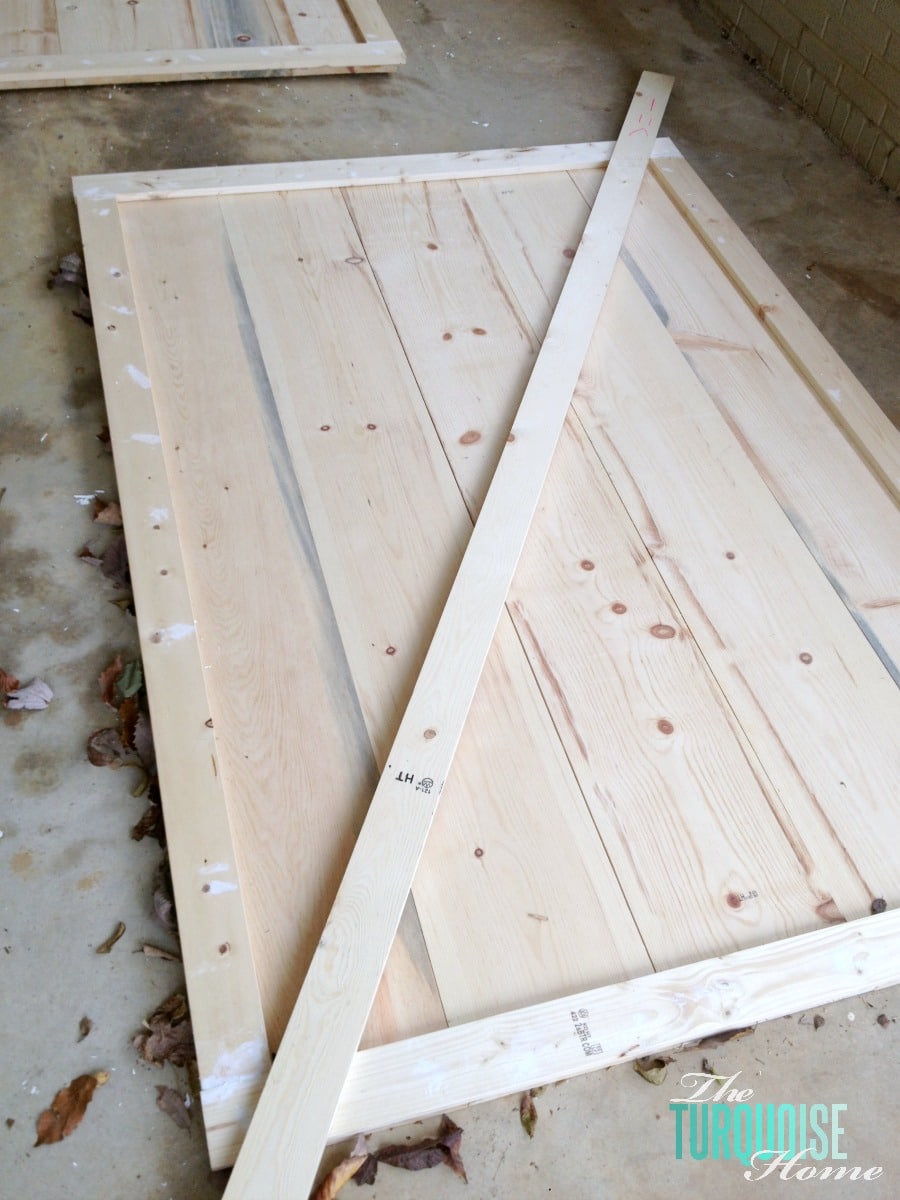
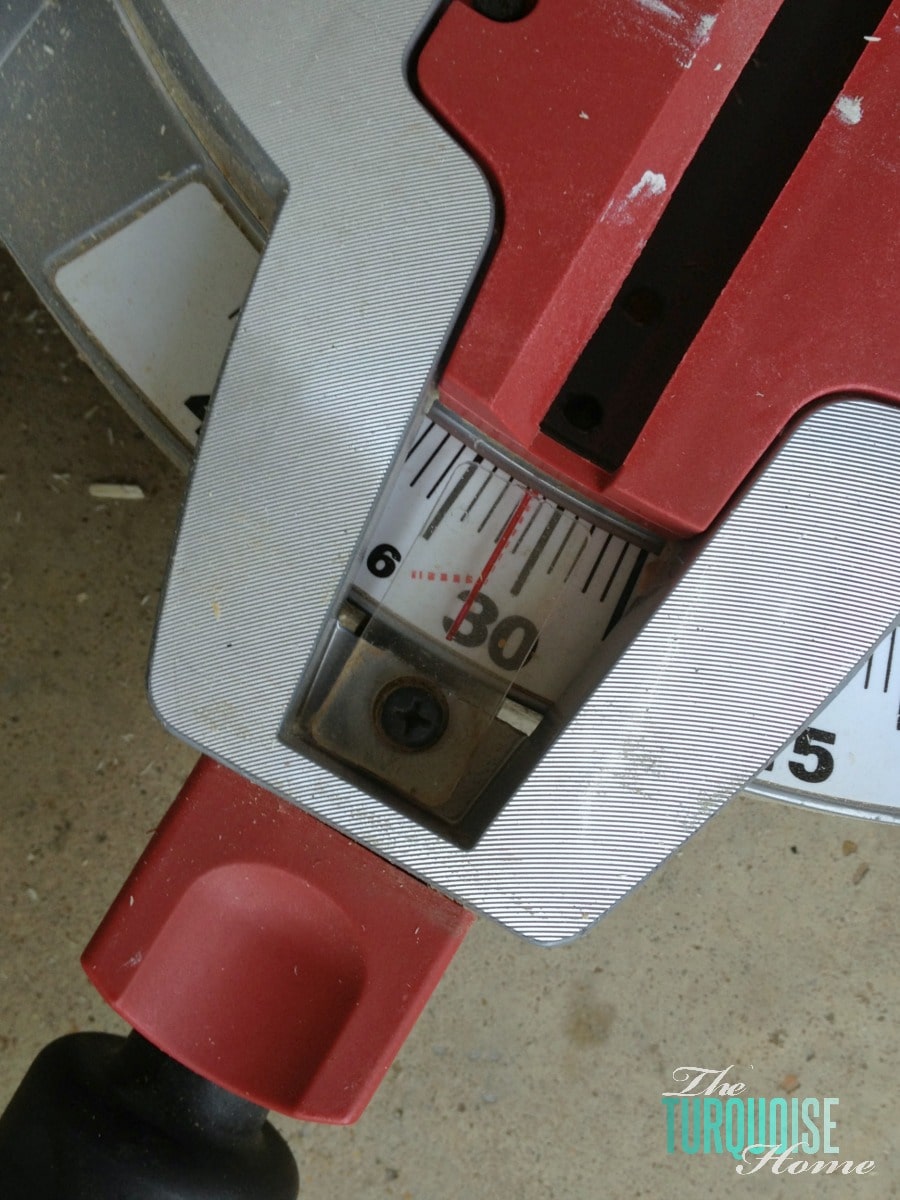
Once I had my line drawn where I needed to cut, I placed the board on my miter saw and tried different degrees until I found the right one. I used a 30.6 degree angle, which was marked on my miter saw, so evidently it's a popular one. See the red dotted line on my miter saw? That's it! It's such a technical process … ha!
Even though I'm no angle expert, the diagonal cuts were perfect, and the boards fit like a glove. Love it when a sketchy plan comes together.
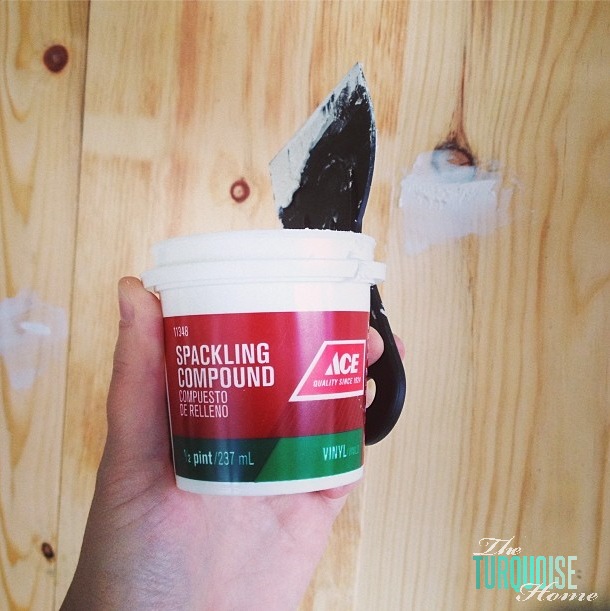
Once the boards were all cut and nailed in, we spackled the holes and joints. And once they were dry, I sanded them down with my orbital sander.
Emily painted the doors the same color as the gray in the playroom: Baby Elephant from Clark+Kensington. There are so many options when it comes to finishing a barn door, though. You could stain it, or paint the door one color and the trim another. Emily and her husband are planning to add handles to the doors, but again, there are tons of handle options to finish the doors.
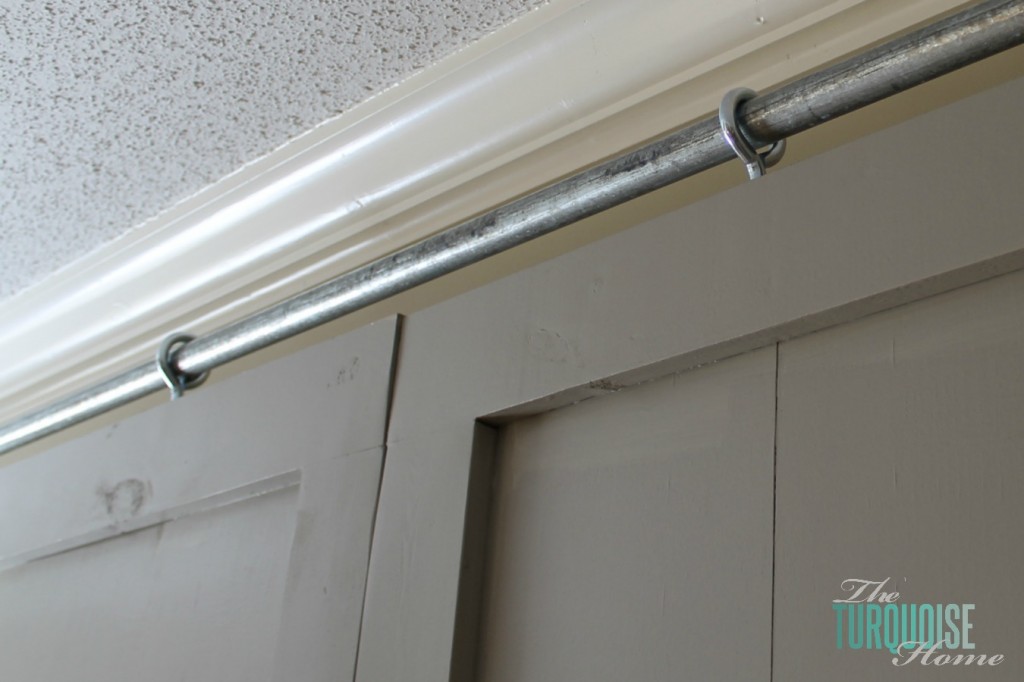
OK, now to install the doors. It was quite the task for two girls. But we did it!
For the sliding system, we were inspired by this Sliding Door tutorial from Vintage Revivals.
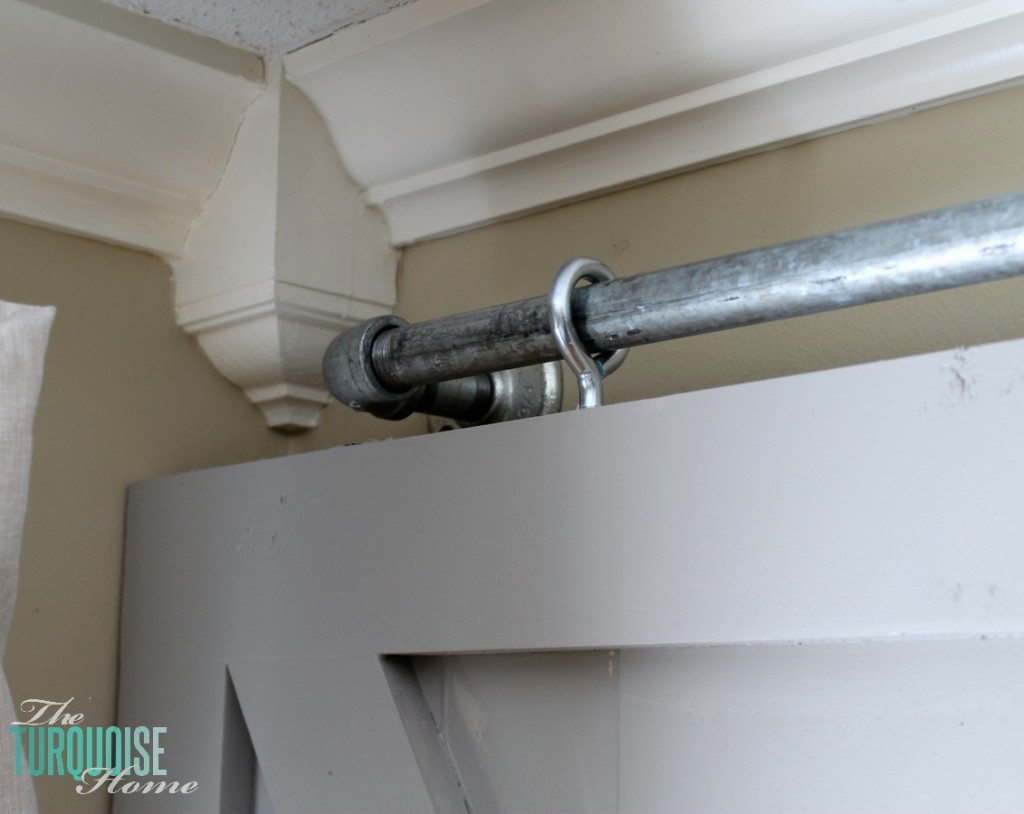
Before we moved the doors inside, we screwed the eye hooks into the tops of the doors and the casters onto the bottoms. In the picture above, you'll see that I didn't screw the eye hook into the very far end of the door. I left plenty of room for the door to slide all the way to the wall, even though the pipe doesn't extend to the wall. Keep this in mind when attaching the eye hooks.
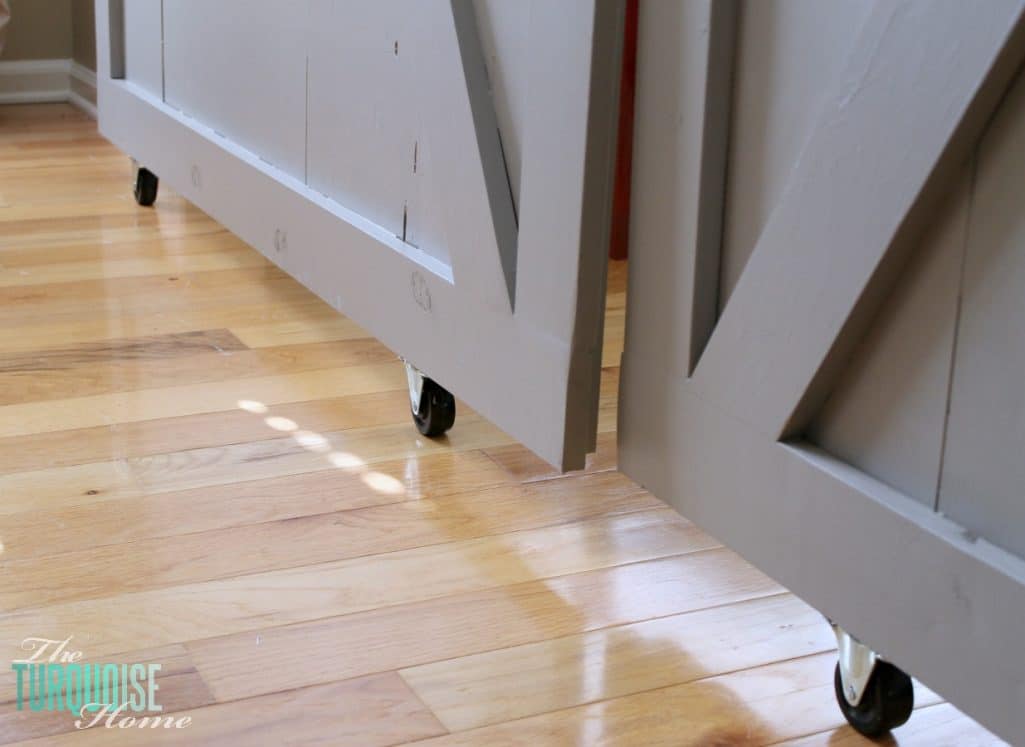
Then, once the doors were inside, we threaded the eye hooks onto the long pipe and attached the pipe to the walls.
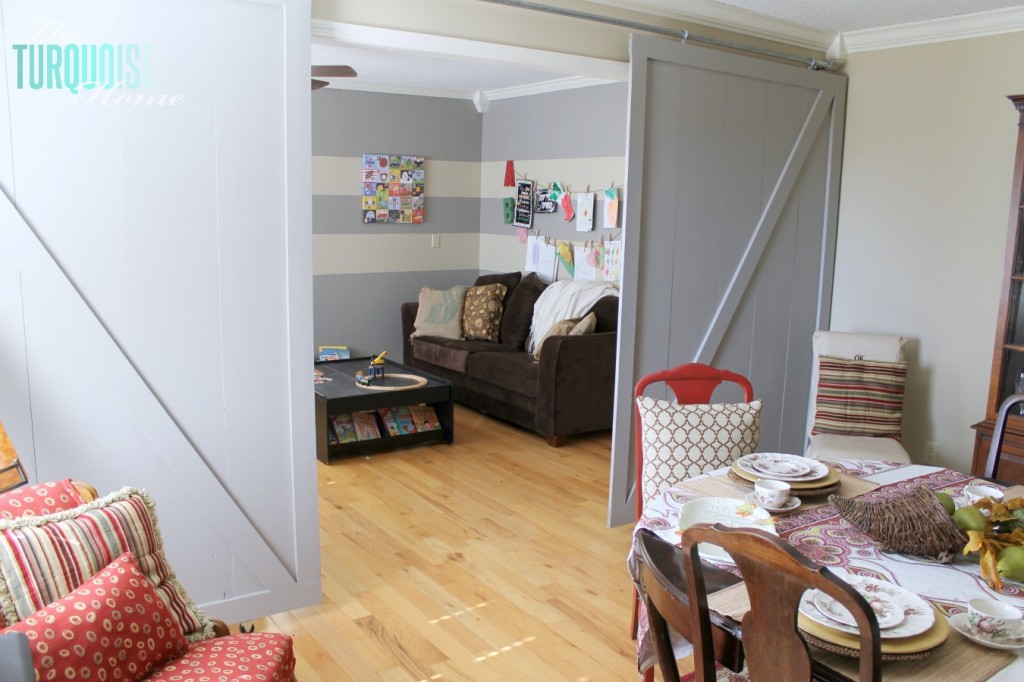
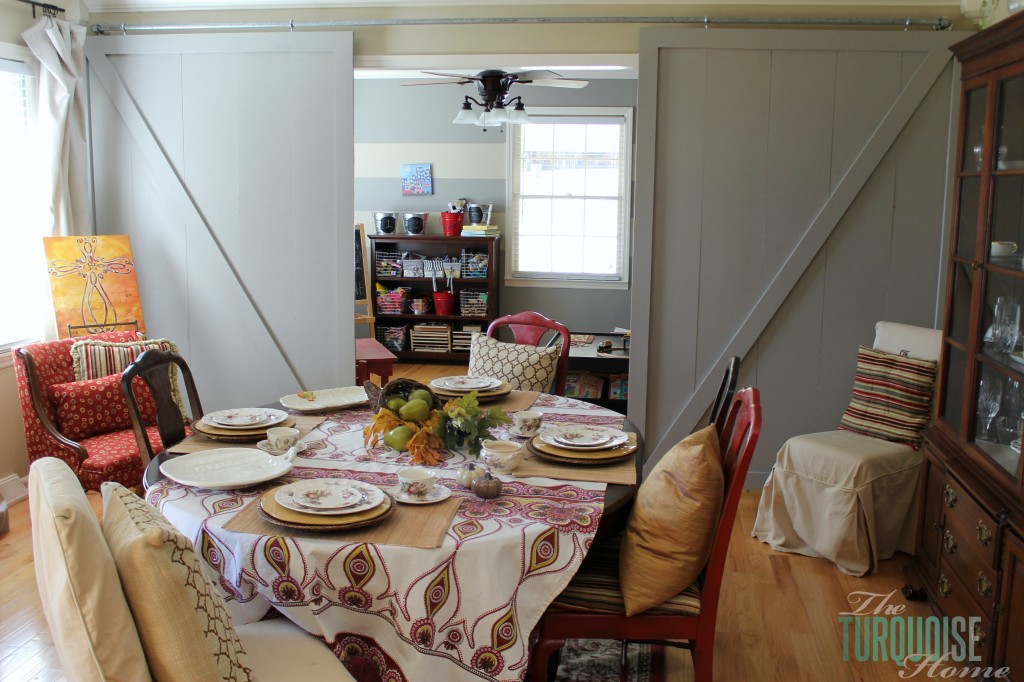
And you're done! See, I told you it was simple. You can now enjoy your very own custom sliding barn doors.
Have you ever made barn doors?
Would you tackle a project like this?
Where would you put barn doors in your home?
More Posts You Will Love:
- How to Decorate the Dining Room for Christmas
- How to Organize the Playroom Before the Holidays
- Traditional Dining Room Reveal
- Beautiful Interior Door Paint Colors
- ZZ Plant Care Guide
Save Save Save Save