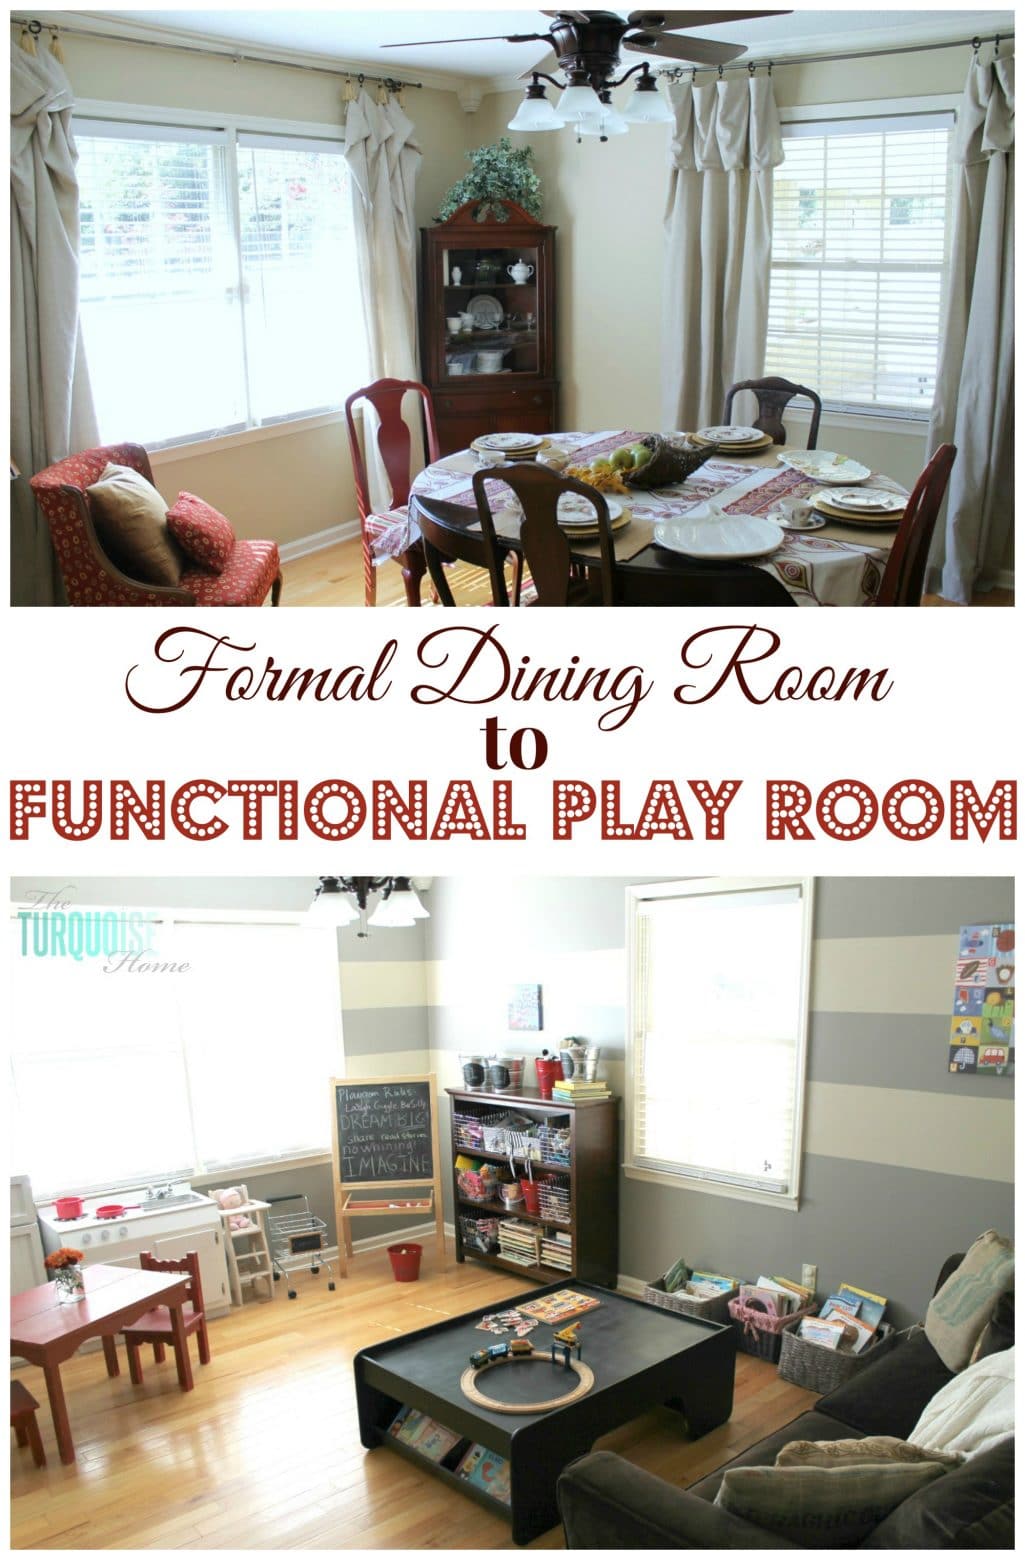
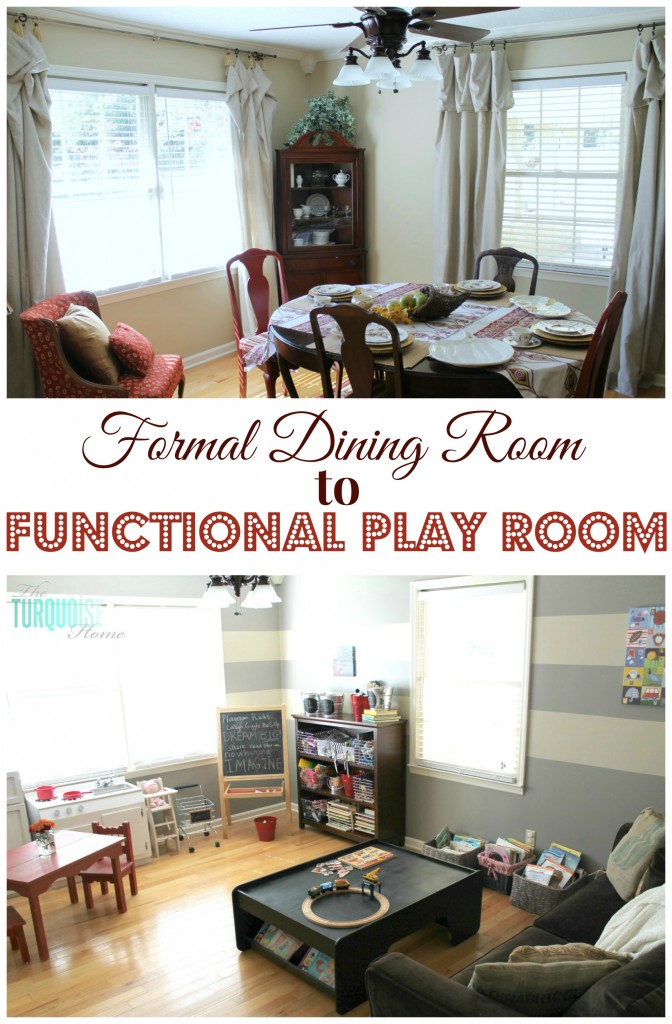
Turning a dining room into a playroom for my friend makes me a firm believer in making your home work for your family. The dining room, which was used maybe twice a year, is now a room this family can use and enjoy every day.
Eek! Y'all!!
That's how I feel about this fun project I'm revealing today. Seriously, Eeeeeek!
When I think about sharing this project, my heart just wants to burst with pride and excitement. Sometimes heart-bursting feelings are hard to put into words, but here goes!
I set out to makeover a neighbor's home with this project, so let's dive in.
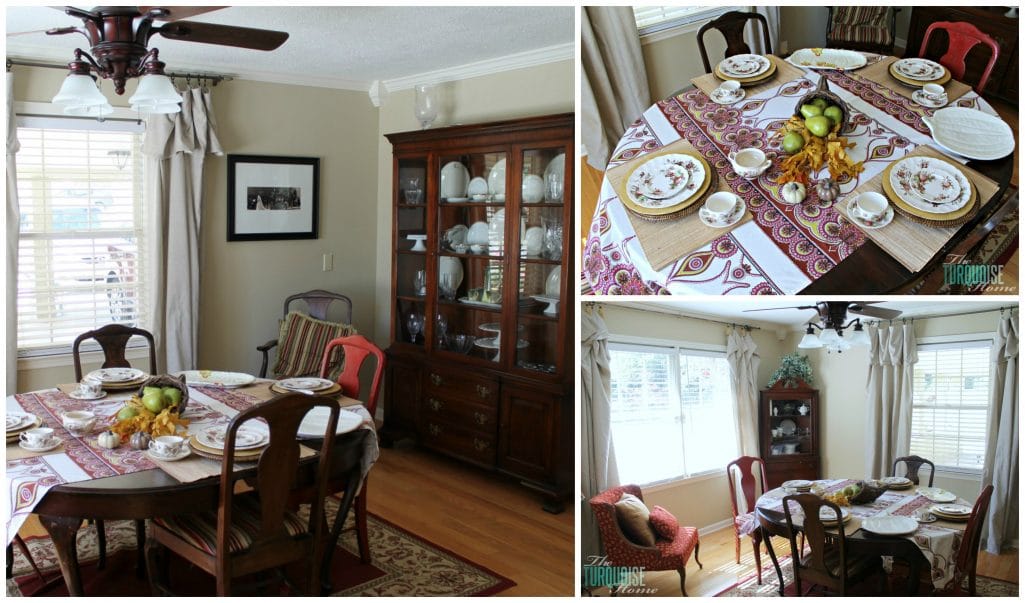
My "neighbor" is my friend Emily. While she's not a direct next-door neighbor, she does live close by. She has wanted to turn her formal dining room into a playroom for several years now. Their house is great, but they really wanted a designated area just for their kids' toys. All the while, they had a formal dining room and living room at the front of their home that were rarely used. All of that square footage was going to waste!
I'm a firm believer in making your home work for your family. So if that means changing up rooms to make them functional for you, then I say go for it!
When you first walk into her home, you enter the formal living area, and just past that is the formal dining room. She wanted to remove the formal living area and make it the dining room/living room, and make the old dining room the playroom.
Are you following me? There's a lot of switching up going on!
Previously, the play "room" was a little nook off of their family room. It was pretty small, and the toys spilled out into the family room, creating chaos. Don't judge Emily's housekeeping skills by these pics. I snapped them while she was in the middle of sorting and moving the toys. {She's a great housekeeper, by the way.}
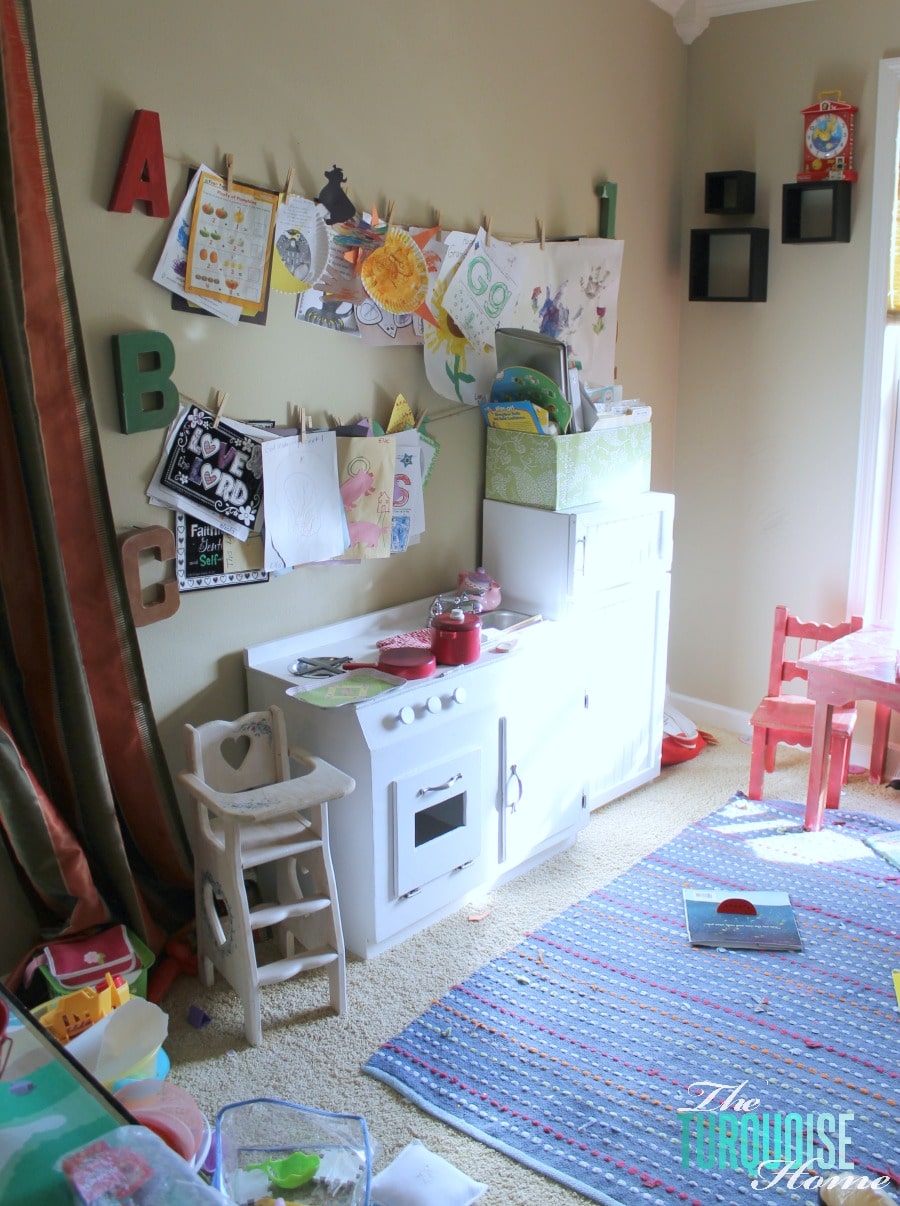
One side bonus of moving the playroom is that Emily had a chance to go through all of the toys and books and took a bunch to Goodwill just in time for Christmas. Woo-hoo! I need to do that in my own house!
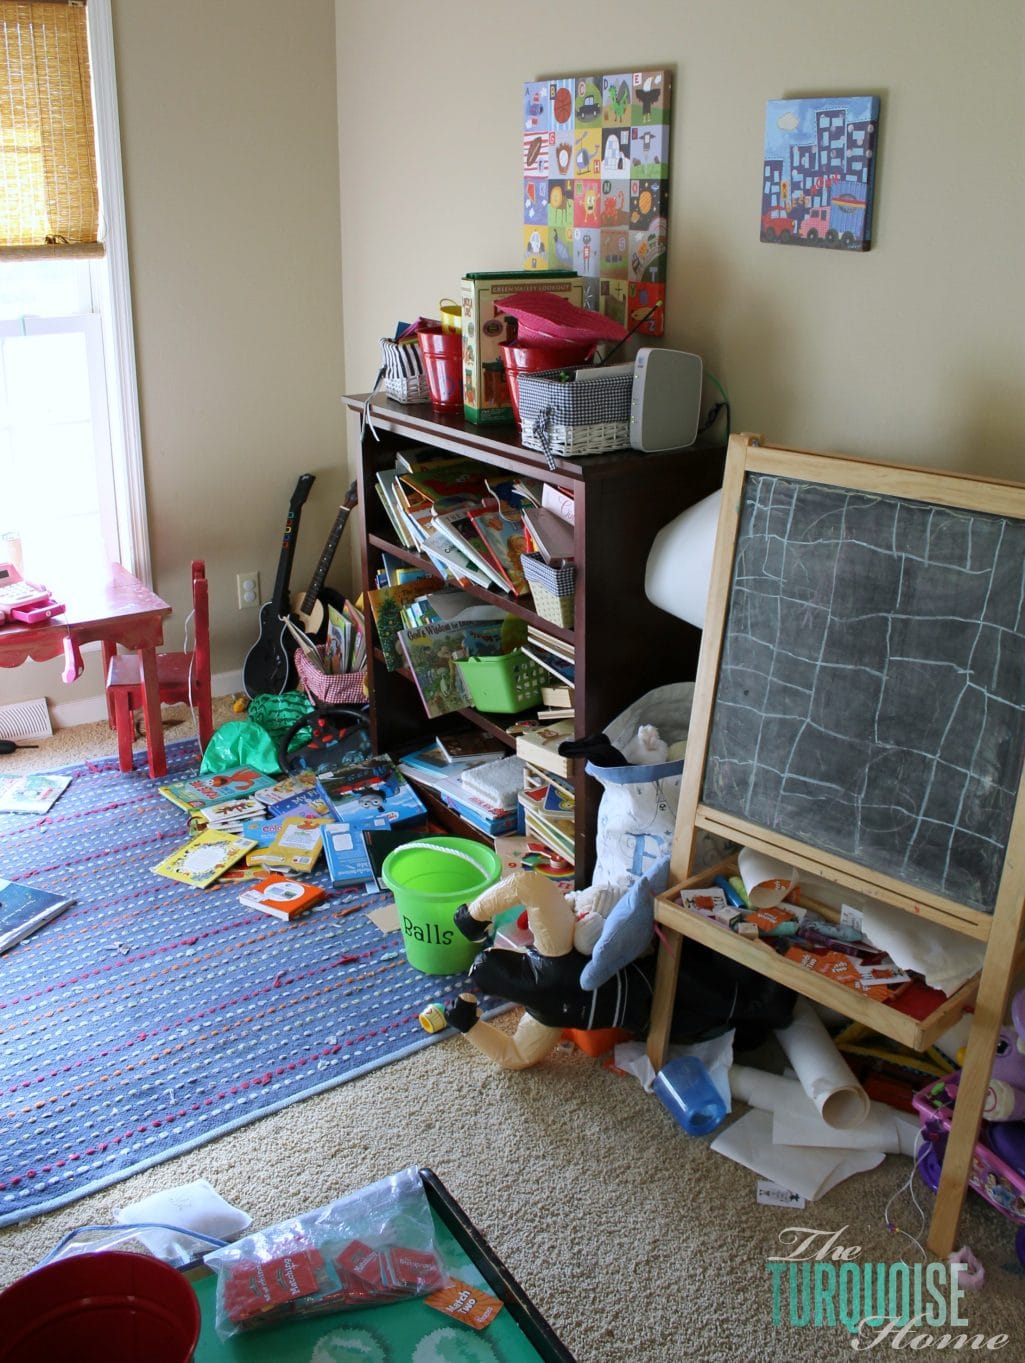
See what I mean? It was just too small to hold all of their play things. So let's dive right into the good stuff – the after pictures!
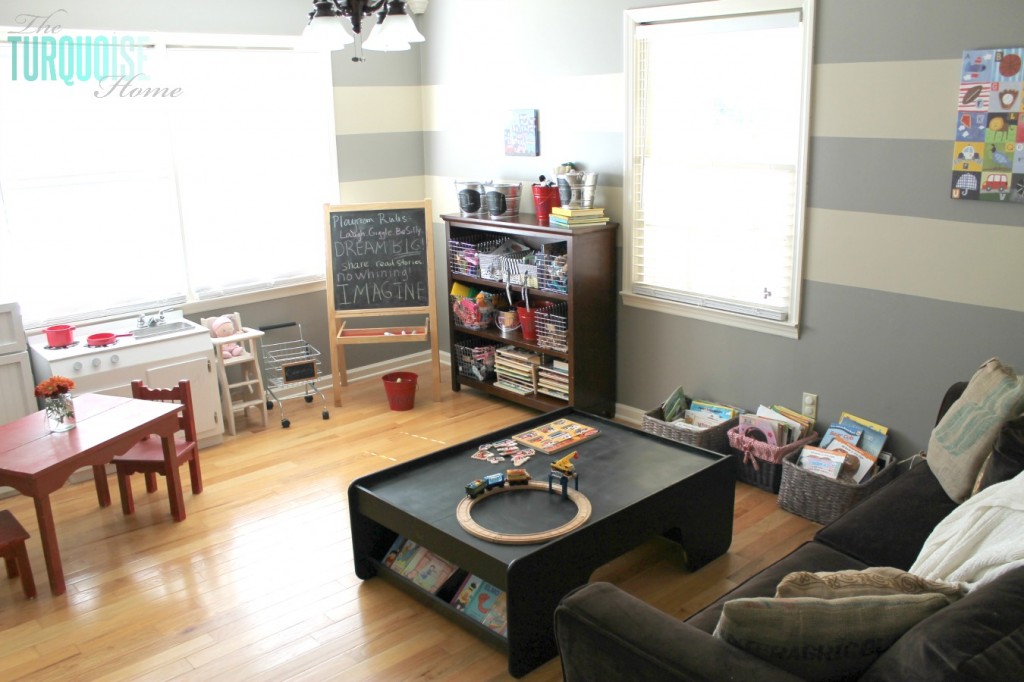
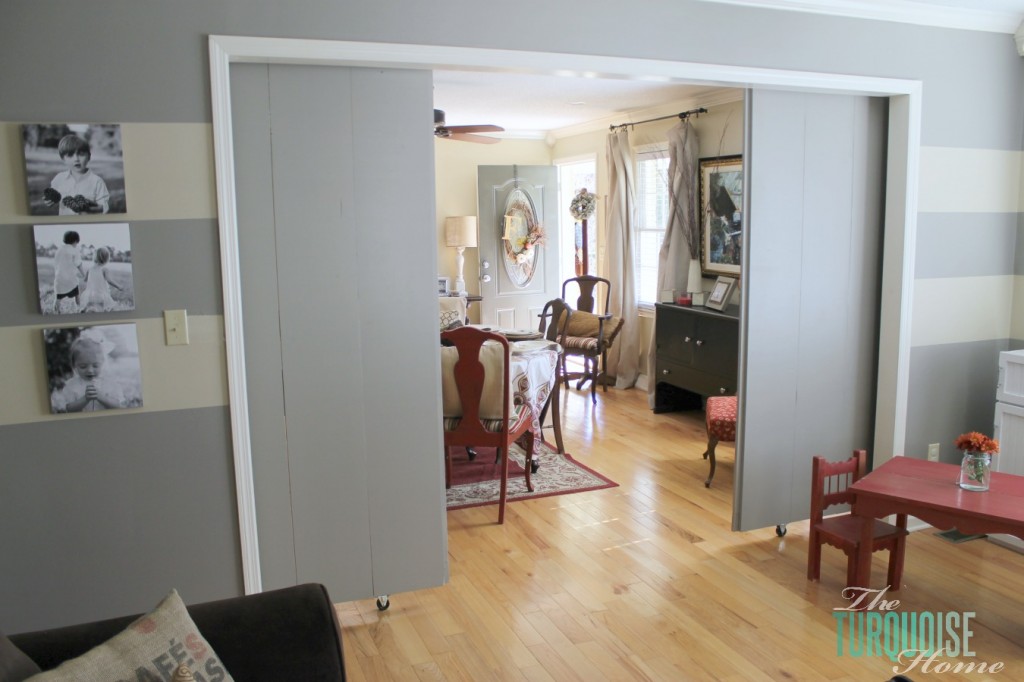
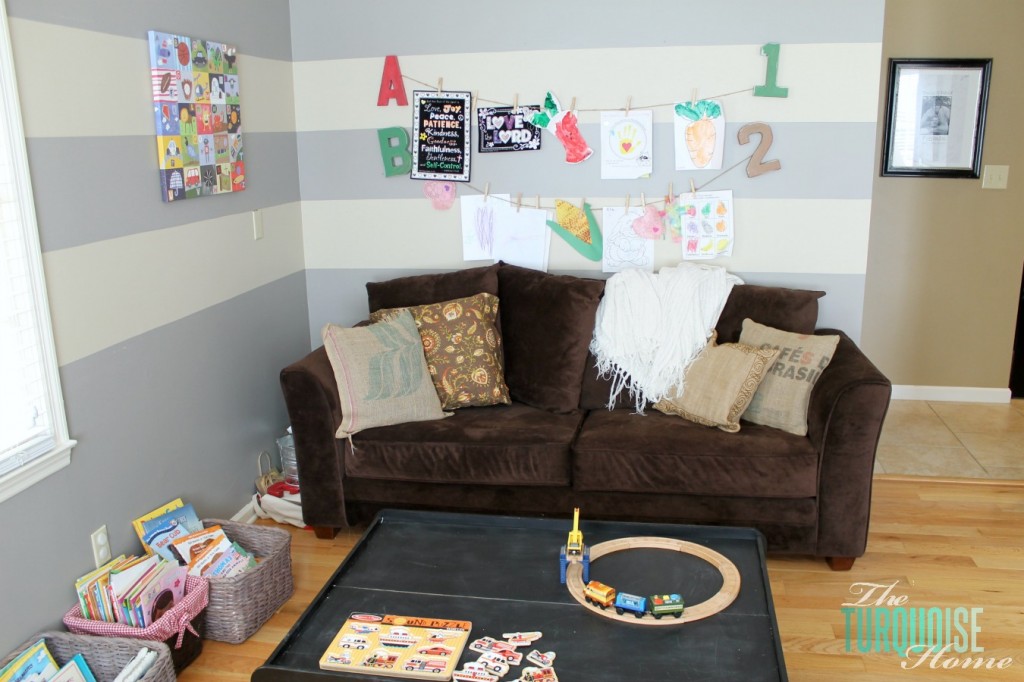
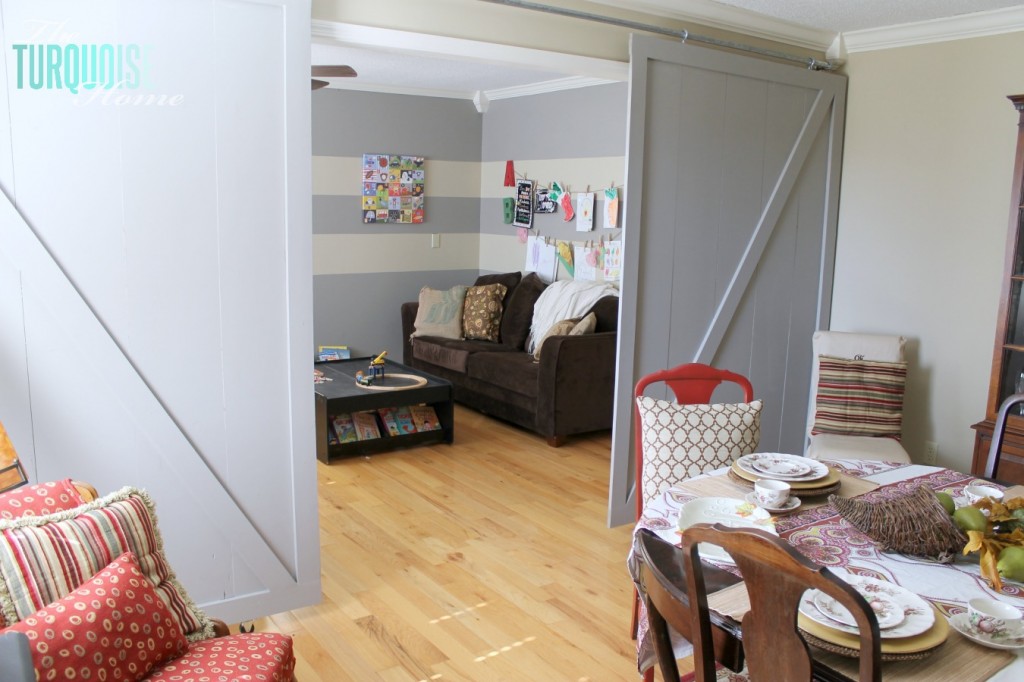
Ta-da!! Her dream was to make the playroom fun and kid-friendly while keeping in line with the decor of her home. Especially since it would be seen when you walked in the front door!
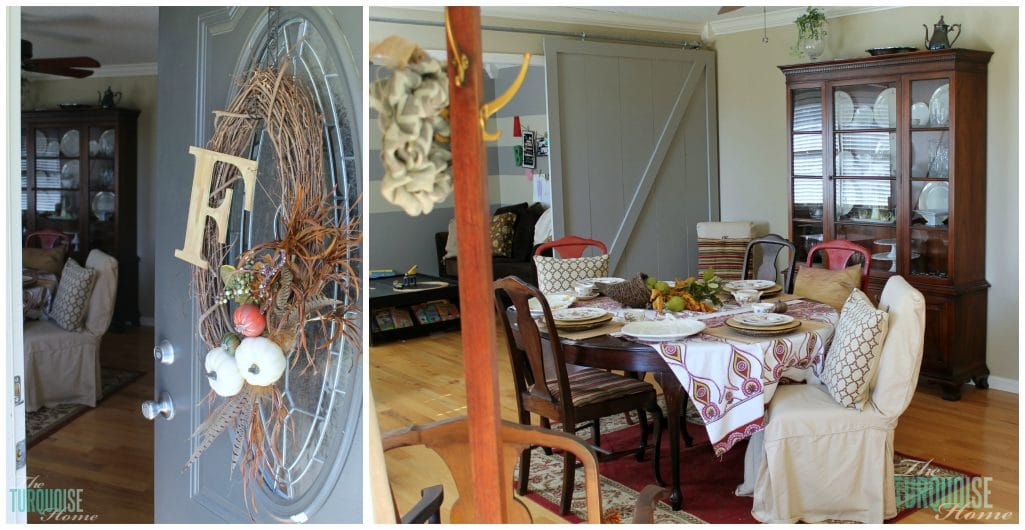
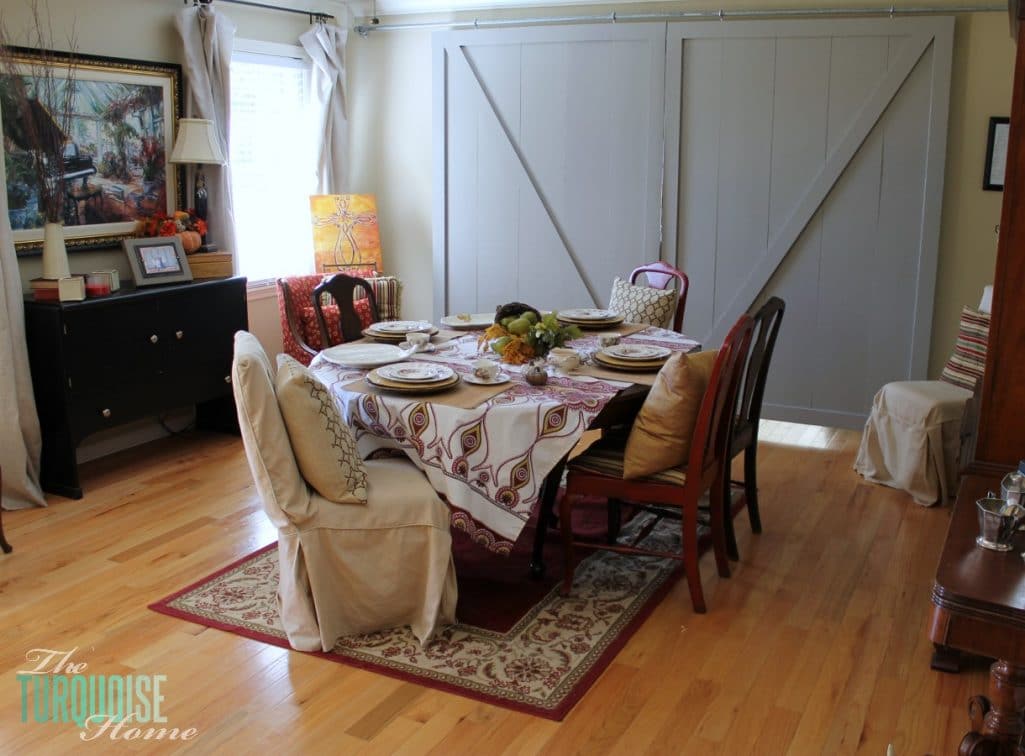
Now, you're probably thinking … who would want to be able to see their kids' playroom from the front door? Well, Emily had the great idea to build these huge sliding barn doors so you can close off the playroom. Genius! {Full Barn Door tutorial HERE.}
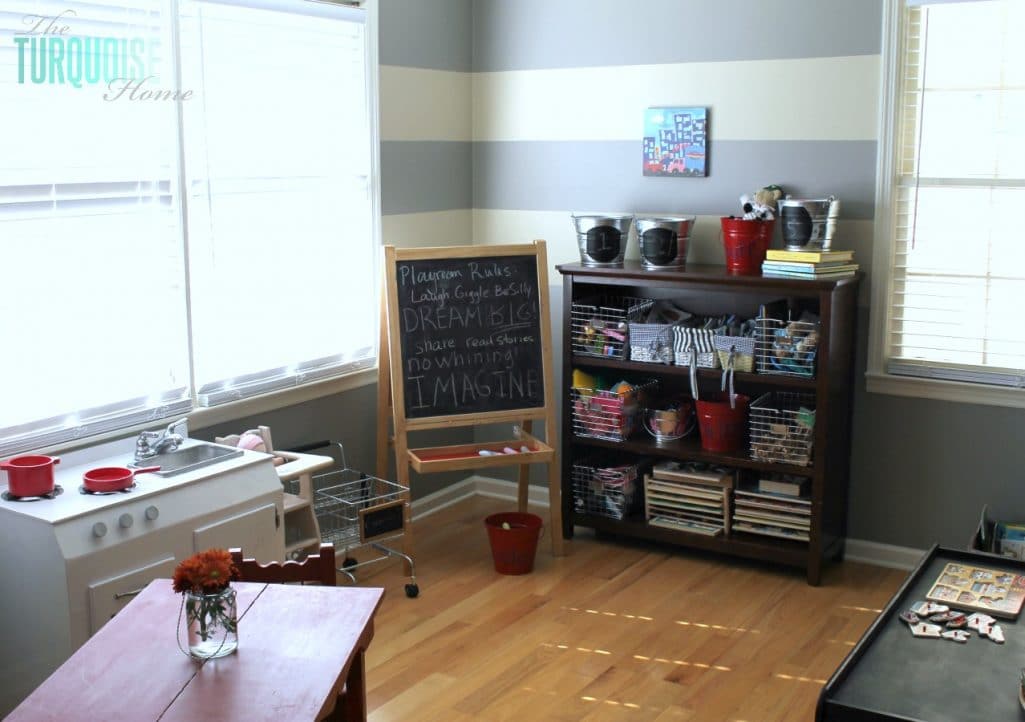
Emily had always wanted to try a gray paint color in her house, but she didn't know if it would work with all of her browns and reds. I assured her this color would look lovely, so we painted the walls with Clark+Kensington's Baby Elephant. We love this color!
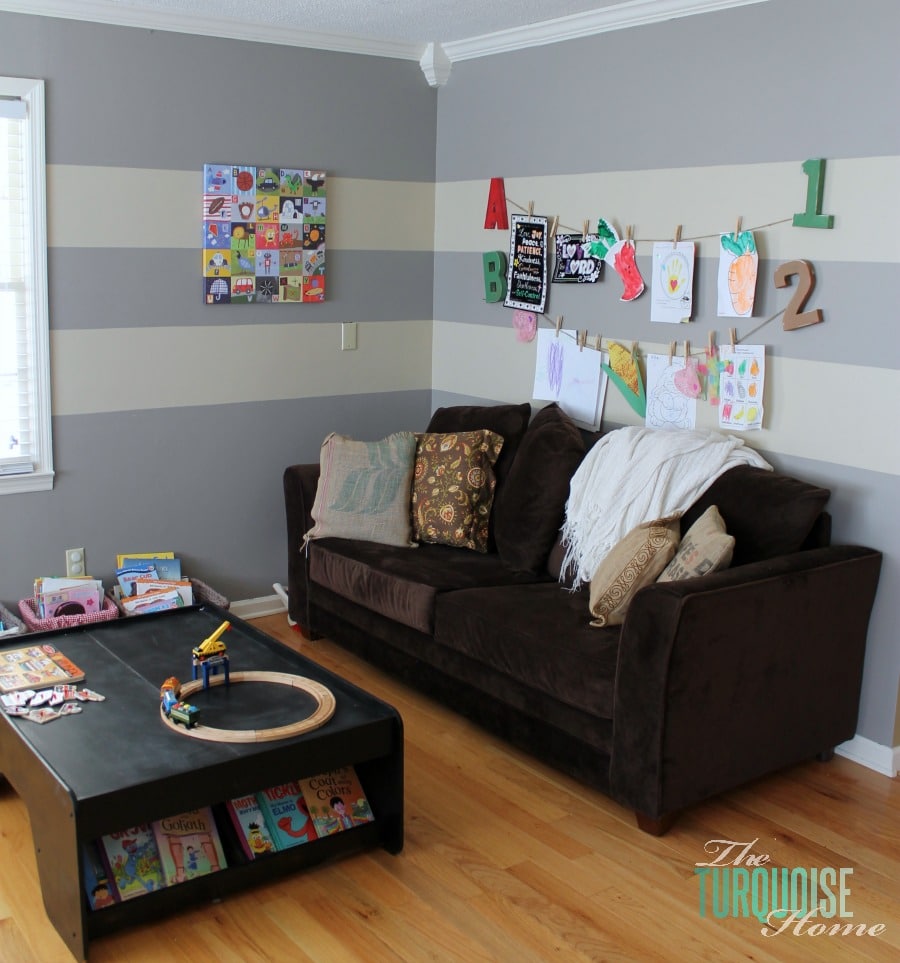
And we {as in she} added two stripes of Clark+Kensington Mocha Icing. I think combining the gray with the beige really makes the color work with brown and gives it a fun, playful look without being juvenile. It's gorgeous, don't you agree?
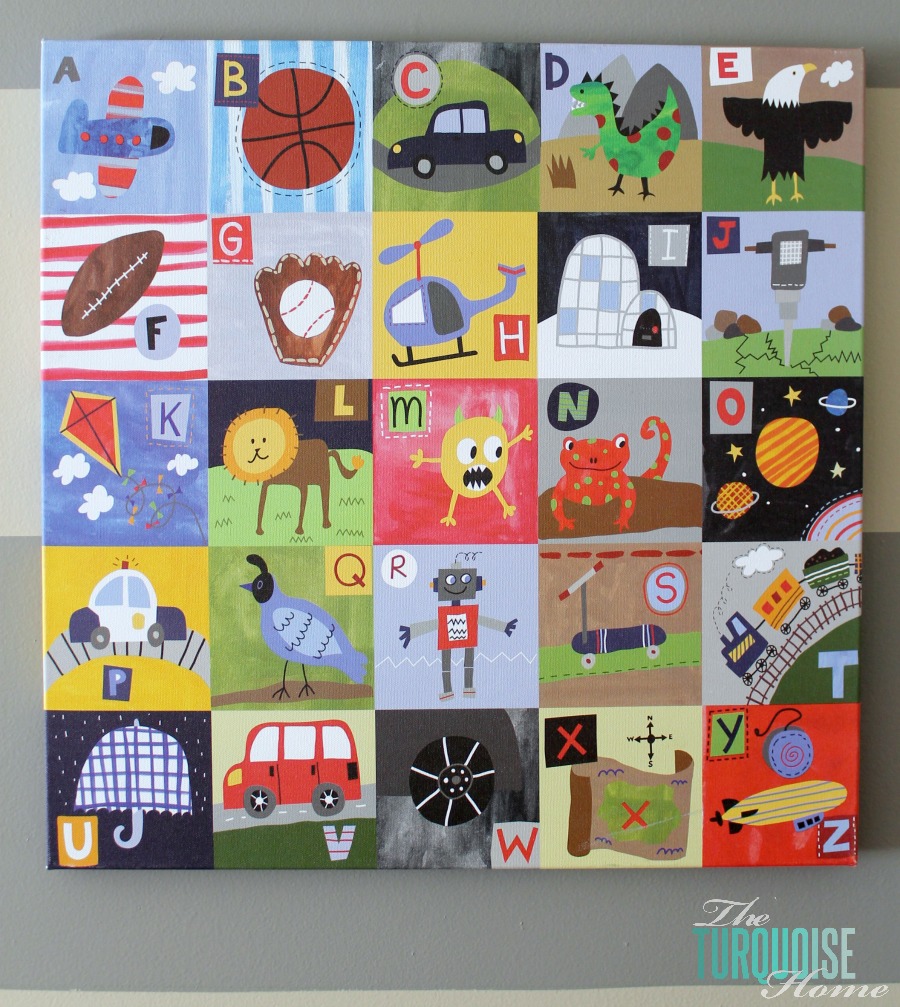
We used this art as a jumping-off point for the paint colors and room decor. I love how it mixes the grays and browns, blues and reds.
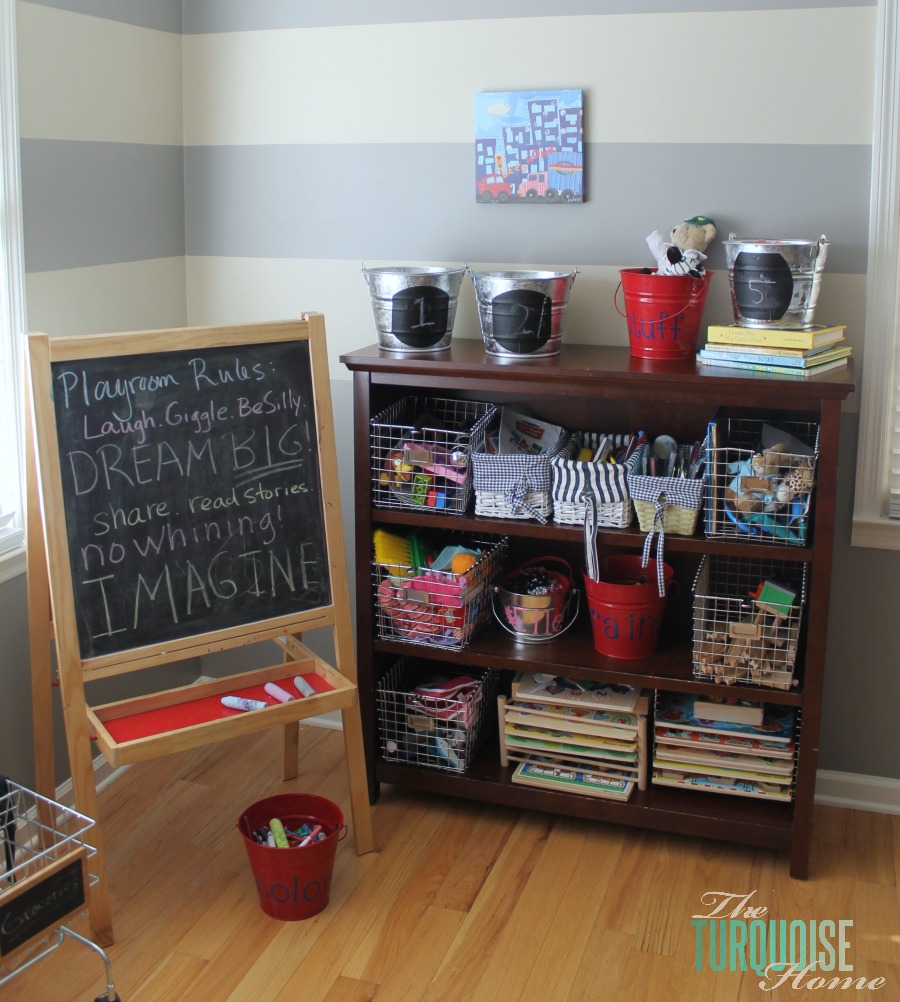
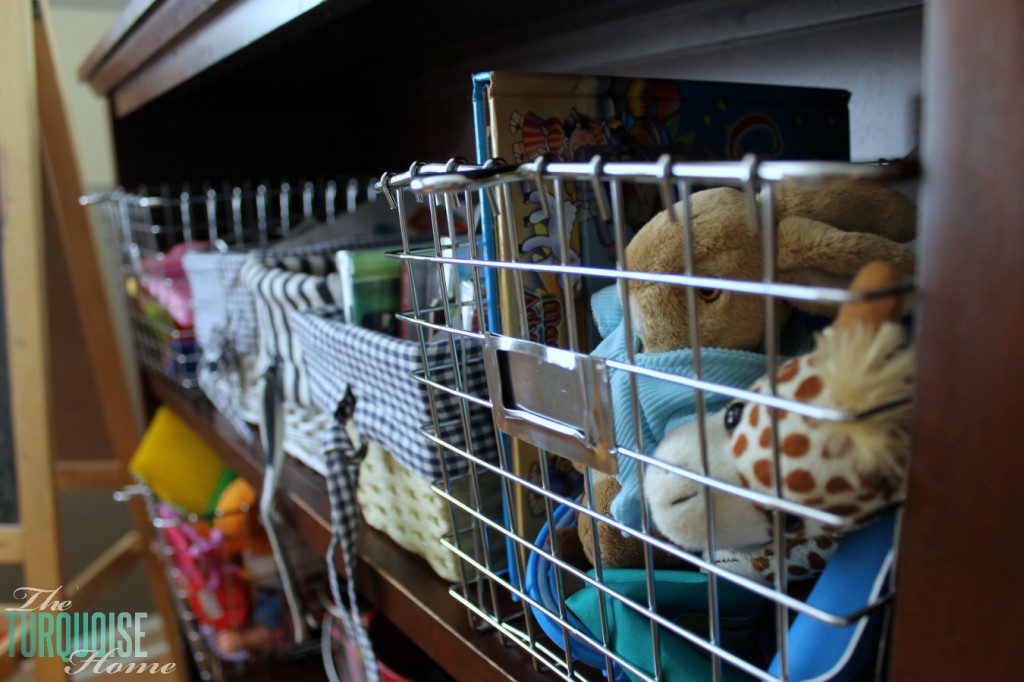
Ace provided us with some fun locker baskets and galvanized pails for extra storage. I'm going to need to get some locker baskets for my home. So cute and functional!
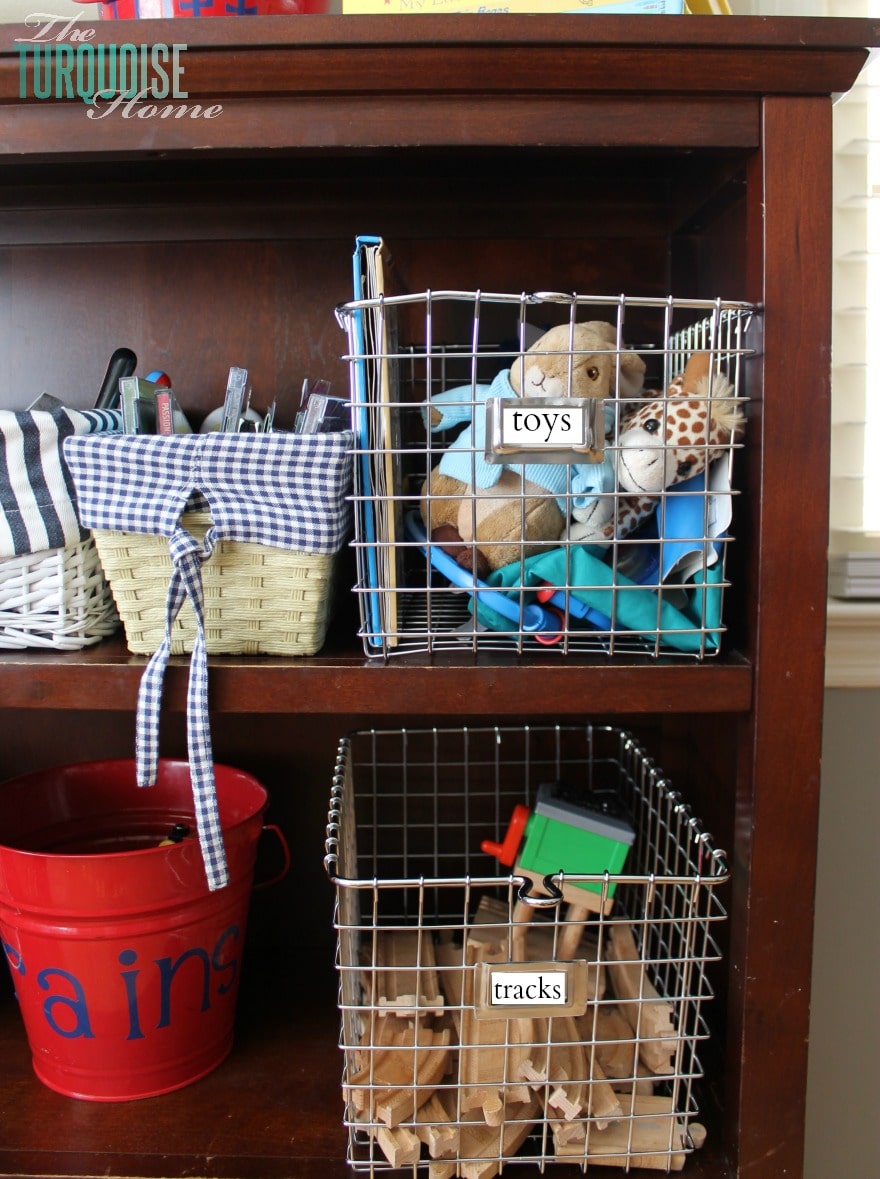
We forgot to add little labels to the front of the baskets, so I did those during the editing process. So fun!
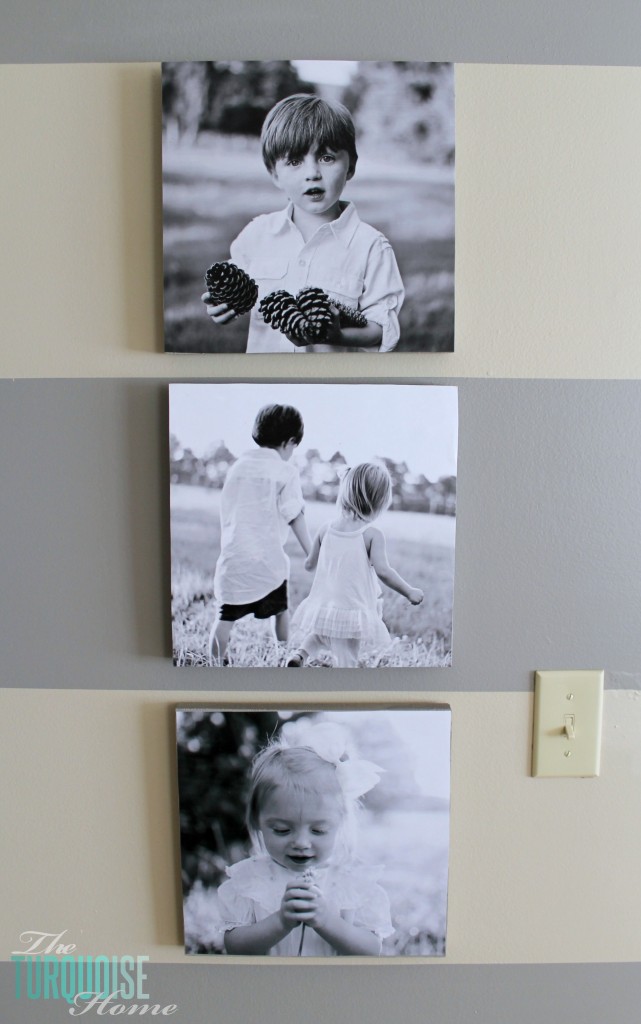
I love how Emily used some of the scrap wood from the barn doors and Mod Podged {is that a verb?} some adorable photos of her kids onto the boards, creating a "canvas" look. How precious are her kids?
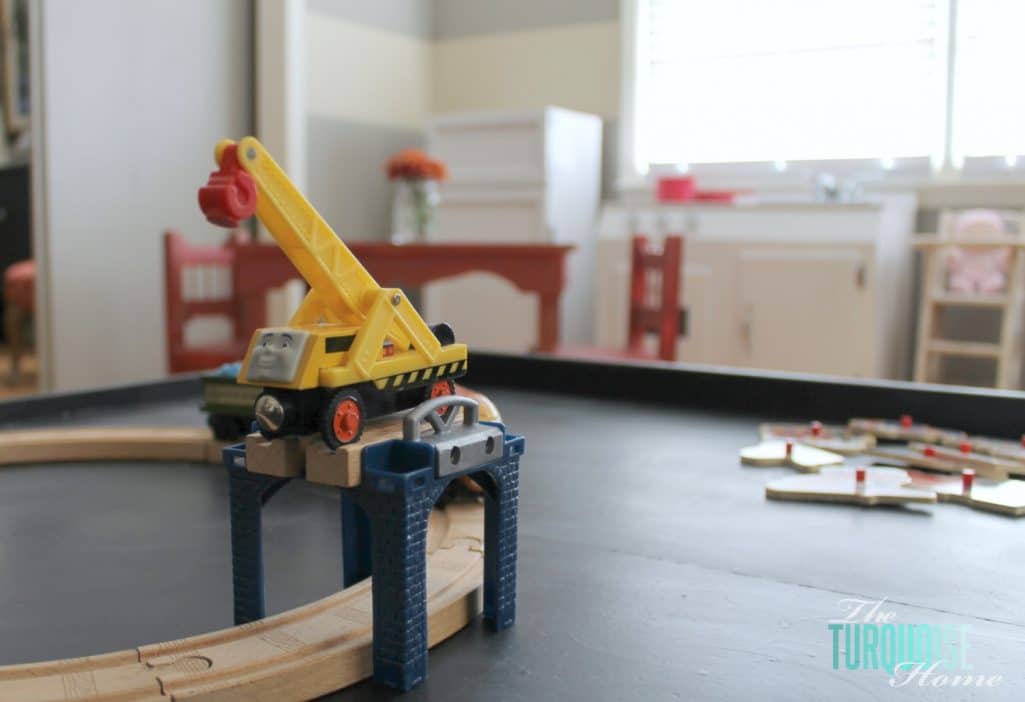
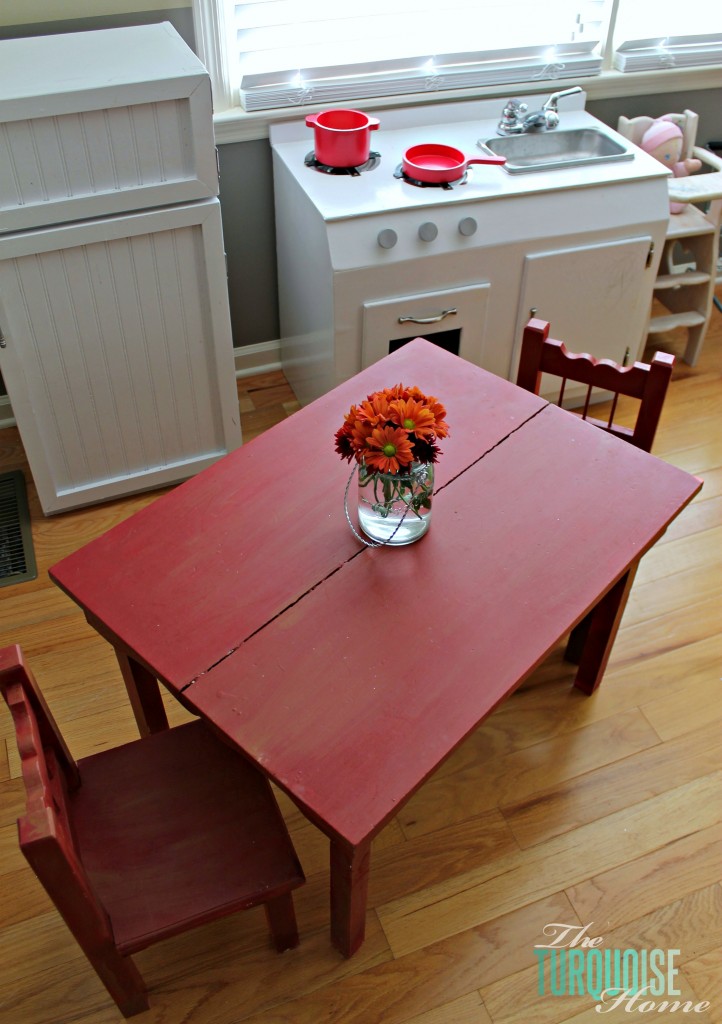
Their train table was just like all of the train tables you see out there, with the faux stream and woods scenes painted on them. Emily used Krylon Chalkboard paint to paint it black. Now the kids can draw all over it with chalk! They love it!!
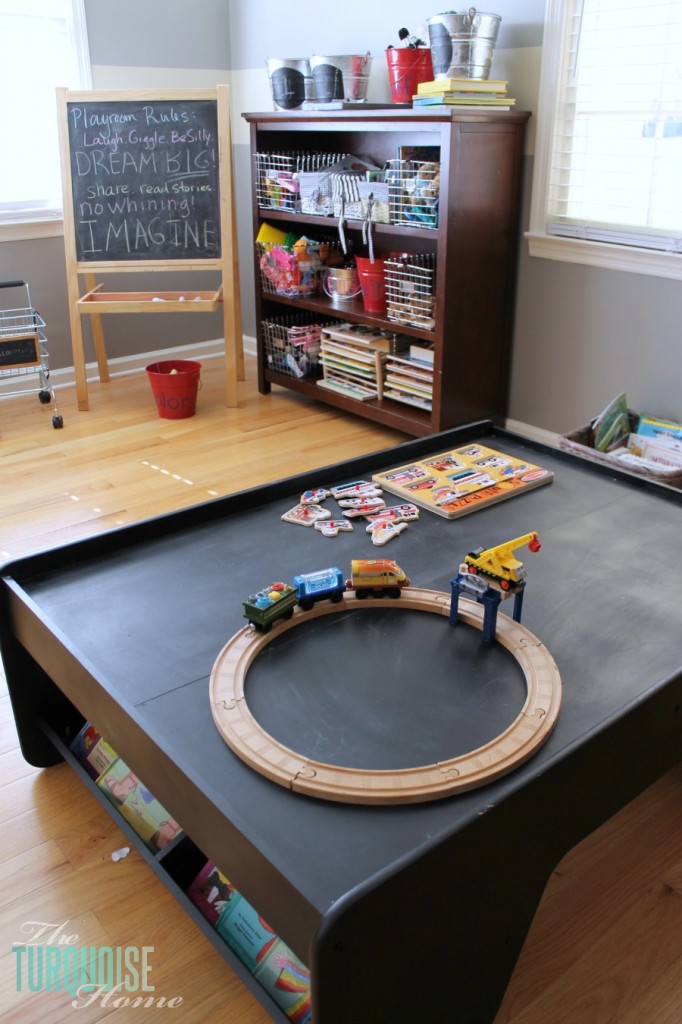
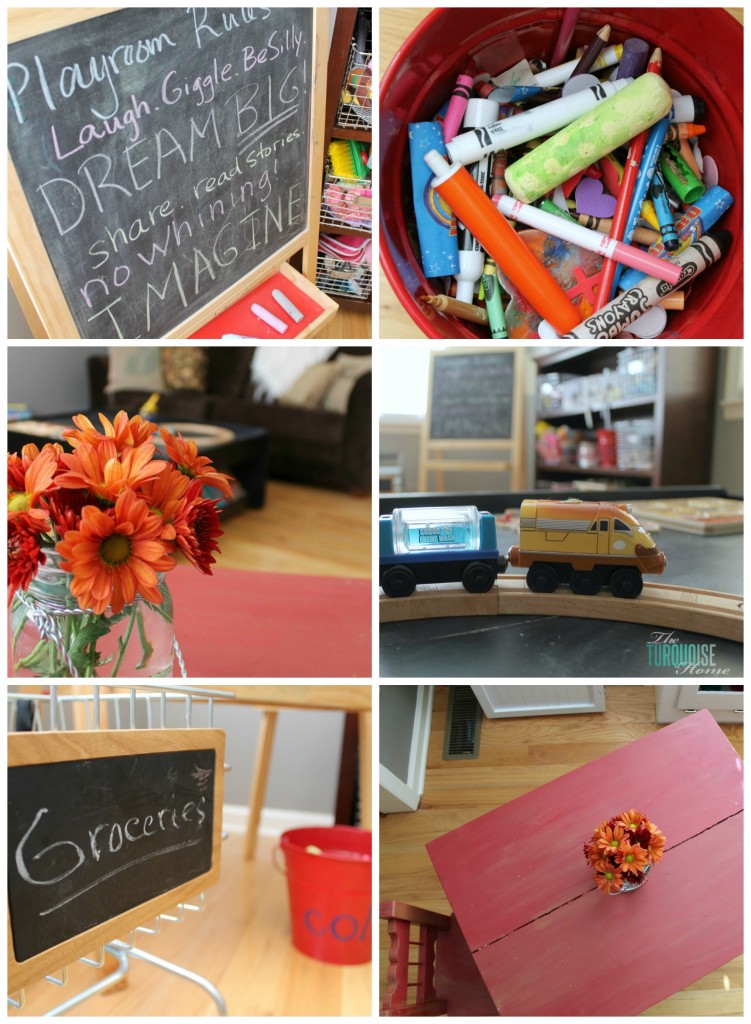
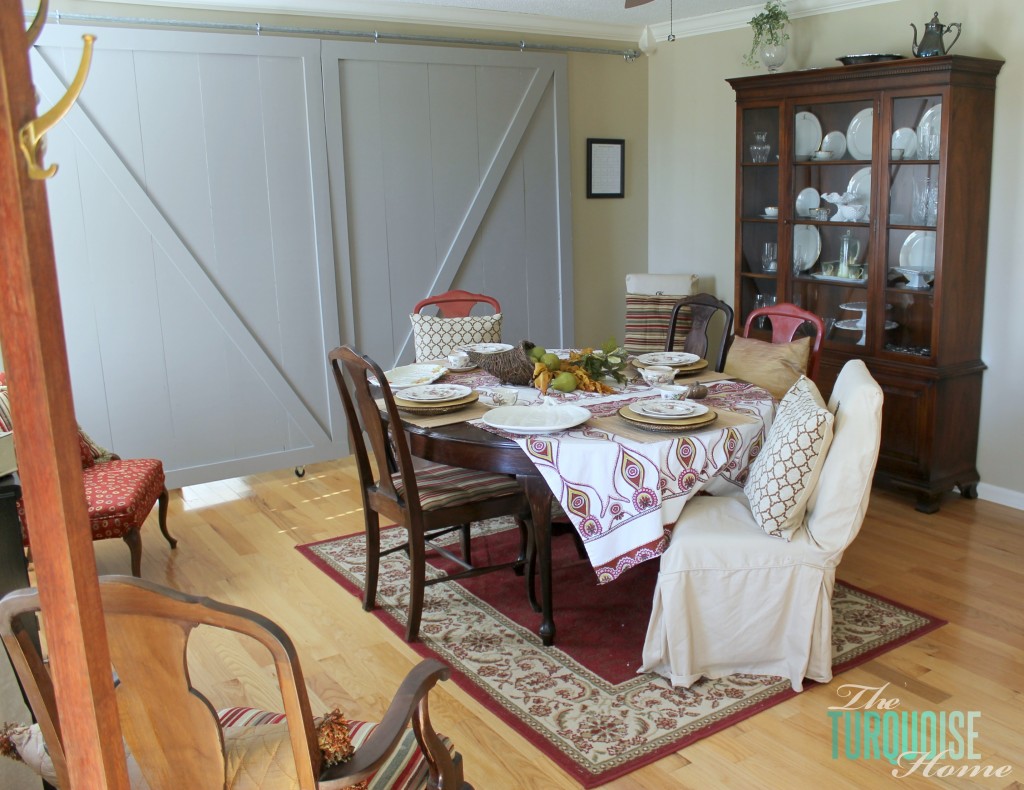
I took the liberty of showing off extra angles of Emily's new dining space, because she's such a great decorator. She loves to create a beautiful home and host others in it. Thankfully, now she can have people over and shut off the kids' playroom. Or the kids can hang out in there while Mama entertains.
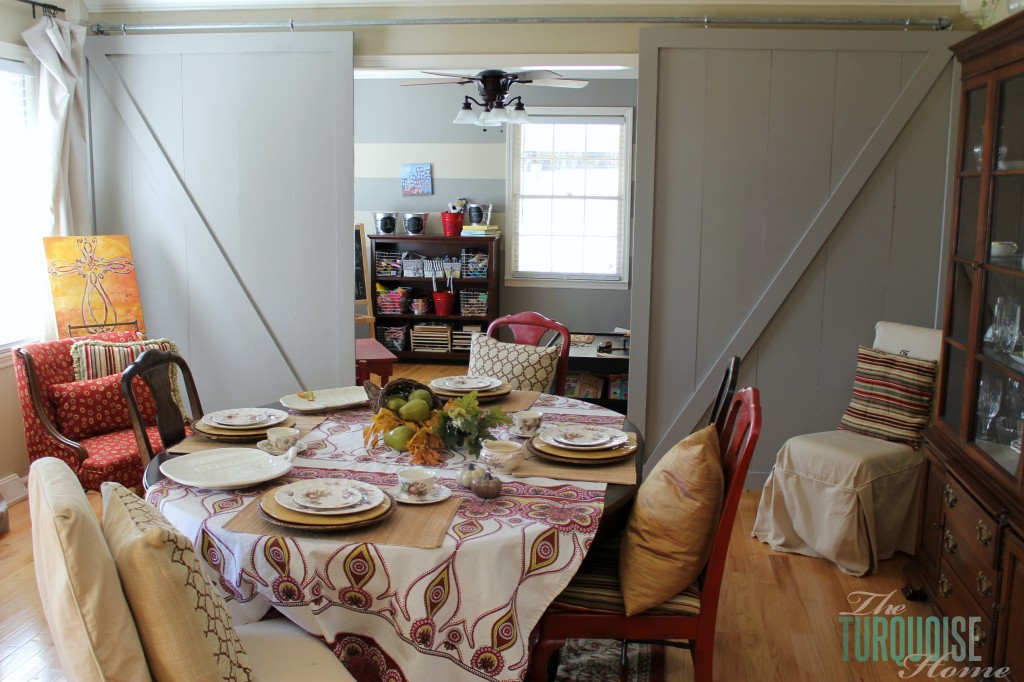
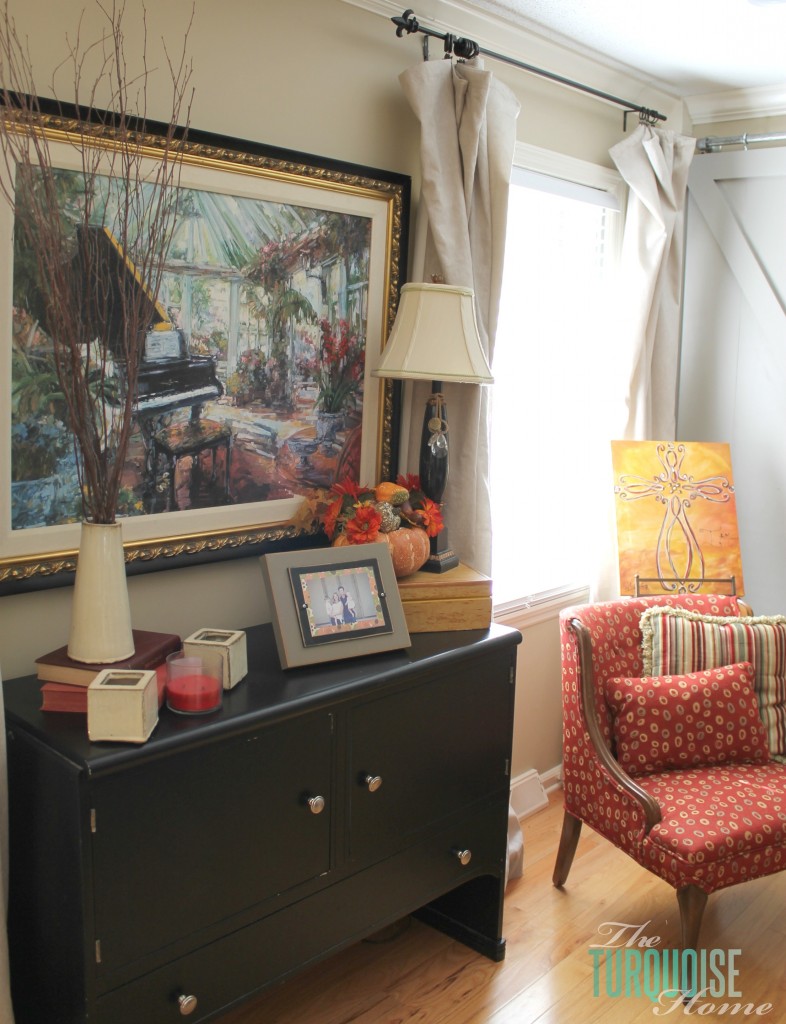
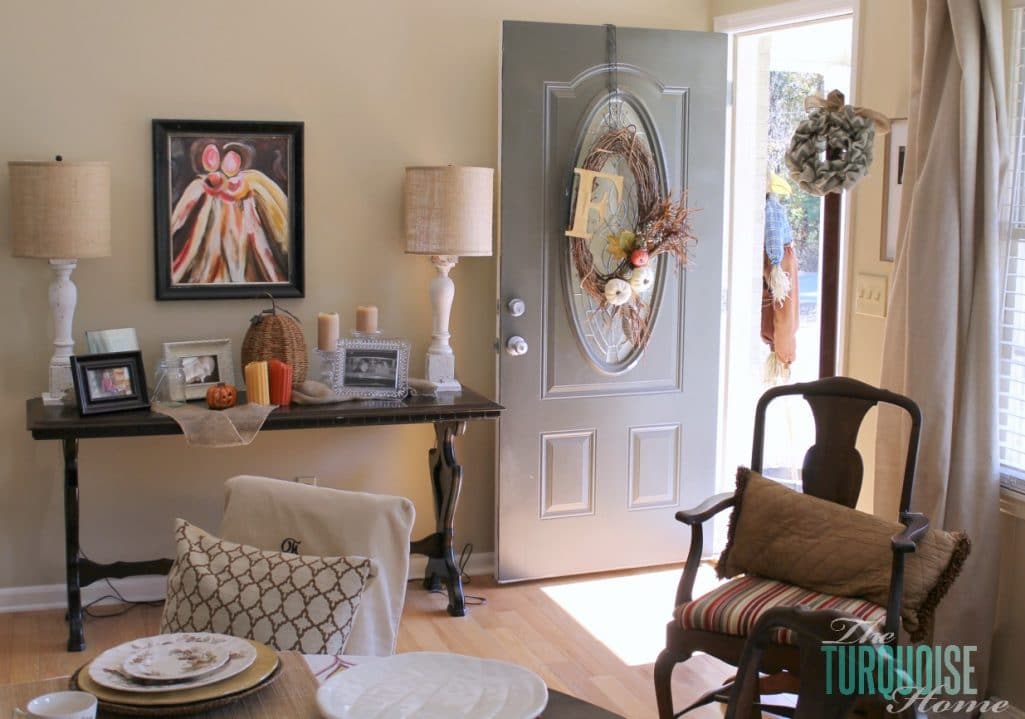
The barn doors were a fun project to build together. I loaded up all of my tools in the back of my van and took them to her house. We spent a couple of hours here and there building them together while our kids were in preschool. Actually, there's no day of the week when all three of our kids {my one and her two} were in preschool, so we always had at least one kid with us.
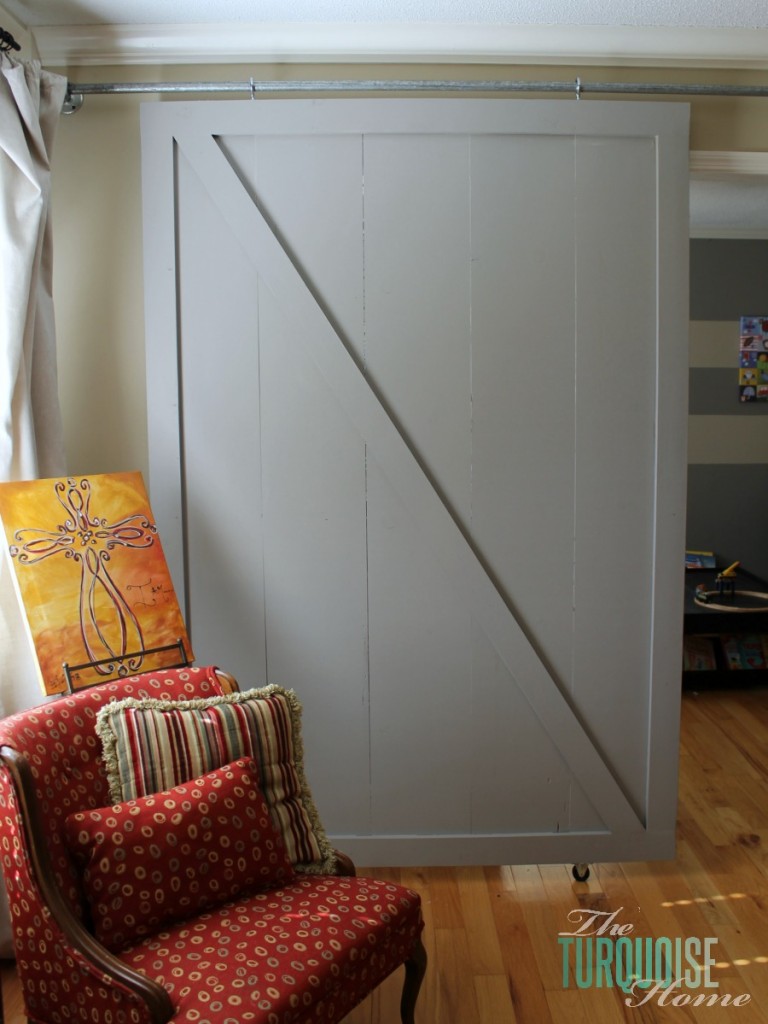
You better believe we were giddy with excitement and so proud of ourselves when these doors were in place. Just two mommies building barn doors. And we installed them ourselves. I wish someone had a video of that process – it was a hoot!
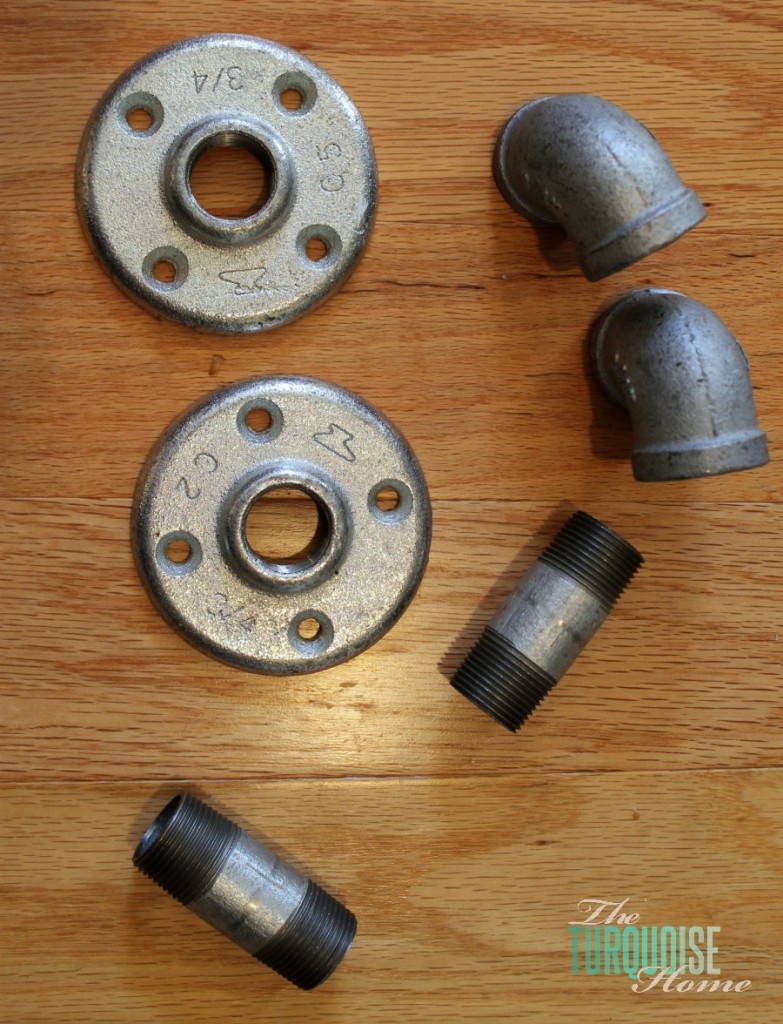
Ace provided the hardware for the barn doors. You can buy most of these parts online, but I wanted to go into the store and make sure I was getting exactly what I needed. They do sell a lot of casters online, which we used on the bottoms of the doors. {Full Barn Door Tutorial HERE.}
Emily texted me a couple of days after we completed the project and said it's literally changing their lives – having all the toys corralled in one room. I believe it! Now to figure out where I can add a playroom in my house. Ha!!
Is there a room in your house that you need to change in order to make your home more functional?
Mine is changing my guest bedroom into a dedicated office that can still function as a guest bedroom the three times a year when someone comes to visit. I hope to make that transition in 2014!