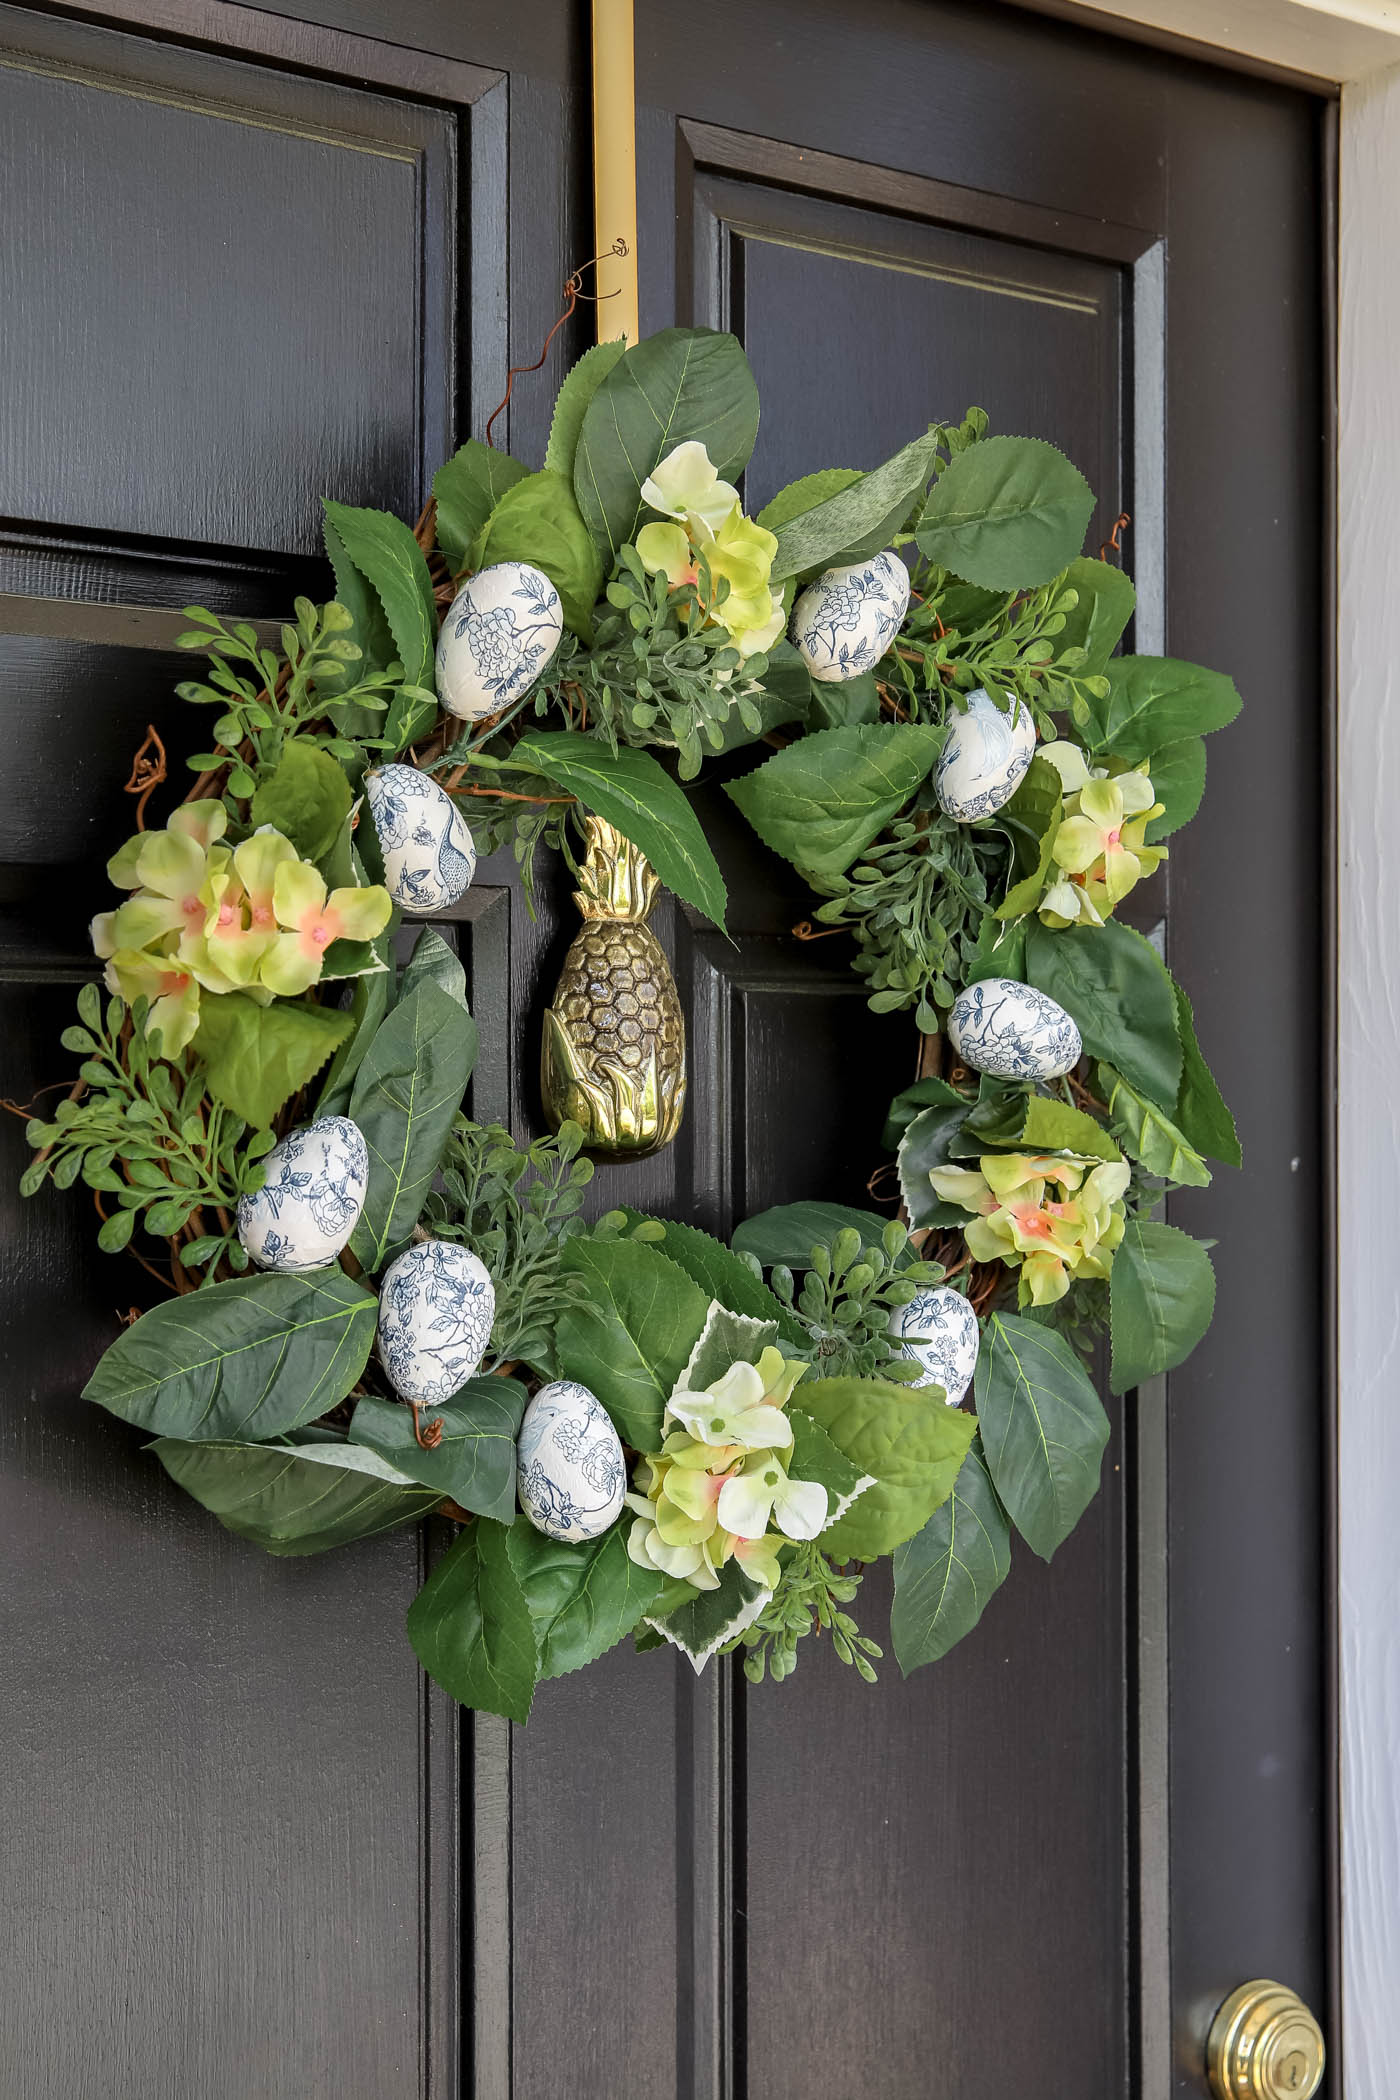
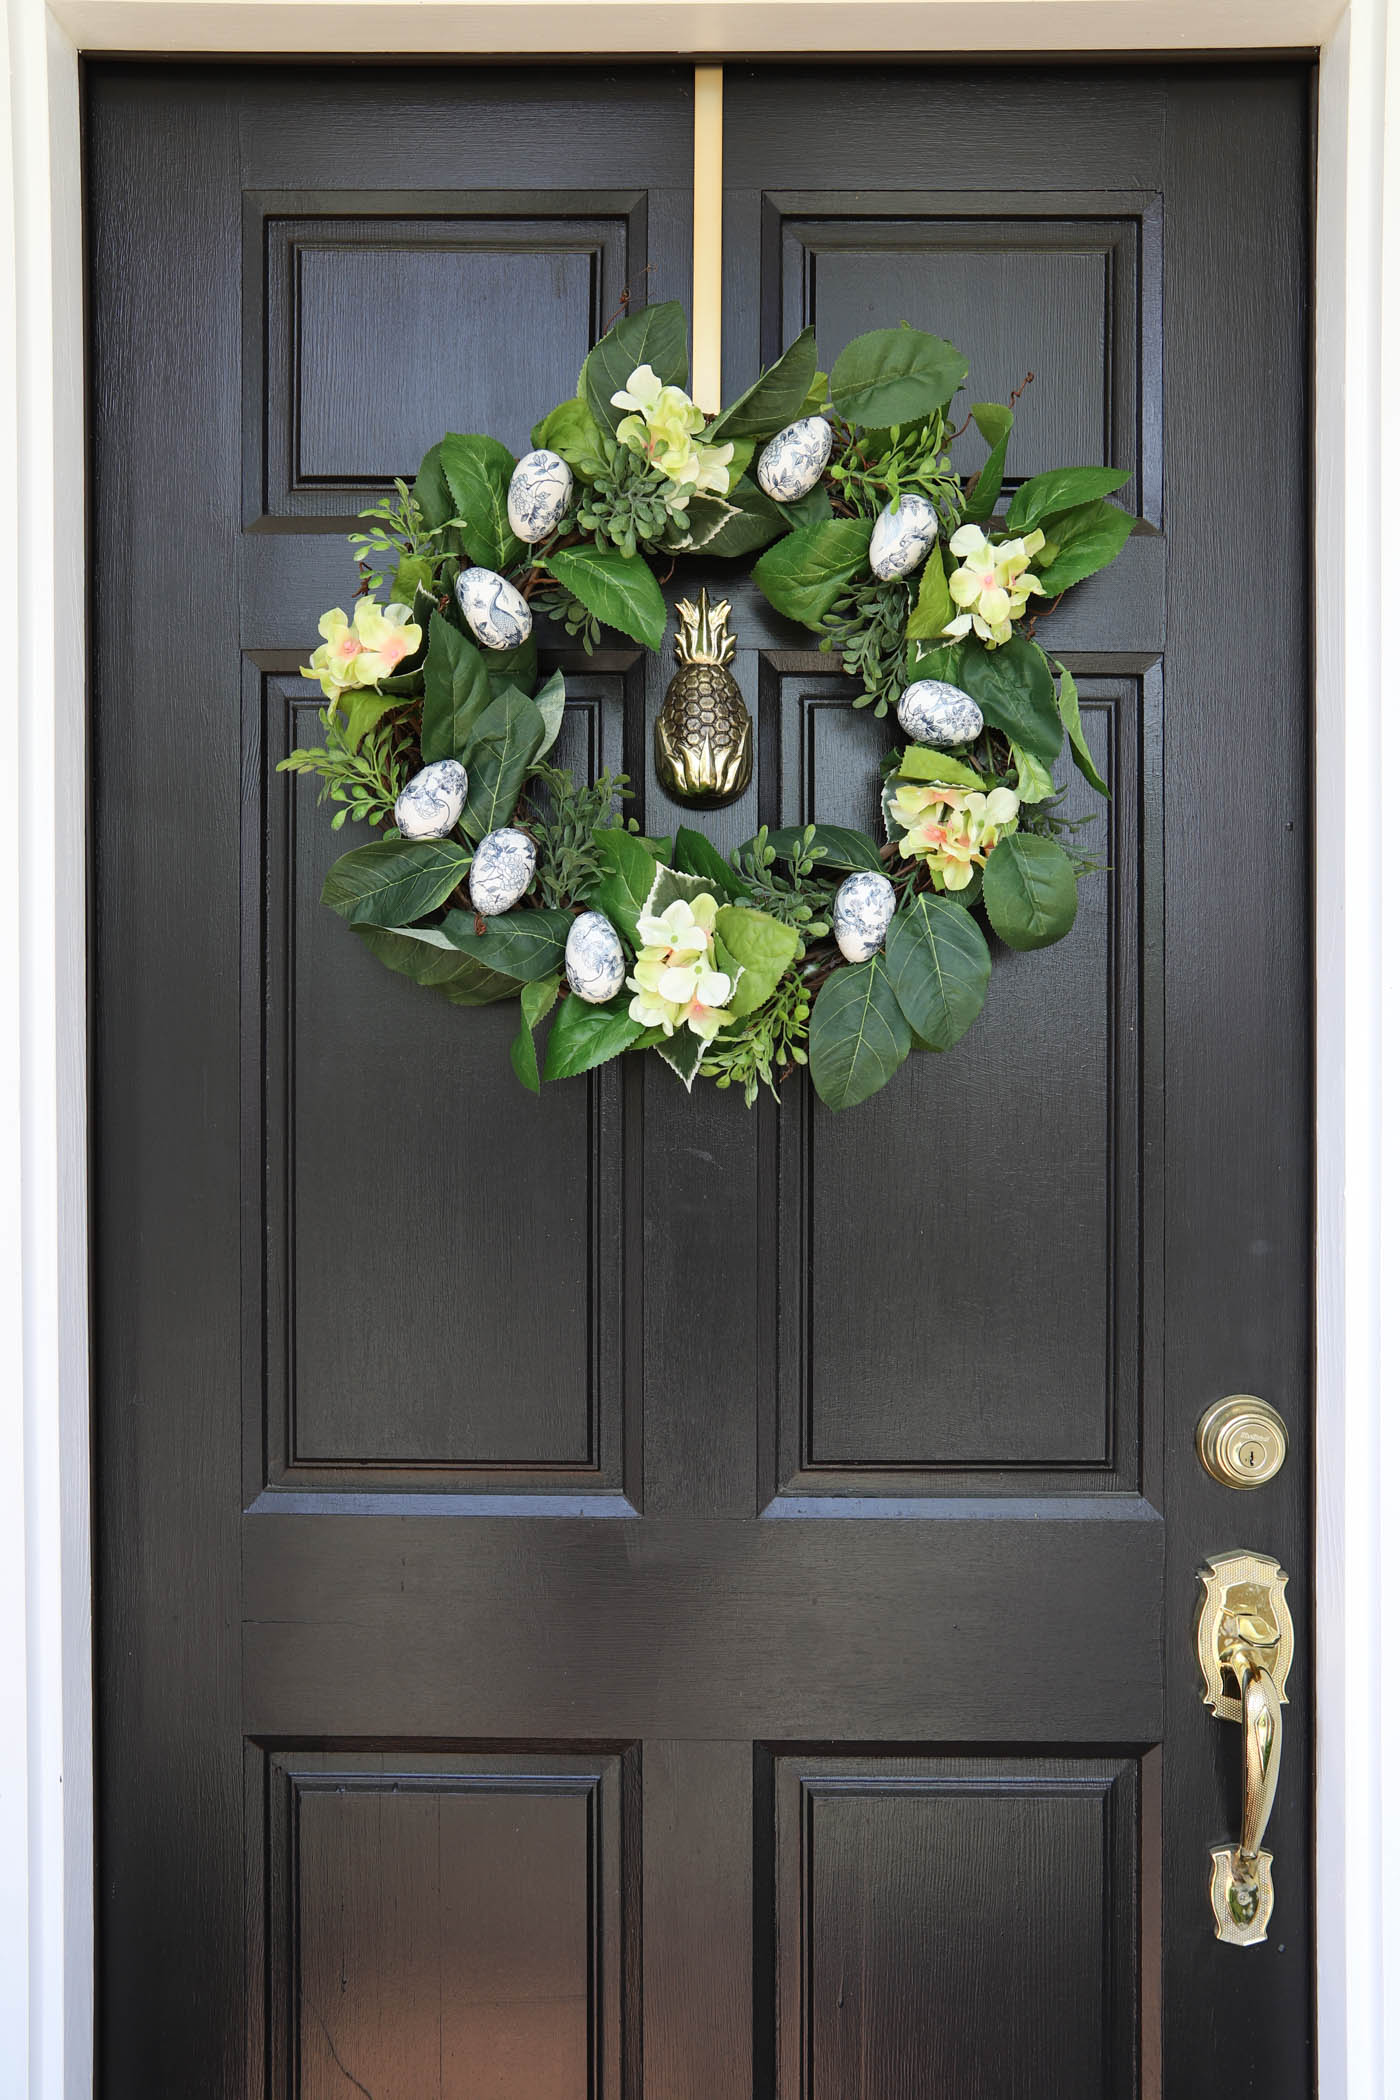
A fresh take on the usual Easter egg wreath, built with decoupaged chinoiserie eggs. This blue and white wreath is ideal for all of spring!
I've seen some adorable plastic Easter egg wreaths for spring, but I wanted my own twist using pretty blue and white eggs that were so easy to make. It's perfect for Easter, or any time between March and May!

When I pulled my spring decor out of the closet this year, I wanted a new Easter decoration made from things I already owned. I had an old lemon wreath I hadn't used in ages, plus some wooden eggs that had been sitting around for years.
I was inspired by the chinoiserie pumpkins I made last fall, and I wanted to use the leftover blue & white napkins from that project, too!
So I started thinking. I would decoupage the wooden eggs with the napkins, then strip the lemons off the wreath and add the eggs in their place!
That sounded good to me, and it would be a fun way to dress up my front door.

What You'll Need to Make This Easter Egg Wreath
- 9 Wooden Eggs (Most faux eggs would work, too!)
- Blue & White Paper Napkins
- Drill Bit – a bit longer than the eggs
- Drill
- Light or White Paint
- Small Craft Paintbrush
- Hot Glue Gun
- Hot Glue Sticks
- Mod Podge
- Floral Wire
- 18-inch Grapevine Wreath Form
- Faux Greenery Stems for Filling the Wreath
- Faux Flowers for Filling the Wreath
How to Make an Easter Egg Wreath
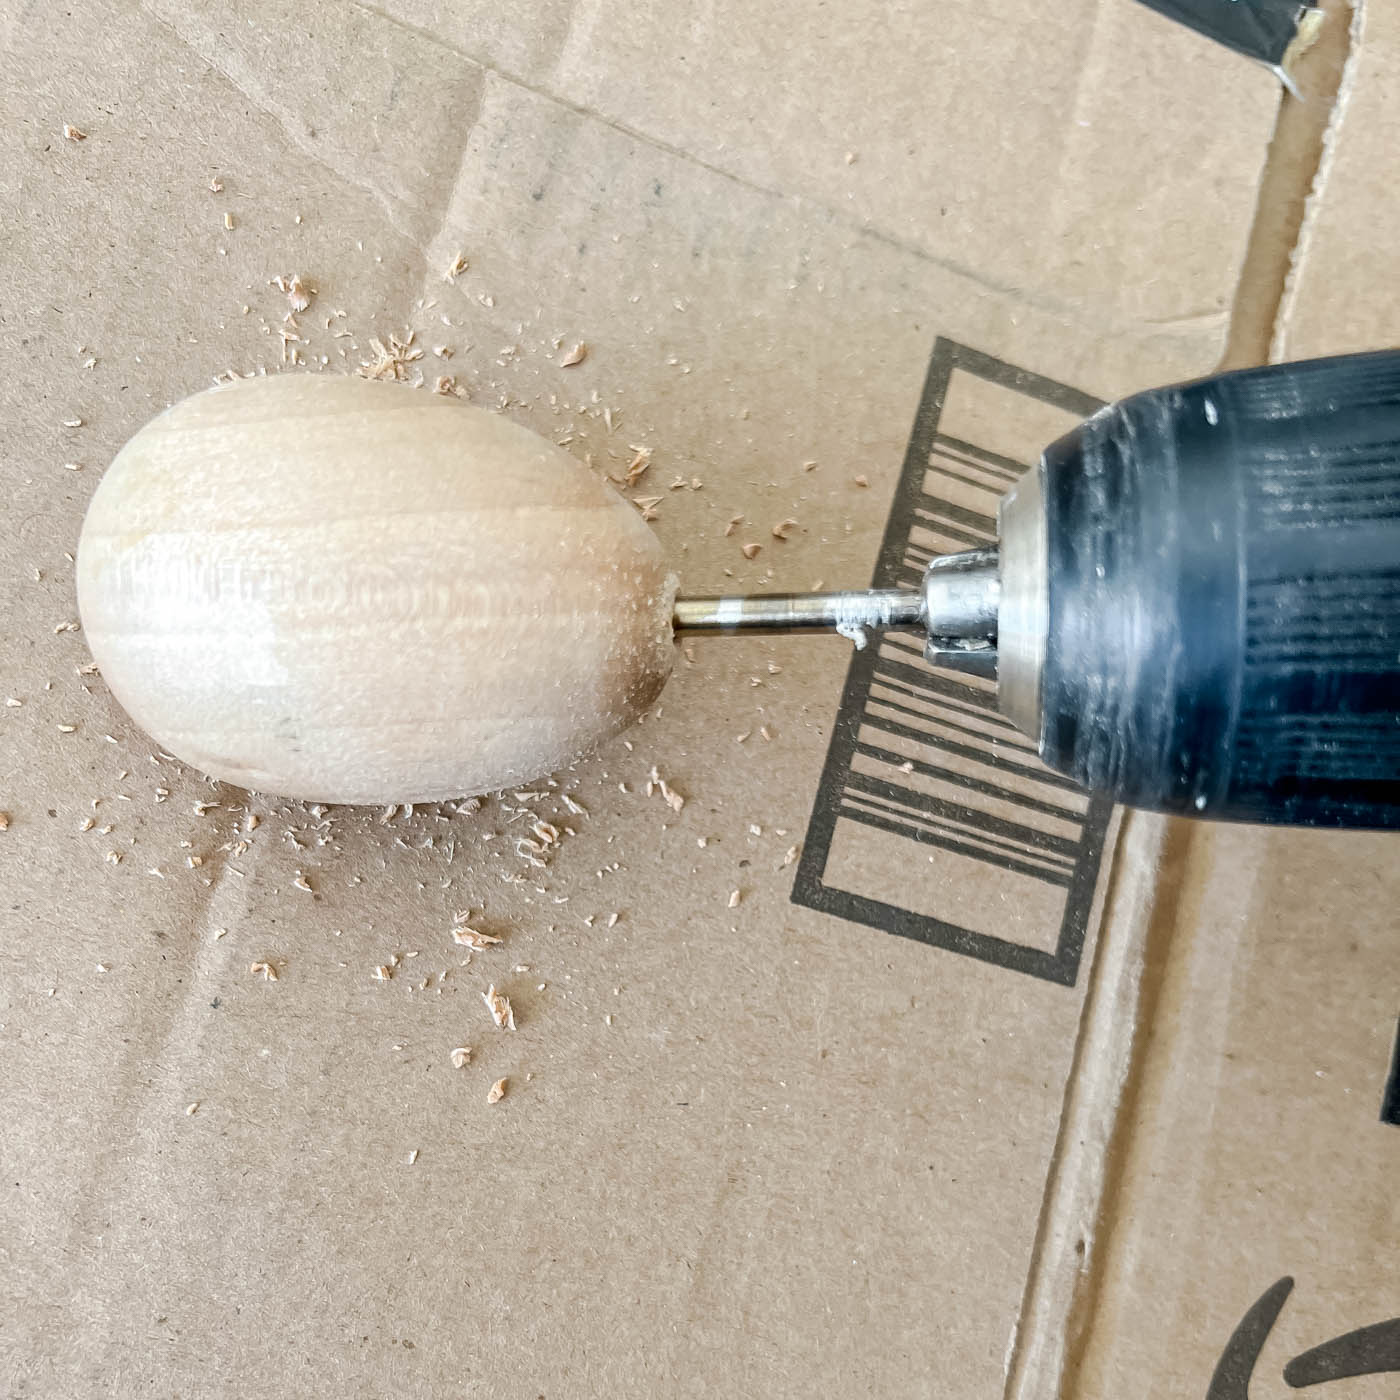
1. Drill a Hole Through the Center of Each Egg
First, drill a hole through each wooden egg. I tried a shorter bit and drilled from both ends to meet in the middle, but the holes never lined up. Use a drill bit longer than the egg and drill straight through.
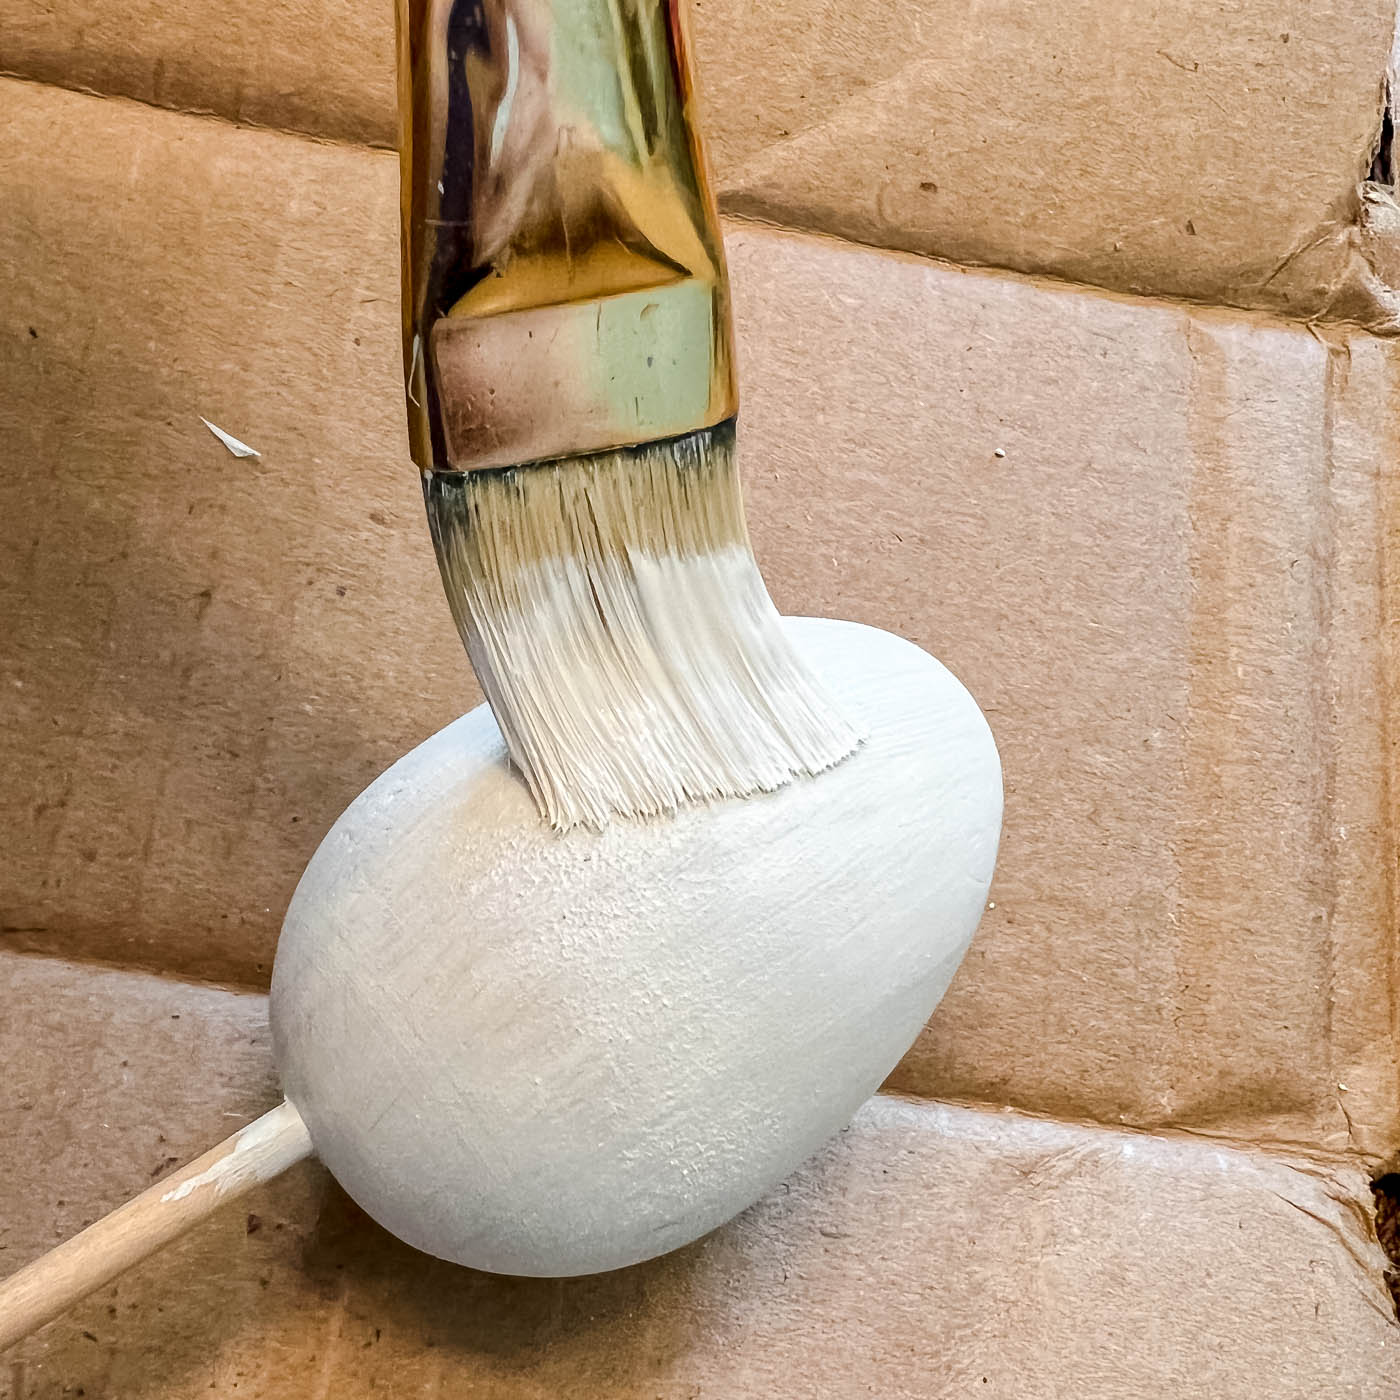
2. Paint the Eggs a Light, Neutral Color
I tried decoupaging the eggs without painting them first, but the wood was too dark. So I grabbed the closest pot of white sample paint and gave them one coat. Skewers fit into the drilled holes perfectly, which made painting them a breeze.
Let the eggs dry fully before moving on to the next step.
3. Decoupage the Eggs with a Napkin
If you'd like to see napkin decoupage in action, check out my video on the chinoiserie pumpkin post. I'll also walk through my method here.
If your napkins have two layers, separate them so you have just one. Then cut out the shapes you want for your eggs. A whole napkin gets too bunched up to handle easily.
Brush Mod Podge over the entire egg first, then press on pieces of napkin and brush more Mod Podge over each piece.
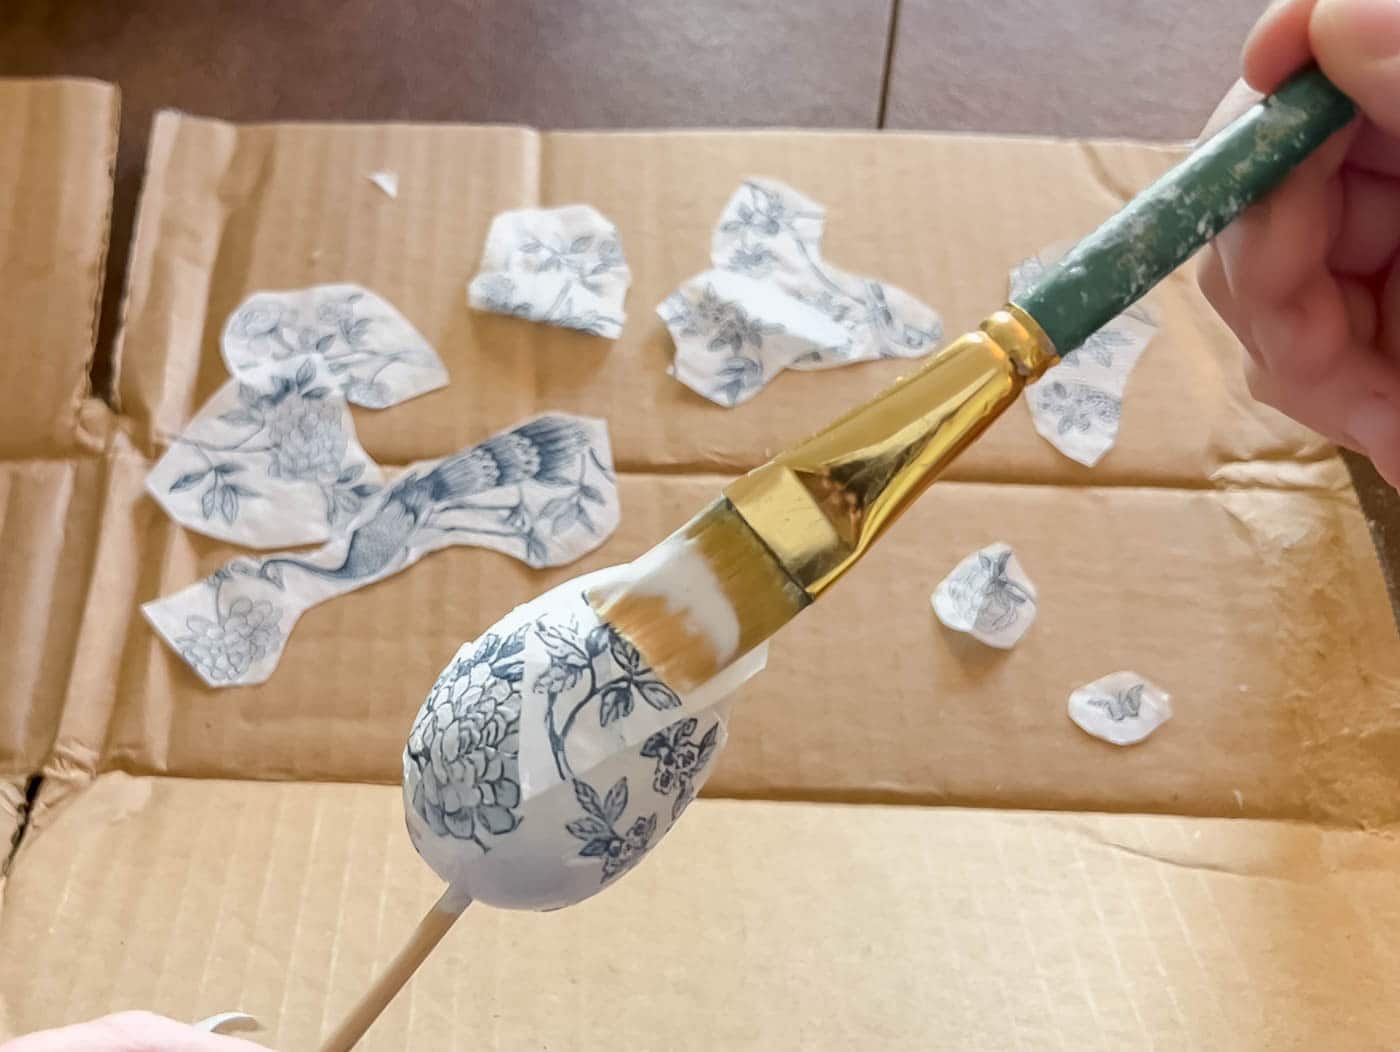
Piece the napkin together over the egg until it is completely covered.
Let the eggs dry fully before moving on to the next step.
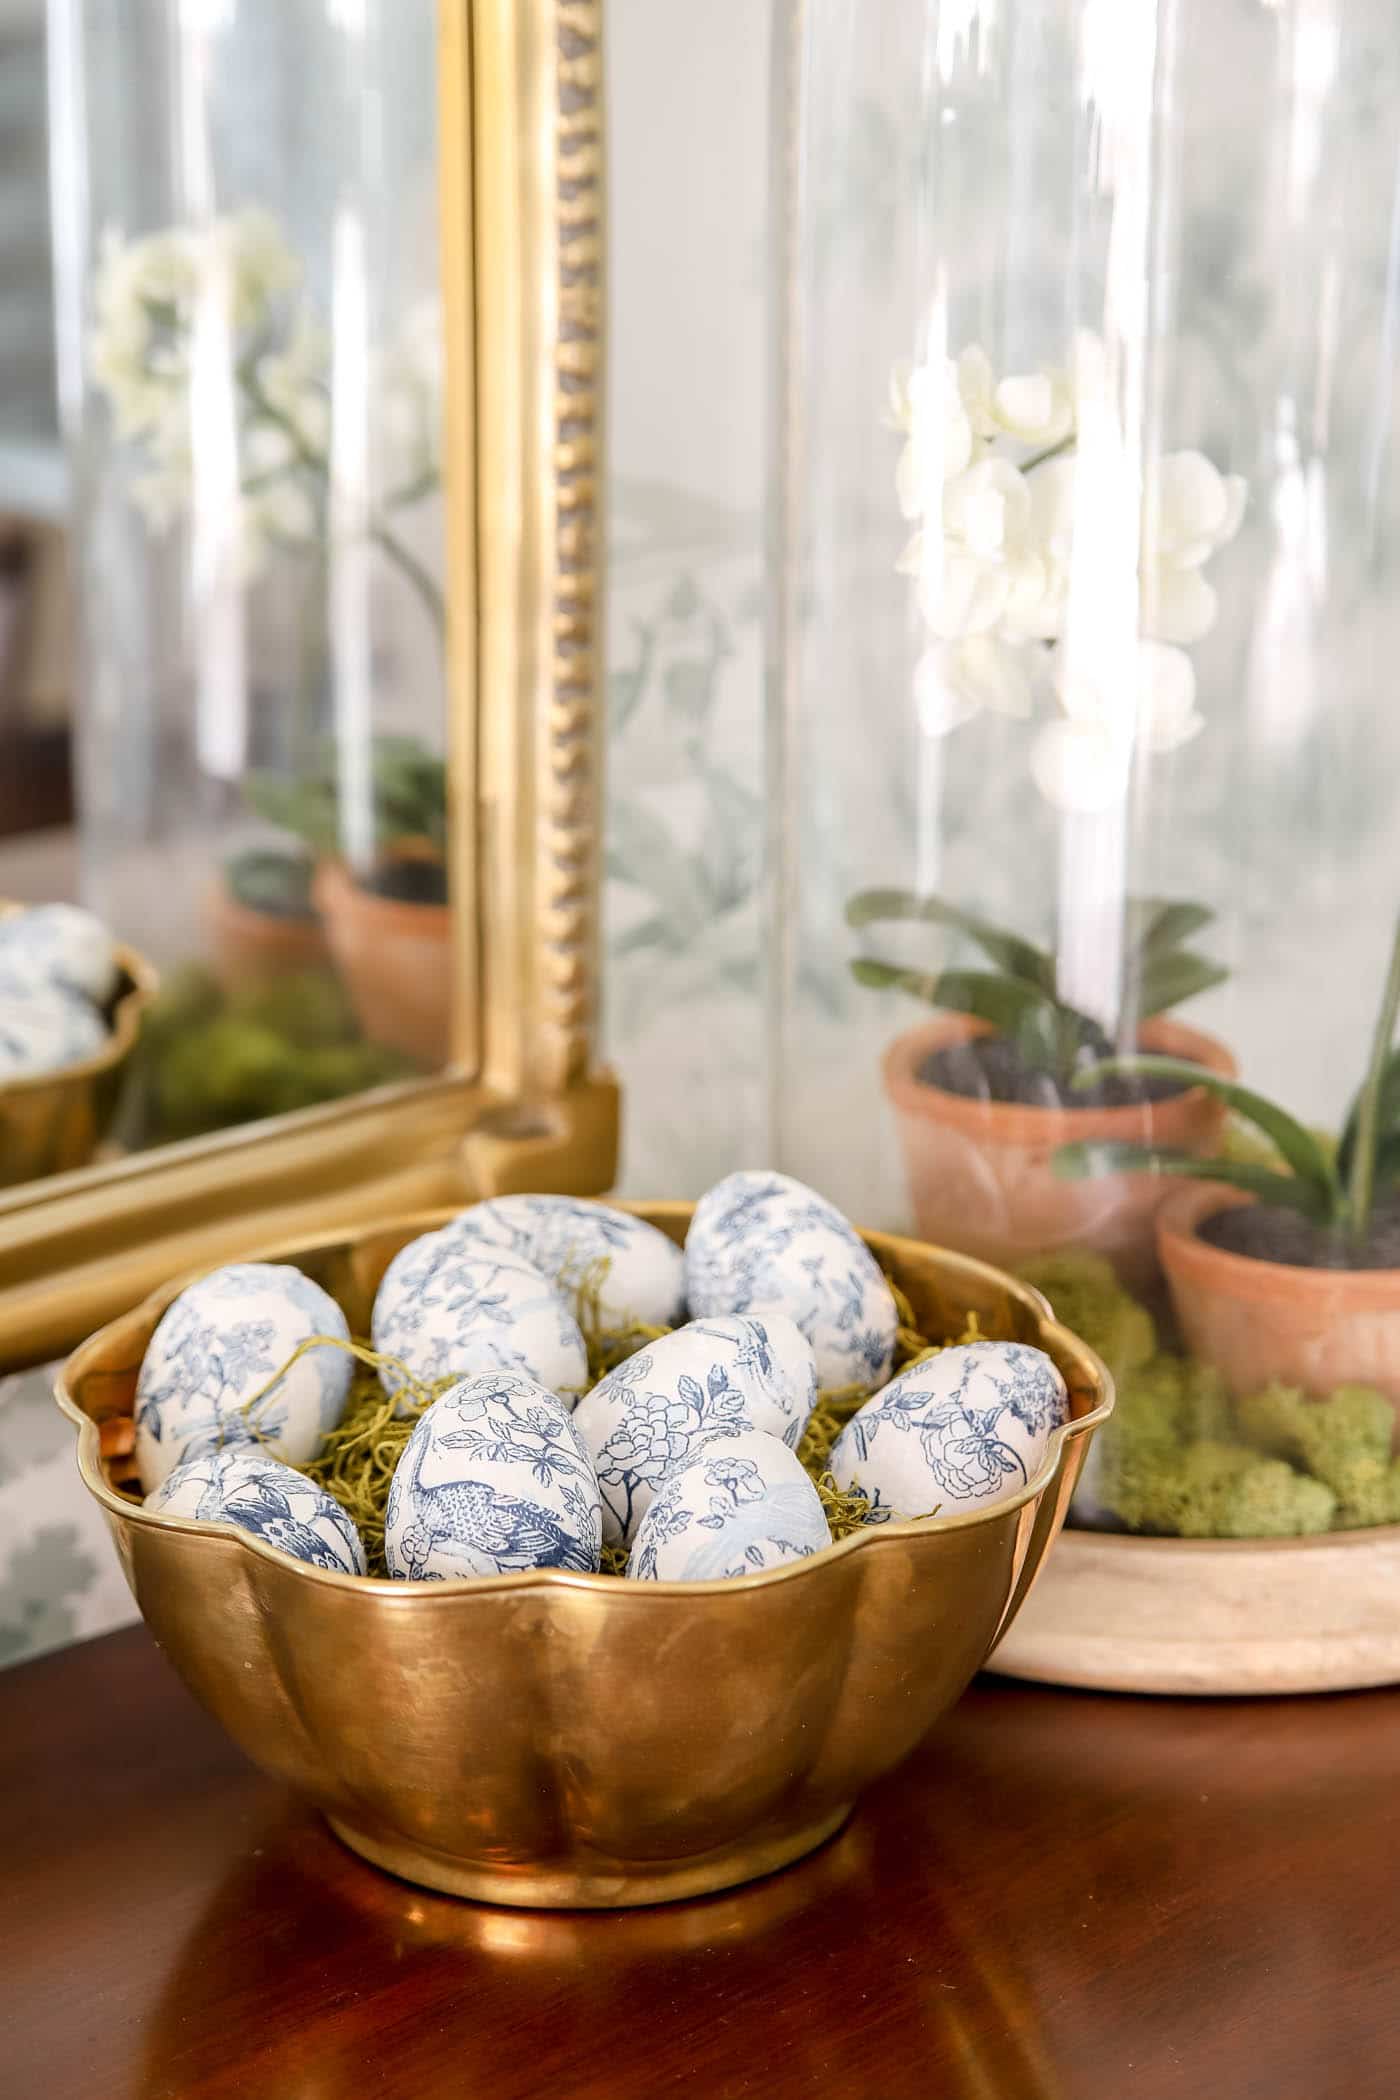
At this point you could pile the cute eggs in a bowl and call it a day. I think they're adorable!
4. Add Greenery and Faux Flowers to the Wreath Form.
I've made many wreaths over the years, but if you're new to it, watch the video in my Spring Wreath with Peonies Tutorial.
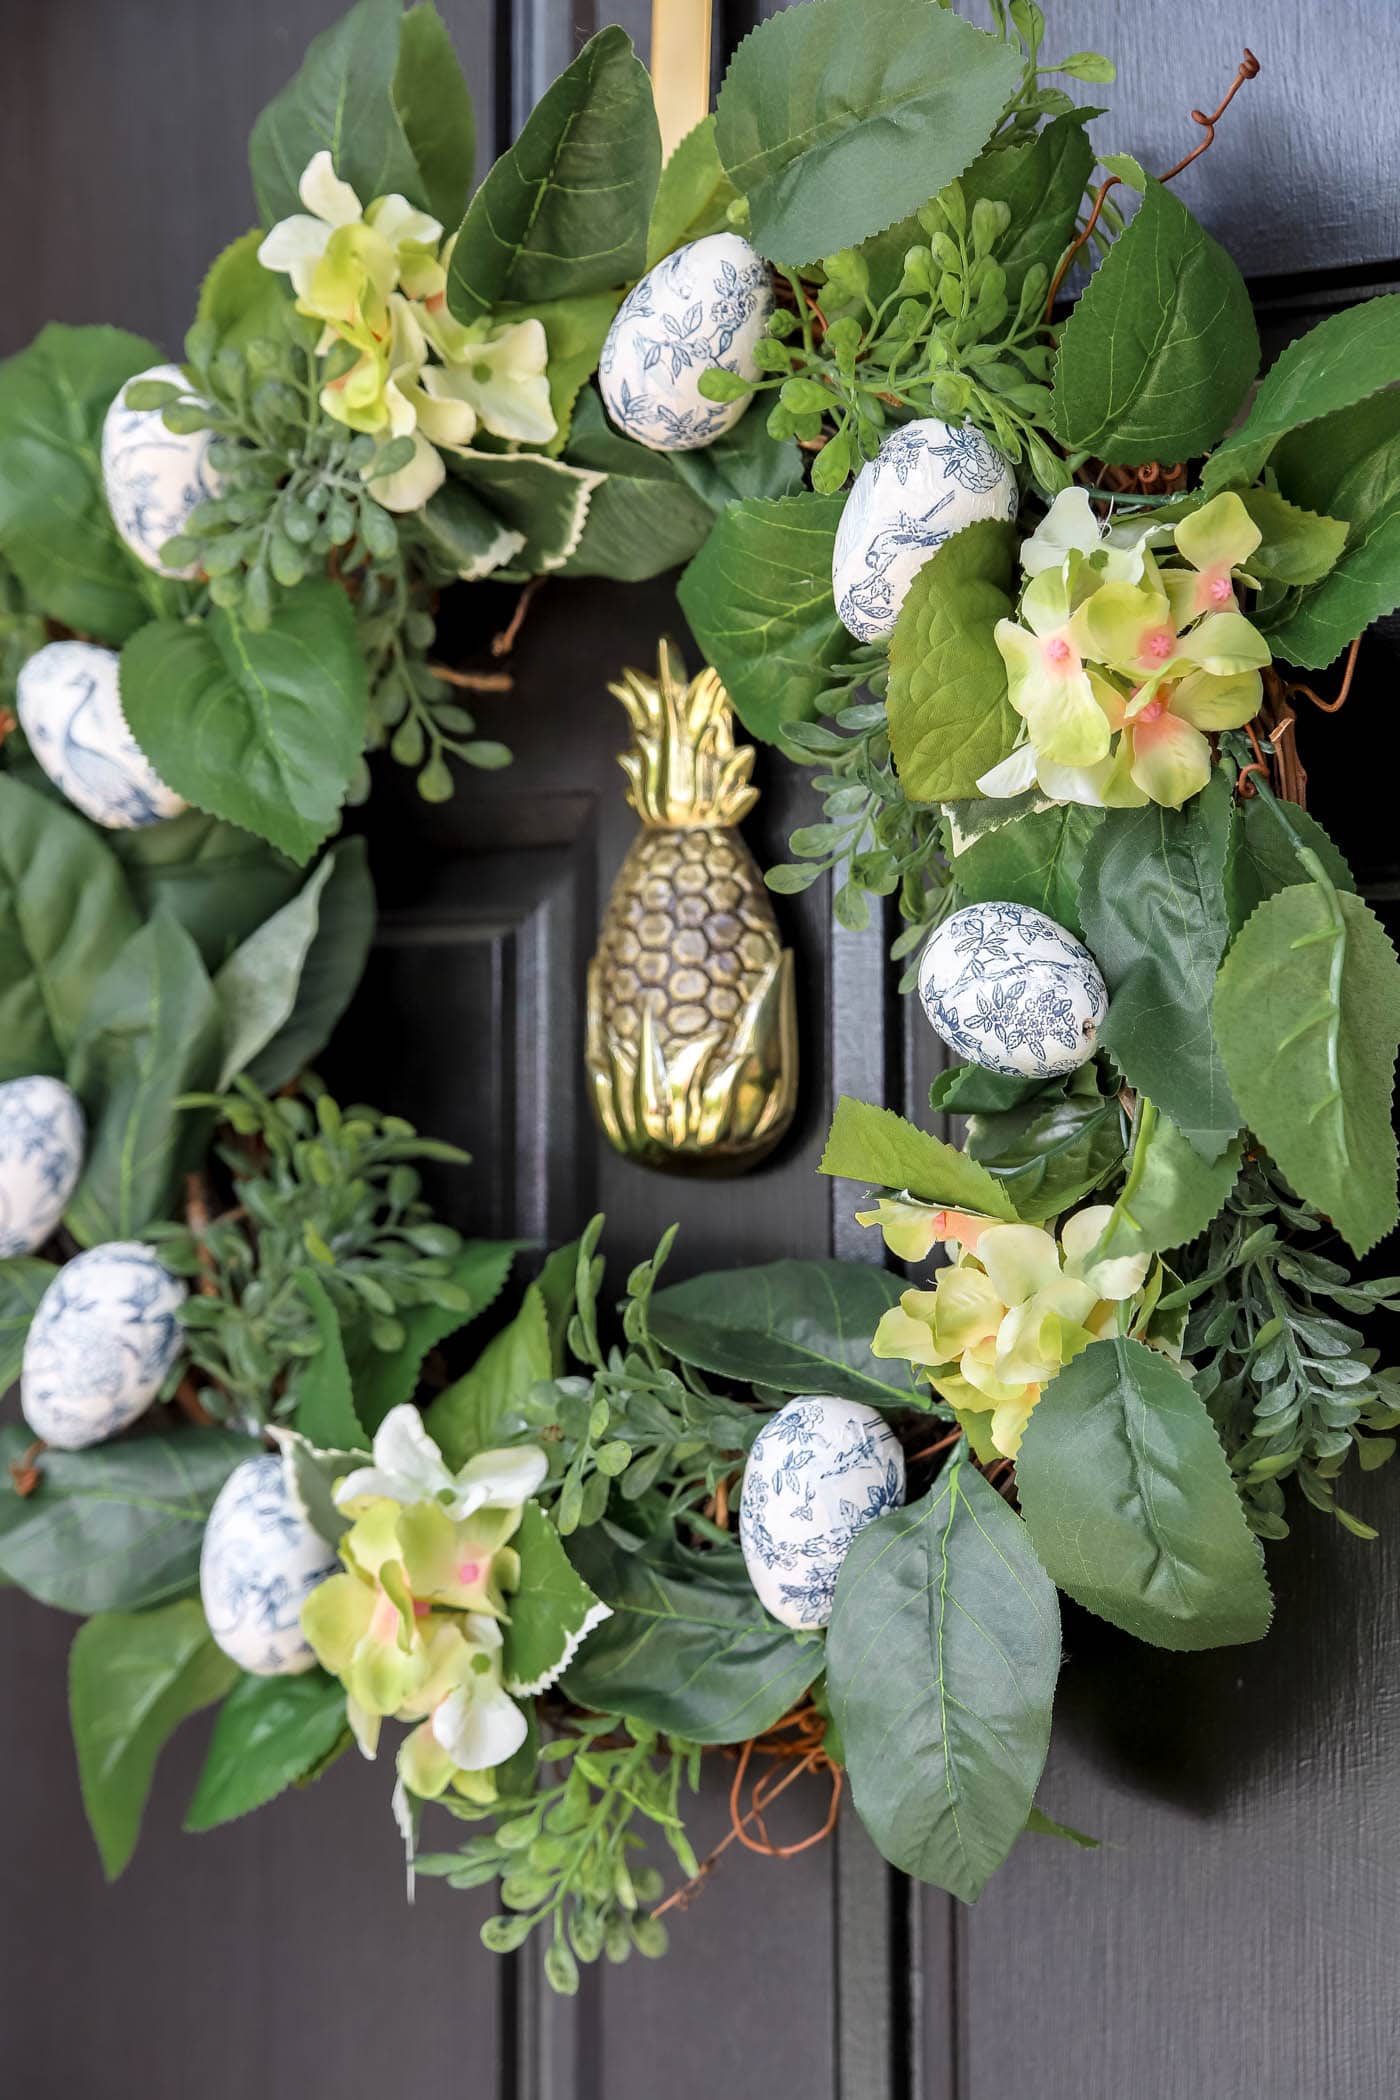
The basic idea is to cover the wreath form with greenery and flowers until you love the look. I usually hot glue everything in place once I'm happy with it!
5. Attach the Eggs to the Wreath
Thread floral wire through the hole in each egg and attach them to the wreath. At this point, add a ribbon or any other embellishments you like!
Hang it up, step back and admire your handiwork!
I love how sweet this wreath turned out, and I'll be using these blue and white eggs in my spring decor for years to come.
More Posts You'll Love: