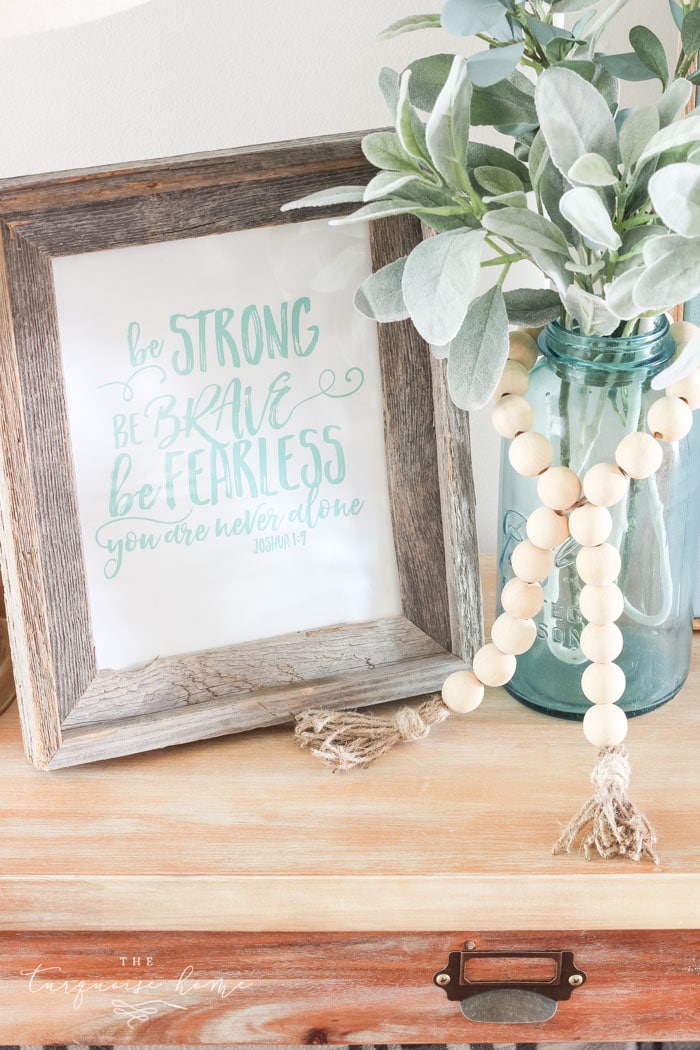
Hooray! I finally finished another piece of sweet Baby G’s nursery. I can’t wait to get the whole thing done and do the final reveal. Now that she’s sleeping in there, I’m excited to finish it and make it look put together.
Can I just say that a project takes 10 times as long with a newborn? I just need to tell somebody. When Miss A was born I didn’t have a blog or do many DIY projects. I worked full-time outside the home and happily enjoyed a full 3 months of maternity leave doing nothing but cuddling a newborn. Dare I say, I was bored then?
This time is much different. I’m a work-at-home mom with a preschooler and a newborn, and I have time for little more than surviving around here. Some days I look around and think, if we can stay home and make it through another day alive, fed and warm, then I’ll call it a success. We’ve had plenty of successful days. Set the bar low, people.
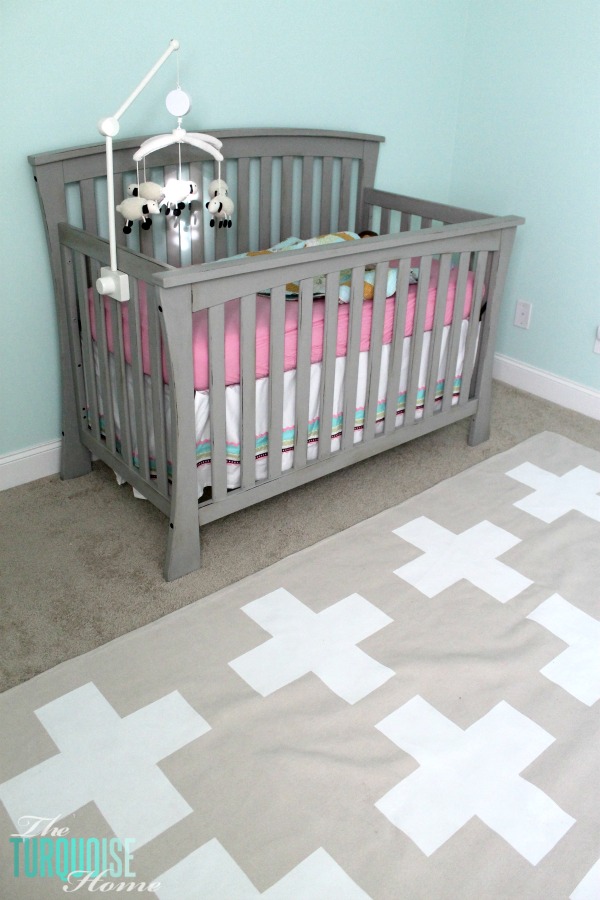
OK, so this rug. I loved the Swiss cross rug in my vision board. But I didn’t want to spend the big bucks. So I found a much cheaper option with the same stylish impact. Ace Hardware challenged us to break the rules with our posts this month. Is there a rule out there that says you can’t paint a rug? Well, if there is, I broke it. Rule or not, it’s definitely an unconventional way to cover your floors. I thought it would be a great way to DIY a fun pattern for the nursery!
Here’s what you’ll need:
– Drop cloth (I bought a 12 x 9 foot drop cloth and folded it in half to make a 9 x 6 rug.)
– Super 77 Spray Adhesive
– Paint (I used Whisper Softly from Ace Hardware’s Valspar paint line.)
– Purdy paintbrush
– Frog tape
Step 1 – Get Ready.
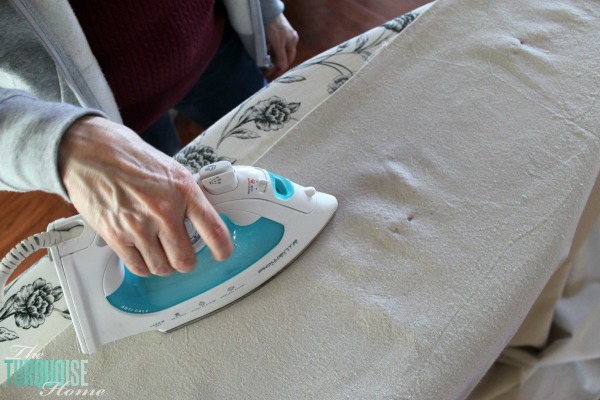
Wash and dry it first. That way, if you ever need to wash it (which you will), it won’t shrink on you. Then iron the heck out of it. My mom ironed mine while I took a nap. Thanks, Mom!
Step 2 – Fold it down the middle.
I highly recommend having someone help with this step and the next two. My mom and I folded the drop cloth in half and matched up the corners and sides as best we could. (Like I said, I bought a 12 x 9 foot drop cloth and folded it in half to make a 9 x 6 rug.) Since drop cloths don’t have perfectly straight edges, just do your best. Then we pinned the sides and about 6 inches in from the folded seam. Then we ironed the folded seam. This was key for the next step. Thanks, Mom, for being my hand model.
Step 3 – Apply spray adhesive.
We took the folded drop cloth out to the garage and laid it down. Luckily it wasn’t too cold last weekend. We spread a sheet and some newspapers underneath to protect the garage floor from a sticky disaster, and to keep the drop cloth clean. We opened the folded drop cloth and sprayed adhesive over one side. If I had it to do over, I’d spray both sides, but you live and learn.
Step 4 – This is tricky. Press the two sides together.
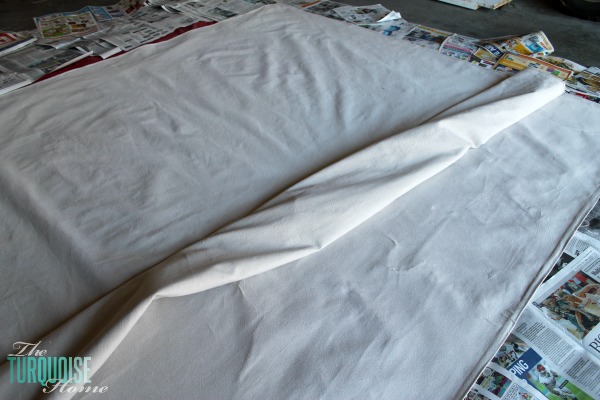
Once one side was well coated, we carefully laid the top side down over the bottom. This step definitely needed two people. We started in the middle and pressed out any wrinkles as we went. Sometimes we had to peel the sides apart and start a section over, but nothing too bad. The wrinkles you see in the picture above came from the sheet underneath.
I can’t imagine doing this alone. I would have pulled my hair out.
Step 5 – Map out your design.
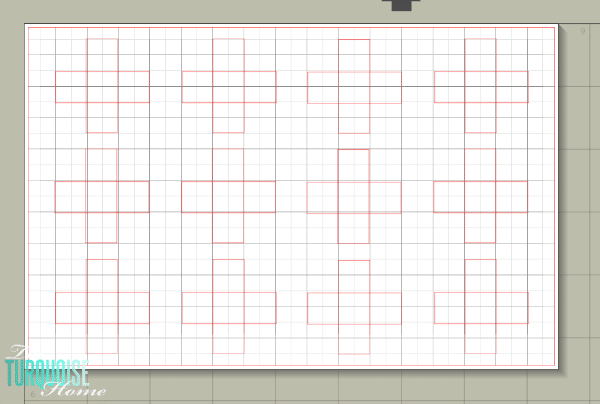
I used my Silhouette Studio software to map out my design. I had to make sure the crosses were as centered and evenly spaced as possible. The math kind of hurt my brain.
Step 6 – Mark the design with tape.
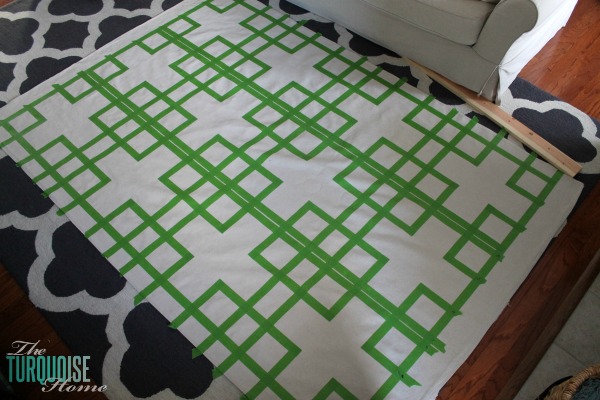
I used frog tape to outline my designs, and a long board from my scrap wood pile as a straightedge. Make sure your board is actually straight before you start. I started with another board, and after a few lines I realized it wasn’t straight. Ugh.
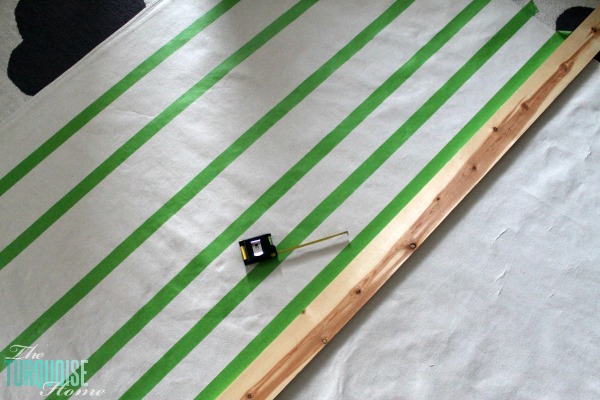
Actually, I ended up pulling up tape three times because I kept getting confused about how far apart the lines should be. The math was a little much for this mom with newborn brain fog, but I finally got it all done! Taping was definitely the most time-consuming part of this project.
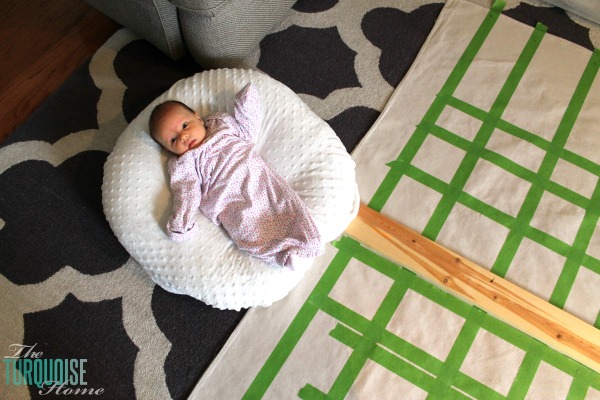
I had a little helper with me for most of this part. She’s cute, but she isn’t a big fan of being put down. This was the calm before the storm, which is why DIY projects now take 10 times longer than they used to.
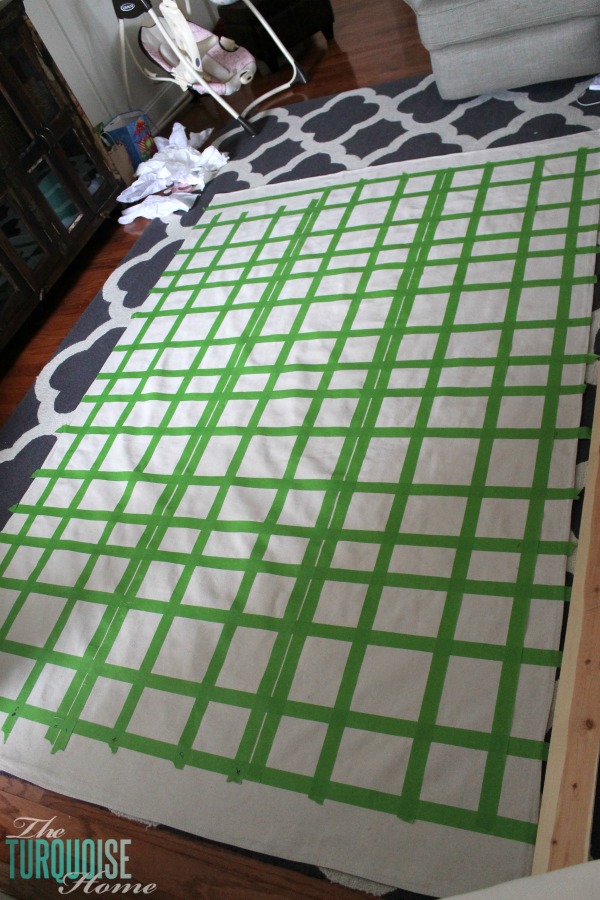
Note: I highly recommend doing all of this on top of another rug, like I did. Yes, it was inconvenient to work in the middle of the living room with my family all around, but my knees thanked me for not doing this on the hardwood floor.
Step 7 – Trim away extra tape.
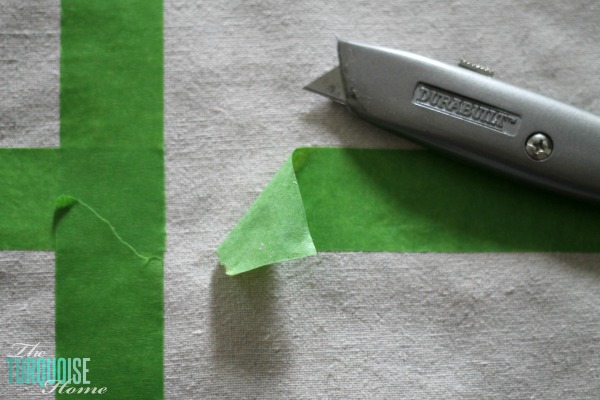
Once all of the lines were taped down, I trimmed away the tape I didn’t need. My box cutter worked great. Just be sure to cut only through the tape and not into the drop cloth, too!
Hooray! Now it’s time to paint!! You can finally see the design start to take shape.
Step 8 – Paint!
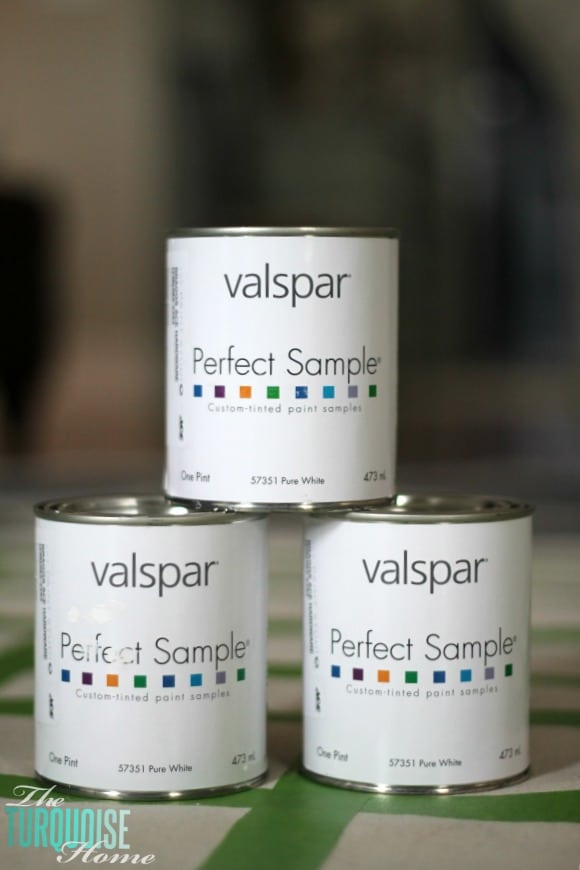
I grabbed a sample pot (a pint) of Whisper Softly from my local Ace Hardware. It’s a pretty neutral that reads as white but has green undertones and looks slightly gray in the right light. I thought it was the perfect name for a nursery paint color. I’d like to paint a wall this color someday – not in the nursery, but somewhere.

Painting on fabric can be a bit tricky. Press the tape down really well, and never paint toward the tape lines, only away from them. Otherwise the paint gets pushed up under the tape and you won’t get straight lines.
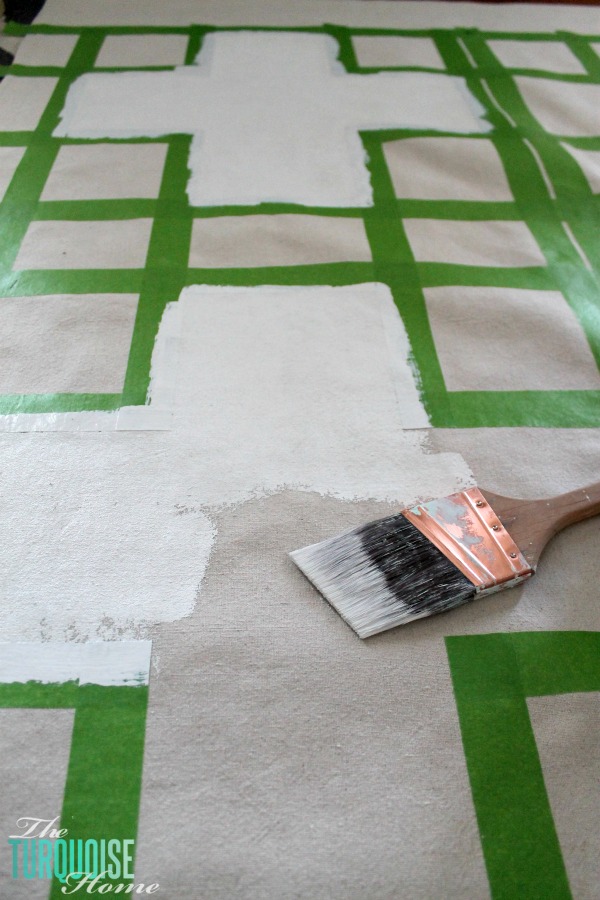
This project used up the entire pint of paint.
The last step is simply removing the tape once the paint has dried. Voila! You have a pretty, fun canvas rug!
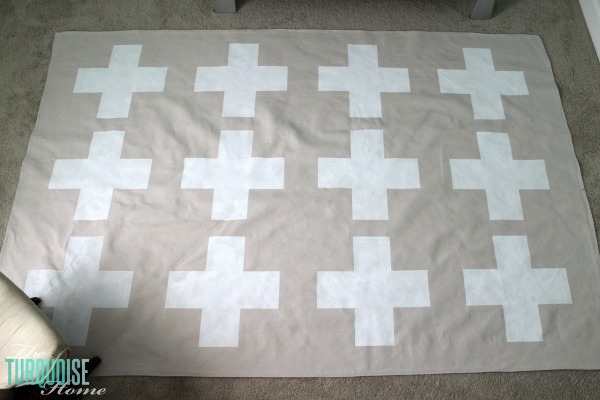
It was hard to capture the whole thing in one photo because it’s so large.
I love it! I can’t wait to finish all of the nursery projects and bring them together in the room.
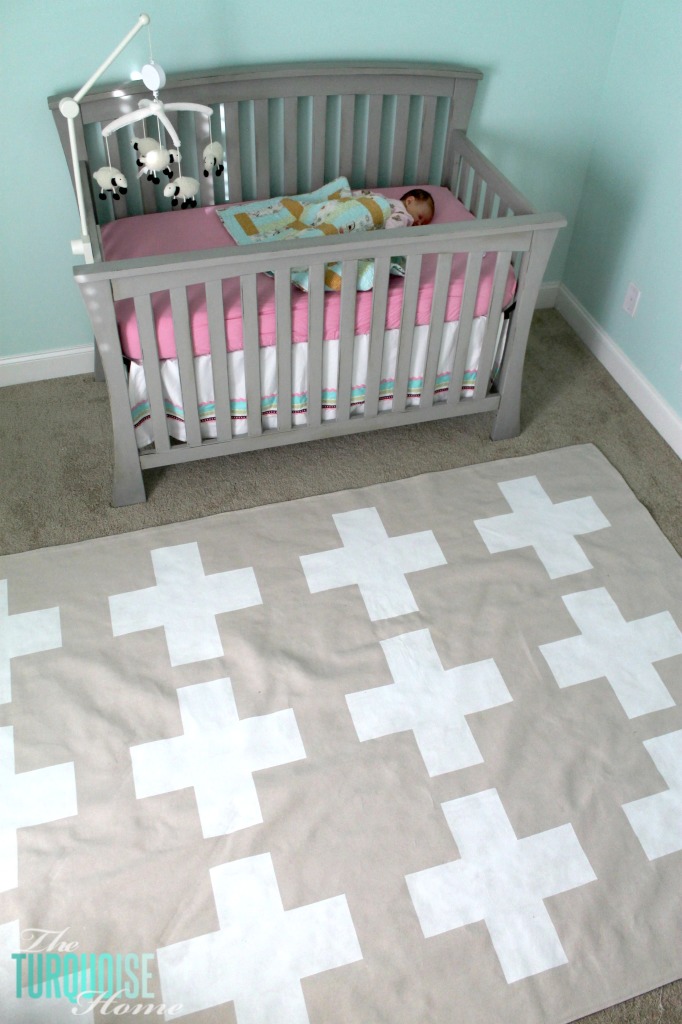
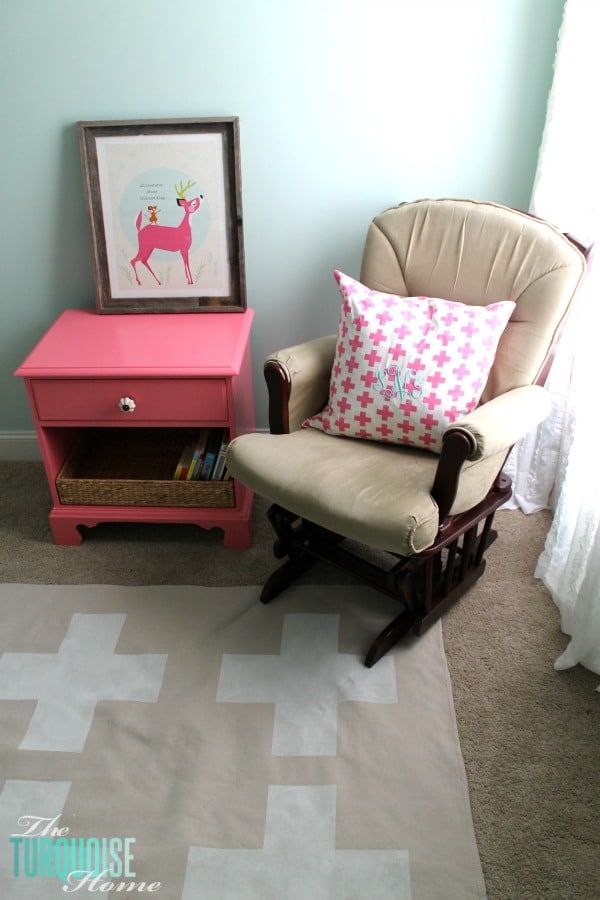
That said, the painted crosses are a little stiff. I’m thinking about lightly sanding them with my orbital sander to soften them. Another good idea would be to mix fabric medium into the paint before applying it to the canvas. I used fabric medium when I painted my curtains, and it helped keep the fabric from getting stiff. Just some afterthoughts.
I also plan to stitch the sides of this rug once I get a chance. It holds together fine with the spray adhesive, but it could be pulled apart if I tried.
So, what do you think?
Would you try this kind of “rule-breaking” rug?
What kind of design would you pick?
I only have a few more items left on the nursery to-do list, and then it’ll be done!!