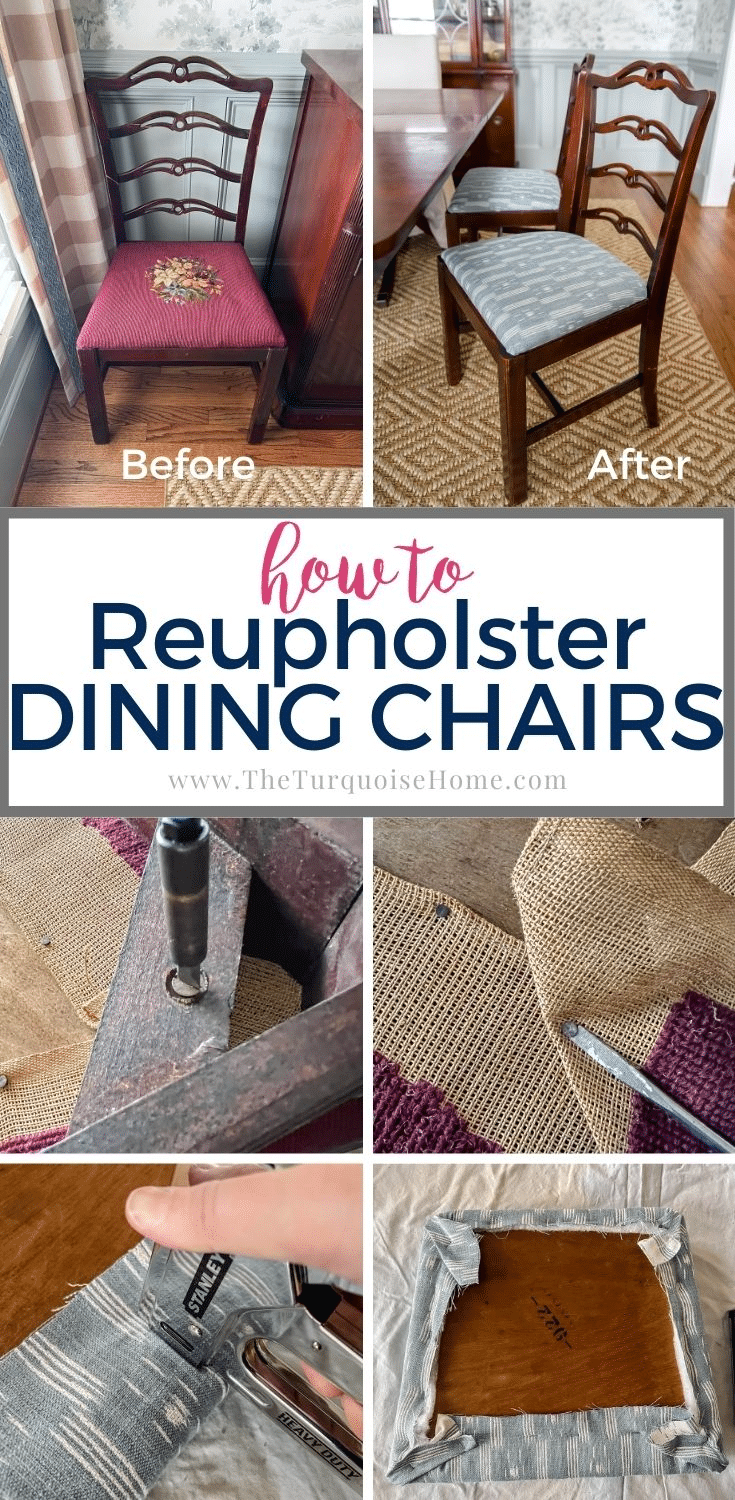
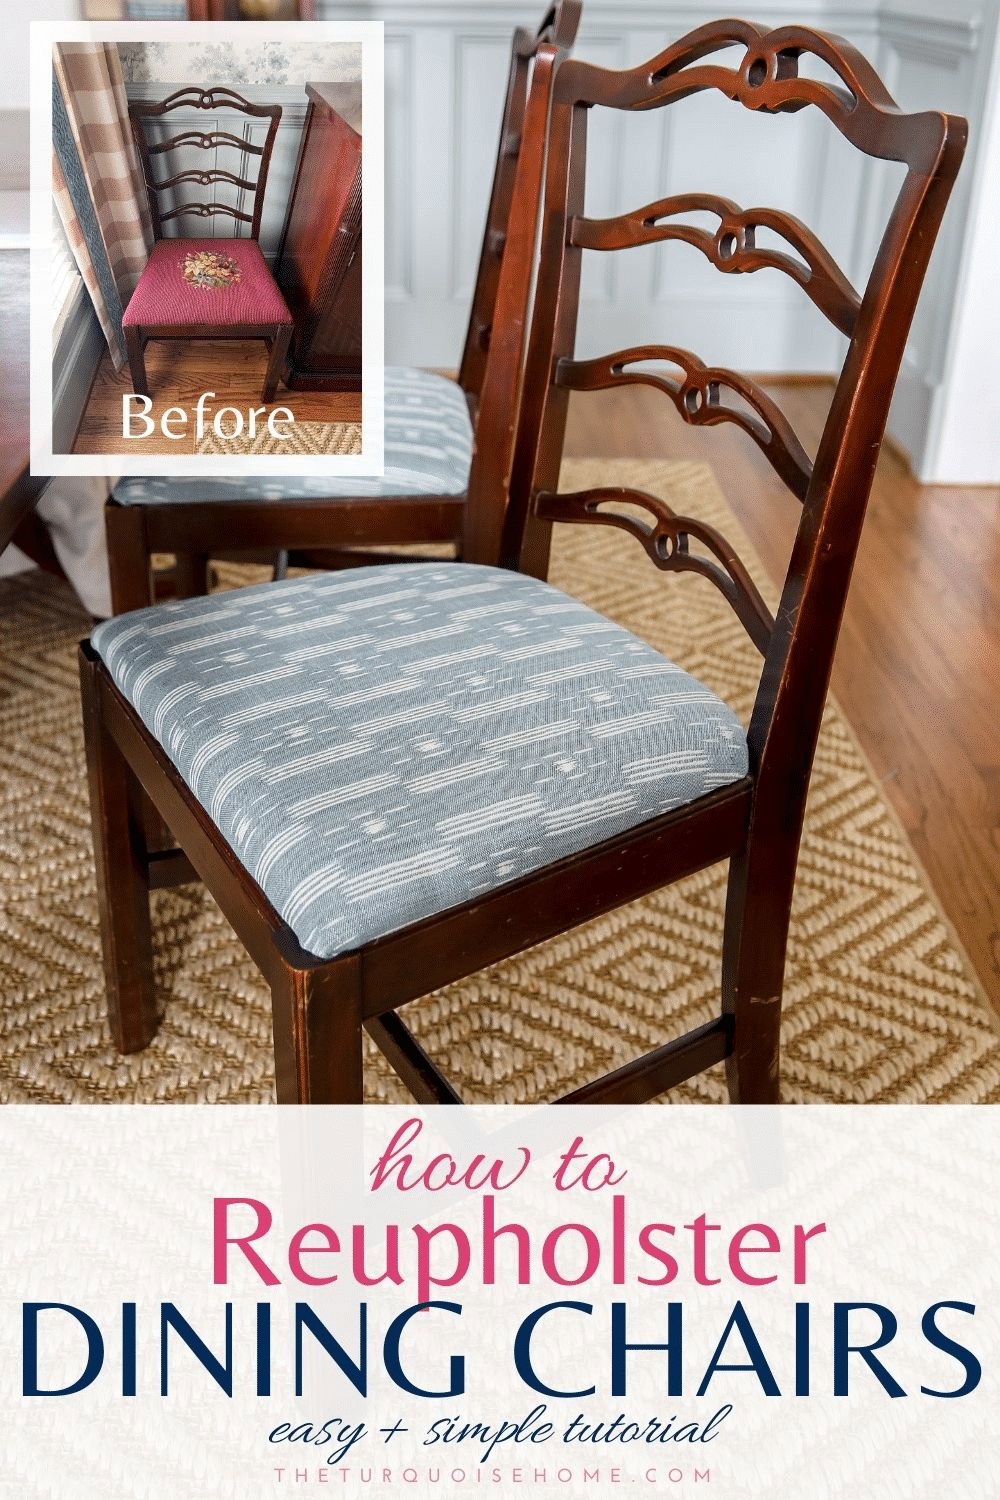
Follow this simple step-by-step DIY guide to re-cover dining chair seats with basic tools in just 7 easy steps!
Recovering dining chair seats is one of the easiest DIY upholstery projects. I'd never done upholstery before and it was so straightforward! It gives your chair a whole new feel in minutes. So even if you're a beginner, you can do this too!
As the dining room makeover moves along, it's time to replace the seat covers on my 80-year-old dining chairs!
The gorgeous raisin-colored, hand needle-pointed chair covers didn't suit the blue and green look I'm going for. But since a relative made them many years ago, I didn't want to get rid of them.
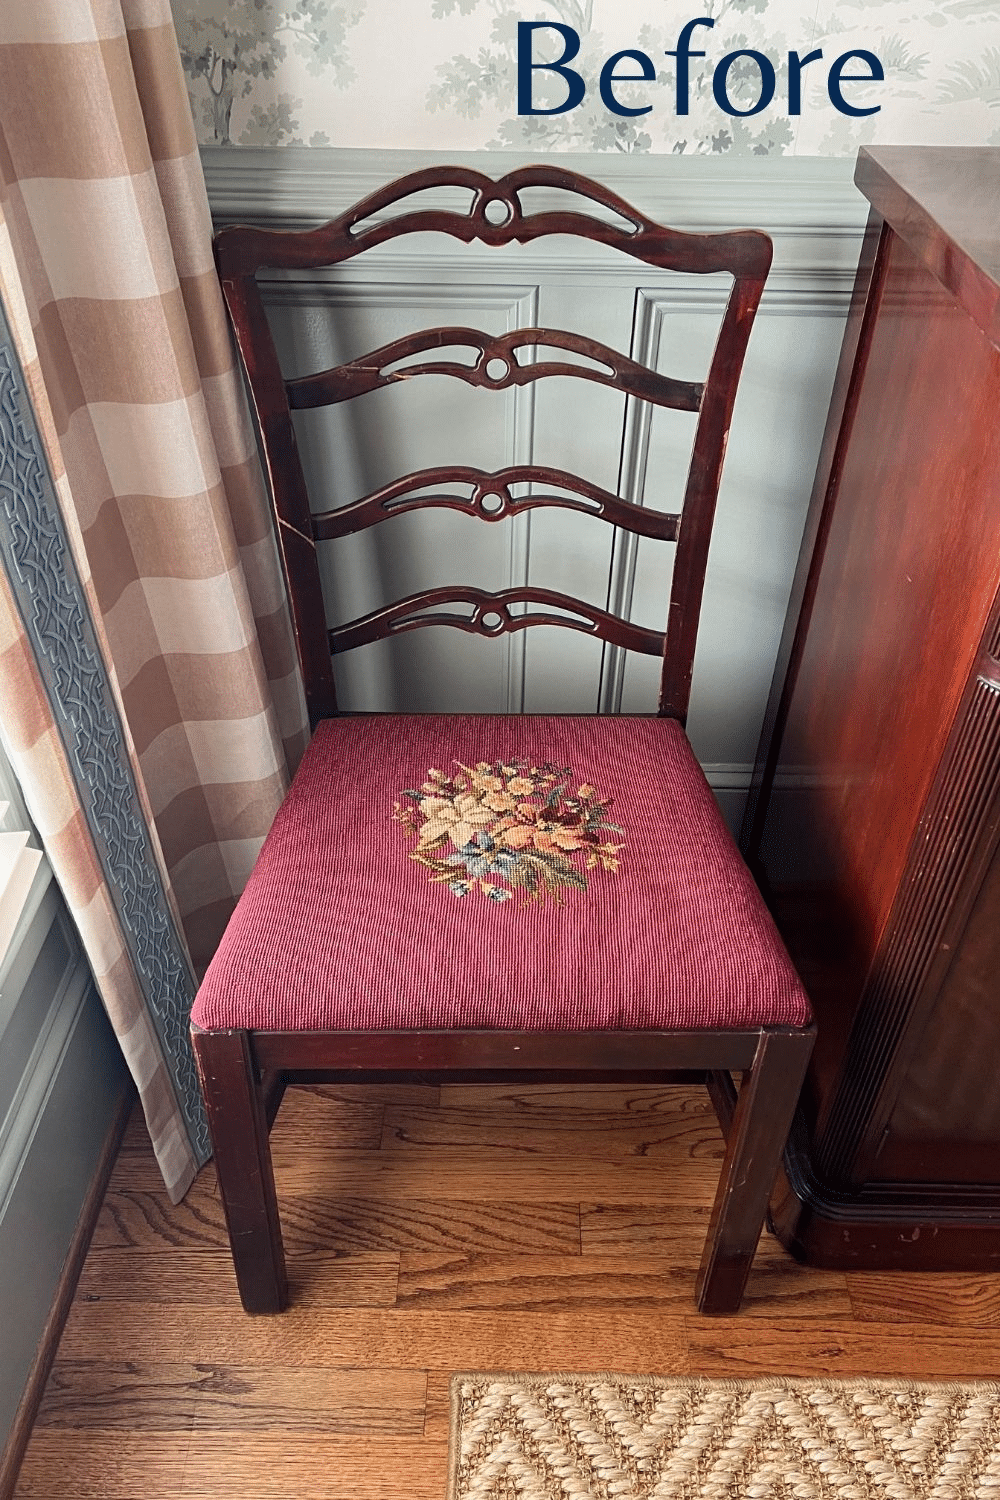
So my original plan was to have pleated slipcovers made from this lovely blue geometric fabric. I don't have a link to the fabric, but I've listed the details under "supplies."
I spoke with the seamstress I'd hired to make the slipcovers, and she suggested replacing the needlepoint fabric for three reasons:
- The cushion beneath the fabric is 70 to 80 years old and really ought to be replaced.
- Recovering the cushions would cost less in fabric than making slipcovers.
- The chair covers could be reused for something else! (It's a surprise, but I'm thrilled that she'll turn them into something beautiful!)
She also encouraged me to recover the seat cushions myself. Yay! That means more money saved and a new DIY skill to learn!
So I set out to learn how to recover a chair seat cushion. And I'm happy to report that with the right tools and supplies, it's SO easy!
The first cushion took me about an hour since I was still working out the method. Once I got the hang of it, each chair takes about 20 minutes at most.
How to Choose the Right Fabric for Dining Chairs
Pick a fabric that's sturdy enough to handle wear and tear and won't show stains too easily. Be sure to choose a home decor fabric made for upholstery so it won't tear easily.
Another great place to find affordable fabric is in shower curtains, tablecloths or window curtains.
See more frequently asked questions at the end of the post!

Supplies Needed to Recover Dining Chairs
- Dining chairs with a fabric seat cover
- *Fabric for your new seat covers (roughly 4″ bigger than the seat cushions)
- Upholstery Foam – I went with 1″ thick foam, though 2″ works well too!
- Cushion Wrap Batting
- 1/2″ plywood in case the seat wood needs replacing
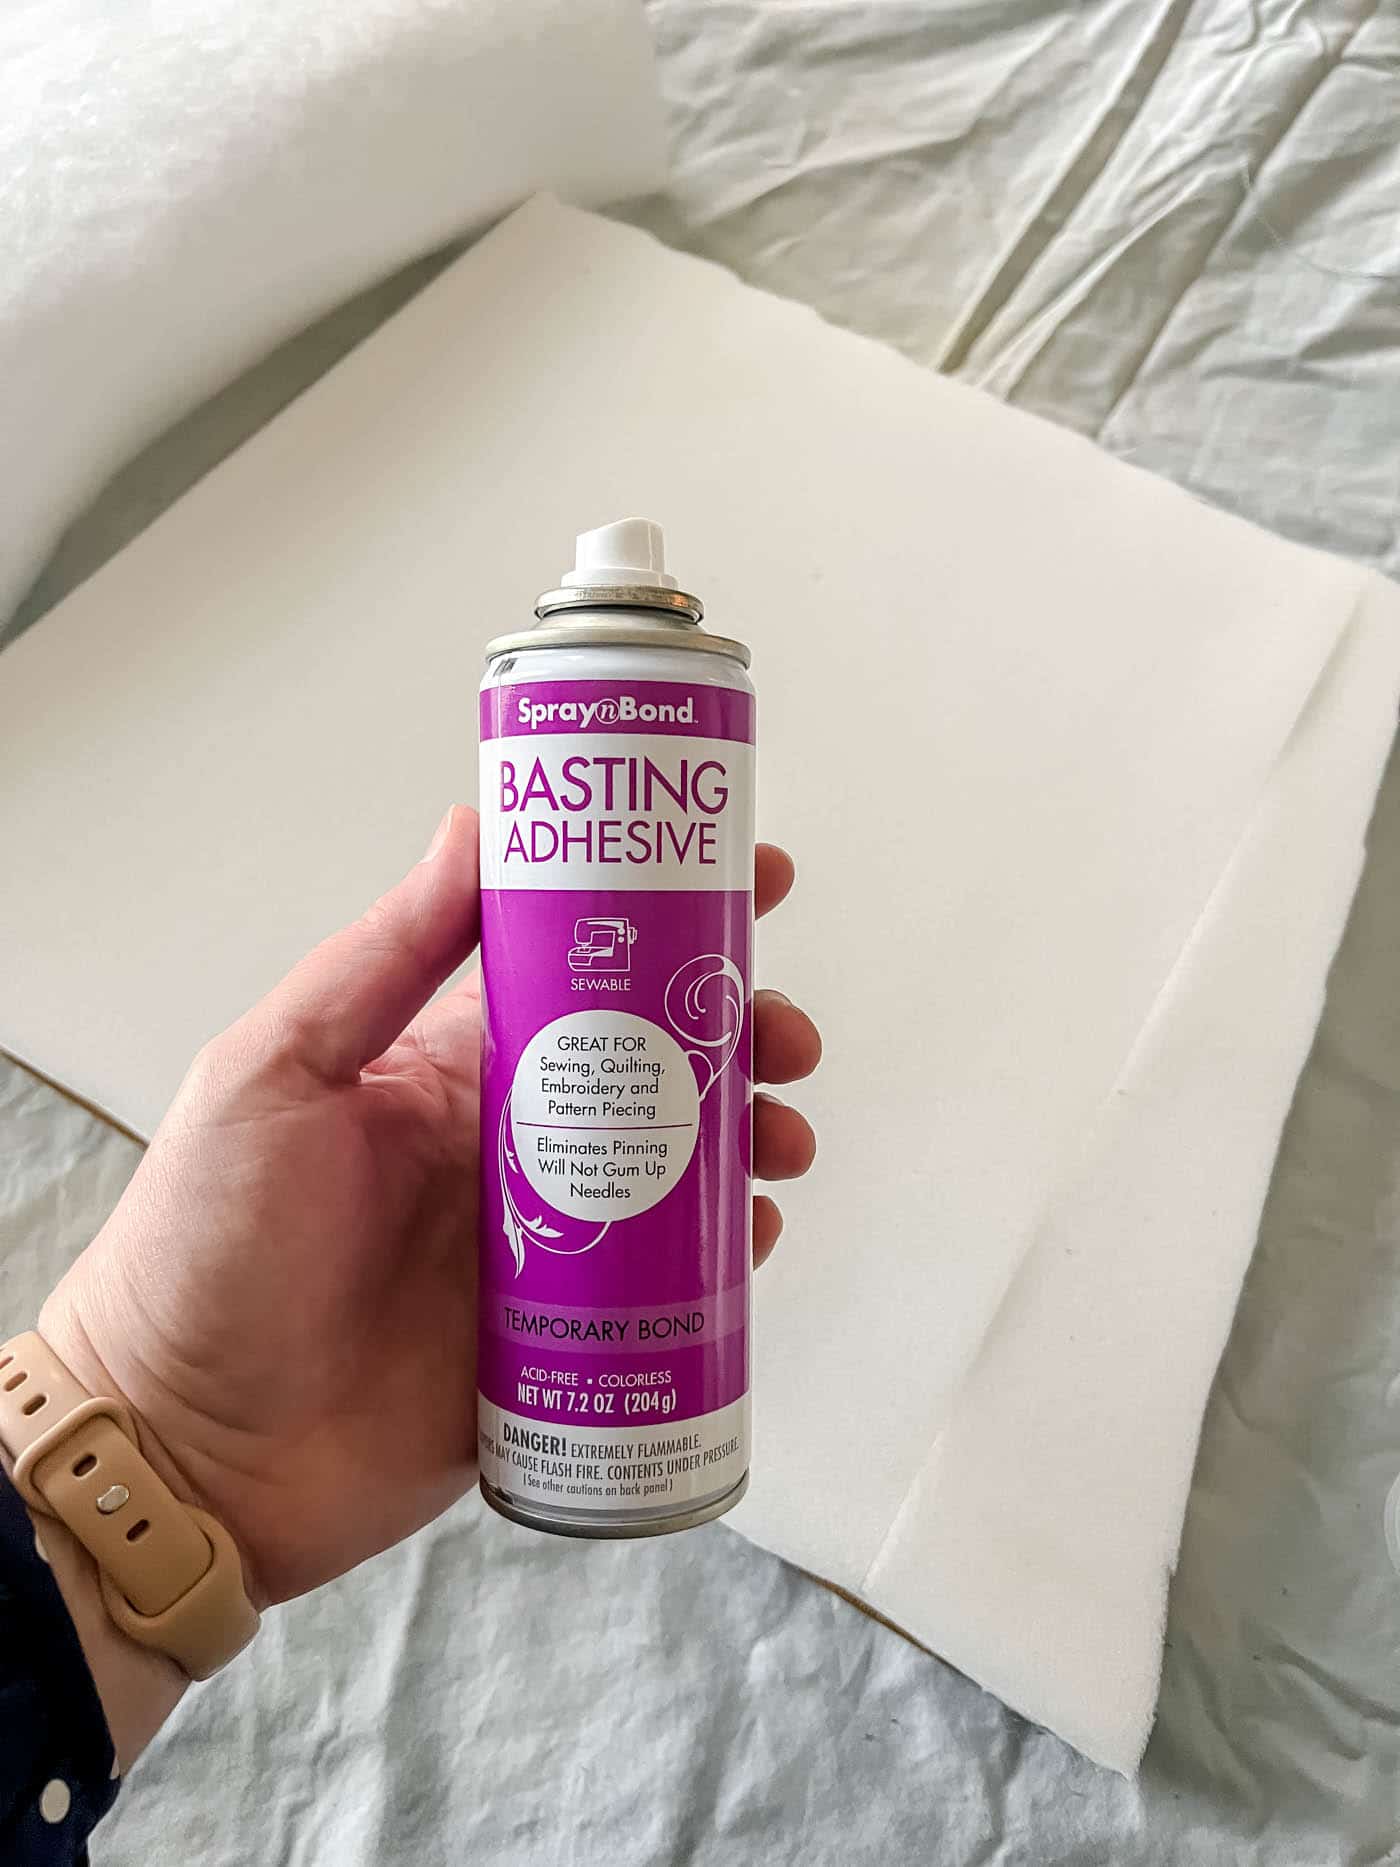
- Optional: Temporary Hold Basting Adhesive
*This fabric is Marla in Teal by Jane Churchill, and it's only sold to the design trade. Reach out to my designer, Sydney Collins, if you'd like it for your home.
You can reuse any foam or batting from the chair if it's still in good shape! Mine was 80-year-old padding of some sort, so I swapped it out.
Tools for Recovering a Chair Seat
- Drill or screwdriver – for taking the seat off the chair
- Flathead screwdriver – for prying out staples. A staple remover tool works too
- Fabric scissors – Keep one pair reserved strictly for fabric!
- Needle-nose pliers – for pulling out stubborn staples
- Staple Gun – a basic one is fine, no need for electric or air-powered models!
- Staples in 3/8″ or 1/2″ size
- Jigsaw – needed only if you have to replace the seat board
- Measuring tape
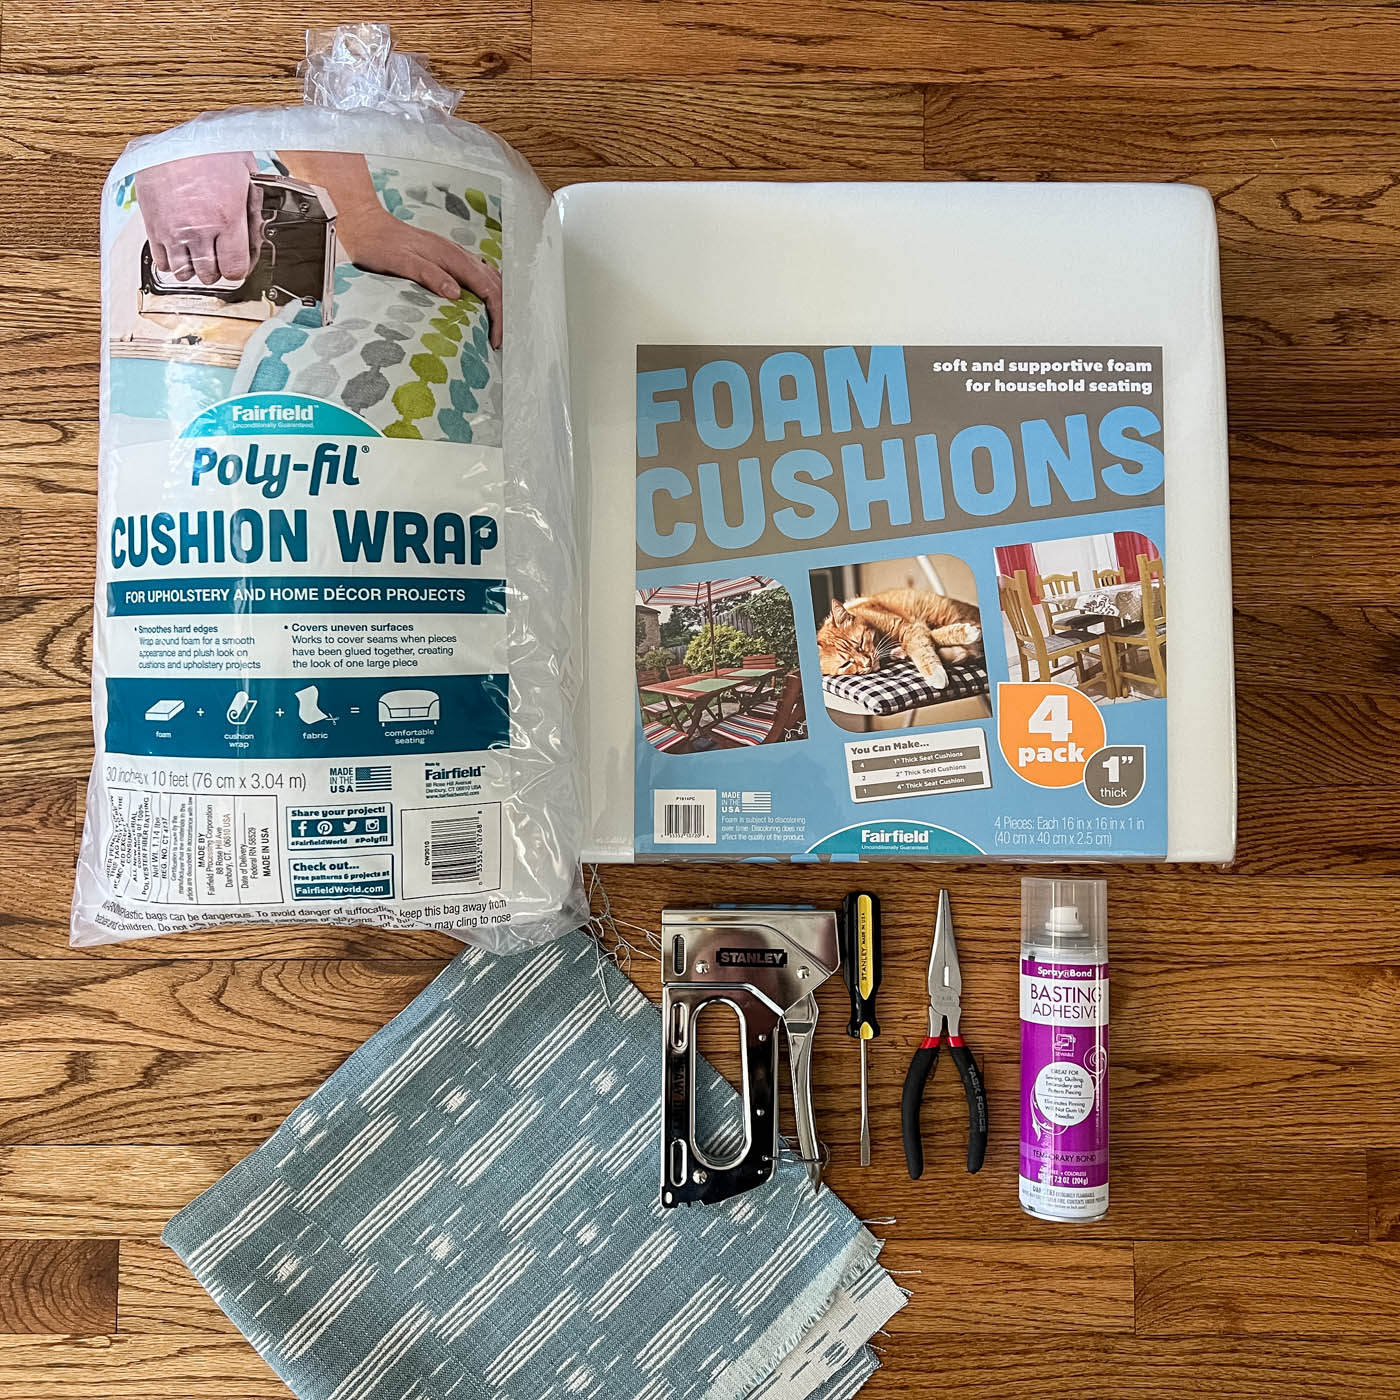
How to Recover a Chair Seat
1. Take off the old chair seat.
The seat is typically held on by screws on the underside. Flip it over and unscrew them!
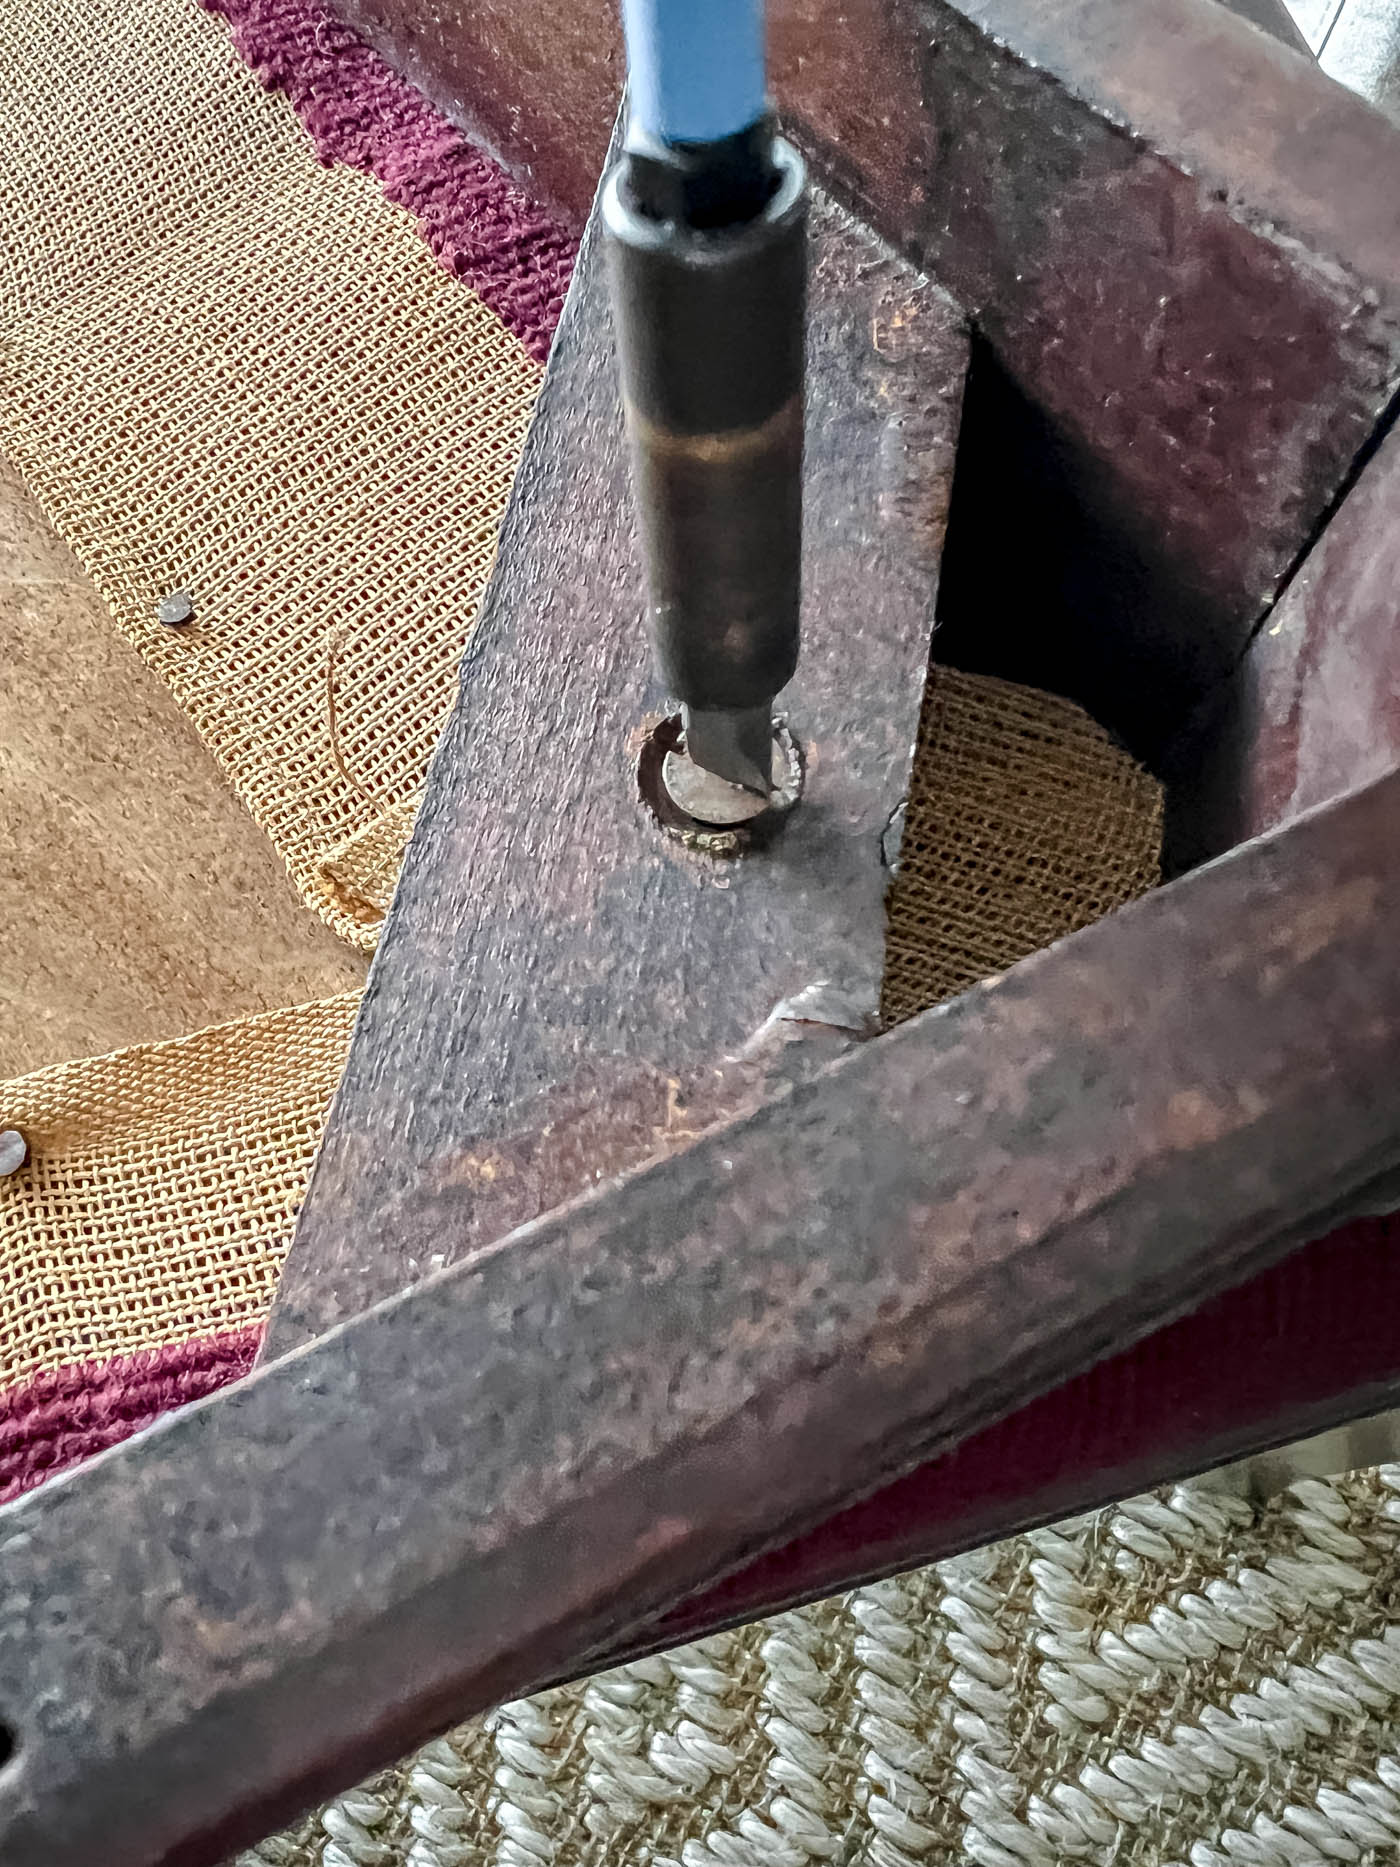
2. Strip off the old fabric
The old upholstery is usually stapled to the underside of the seat. Use a staple remover, or a flathead screwdriver and needle-nose pliers, to pull the staples out.
Luckily, my chair was so old that it had tacks instead of staples, and a screwdriver popped them loose easily.
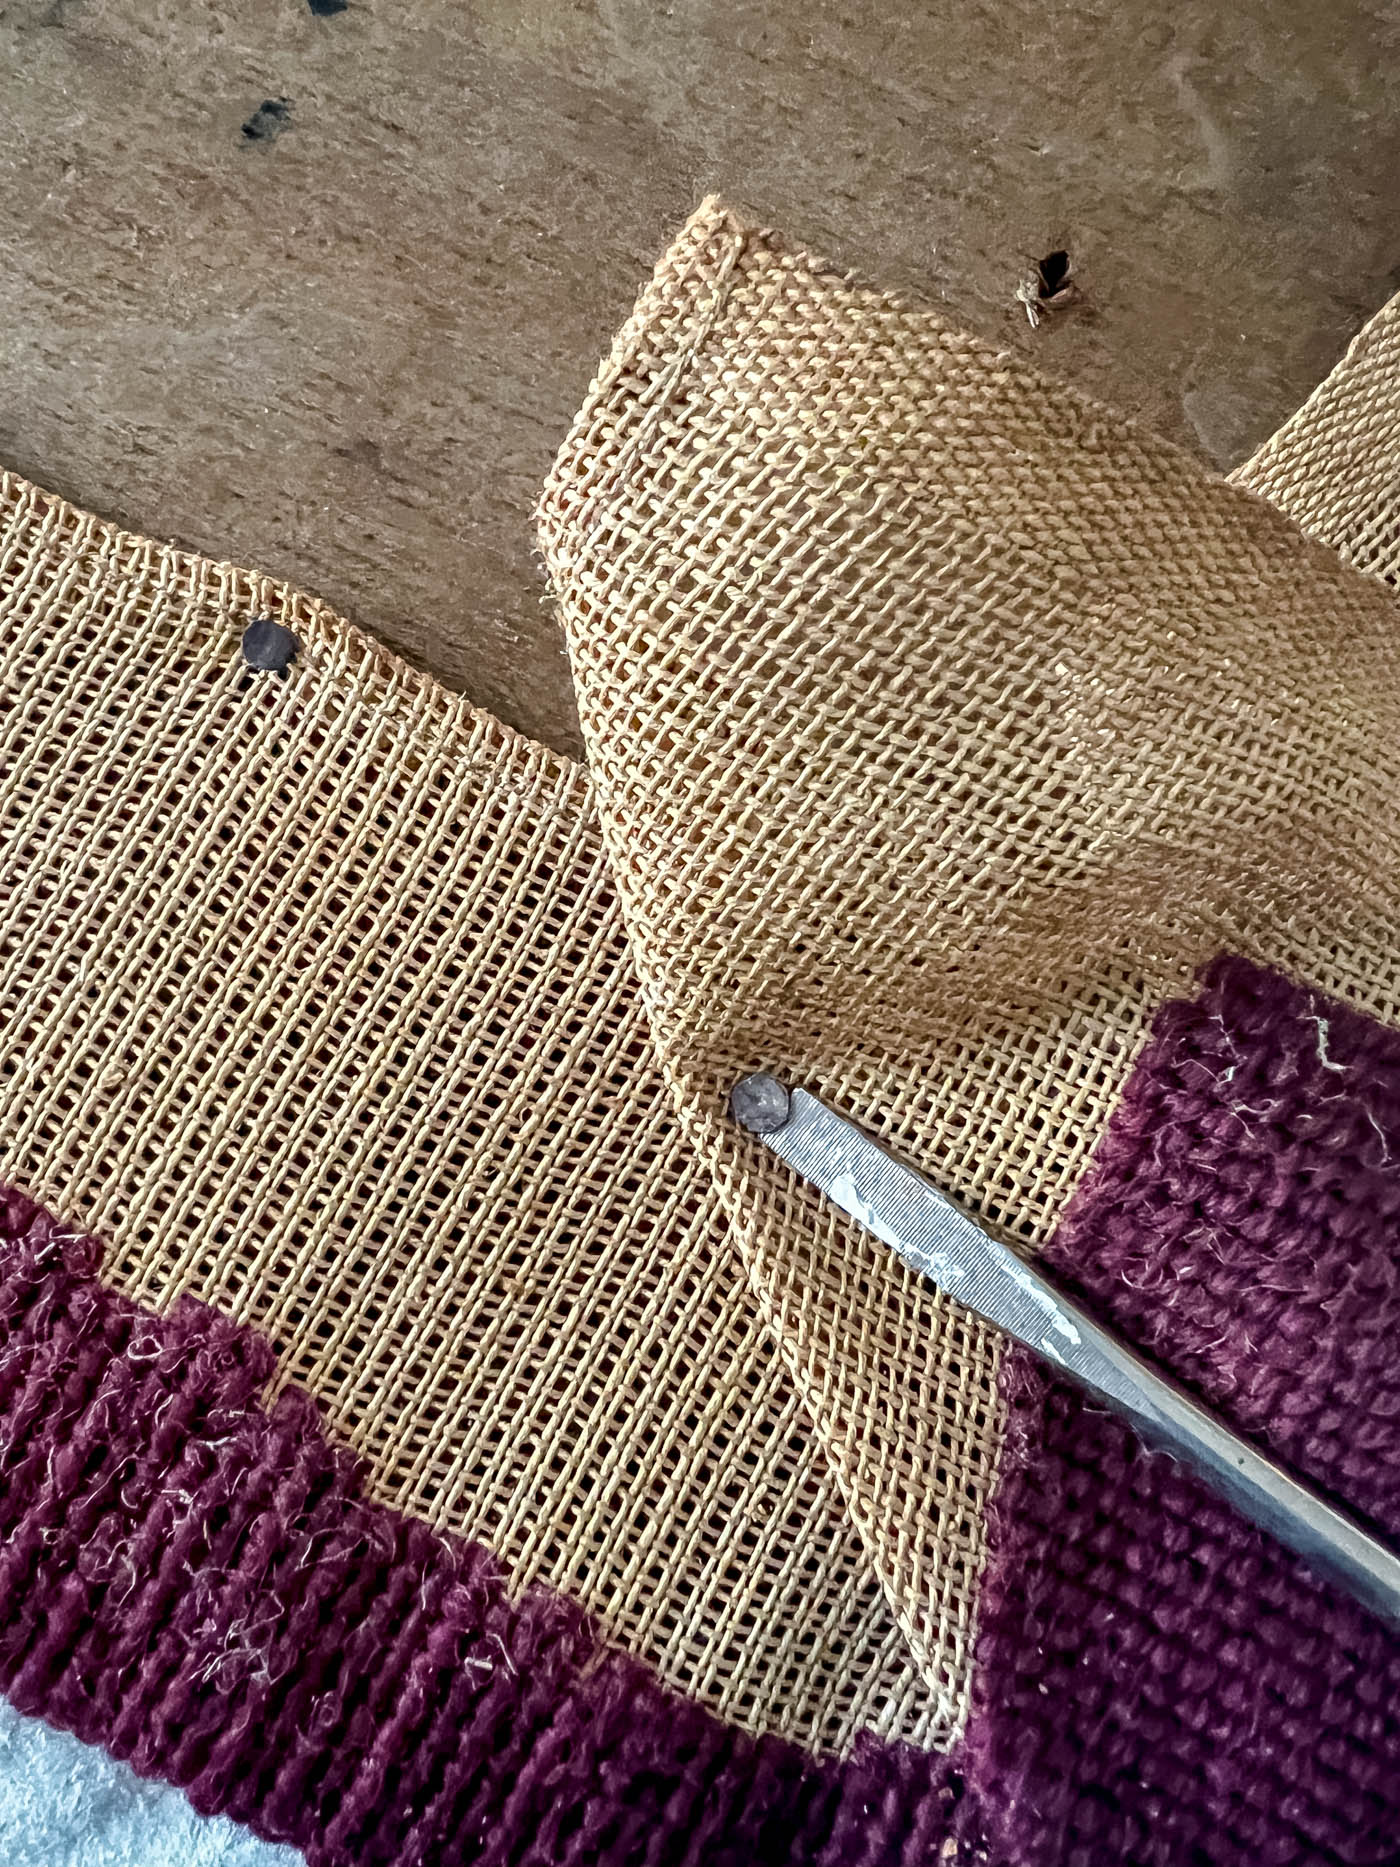
3. Make New Seat Boards, if Needed
I didn't have to do this step because the wood of the seats was just fine. But if your seat board is broken or cracked beyond repair, you'll need to replace it.
Get a 1/2″ plywood board and use the old seat as a template to make a new one with a jigsaw.
4. Replace the Foam, if needed
If the foam needs replacing, lay the new foam over the seat board, trace around the board with a marker, and cut it to size.
It's fine to piece together several scraps, since the batting will cover everything and it'll look like one solid piece once finished.
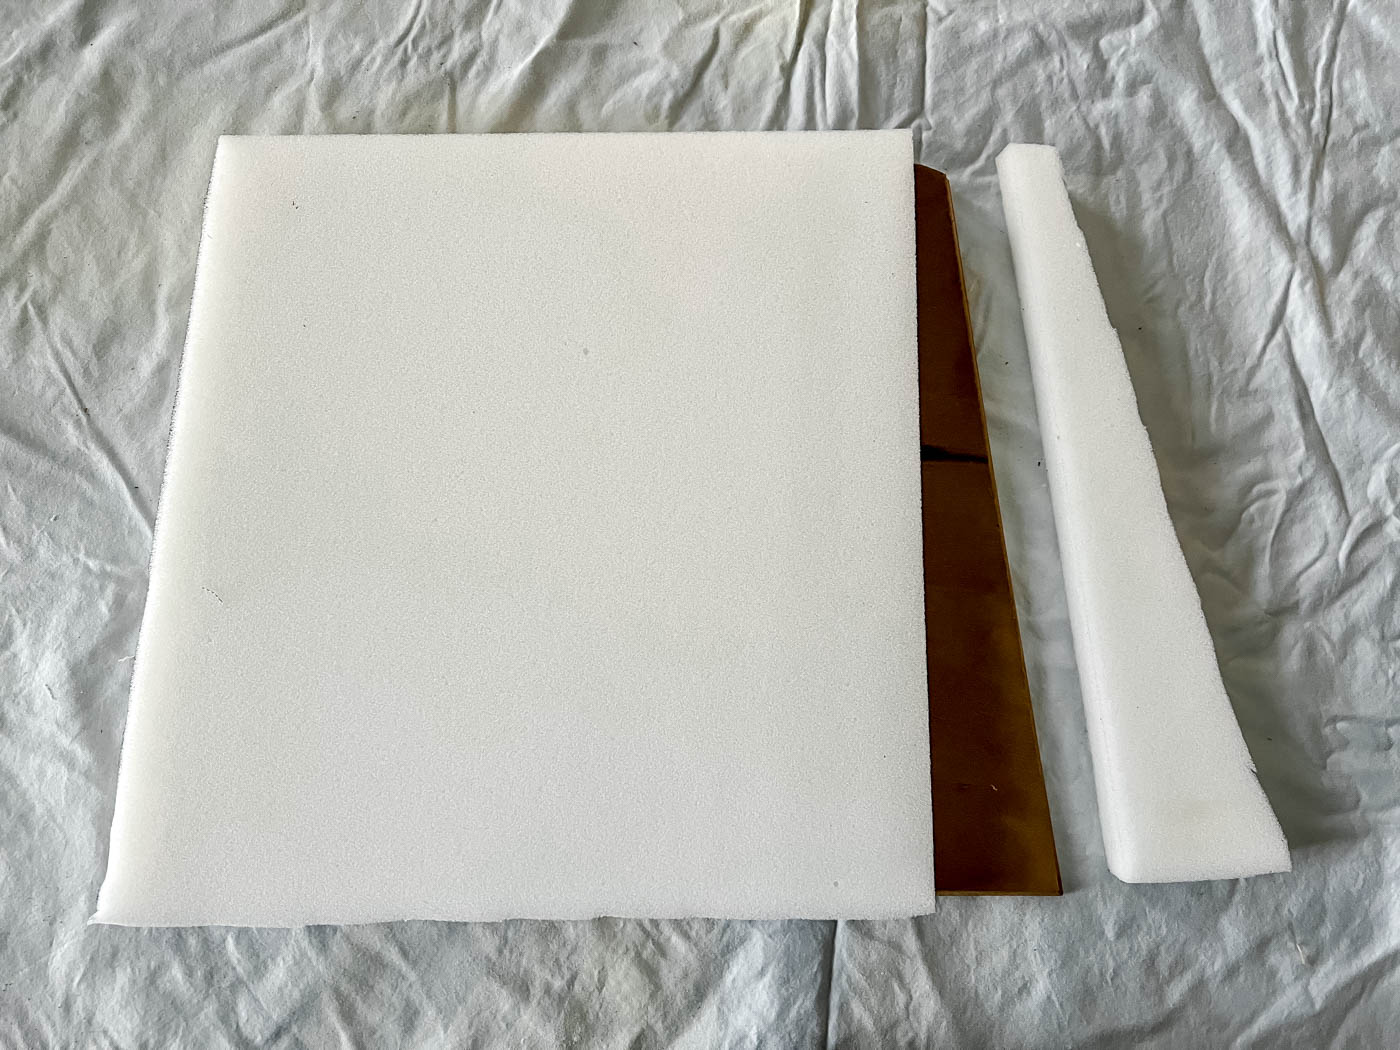
Basting adhesive can keep these layers in place until everything is stapled down!
5. Add Batting Over the Foam Cushion
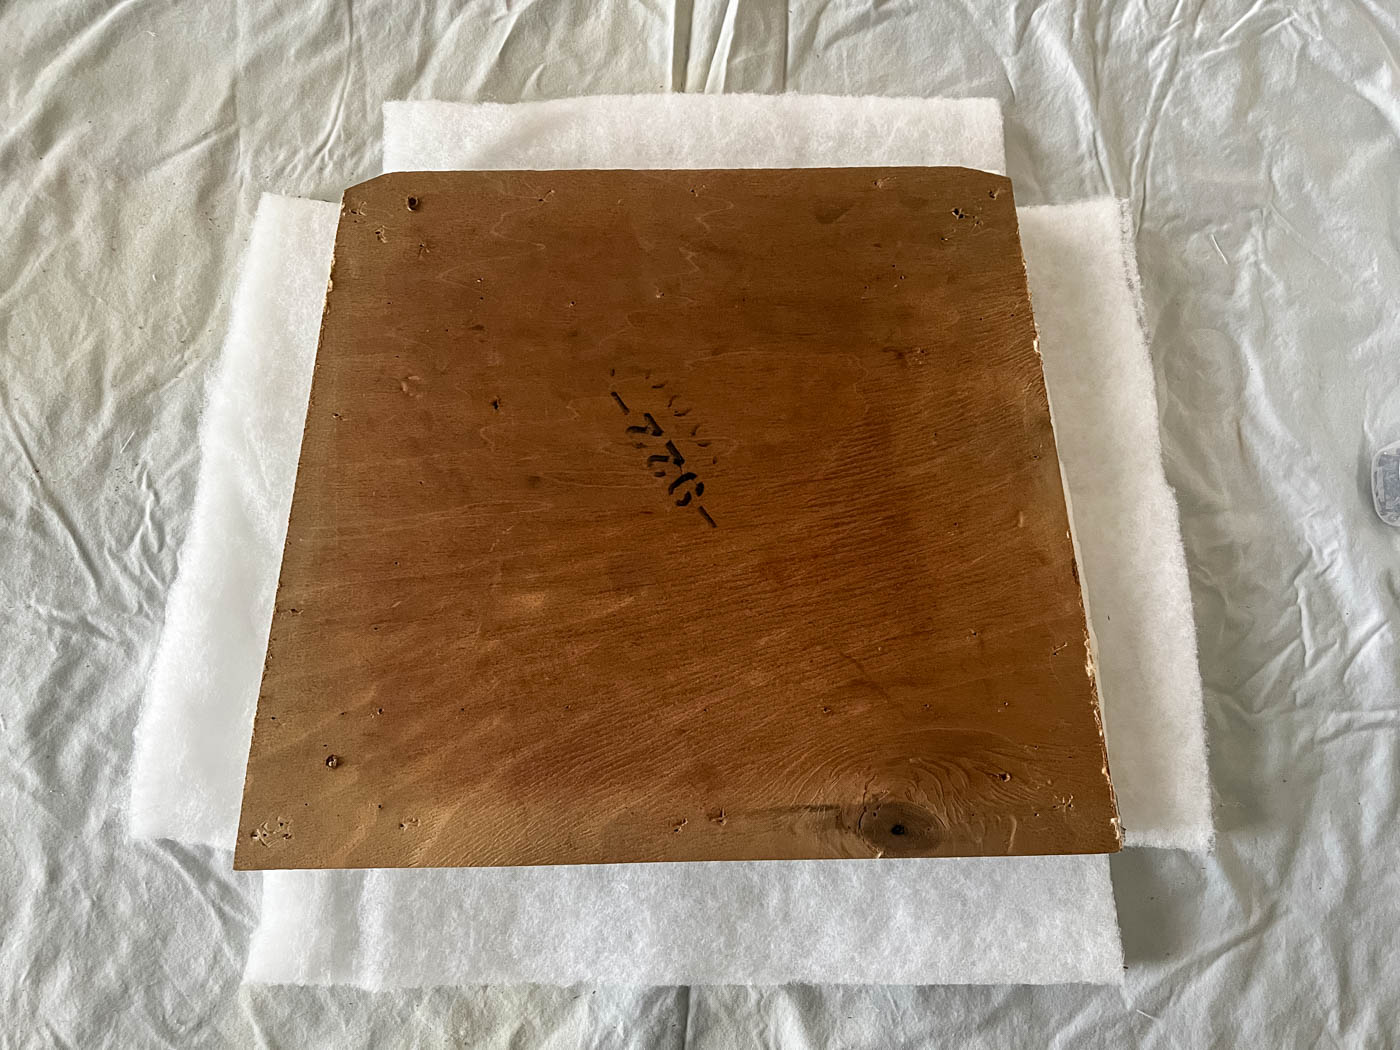
Cut the batting 3 inches wider than the seat on every side so it can wrap under the seat.
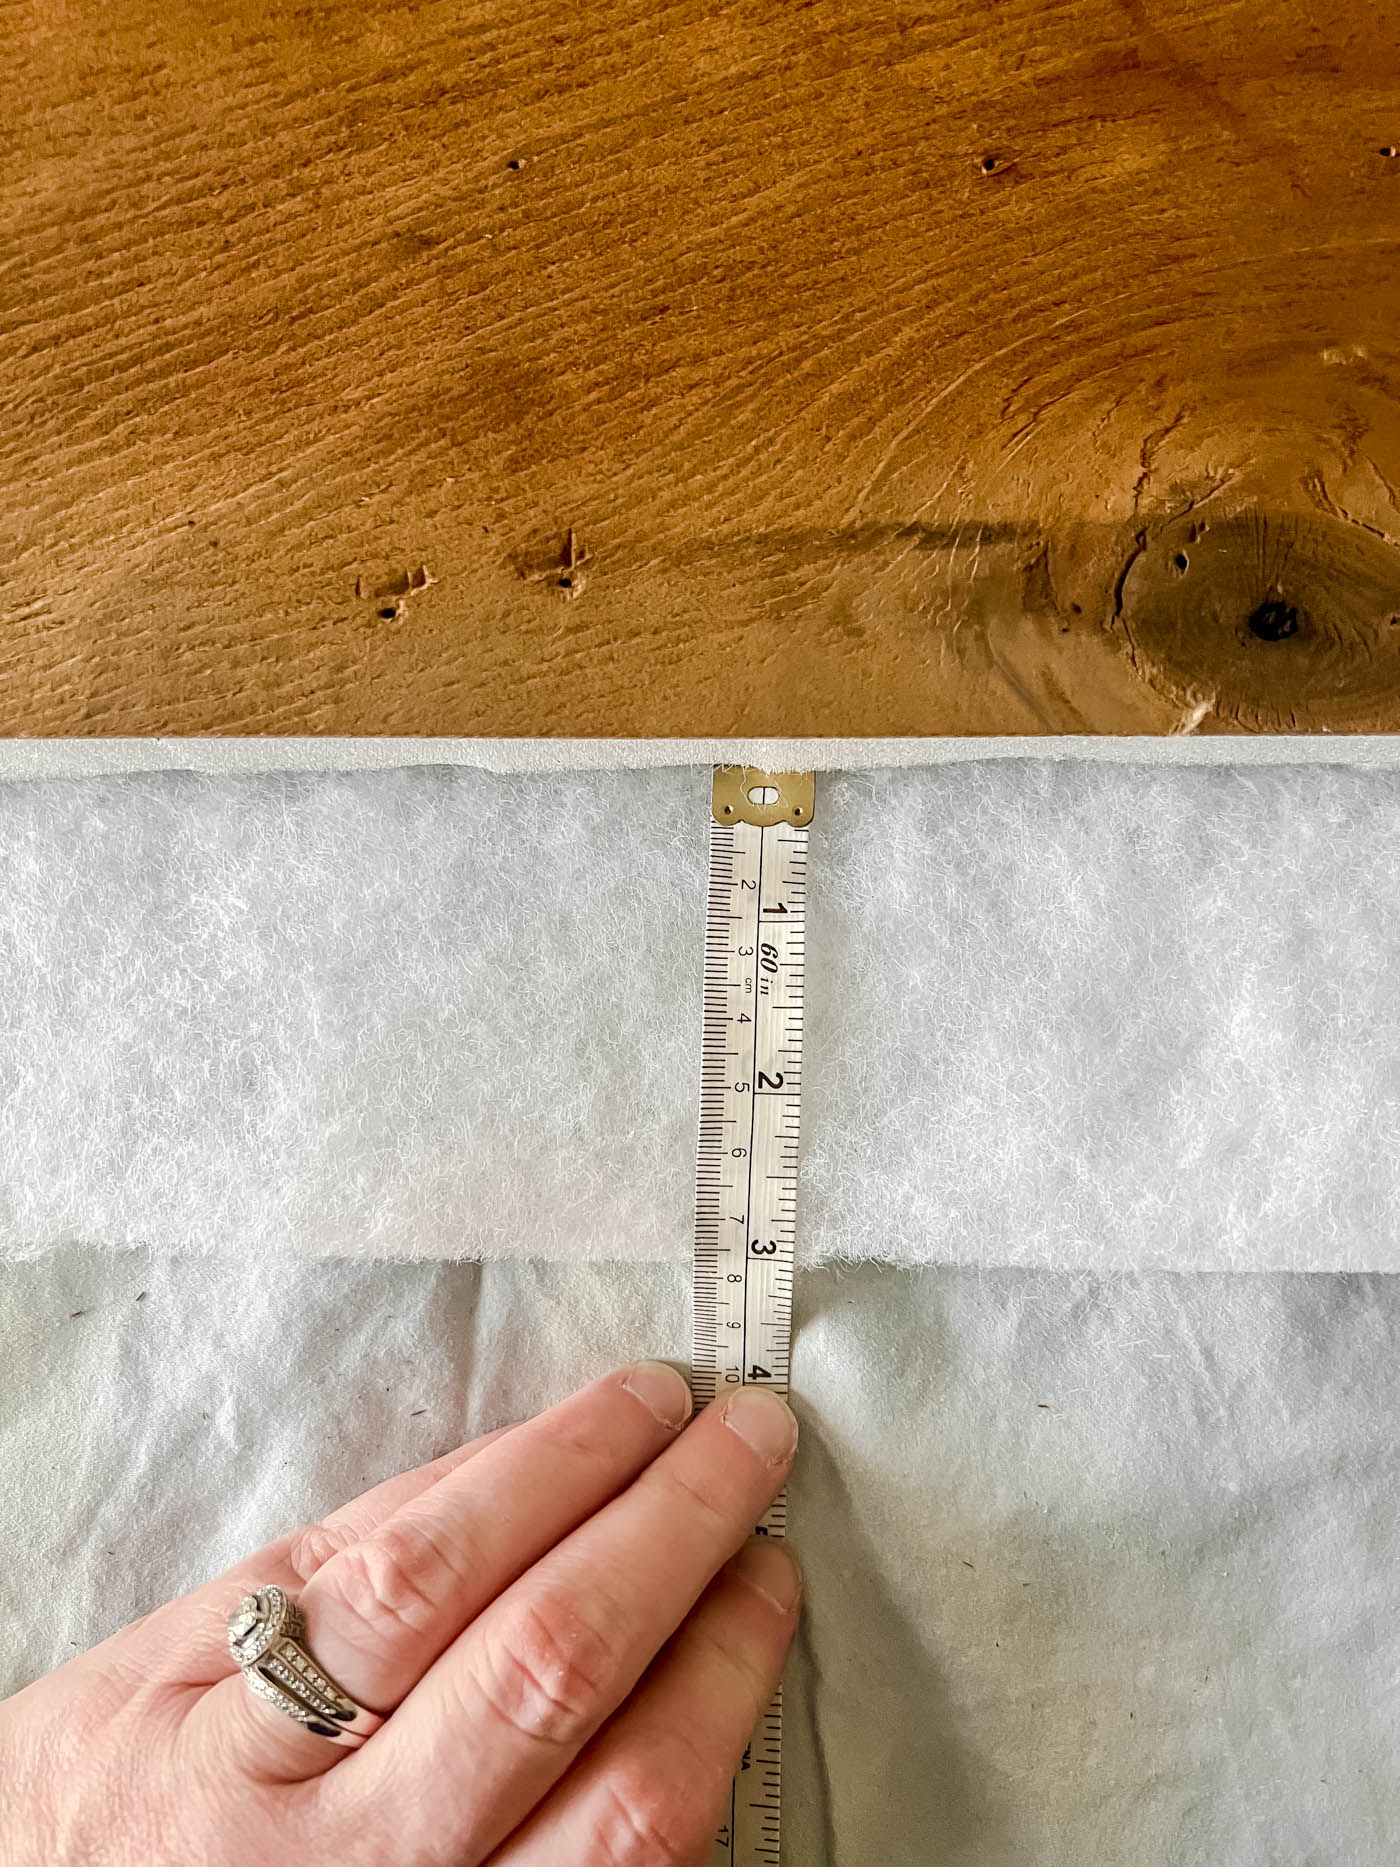
After cutting the batting, notch the corners so there isn't extra bulk to bunch up.
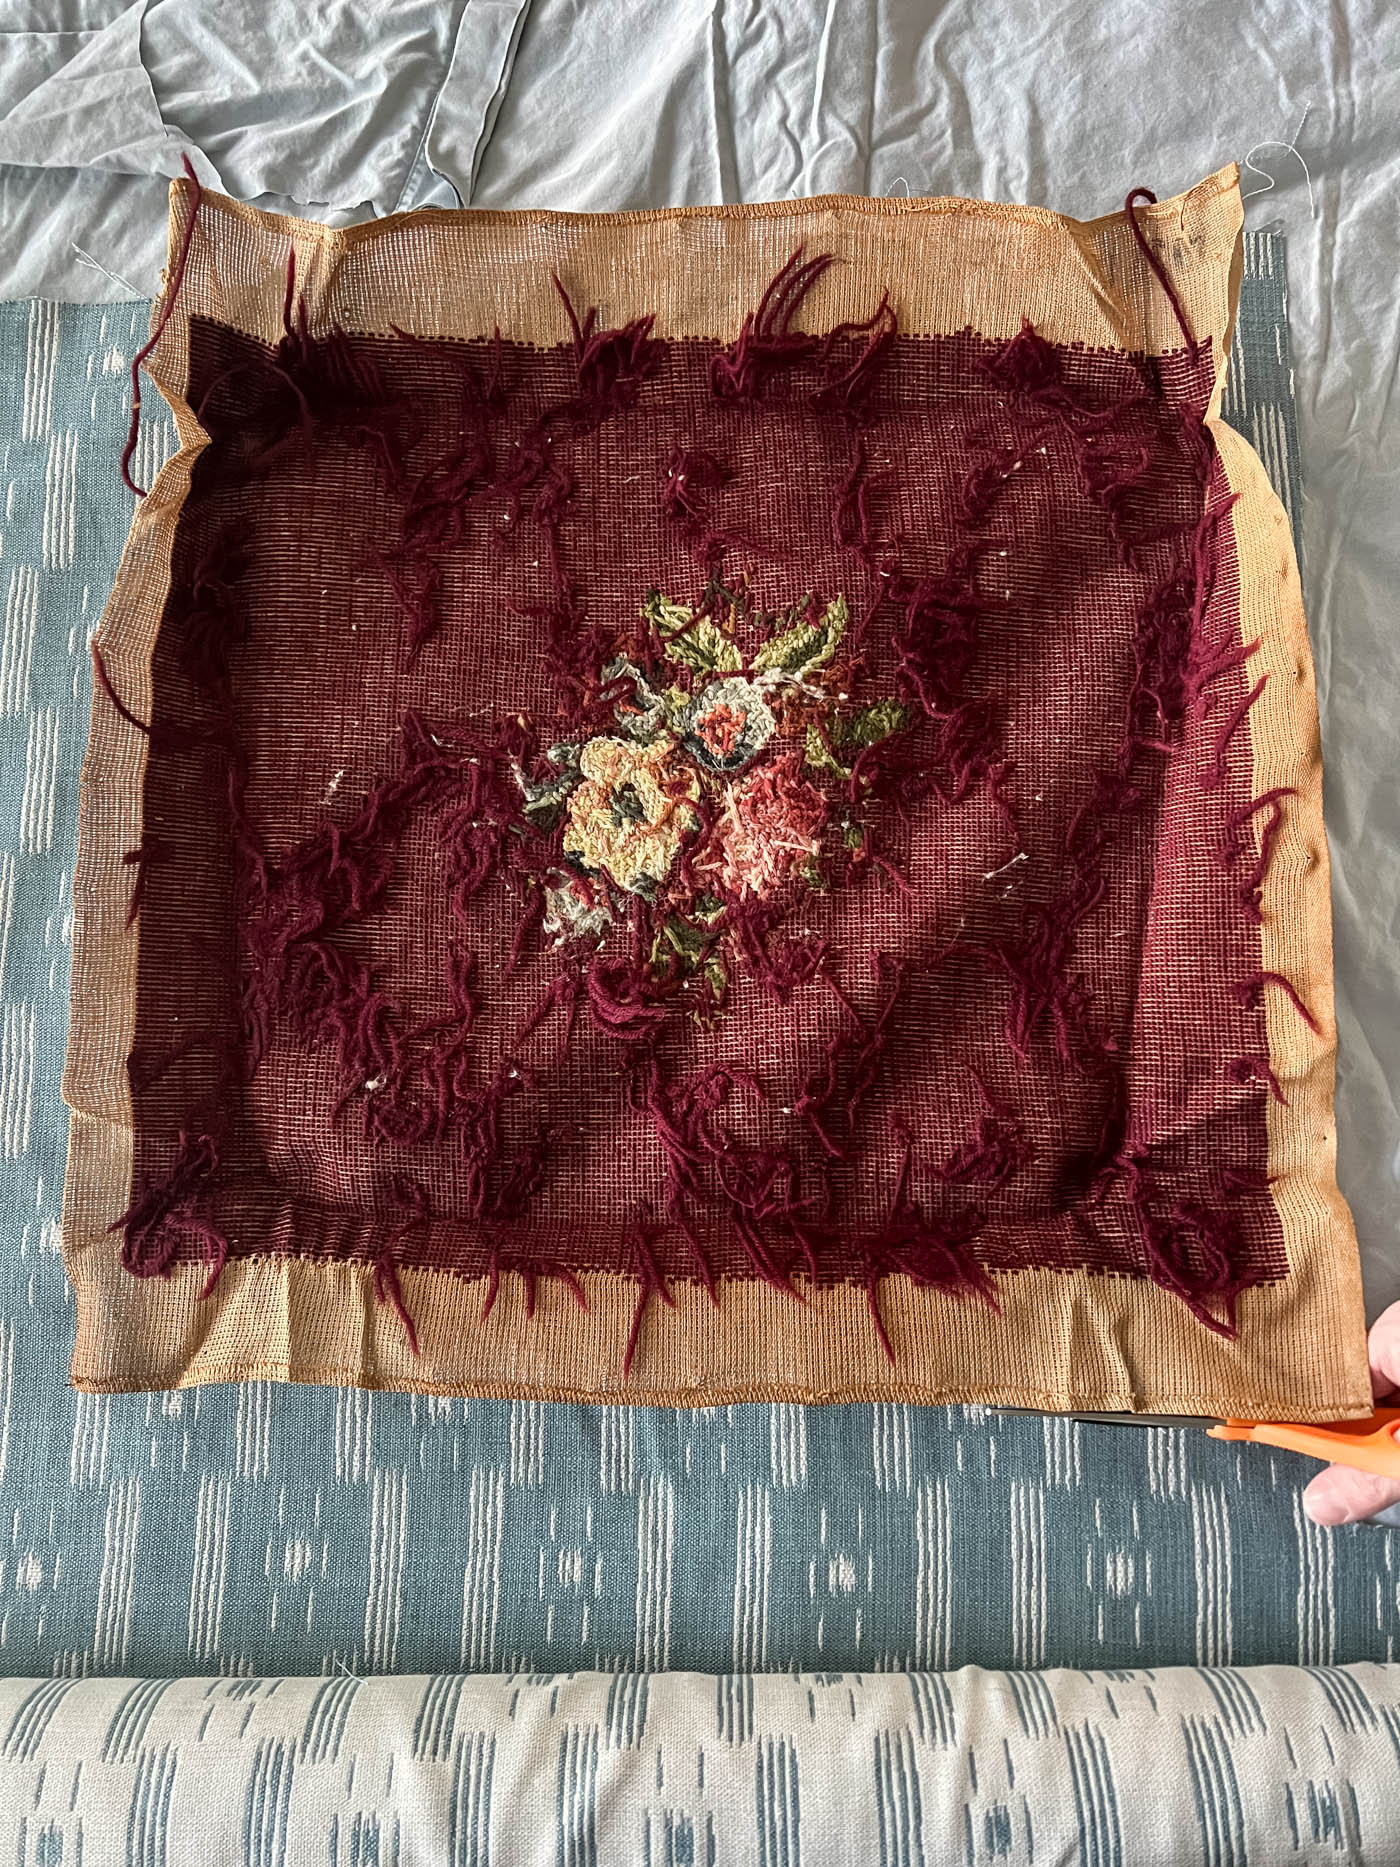
6. Cut Out the Fabric
With a patterned fabric, check the pattern direction and find its center before you cut.
As a rule of thumb, leave at least 4 inches of extra fabric on each side so there's enough to wrap over the foam and batting and under the seat.
The old seat cover makes a handy guide. I cut mine a bit oversized so I could center the pattern, then trimmed it to size as needed.
7. Staple the Fabric to the Underside of the Chair
Find the center of the seat and mark it on the foam. Line up your fabric to that spot and make sure it's centered if you have a pattern on your fabric.
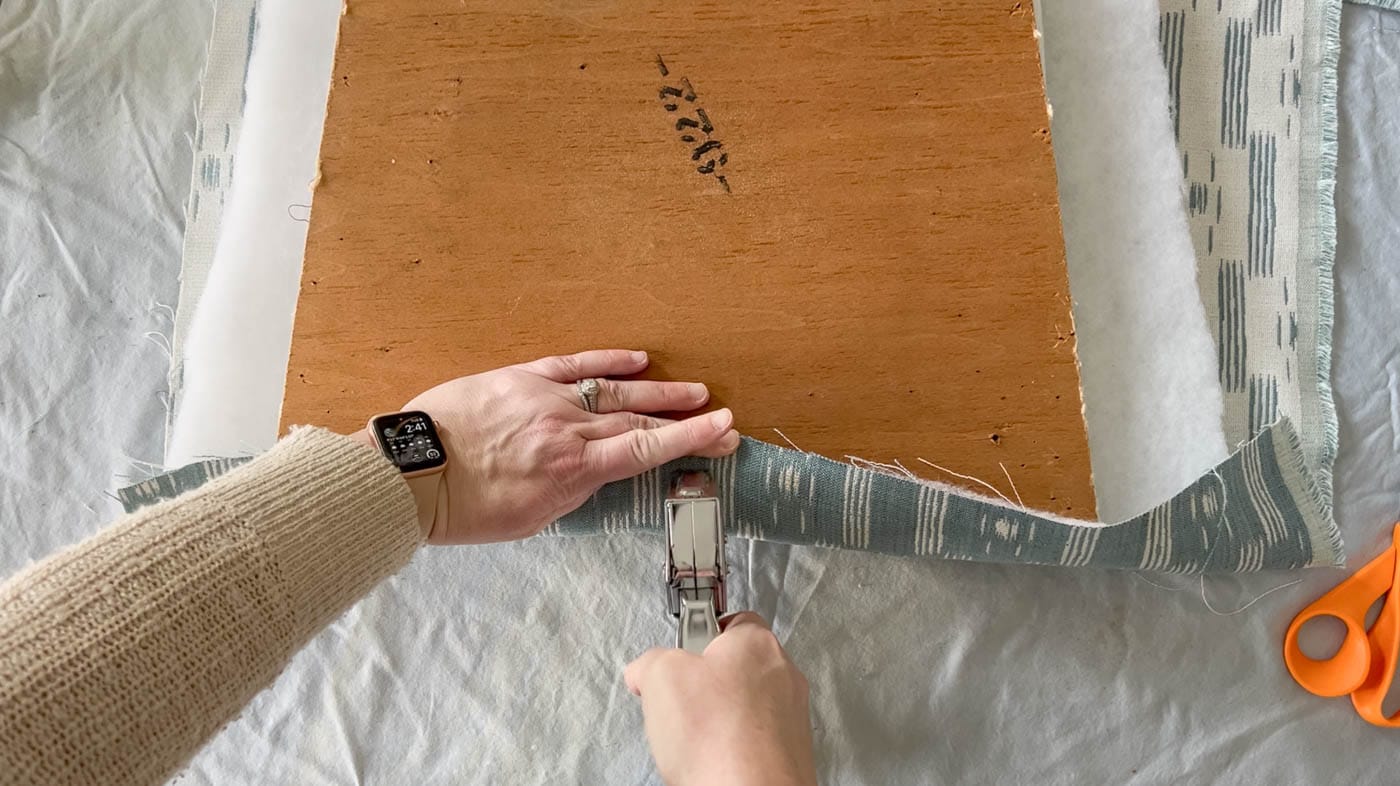
Flip everything over to the back and pull the fabric snug along the front edge. Then put one staple through the fabric into the underneath of the chair seat.
Rotate the seat and place one staple at the midpoint of each side, pulling firmly as you go. Keep the fabric taut or the top will look messy.
Once all four sides are stapled down, turn the seat over and make sure it looks good before going on.
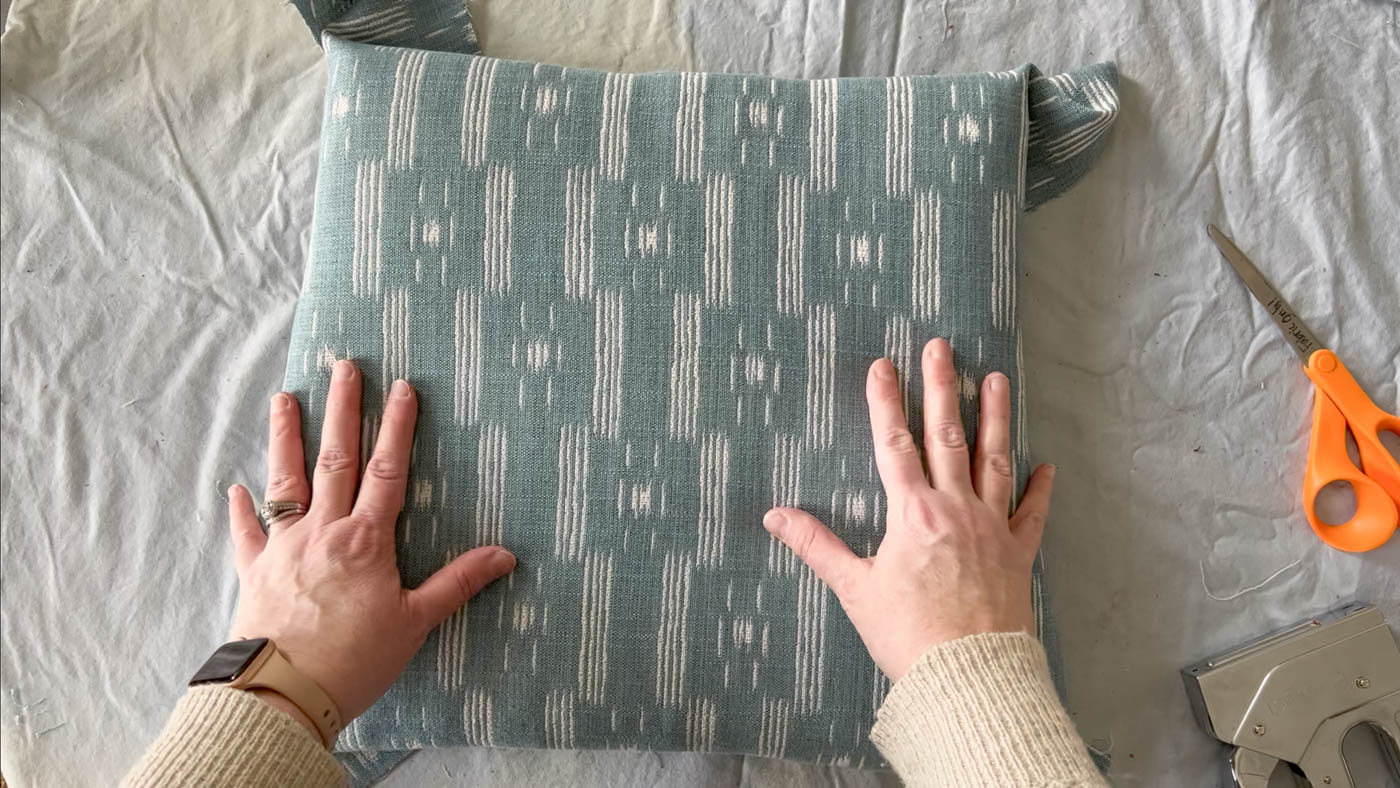
If it looks good, turn it back over and keep stapling each side as you go. If not, pull out the staples and try again.
About Stapling the Corners
Once you get to the corners, staple the sides as close to the corner as possible, without going over to the next side.
This will be the most intimidating part, but it's not that hard. If you can wrap a present nicely, you can do this!
Fold in each side at the corner to create two neat folds. I filmed a video showing exactly how I do it. Practice on the back of the seat before tackling the front corners, since the back of the chair will hide those.
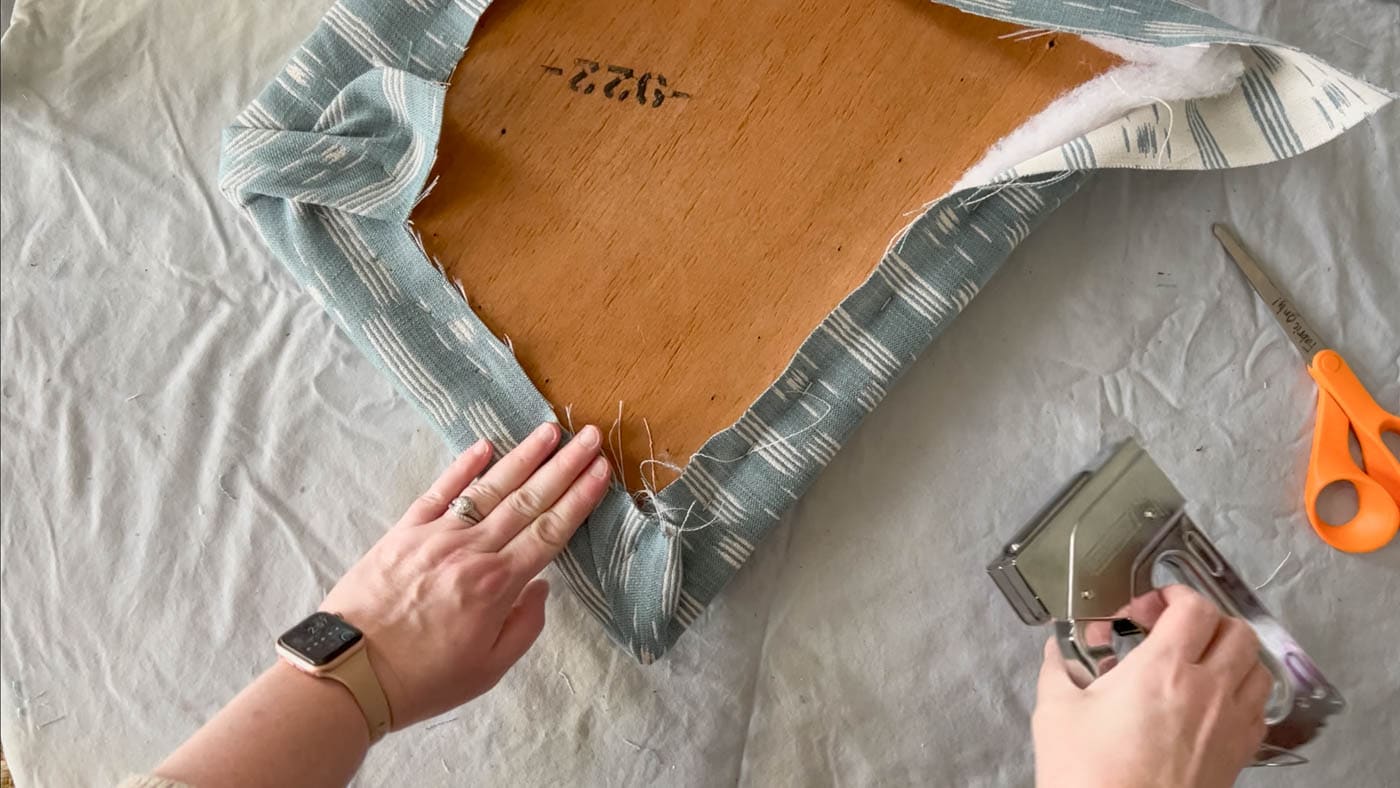
If you're having trouble with it, be sure to watch the video tutorial below.
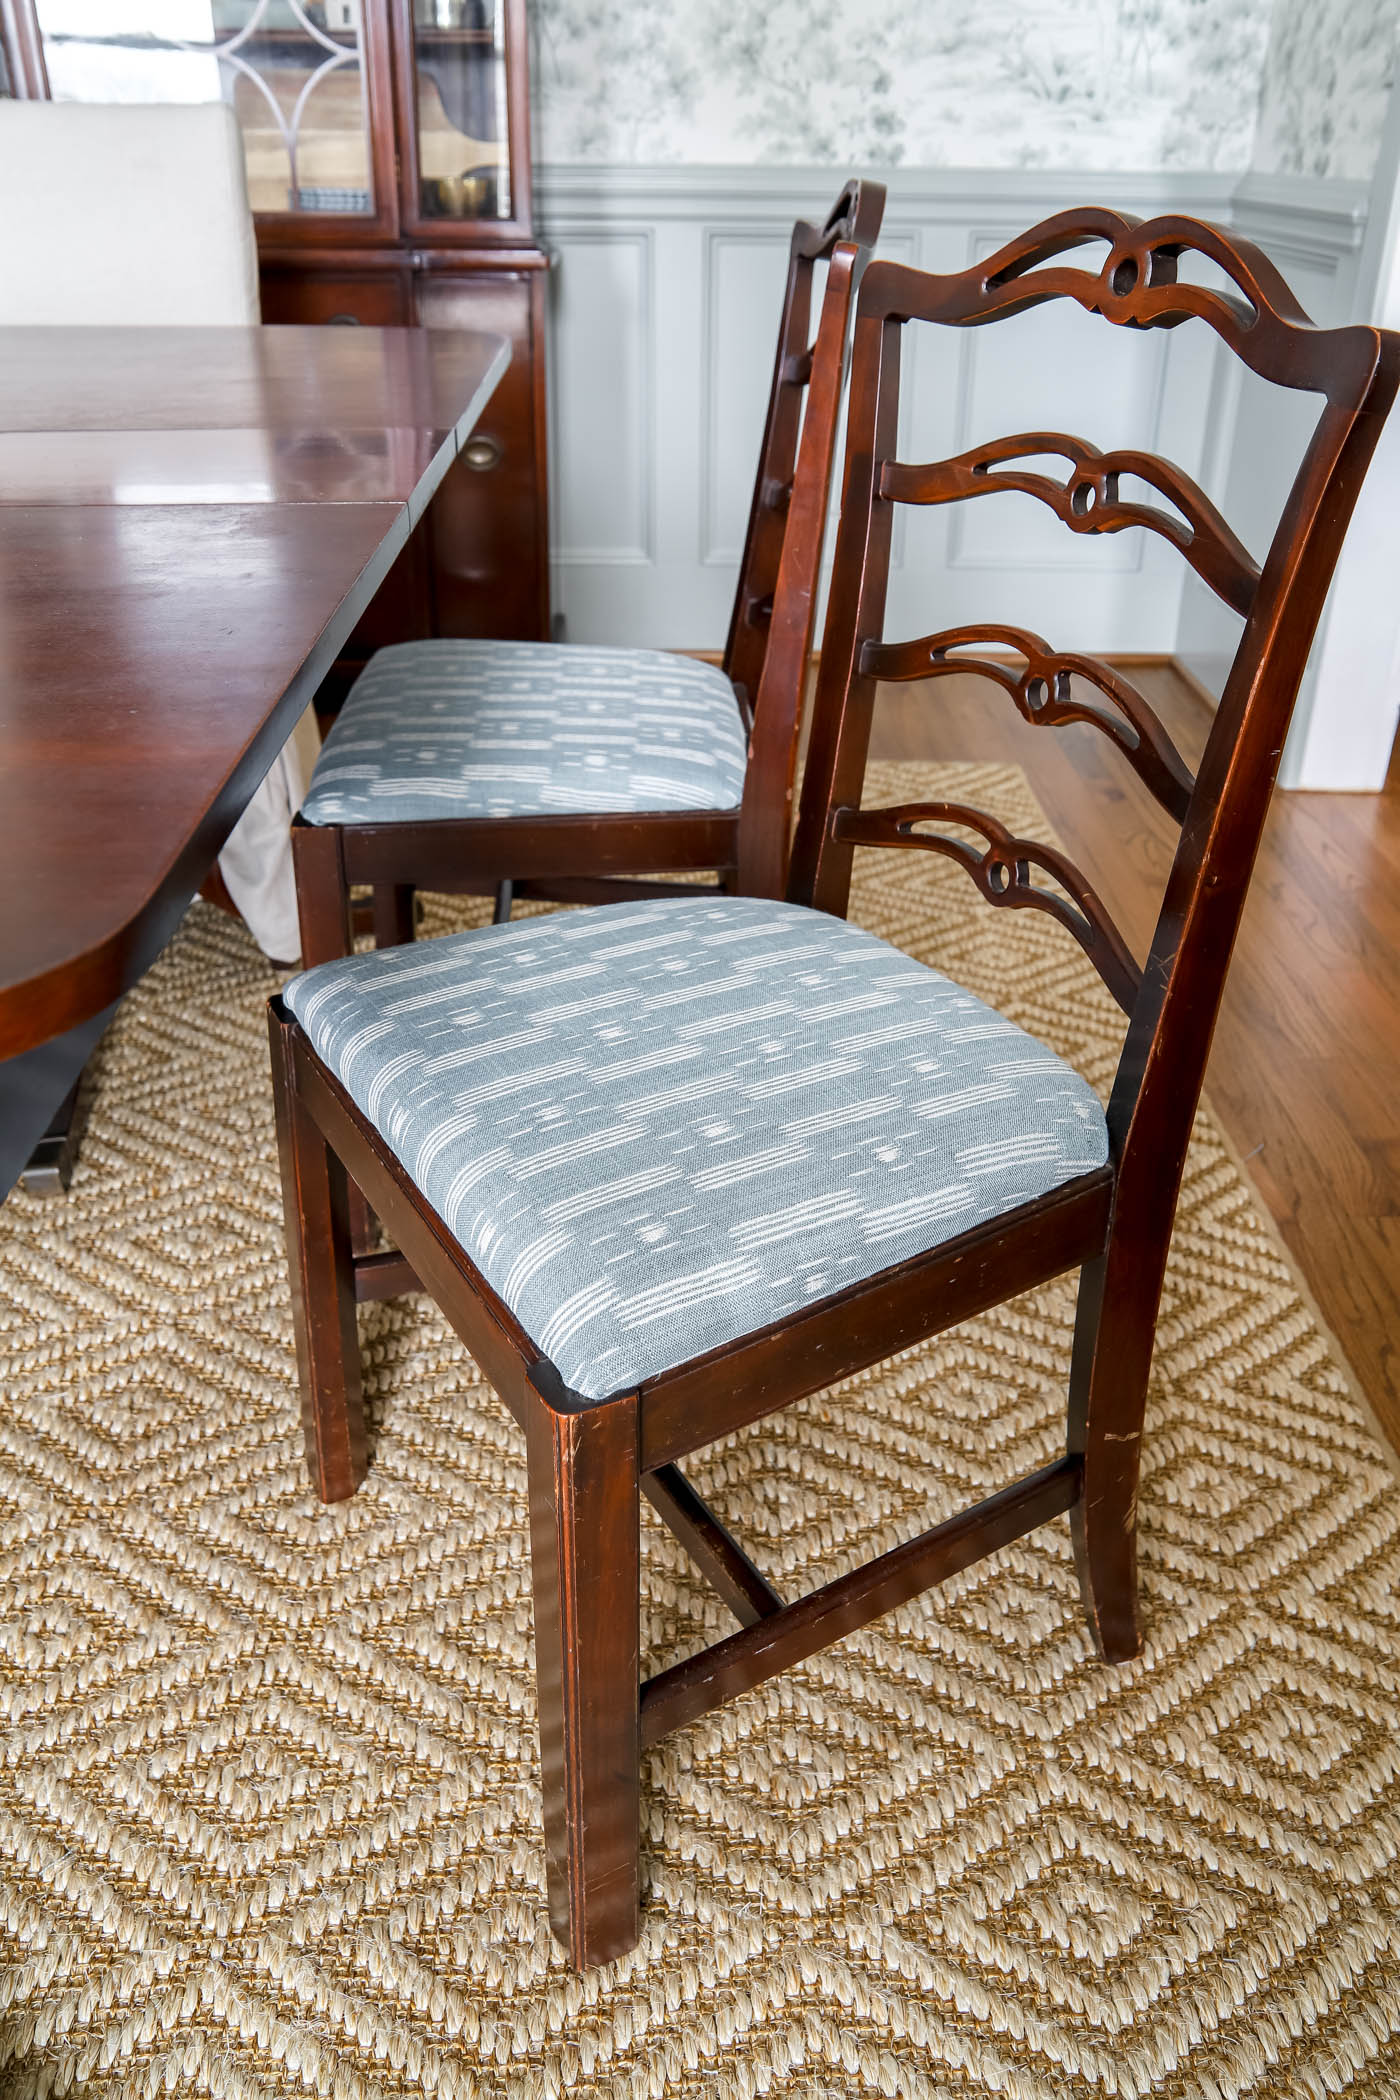
Last step: once everything is stapled, reattach the seat to the chair and you're finished!
Step back and admire what feels like a brand new chair, but for much less.
Watch the Video Tutorial for Recovering Dining Chair Seats
FAQs About Recovering Dining Chair Seats
Is it difficult to reupholster a chair?
Not at all! Recovering a chair seat is a beginner-friendly DIY project. The tools are affordable and simple to use. If you can wrap a present, you can recover a seat.
How much fabric do I need to reupholster a chair cover?
The amount depends on the size of your seat covers. The simplest approach is to take off the original covers, measure how much fabric they used, then multiply by the number of chairs.
As a general guide, add about 4″ to each side of the seat cover's actual size. Allow an extra yard or a yard and a half for margin.
For example, if your chair is 18″ wide, you'll need a square of fabric at least 22″ across in both directions so it can wrap the cushion and be stapled securely underneath.
What does it cost to reupholster a chair seat cushion?
That depends on the price of your fabric and whether you already own the tools. If you do, supplies come to roughly $10 per chair, plus the fabric.
Can you recover a dining chair without taking off the old fabric?
Yes! If the fabric and foam/batting are still in good condition, you can cover right over the old fabric!
Of course, if you want to use the old fabric for something else or replace the seat, foam and/or batting, take off the old fabric first.
More Posts You Will Love:
Dining room makeover projects:
- How to Hang Paste-the-Wall Wallpaper
- Painting Outlet Covers the Easy Way
- Traditional Dining Room Layout Ideas
DIY Cornice Board: How to Build a Fabric-Covered Window Cornice
...Read More
How to Make a Custom Frame for Your Frame TV (Premium Look on a Budget)
...Read More
How to Refinish Wooden Furniture
...Read More
DIY Fall Hydrangea Wreath With Faux Stems
...Read More
How to Display Plates on a Wall
...Read More
From Trash to Treasure: Framed Peacock Art
...Read More
Handmade Chinoiserie Egg Wreath
...Read More
How to Fix a Small Hole in Drywall
...Read More
How to Dehydrate Orange Slices for Decor and Crafts
...Read MoreLoad More