Learn to hang wallpaper yourself with this step-by-step guide. Get the best tips and tricks from a home DIYer who has wallpapered her own house!
I've recently jumped on the wallpaper bandwagon (and shared how to pick wallpaper here). I'm loving it!
I just hung it in my dining room (the third room I've wallpapered in our home), and it's the biggest wallpaper project I've taken on so far!
Like most decor trends, wallpaper has had its ups and downs. The once-popular wallpaper is back in style and hotter than ever! It's a lovely way to add texture, color and pattern to a home.
Wallpaper can be a divisive subject, with people usually loving it or hating it. But if you're ready to add it to your home, I'll show you how!
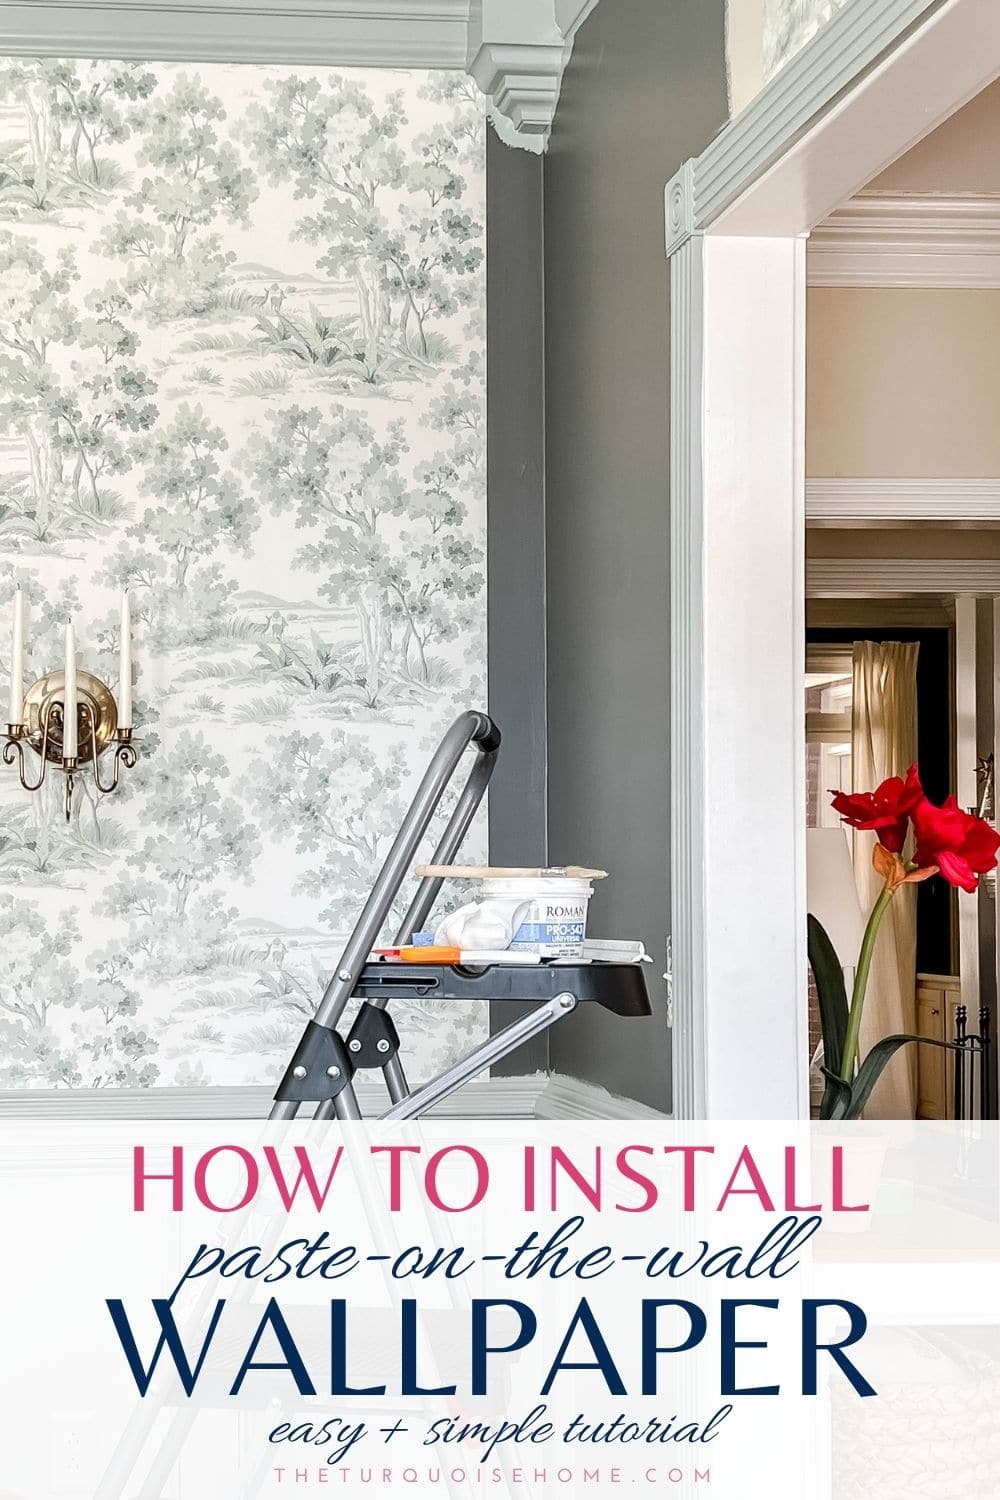
Supplies & Materials You'll Need to Hang Wallpaper:
- Wallpaper – I chose this lovely toile wallpaper for my dining room. I've shared how to pick wallpaper here.
- Chalk line or pencil
- Level
- Wallpaper smoothing tool
- Brush or paint roller for applying paste
- Wallpaper adhesive (or paste)
- Straightedge
- Measuring tape
- Utility or hobby knife
- Sponge
- Wallpaper seam roller
- Scissors
A few notes on supplies: I've used this particular wallpaper adhesive twice now. It's great, and I find it easy to track down in stores and online.
I've tried three different utility knives for hanging wallpaper and have finally settled on a favorite! This craft knife is comfortable to hold, razor sharp and simple to swap blades in. I found mine in my craft drawer and it was ideal! Keep spare blades on hand, as I swap mine out every 2-3 pieces of wallpaper.
Many wallpapering tools come together in a kit. I bought this wallpaper kit before papering my powder room, and I used several of its tools again this time!

How to Hang Paste-on-the-Wall Wallpaper
This tutorial covers wallpaper that arrives unpasted, where the instructions tell you to "paste the wall" before hanging it. In my view, this is the easiest method.
The other two installation methods are:
- Pre-pasted wallpaper (find my tutorial for that here)
- Paste-the-paper wallpaper. I think the method is nearly the same as what we're covering here, except you apply paste to the wallpaper rather than the wall.
This DIY project can seem intimidating. It's a bit like wrapping a present, just on a much bigger scale and in reverse! So start small if it's your first time wallpapering.
I papered my dining room for this tutorial, though I used the same method in my powder room before. The powder room was much smaller and far easier. Starting there helped me get comfortable first.
As I mentioned, begin in smaller spaces with fewer obstacles and work up to a full room. You could also do a single wall, or the inside of a picture frame box on the wall. Either way, just go for it! What's the worst that could happen?
Before you start, take everything off the walls, including light switch plates and outlet covers.
1. Decide where the wallpaper starts and ends.
If you're wrapping wallpaper all the way around a room, choose the least noticeable spot to start and finish the paper.
That's usually above the most frequently used door! It's where I've started and finished every project, and it has worked out well.
The pattern will NOT line up where the two ends meet, which is why that spot should be as inconspicuous as possible.
2. Draw a level vertical line where the first strip will hang.
Keeping the wallpaper level throughout is essential, so starting from a level line is the first step.
Keep checking that everything stays level as you go.
One of the easiest spots to drift out of level is when you're going around or over a door or window.
I always check for level at corners. It's essential to wrap a corner and finish on a level line, or the entire next wall will look crooked.
2. Cut a strip at least 2 inches longer than the wall at both the top and bottom.
Leave two extra inches at each end. That gives you room to trim the top and bottom along the trim for a clean, straight line.
3. Coat the wall with wallpaper adhesive.
I use a wallpaper brush for this, but nearly any brush will do! Cover the entire area where that strip will go.
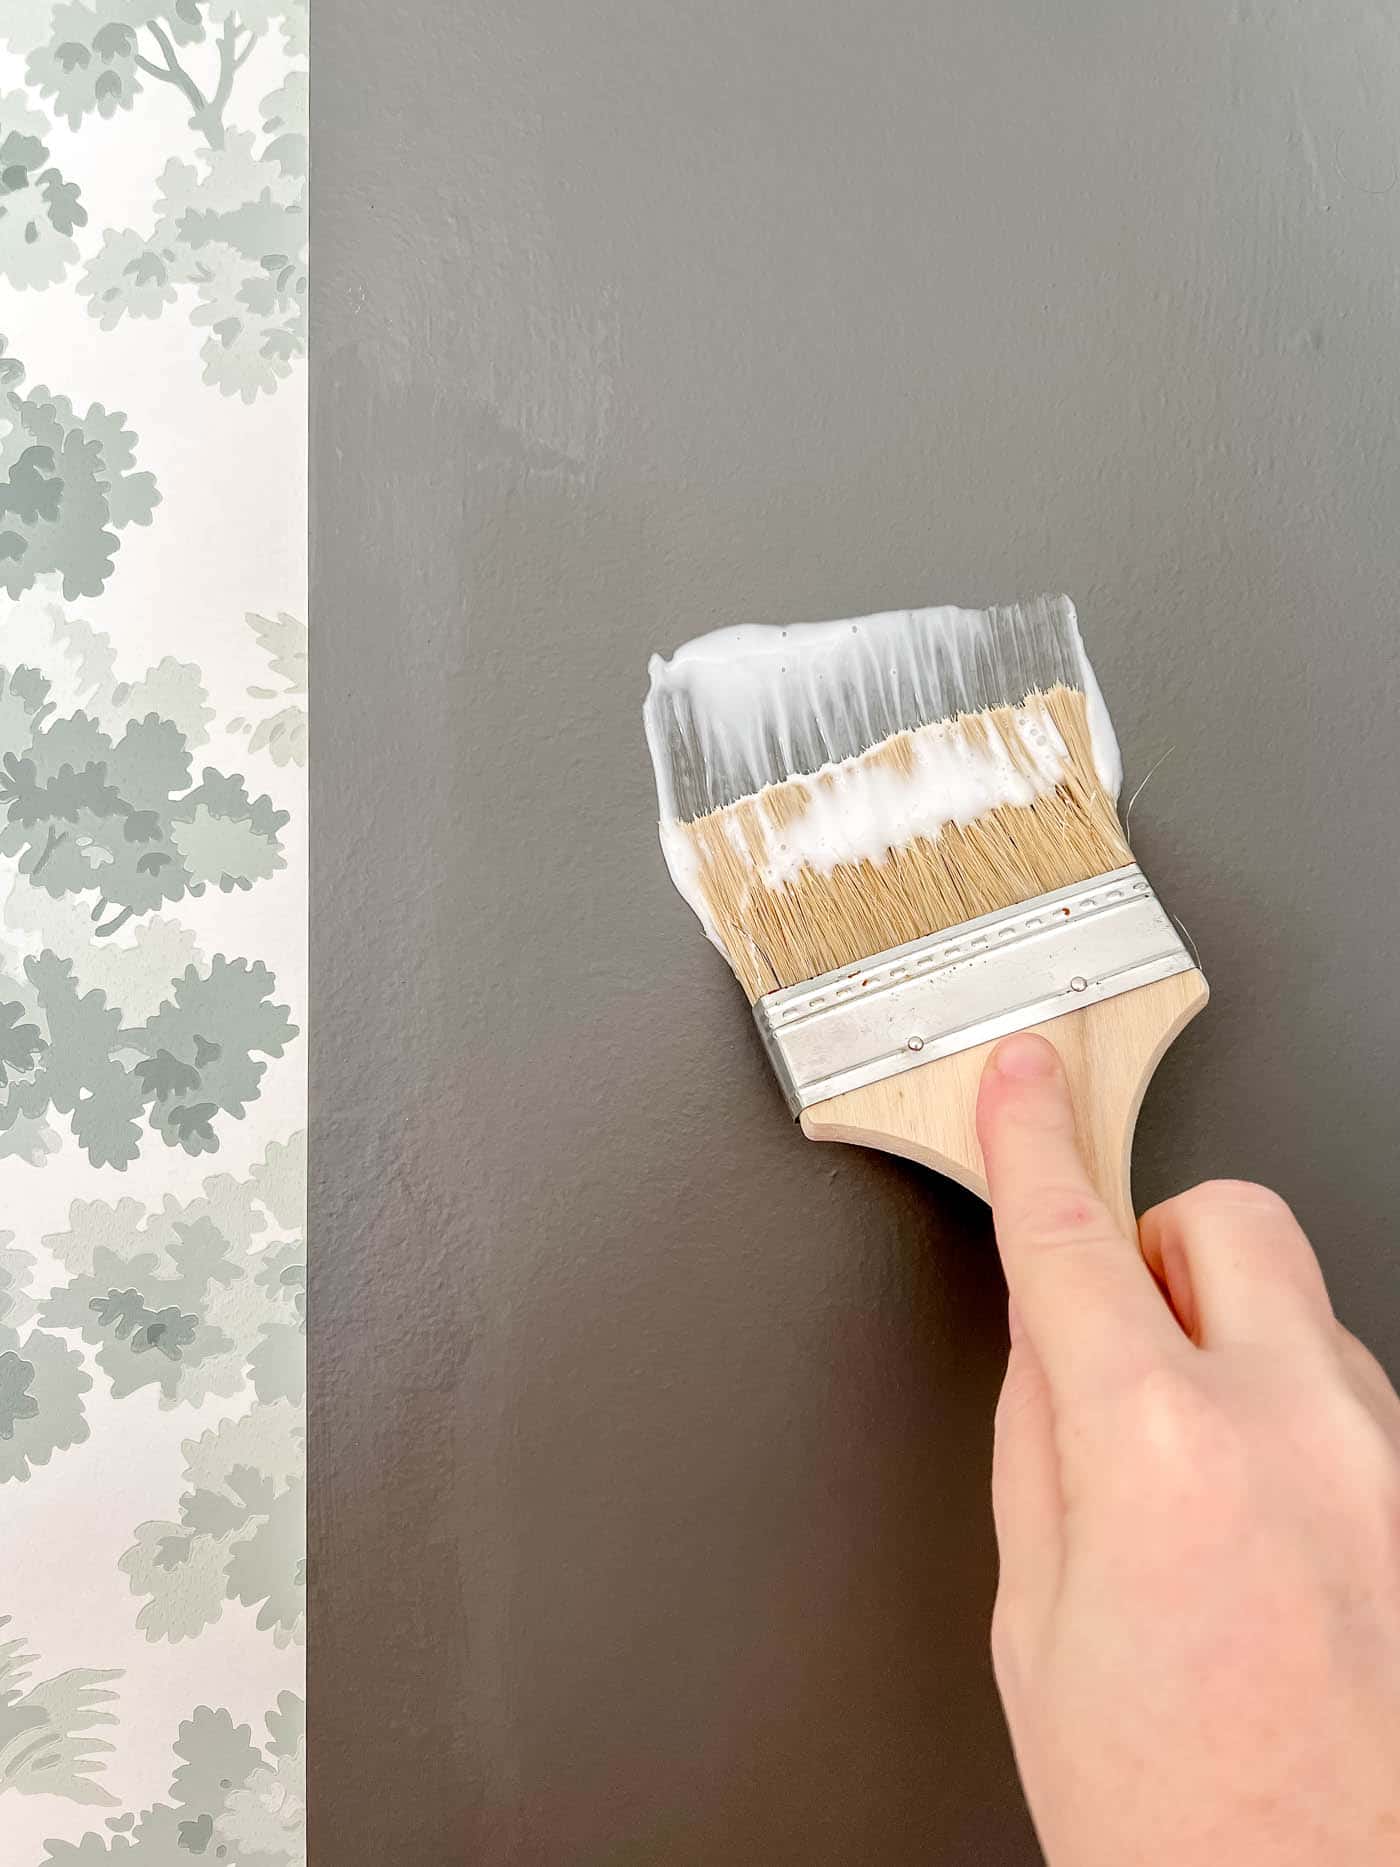
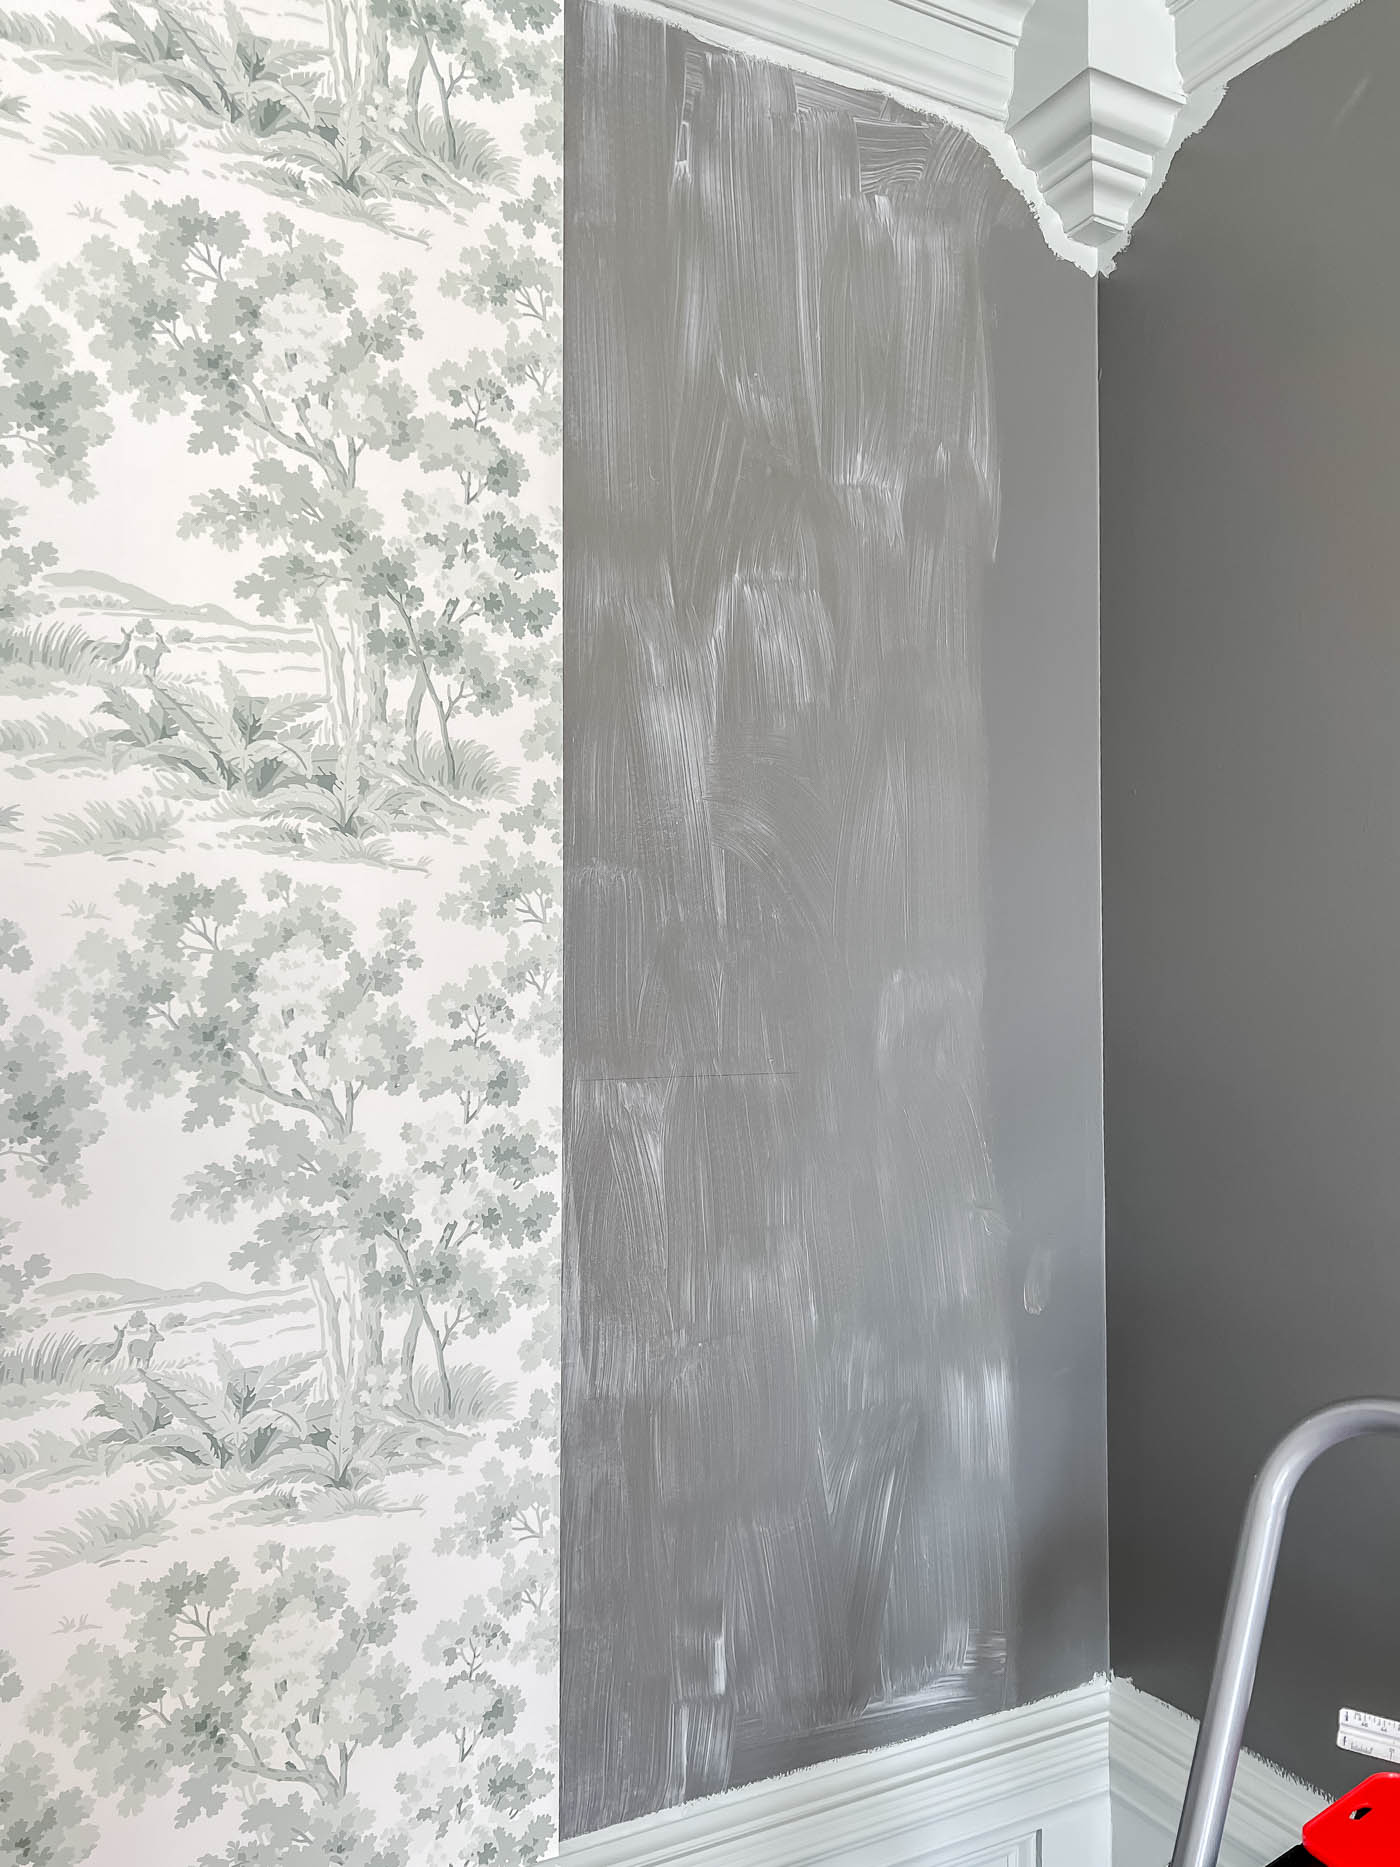
The goal is plenty of paste without letting it drip. If I have to reposition the paper several times, I peel it back and add more paste to the wall. I'd rather use too much and clean it up than not use enough.
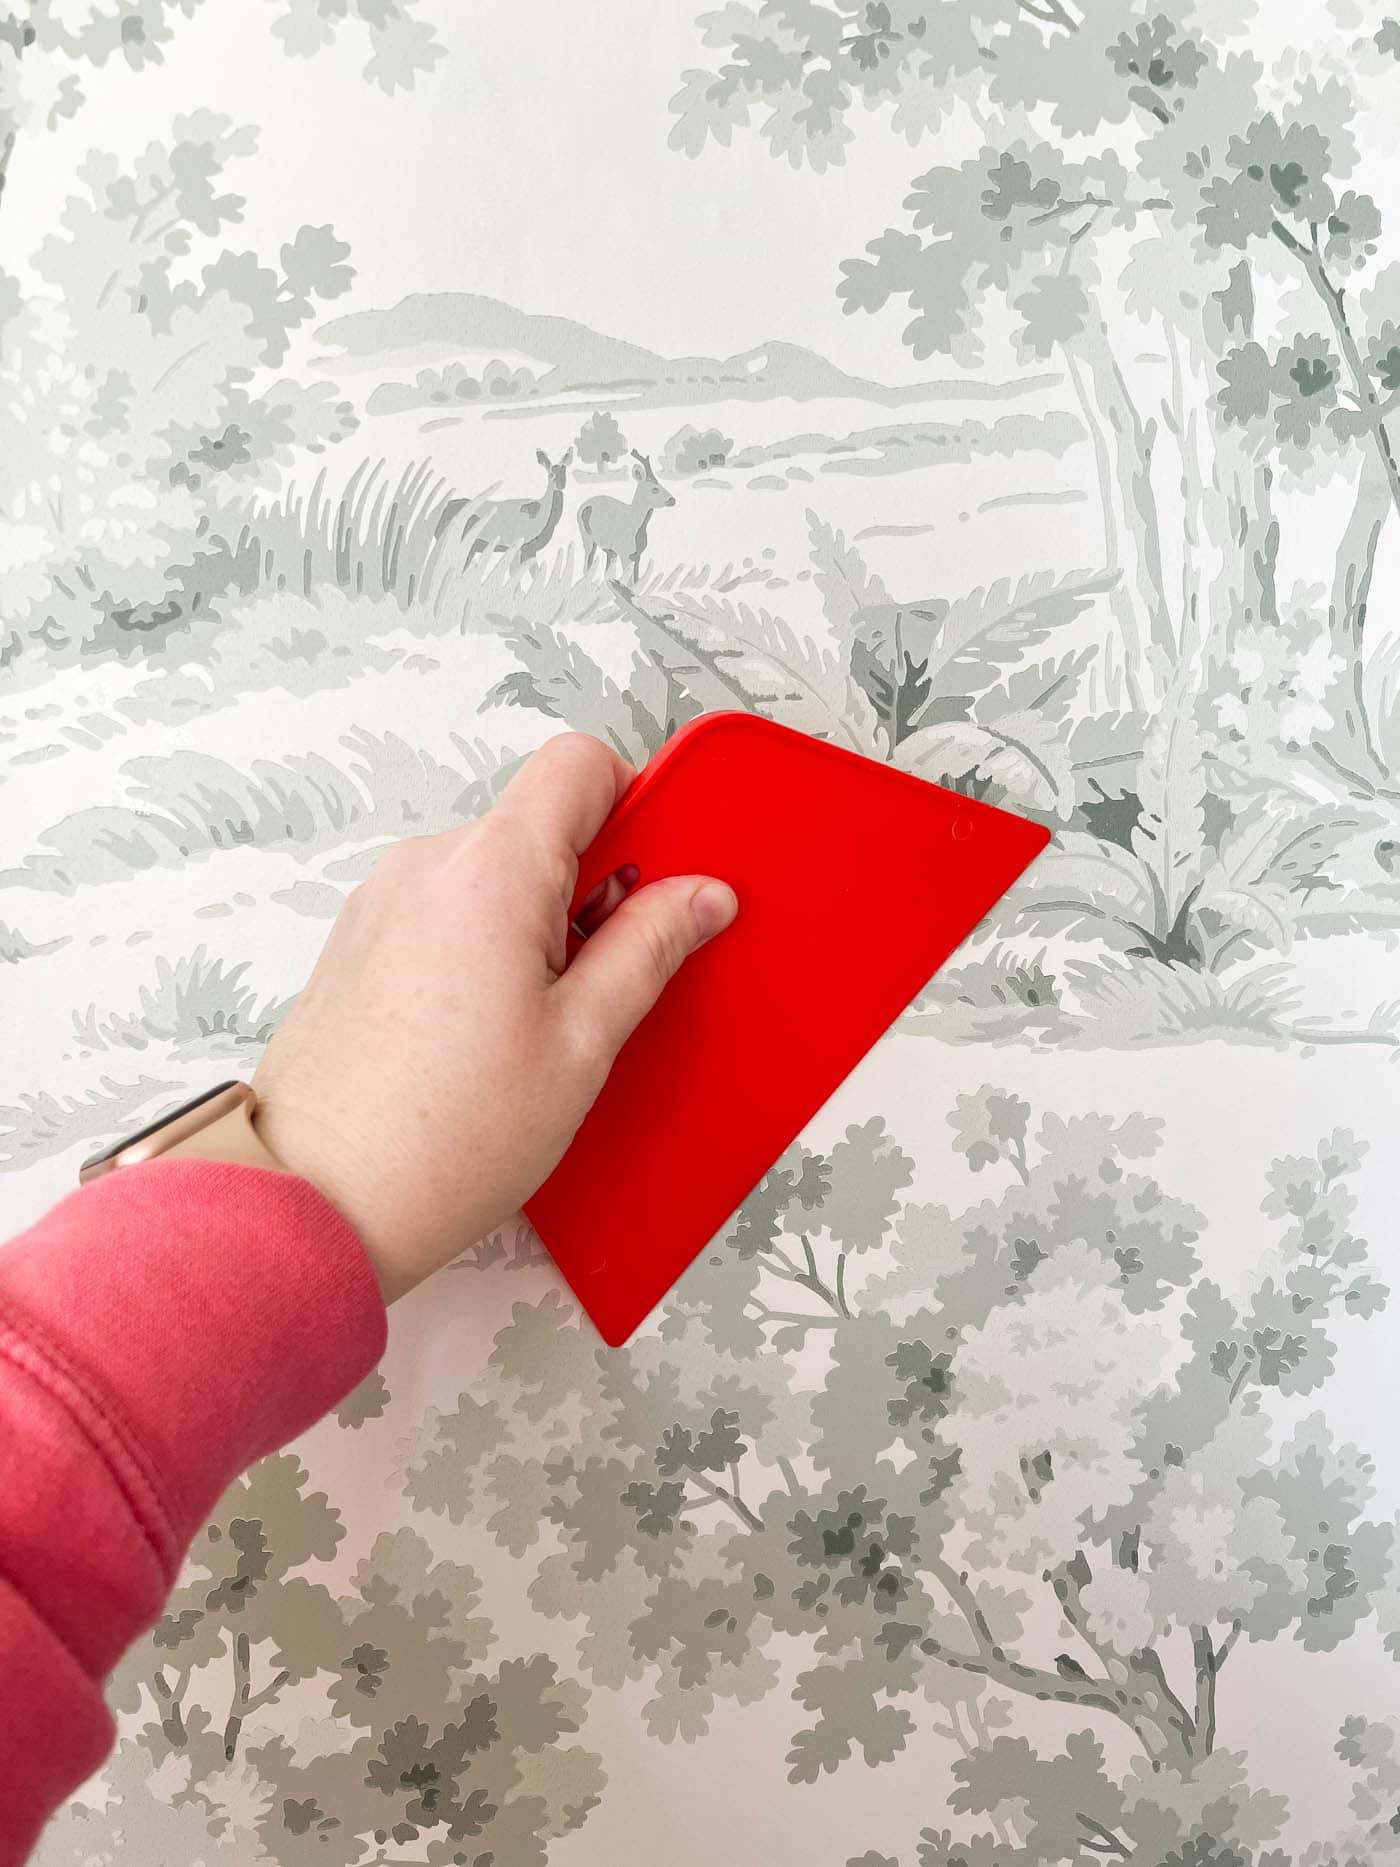
4. Smooth Out Bubbles With the Wallpaper Smoothing Tool
Once the strip is in place, smooth out any bubbles with your smoothing tool.
I always run my hand over the strips to make sure every bubble is gone.
5. Trim Off the Excess Paper at the Top and Bottom
Once the top half of the wall is in place, you can trim off the excess paper at the top.
Use a straightedge with your utility or craft knife to keep the cut straight! Don't freehand it, no matter how steady your hand feels.
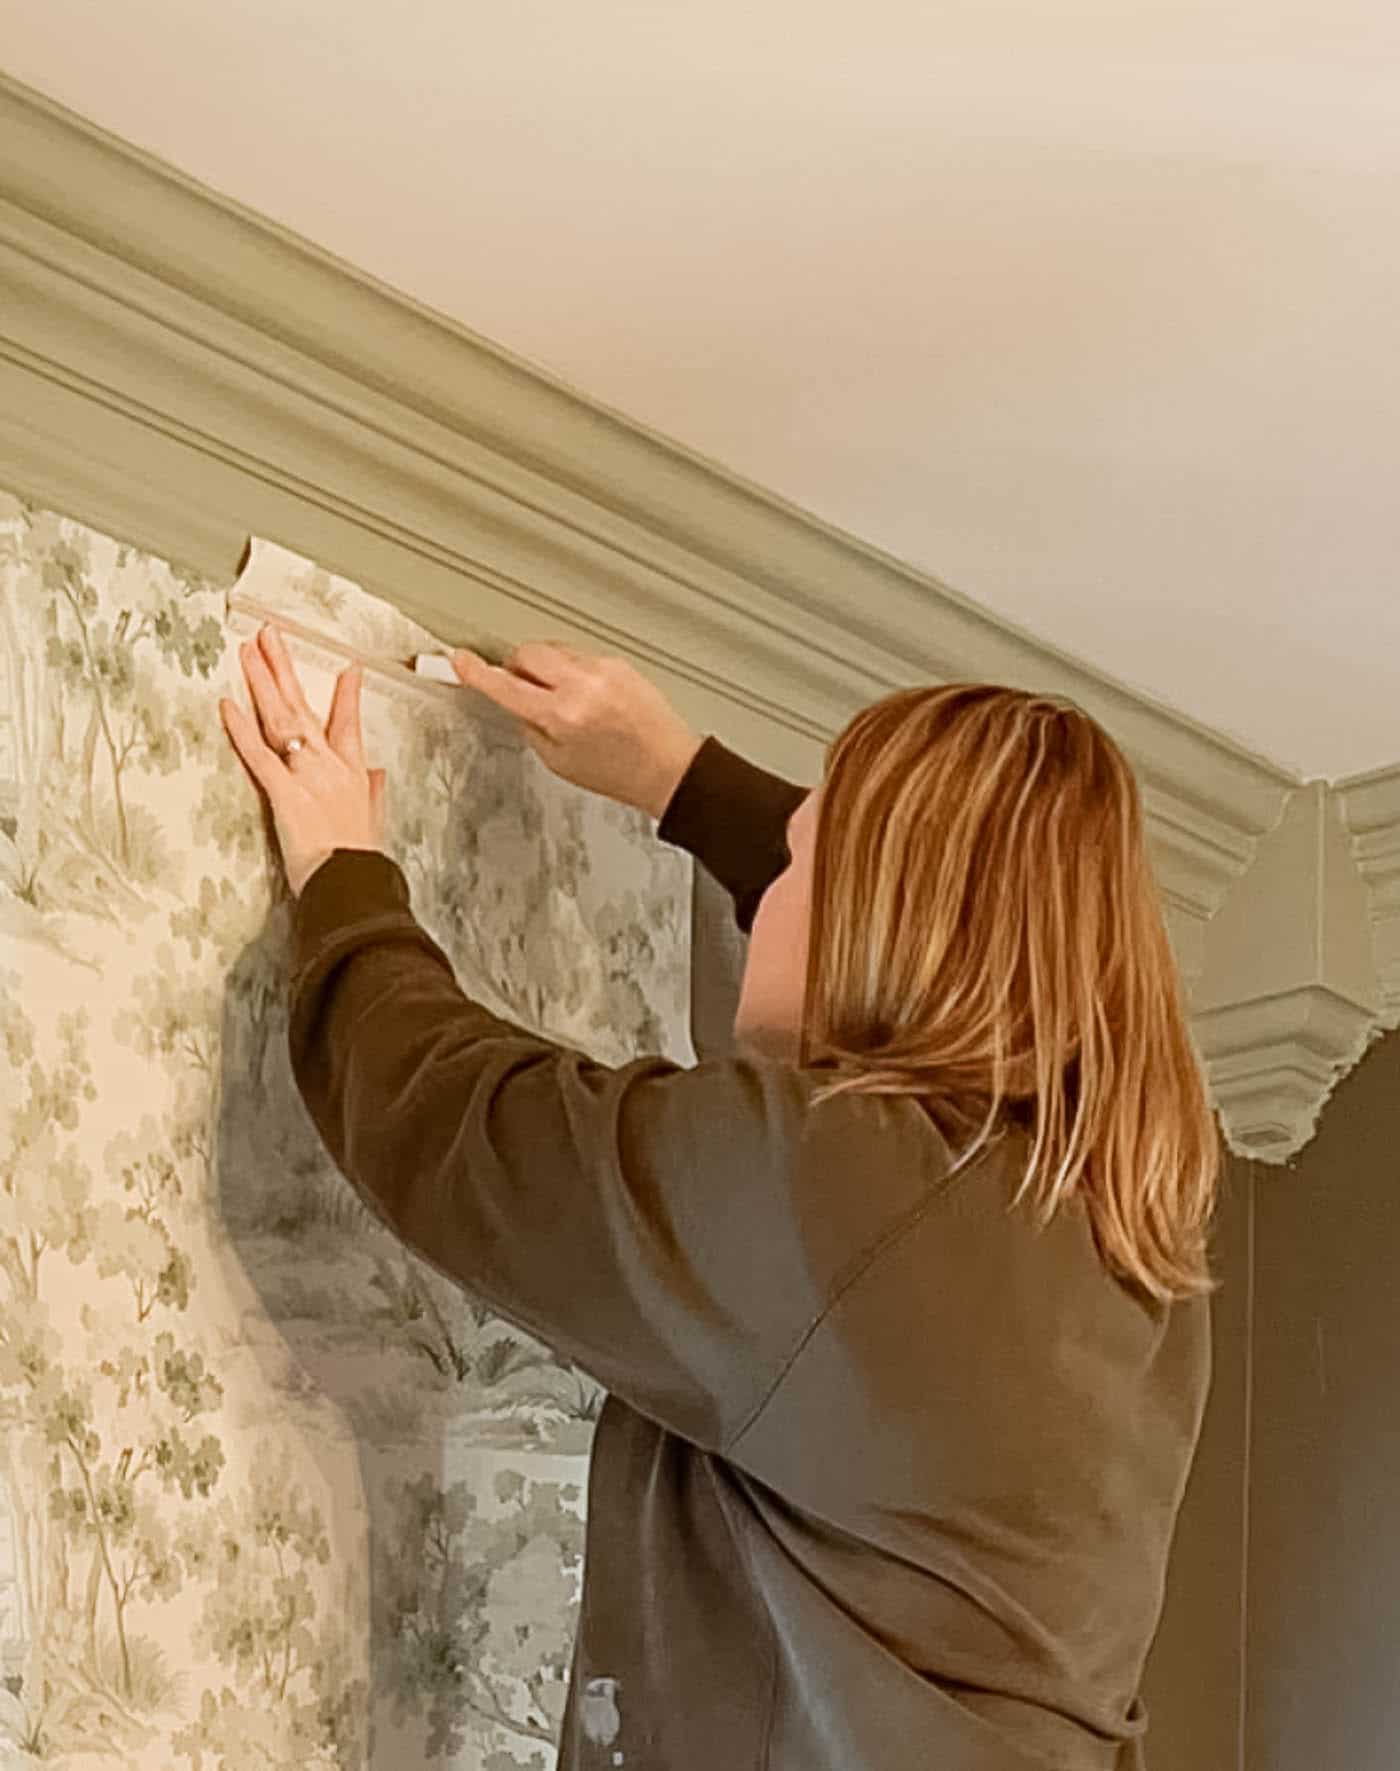
Sorry the photo is so grainy. I had to grab it from a video, but I hope it still helps you picture the process!
The utility knife you pick really matters. A blade that isn't razor sharp will tear the paper! I use this craft knife and swap the blade every 2-3 pieces of wallpaper.
6. Roll along the seams to keep them flat.
I simply use the smoothing tool for this, but make sure the edges are pressed down where they meet. The wallpaper roller included in this kit works too, if you'd like to use it!
7. Wipe away extra adhesive with a damp sponge
I always wipe the paper with a damp sponge before moving to the next piece. Don't wait until it dries. Excess paste is far easier to remove while it's still wet!
8. Match the pattern on the next strip
With the first strip up, hold the next piece against it and match the pattern. Then cut off the top, leaving just 2-3 inches of extra paper.
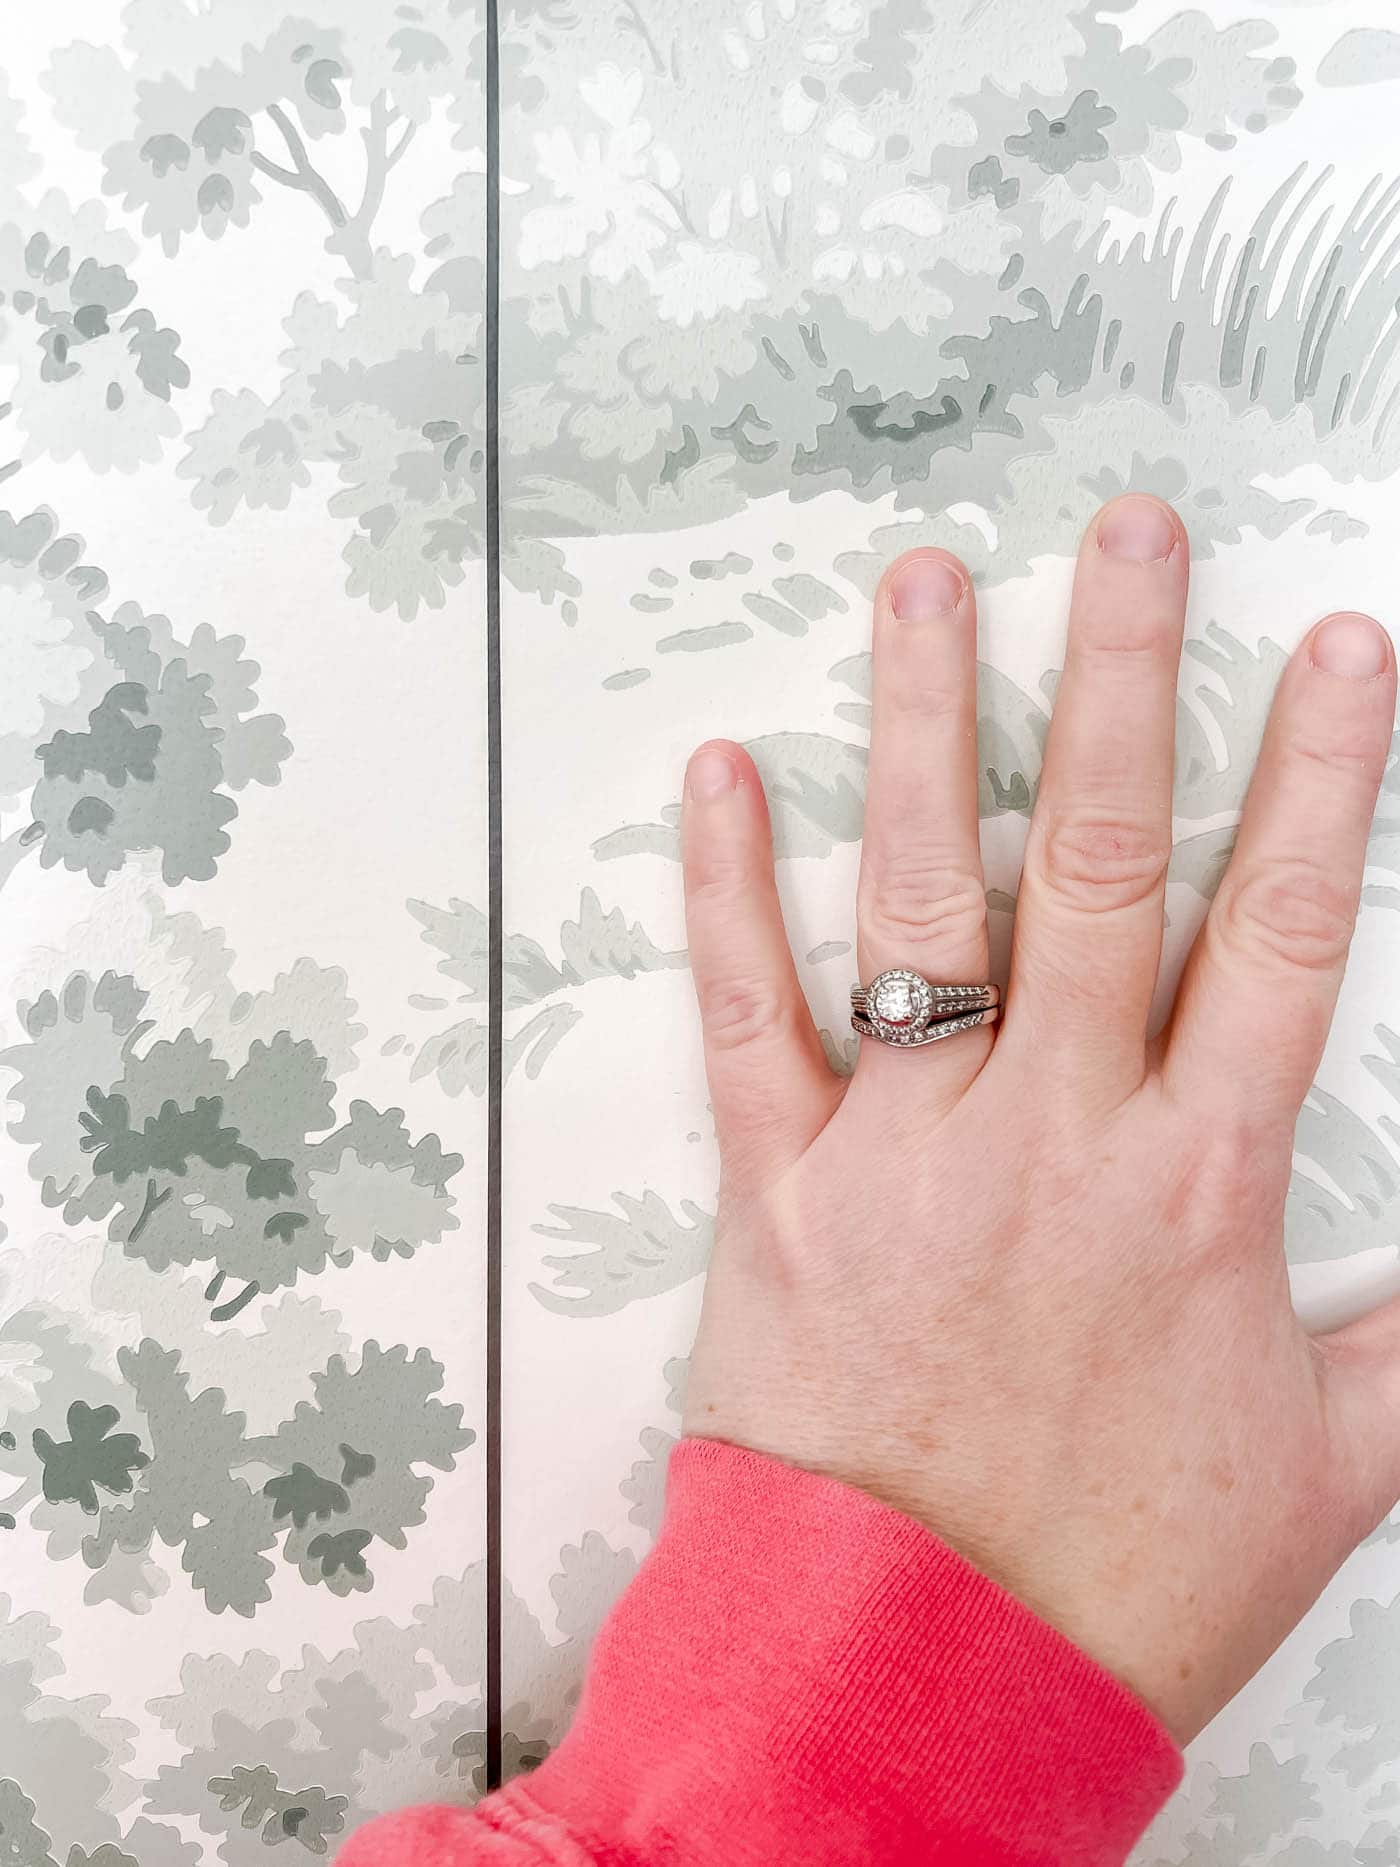
9. Repeat steps 2-8 until the whole room is covered!
Tips for Hanging Wallpaper
I've picked up a few lessons from my wallpapering experience, so let me pass some along!
Matching the pattern and keeping everything level are the two toughest parts of wallpapering.
Corners and papering around doors and windows can be tricky too.
Tip #1: Make sure you finish on a level vertical line when wrapping a corner.
My corners were especially tough in the dining room because a corner crown molding piece juts down onto the wall.
I slowly worked the piece into place while holding it up with painter's tape. This helped me set the top and find a level stopping point. Then I drew a level line all the way down the wall and made sure the whole strip ended on that line.
Finishing on a level line at corners is vital, or the entire next wall will be off kilter.
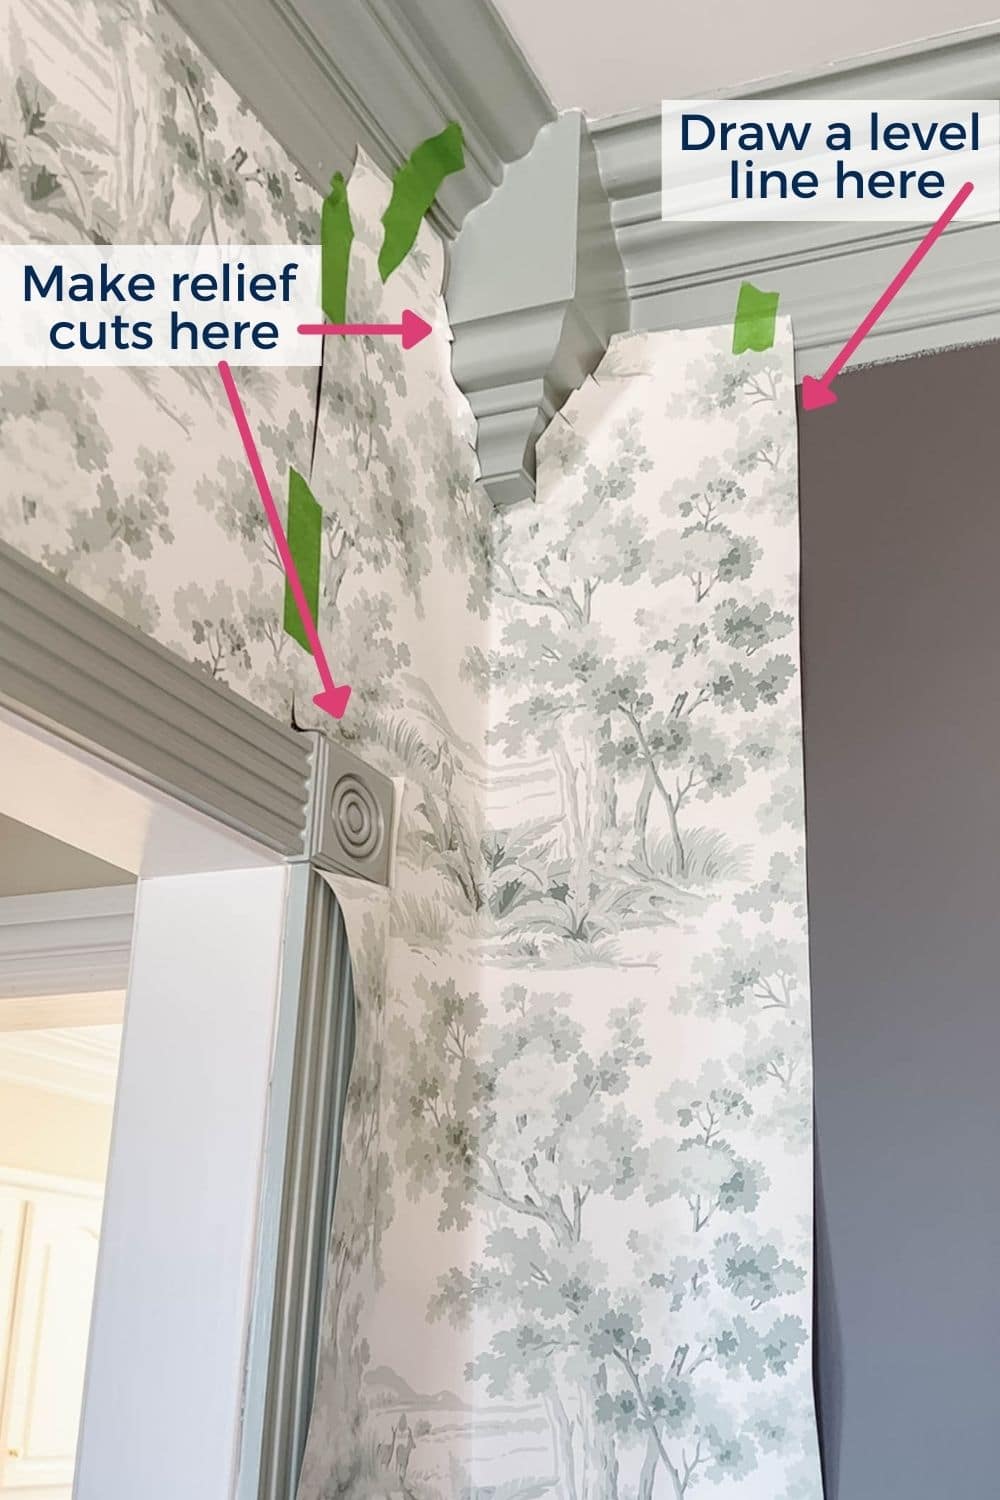
Tip #2: Make relief cuts when papering around obstacles.
Whenever you wrap a corner or paper around a door or window, make relief cuts in the corners with scissors so the paper lies flat.
See how I trimmed the corner to fit around the crown molding? It took a series of small cuts to get there.
Tip #3: Take It SLOW
Those corner pieces took me 1-2 hours to get right. I had to psych myself up for them and made sure I had plenty of time so I wouldn't rush. I didn't want a wrong cut that would waste a whole strip of paper.
Tip #4: Buy more paper than you think you need!
It's always smarter to order extra than too little. I've used a wallpaper calculator every time, and it has always recommended exactly the right amount. I've never had to go back for more.
Ordering everything at once keeps you from getting mismatched dye lots. Matching the pattern at the seams creates a lot of waste, so you'll need more than you expect. Don't skimp; it isn't worth the risk.
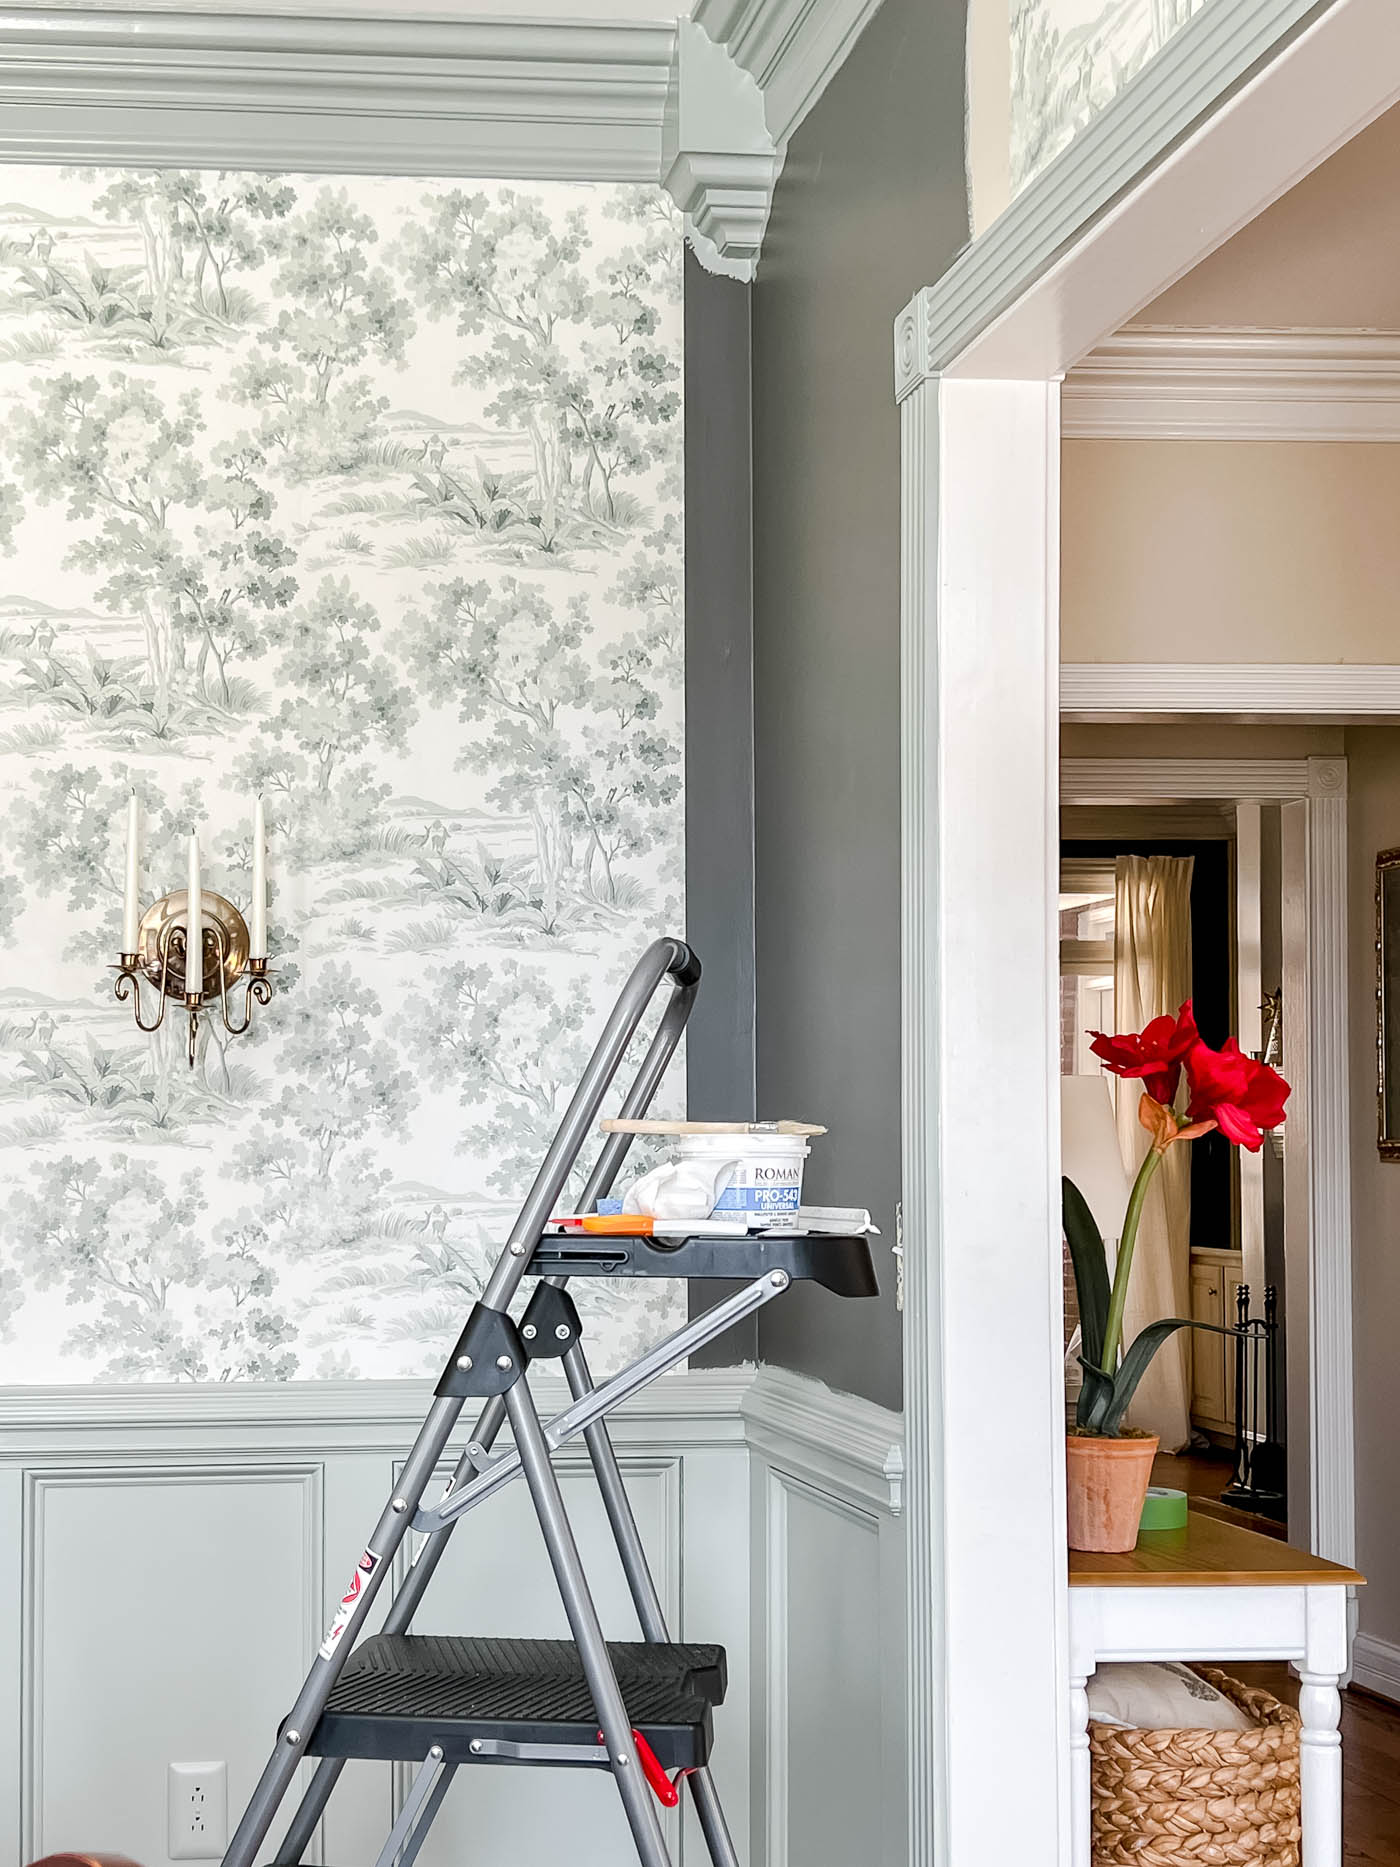
Frequently Asked Questions About Hanging Wallpaper
How do you put wallpaper paste on the wall?
You can apply wallpaper paste with either a brush or a roller. I personally use the brush that came with this wallpaper kit, and it works great!
Which paste works best for hanging wallpaper?
I've used this Roman Pro-543 wallpaper adhesive, and it works well! It washes off easily and lets you reposition the paper while it's wet. Once it dries, it bonds beautifully!
Do I need to paint the wall before wallpapering?
As long as the wall is smooth and any holes are filled, you can paper right over the existing paint. The walls I papered had been painted within the last two years, so repainting wasn't necessary.
If you're papering a new wall, apply at least one coat of primer first. Papering directly onto bare drywall is never a good idea, because the wallpaper will tear up the drywall when you try to remove it.
If you're feeling extra ambitious, you can coat the walls with a wallpaper primer. It's meant to help with shrinking and easier removal down the road, but I've never tried it.
Do wallpaper seams need to overlap?
No! Seams should butt up against each other with the pattern matched. Never overlap them.
I hope this tutorial helped! If I missed any key topics or questions, drop them in the comments. Let me know how your wallpapering turns out, too. I'd love to see it on Instagram!