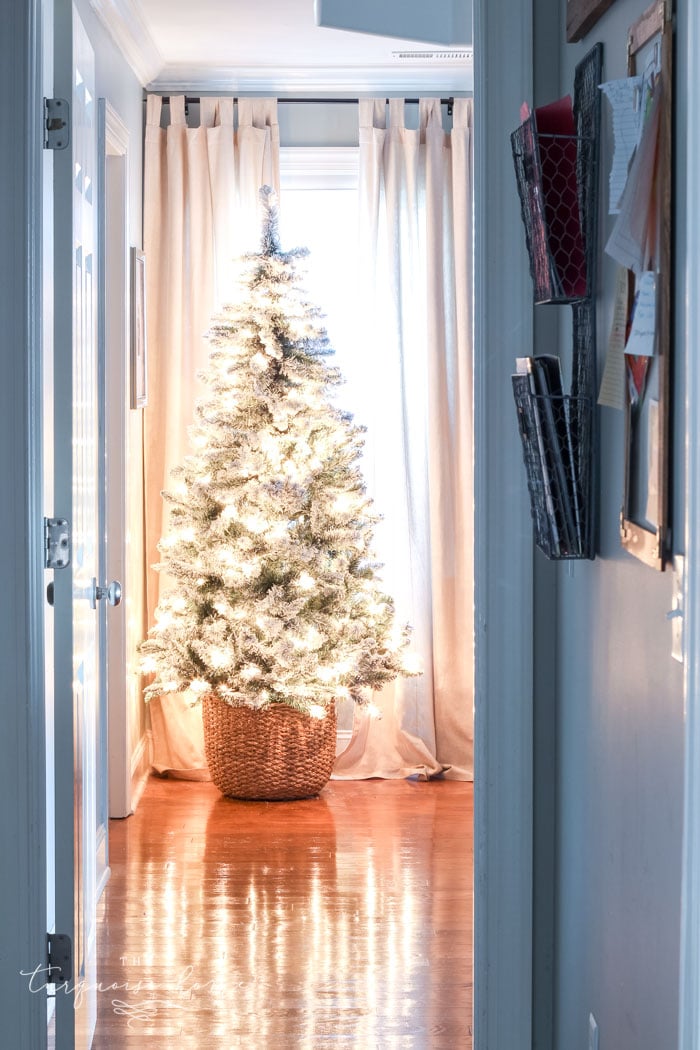
Get your cozy, wintry Christmas fix by learning to flock a tree the easy way! Honestly, it's so simple and much cheaper than buying a new flocked tree. Turn your winter wonderland dreams into reality with a smart DIY solution!
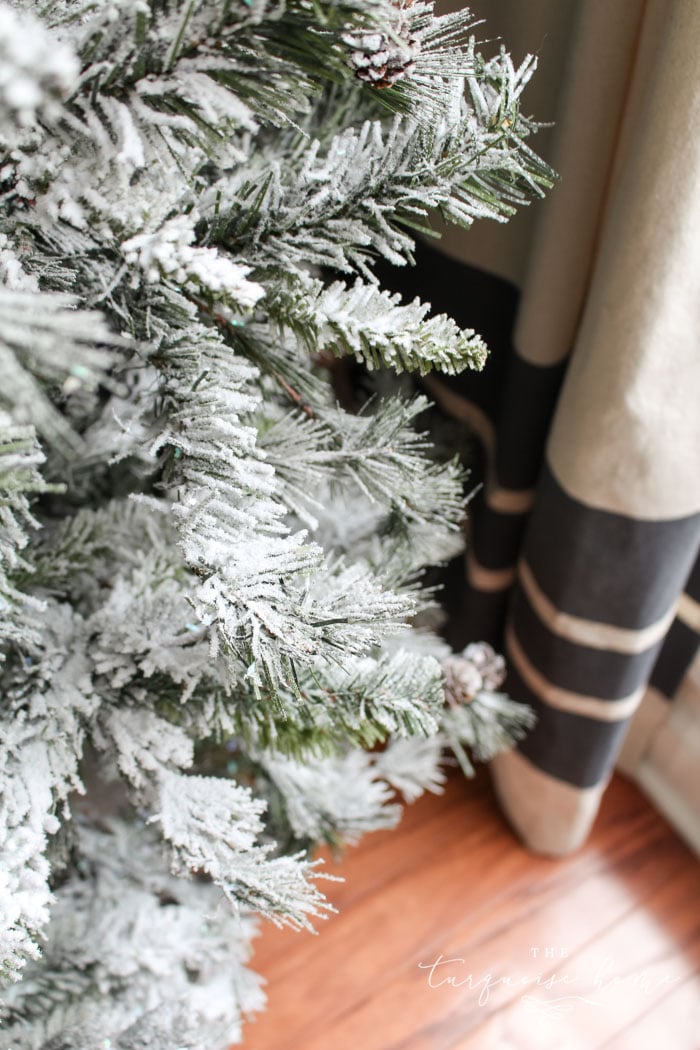
I absolutely love the flocked Christmas tree look. A couple of years ago I swapped the small tree in our living room for a flocked one, and it's gorgeous. I adore the snowy, wintry feel, especially since it almost never looks like that outside here in Alabama.
Nothing beats curling up on the couch by the fire, with twinkly Christmas lights and snow-dusted branches. Pure magic, if you ask me!
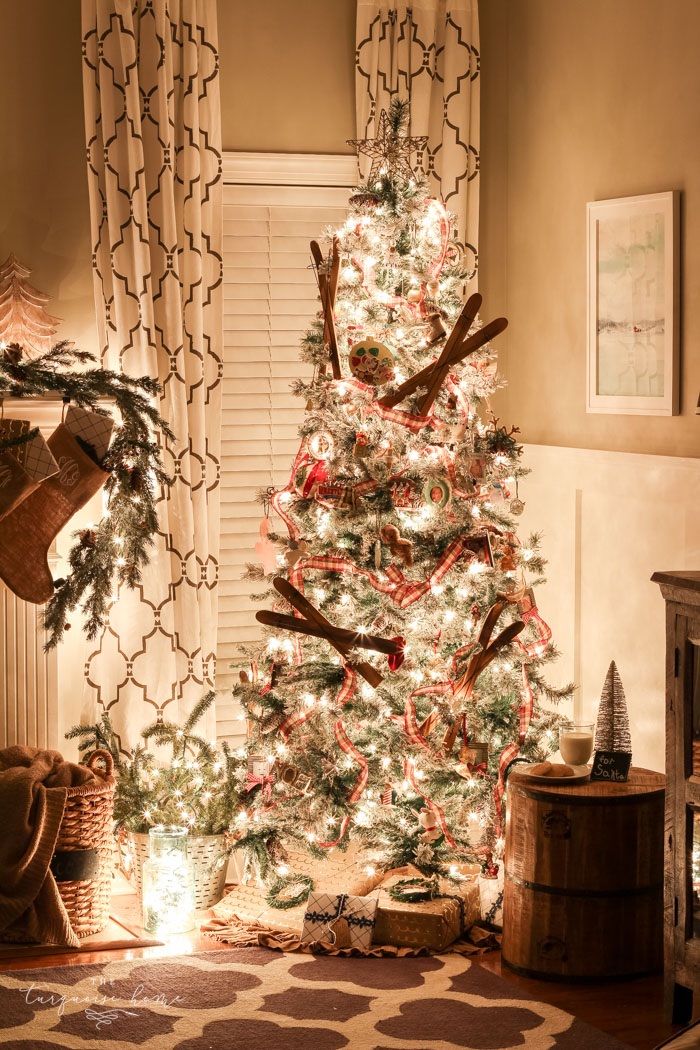
Until last year I was perfectly content with our artificial 9-foot slim pine tree in the front window of the dining room. It fits the room perfectly and looks great!
But this fall I started picturing a flocked tree in that front window. Something about the vintage charm and rustic feel of snowy branches appeals to me. So I started shopping. But I couldn't justify buying a new tree when we already had a perfectly good one!
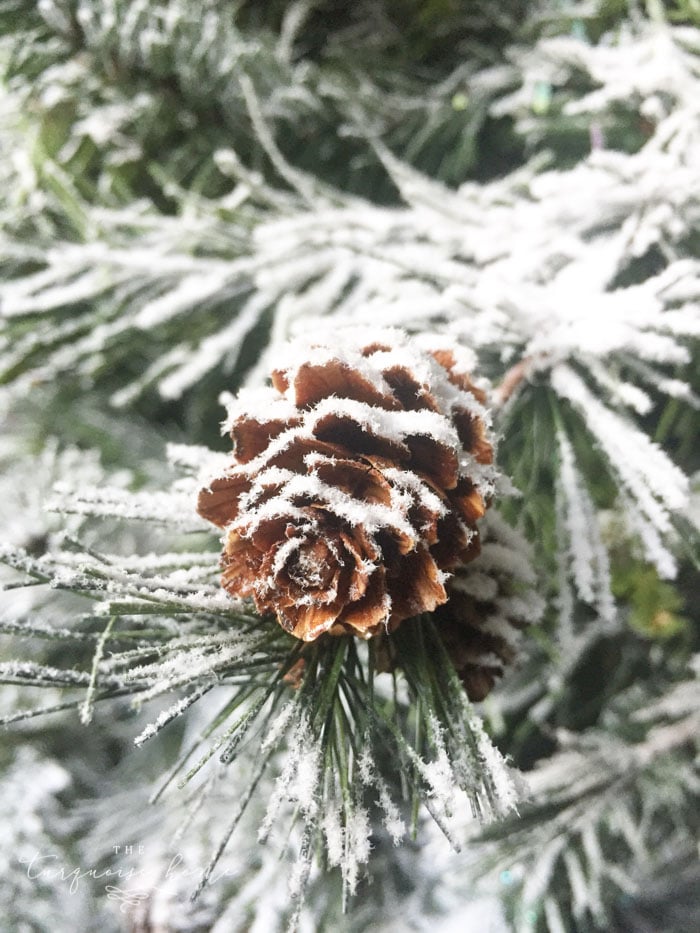
Enter the DIY solution. Obviously! I think my love of DIY comes from always wanting what I want and finding a way to get it, even on a tight budget (or when tossing a perfectly good tree makes no sense). LOL
I found an excellent DIY flocking powder recommended by a fellow blogger who had used it in her home. I was hooked! I ordered the 5 lb. box since my tree is 9 feet tall, and waited two impatient days for it to arrive.
I was a little nervous about how messy it would be, but it turned out fine! I'll walk you through it. Don't be intimidated. It's truly simple and very hard to get wrong!
Tools You Need to Flock a Christmas Tree
- SnoFlock Decorative Snow Flocking Powder (I bought the 5 lb. box for my 9-foot tree and used a bit more than half of it.)
- Kitchen strainer
- Large spray bottle (filled with water)
- Drop cloth (or other protective cover)
How to Flock a Christmas Tree
1. Set Up Your Tree
Decide whether you want to flock your tree while it's assembled or still in pieces. Pick a spot where you can lay down a drop cloth. I worked in my dining room with a drop cloth on the floor, but a garage or basement may suit you better.
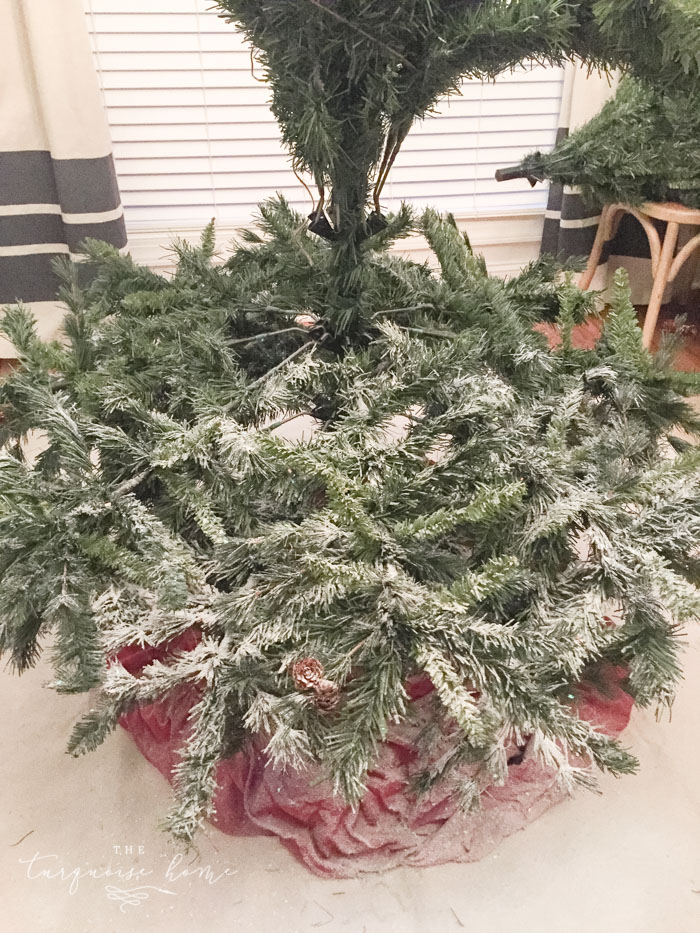
I flocked my tree from the bottom up as I assembled it. That let me get powder into the middle and across every branch. I wanted a fully flocked tree. If you only want the outer edges flocked, you can probably assemble the whole thing and start working right away.
2. Gather Your Supplies
Fill the water bottle, then grab your strainer and flocking powder!
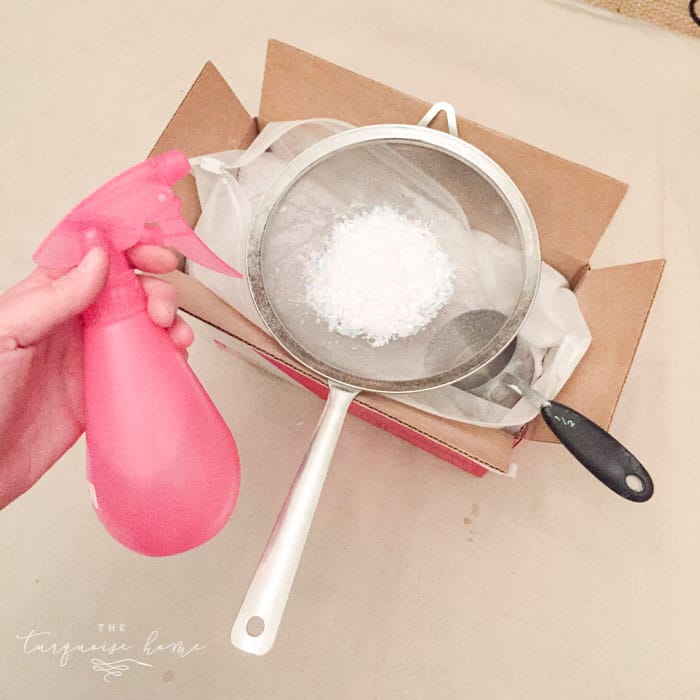
3. Mist First
Generously mist one section of the tree with water from your spray bottle.
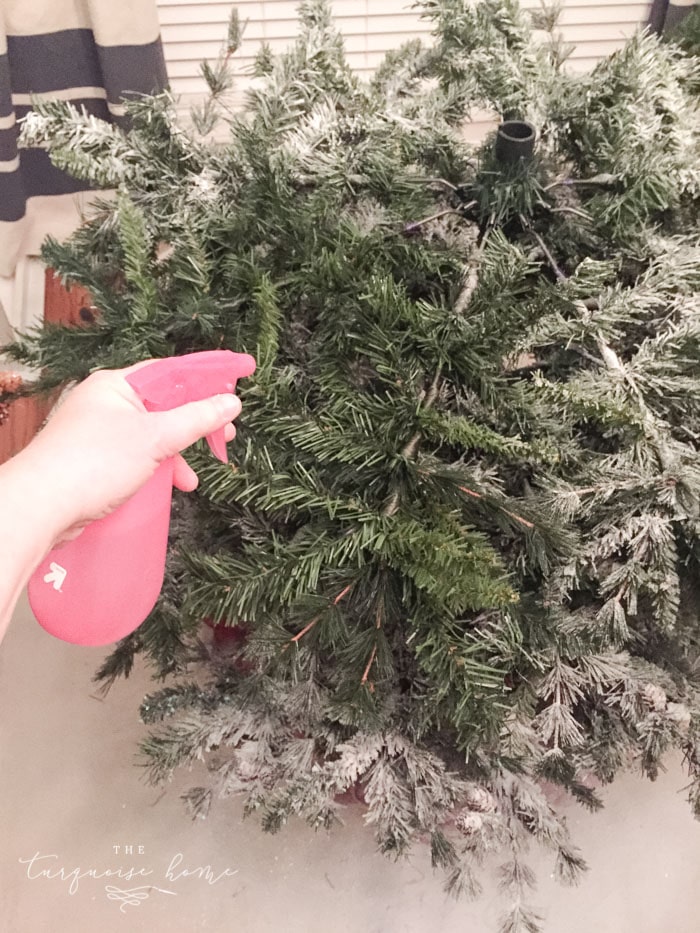
4. Time to Flock!
Fill your strainer halfway with flocking powder and gently shake it over the wet section of the tree. The instructions suggest spraying the powder as it falls, but I skipped that. I simply sprayed the tree and let the powder drop onto it. Just be careful not to spray the sifter if you try that!
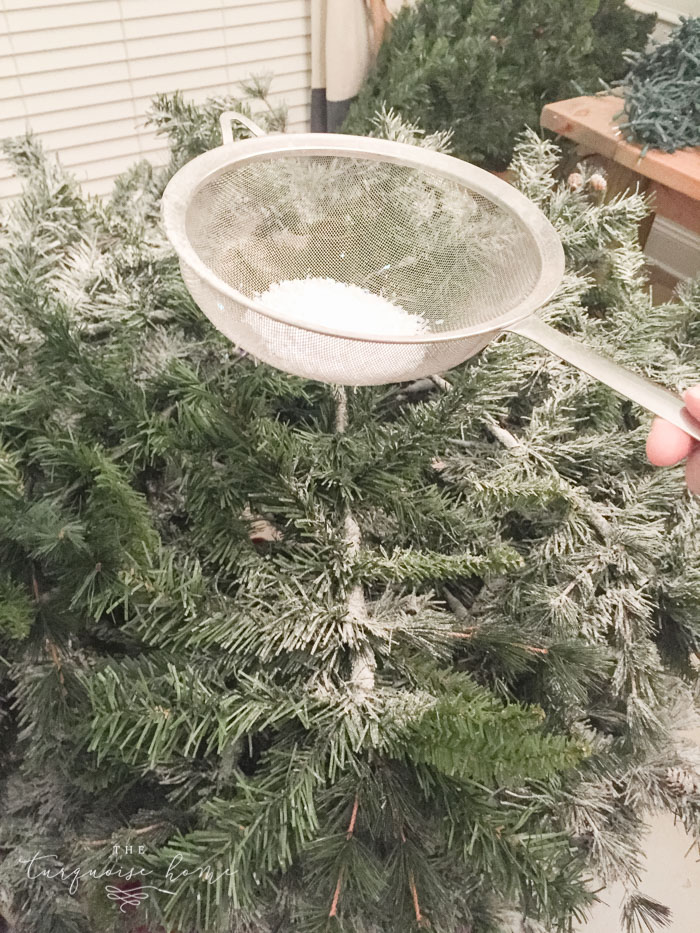
5. Spread the "IceFlakes"
Some pre-mixed "IceFlakes" will be left in the sifter. They're shiny pieces you can add to the tree. I just sprinkled them around. If you'd rather keep them off the tree, simply toss them.
6. Mist Again
Mist the powder again until it's thoroughly soaked, but not dripping. I didn't measure this; I just sprayed until it started to fluff up, then moved on to the next section.
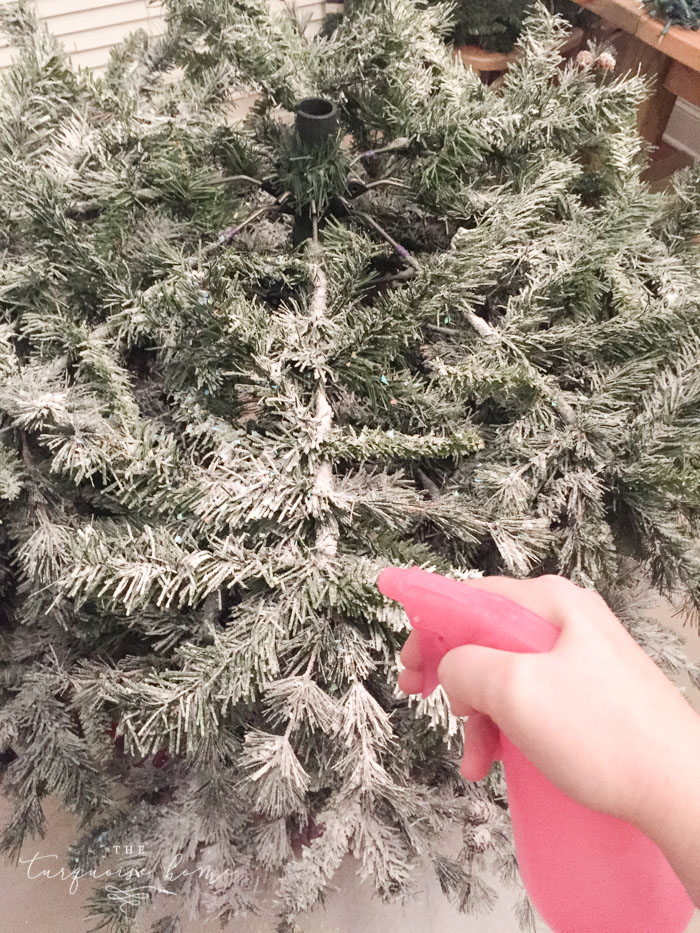
7. Repeat Until Finished!
8. Let It Dry!
Let the flocking dry completely before adding lights or ornaments. I applied the powder at night, and it seemed fully dry by morning, but I'd let it sit 24 hours just to be safe.
And that's it! Your newly flocked tree looks gorgeous and is ready to brighten your home all season long!
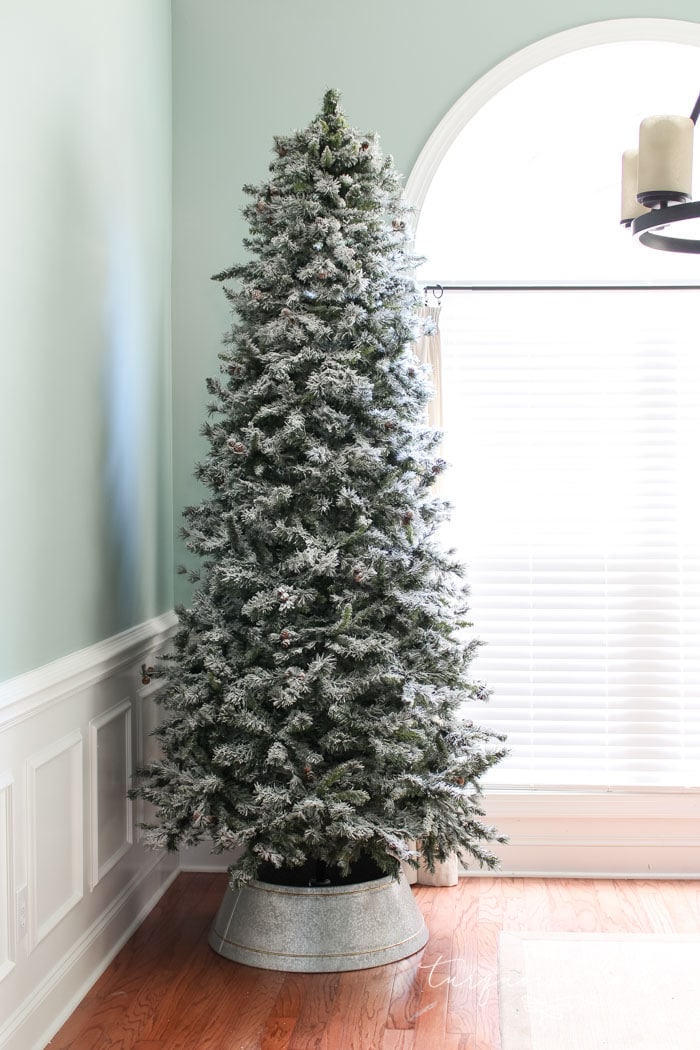
Galvanized Tree Collar
Frequently Asked Questions about How to Flock a Christmas Tree:
Q: Is It Messy?
A. The process is a bit messy, but not terrible. I put a drop cloth underneath and it worked well! A little fine dust landed on the floor, but a damp cleaning cloth picked it right up. Once dry, the powder sticks firmly. I moved the tree off the drop cloth and almost nothing came off. I expect more will shed as I decorate, but it seems to adhere very well.
Q: Does it look like a store-bought flocked tree?
A: It looks remarkably close. The one thing I wish were better is that the powder clings well to the tops of the branches but is harder to get onto the undersides. Looking down from the top, it appears fully covered, but viewed straight on it's much less white. My store-bought flocked tree has flocking under the branches too. When I take this one down at season's end, I may flip each section over and flock the undersides.
Q: Is it safe?
A: The instructions that came with the powder recommend a dust mask, gloves and eye protection, even though the product is non-toxic and naturally sourced. I didn't feel the need for these, and it seemed perfectly fine without them. Please use your own judgment.
Let me know if you have any other questions and I'll do my best to answer them.
I absolutely LOVED this product and the results for the price. It looks super pretty and took just a couple of hours to get the look I wanted, at a MUCH lower cost than a new tree. It's also deeply satisfying to watch the branches turn from plain green to snowy white. So pretty!
SaveSaveSaveSave
SaveSave
SaveSave
SaveSave
SaveSave
SaveSave
SaveSave
SaveSave