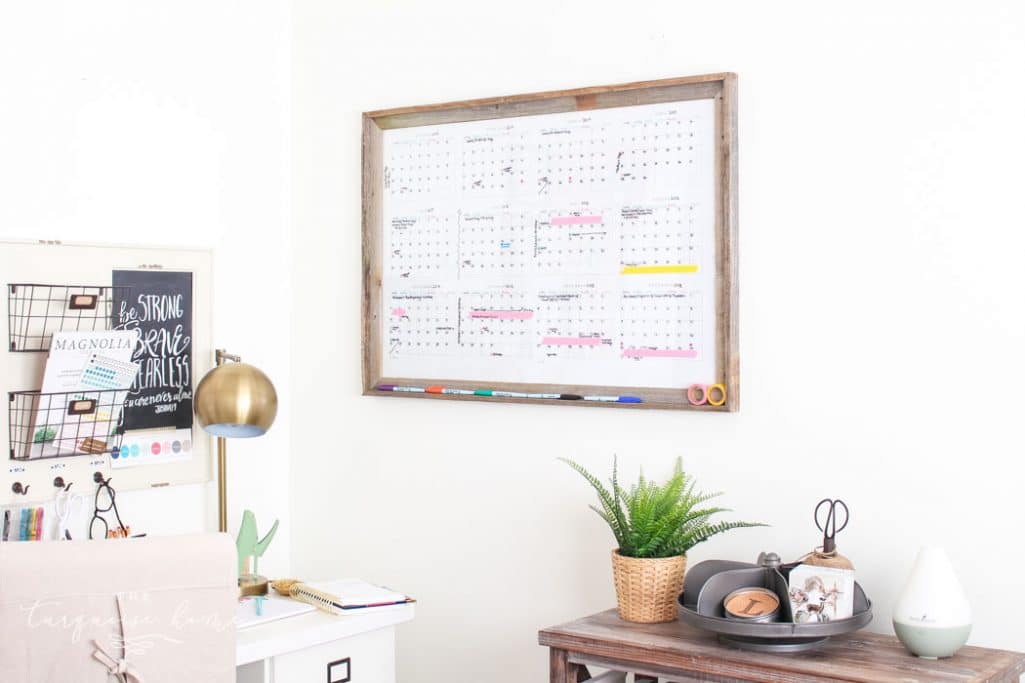
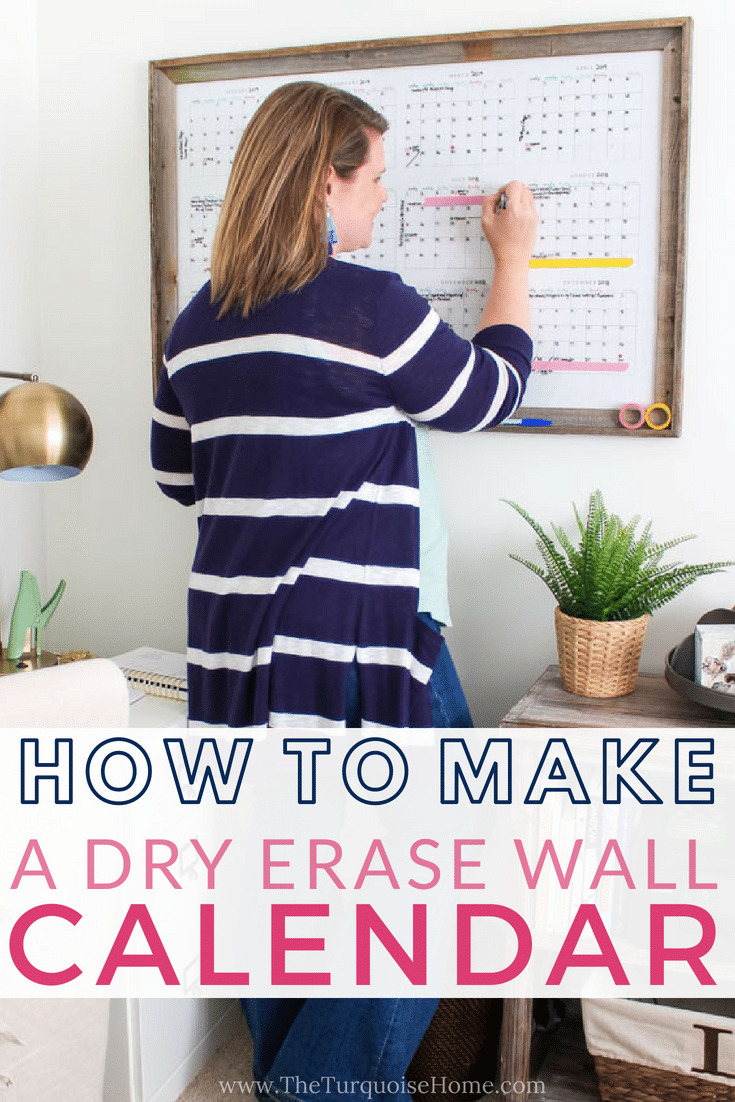
Build your own dry erase calendar with a glass picture frame, a free printable yearly calendar and this super simple step-by-step tutorial! Get organized with a very easy DIY project!
I’m nothing if not a planner and calendar junkie. I love them! I keep a planner with all the major details of my life and work, plus my daily schedule and to-dos. It acts as my brain, and I don’t know what I’d do without it! (I use this planner.)
I also use the family calendar feature in my iCal on my iPhone for big events that my husband and I both need on our calendars. We hang a fun photo calendar in the kitchen for a quick look at the month. I ordered mine from this company, and my kids love pulling it down to look at the fun pictures!)
Even with all those calendars, I still needed one dedicated just to work ideas, posts and events. In January I printed out 12 monthly calendars and taped them to the wall. But as the weather heated up here in the South, I started running my ceiling fan. The breeze from the fan was strong enough to knock my calendars right off the wall.
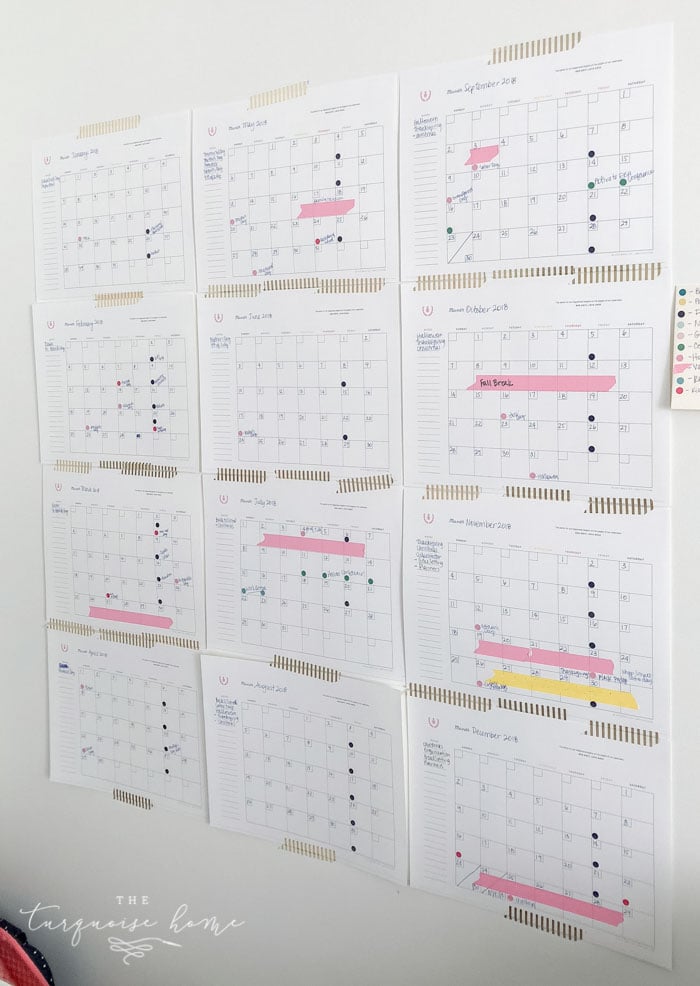
My paper yearly calendar solution – which ended up falling off the wall when I turned on the ceiling fan.
I’d been eyeing some large dry erase yearly calendars. They appealed to me not only because they would stay on the wall, but because I liked being able to erase everything easily. Once we moved past a month, I could convert it to that month next year. For example, once we move past May 2018, I can erase it and change it to May 2019, and then plan out the next 12 months without waiting until January to print new blank pages.
But I couldn’t pull the trigger on the $200+ price tag!
So one day I was window shopping for these large dry erase calendars and was considering buying one when I read the description. It said it was just a framed printable calendar behind plexiglass. Light bulb moment!! I could make that for so much less!
I’ve shared before about colored engineer prints, but I’ll quickly share again. You can get something printed really large (2 feet x 3 feet) on printer paper for super cheap at Staples. Think $5-$6! They’re called engineer prints because they’re designed for architectural drawings, building plans and so on. So the quality isn’t high. You can easily crease it, and it would be ruined by water, but if you’re careful in transport it’ll work just fine! Just know you’ll have to be careful.

Items You’ll Need for DIY Dry Erase Wall Calendar
1. 24 x 36 Printable Yearly Calendar – (Find my free printable calendar at the end of the post. Print it as an Engineer Print/Blueprint.)
2. 24 x 36 Frame
3. Plexiglass (optional – I tried this, but ended up using the glass that came with the frame)
4. Dry Erase Markers – these are the best fine-tip markers I’ve found!
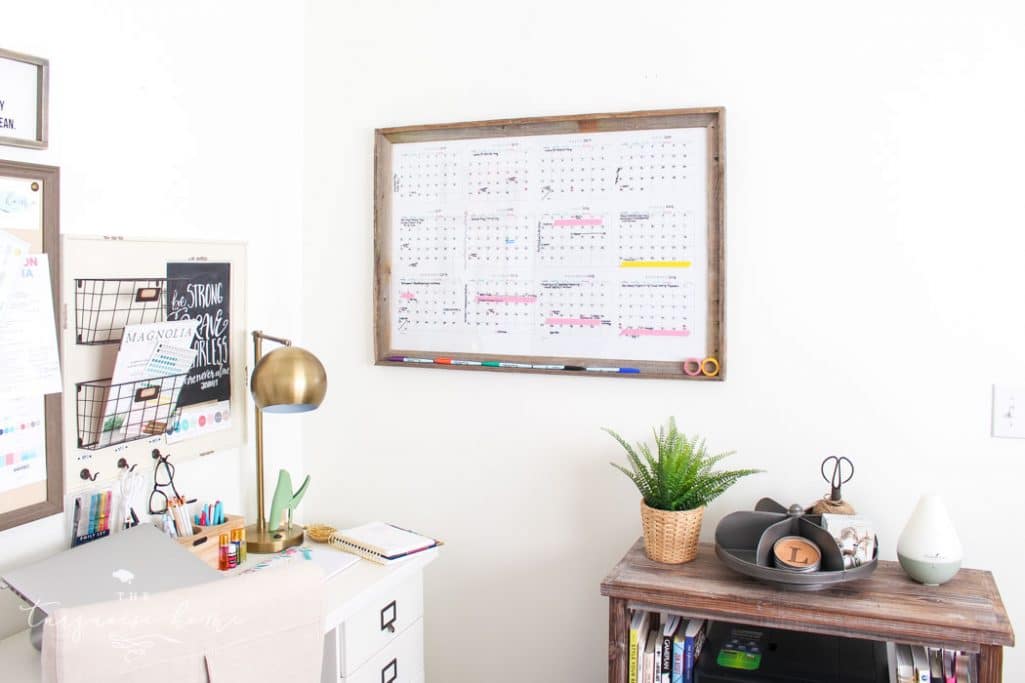
How to Make a DIY Dry Erase Wall Calendar
Step 1. Print your calendar! I’ve shared my free calendar below, but if you have a digital calendar file you’d like to use, then by all means go for it! Go to Staples.com and order a color engineer print. You can do black and white for a couple dollars less if you don’t like color. You may have to resize the image to 2592 × 1728 pixels to fit on the page. I use PicMonkey to resize my images. (Don’t worry if it warns “not for photo images” – we know the quality isn’t high, but that’s OK! Engineer prints are also known as blueprints.)
I did notice Office Depot / Office Max also offers color engineer prints, and there was an option to mark “fit to size,” so you don’t need to resize the file if you can’t do that yourself.
The engineer prints are a little grainy, but they’ll work fine for what we’re doing! If you want something a bit nicer, try the poster prints for about $30 per poster.
Step 2. Buy a frame and frame your engineer print! Easy peasy! This is the one I used, but you can use any you like. I like mine because the lip on the frame is a handy place to keep my dry erase markers and washi tape.
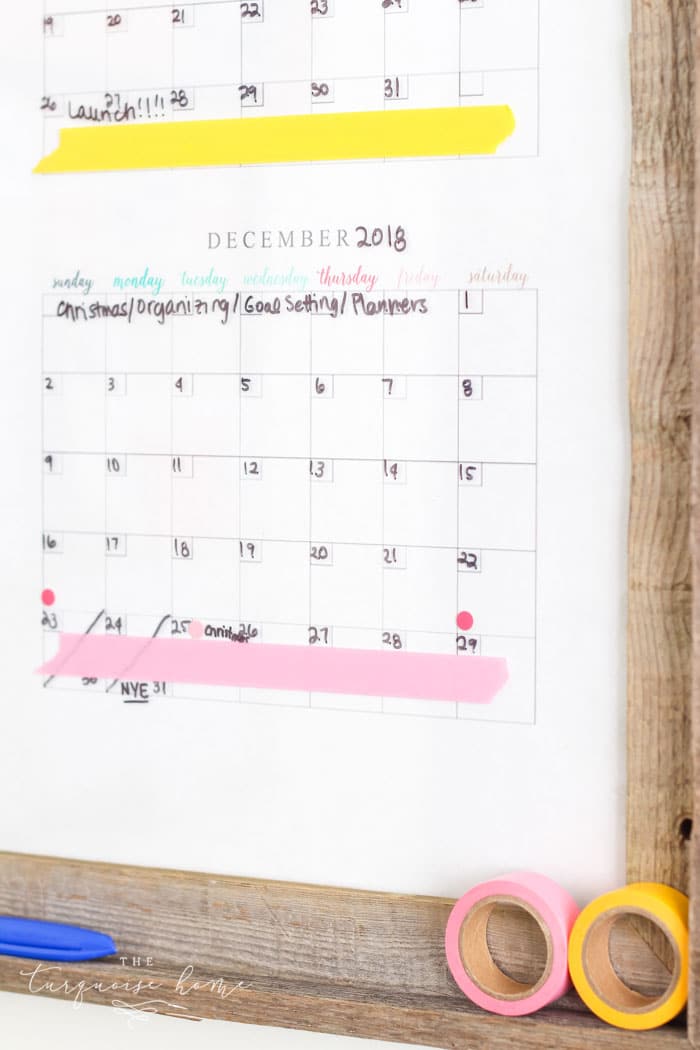
I bought a poster frame from Walmart and took the plexiglass out of it to put in my frame. The only benefit I could find was that it made the whole thing lighter. But the plexiglass bowed out, and I didn’t like that, so I went with the glass that came with my frame.
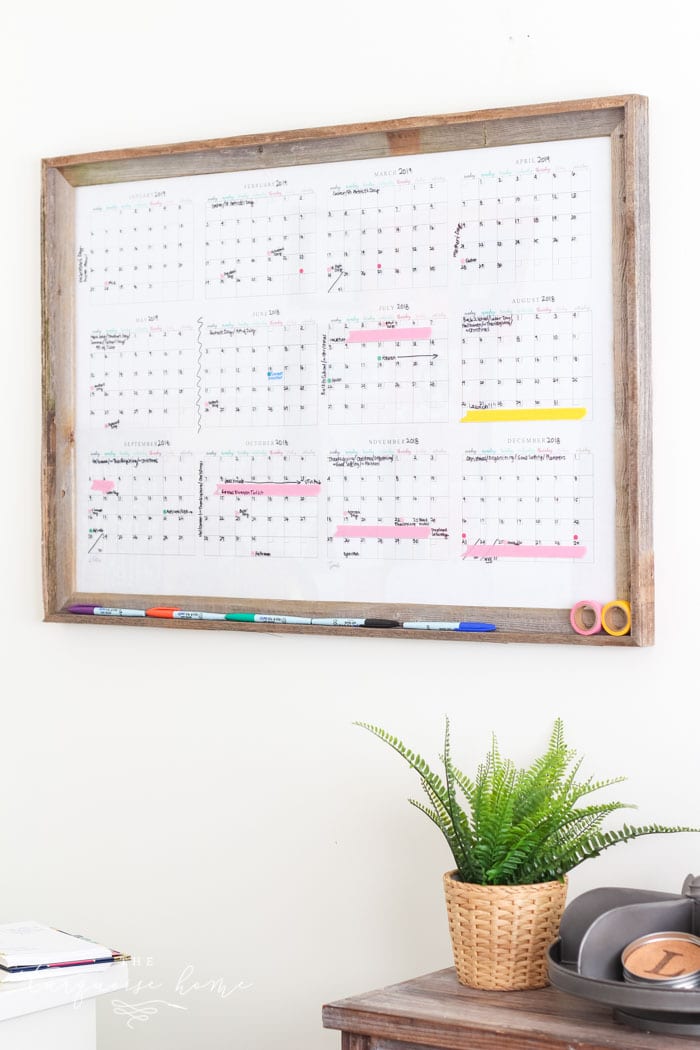
That’s it! Now you just start filling everything in and using your new calendar to keep you on track! I use mine to track the blog and any major events that will interfere with my work, like vacations, holidays and conferences.
I love how well these markers work! The tip is fine enough to see clearly on this calendar, since each day is a small-ish space. I also like that the ink doesn’t erase easily. I can rub my hand over it after it dries and it won’t smudge. You have to clean it off with a damp cloth.
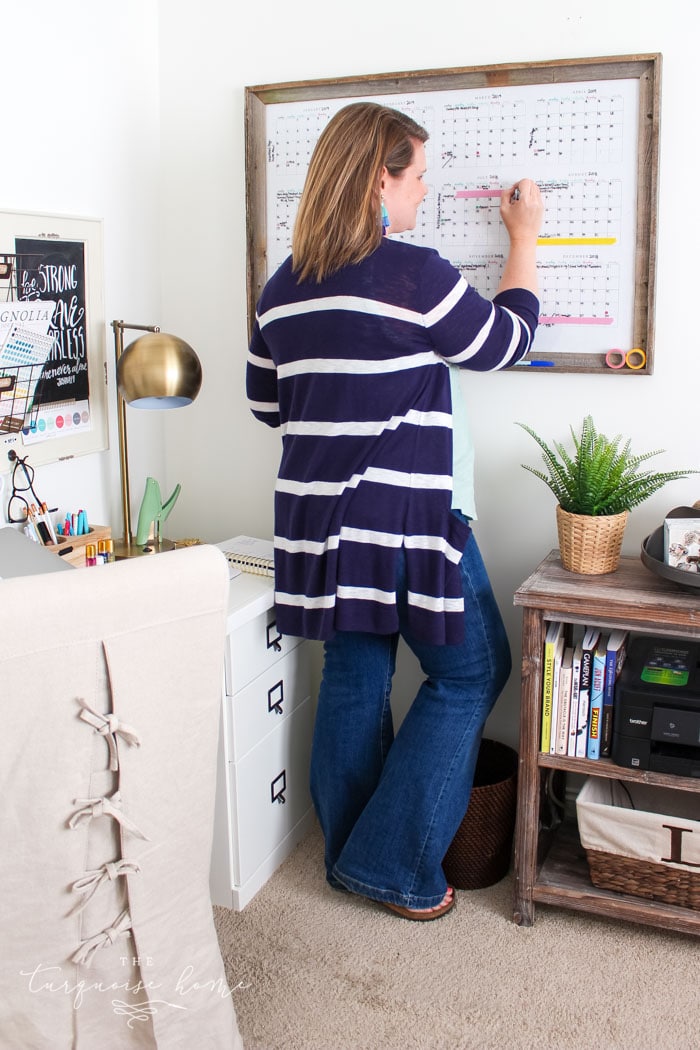
Free Printable Calendar Download
I’ve created a free printable yearly calendar you can use for personal use only to make your own DIY dry erase wall calendar.
TAP HERE for your FREE Calendar Printable
Happy crafting!SaveSaveSaveSaveSaveSaveSaveSaveSaveSave