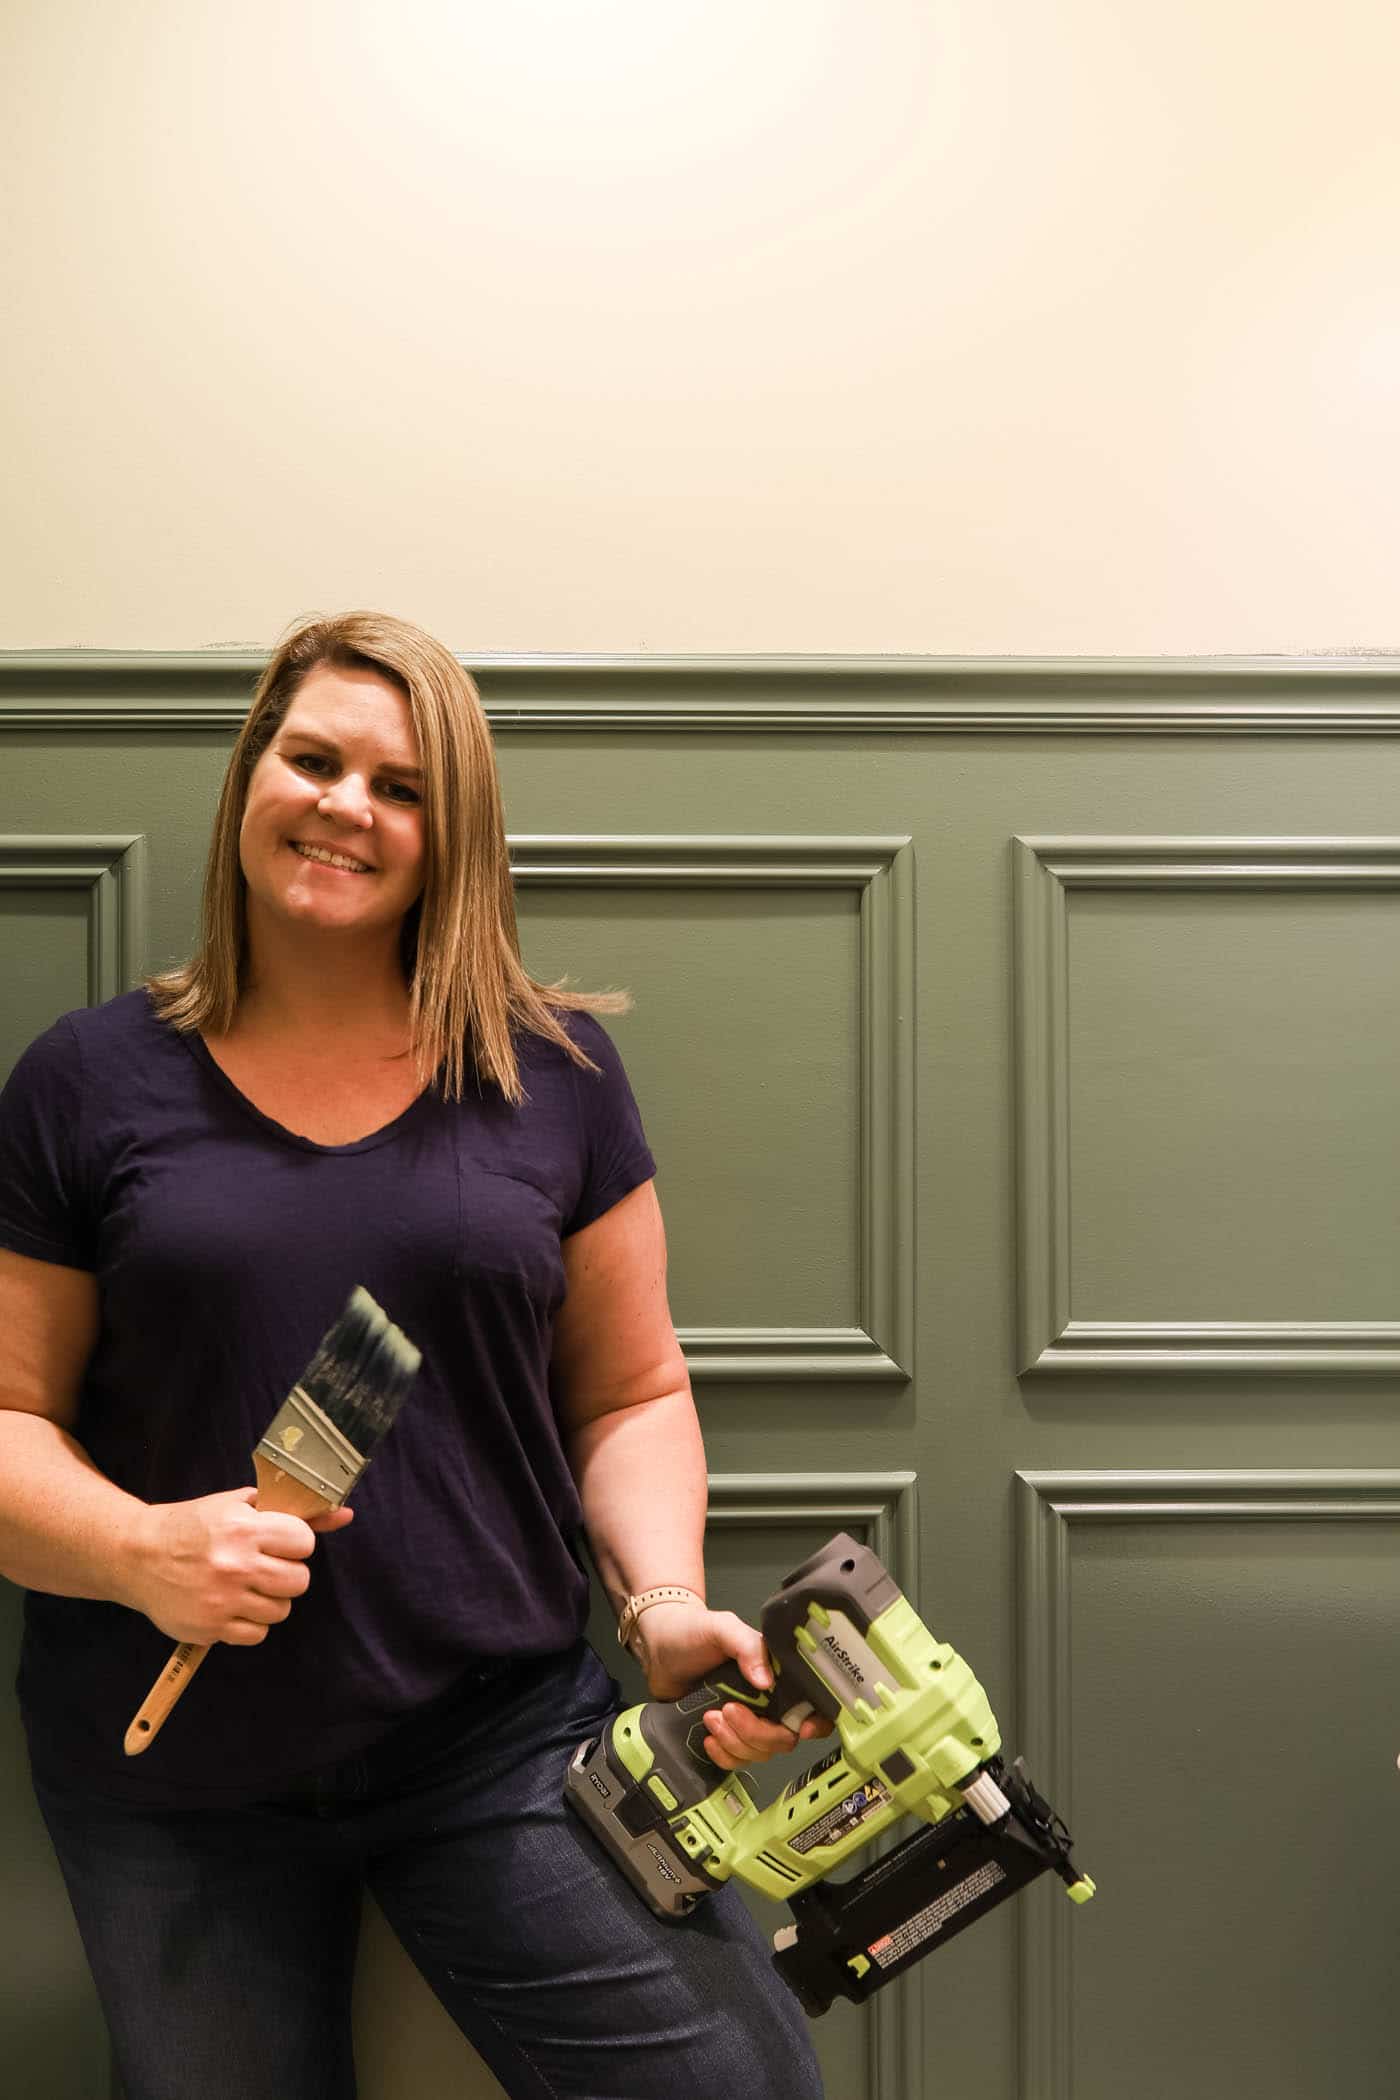
Picture frame moulding or a chair rail adds instant character to any room, and it's an easy first DIY project!
I like the idea of going bold in a small powder room, like the one in our hall bathroom. Even a tiny space can make a statement. I knew picture frame moulding on the walls would give it the architectural detail it needed!
The Planning Stage
Honestly, planning the moulding took longer than installing it. Don't worry, though. I'll walk you through the decisions to make before we get into how to install it.
During planning I browsed loads of wall trim photos online. Find the style you love and let it guide you.
Here are some questions to think through.
1. How many boxes will go vertically on the wall?
Dividing a wall into thirds usually looks best, since the rule of thirds is so visually pleasing. That's why moulding often covers the bottom third of a wall, or sometimes the bottom two-thirds.
2. How many boxes will run across the wall?
In my bathroom I used one box across on the smaller walls and divided the larger wall into thirds.
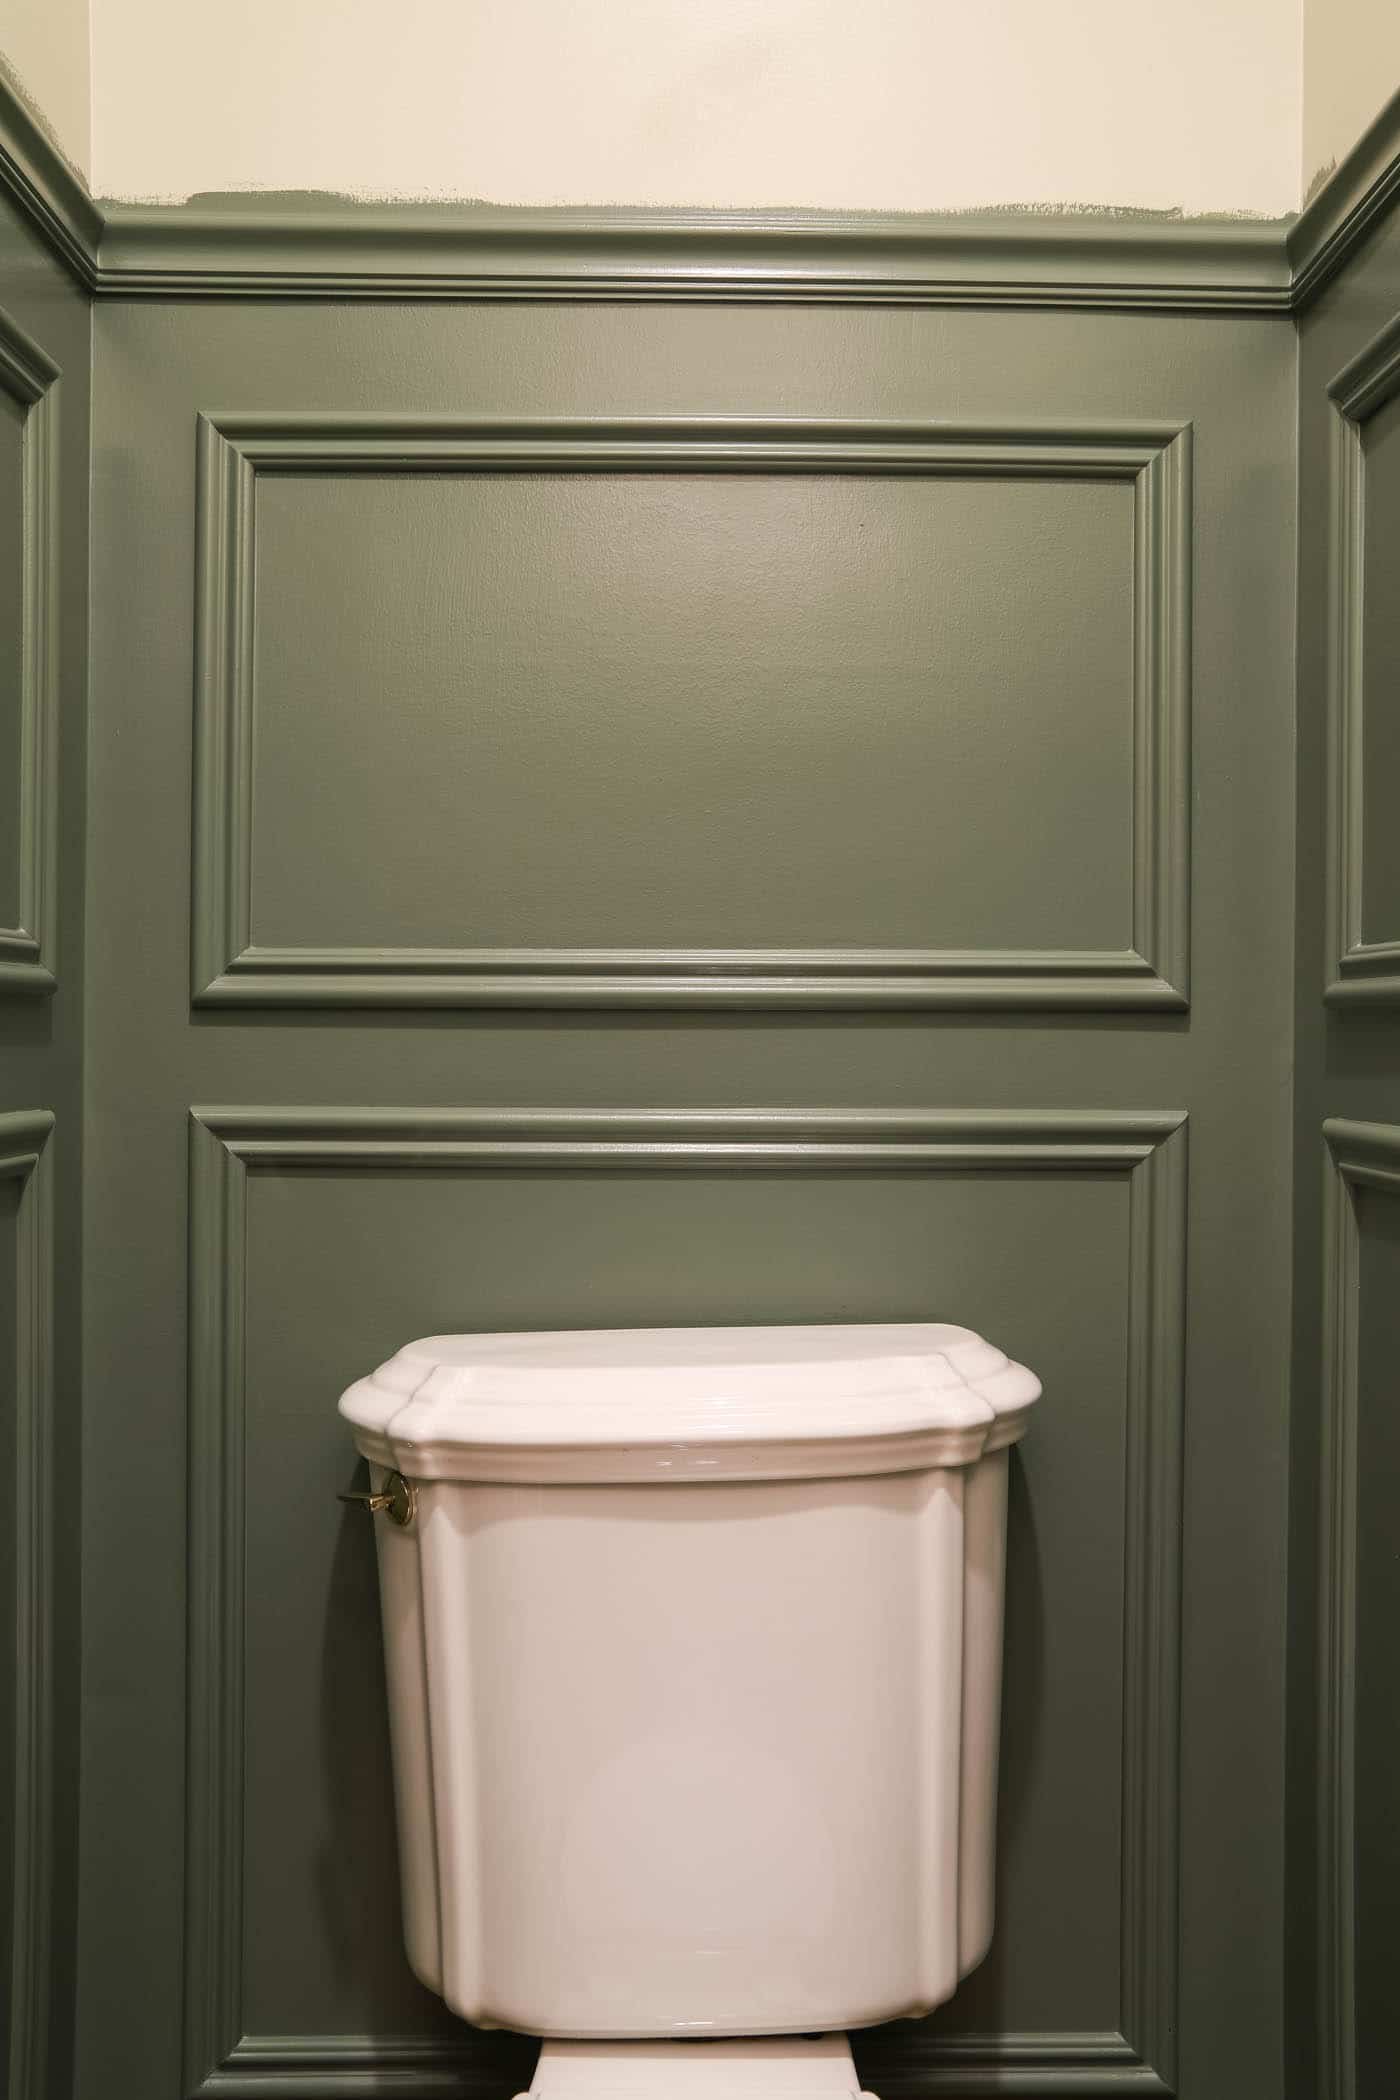
3. Will you use one large box or two smaller ones on the wall?
I stacked two boxes on top of each other, with the upper one smaller than the lower one.
4. How far apart should each piece of trim be?
This is your most important measurement, and it depends on the size of your space. In the tiny powder room I used 3.5 inches between each piece of picture frame moulding. A larger wall would need something like 5 to 6 inches.
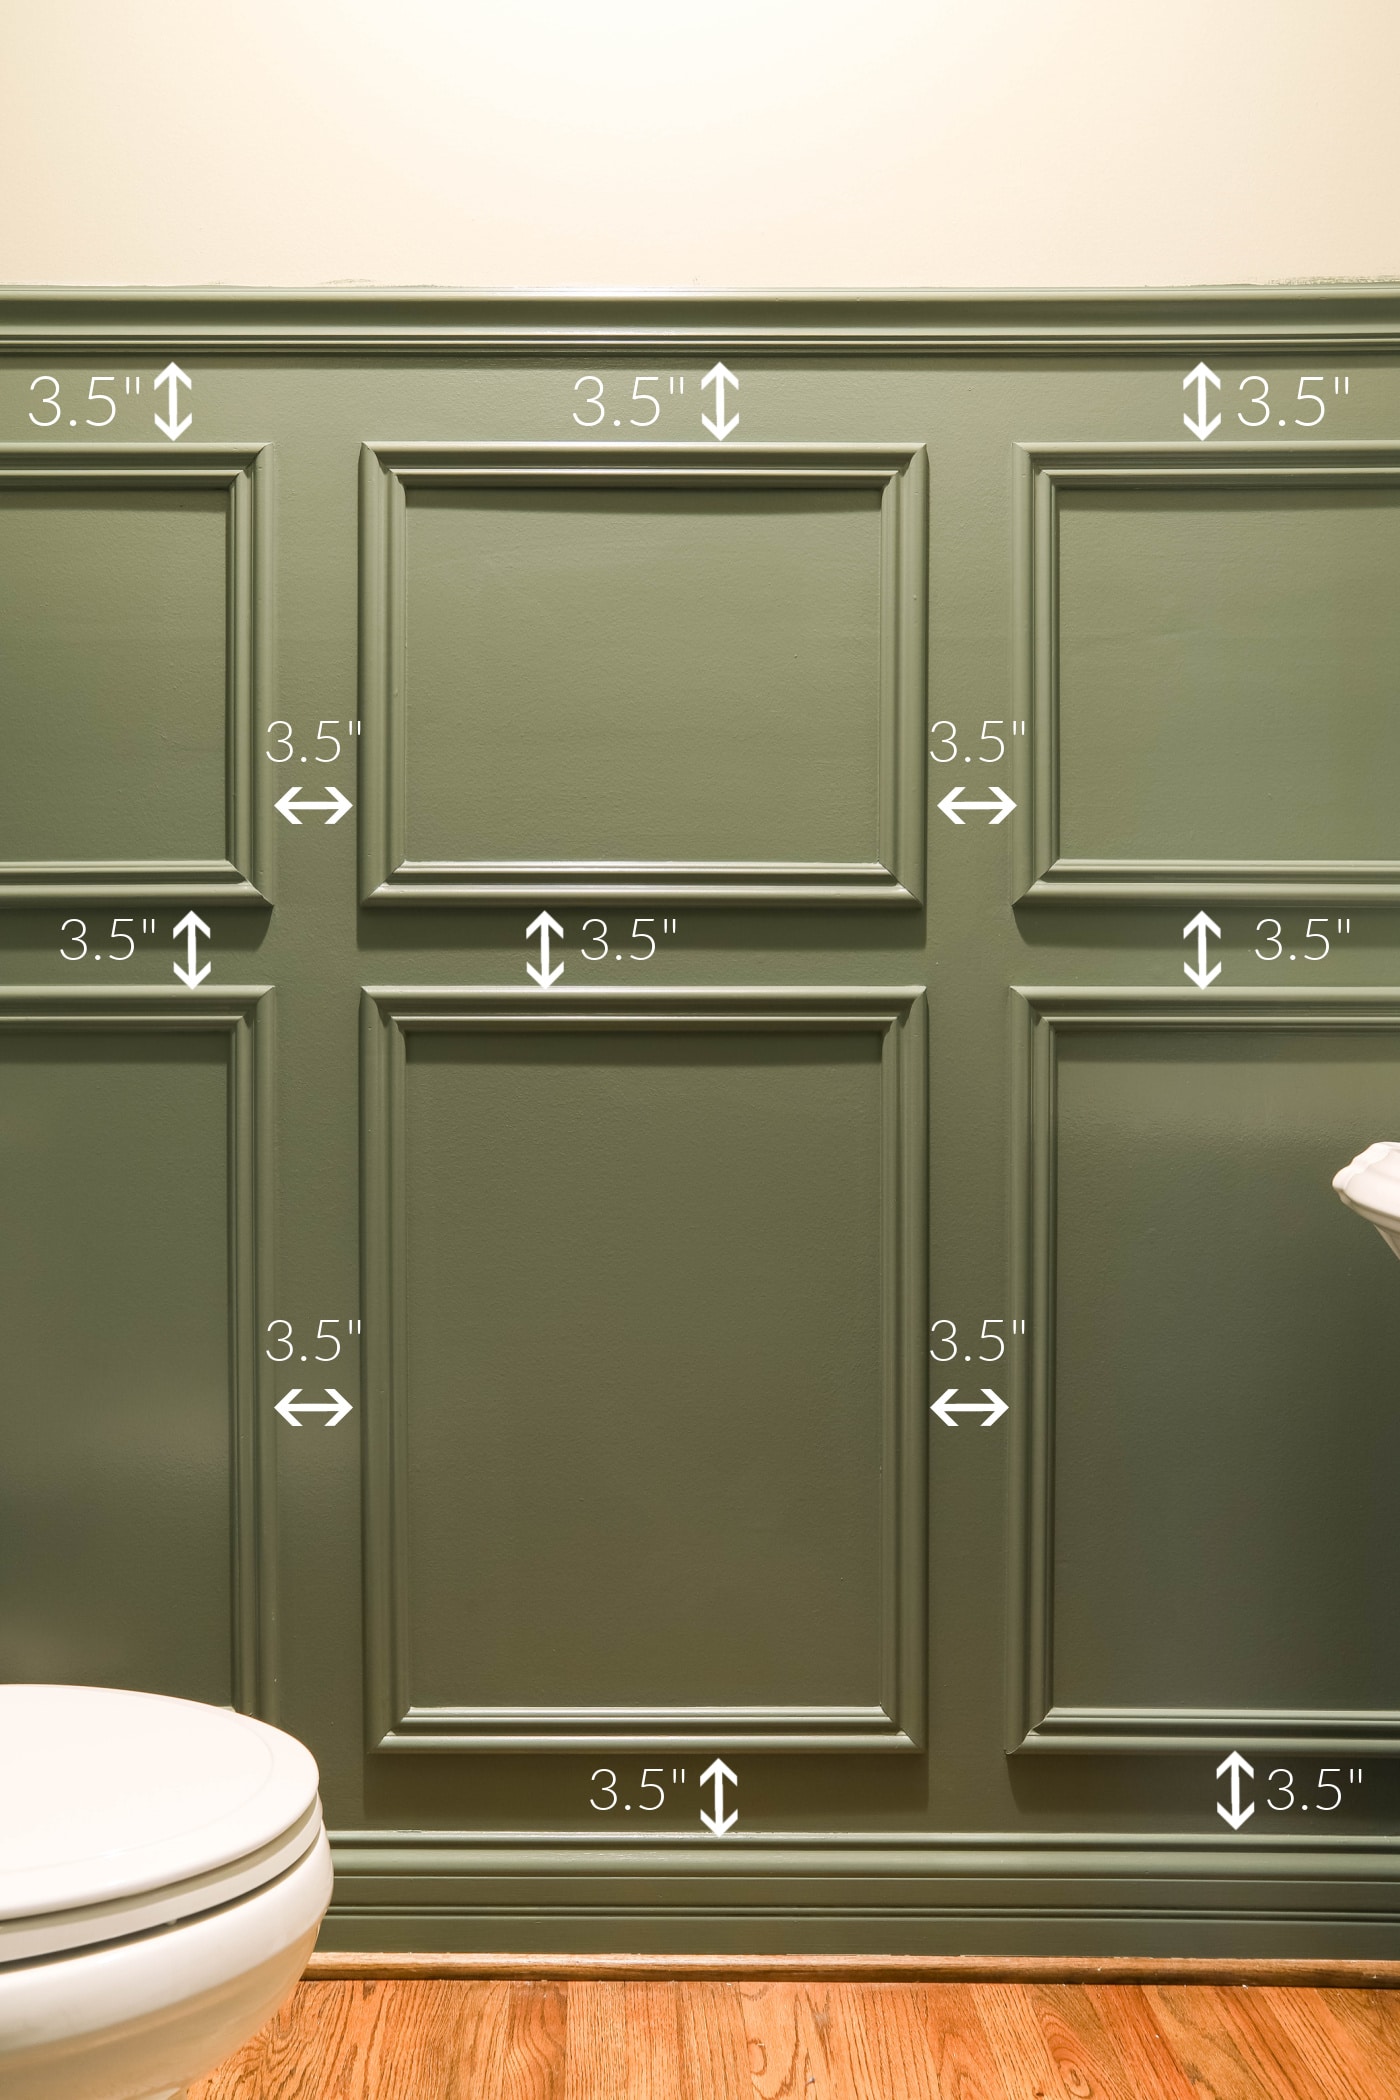
Boxes can vary in size from wall to wall, depending on what each wall needs. Just keep the spacing the same between all of them and the result will look uniform. Does that make sense?
5. Pick the Trim Style.
If your home is more modern or farmhouse-style, a simple board might suit you best. I chose traditional chair rail moulding because my house leans more traditional.
6. Decide How to Work Around Obstacles.
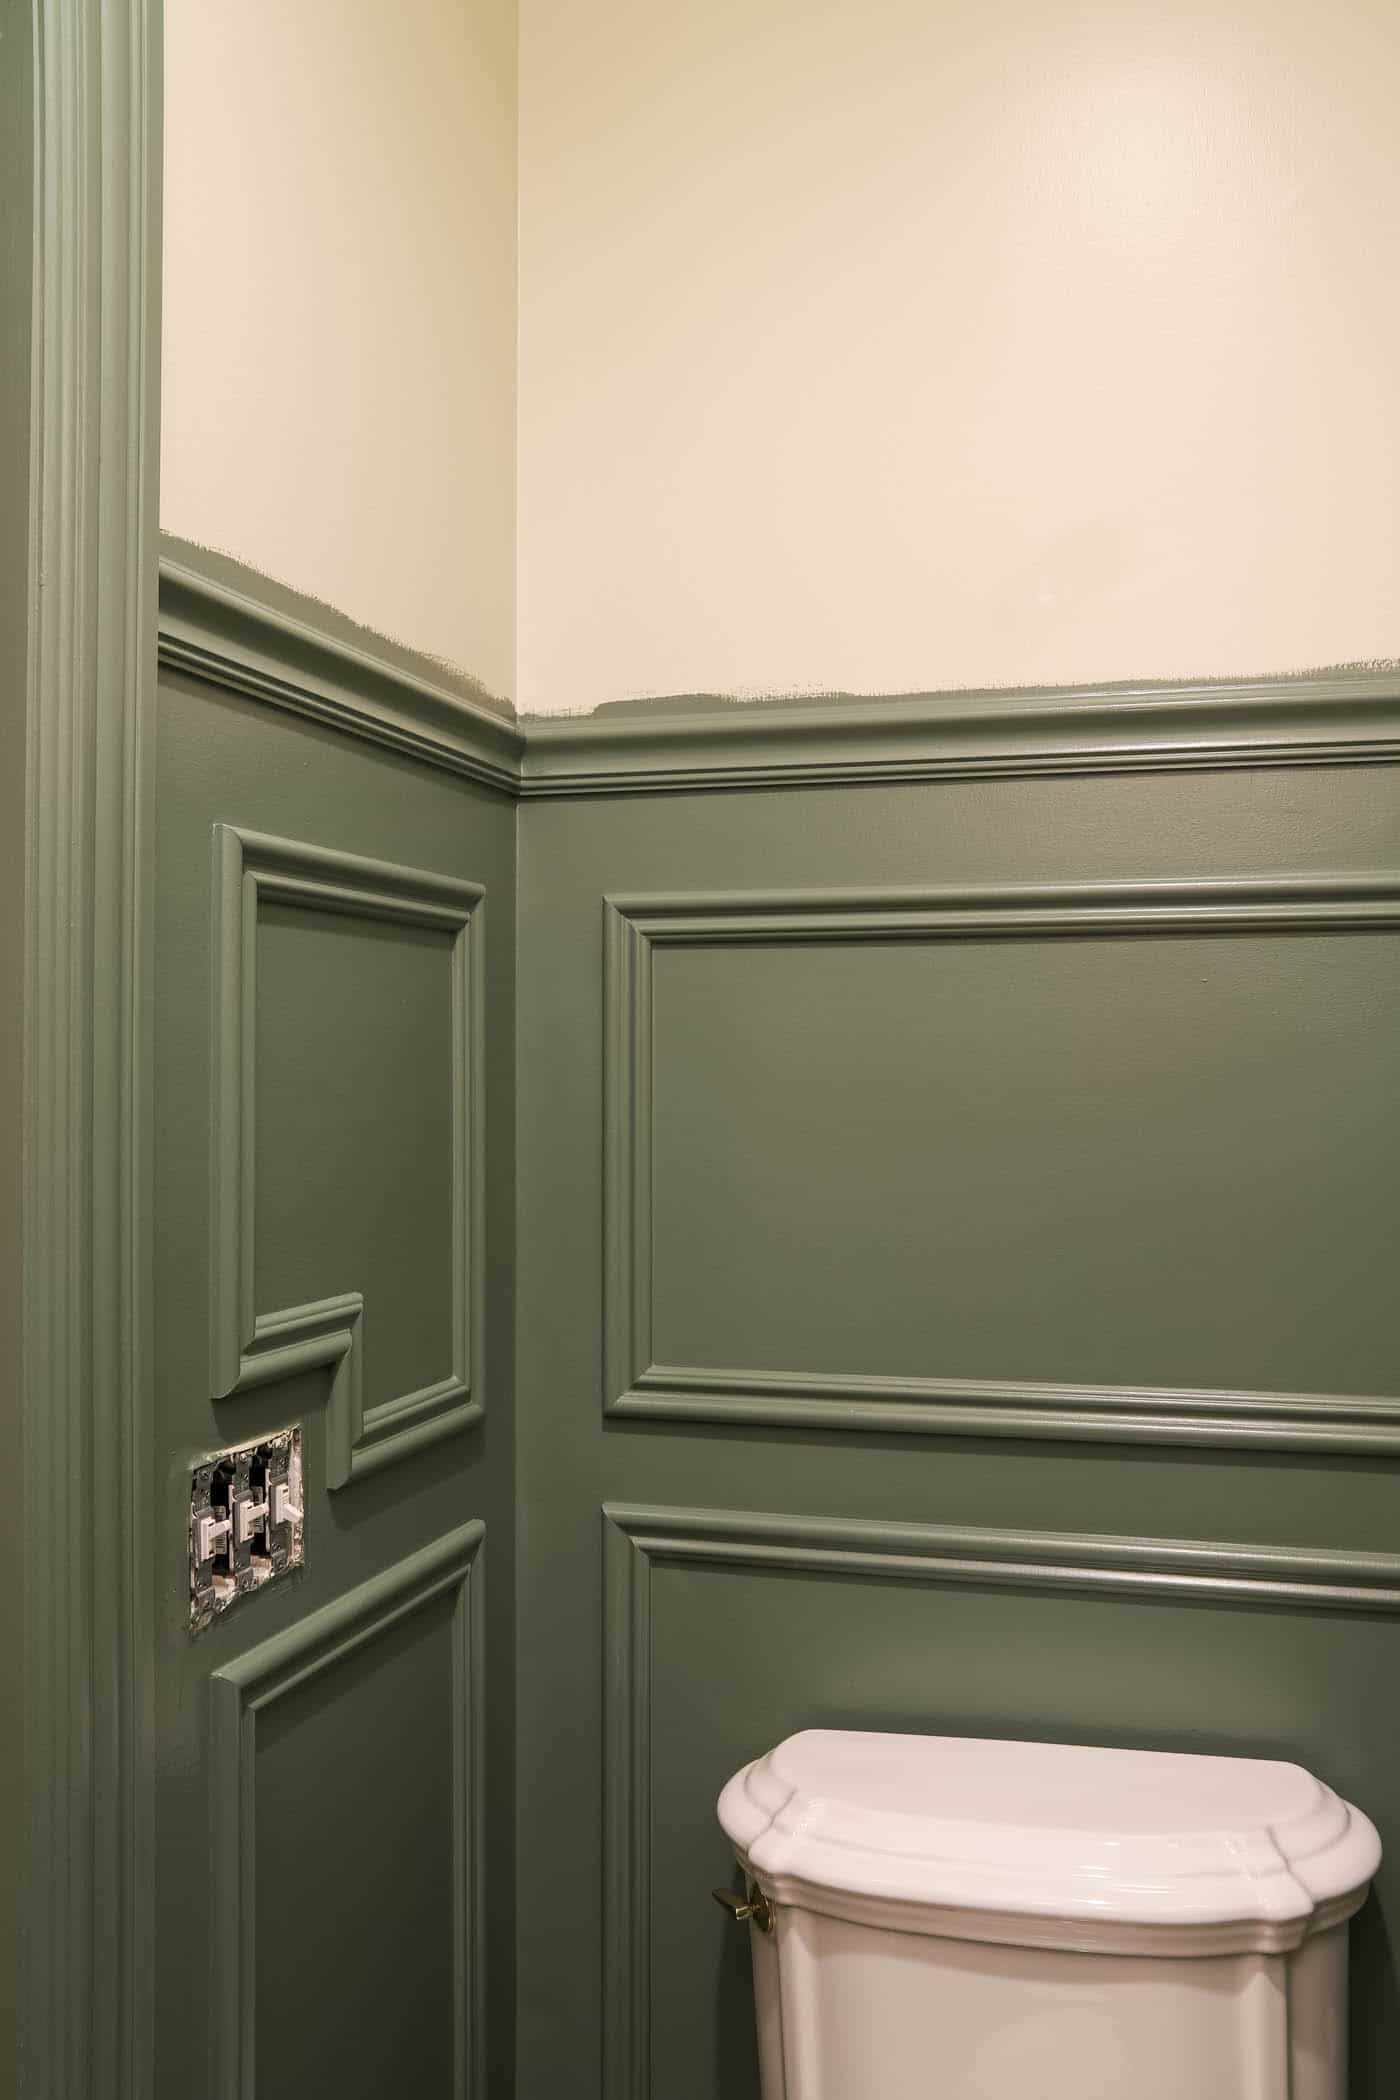
I mean fixtures you can't move, like the toilet or sink. I picked my trim height based on how it would look around those. The same goes for light switches and outlets. Will you build the trim out and return it around them, or go around them like I did?

Supplies Needed for DIY Picture Moulding
- Laser Level (I used both a manual level and a laser level on this project, but I strongly recommend the laser.)
- Tape Measure
- Pencil
- Miter Saw (or miter box & saw)
- Brad Nailer (I bought this cordless nailer just for this job, and I can't praise it enough! Being cordless makes it so much easier than dragging out my air compressor!)
- Finishing Brad Nails
- Spackling
- Caulk (I love this fast-drying trim caulk that's paintable within 20 minutes!)
- Caulk Gun
- Nail Punch
- Decorative Trim (enough for your space) – I used this chair rail along the top of the trim and this smaller decorative trim for the picture boxes. I picked them partly because they came pre-primed. If you choose unprimed boards, prime them first.
- Paint
- Paint Brush
How to Install Picture Moulding on a Wall
1. Sketch your boxes with a level and pencil.
This step matters a lot! I strongly suggest sketching every box on the wall first. It lets you picture the finished look before cutting a single piece of trim. Keep the same distance between boxes, corners, baseboards and so on. (I used 3.5 inches, but a bigger room could take more.)
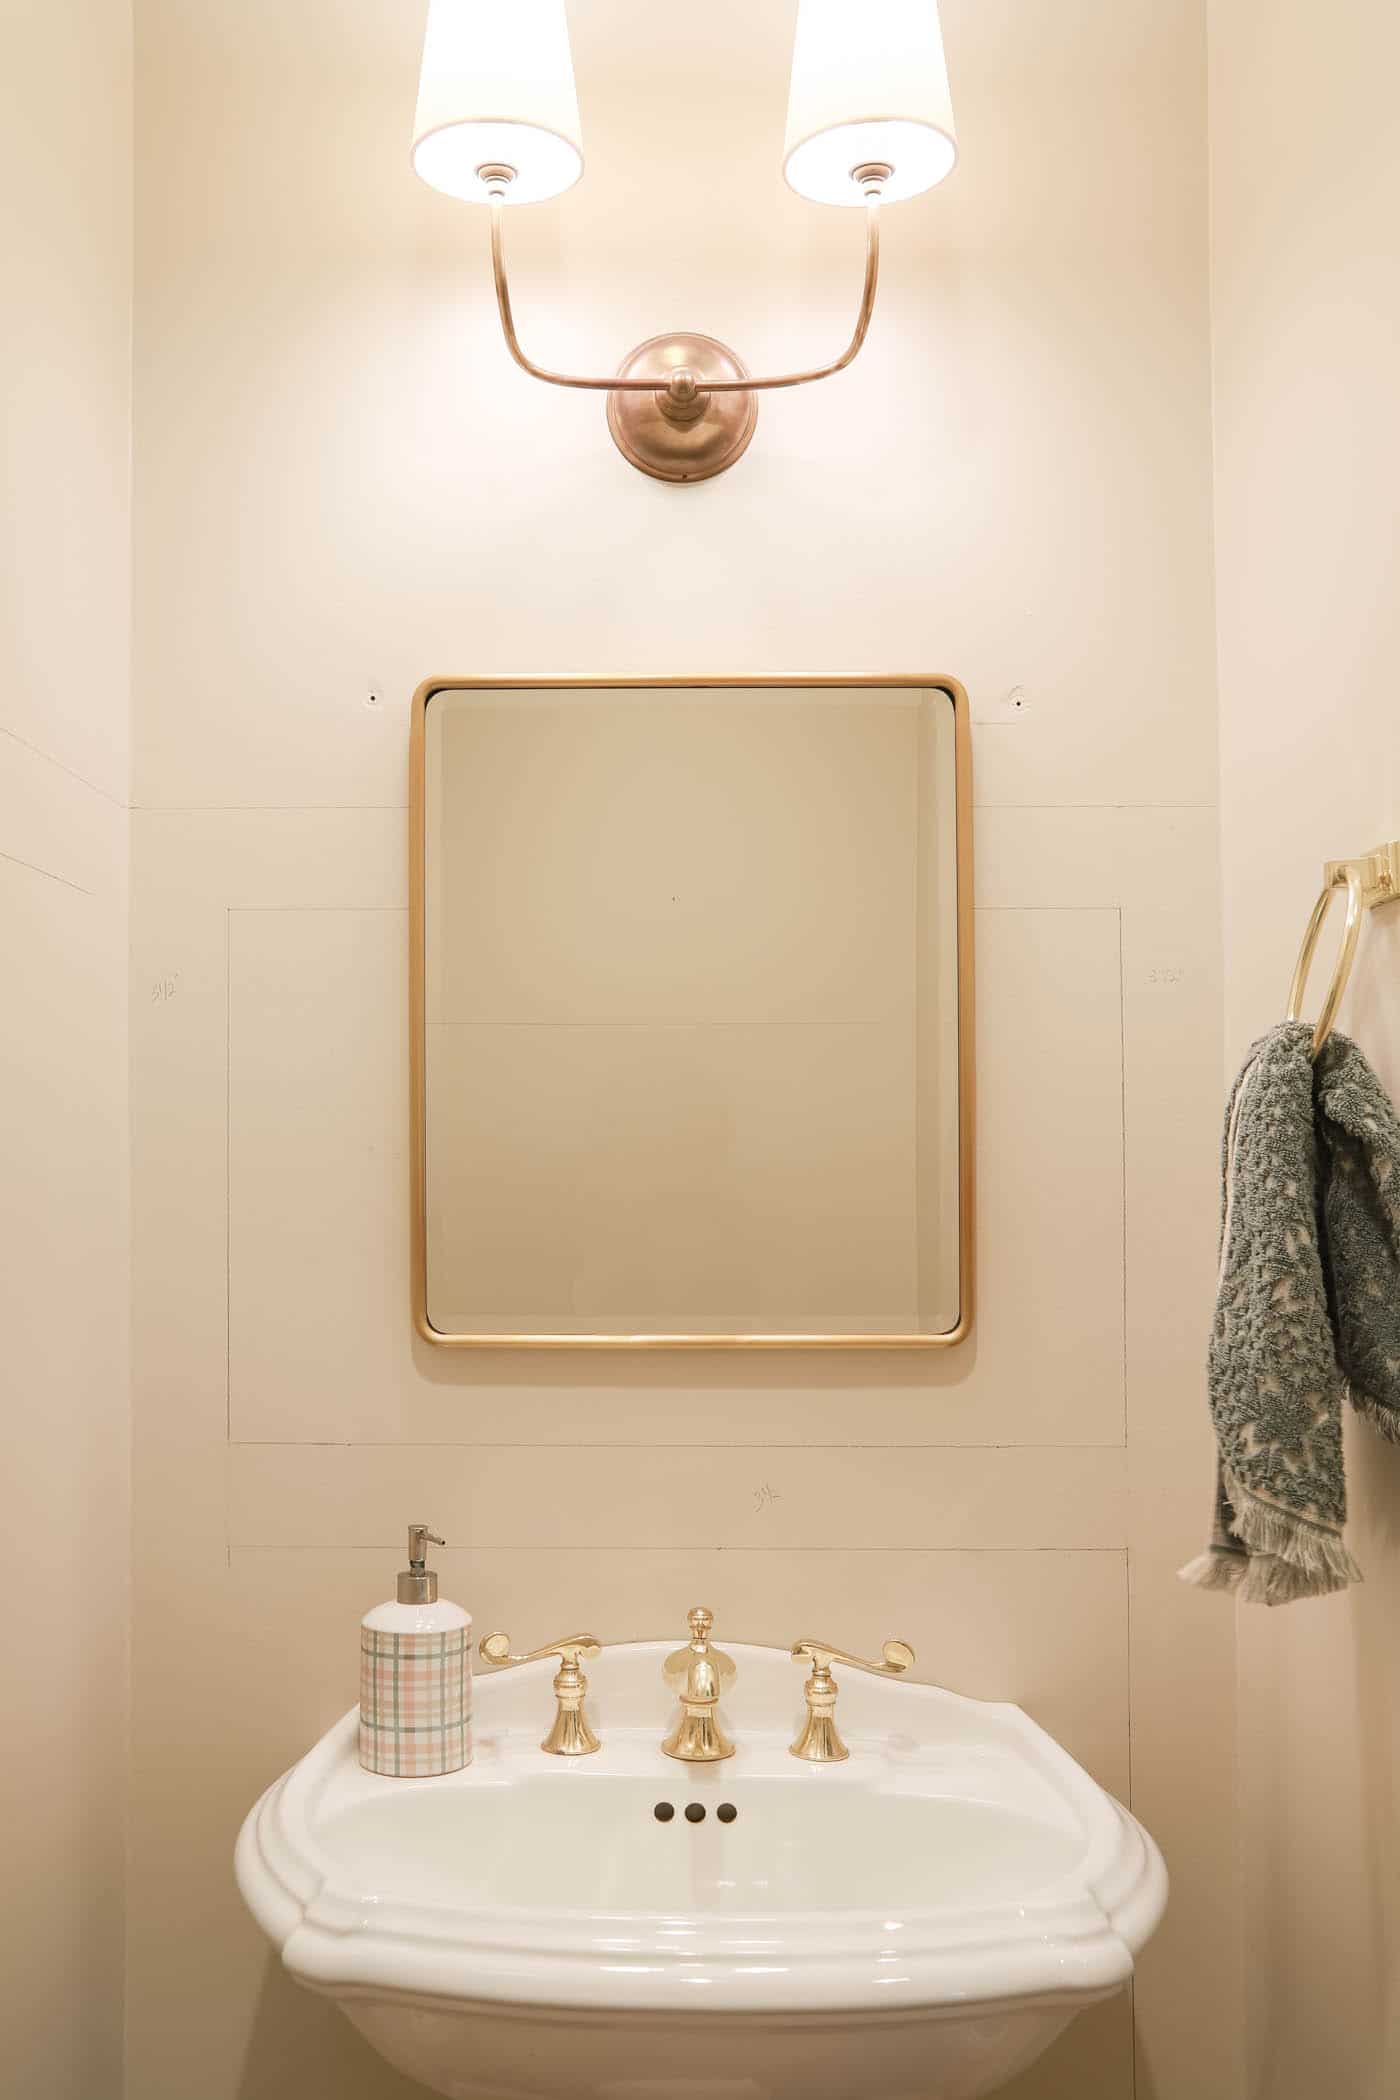
This shows whether your boxes will clear the obstacles in the room, and lets you plan each box before the first cut.
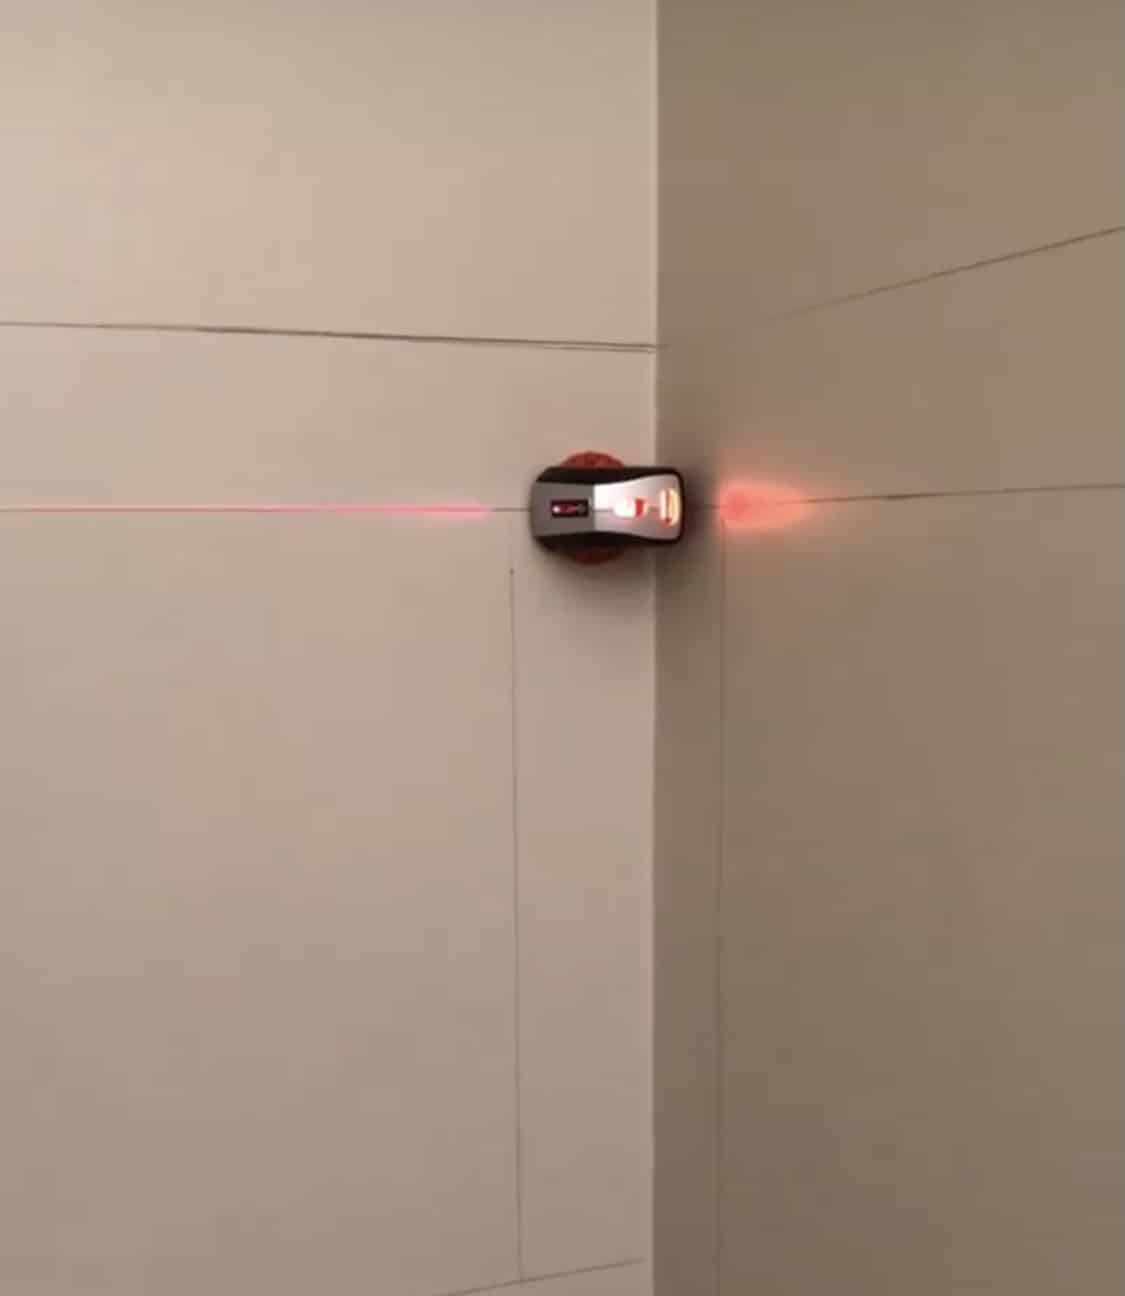
A laser level makes this much easier, though a handheld laser works too.
2. Measure the boxes to work out how much trim you need, then buy it.
I wrote my measurements on paper so I could take them outside to make the cuts.
Work out how much trim you need and head to the store, and remember to allow for waste. I underestimated because I forgot to count the offcuts.
3. Make a Cut List
On my walls, the vertical cuts matched for the top boxes and matched for the bottom boxes. Since I was making 7 small boxes and 7 large ones, I could cut 14 pieces of each size.
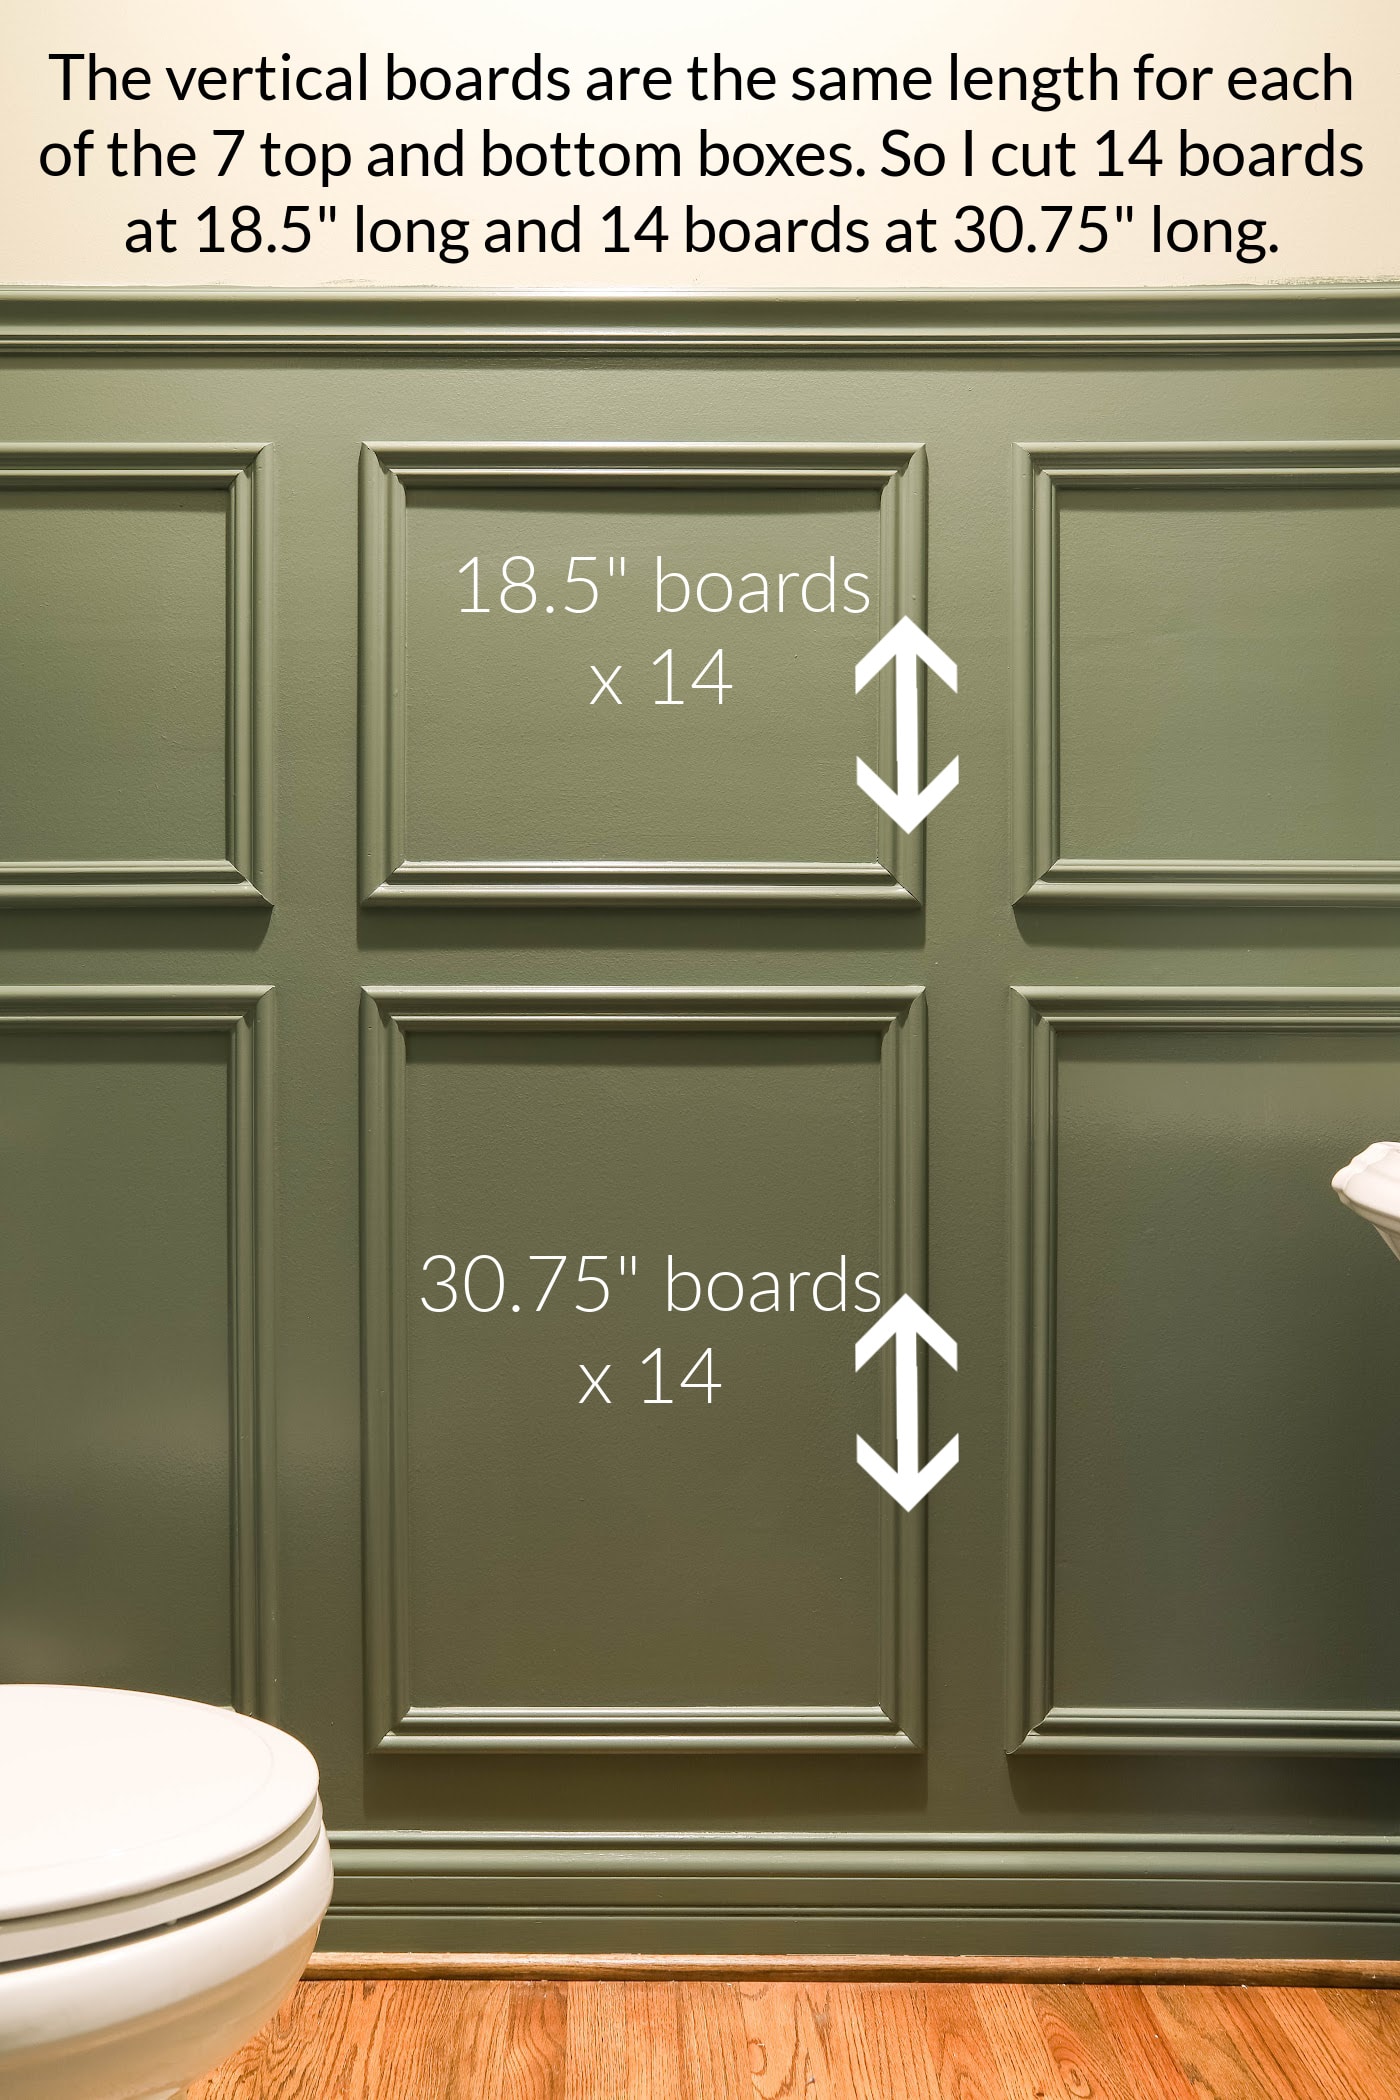
At first I forgot about the light switch and outlet I had to work around, so I only needed 12 of the 18.5″ pieces. That was fine, since I could trim the two extras to length for other cuts.
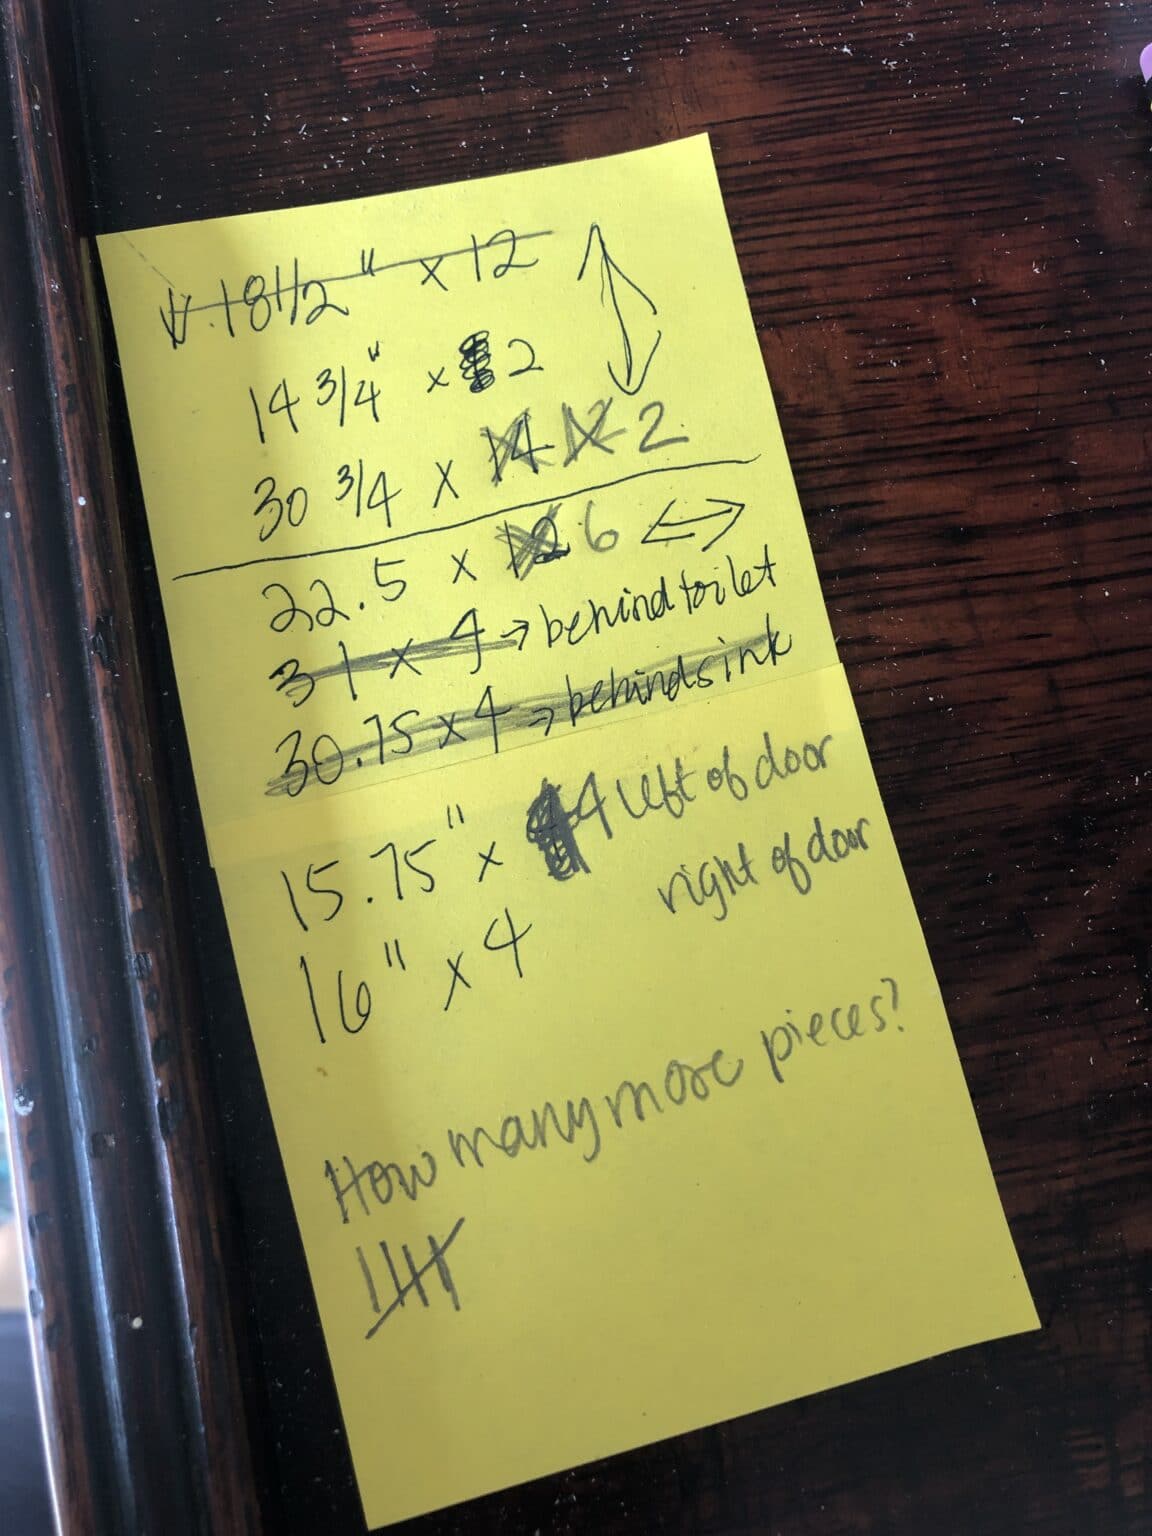
Next I measured each horizontal piece. Some were duplicates, like on the wall of three in the photo above. Since stacked boxes share the same horizontal pieces, I measured just the top one and multiplied by 4.
4. Cut the Trim
Once my measurements were written down, I took the list outside and cut everything in batches with my miter saw.
The key is to cut each piece at a 45-degree angle with the wider part of the design on the outside edge.
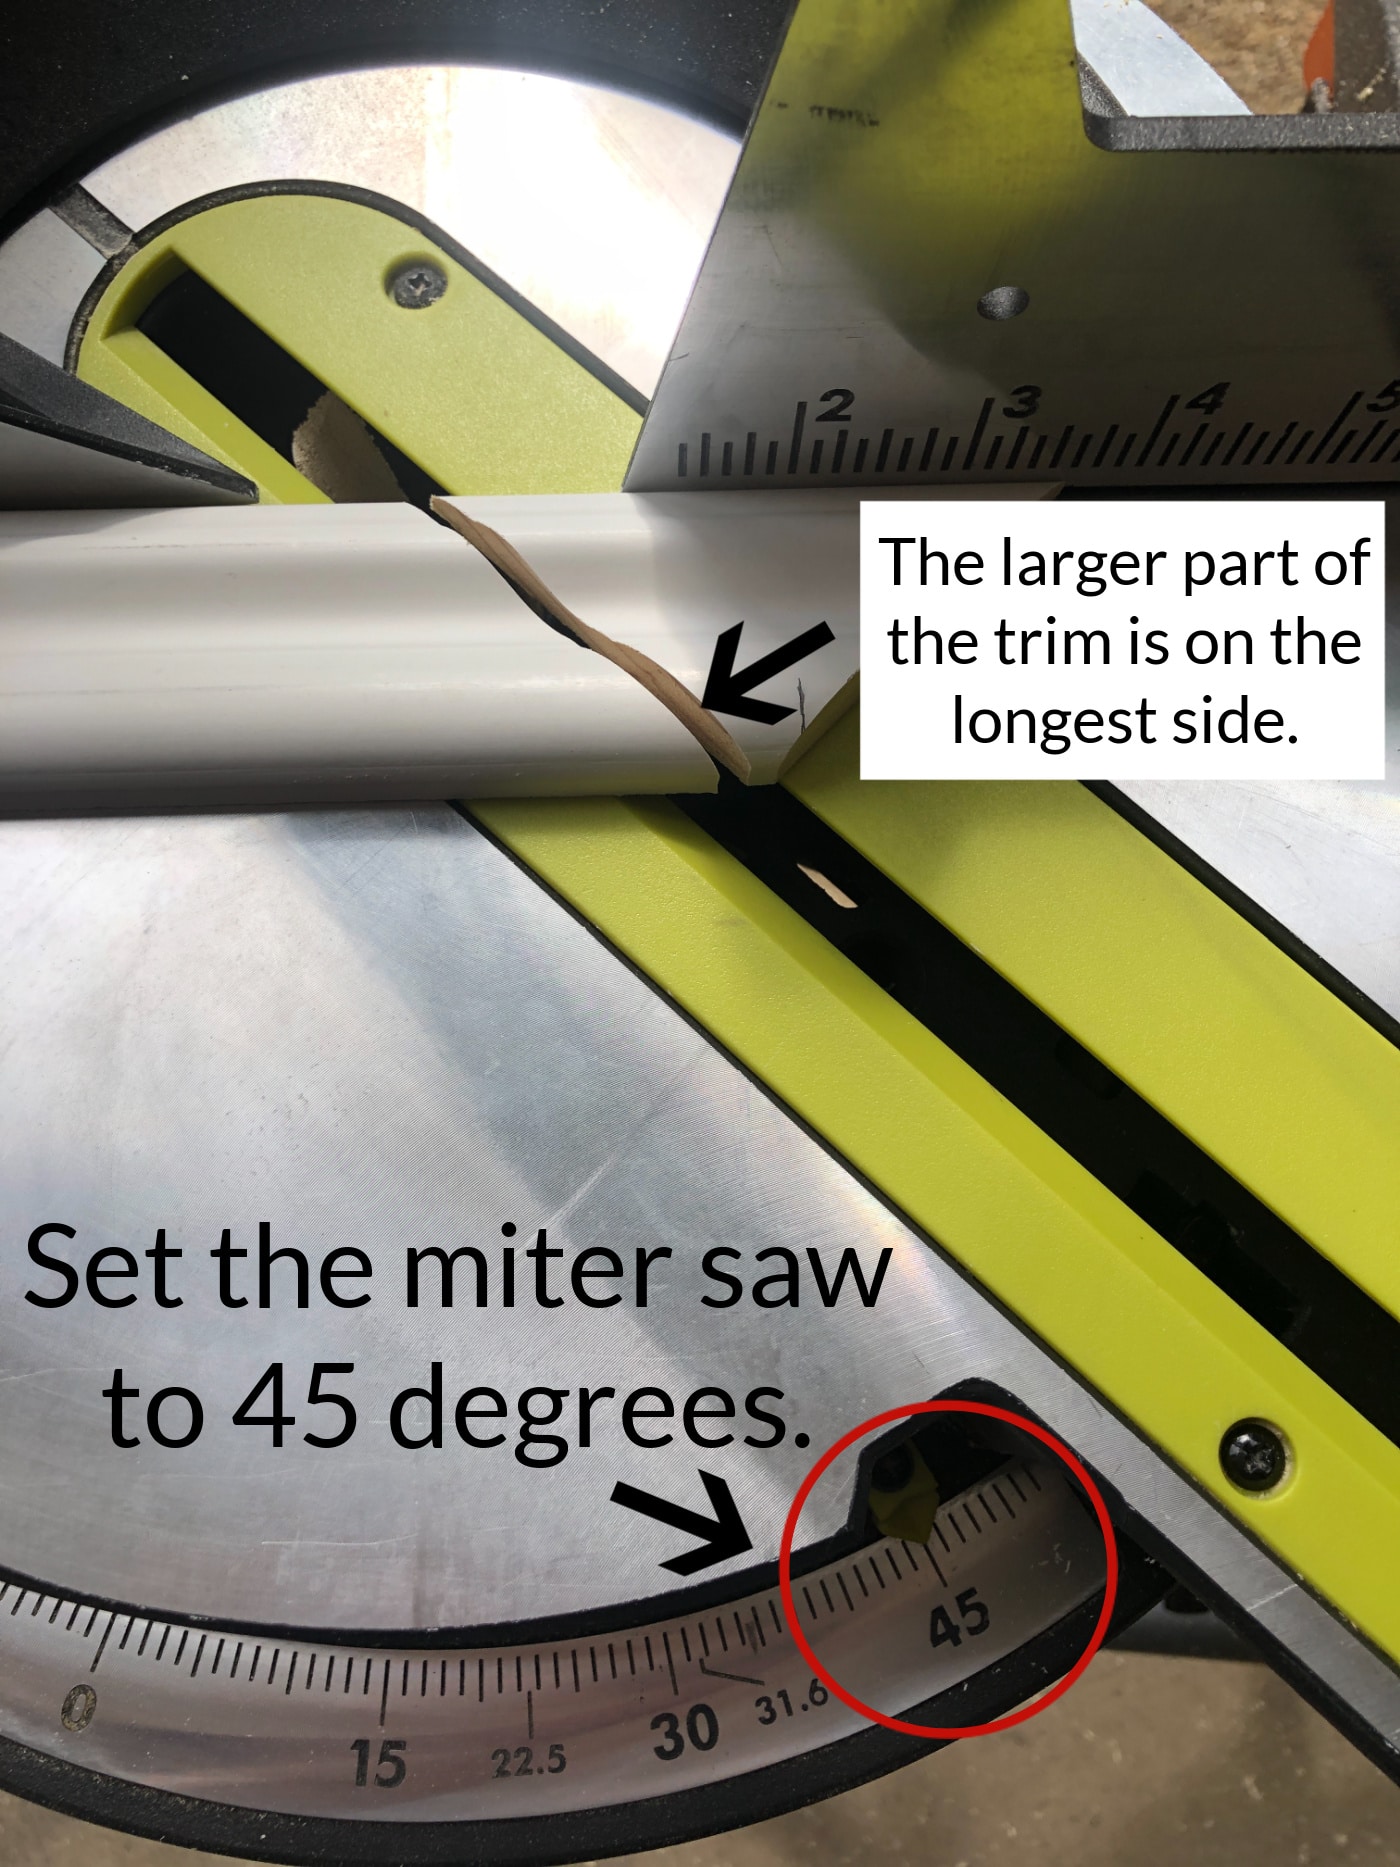
Then flip the saw to 45 degrees on the other side and cut the other end at the matching angle. The longest edge is the length you need.
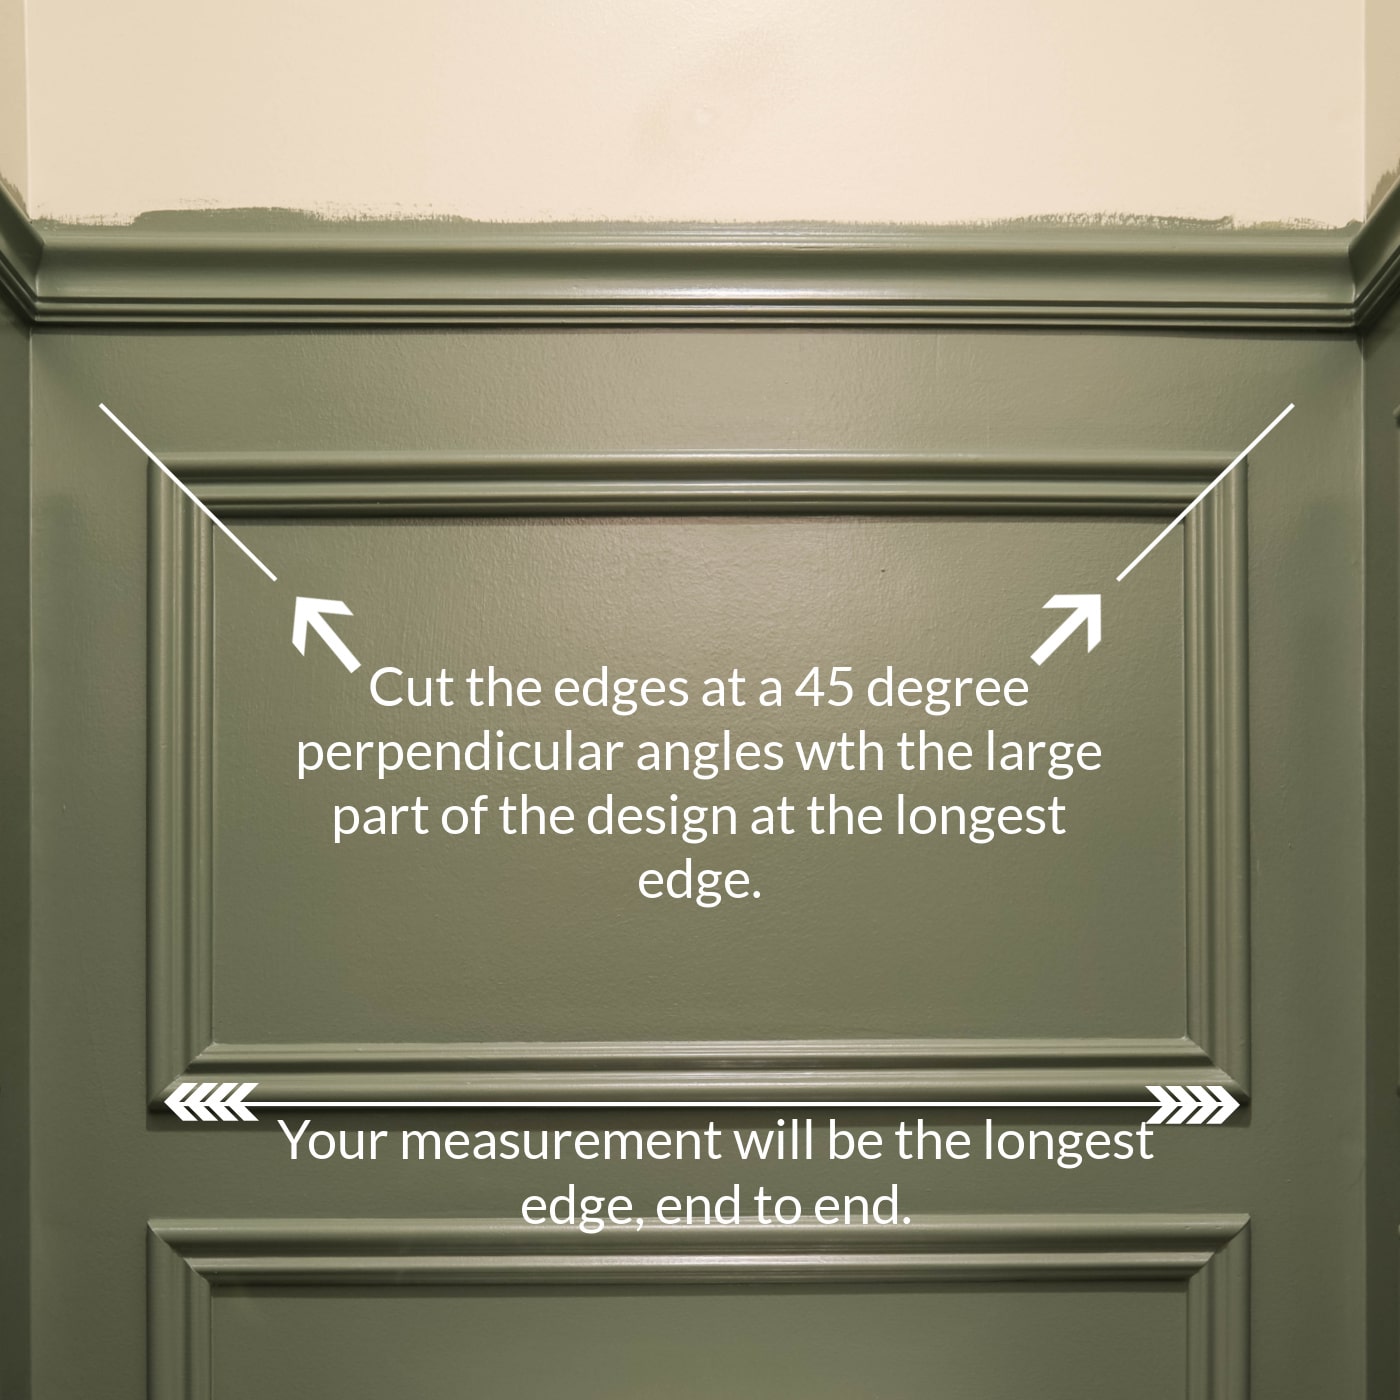
I cut the first piece, then wrote “original” and its length on the back so I'd know it was the master. I used it as a guide for measuring the rest.
After cutting each piece, I held it up against the original to make sure the ends lined up. Matching the original's size exactly makes it far easier to get square rectangles on the wall.
5. Install the Picture Frame Moulding
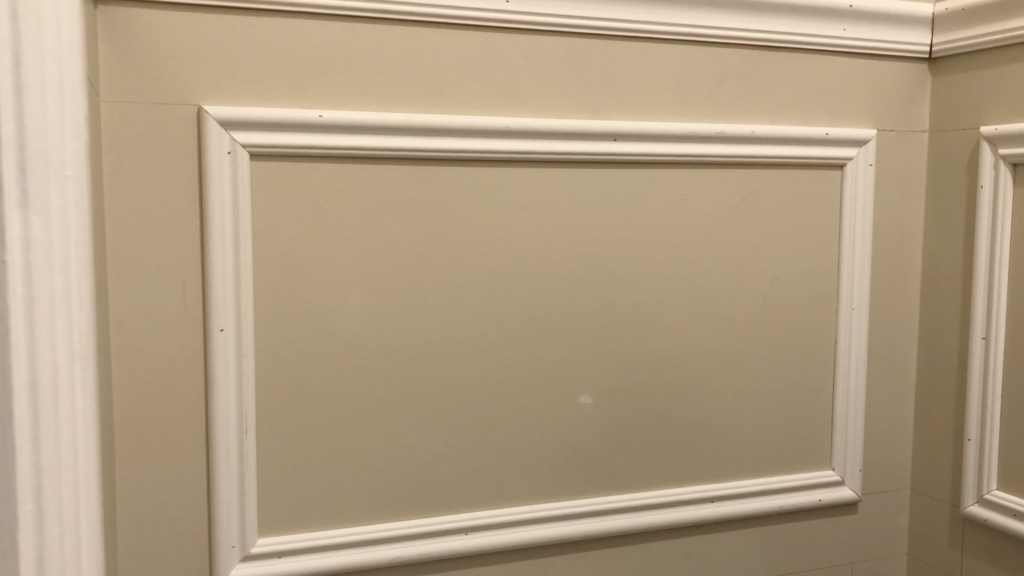
Now it's time to hang those boxes on the wall with a brad nailer and brad nails.
Line up each piece with the pencil marks you drew on the wall. I check every board for level with my handheld level before nailing it up.
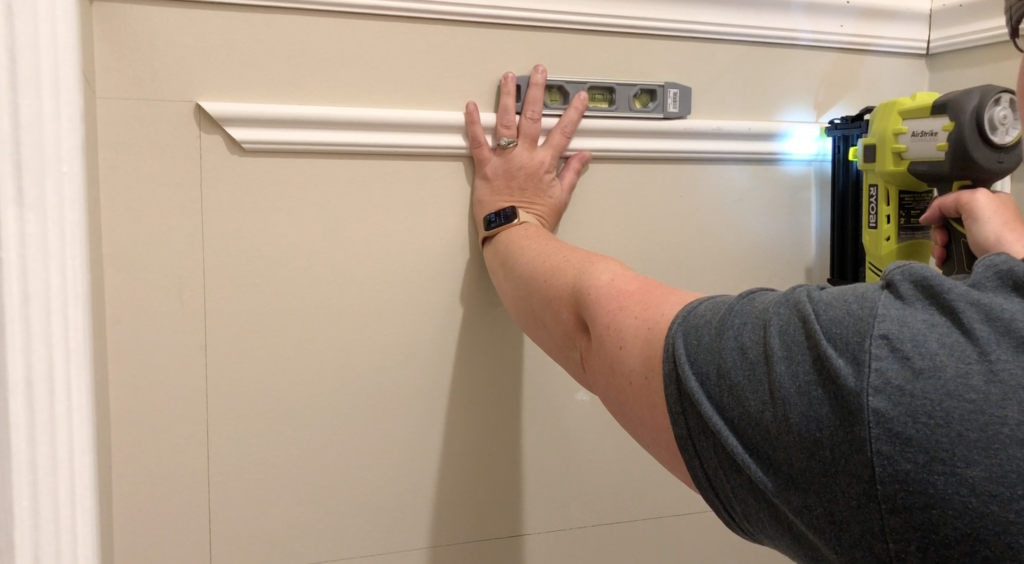
I put the top piece up first, then nail one side piece in with a single nail at the top. Next comes the bottom piece, then the other side. I try not to use more than 3 or 4 nails per board, because more holes mean more work filling them in the next step.
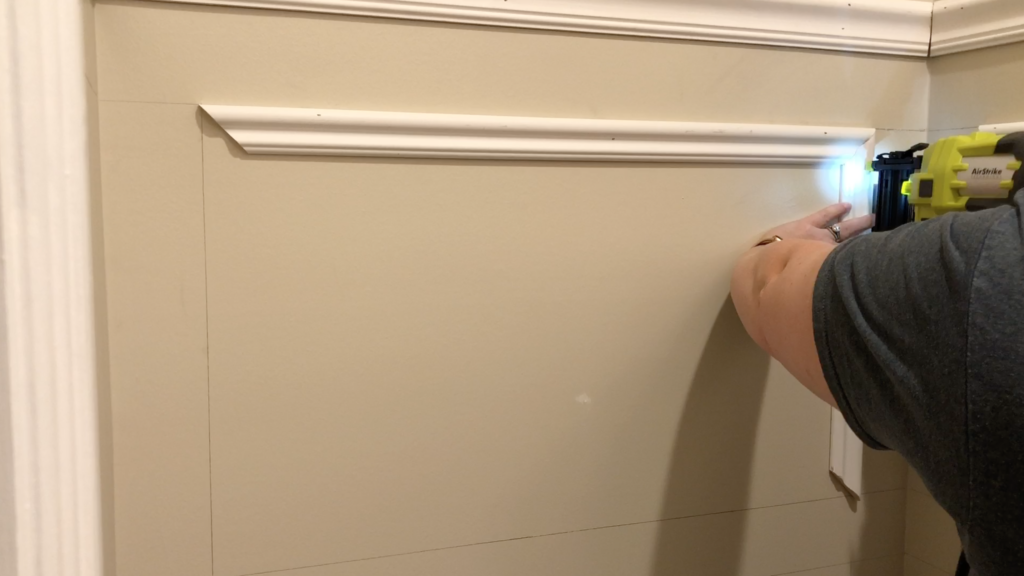
Keep checking for square and level as you work!
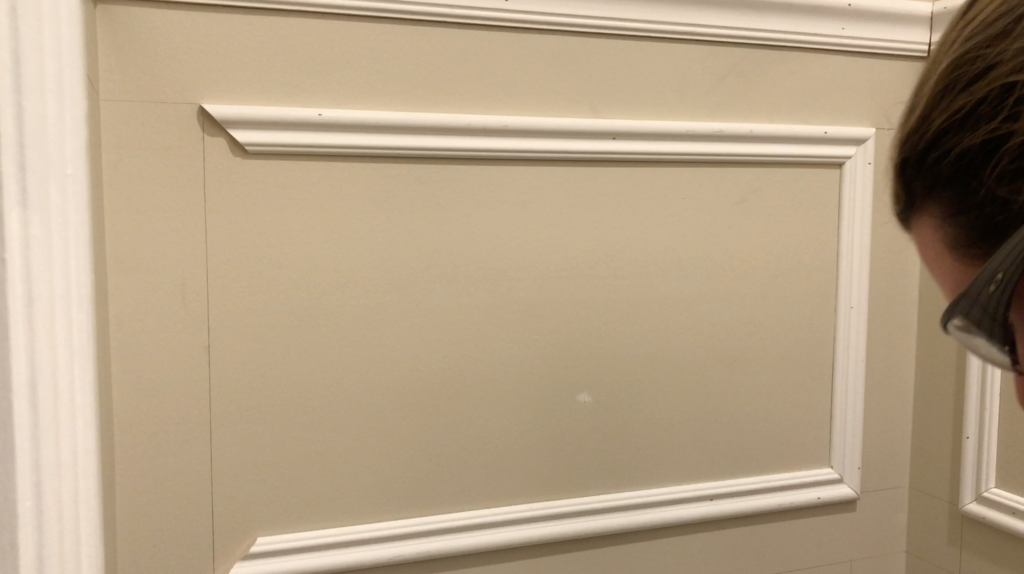
Note – I'd had my eye on this cordless brad nailer for years but couldn't justify it since I already owned a compressor and brad nailer. This project was the perfect excuse, and I LOVED it! It was much easier without a big compressor and cord to wrangle.
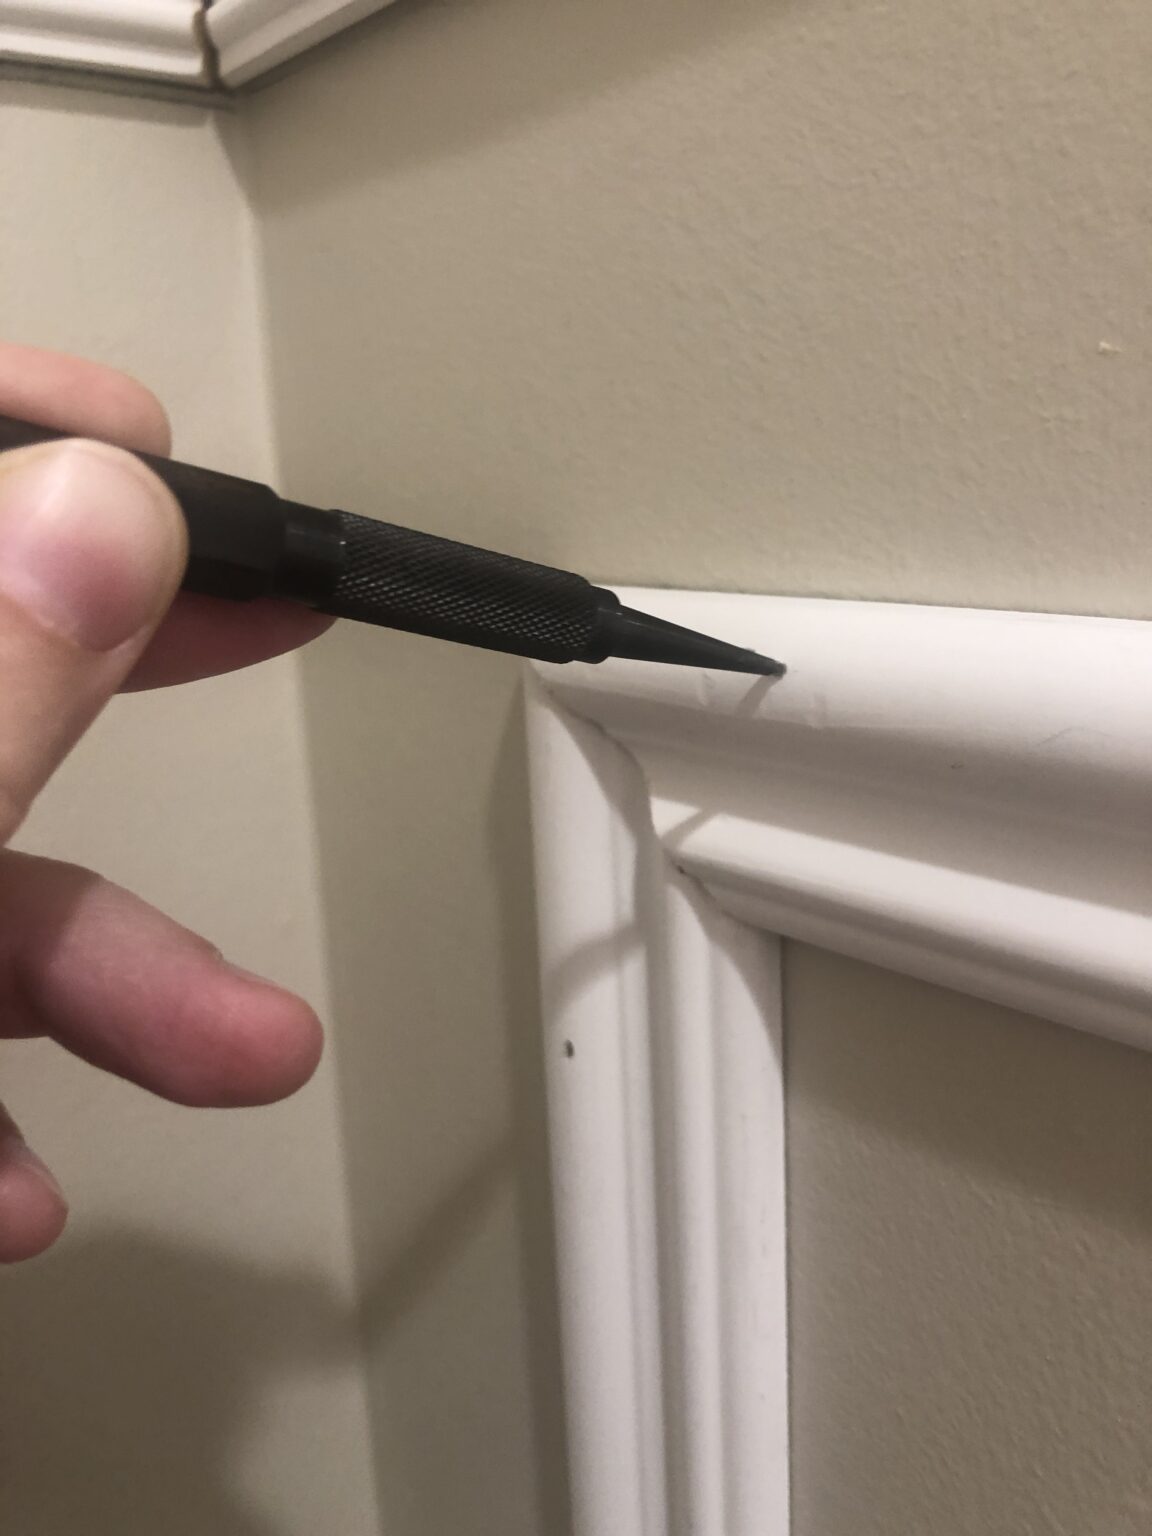
6. Drive Any Raised Nails In with a Nail Punch
Make sure every nail is fully set below the surface of the trim. Find any that stick out and tap them in with a nail punch.
7. Fill All Nail Holes with Spackling
I use my fingertip and a little spackling to fill each hole, trying not to leave too much on the trim. Once it's dry, I wipe off the excess with a warm, damp paper towel. I've heard a baby wipe works well too!
8. Caulk the Seams
Run paintable caulk with a caulk gun along every seam between the wall and the picture frame moulding, and into the corners where the trim meets. Smooth it before it dries, since you can't sand it afterward. I use my fingers and damp paper towels to get everything smooth.
This step makes the trim look like one solid piece and hides a multitude of mistakes. It really makes the finished result look polished.
9. Paint!
This is obviously the final step, but you can paint the walls first or wait and paint everything at the end. In a larger space I'd paint the walls first, mark the box lines, and then paint the trim once it's installed.
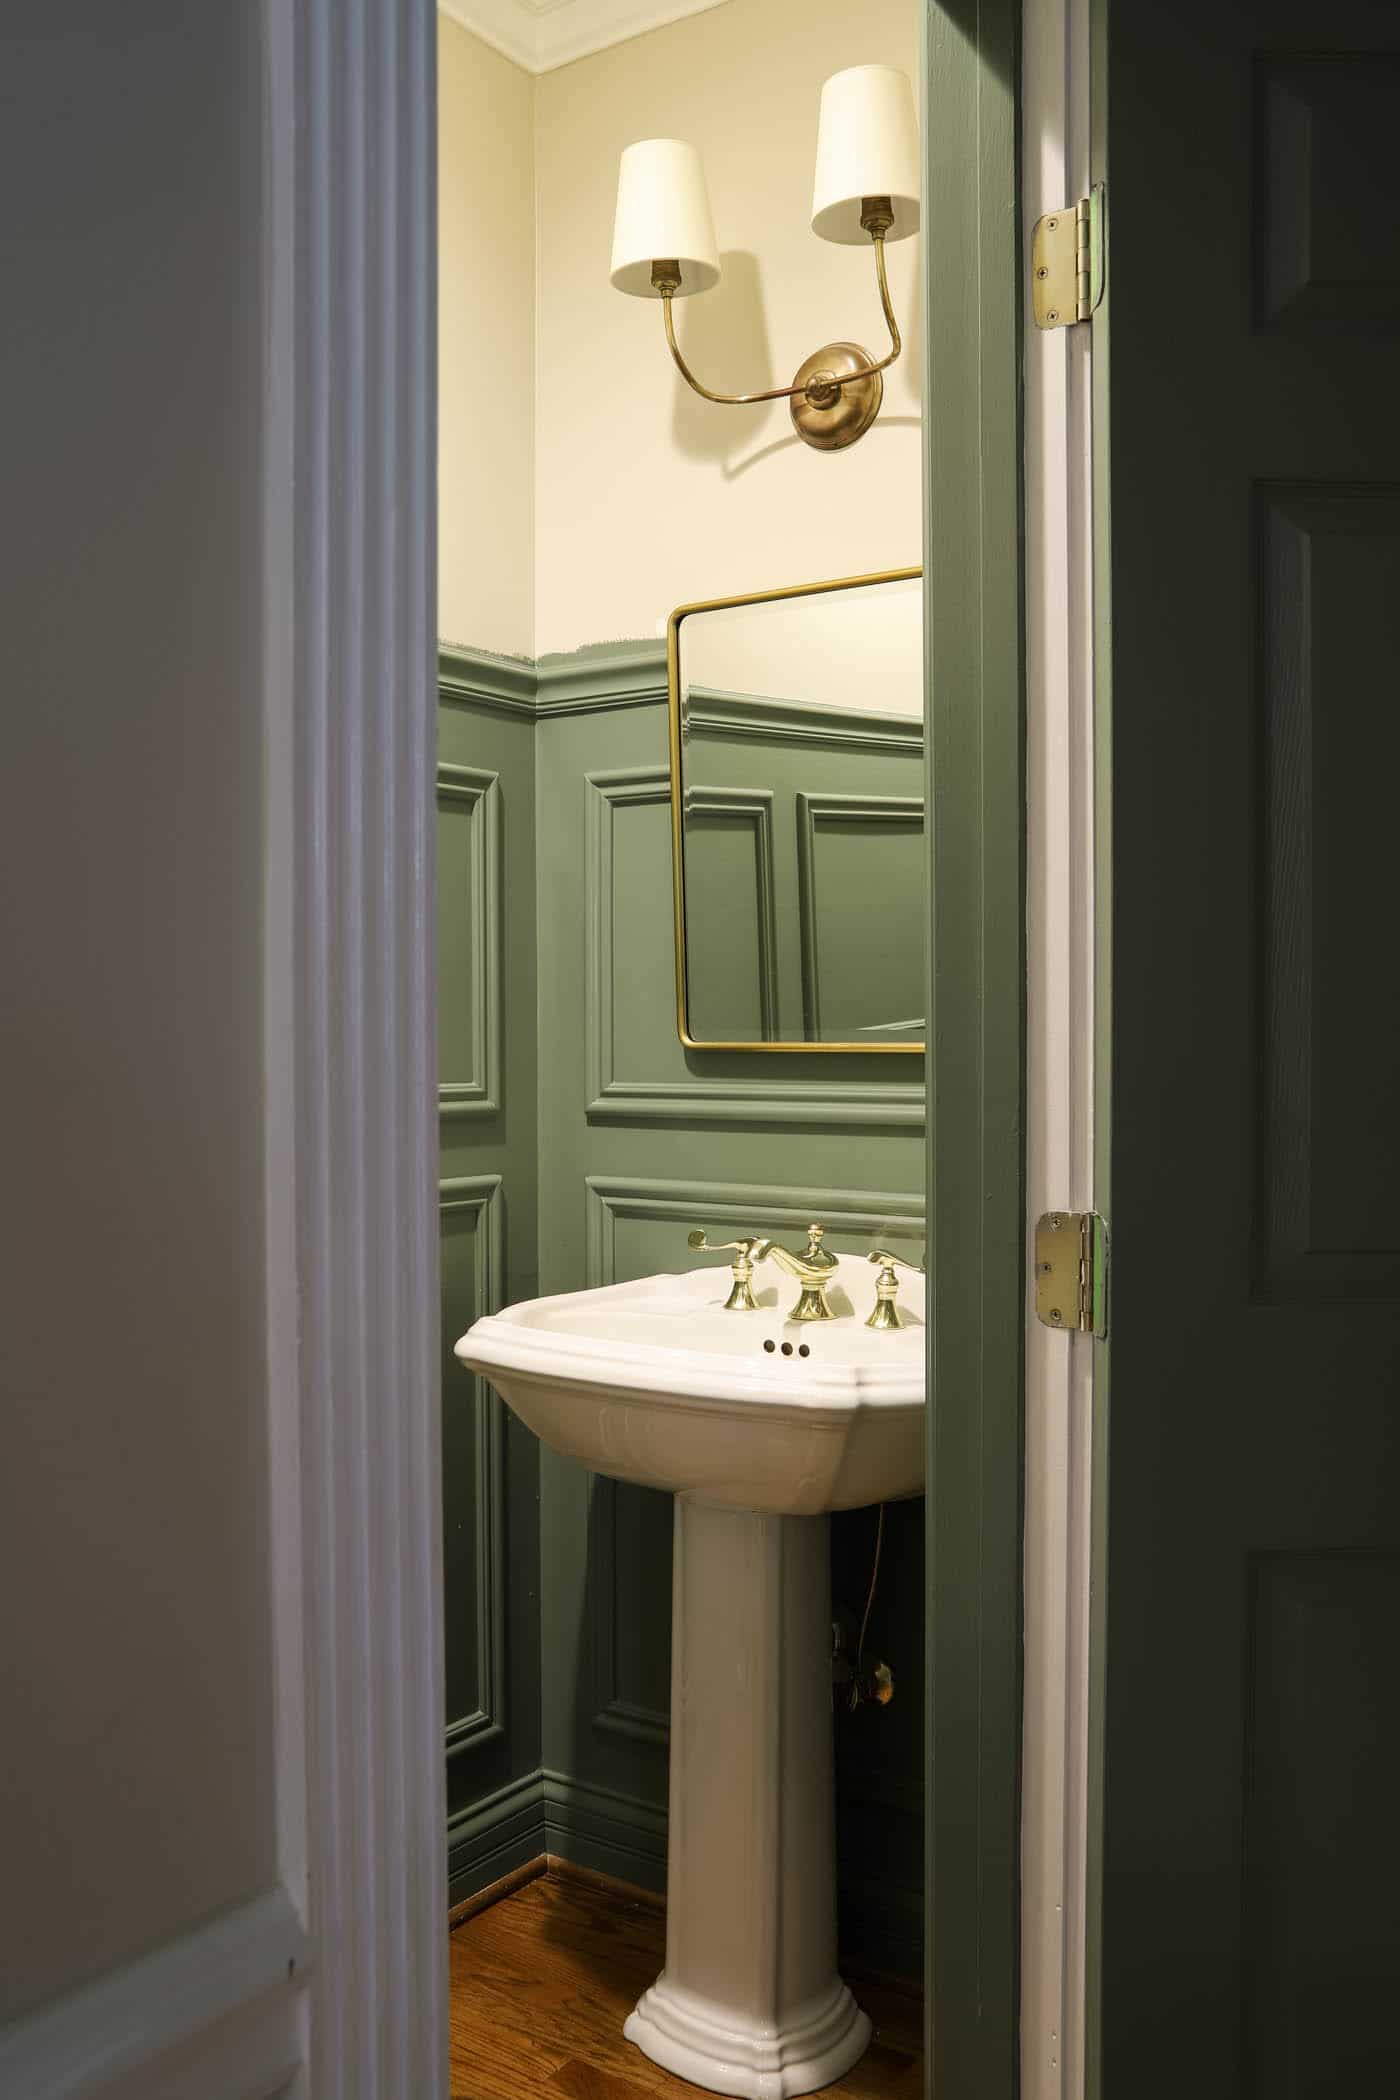
But since this space was so small, painting the walls ahead wouldn't have saved much time. I painted everything at the end, and it turned out great!
I used Farrow & Ball's Caulke Green, colour-matched at Benjamin Moore in their Advance Paint in a satin finish. I chose satin because this is a bathroom. The walls will get splashed, and I want to be able to wipe them clean.
Of course, I used my favorite Purdy brushes for this job. I love them!
Related: Which Interior Paint Finish to Use
You're finally done! Step back and admire your lovely new room!
If you're curious about the rest of the bathroom and how I plan to finish the space, you can read the full powder room design plans here. (Hint: wallpaper is coming next!)
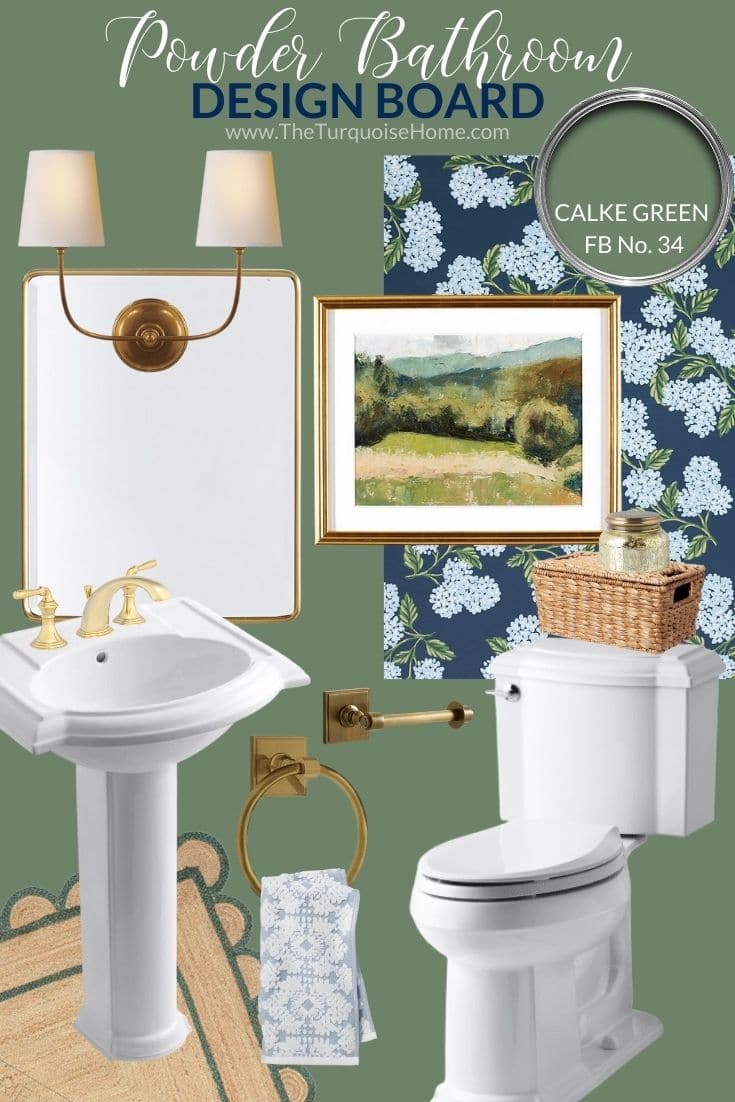
Vendome Double Sconce | Calke Green paint | Vintage Rounded Mirror | Summer Mountain Petite Art | Navy Hydrangea Wallpaper (here, too) | Pedestal Sink | Tank Basket | Candle | Toilet | Toilet Paper Holder | Towel Ring | Hand Towel | Scallop Jute Rug
This is a great project for a beginner DIYer. It's simple, straightforward and needs only a few tools! If you try it, I'd love to see what you make!
If you have any questions about the process, leave them in the comments below!
More Posts You Might Like: