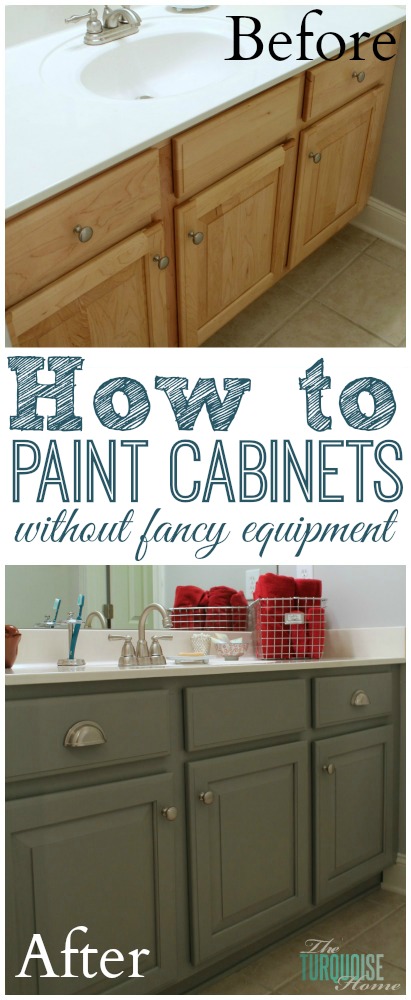
Learning to paint cabinets doesn't have to feel overwhelming! Follow these simple steps and you'll end up with painted cabinets you love!
When I revealed my guest bathroom makeover, I promised to share all the nitty-gritty details of painting the bathroom vanity cabinets. Now I'm finally ready to share the Average DIY Girl's Guide to Painting Cabinets. It's so easy, and you don't need any professional tools. Yay!!
I've wanted to paint these cabinets ever since we bought this house. When we first toured it, I noticed all the honey-oak cabinets and knew right then that I would paint every one of them.
But I've been scared.
I don't own a paint sprayer, and I didn't have the money to hire a pro. All I could picture were big paint drips and long brush streaks all over my cabinets. I know people paint their cabinets all the time, but my nearly perfectionist streak didn't want to ruin them and then live with something worse than honey oak. So I've been frozen in place.
Until... I found the best cabinet paint and went for it!
Paint has come a long way over the years, and today's formulas level out beautifully, which makes painting cabinets a dream. It's still a big DIY job, but getting great results is much easier when you use the right products.
These days I use Benjamin Moore's Advanced paint line in a satin or semi-gloss finish for all my cabinets and trim.
So for this big home project, I decided to tackle the smallest cabinets in the house first: the guest and kids' bath cabinets. Baby steps, y'all.
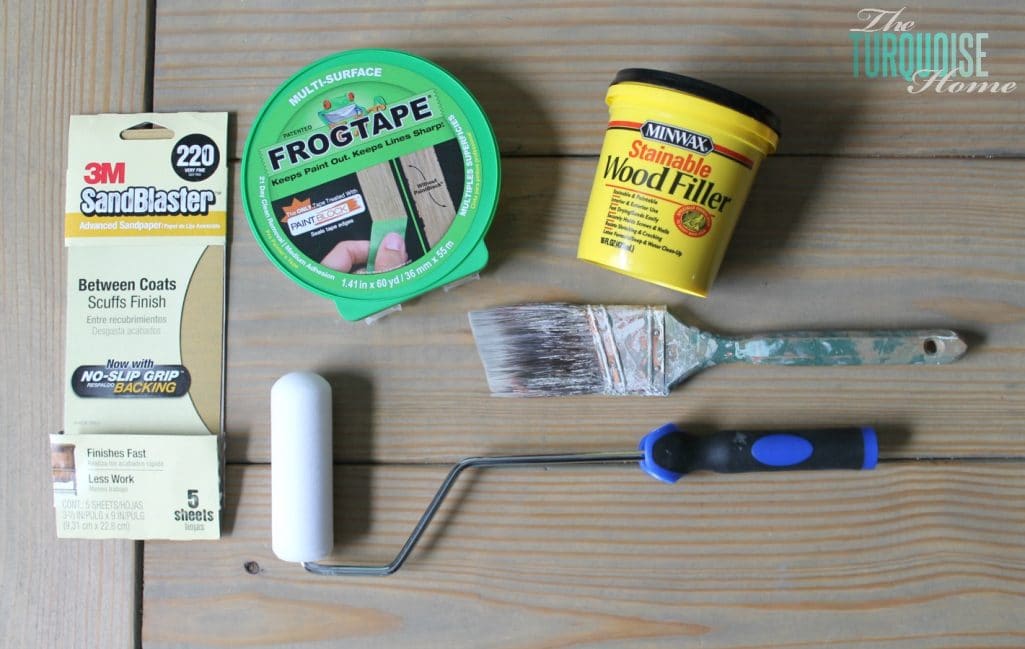
Tools Needed for DIY Cabinet Painting
- Painter's Tape
- Sand paper (I LOVE this sander.)
- Brush {I use Purdy brushes, because they're the best and will last forever. Mine has been around the block a time or two ... and it's 15 years old.}
- Foam Roller
- Paint for Cabinets. I prefer Benjamin Moore's Advanced paint line in a satin or semi-gloss finish.
And now... drumroll please... here's how to get that gorgeous painted finish...
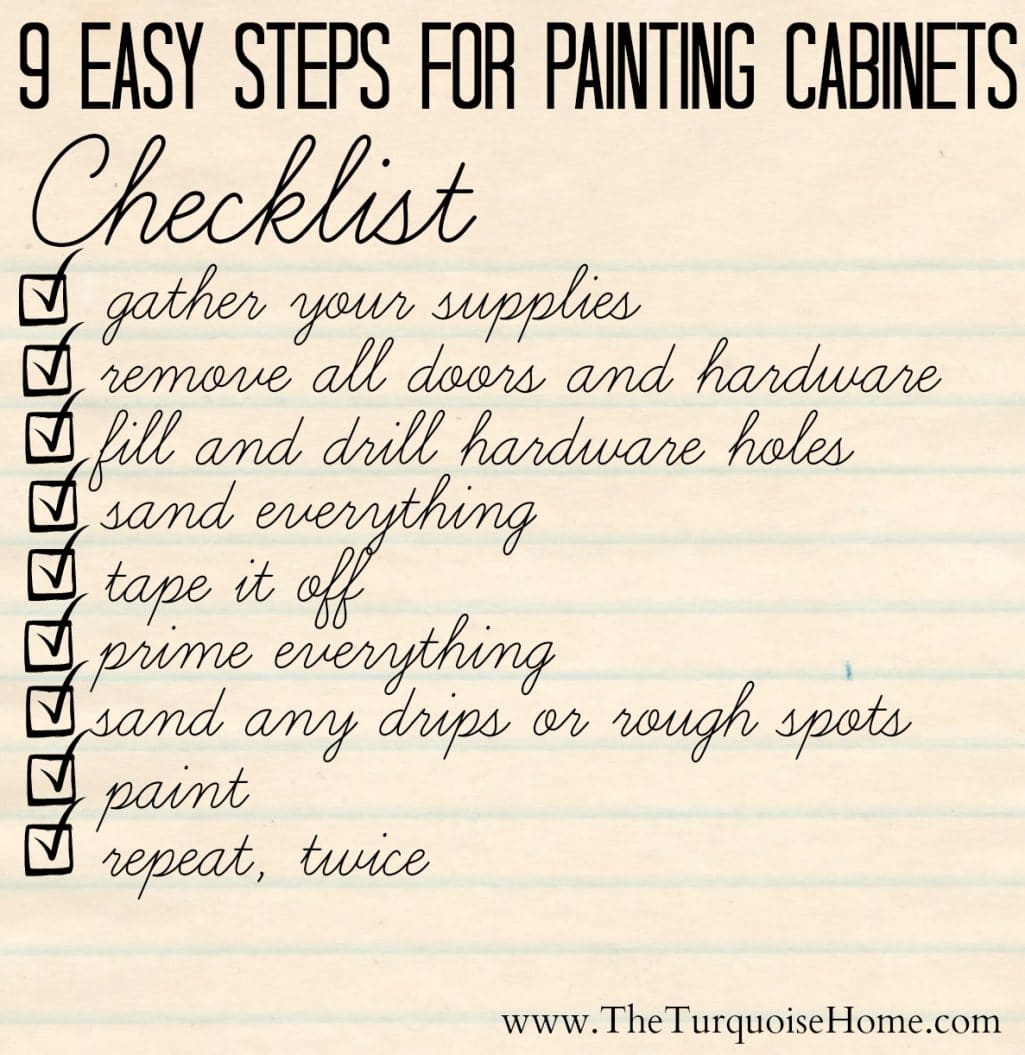
How to Paint Bathroom Cabinets
1. Gather your supplies
Like I said, I'm an average DIY girl without any fancy paint equipment, so it's just simple brushes and rollers. Nothing crazy here!
2. Clean the cabinets to remove all dirt and grease
I used a degreaser to clean my cabinets, but you can also use a liquid sander afterward, and you can probably skip step 4!
3. Remove all doors and drawers, drawer fronts and hardware
Oh, and go ahead and clear out everything stored under the cabinets too. I assume that's obvious, right?
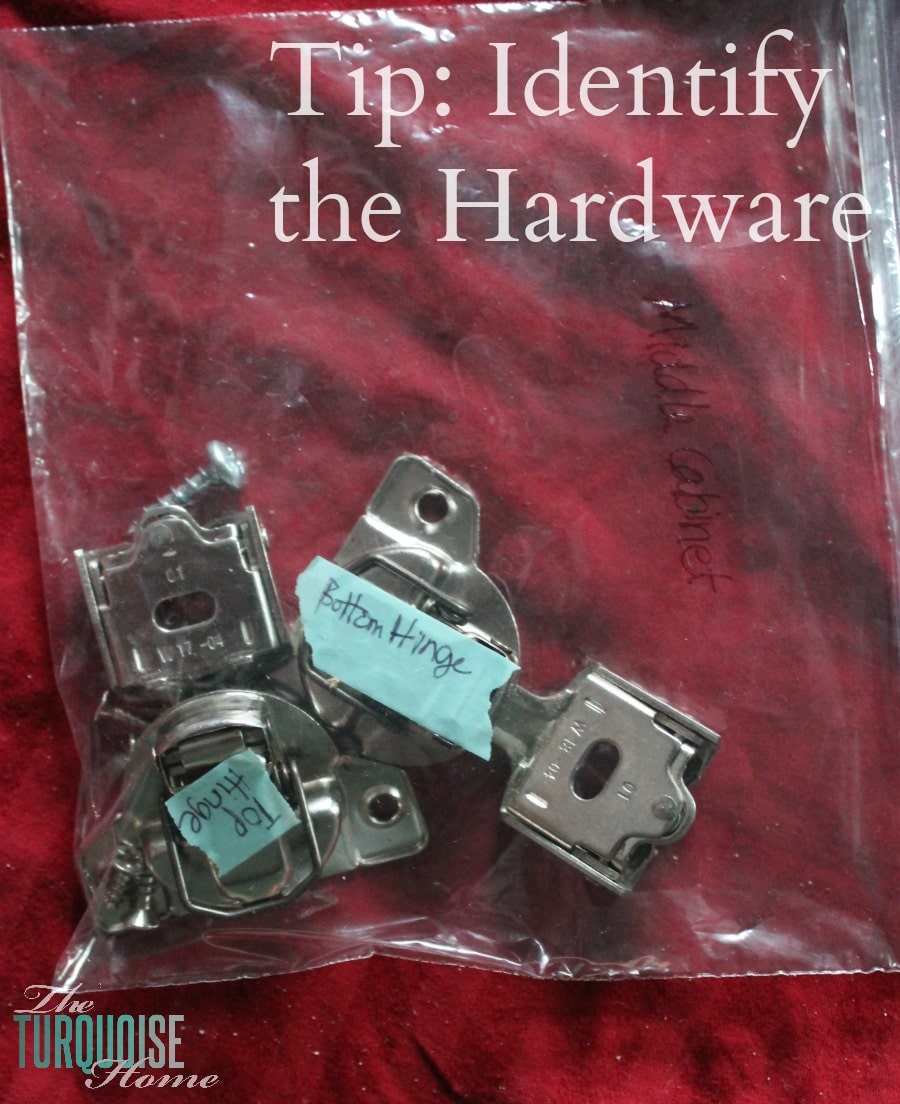
Be sure to label the hinges and hardware as you remove them!
Trust me. If you don't label them and keep them separate, it'll be a real pain to get everything back where it belongs. I know it looks like I followed my own advice, and I did.
You can also protect your countertops by taping off the edges and/or covering them.
4. Fill and drill new hardware holes
You only need this step if you're changing the hardware on your cabinets and drawers. In my case I only swapped the drawer pulls, so I filled the one center hole and drilled two new ones for the new hardware. (This is my favorite wood filler.)
5. Sand everything (then wipe off the dust)
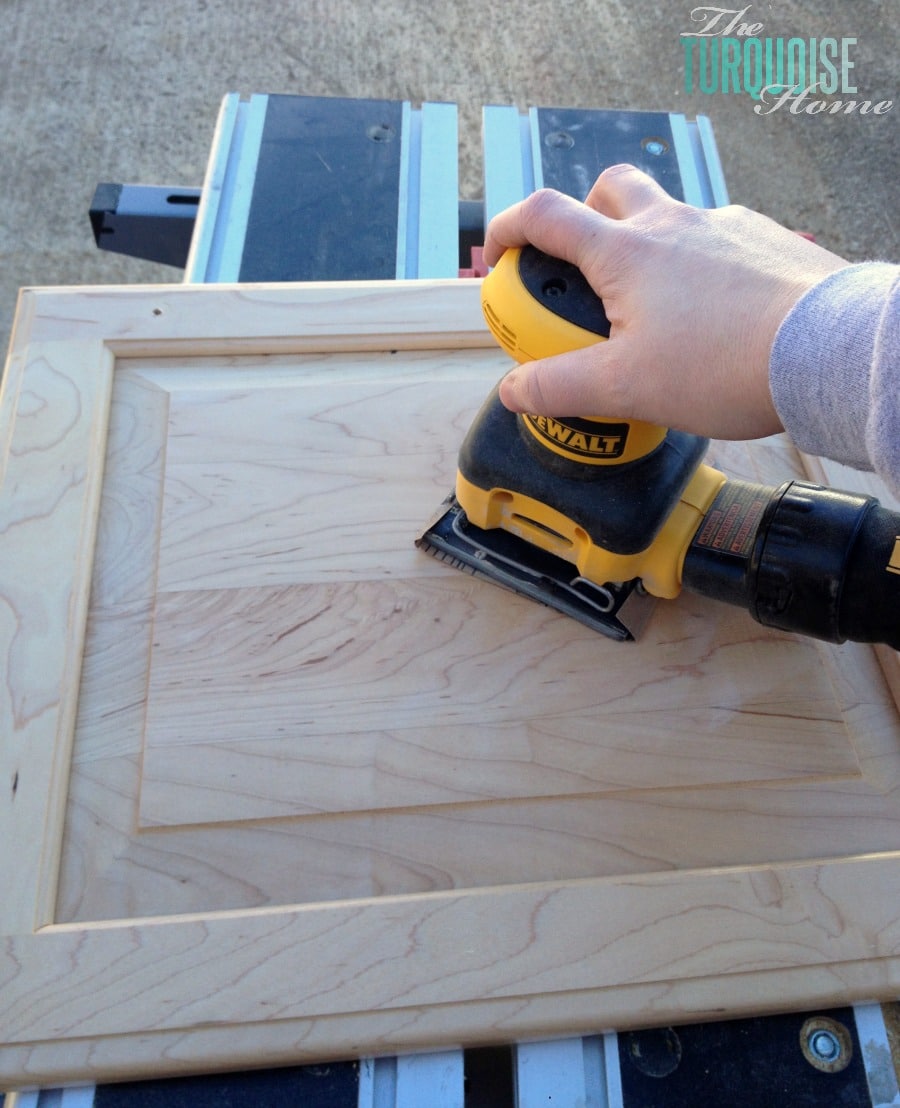
I took the cabinet doors outside and gave them a quick once-over with my finishing sander and 220-grit sandpaper. If you have old paint or a lot of grime to remove, start with 120-grit sandpaper and then finish with the 220-grit.
I didn't want to strip off all the finish, just scuff it up lightly so the primer would have something to grip. I hand-sanded the cabinet frame.
6. Tape the walls and floors off
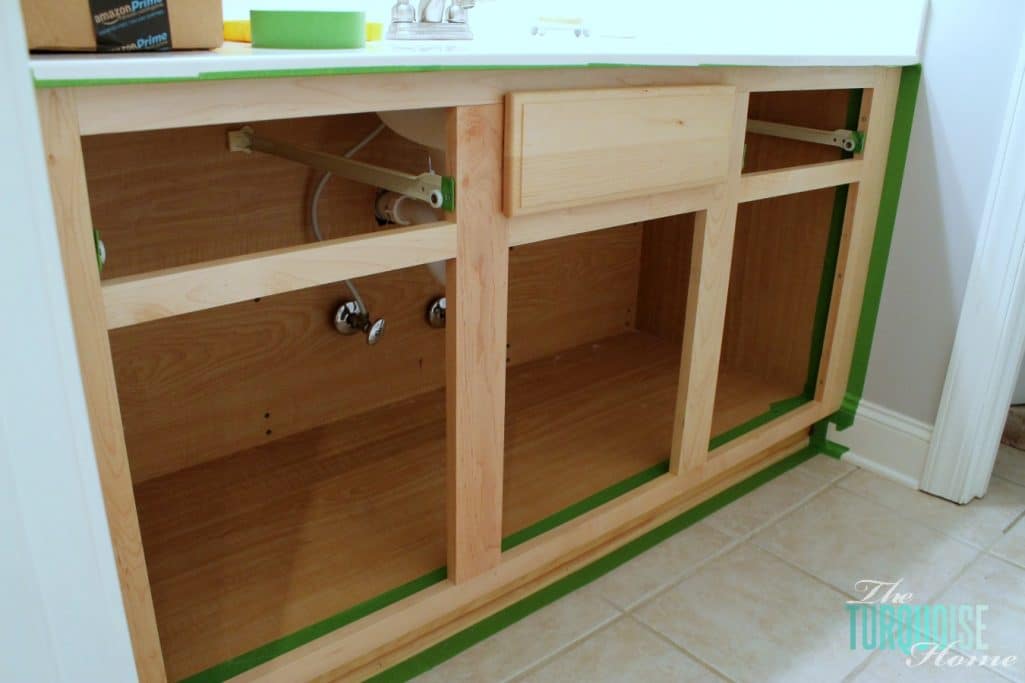
I didn't want to paint the insides of the cabinets, so I taped around the interiors and taped off the walls and floor. I didn't think the middle faux drawer would come out, but my mom figured out it snaps right off. That made priming and painting much easier!
7. Prime everything
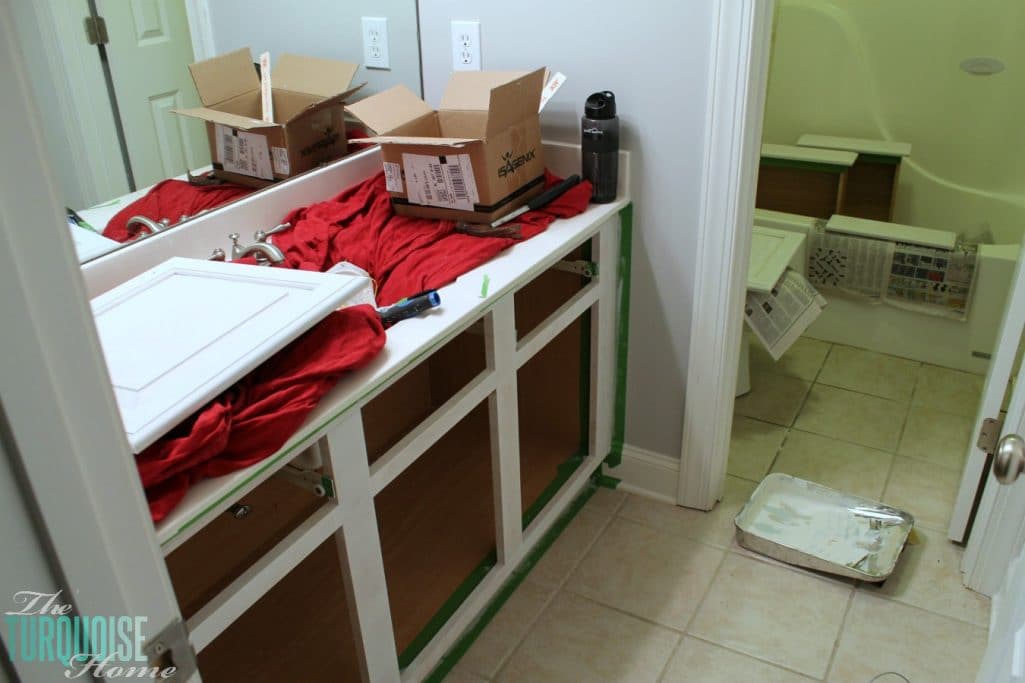
I normally avoid priming indoors because of the fumes and smell. But it was cold outside, and since I had to prime the cabinet frame inside, I set up shop in the bathroom with the fan running. My mom came over to watch Miss A while I locked myself in and worked quickly. {I moved everything to the dining room to paint once the primer was dry.}
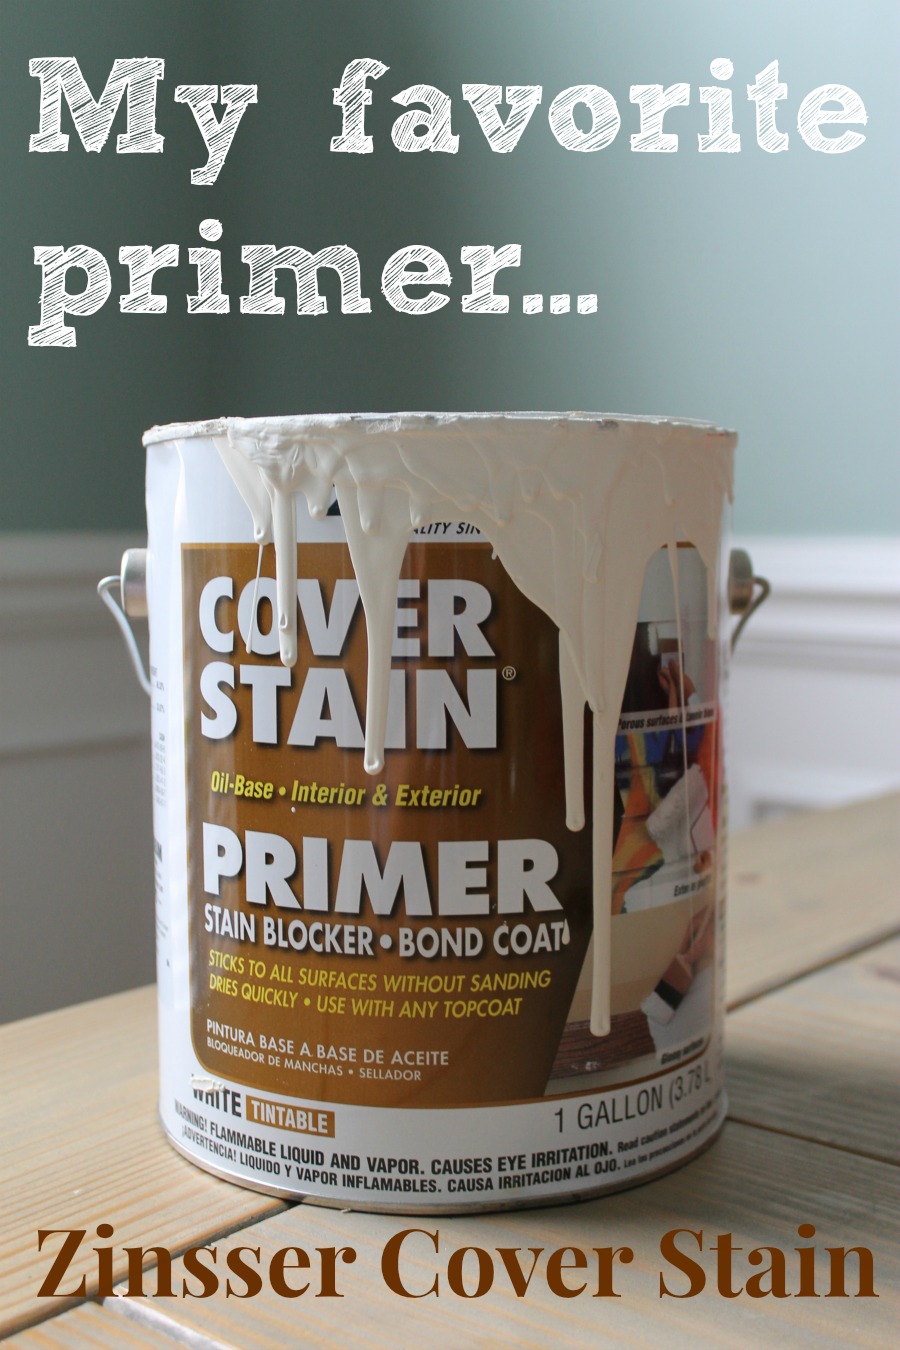
My favorite base primer is Zinsser Cover Stain. I LOVE it!
8. Sand any drips or rough spots
I just lightly sanded any drips or rough patches from the primer. Sand very gently, because you don't want to sand off the primer itself.
9. Paint
Okay, now that all the prep is done, it's time to paint. This paint is pretty runny because it's self-leveling, which is a good thing.
So you want to apply very thin coats and check for drips often. Here's what I did.
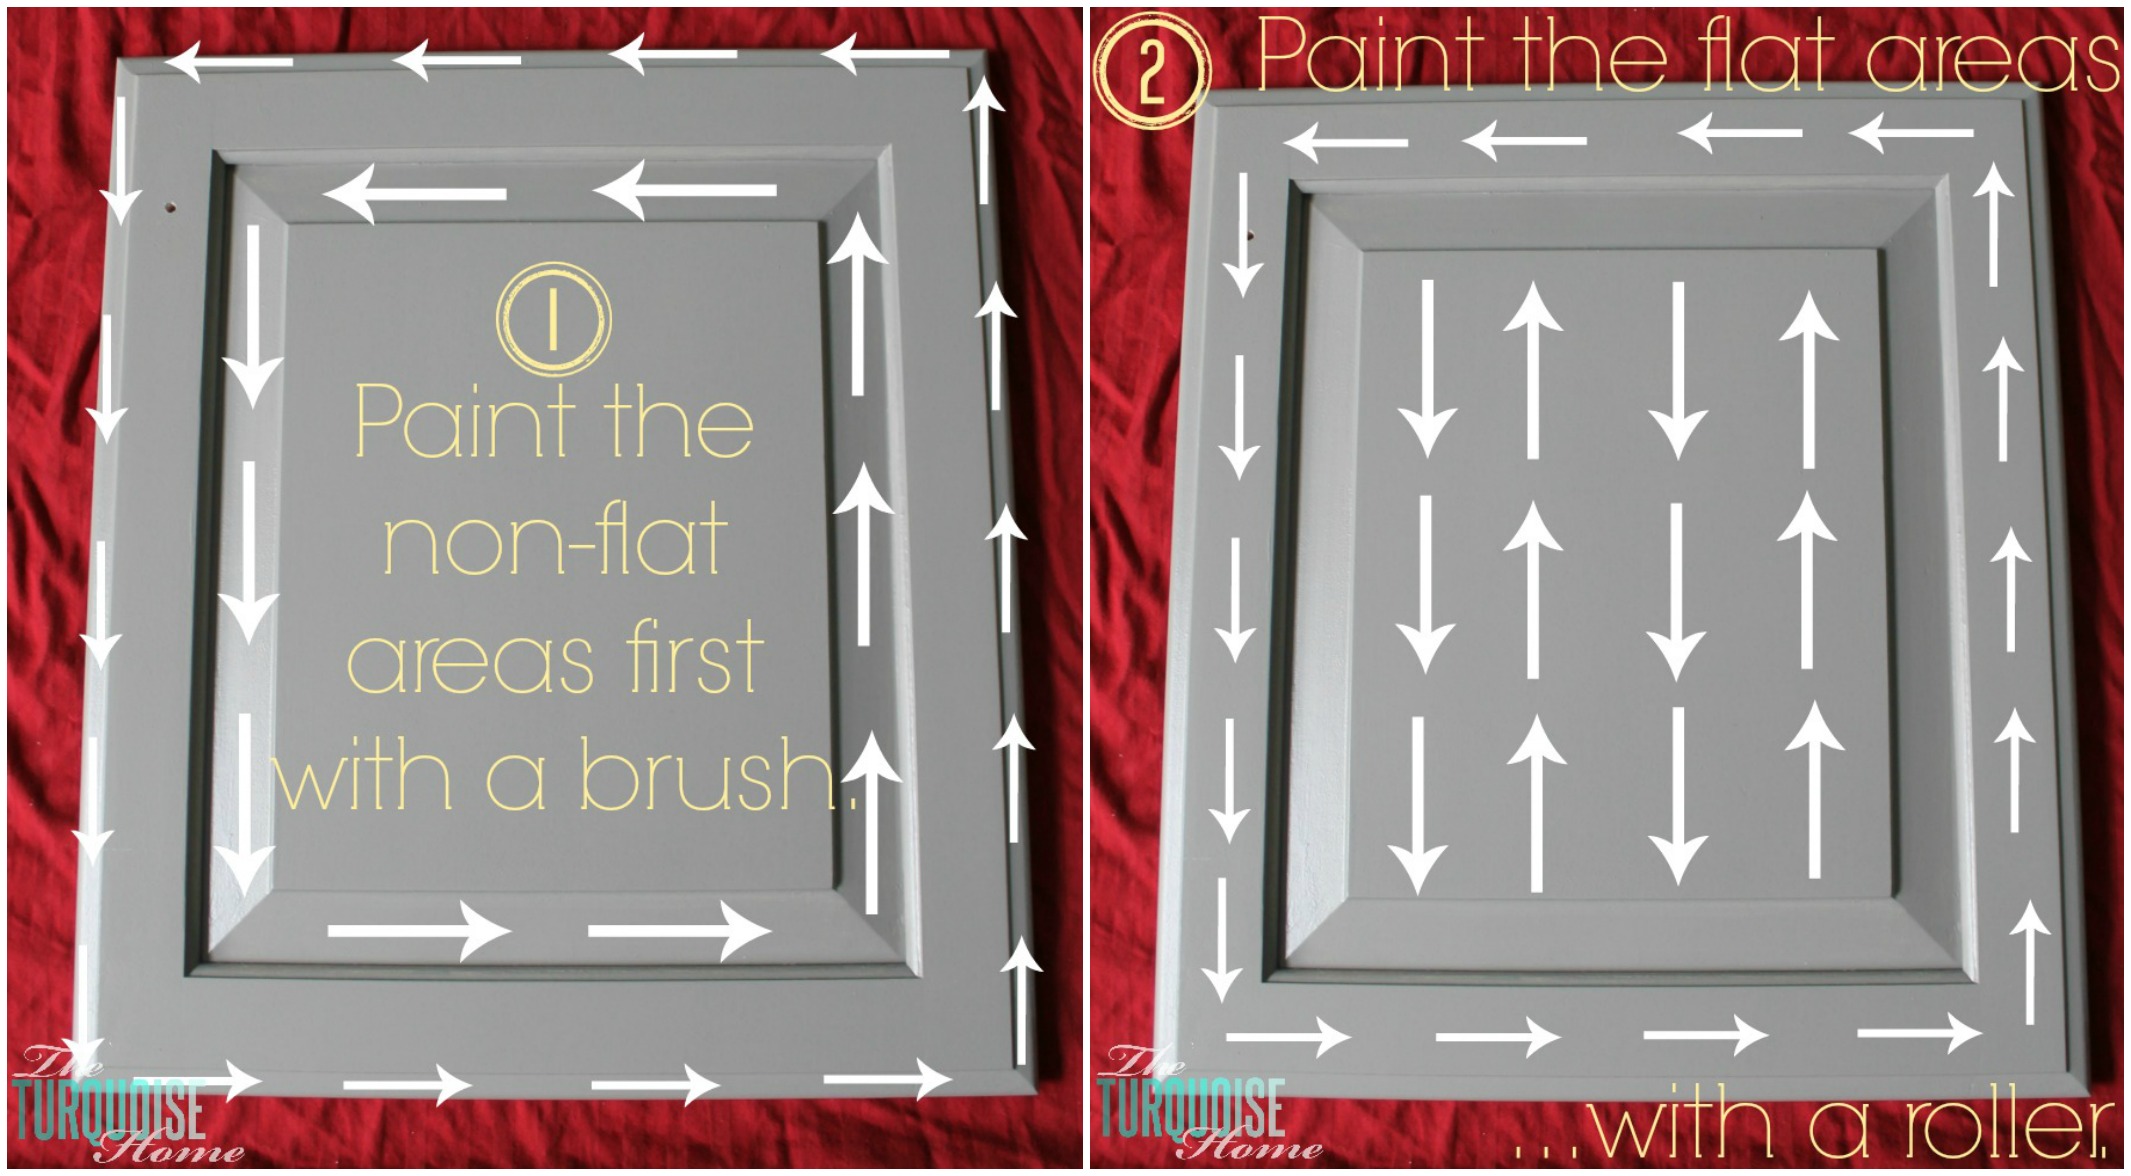
Use the roller as much as possible, since that gives the best finish, and use the brush for the cracks, corners, and crevices.
As I mentioned, let the paint settle for a couple of minutes and then look over it for paint pooled in the corners or drips under the edges. The paint will still be wet enough to clean up those spots, and it will still level out and dry flat. I LOVE this paint!
10. Repeat, twice.
Yes, mine needed three coats. I didn't sand between coats, but if you spot any rough patches or drips, sand them between coats.
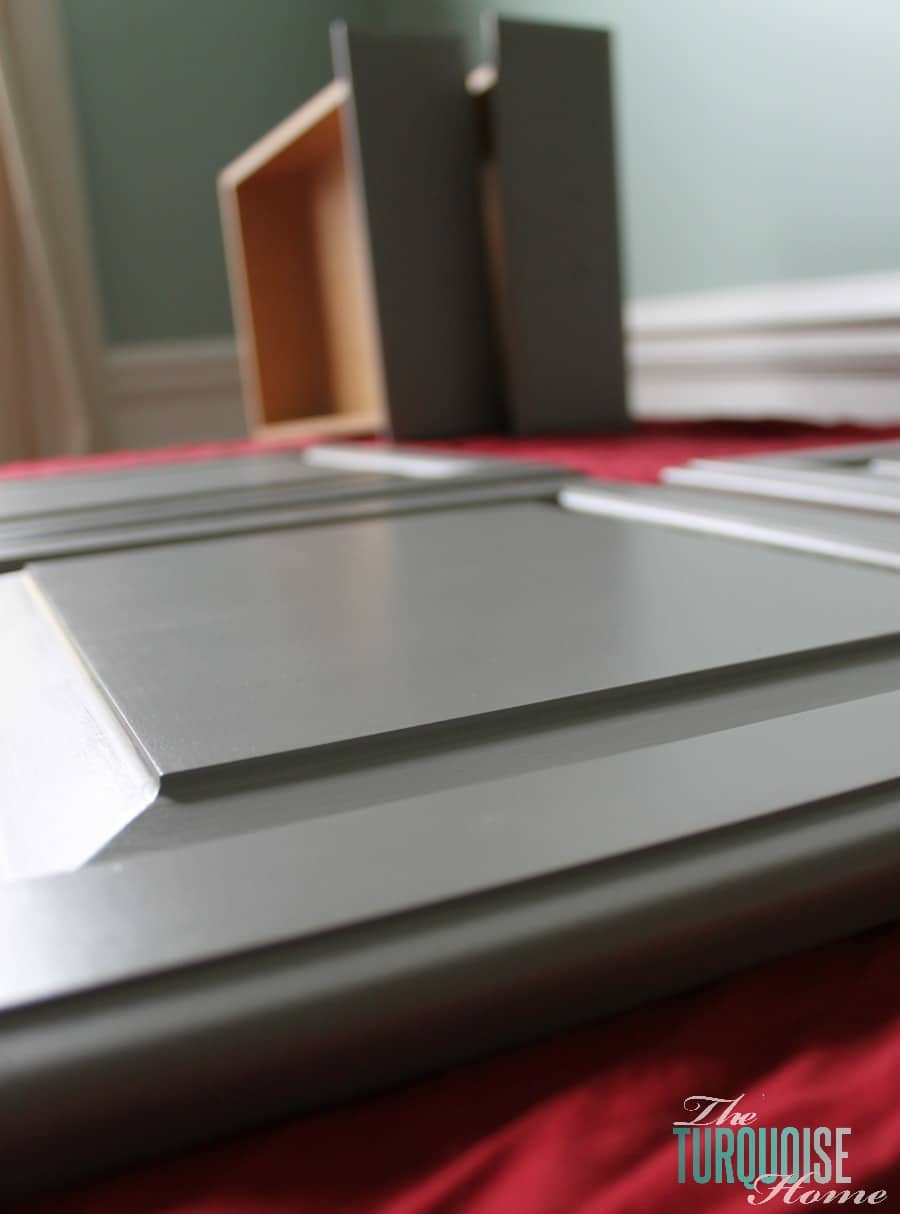
Plan on waiting 24 hours between coats, and up to 48 hours before it's fully dry. Believe me, this smooth, baby-bottom finish is totally worth the wait!
It's like glass, y'all!
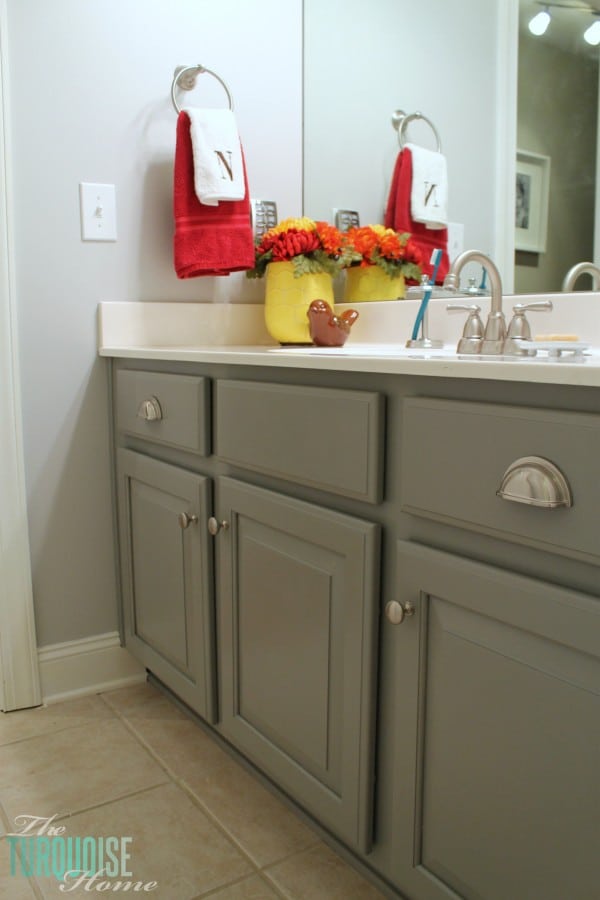
If you've been scared like I was, I hope this motivates you to give it a try. Let me know if you do!
And if you're a cabinet painting pro, please share your favorite tips, tricks, and tools in the comments. Girls like me need your help!
UPDATE: I realized I left out a very important detail: the paint color. It's Ominous Cloud by Clark+Kensington (Ace Hardware's brand). I hope this helps!
Frequently Asked Questions
How much does it cost to paint bathroom cabinets?
It typically costs about $7-$15 per square foot, depending on the condition of the cabinets, the painting method, and the size of the project.
Can you just paint over cabinets?
If the cabinets are wood, you'll need to prime them before painting. If you're using water-based paint and the cabinets were already painted with water-based paint, you can paint directly over them.
To check whether the existing paint is water-based or oil-based, rub a damp cloth quickly over it. If the paint comes off, it's most likely water-based. If it doesn't, you'll need a primer before you paint.
What kind of paint do you use on cabinets?
The best cabinet paint is a premium waterborne alkyd that levels as well as a traditional alkyd. I like Benjamin Moore's Advanced paint in satin or semi-gloss finishes.
Is it better to brush or roll paint on cabinets?
I tend to do both! I find it works best to brush the recessed areas of the cabinet door fronts and then roll the flat part of the door. I have a video on how to get a smooth finish on cabinets.
More Favorite Posts You Might Enjoy: