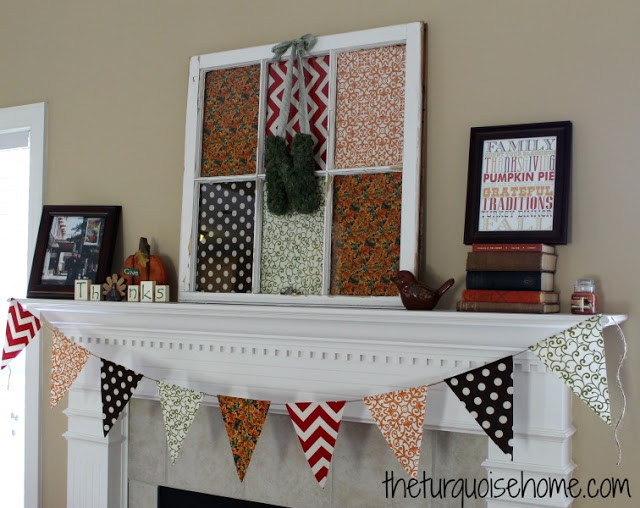
Learn how to make simple DIY bunting with just a few craft supplies! It's an easy way to use up old fabric scraps and add some charm!
I promised to share my bunting tutorial from my Fall mantel last week. It's really very simple, but if you're like me, you like a little instruction before trying something for the first time. I looked around the blogosphere before tackling this and got an idea of how to start, but this is how I did it. I didn't really follow any tutorial, I just winged it.
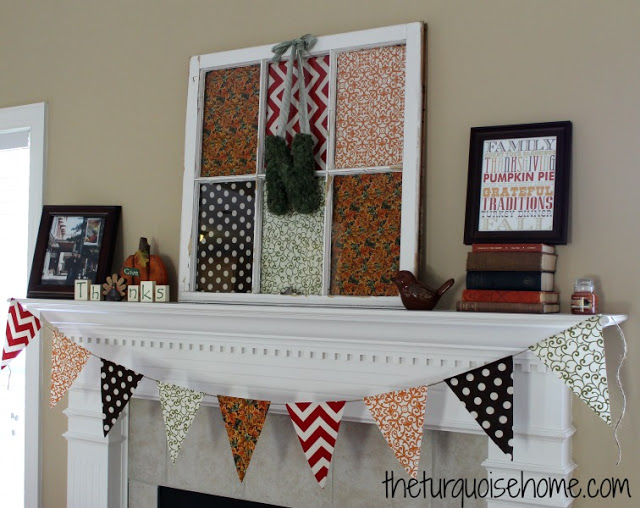
Supplies Needed to Make Bunting:
- Jute, string or ribbon - long enough to span the space you need
- Fabric pieces
- Graph paper (optional)
- Card stock or cardboard
- Hot glue gun
- Ruler
- Iron

Instructions for Making DIY Bunting Decor
1. Make a Template
First, I grabbed a sheet of graph paper. You can print graph paper online if you don't have any lying around the house.
I measured 7 inches across. Then, from the middle of the 7 inches, I measured 9 inches down and drew a triangle.
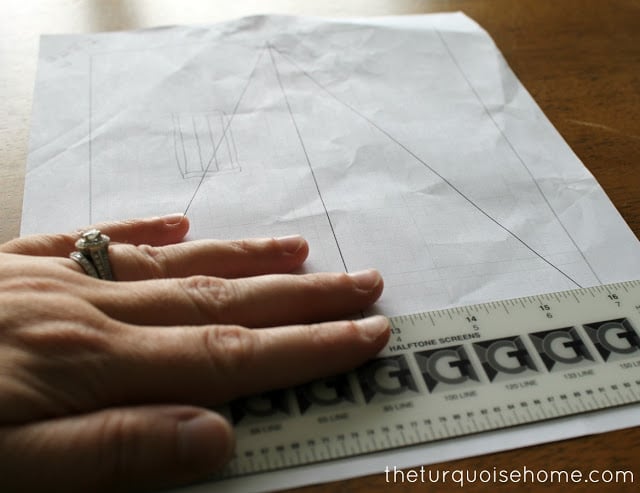
At the top of the triangle, I added an inch or so of extra room and made it a little shorter than 7 inches wide, to create a flap at the top to fold the jute over.
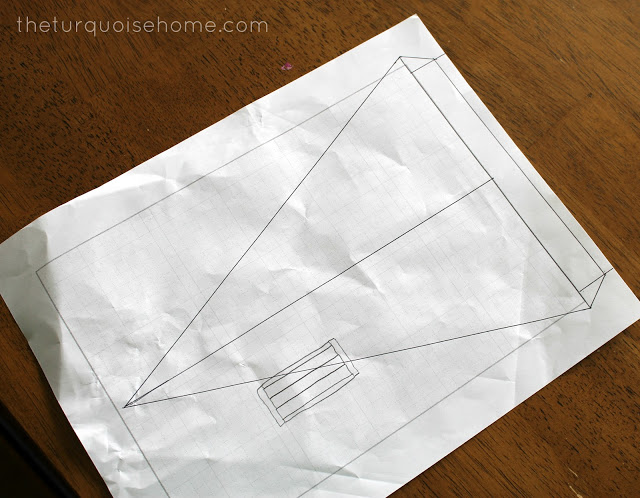
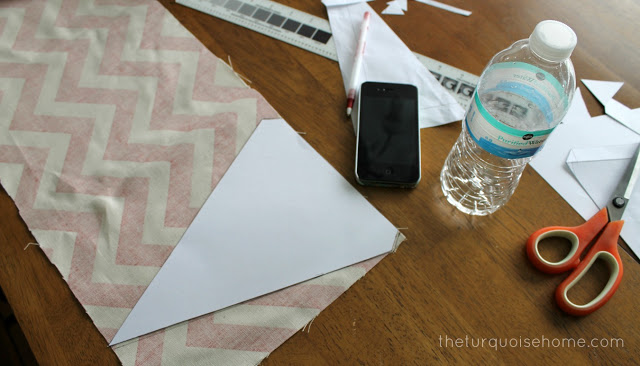
Then I cut out my shape, traced it onto card stock and cut that out too. I didn't want the pattern to be too flimsy when tracing it onto the fabric.
2. Cut Out Fabric with the Template
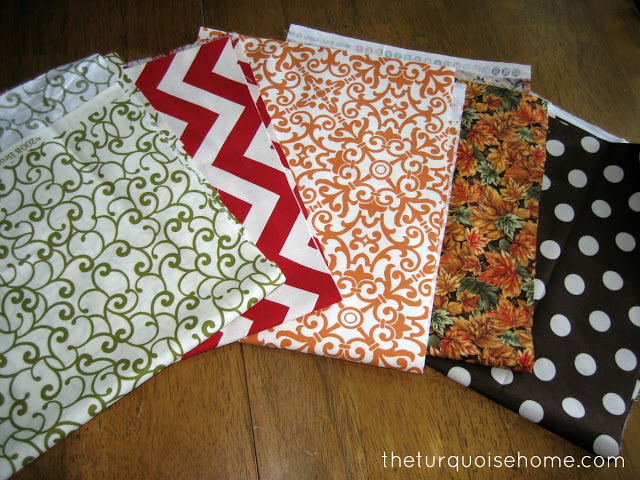
I traced the template onto all my fabrics and cut them out.
3. Iron Down Top Flap
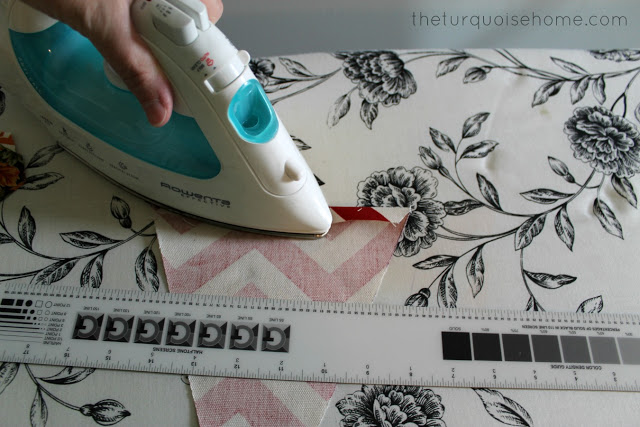
Next, I ironed the pieces. My fabric was a little wrinkled, but I also wanted to press down the flaps.
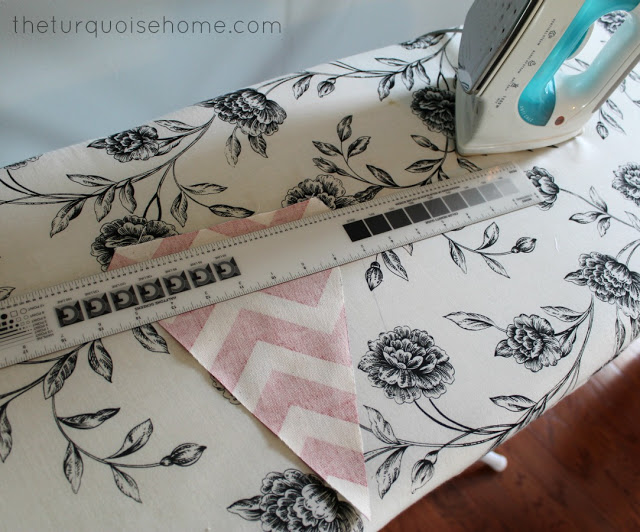
I used my ruler to crease the fabric, then pulled the ruler away as I ironed along the crease.
4. Use Hot Glue to Attach the Bunting Piece to the String or Jute
I laid my jute in the flap and hot glued it down. Easy peasy!
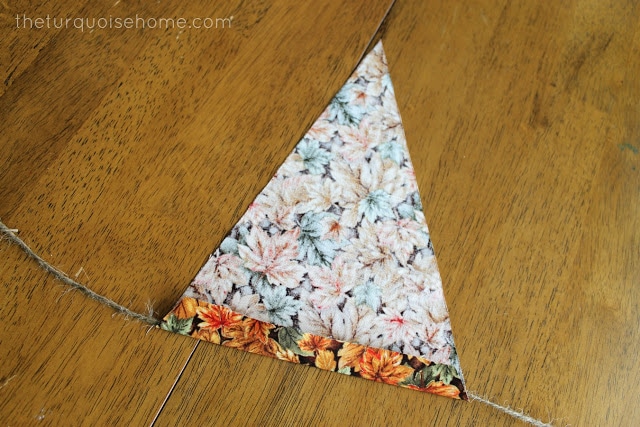
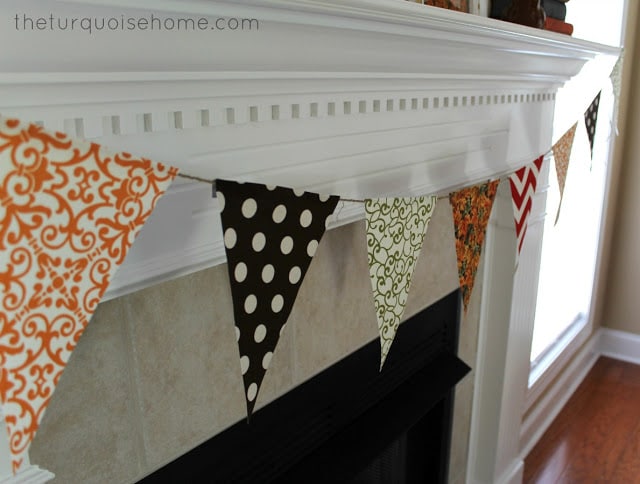
Then I hung it on my mantel for Fall! I think it's so cute. I'm going to make one for Miss A's room, too!
More Posts You Will Love: