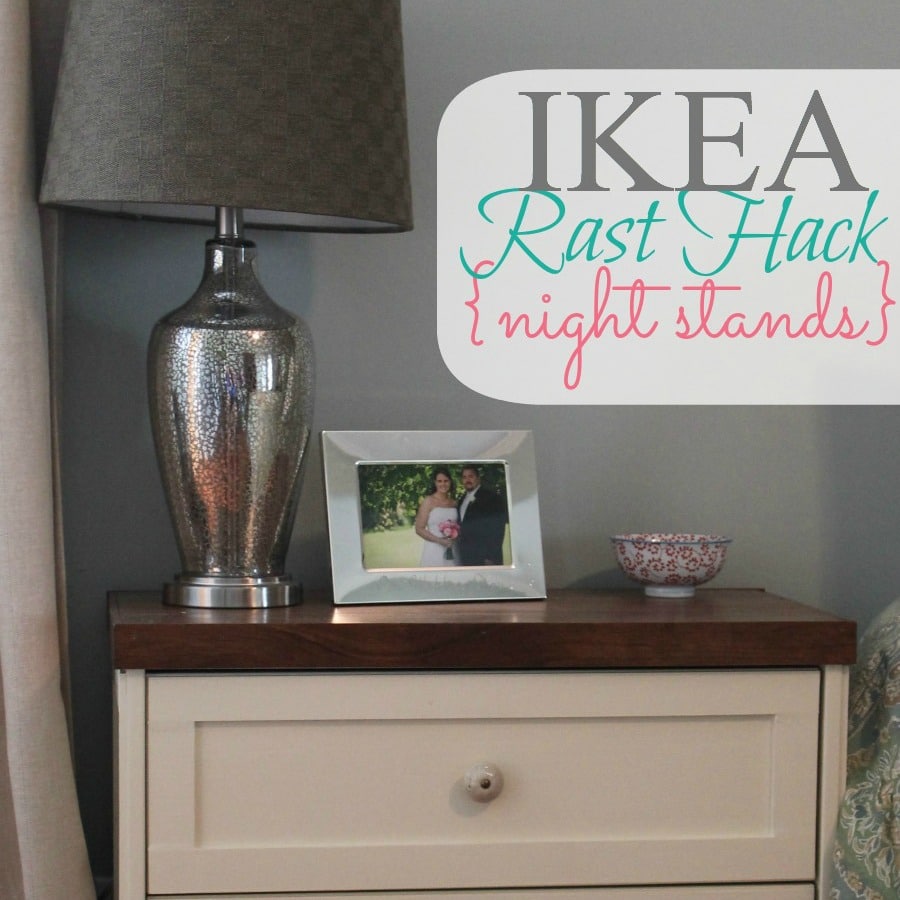
This IKEA nightstand hack is a smart way to turn a budget dresser into a nightstand that suits your home!
It’s finally finished! I completed my new bedside tables and I absolutely love them! I wanted matching, lovely bedside tables for our new bedroom, but I didn’t have much money to spend, so I tried an IKEA Rast hack. You know how IKEA offers simple, modern wood furniture that is often the perfect base for a great piece?
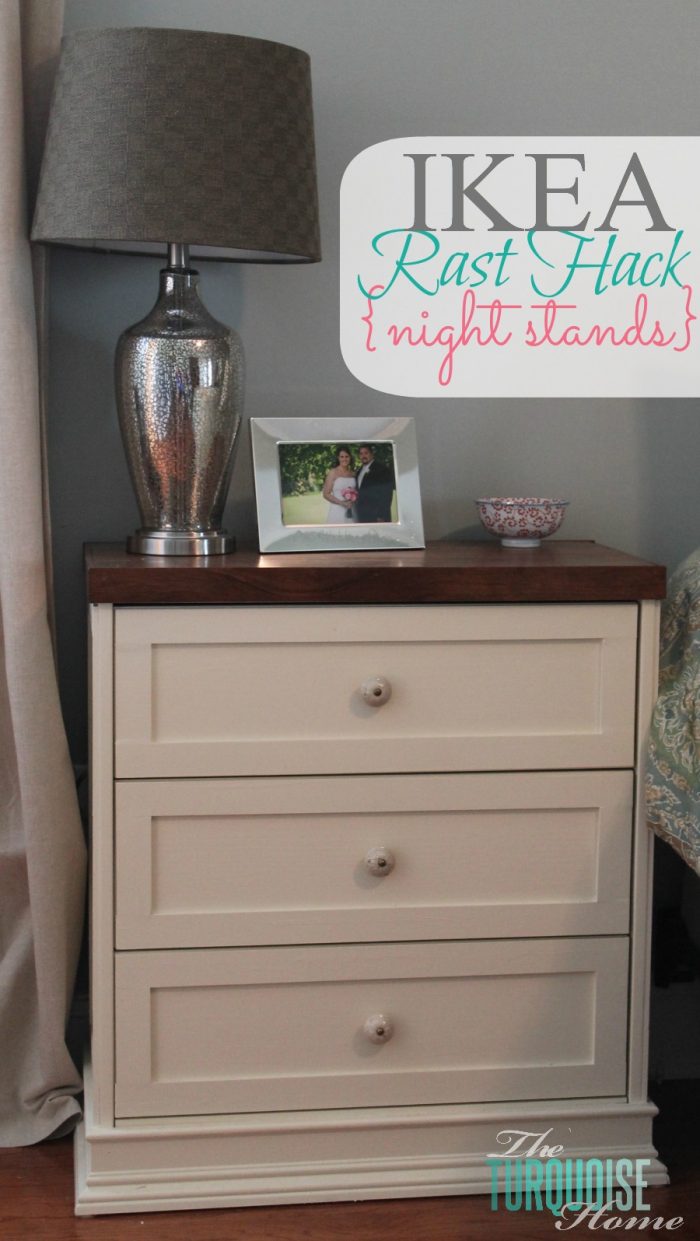
This was my very first woodworking project, and it sparked a love of building my own furniture and home decor. It was hard work and took me quite a while to finish (about 4 days), but I’m sure I’ll get faster with practice.
Our old master bedroom wasn’t big enough for two nightstands, so we only had one, on my husband’s side of the bed. But the new bedroom has plenty of space for two!
I’m so happy to finally have a nightstand of my own with drawers to tuck away my clutter! The room just feels more balanced now. I think that’s because it is more symmetrical.
The Rast hack is very popular right now. The base Rast dresser from IKEA is only $35. (Update: The Rast dresser now costs $39.99, but that’s still a great price for solid wood!) The best part is that you can transform it into almost any style or type of furniture.

Tools Needed for an IKEA Rast Hack Nightstand
- Miter saw
- Nail gun
- Putty knife
- Wood putty
- Sandpaper
- 1 – 1 x 4 x 4 for the dresser top
- 1 – 1 x 6 x the width of the dresser
- About 40 feet of lattice (per dresser; if you’re doing two dressers, get about 75 feet of lattice)
- Drawer pulls
- Stain
- Paint
- Floetrol
- Polycrylic
This is the IKEA Rast dresser. Fairly plain and dull, but solid wood and perfect for dressing up.
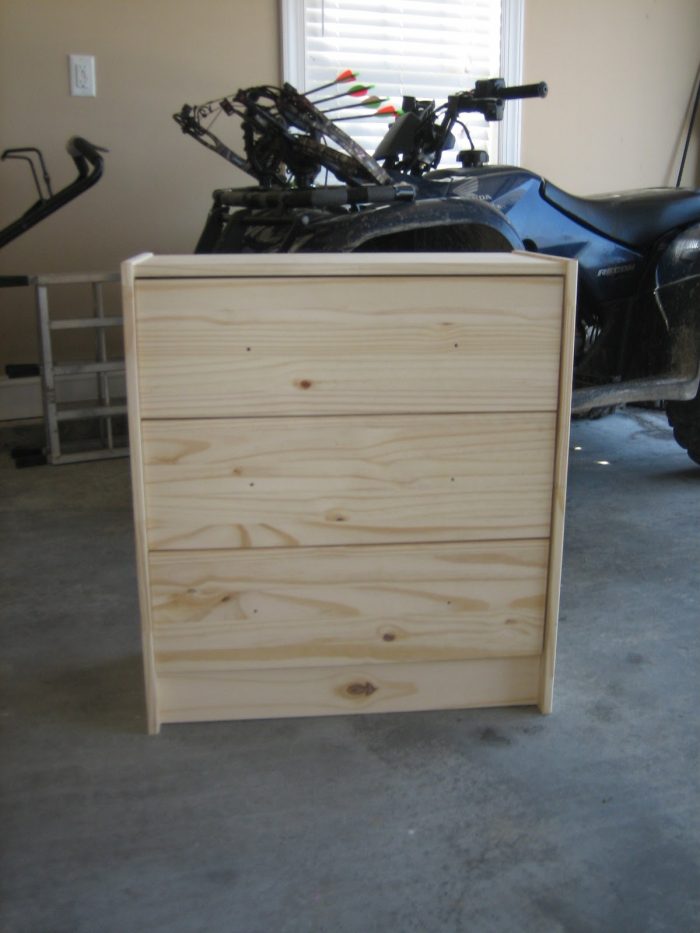
First, I built up the bottom so I’d have something to attach the molding to.
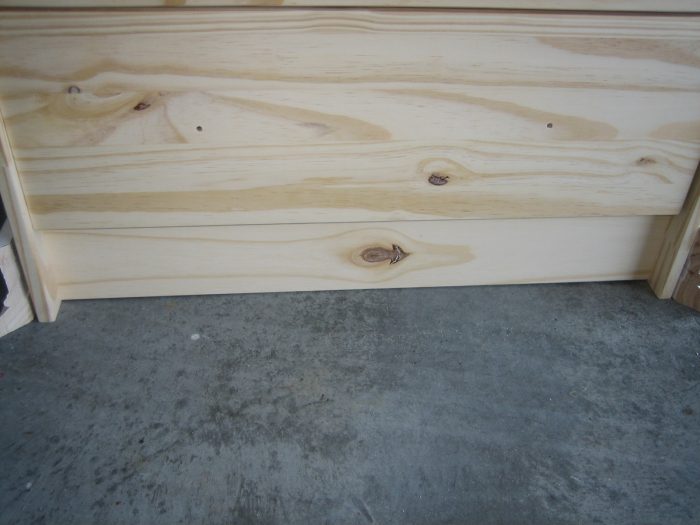
Before building it up.
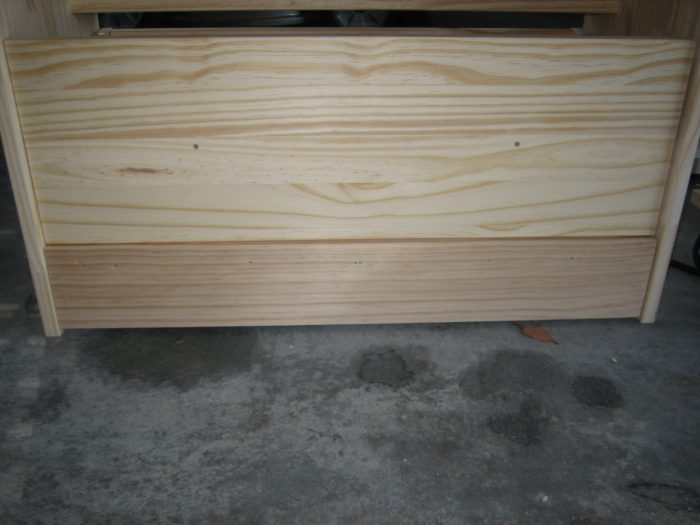
I used one 1 x 4 (I think) and a piece of lattice behind it to build it up.
Then I cut the base molding and lattice to trim out all of the drawers and sides. I used the new miter saw I got for my birthday. I love it!
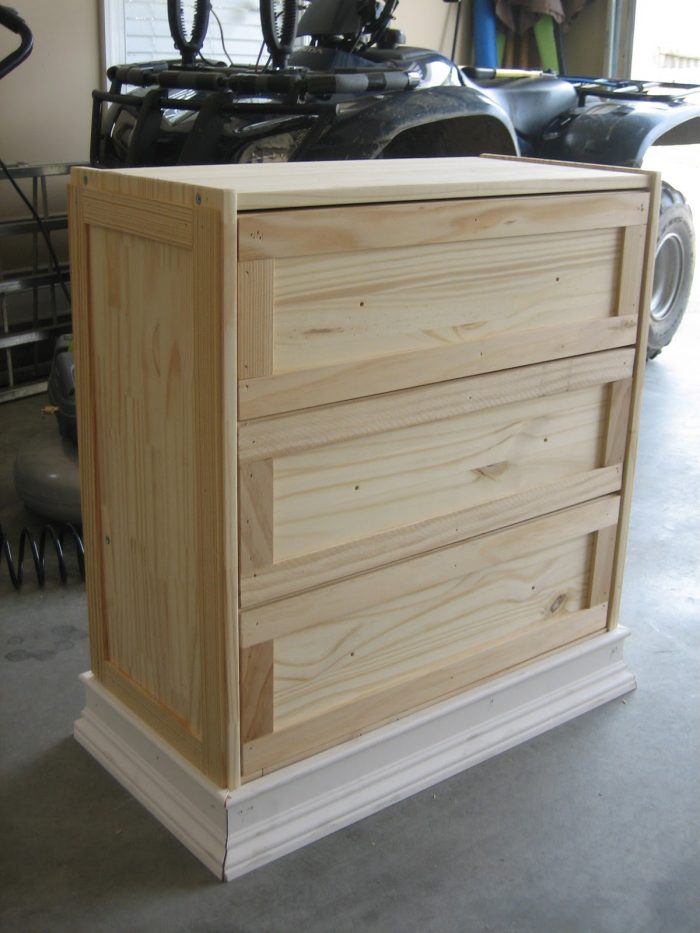
Starting to look cute! I fitted the trays to the top of the dresser before attaching the lattice to the sides.
Next I filled all the holes with wood putty.
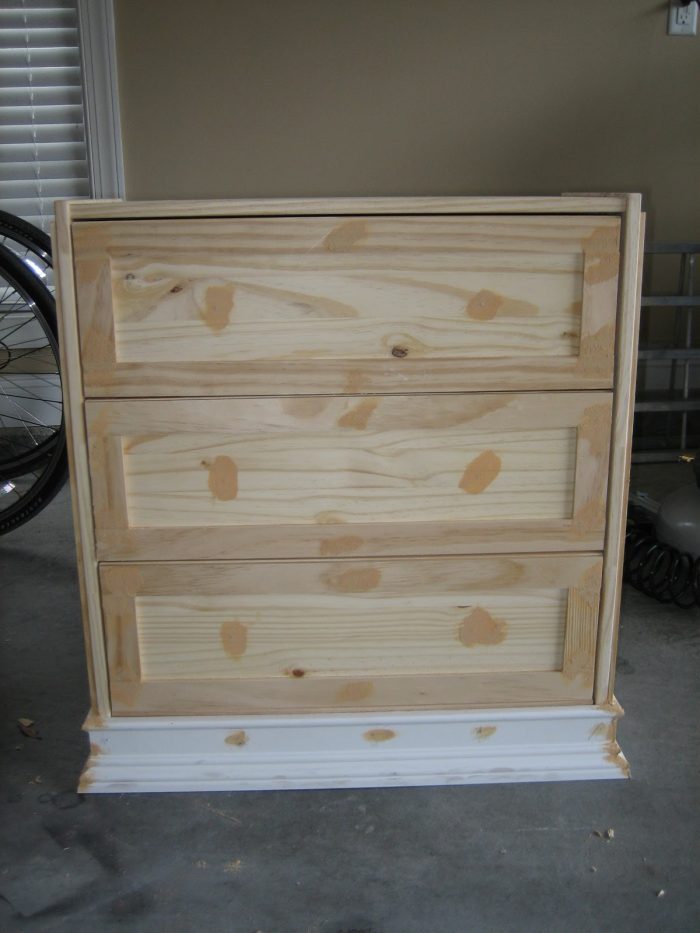
Then I painted two coats. I added Floetrol to the paint to minimize brush strokes. I used the Sherwin Williams Antique White paint color.
I pre-stained the top “tray” that sits on the nightstand. I laid two 1×6’s and one 1×4 side by side on top and nailed them down with the nail gun. Then I used stained lattice to trim the edge of the top.
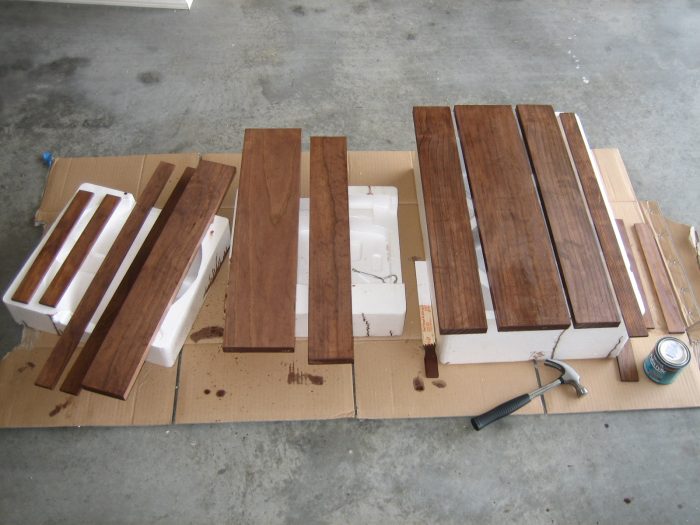
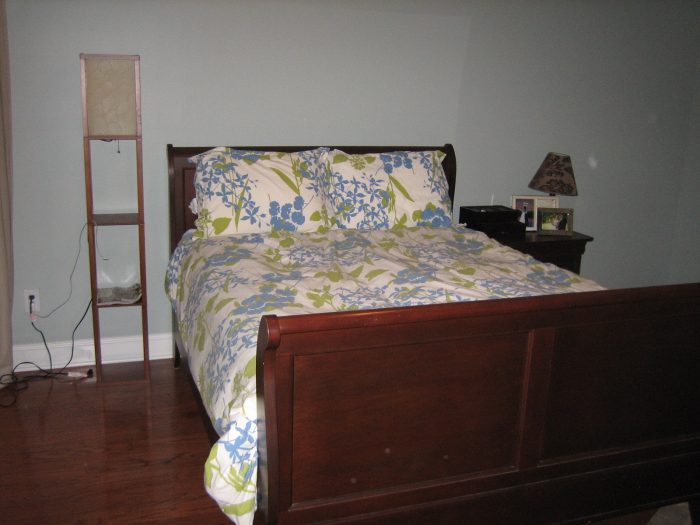
Before
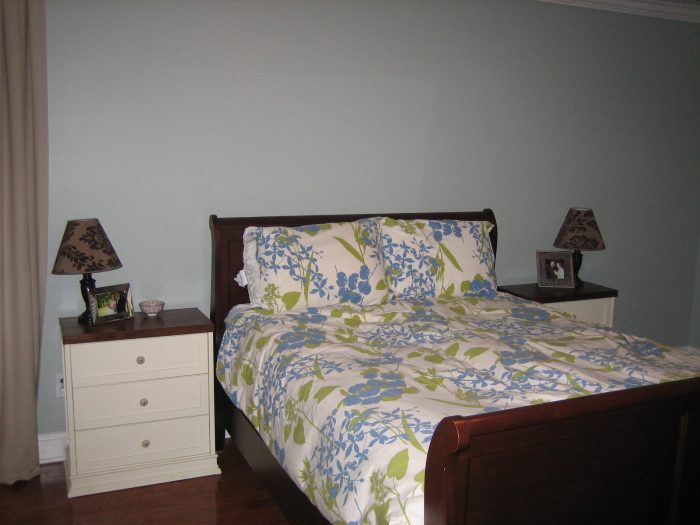
After
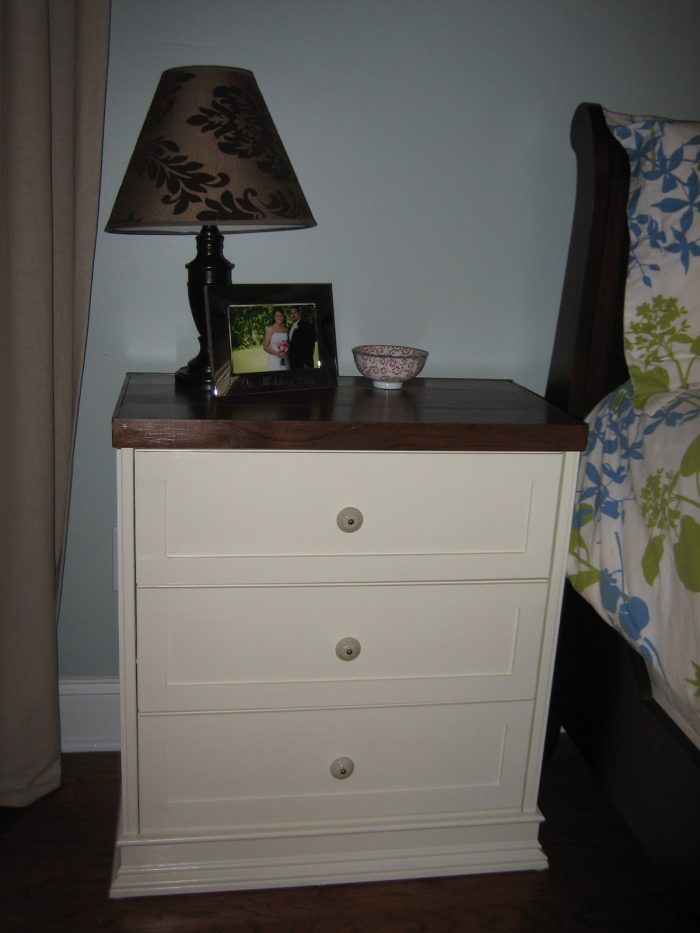
I LOVE LOVE LOVE them.
Now I just need new lamps, a new duvet cover, pictures above the bed, and more…
What do you think of my first project???
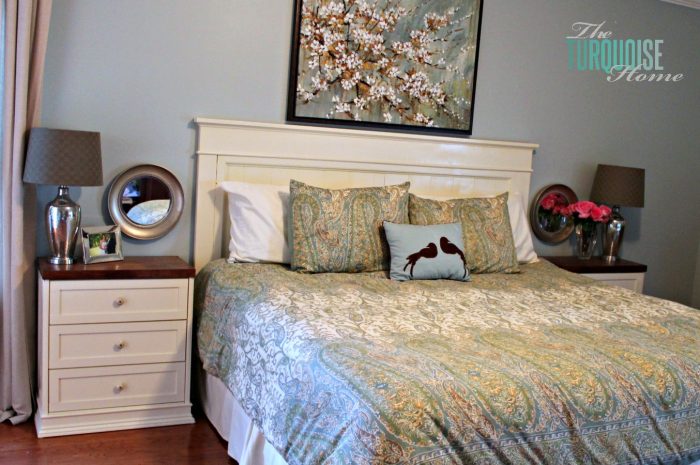
Check out my nightstands in my master bedroom now.
More Posts You Will Love:
- A’s Room: Hot Pink Nightstand Refresh!
- 7 Nightstand Decor Ideas You Shouldn’t Miss
- Bedroom and Office Ideas with a Nautical Feel
- How to Build a Headboard: 13 Lovely DIY Headboard Ideas
- Where to Begin a Room Makeover
SaveSaveSaveSave