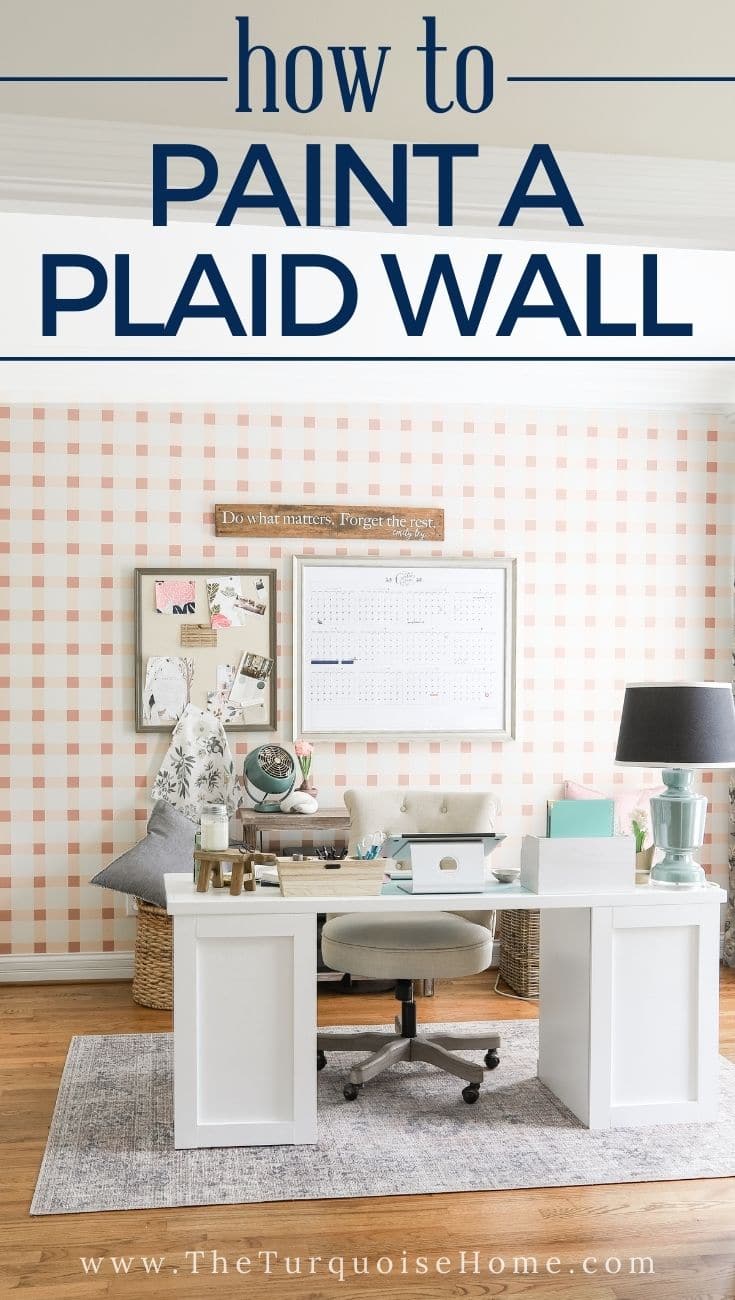
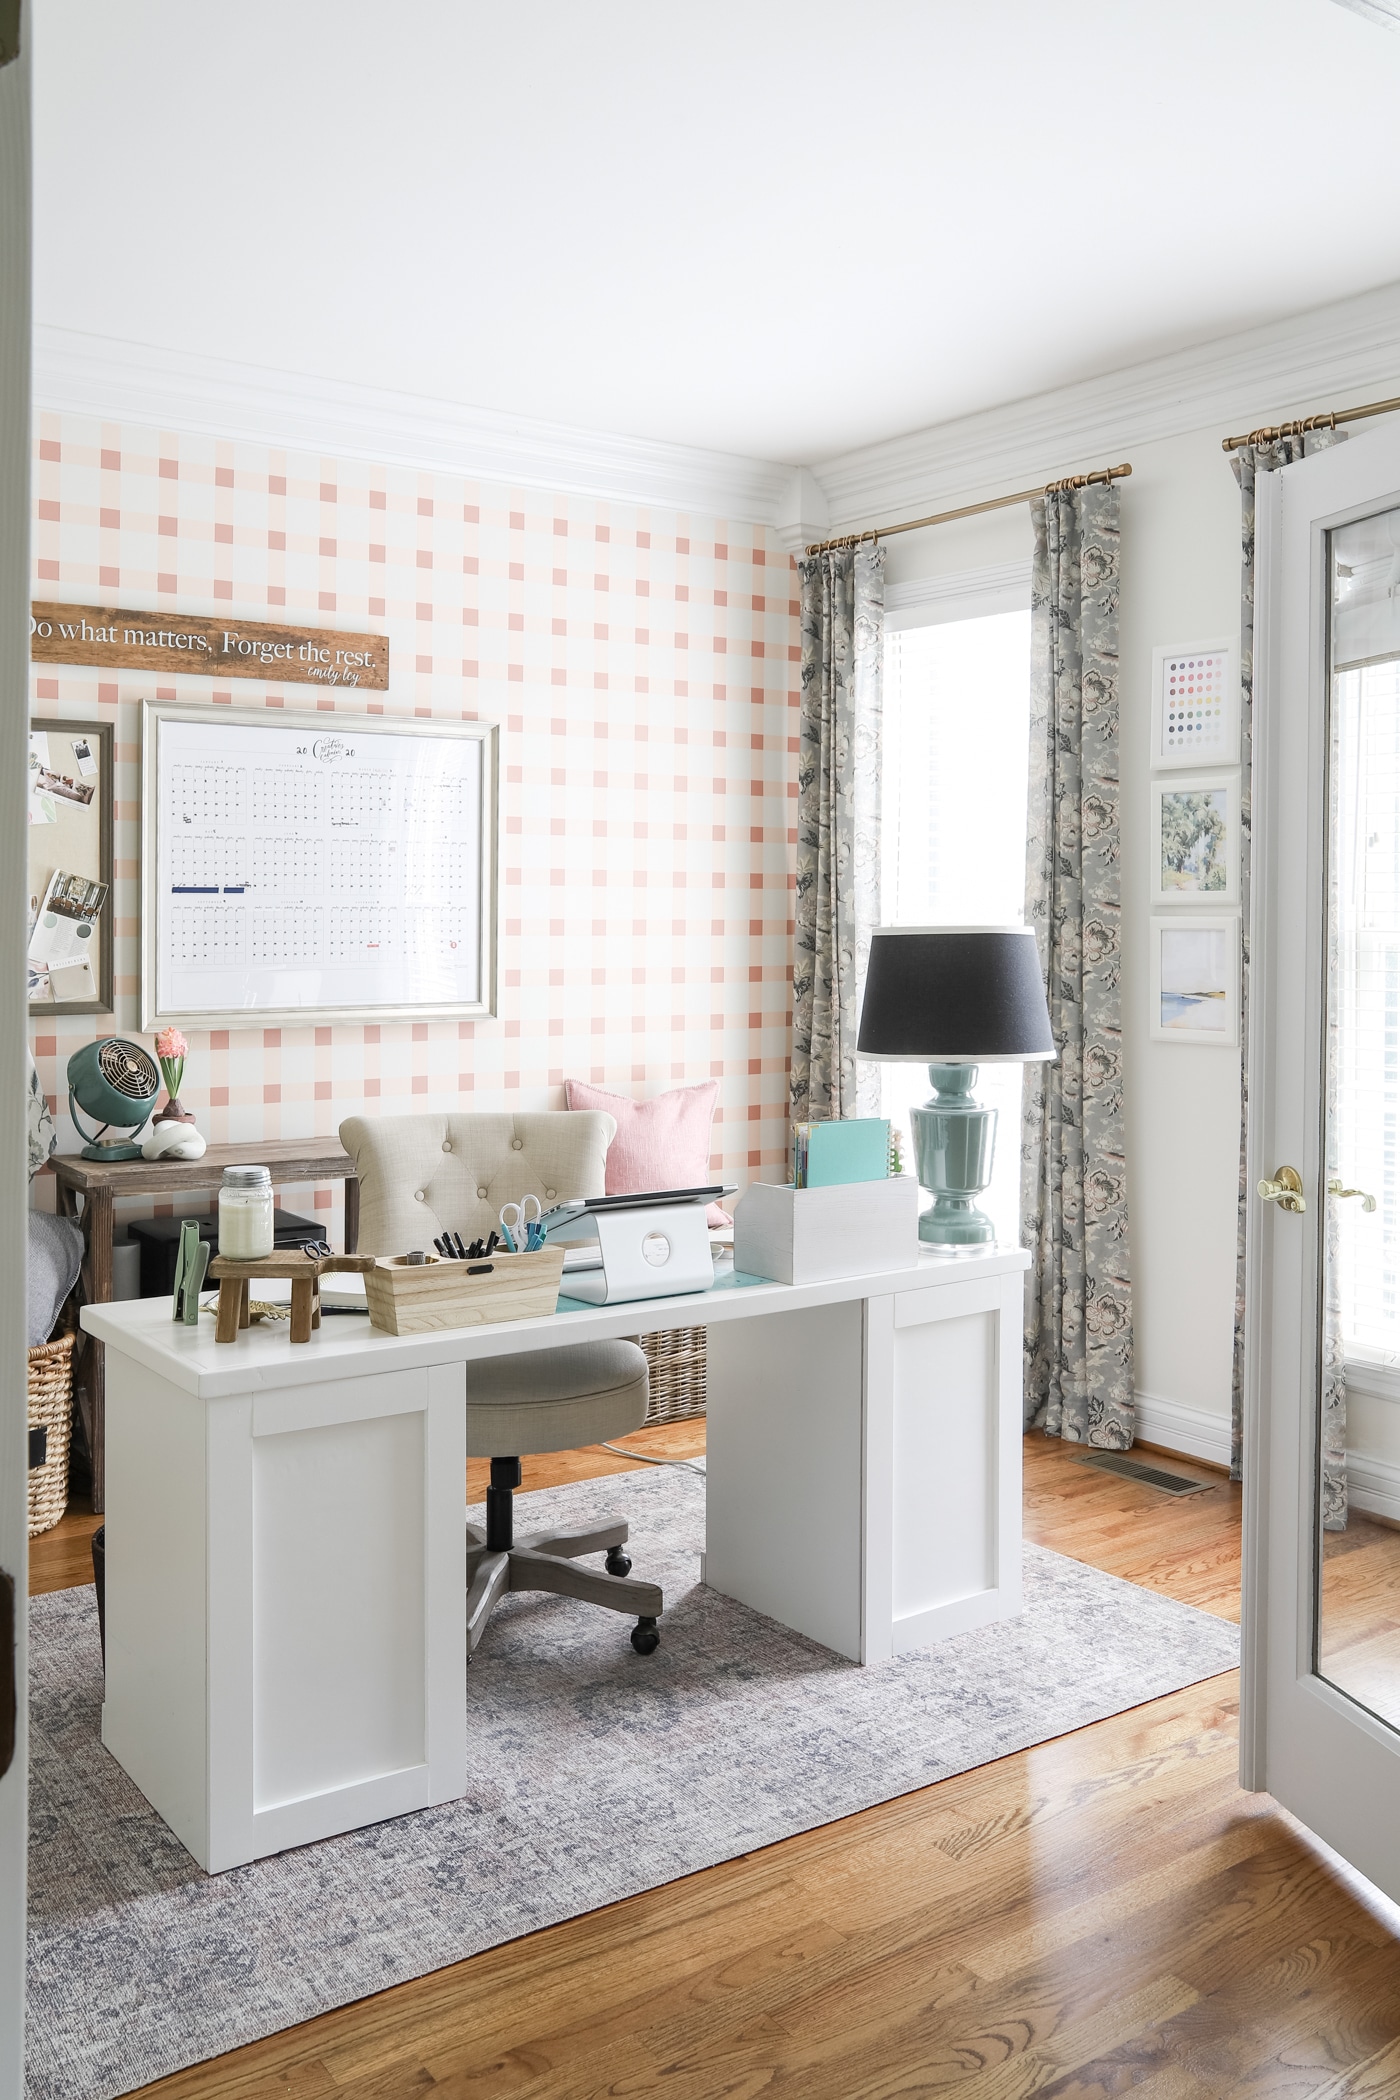
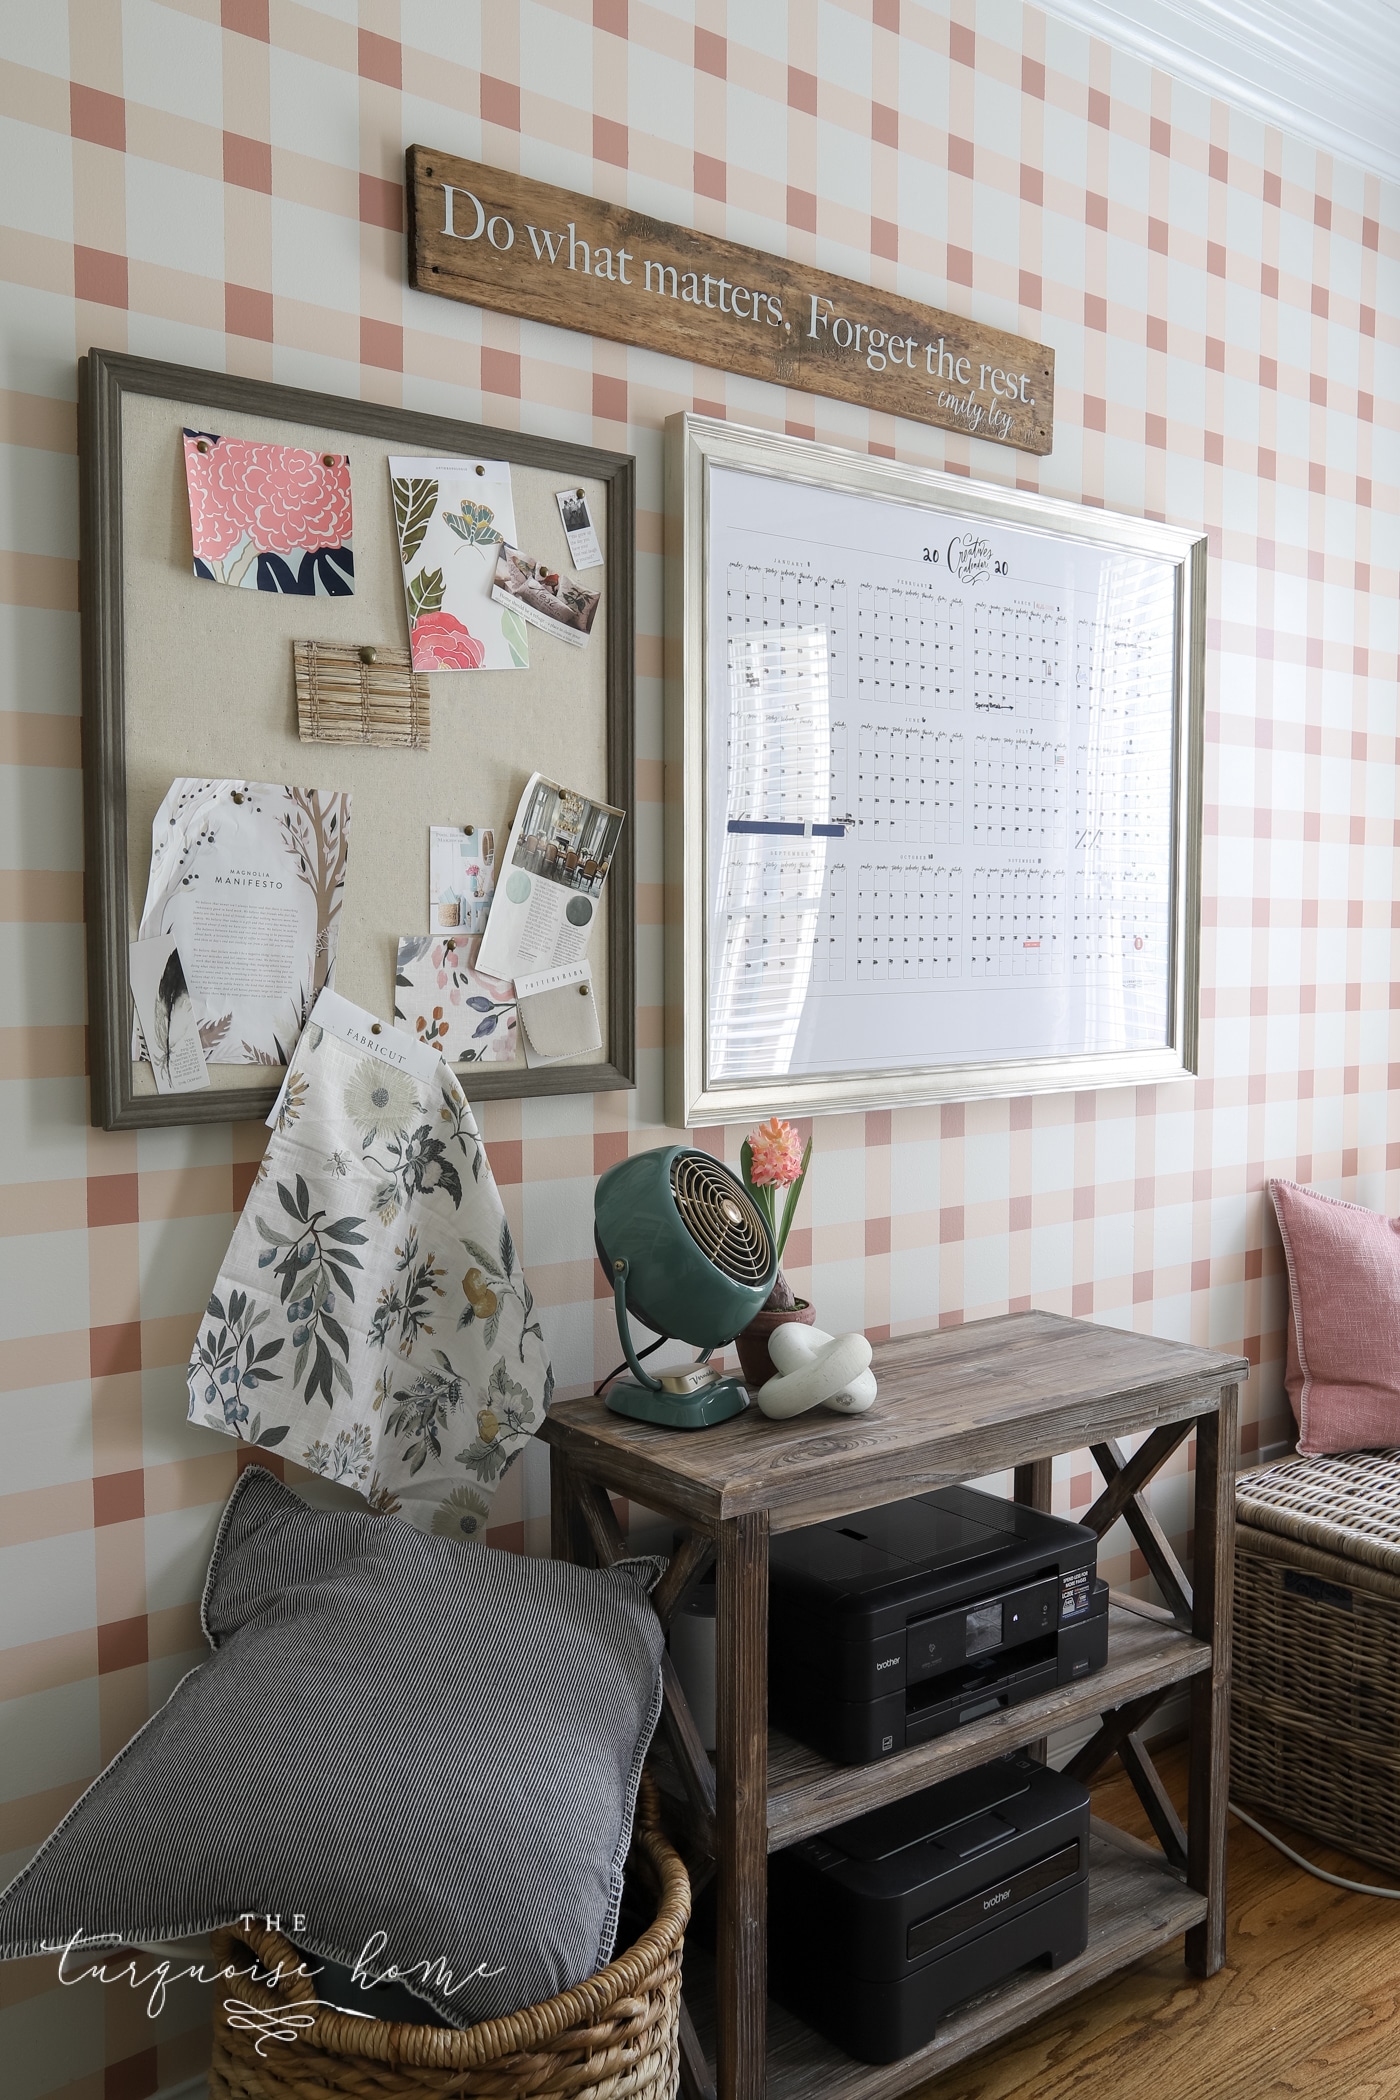
Learn how to paint a plaid wall with only a couple of measurements and zero math! This beautiful feature wall takes some time to create, but the outcome is so lovely and so worth the effort!
While I was wrapping up my office makeover, I knew the wall behind my desk needed some personality! I looked into wallpaper, but I wanted to keep my budget down, so I decided to paint something instead.
With the floral curtains, I wanted to bring in a geometric pattern, and what's better than plaid? I've seen painted plaid walls for years, and it was finally time to try one myself.
In the six months since it went up, it has drawn more compliments and questions than anything else in my house. Everyone LOVES it, and so do I! I'm so glad I went for it!
This paint project takes a bit of time, but the results are stellar. I think it's a great alternative to wallpaper, and it can be painted over later (with some sanding).
This post includes affiliate links for your convenience. See my full disclosure policy.

The Paint Colors
I went back and forth between painting the plaid wall gray or pink, but in the end I chose non-neutral pink, and I'm so glad I did! It has a softer look and works perfectly with the floral curtains in my feminine blush and brass office.
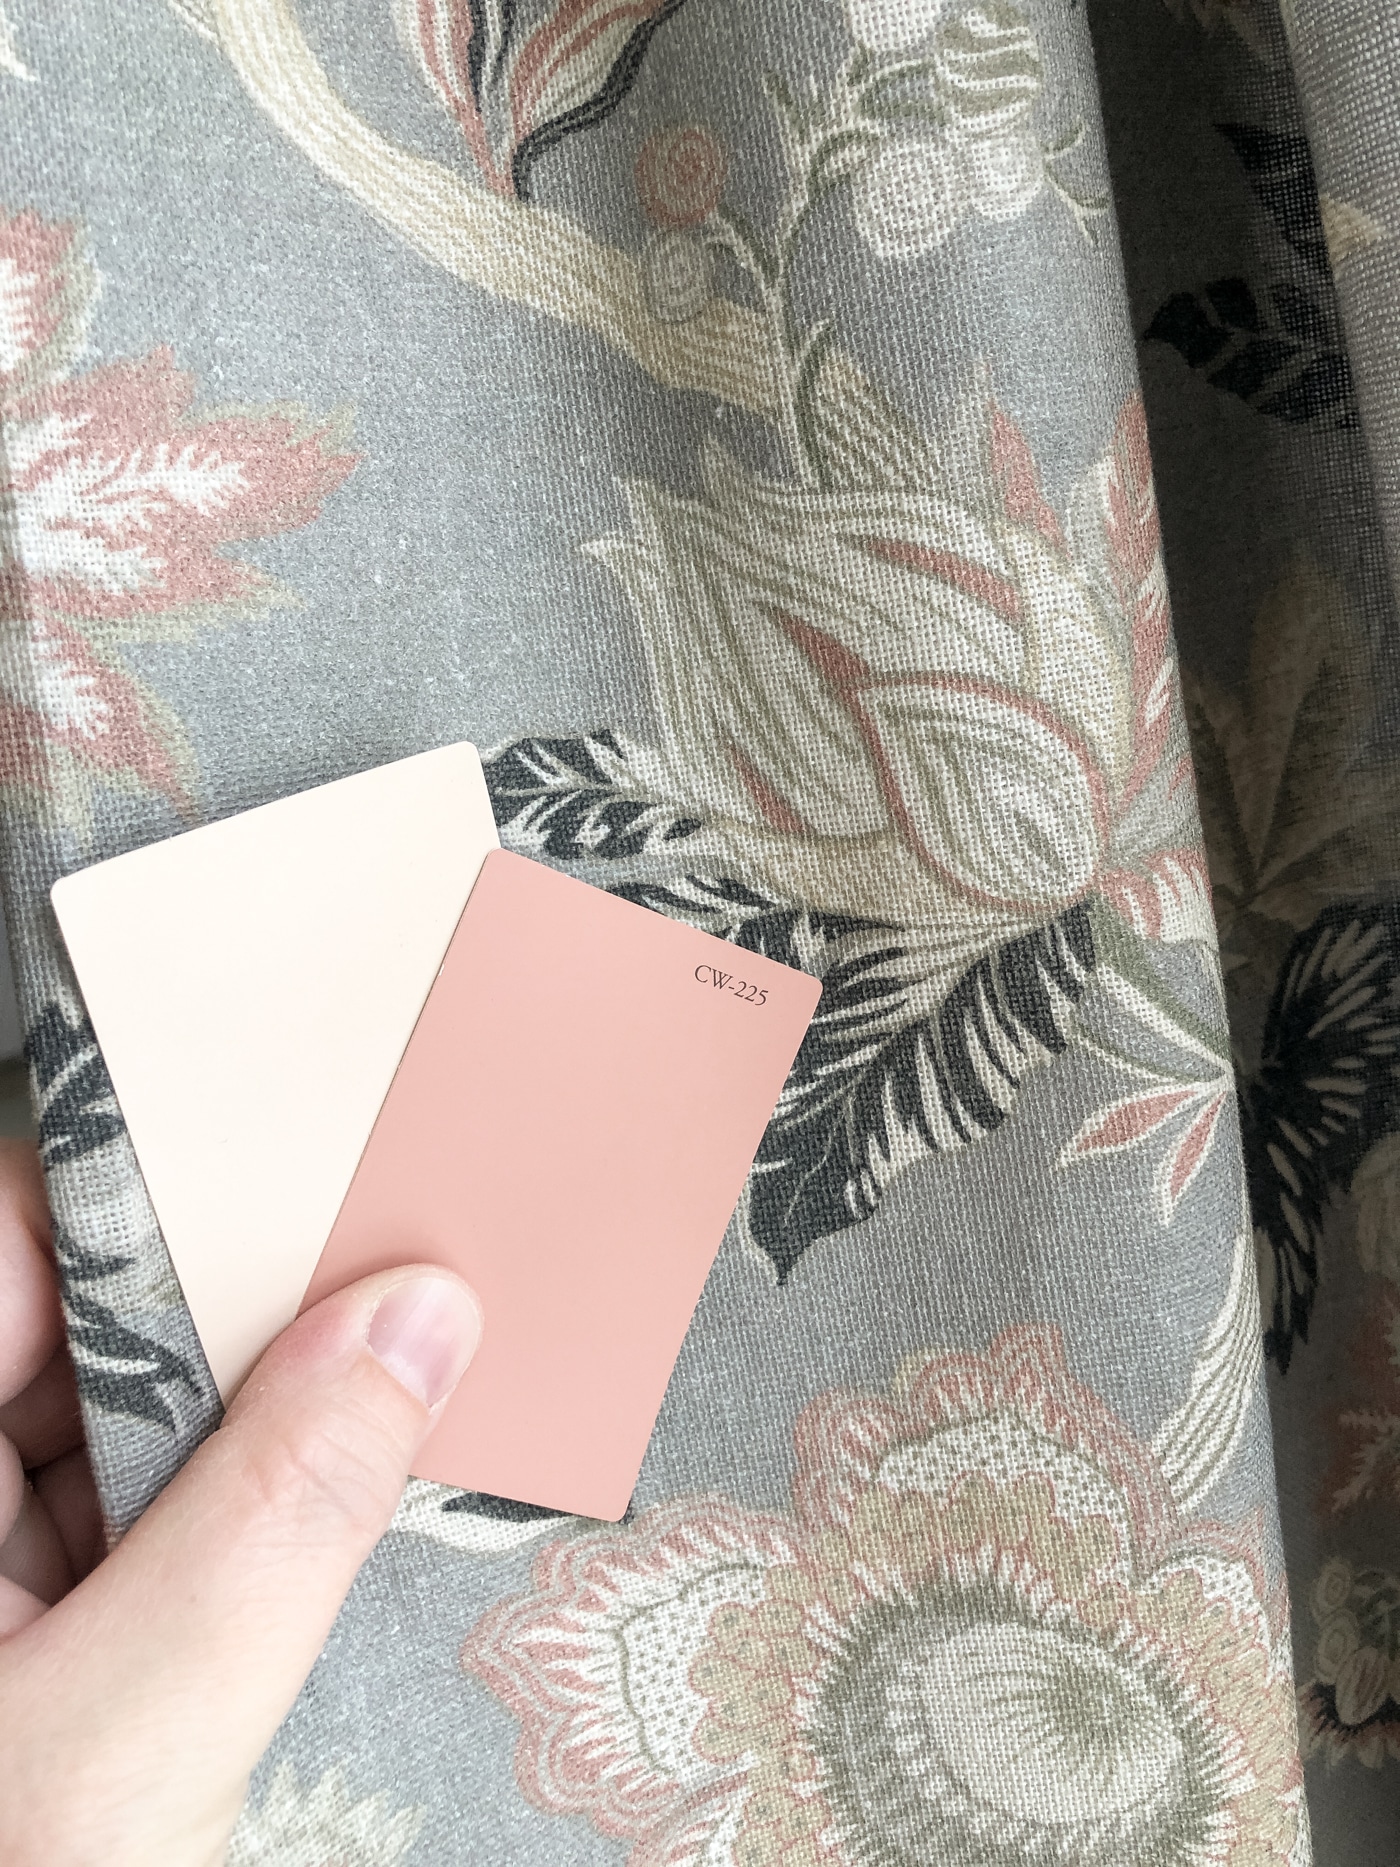
Choose 3 distinct colors that coordinate with one another: a light, a mid-tone and a darker shade. I chose:
- Shoji White (SW) – light color
- Raleigh Peach (BM) – medium color
- Wythe Rose (BM) – dark color
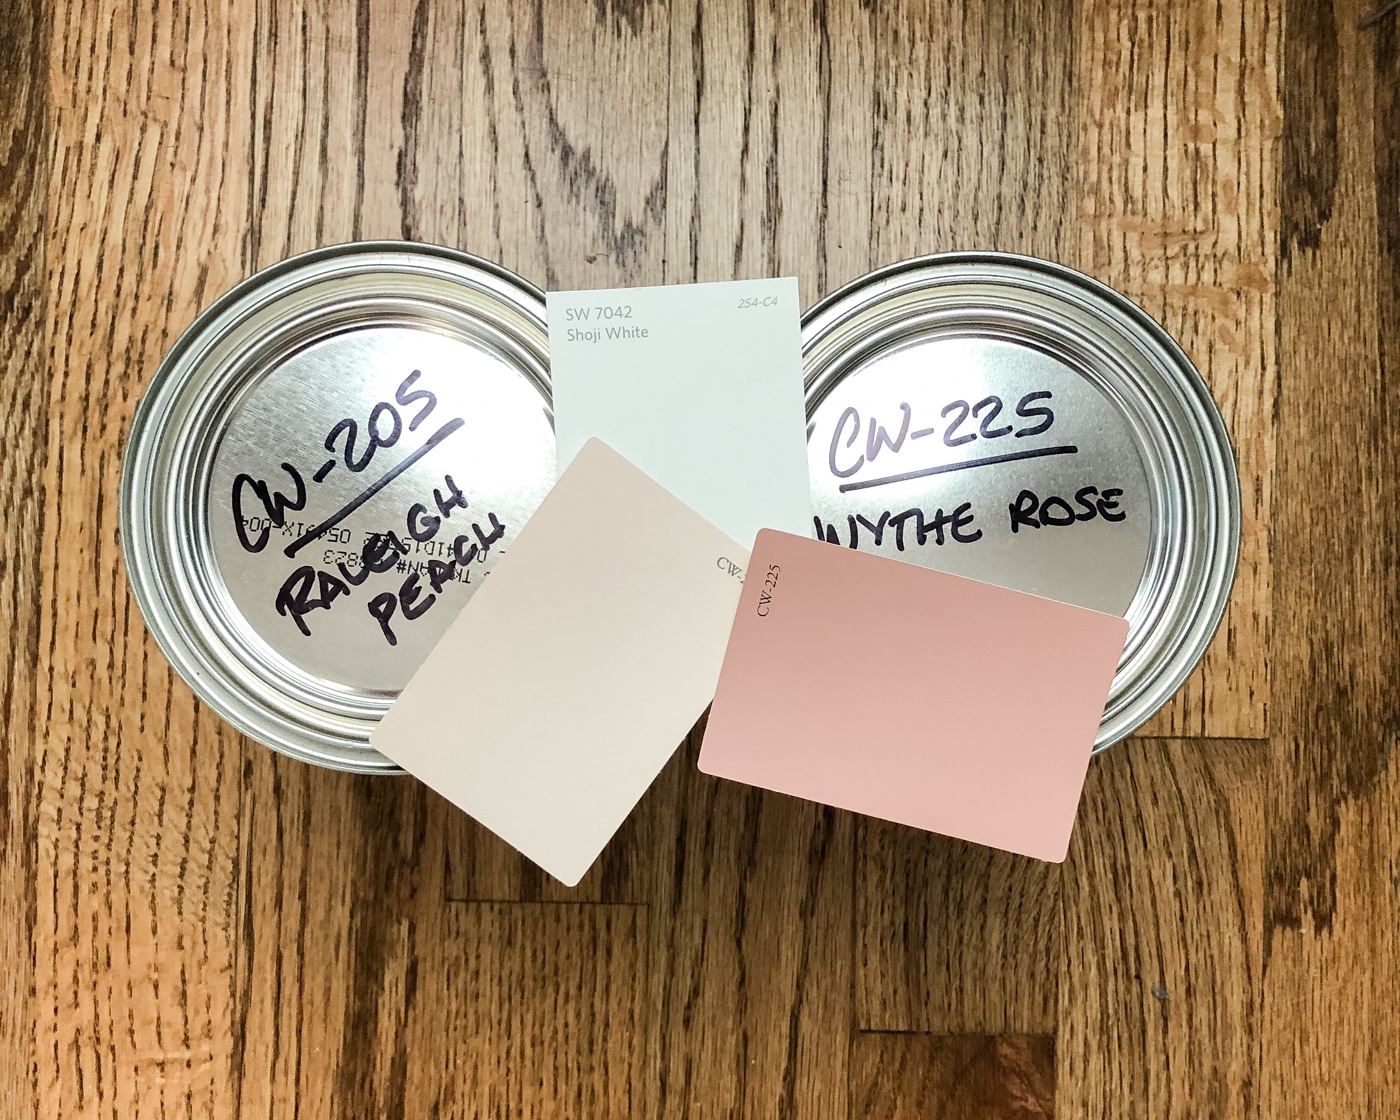
I knew the lightest color would be Shoji White before I ever started, because it was already the wall color. For the pinks, I just went into Benjamin Moore and eyeballed the swatches. I don't recommend doing it that way, but thankfully it worked out and the colors went perfectly with the decor in the room!
If you want to make choosing a paint color easier, try picking a light, medium and dark color from the same paint strip. That keeps everything in the same tone and color family.
Whenever someone new comes to the house, they compliment it. And they always think it's wallpaper! It looks that good, so they are always shocked when I tell them I painted it!
What You Will Need to Paint a Plaid Wall
- Painter’s Tape (and lots of it!) – I think I ended up using 5-6 rolls. To do exactly what I did, you'll need Scotch Delicate Surface Painter’s Tape, 1.88 inches
- Wallpaper Smoothing Tool
- Ladder
- Laser level or a regular level (the laser level is optional, but it makes things easier)
- Paint brush – I LOVE this brush for this job!
- Paint roller (if you're painting the lightest color first)
- Paint in 3 different colors. I used:
- Shoji White (SW) – light color
- Raleigh Peach (BM) – medium color
- Wythe Rose (BM) – dark color
How to Paint a Plaid Wall
Before we get into the steps, my method only requires two rough measurements and NO math! Yay!
Everything about this plaid wall is based on the width of the painter's tape I used. It's the Scotch Delicate Surface Painter’s Tape, 1.88 inches. I made the light squares double the width of that tape, which gives large light squares of exactly 3.76 inches in width and height. You'll see what I mean in a sec.
If you want larger squares, you'll have to do some math. But if you don't want to do math, you're in luck! I'll show you how it's done!
As a rule, I painted each step with two coats of paint.
Step 1. Paint the Lightest Color
Paint the wall in the lightest of the three colors.
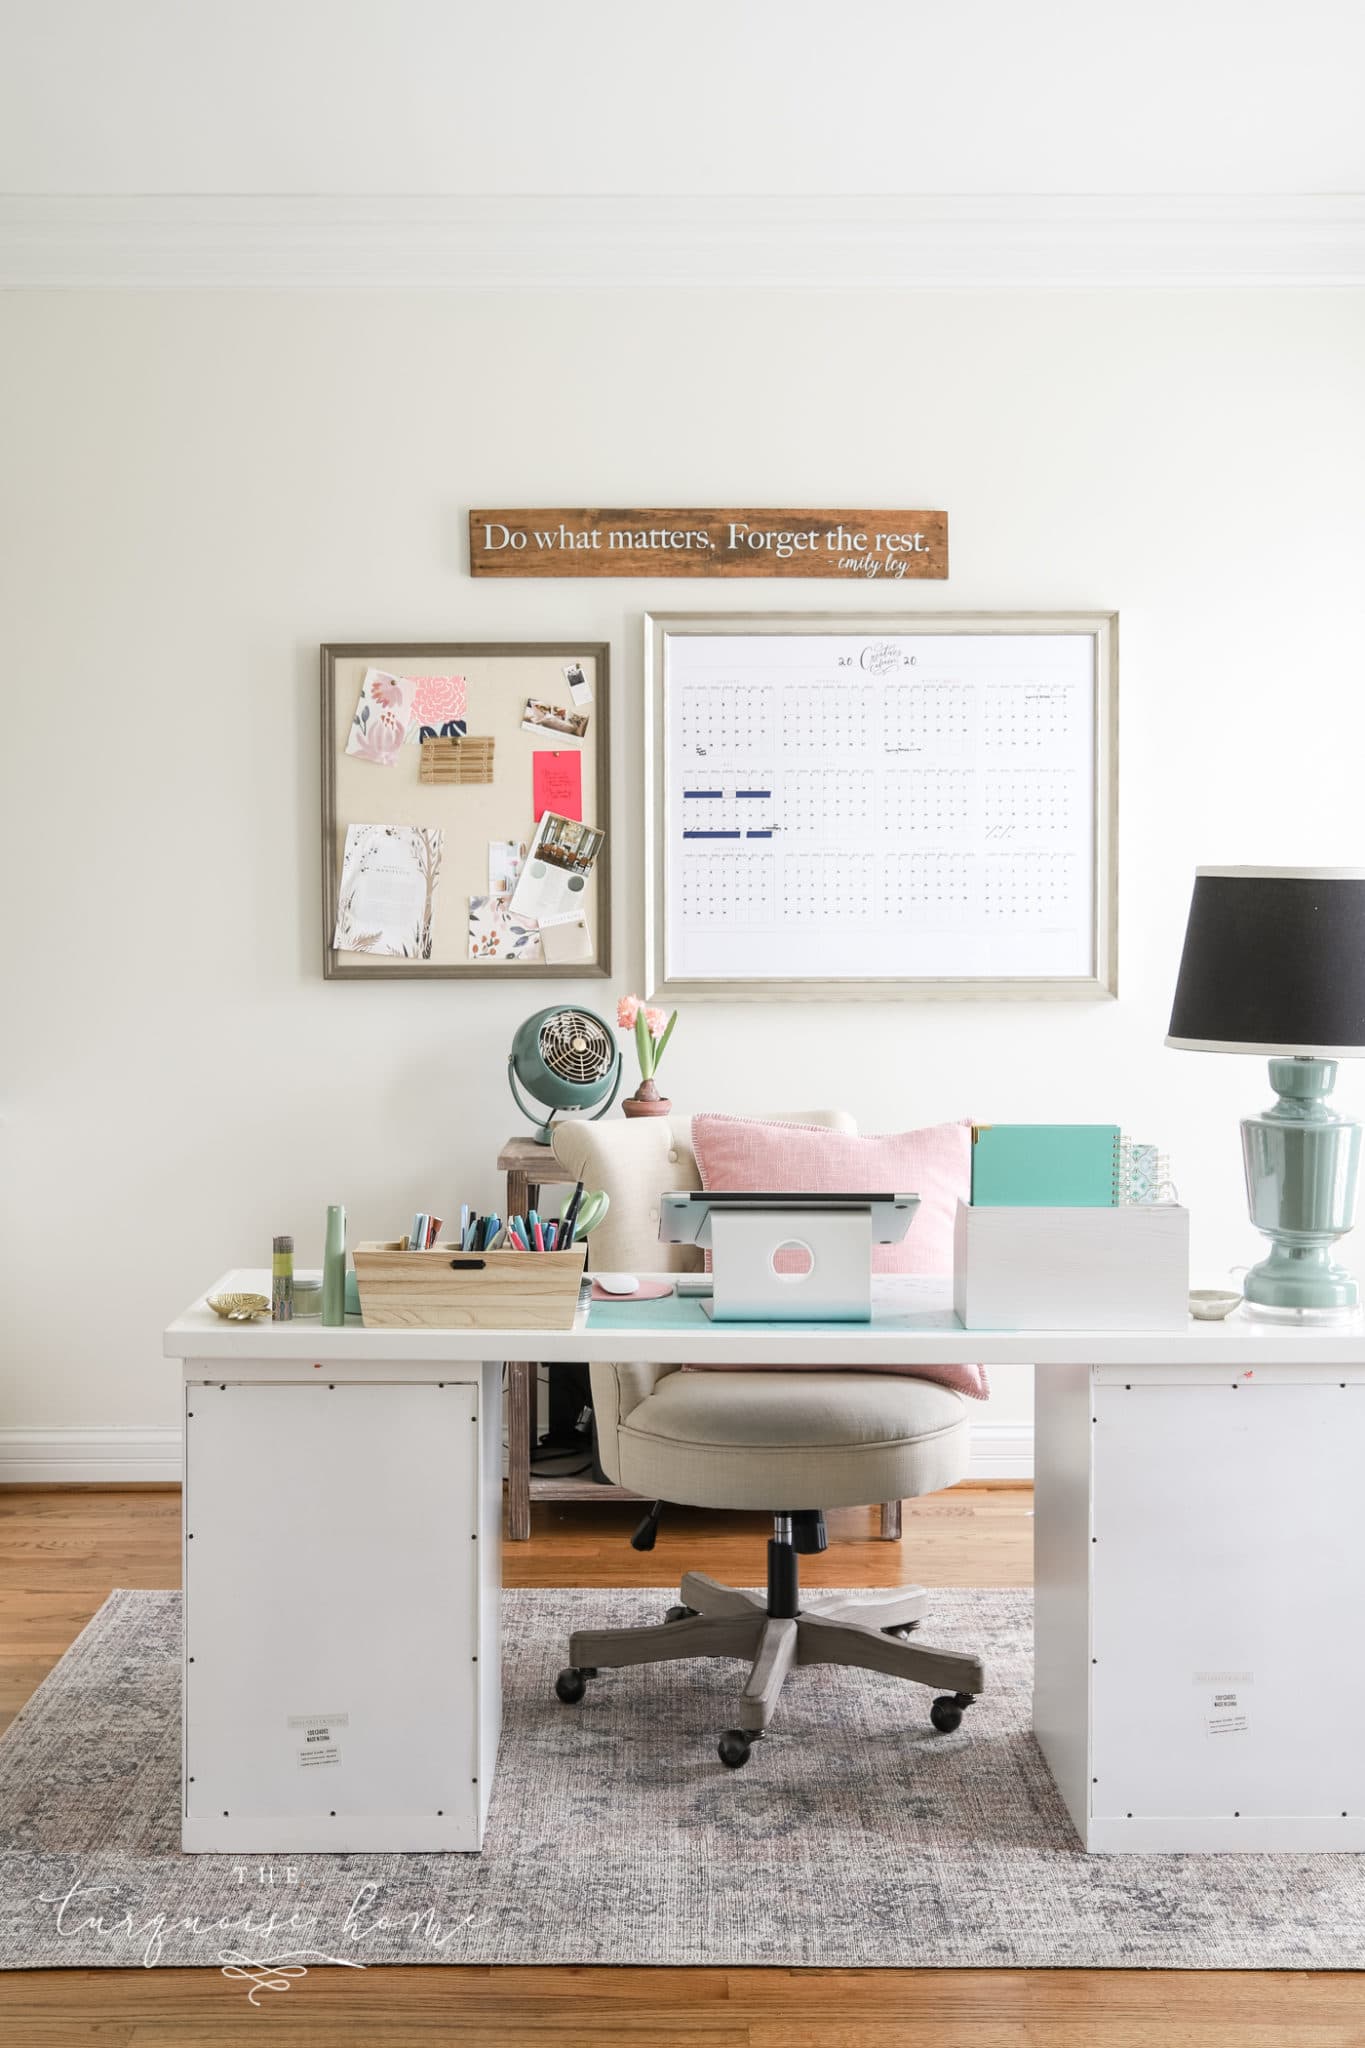
My office was already painted Shoji White, so I skipped this step. But if you need to paint the whole wall, my tips on painting a room like a pro are here. If you have holes to fill, do it before you paint. I didn't fill any holes in my wall because I planned to put everything back in the exact same spot!
Step 2. Draw the Middle Vertical Line
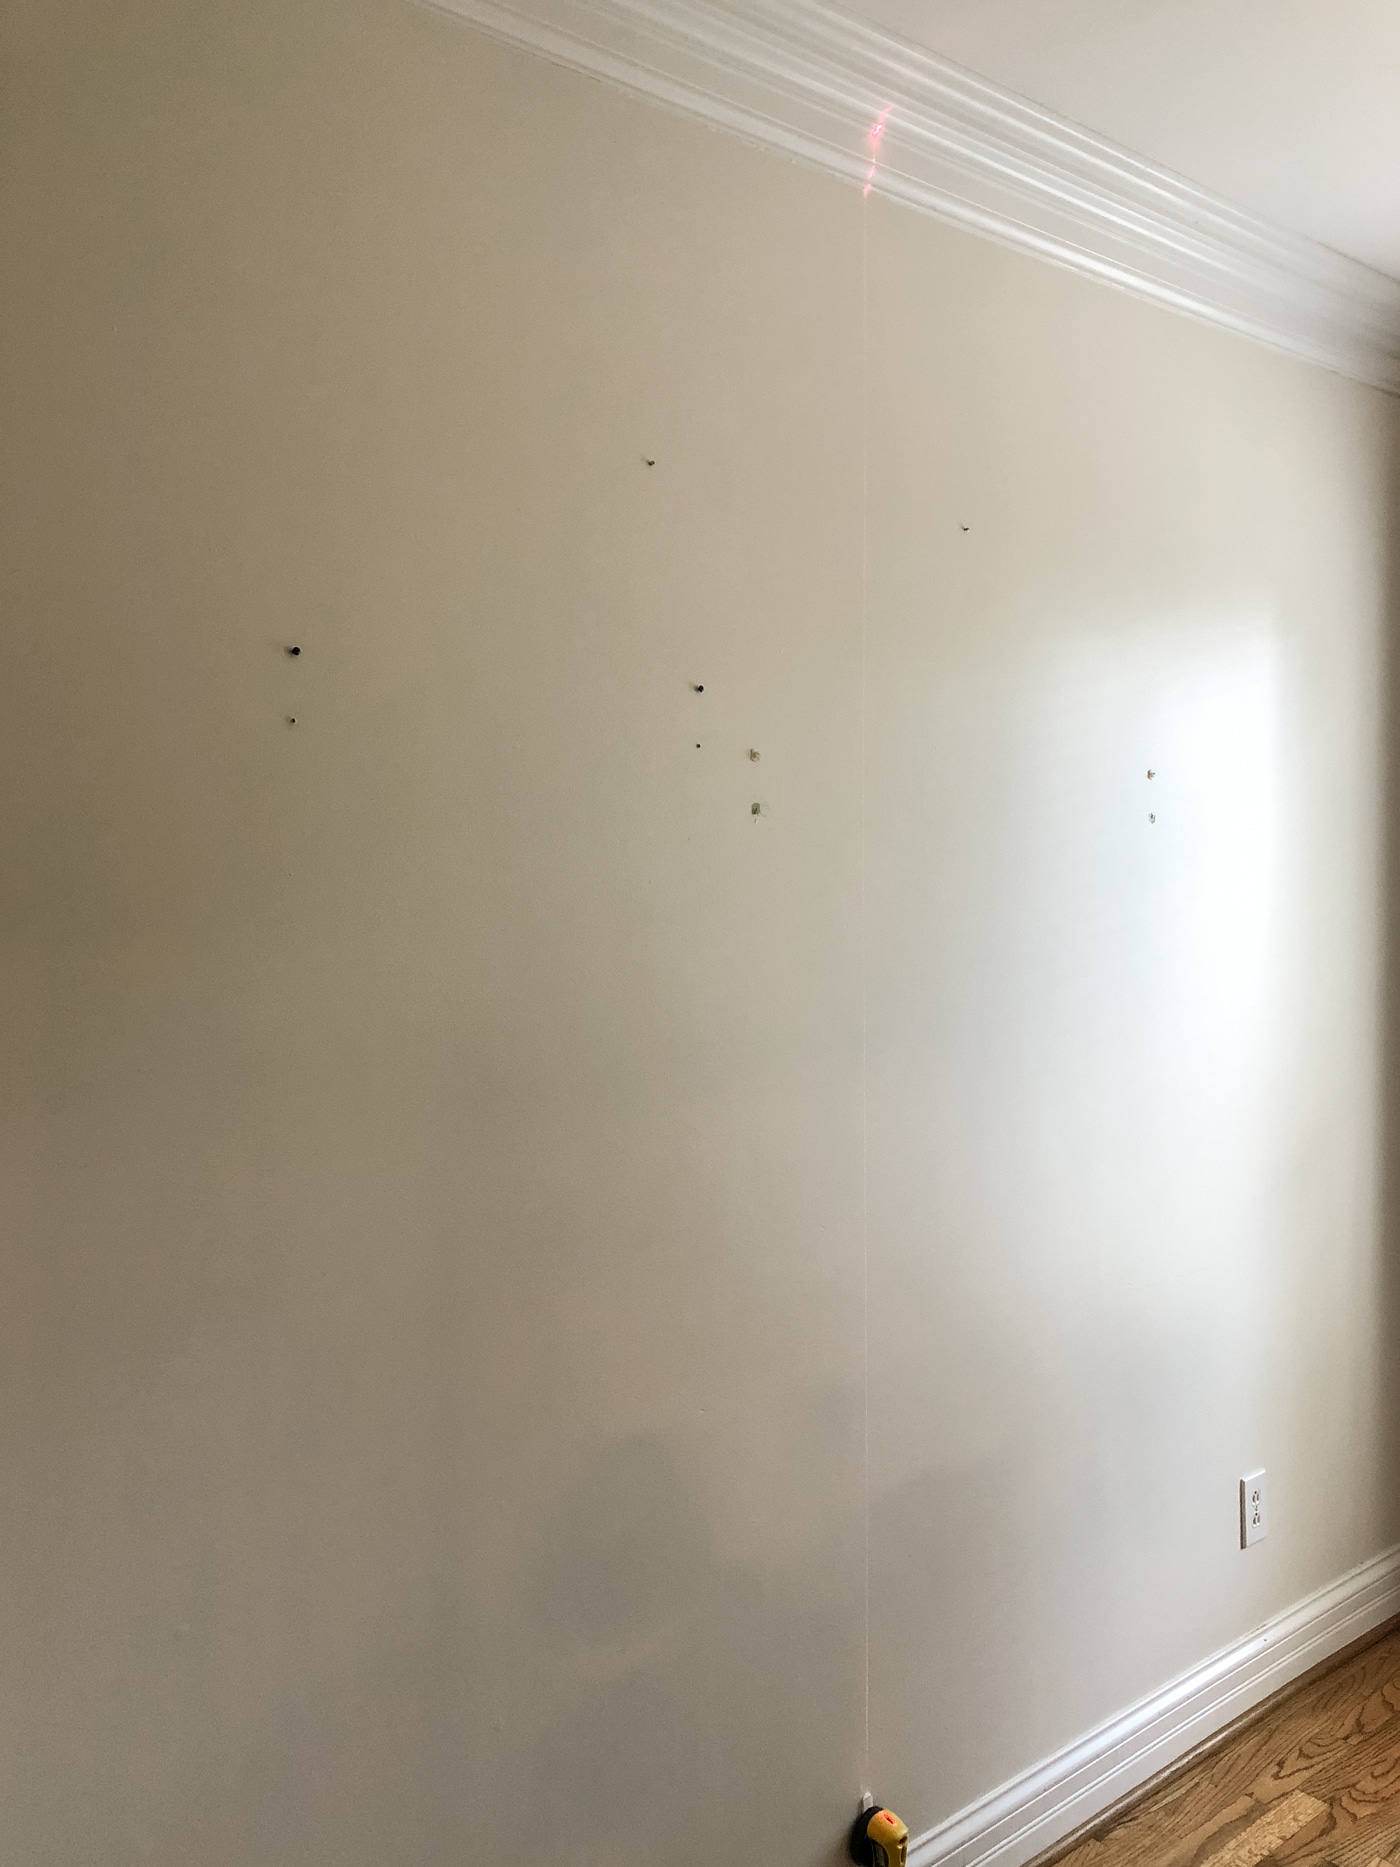
Use a laser level to draw a plumb line down the middle of the wall.
This is your first of only two measurements! I used my laser level to make a line down the middle of the wall and placed a piece of tape on the line. You could also use any straight edge to draw the line, as long as it's perfectly vertical.
Step 3. Make Vertical Stripes with Tape
Lay two pieces of tape side by side from the top of the wall to the bottom. Then skip the width of one piece of tape and add two more pieces, running all the way up and down the wall.
Keep repeating across the wall until the whole thing is covered.
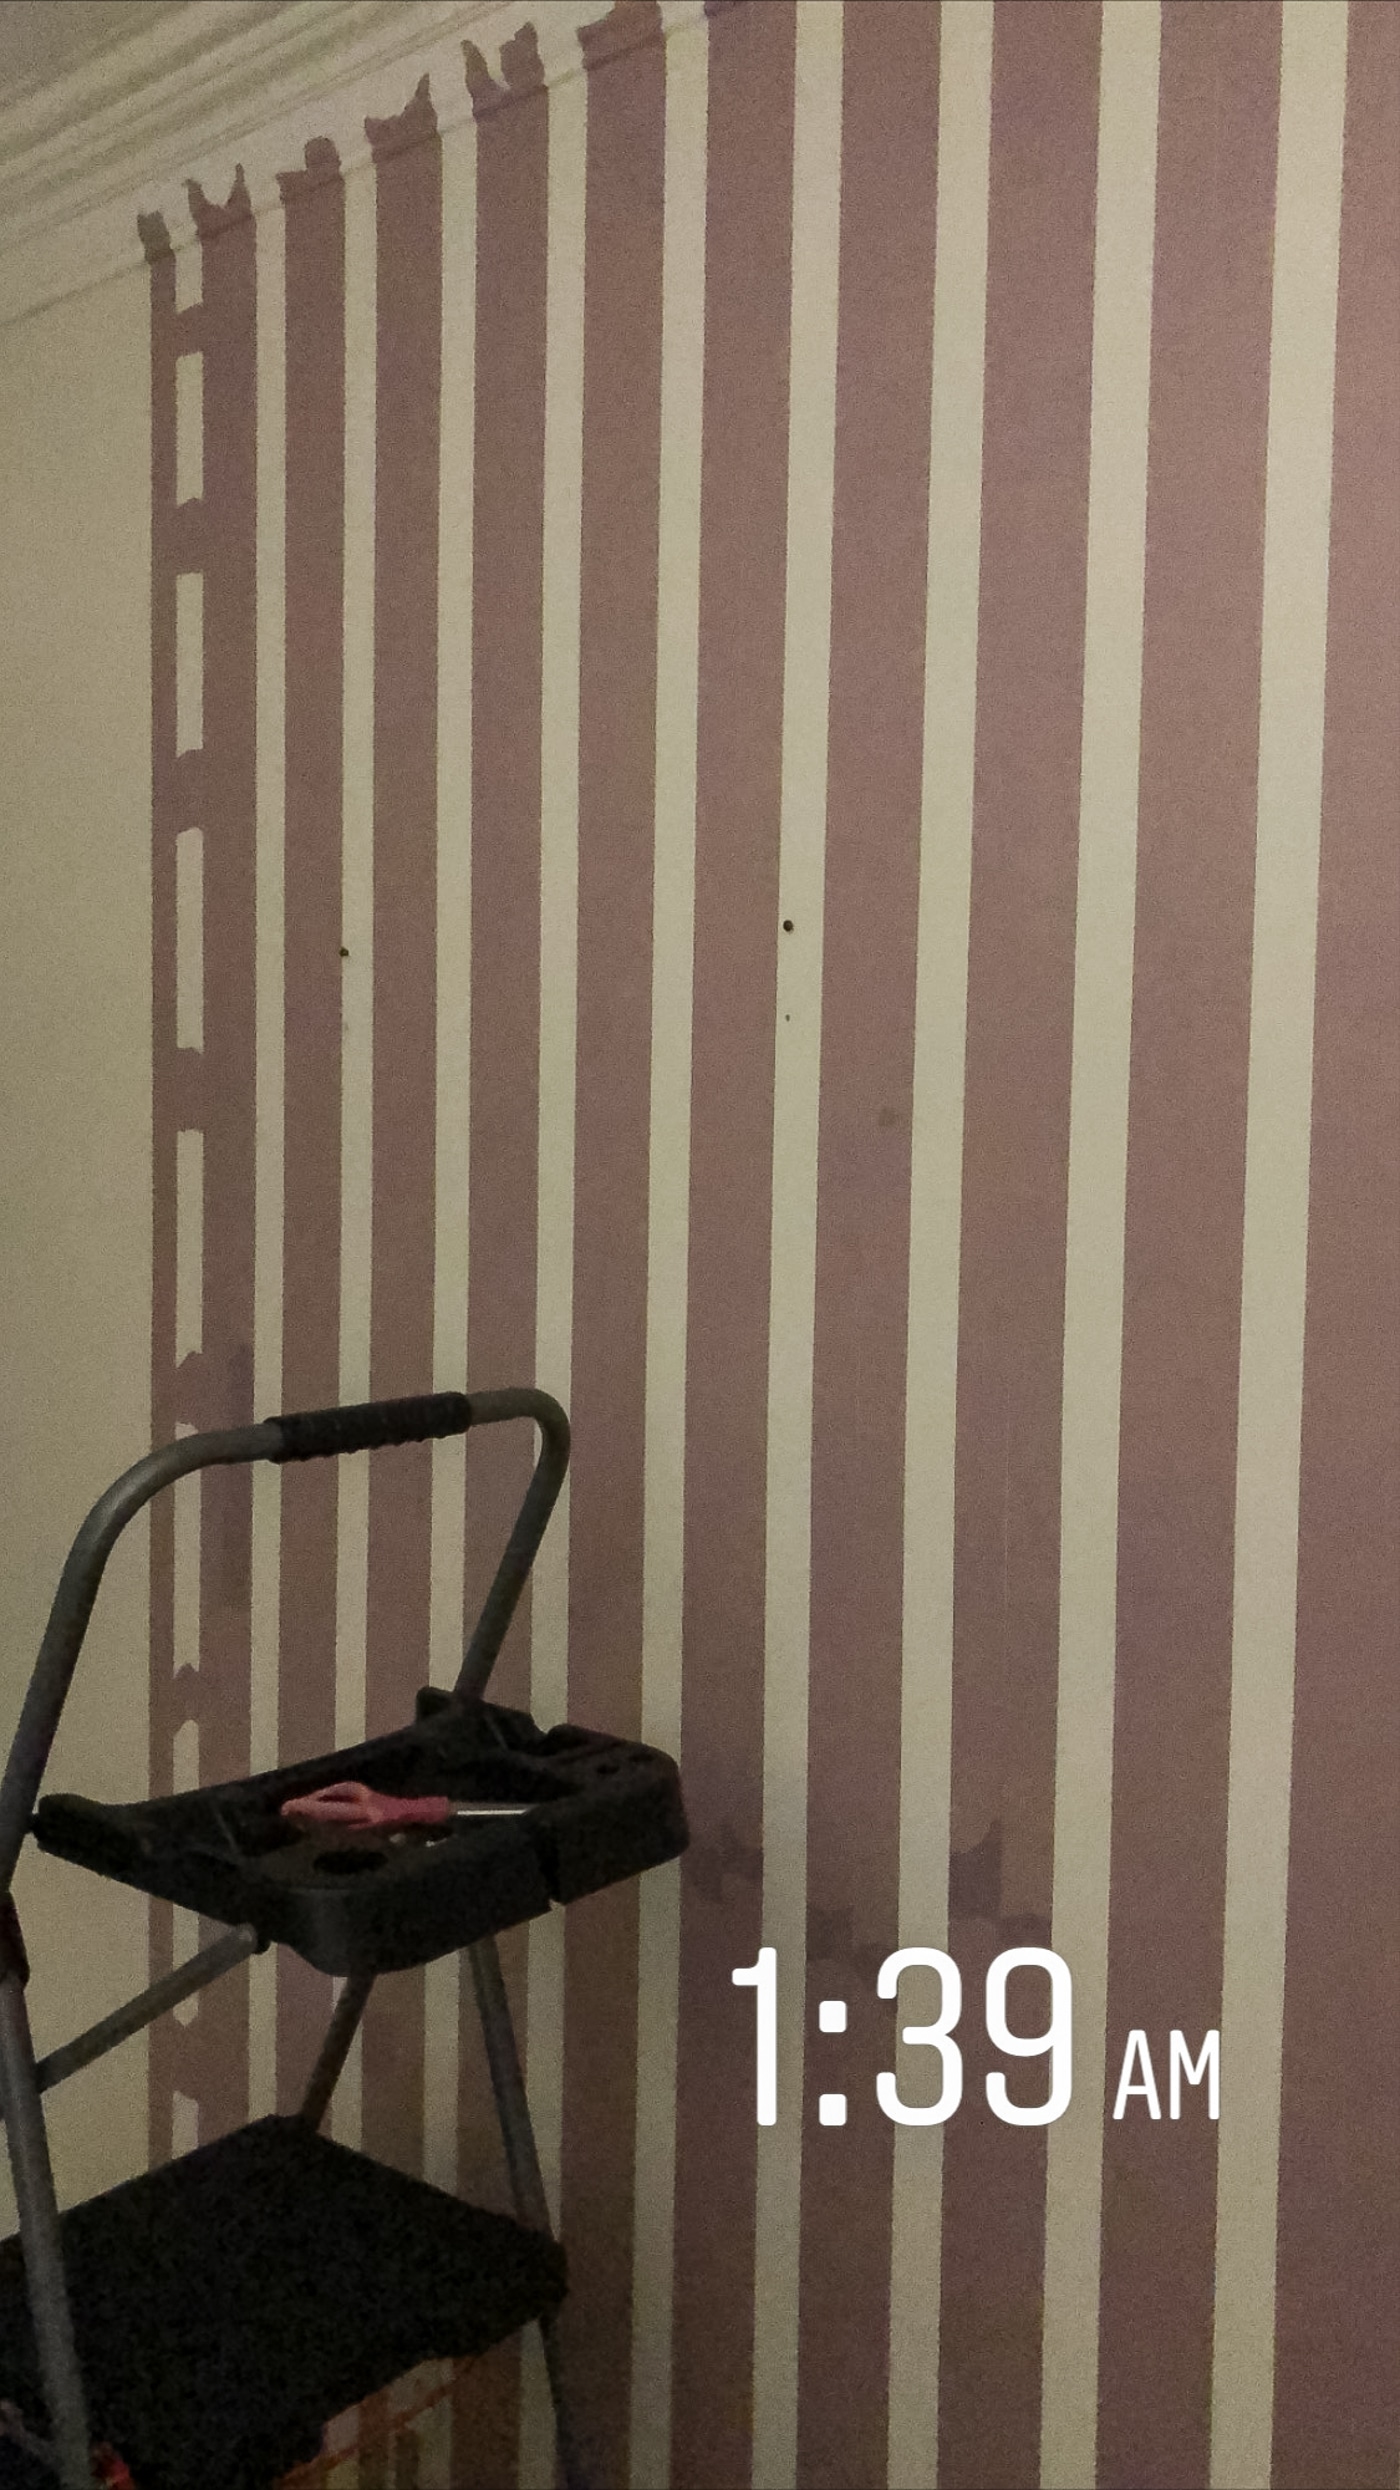
Look at the left side of the photo above, where I have small pieces of tape between the longer pieces. That's how I measured the width of one piece of tape between the lines. It kept everything even and level!
Check periodically with a hand-held level to make sure everything stays level.
Step 4. Press Down the Tape
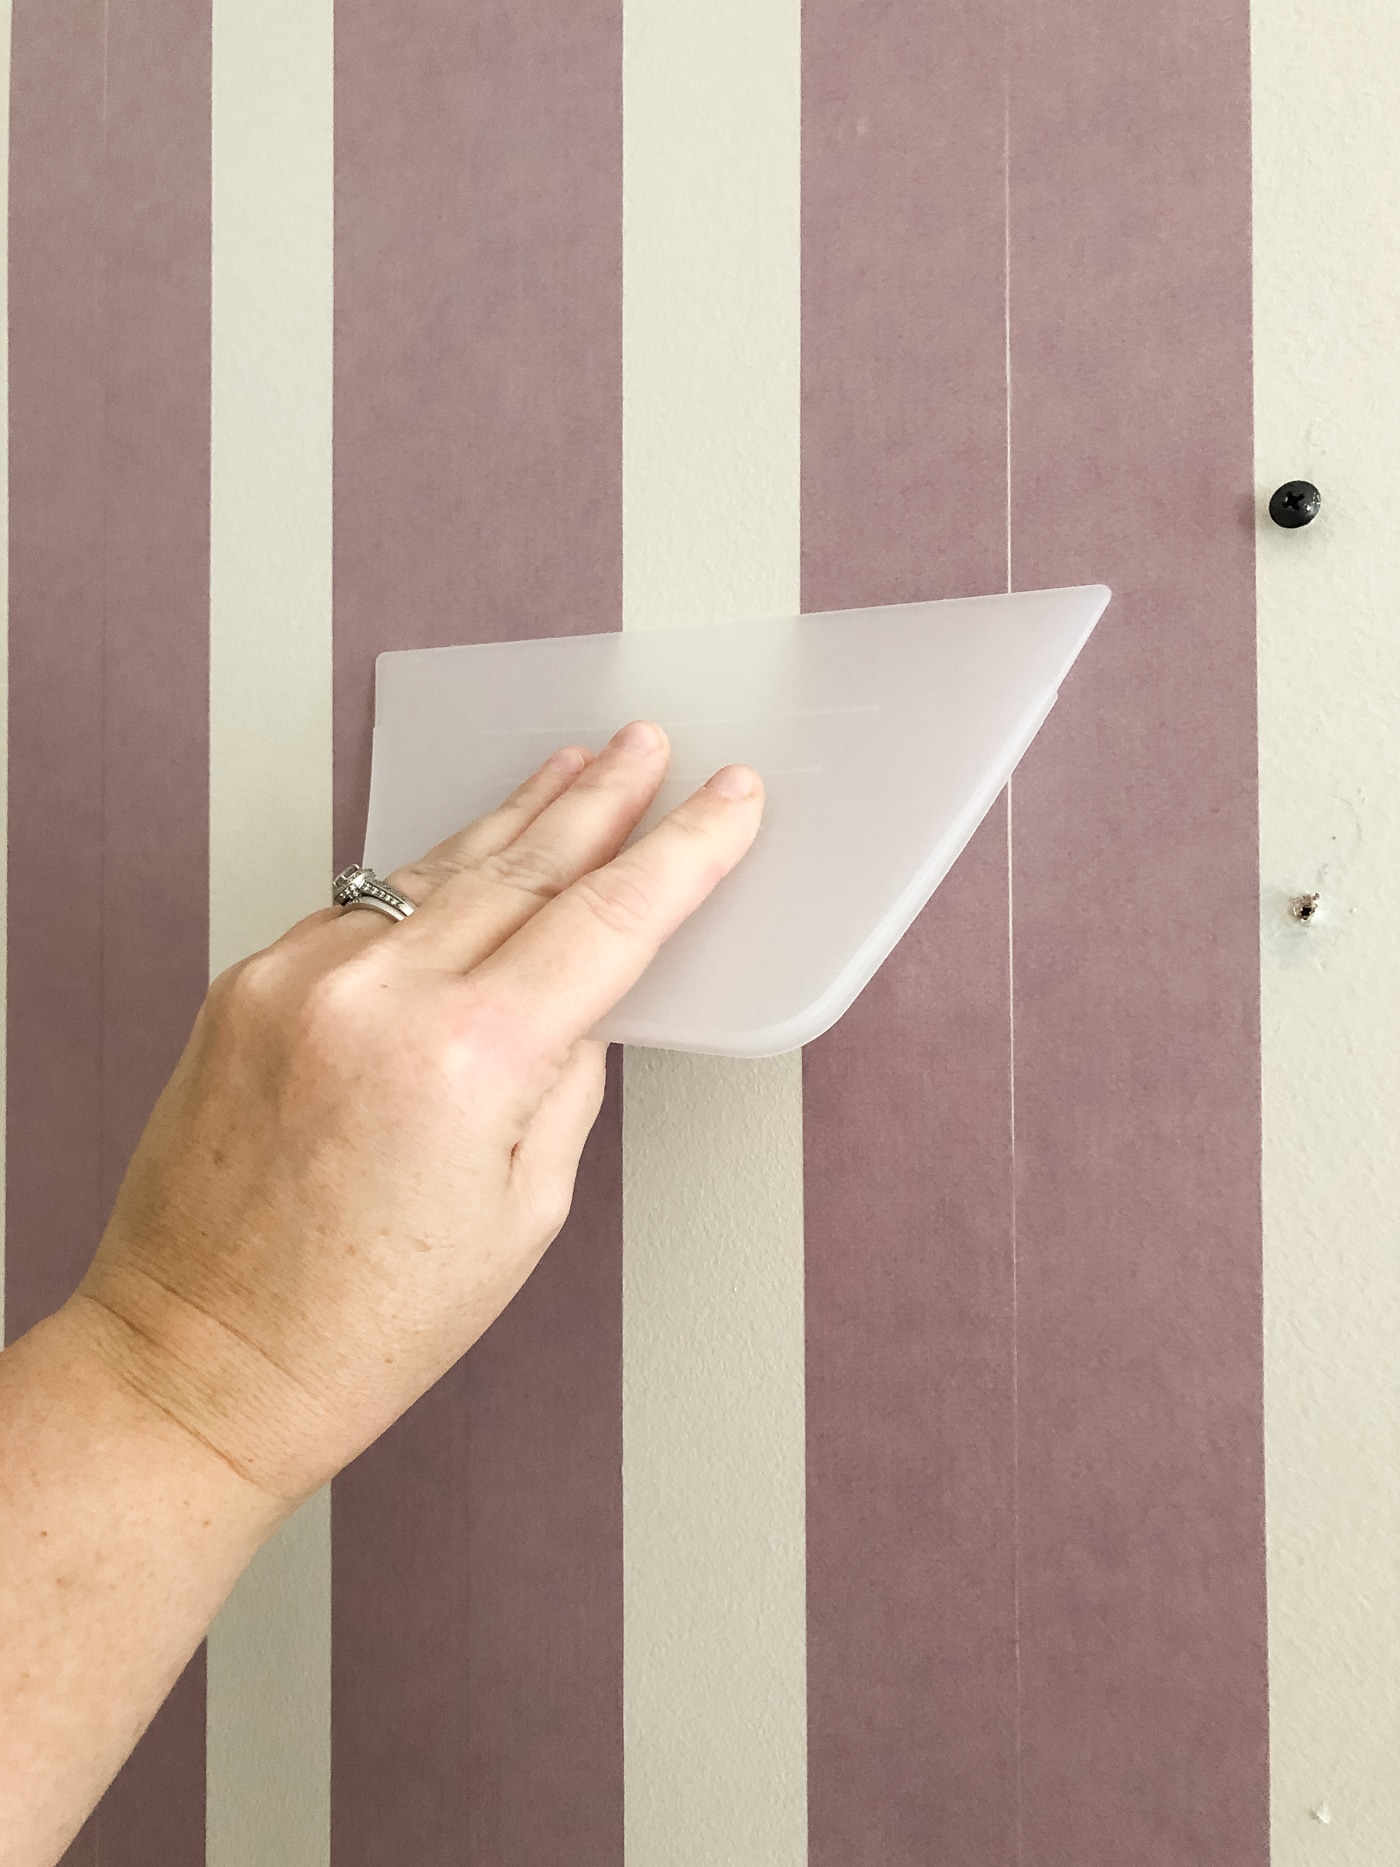
Make sure the painter's tape is pressed down tight by running a wallpaper smoothing tool along the top of the tape.
Step 5. Paint the Medium Color
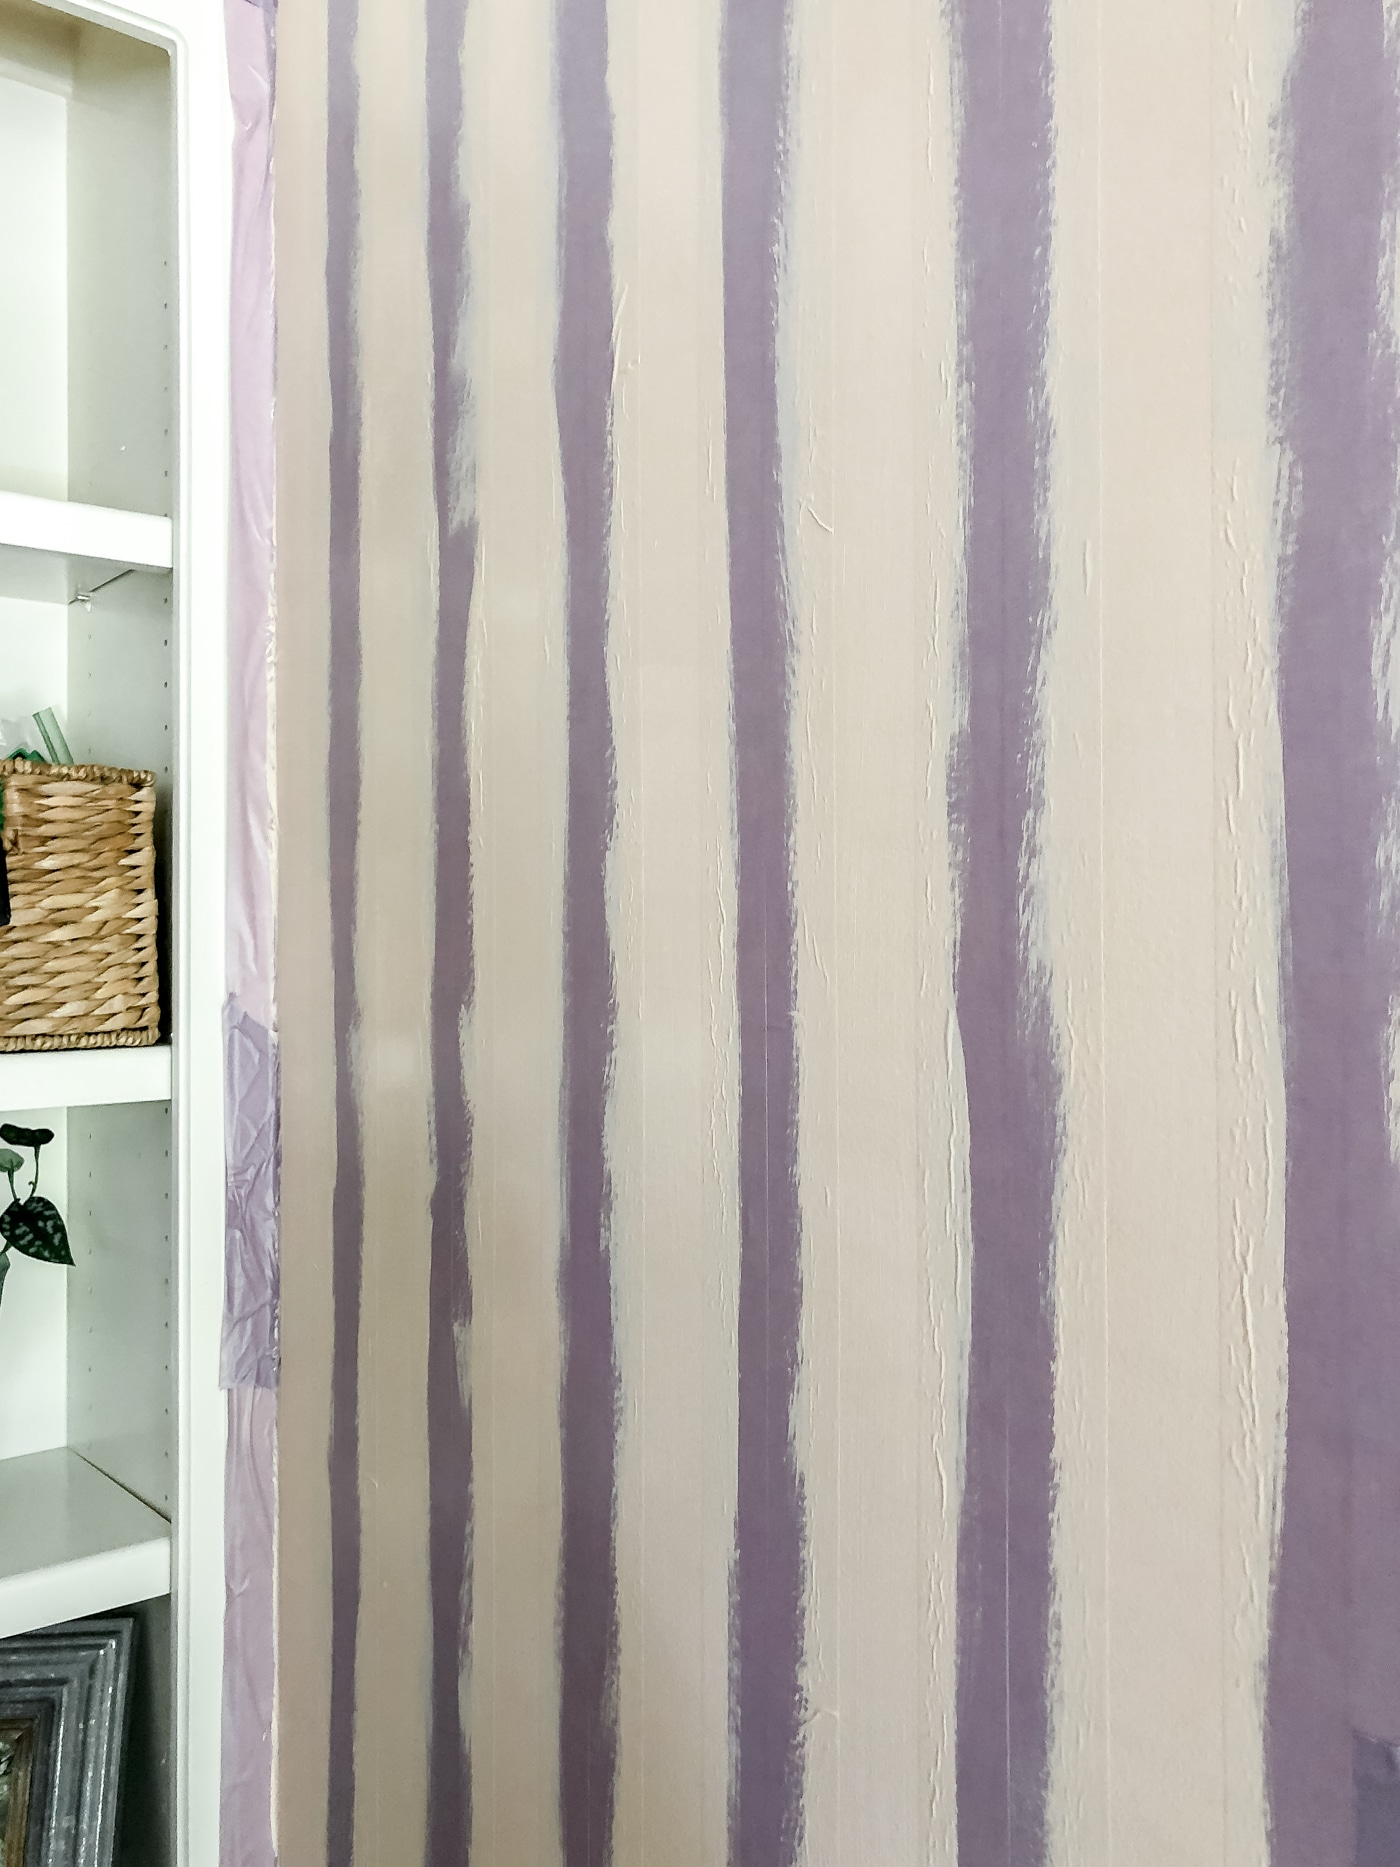
Paint two coats of the medium color on all of the lines with a 1-inch paint brush.
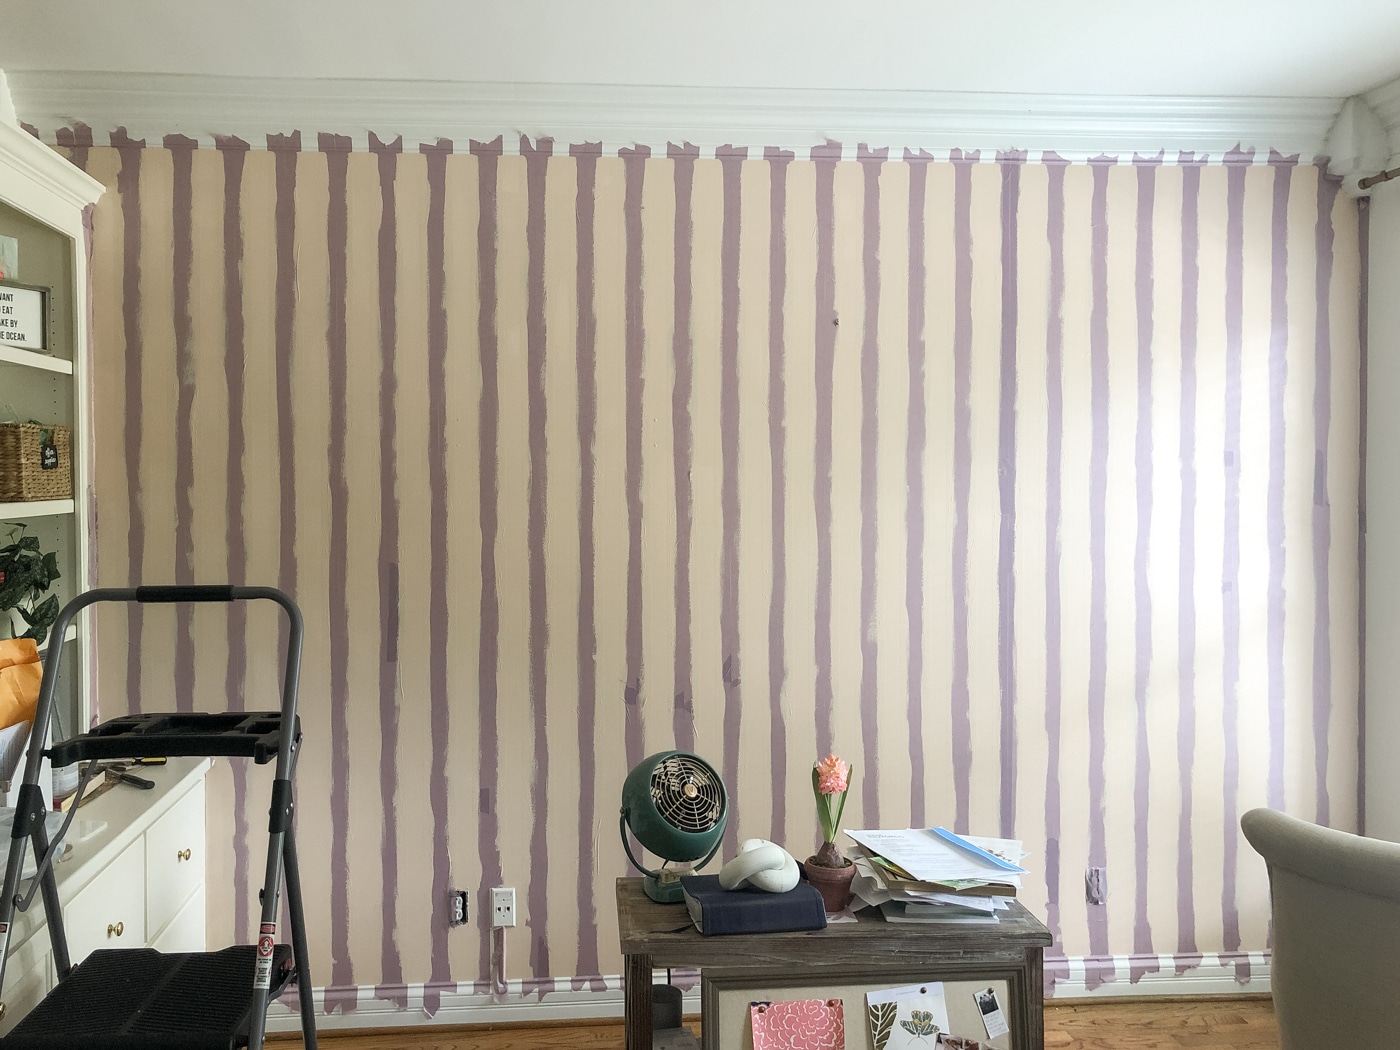
Step 6. Remove the Tape and Make the Middle Horizontal Line
Remove the painter's tape and use your level to draw a horizontal line across the middle of the wall.
I know it feels painful to pull off the tape after all that work, but I promise it's worth it!
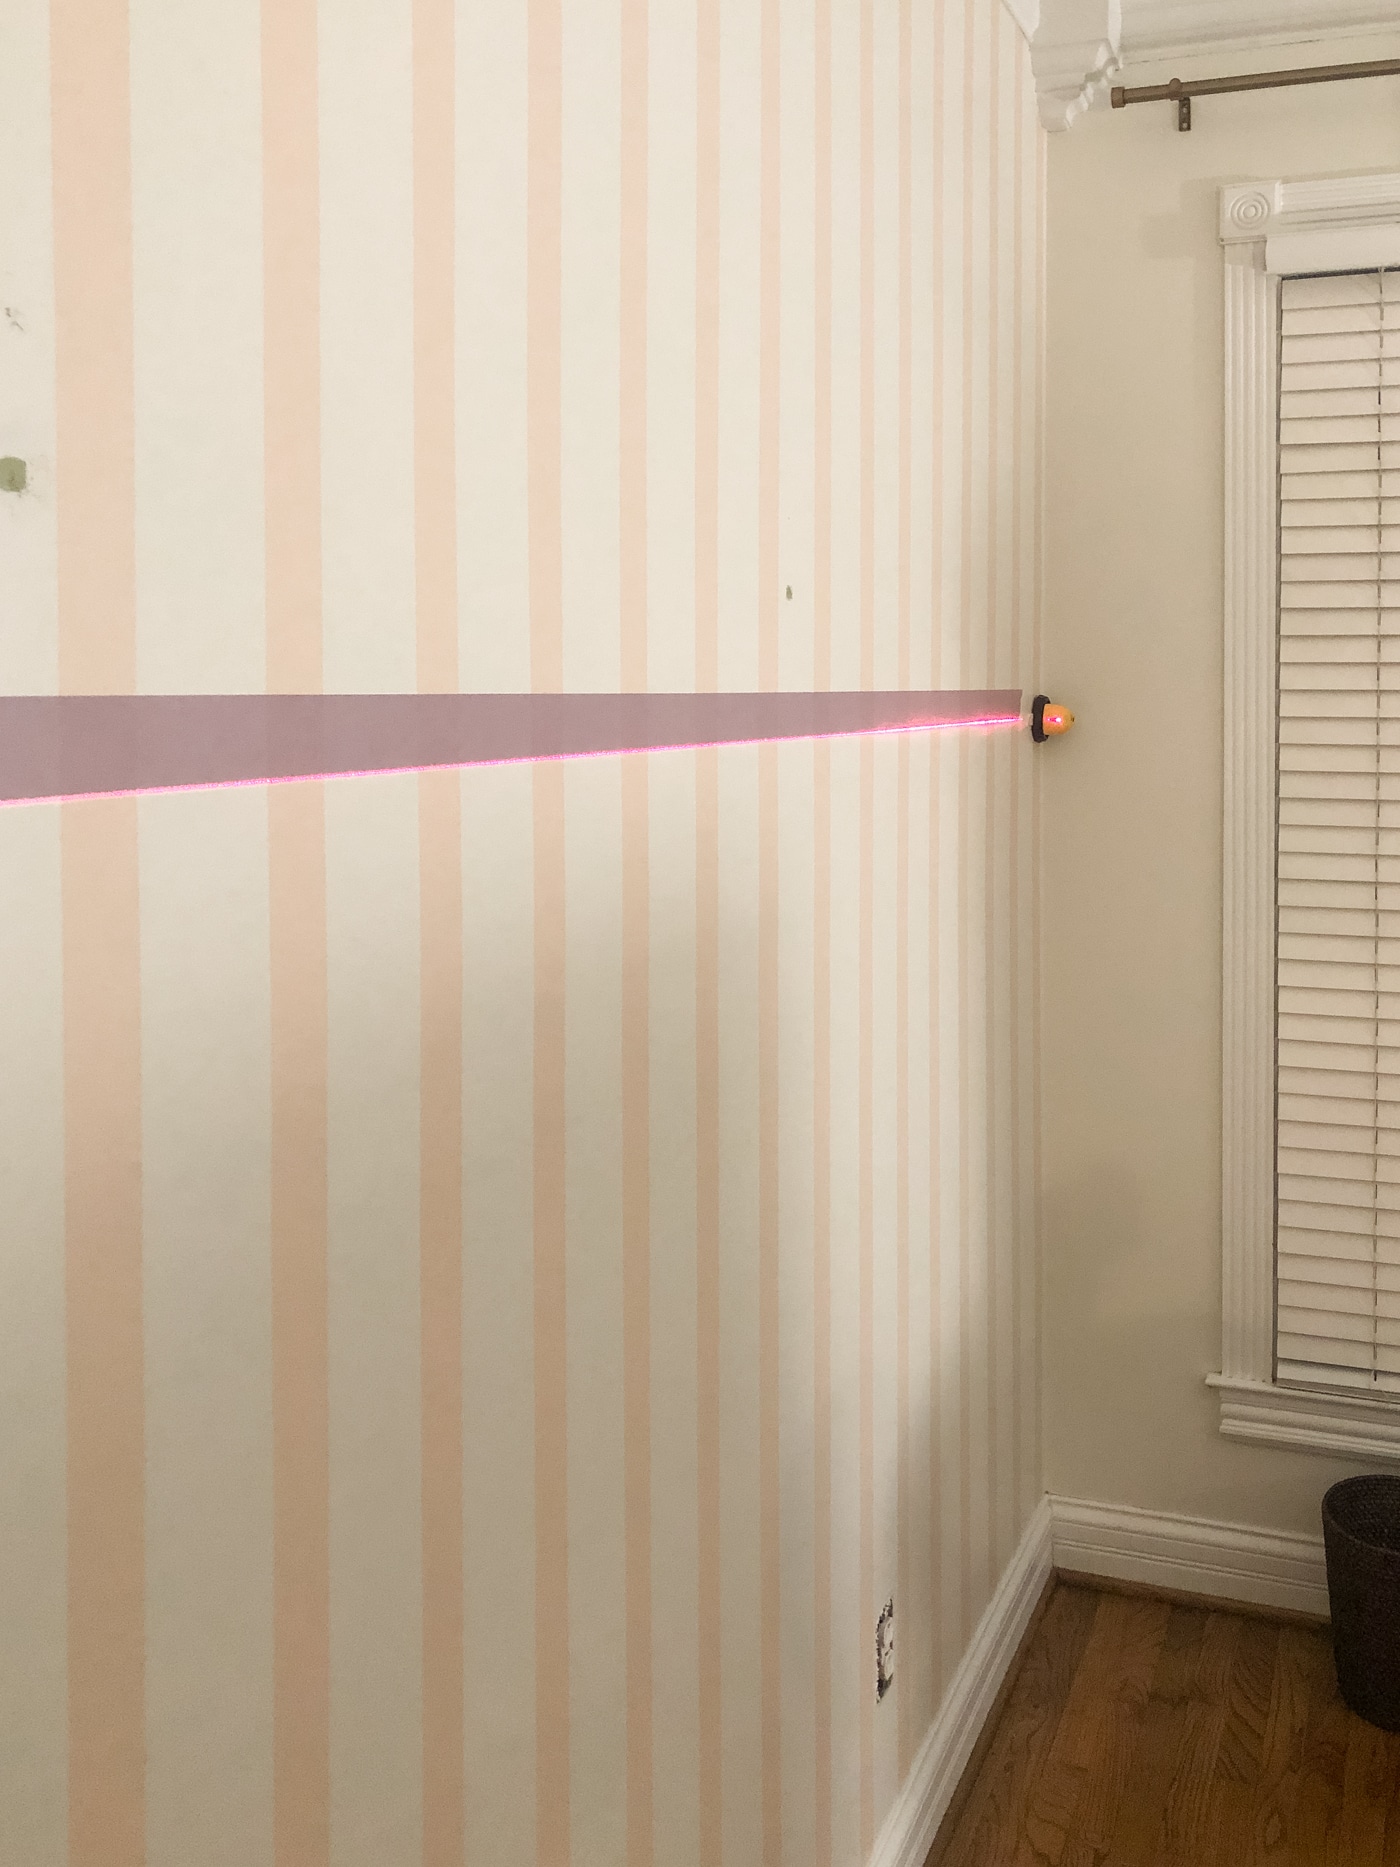
This is your only other measurement! Yay! It's really just a straight line on the wall, but once you go off of this line, you won't need to measure any more lines.
Step 7. Make Horizontal Stripes with Paint
Place a piece of painter's tape along the horizontal line, then add another piece right next to it. Skip one width of tape, then add two more pieces of tape the length of the wall.
Repeat with each line of tape until you've done the entire wall. Check periodically that the lines are still level as you tape them down.
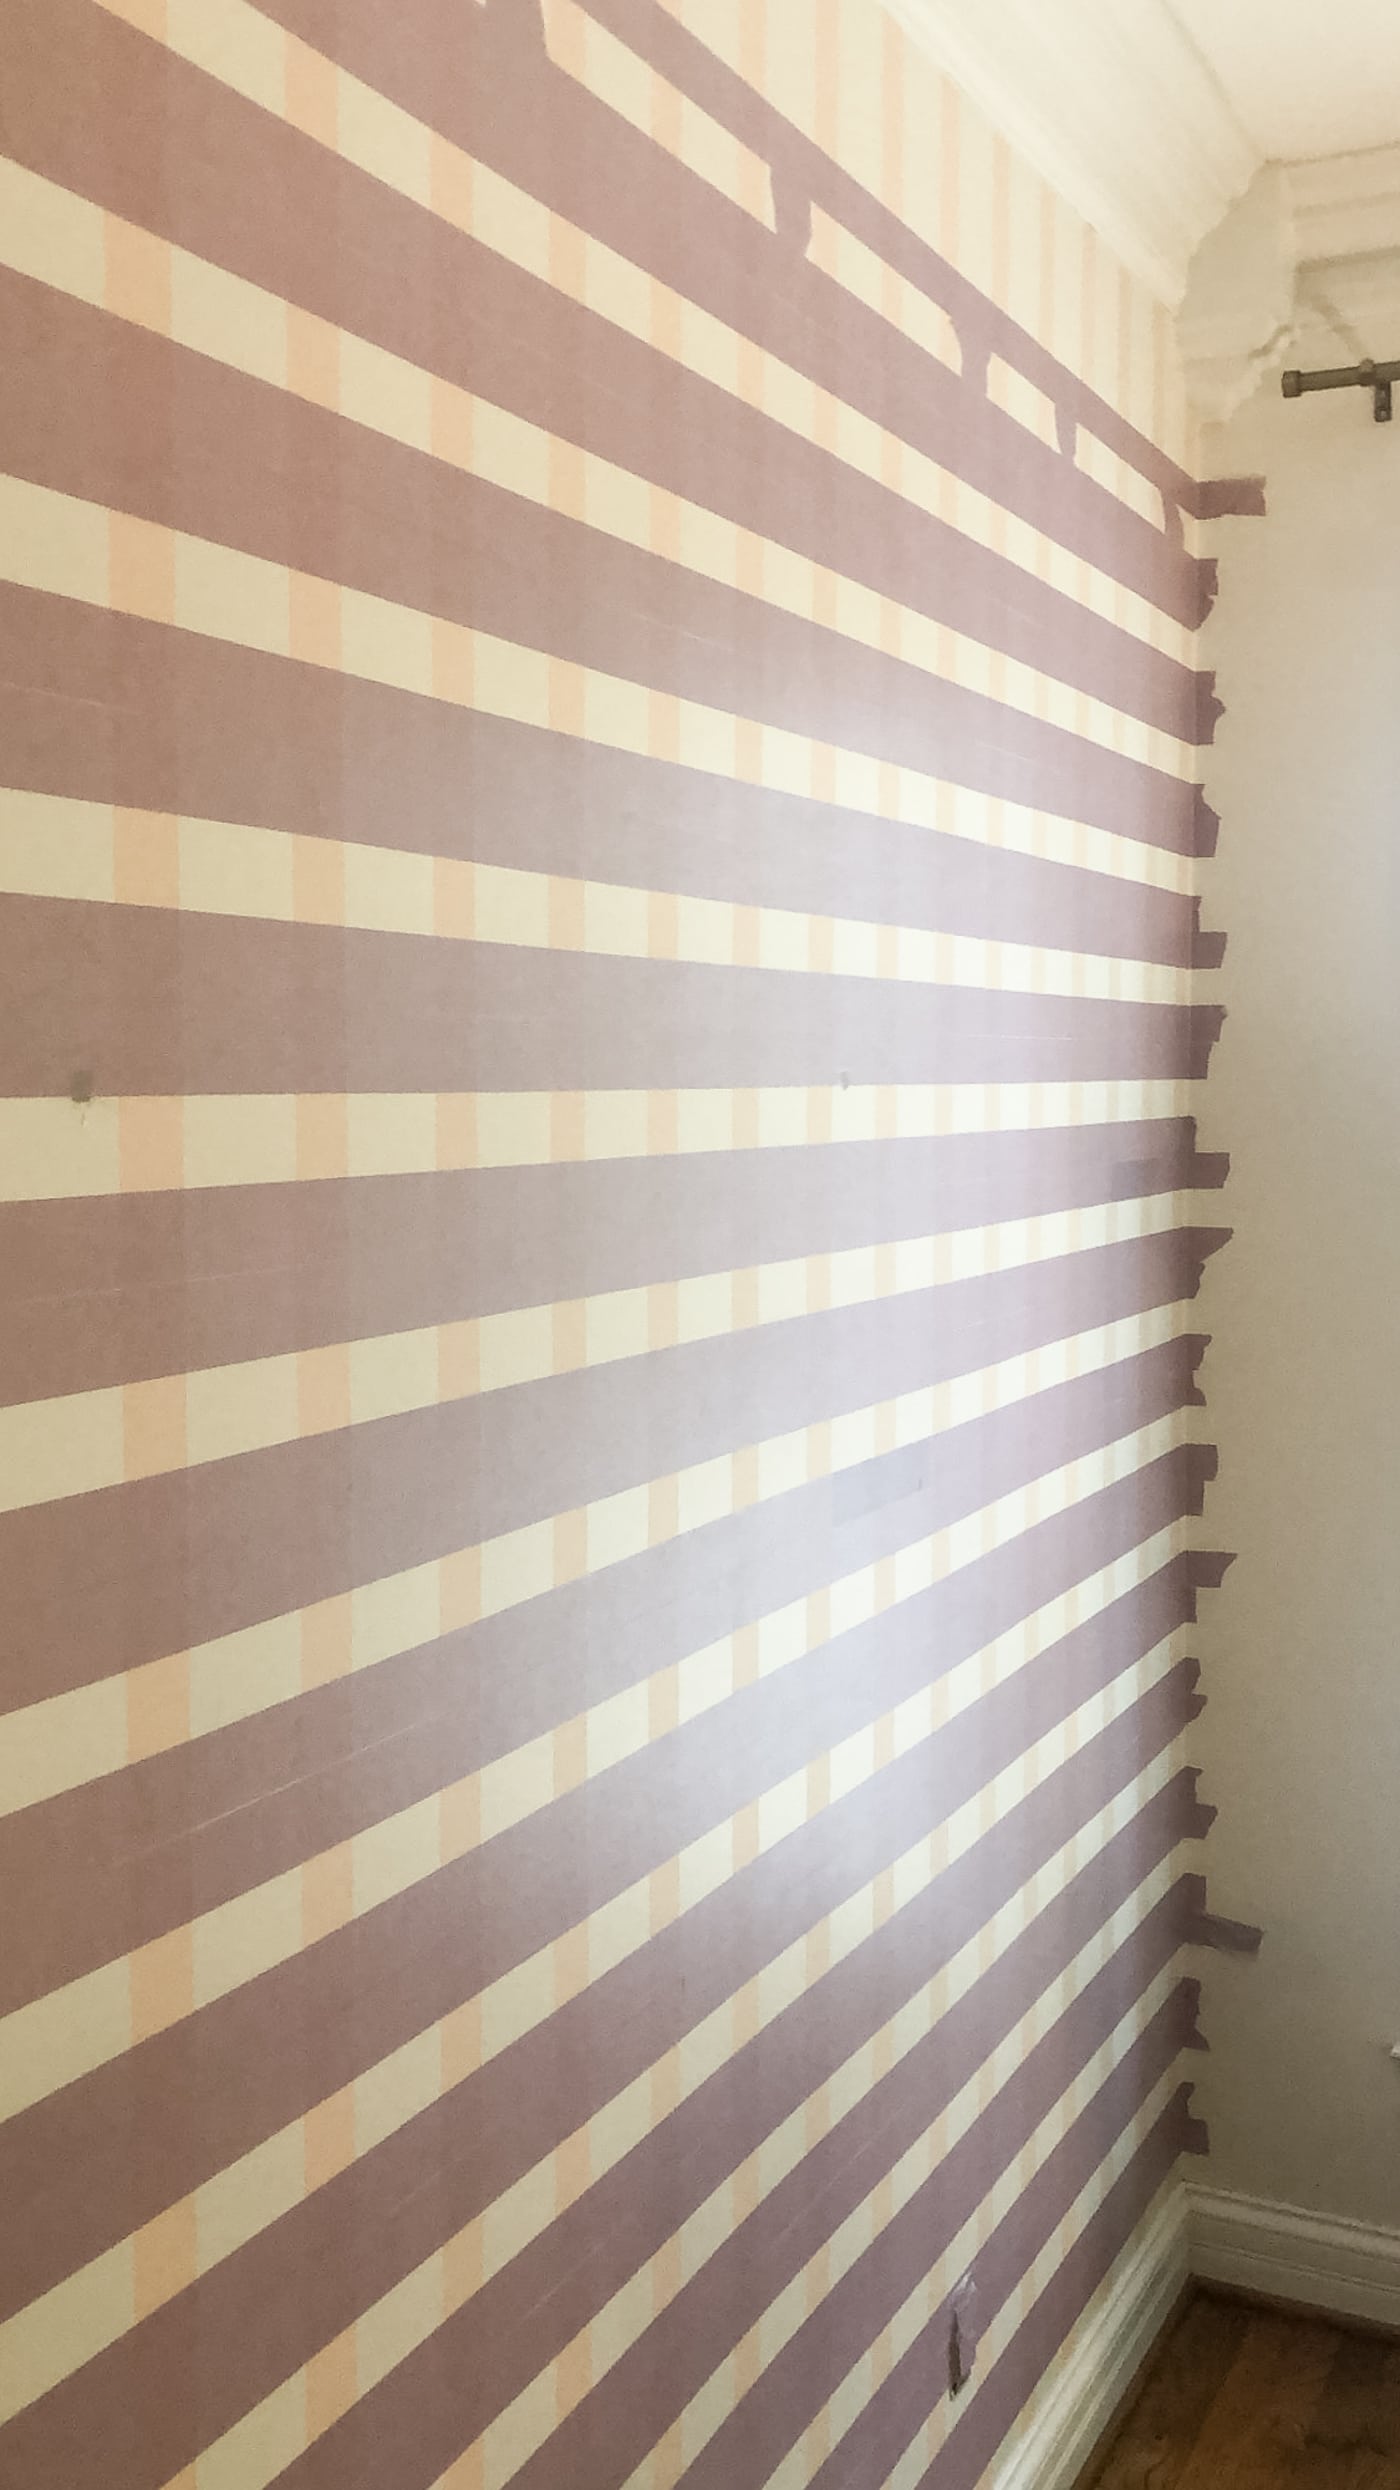
Step 8. Press Down Tape, Again
Make sure the painter's tape is pressed down tight by running a wallpaper smoothing tool along the top of the tape.
Step 9. Paint Medium Color, Again
Paint 2 coats of the medium color on all of the lines with a 1-inch paint brush.
DO NOT remove the tape after you've painted the horizontal lines. We won't remove it until the very end.
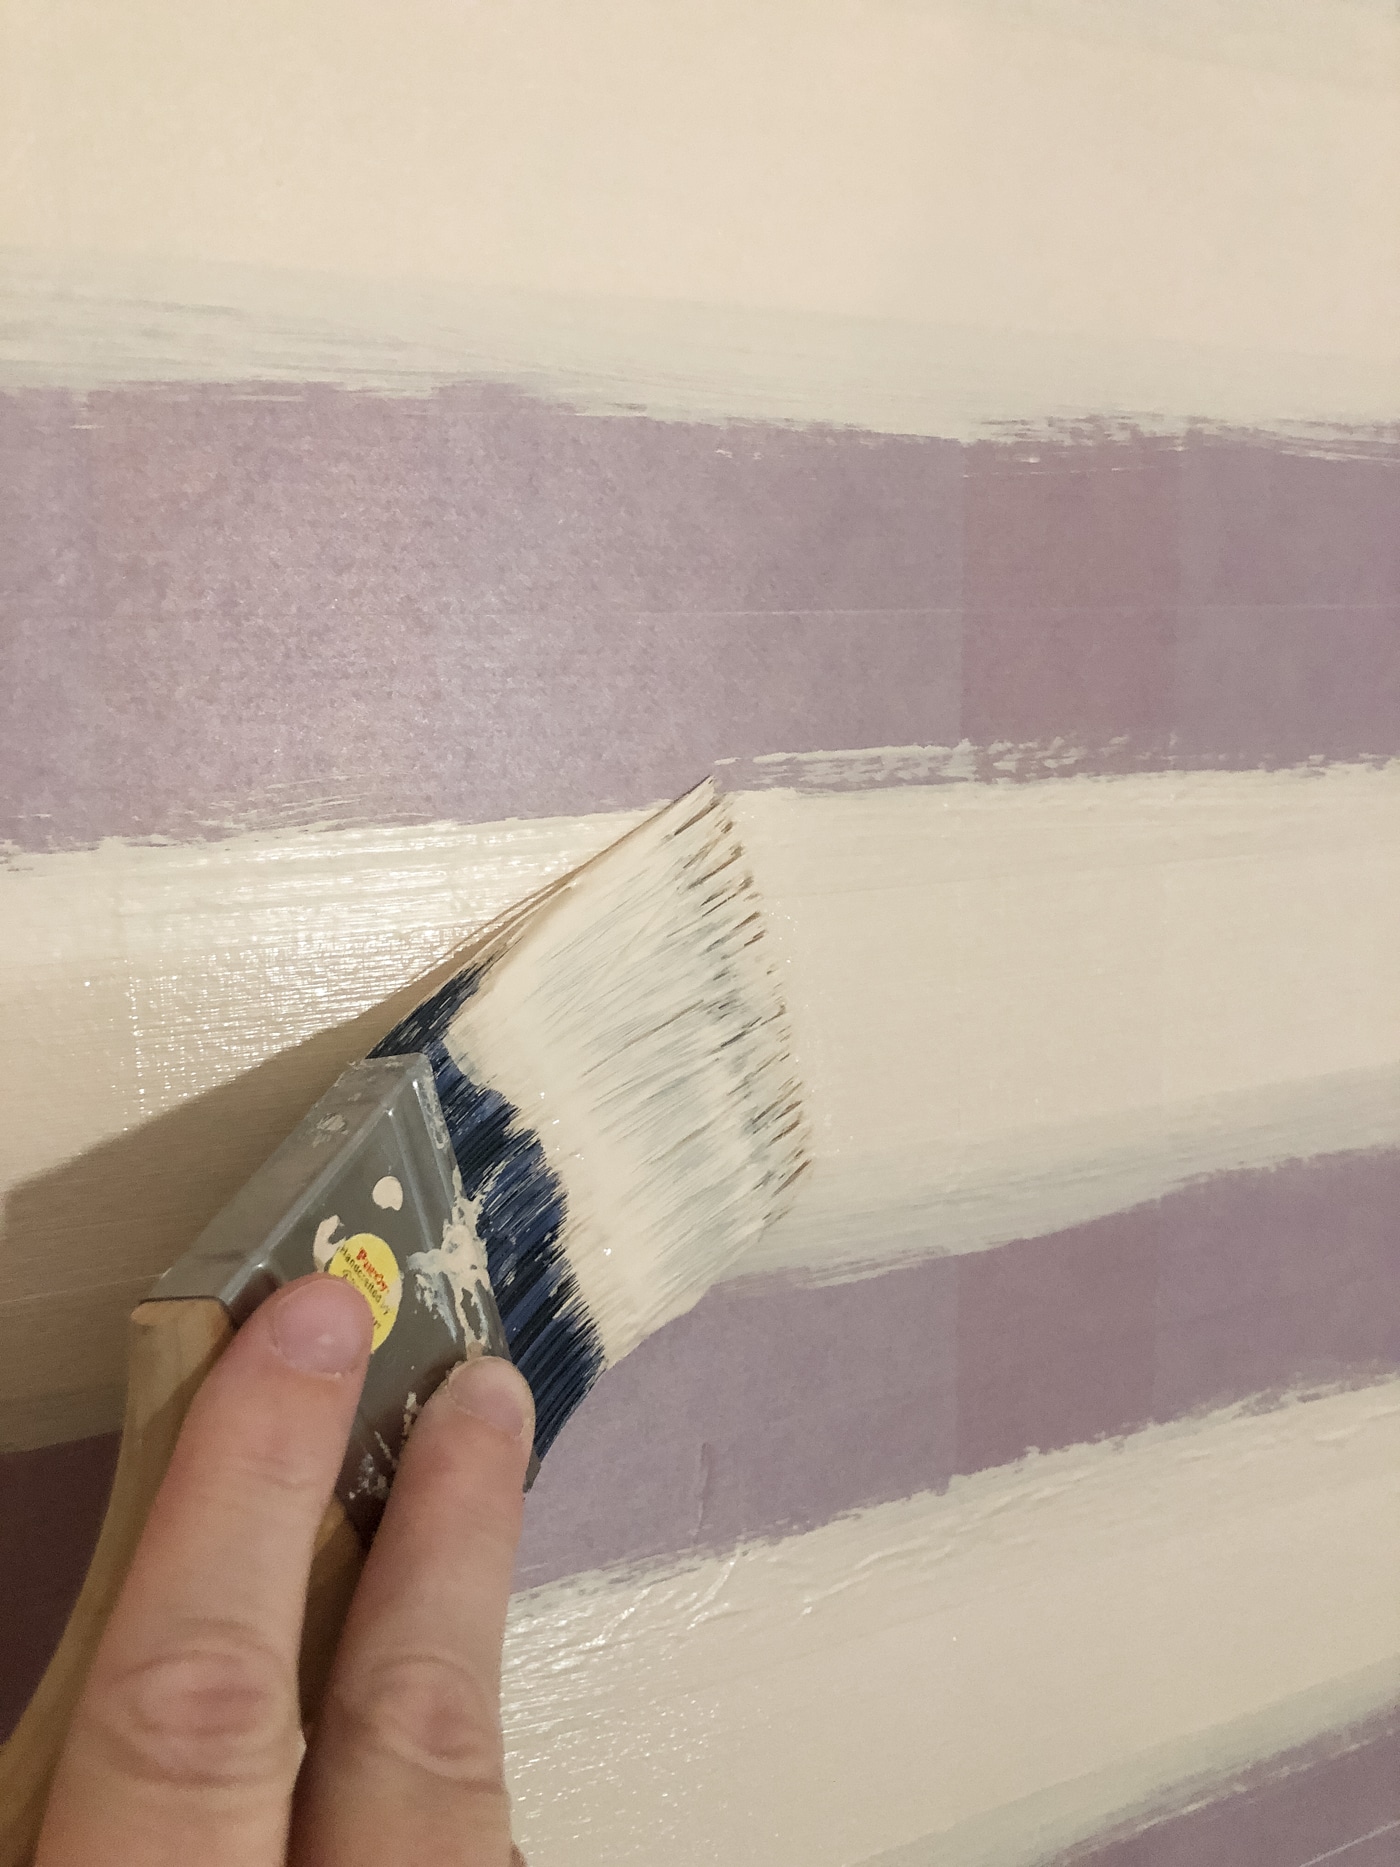
Step 10. Re-tape the Vertical Lines
Tape the vertical lines again, using the paint marks that are already there.
I found it easy to just eyeball it and tape over the lines where they were before.
Press this tape down with the wallpaper smoothing tool.
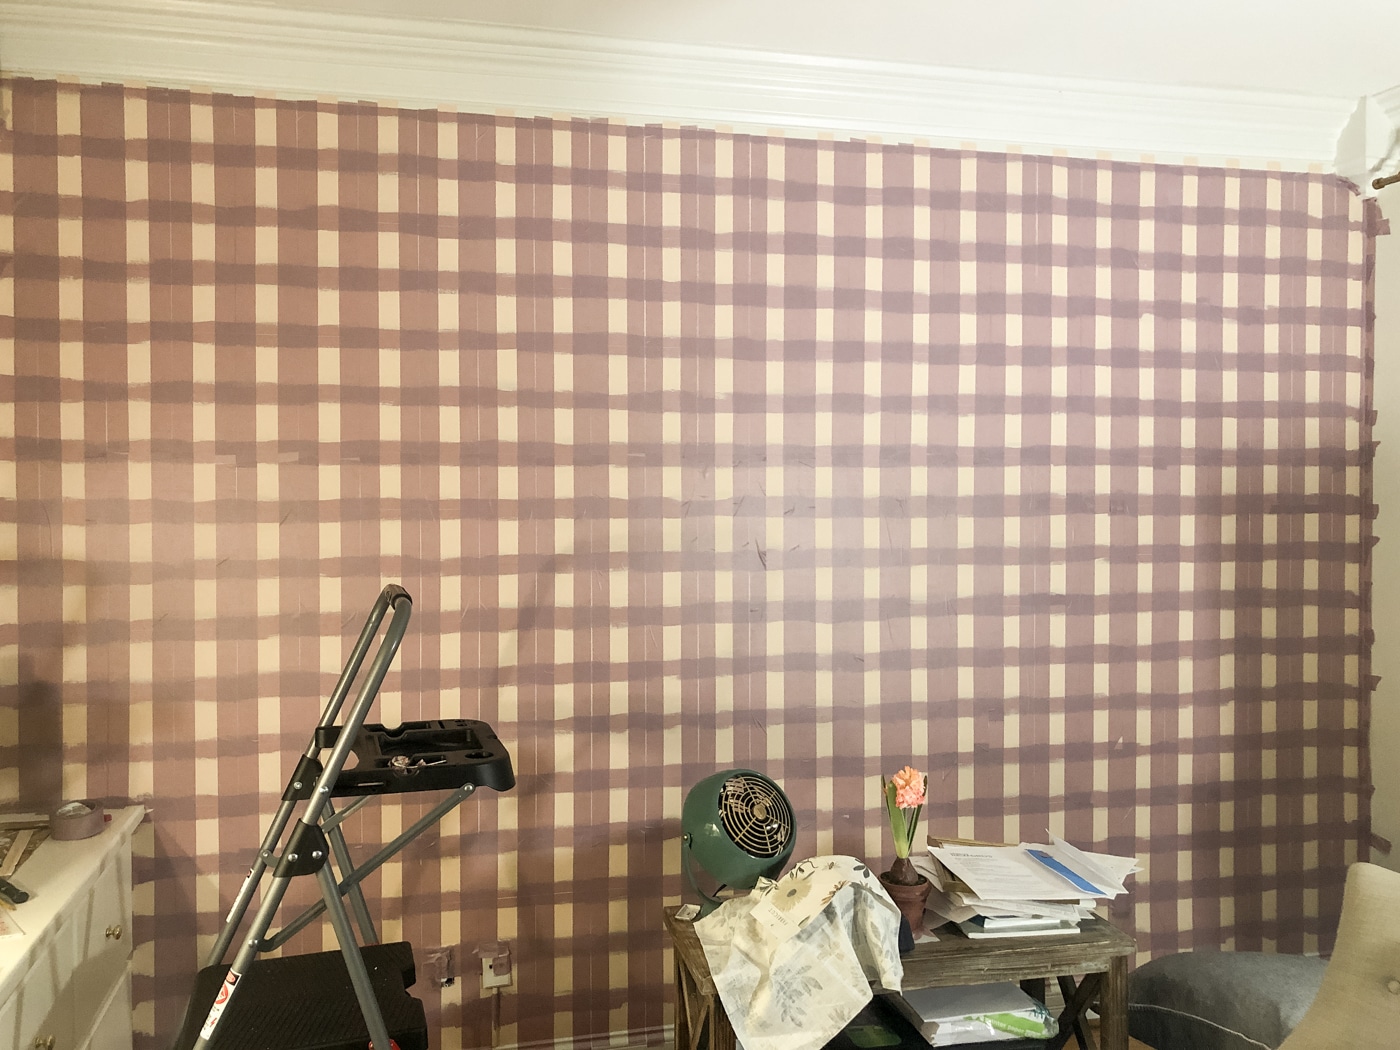
That leaves only a small open square on the wall where you'll paint the darkest color. The process feels a little crazy at this point, but I promise the results will be worth it!
Step 11. Paint the Darkest Color
Paint two coats of the darkest color into the open space in the middle of each square.
You're almost done! This creates the illusion that where the medium lines cross over, they form a darker color. You know how plaid works, but I'm just sayin'.
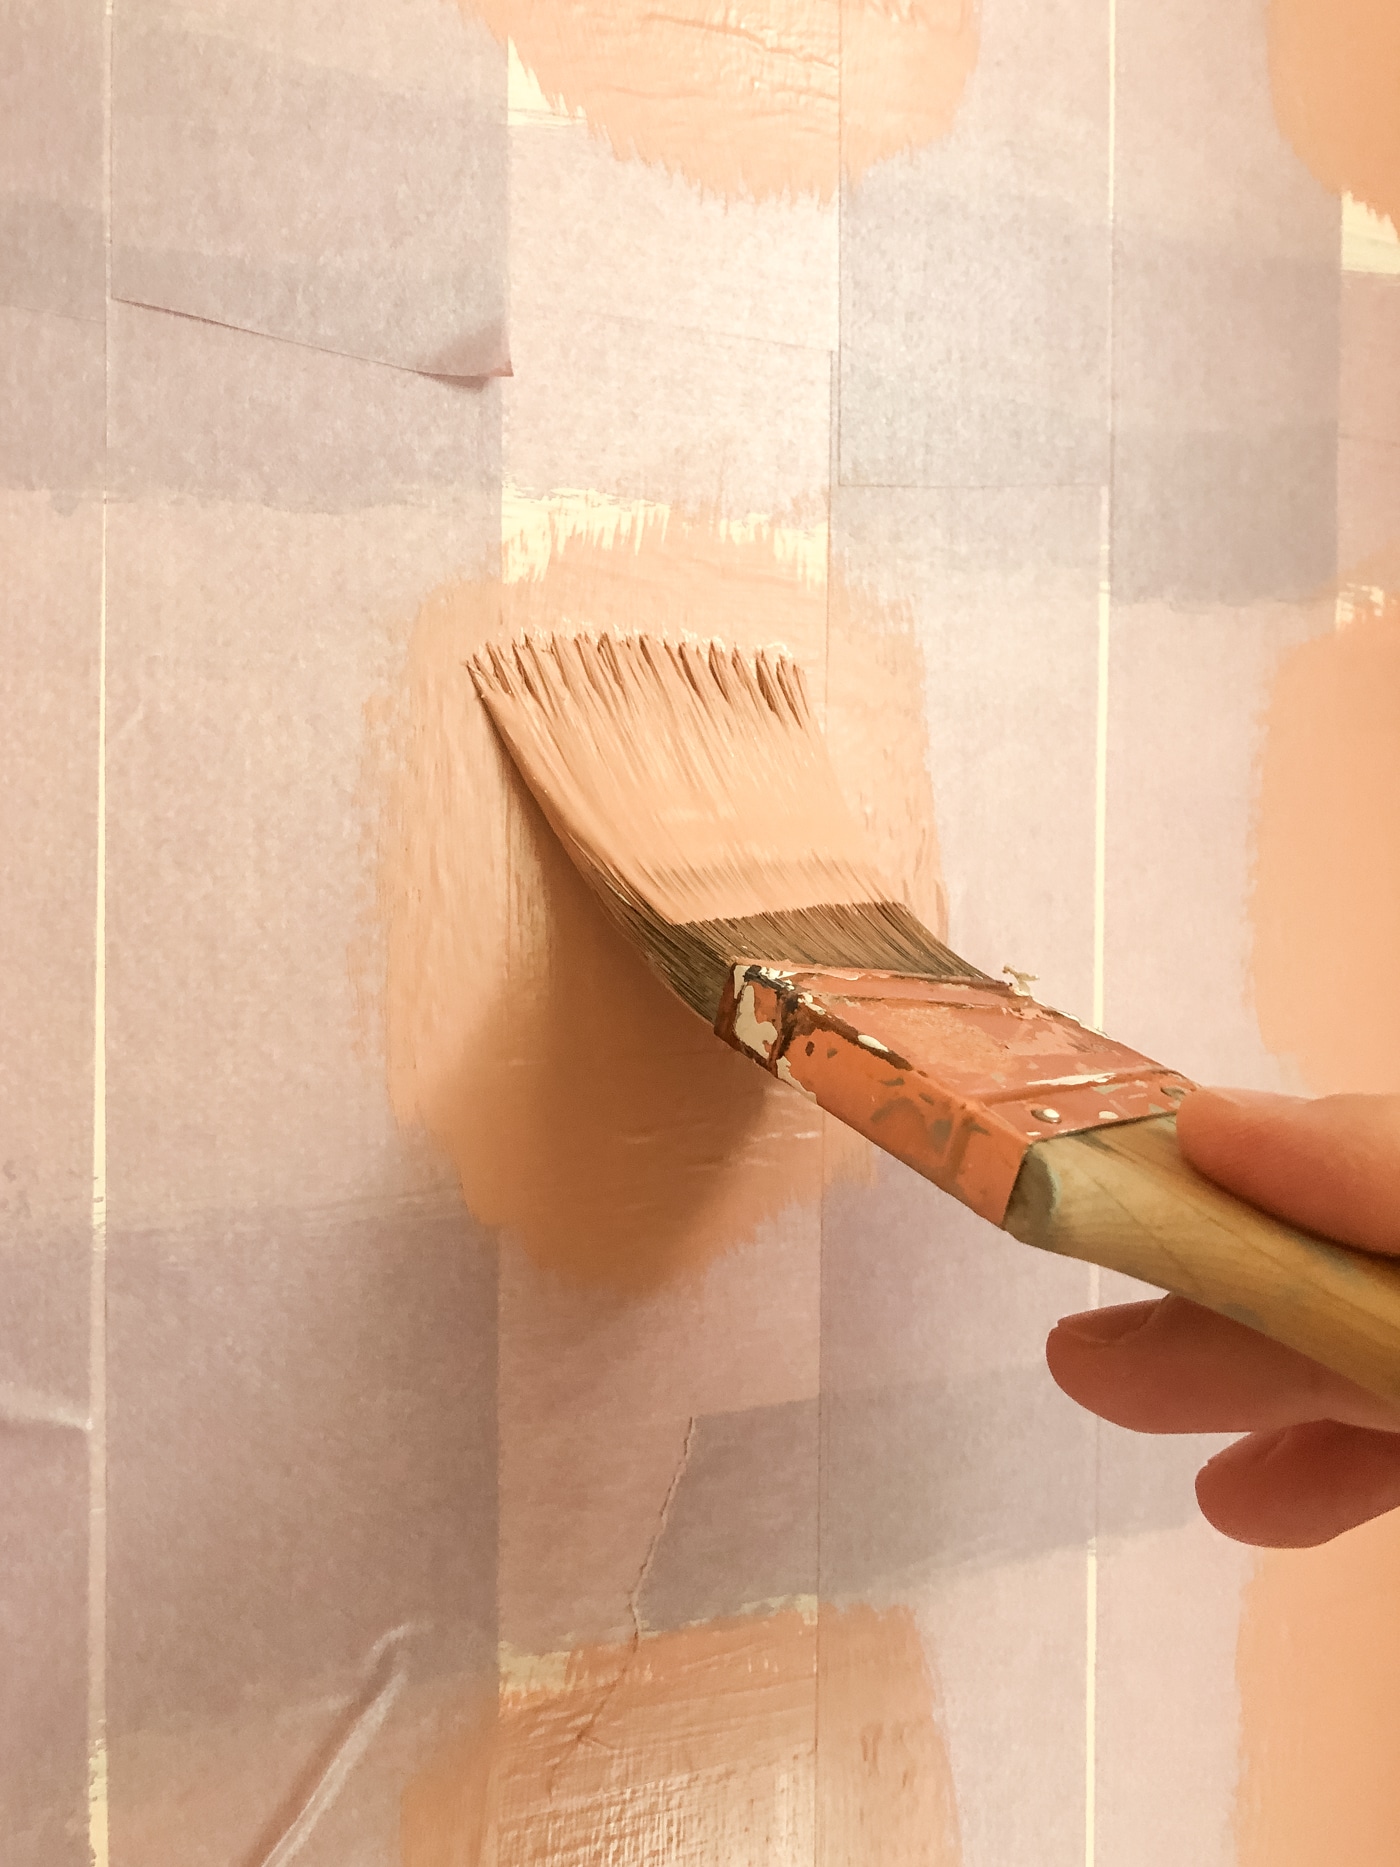
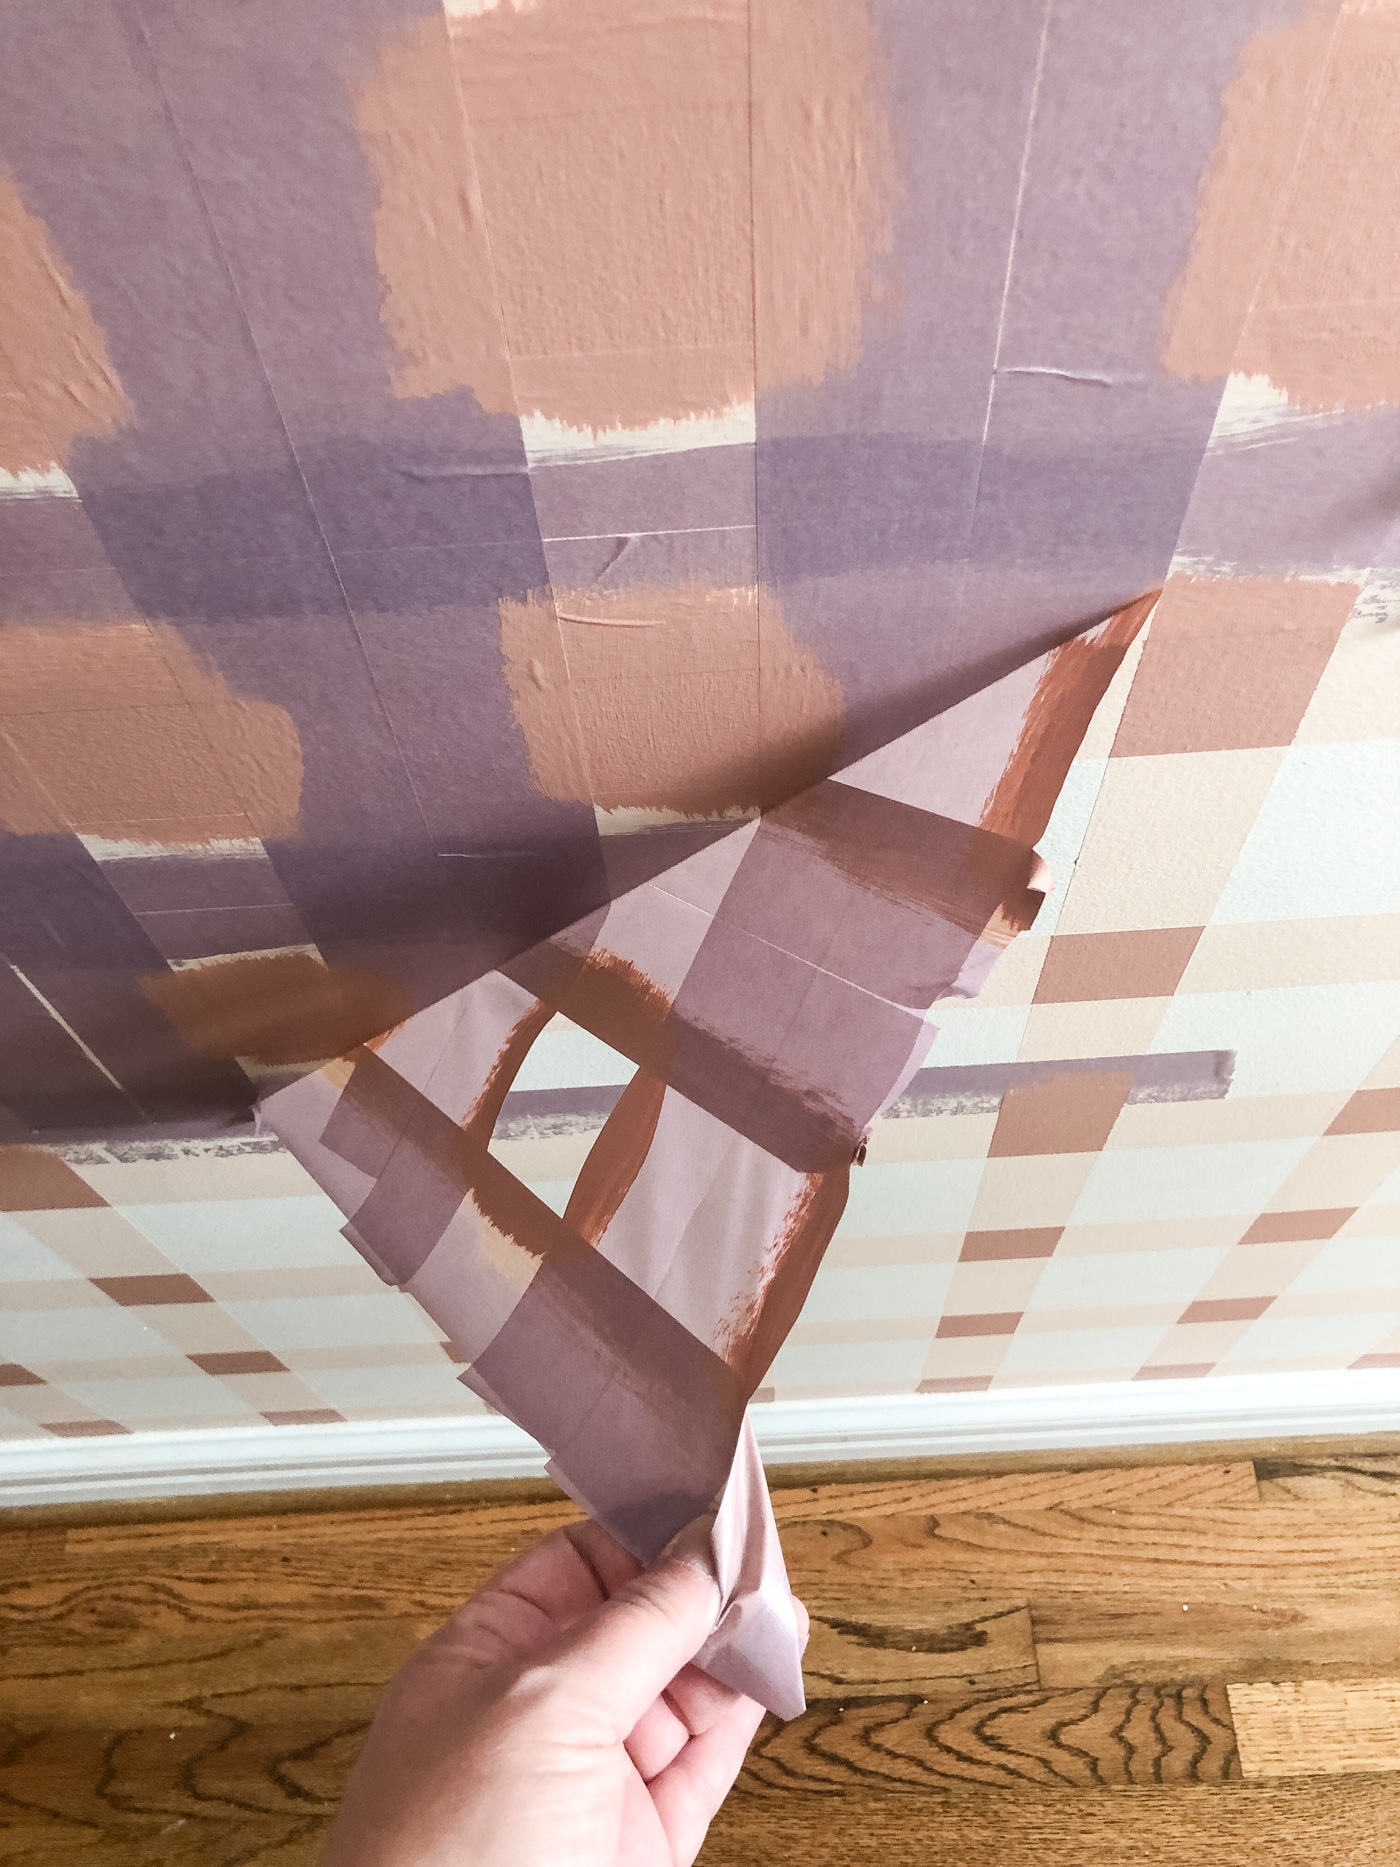
Step 12. Remove the Tape
Peel off all of the tape, then step back and admire your amazing new plaid wall!
Isn't she a beauty?!
It's honestly one of my favorite things in the whole house, and I get so many compliments on it!
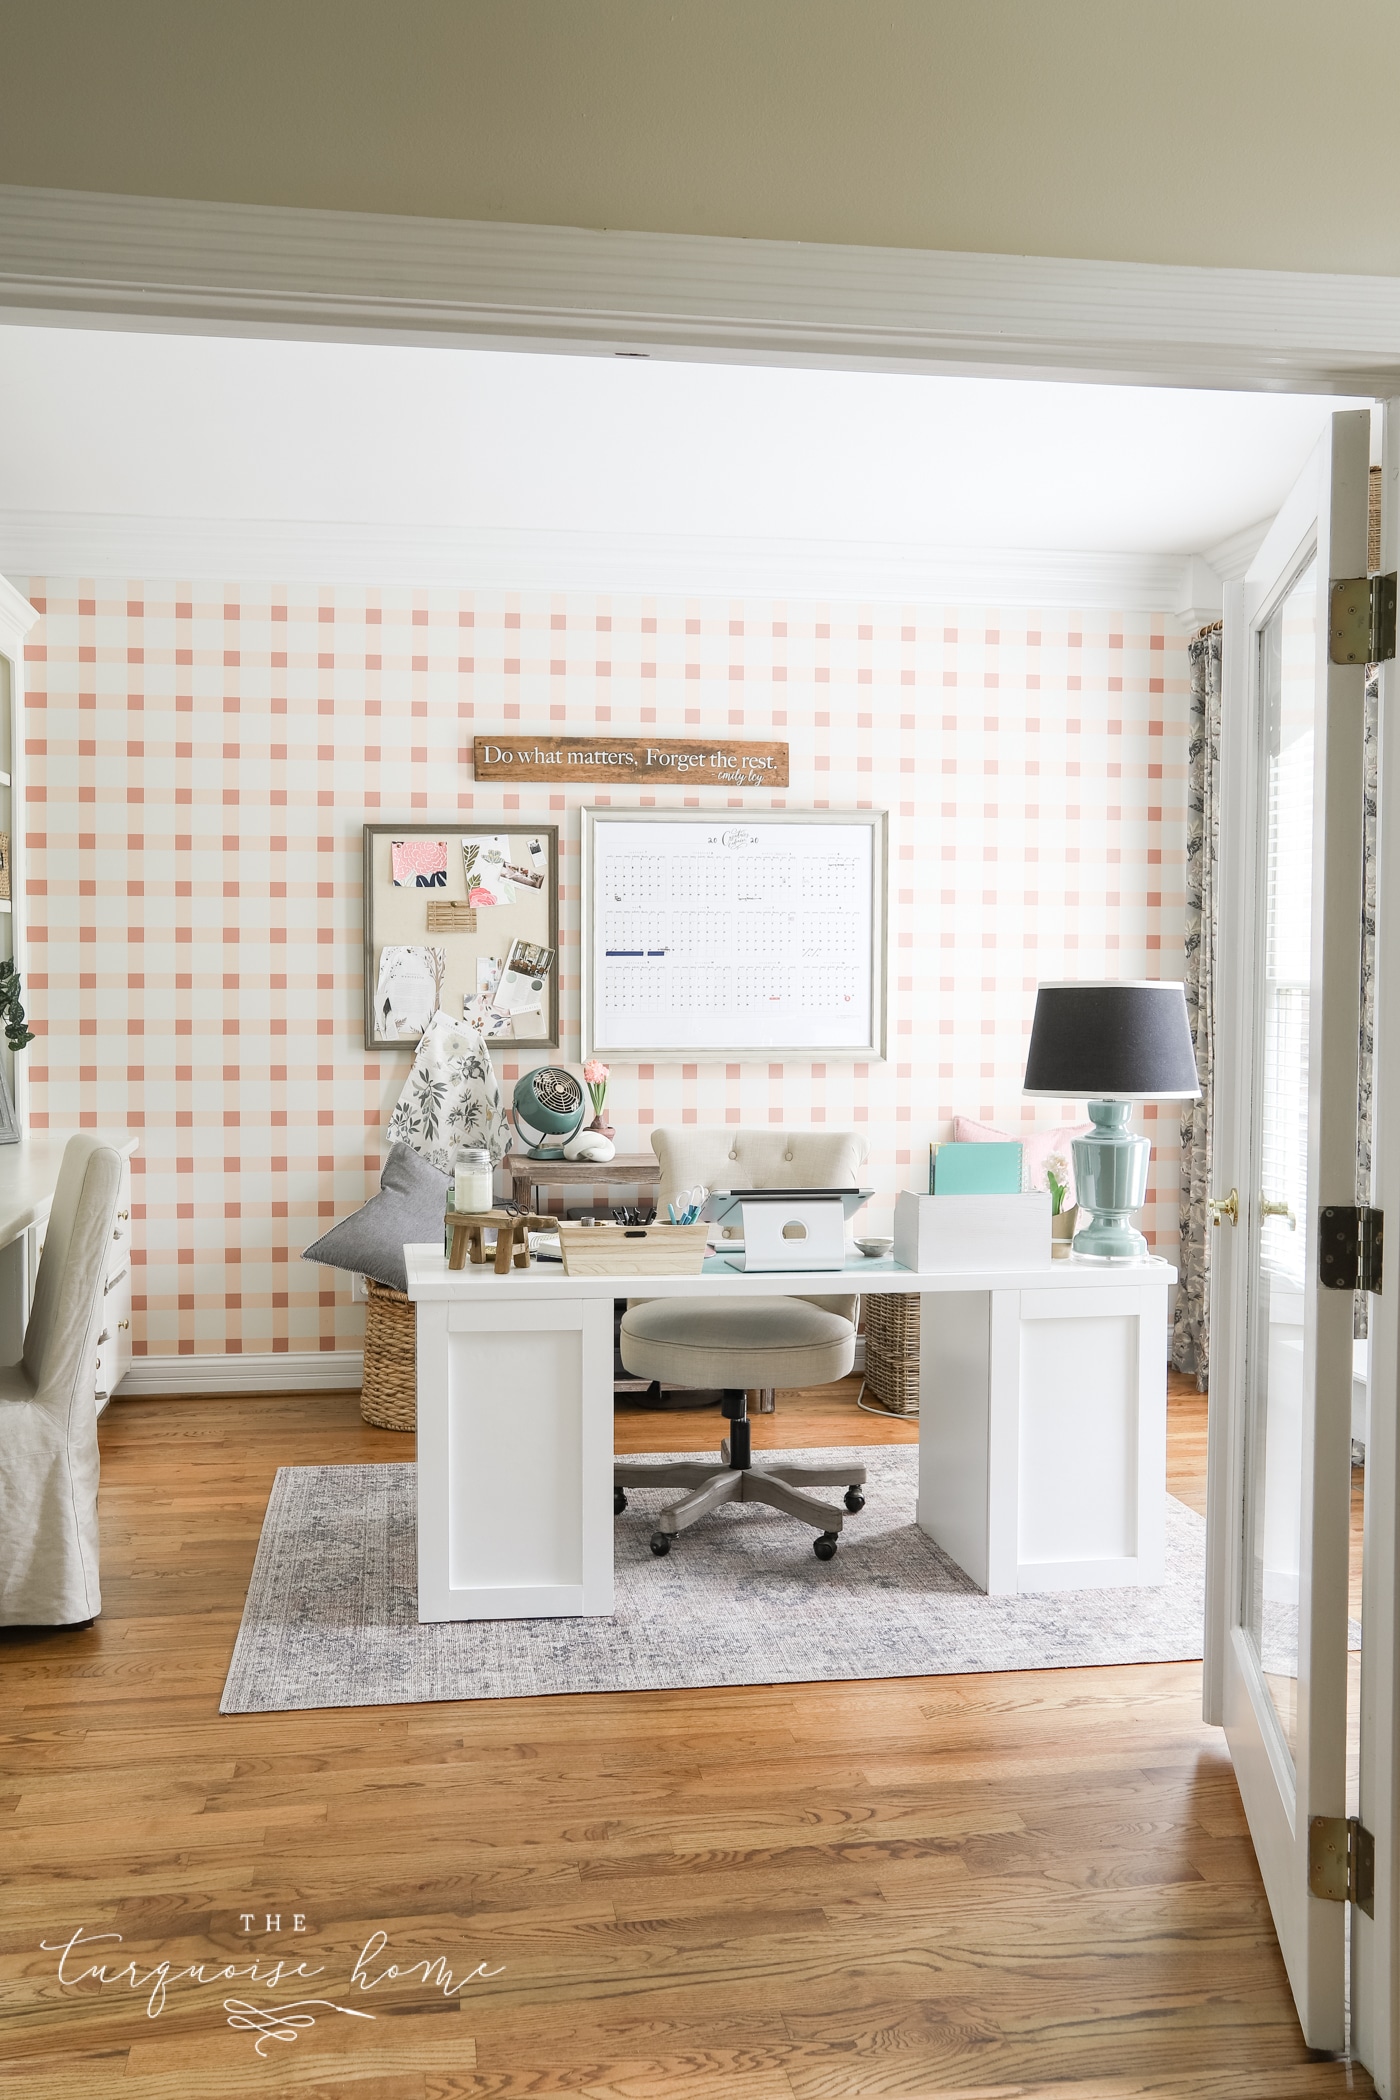
I also love how it echoes the plaid or gingham curtain in my dining room makeover. The rooms sit right across the entryway from each other, so it makes a nice link between the two.
I'd love to see if you try this in your home! If you do, tag me on Instagram @turquoisehome or email me at [email protected]!
Happy Creating!
More Posts You Will Love: