This easy DIY walkthrough explains how to frame a canvas on a budget, so any unframed artwork looks polished and complete! With basic household tools, it's a simple project for any beginner.
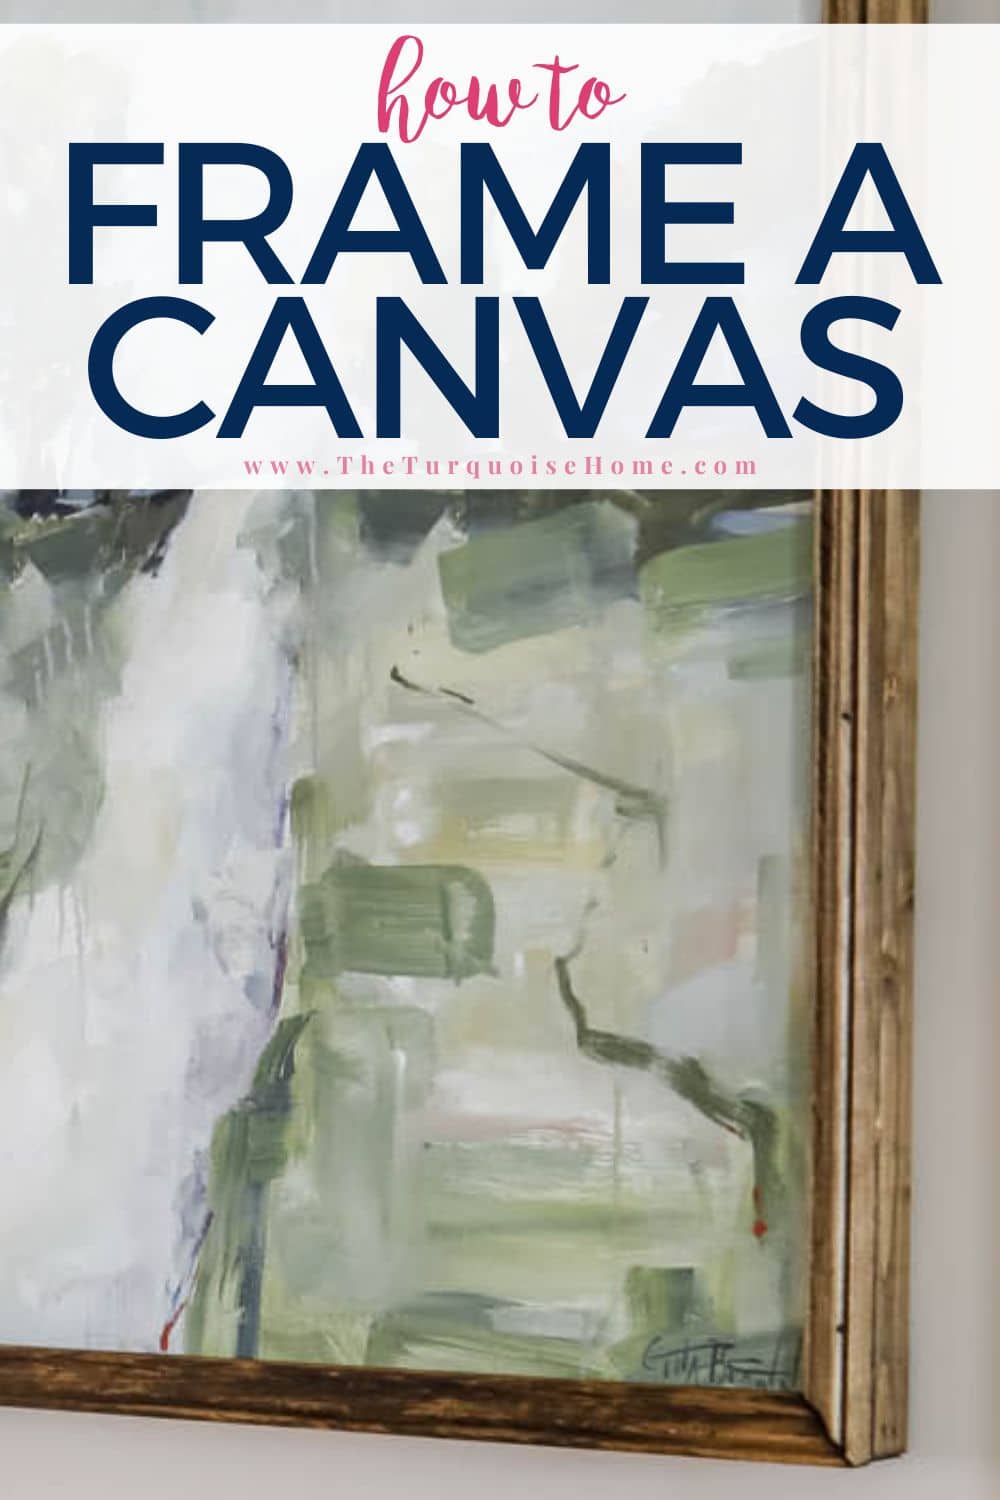
If you've ever bought unframed art or painted a lovely canvas that still feels like it's missing something, I'm here to show you how to make it look finished! You probably already own the tools in your toolbox, and you can complete this project in a weekend (or less)!
My First Experience Framing a Canvas
My love of DIY framing began years ago, when I painted an abstract piece on stretched canvas for under $22! I framed it with stained lattice strips left over from another project. It was so easy!
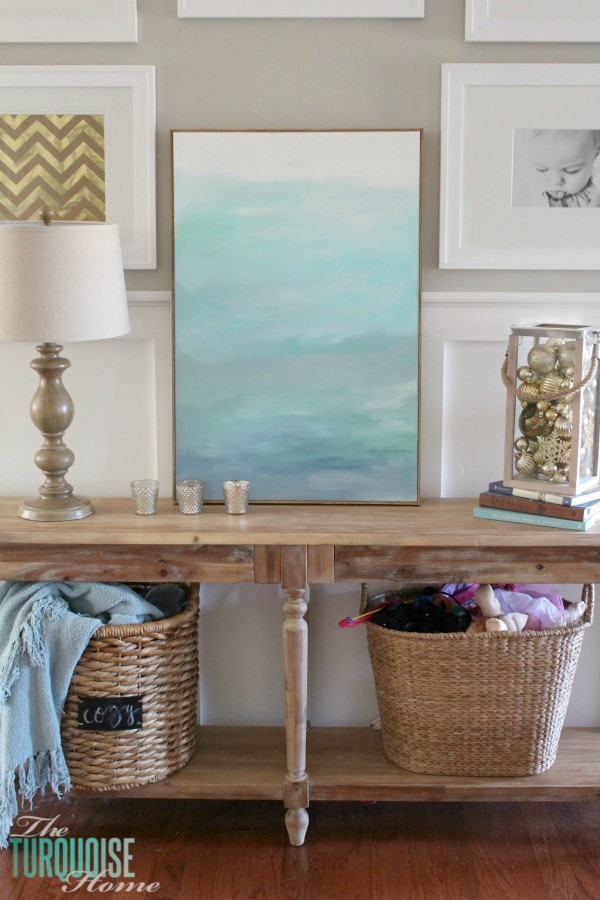
Since the canvas was a DIY project to begin with, there was no need to splurge on framing a piece made on a beer budget.
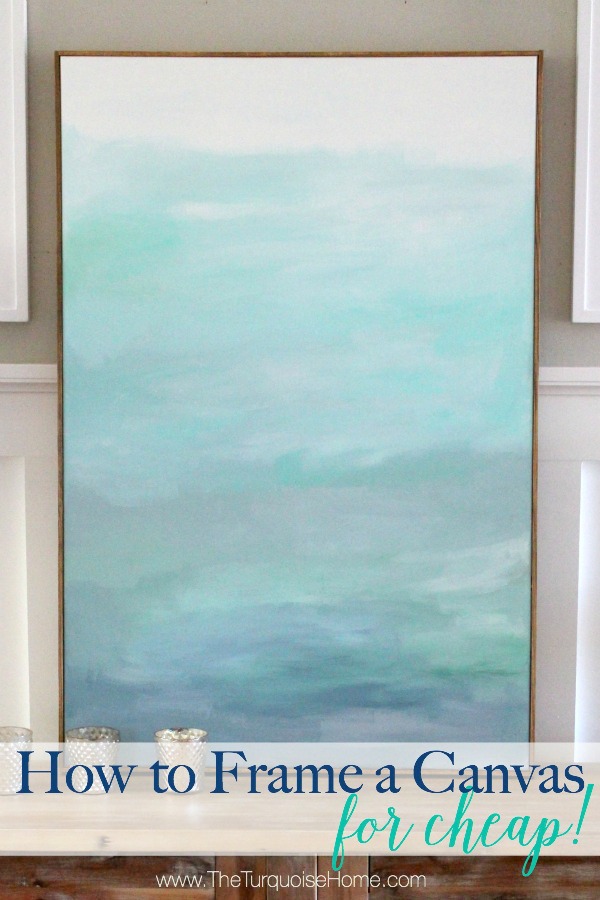
When I first finished the painting, I thought about leaving it unframed, but it soon felt unfinished.
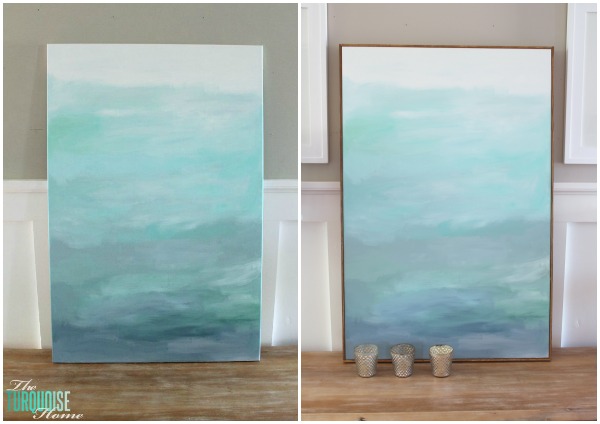
Notice how much better it looks in the second photo with a defined border?
For that project, I cut some previously stained lattice boards to size and glued them onto the canvas frame. It was cheap and easy, and a great way to frame a canvas for the lowest cost.
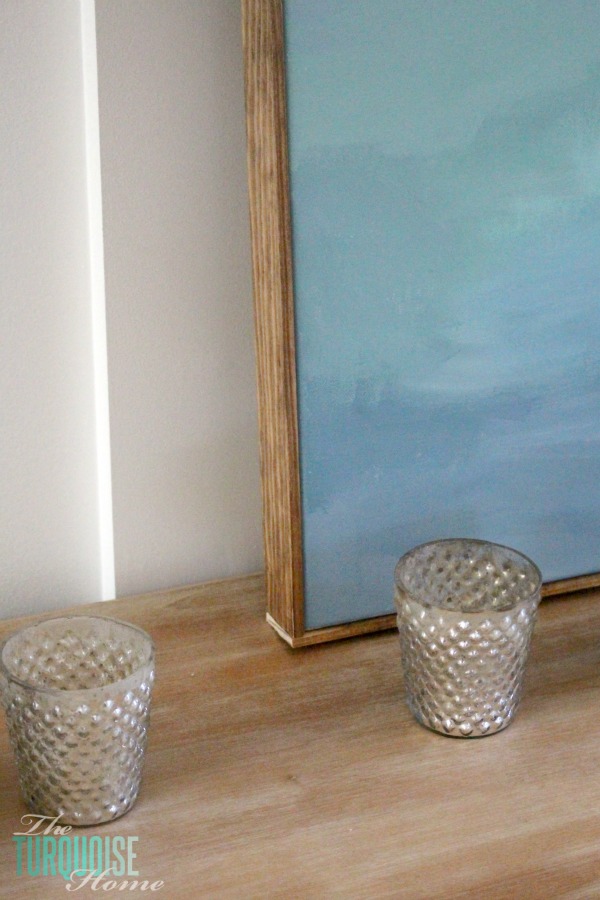
Since then, I've learned to make nicer, chunkier frames that look even better.
Since that first project, I've framed plenty of other art, including my beach-inspired DIY art, which sits in large, chunky reclaimed wood.
Most recently, I built a frame for my Frame TV, since I didn't want to spend hundreds more on a frame after paying nearly $1,000 for the TV! I already had the tools and skills to frame a canvas, so surely I could frame a TV. And I did!
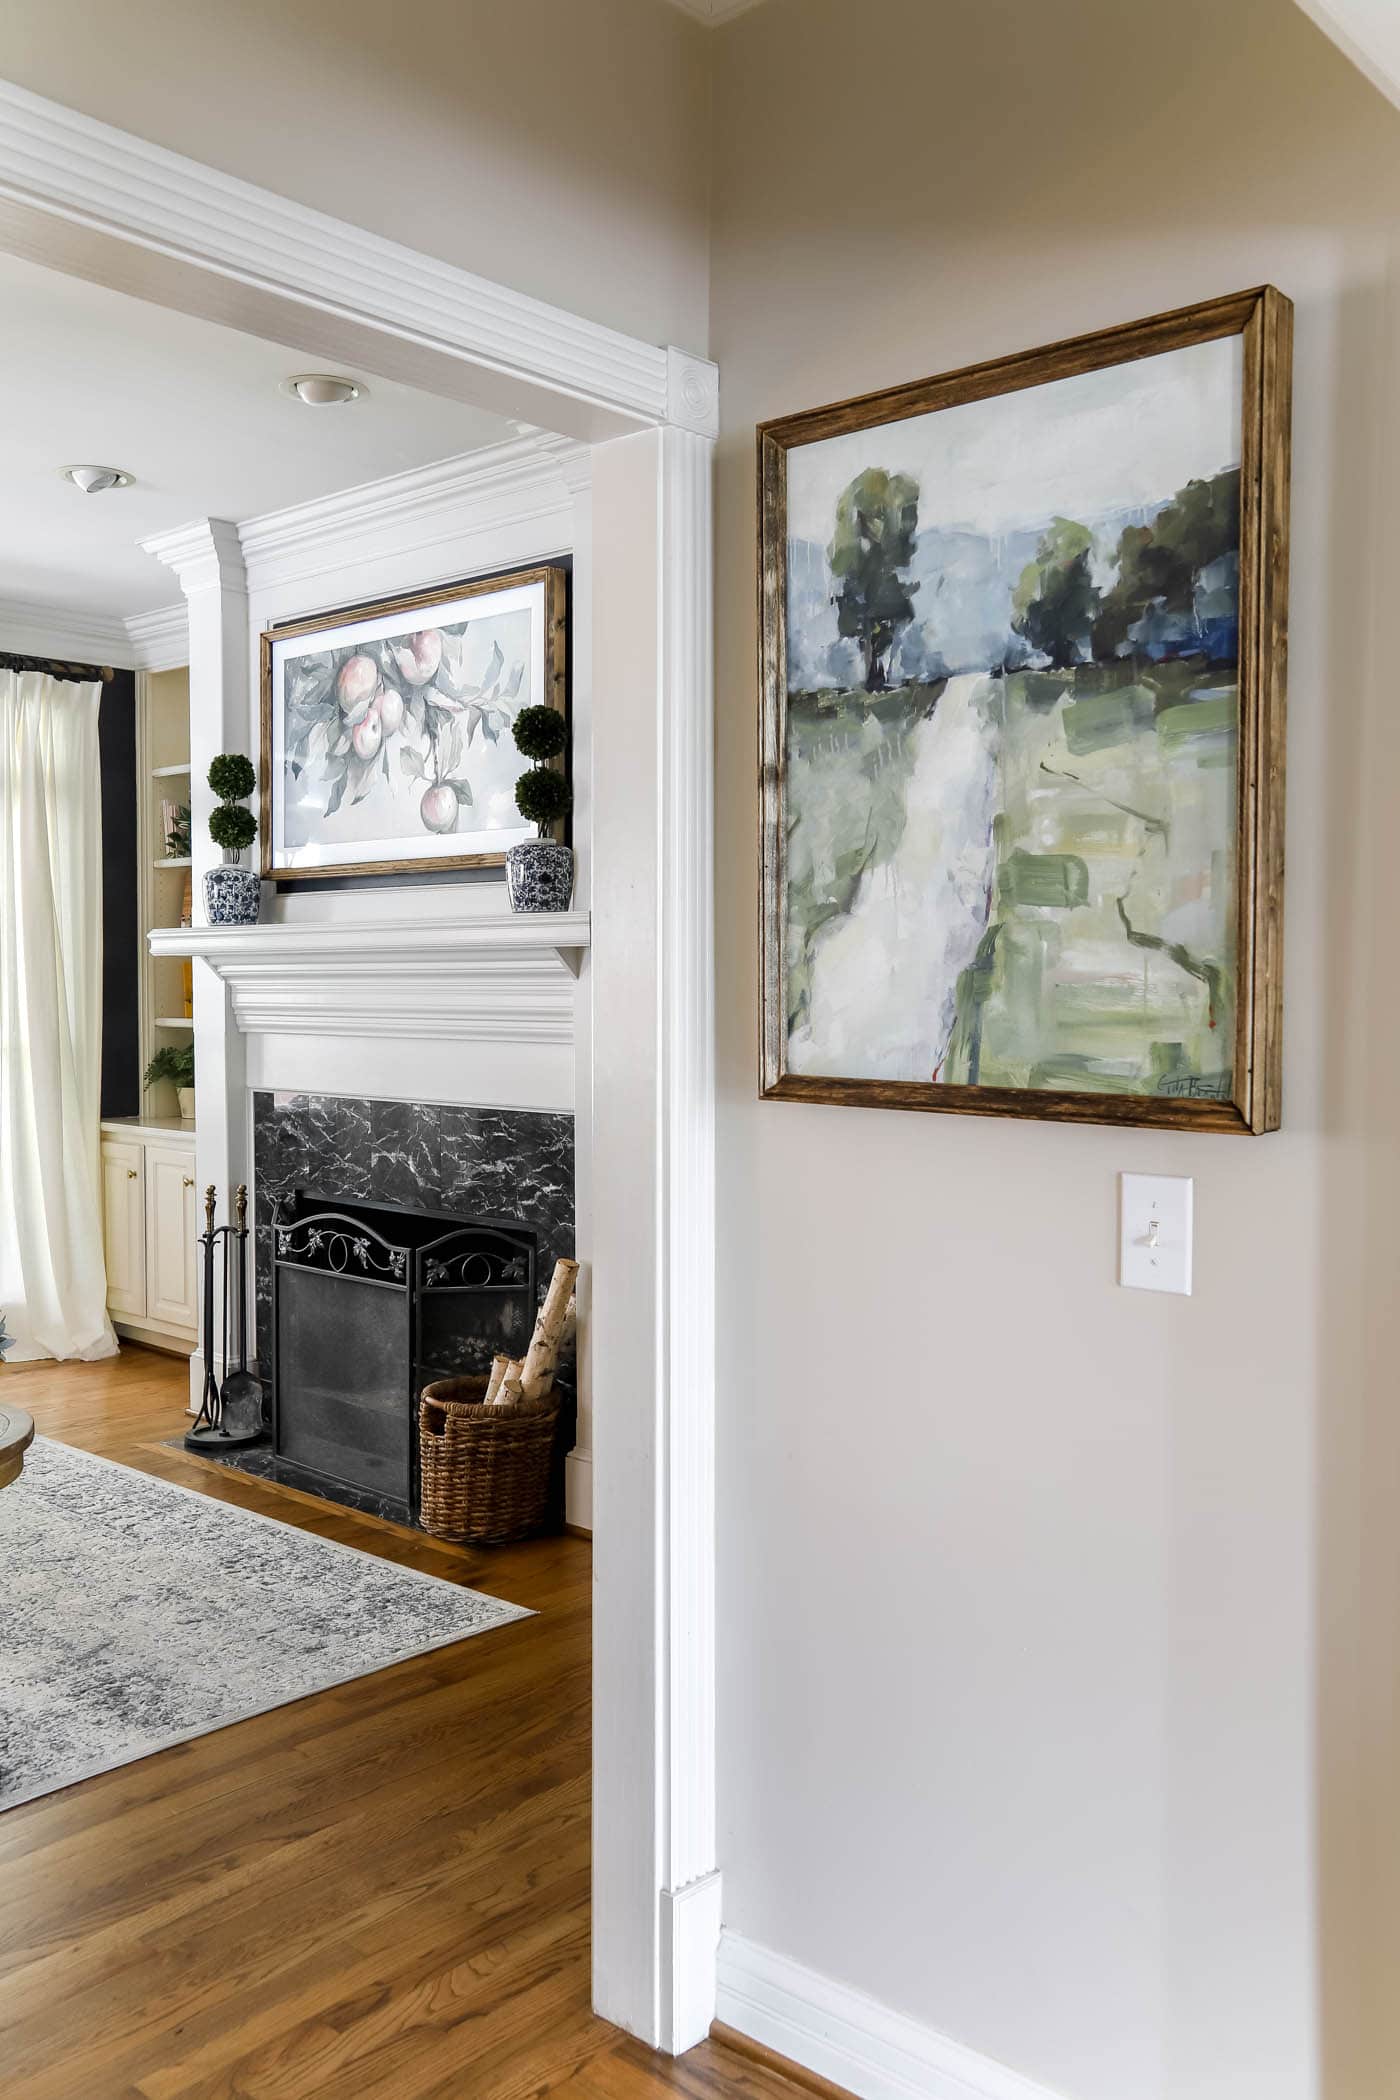
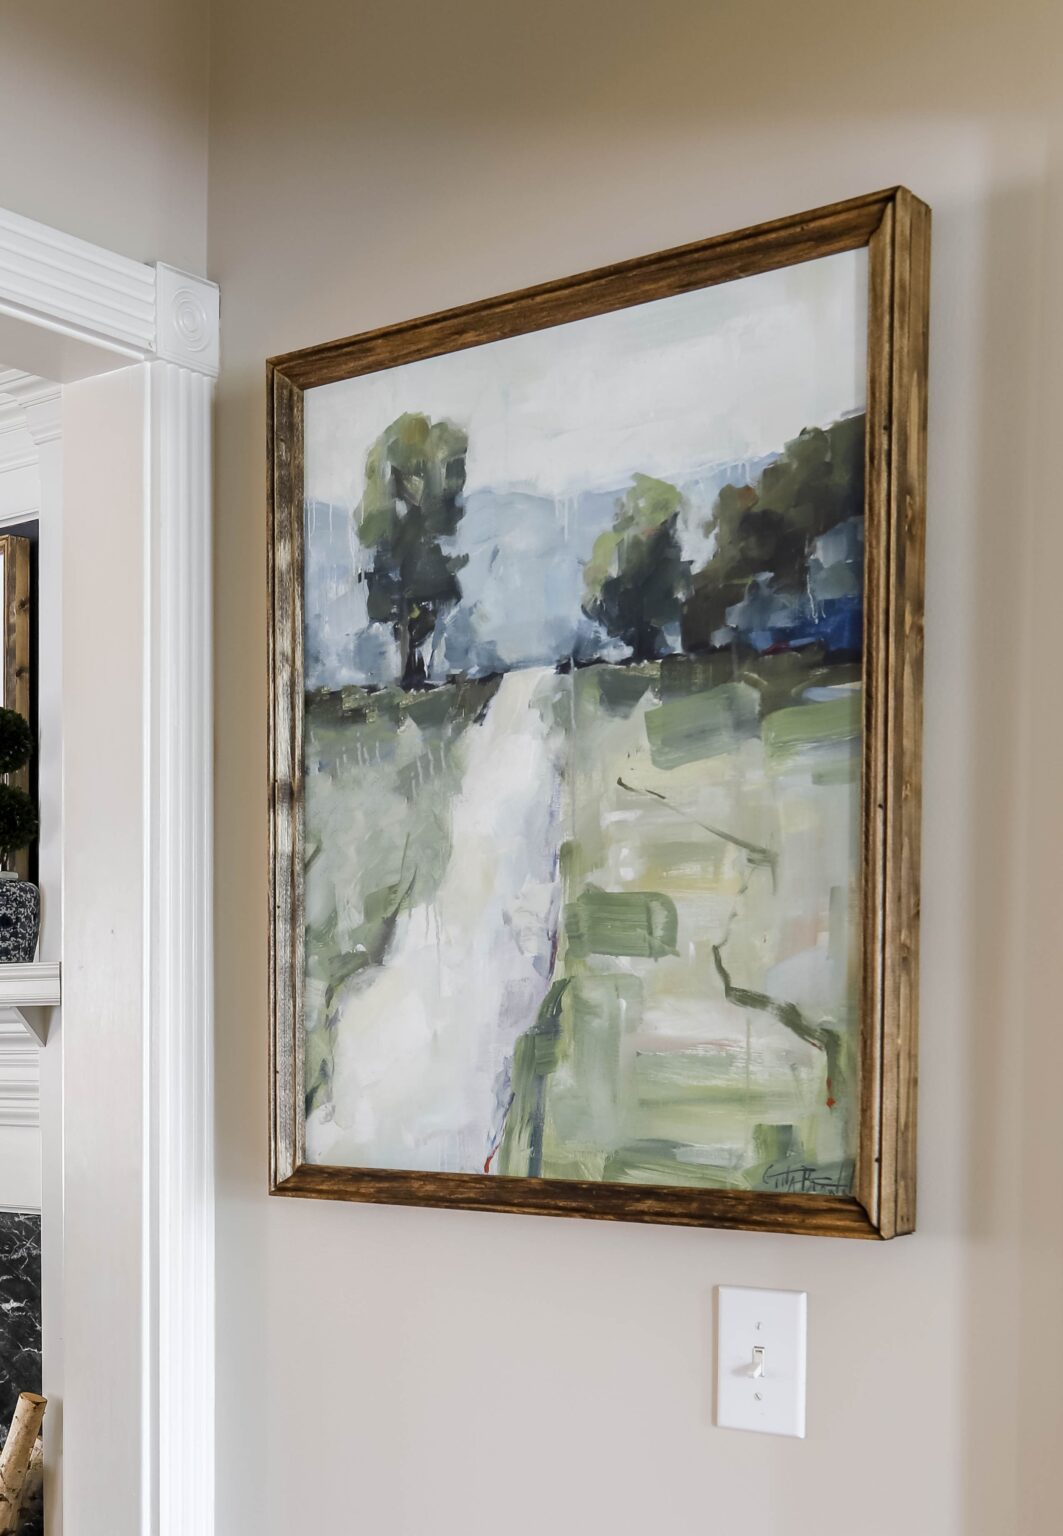
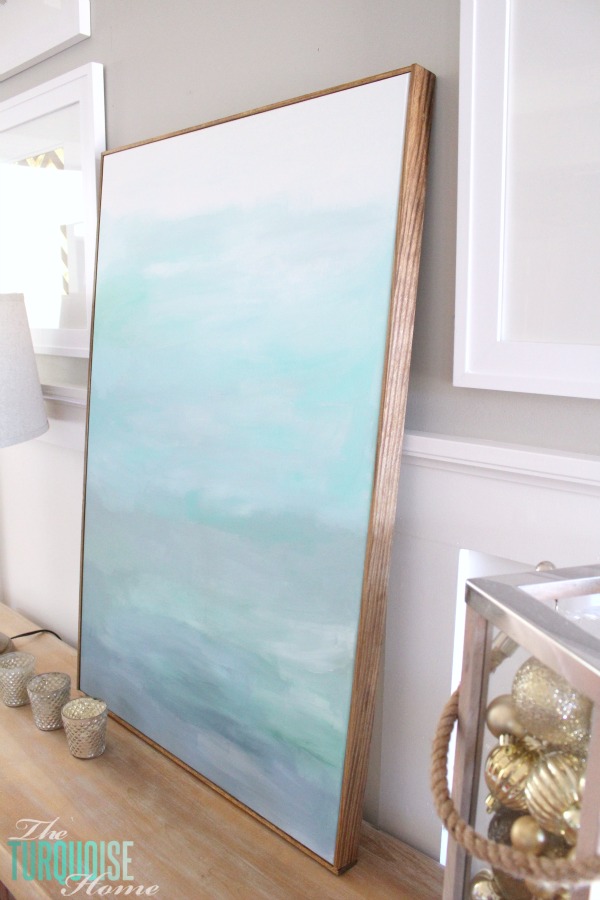
While I was at it, I framed a canvas painting near my entryway. Ordering it unframed saved nearly $200, and I knew I could build a beautiful frame for it.
Another reason to make your own frames is that you can choose the style, color and size to match the rest of your home. It's a handy DIY skill to keep in your back pocket.

Materials You'll Need to Frame a Canvas
- Wood Trim of your choice:
- Modern, simple option: Use lattice, 1×3s or 1×2s cut to the length of your canvas perimeter. I used three 4-foot pieces of lattice for my original canvas frame.
- Traditional, ornate option: Use 1×2 or 1×3 boards plus a decorative molding trim piece, cut to the length of your canvas perimeter.
- Wood glue
- 1.5-inch finish nails
- Sandpaper
- Paint or stain, whichever you prefer
- Polyurethane or Polycrylic, optional
- Wood filler, optional
- Sawtooth hangers or D-rings
Tools You'll Need to Frame a Canvas
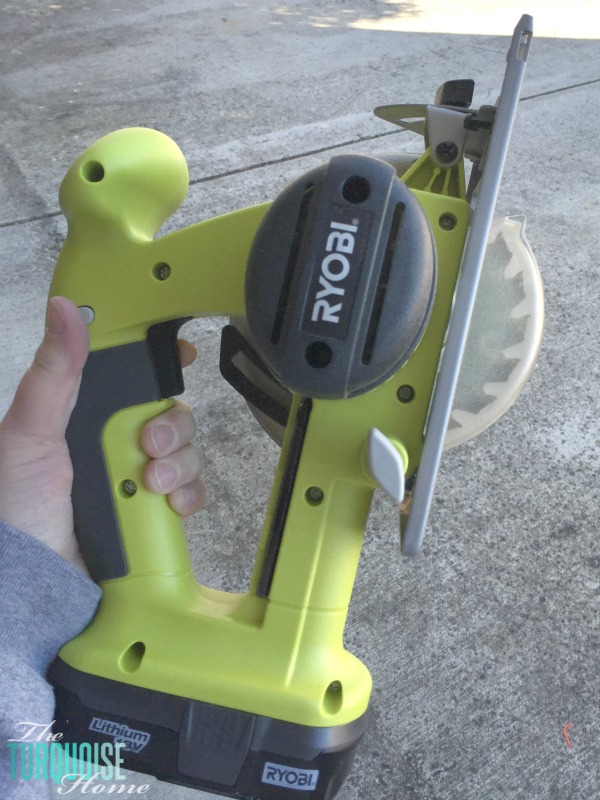
- Miter saw – If you don't own one, try miter shears or a handsaw and miter box. If you go with a butt joint, a circular saw works too.
- Brad nailer – This is the one I used!
- Pencil
- Tape measure
- Rag or foam brush
- Corner clamps, optional but really handy
Step-by-Step Canvas Framing Instructions
Let's dive into the steps for upgrading your unframed artwork.
1. Pick Your Corner Joint
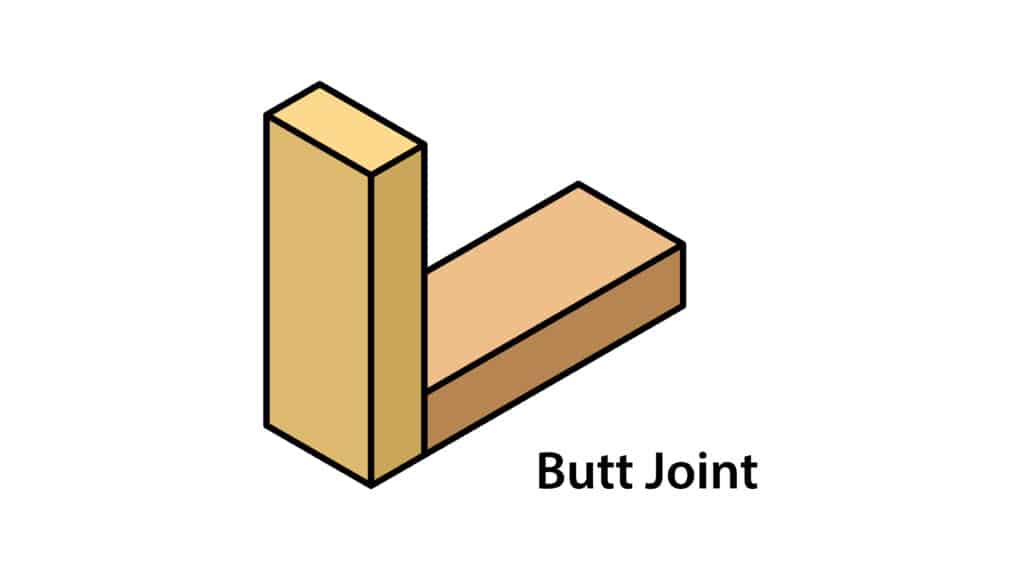
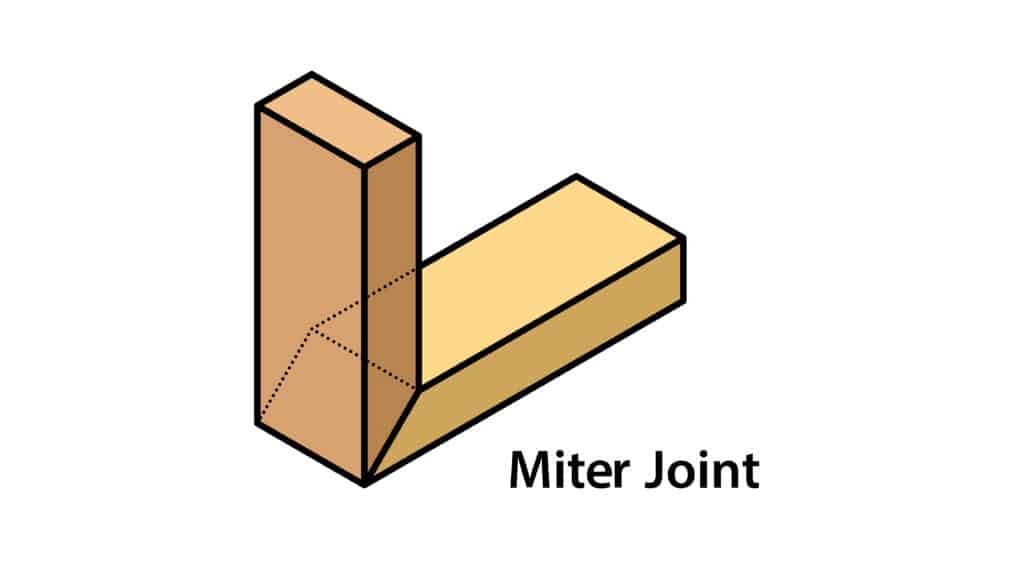
First, decide which corner joint to use when building your frame. I've used one of these two options: miter corner joint or square butt joint.
Technically, both are butt joints because the ends meet each other. There are other ways to join a frame, but these two are the easiest and, in my experience, all you need for framing art.
The Miter Joint
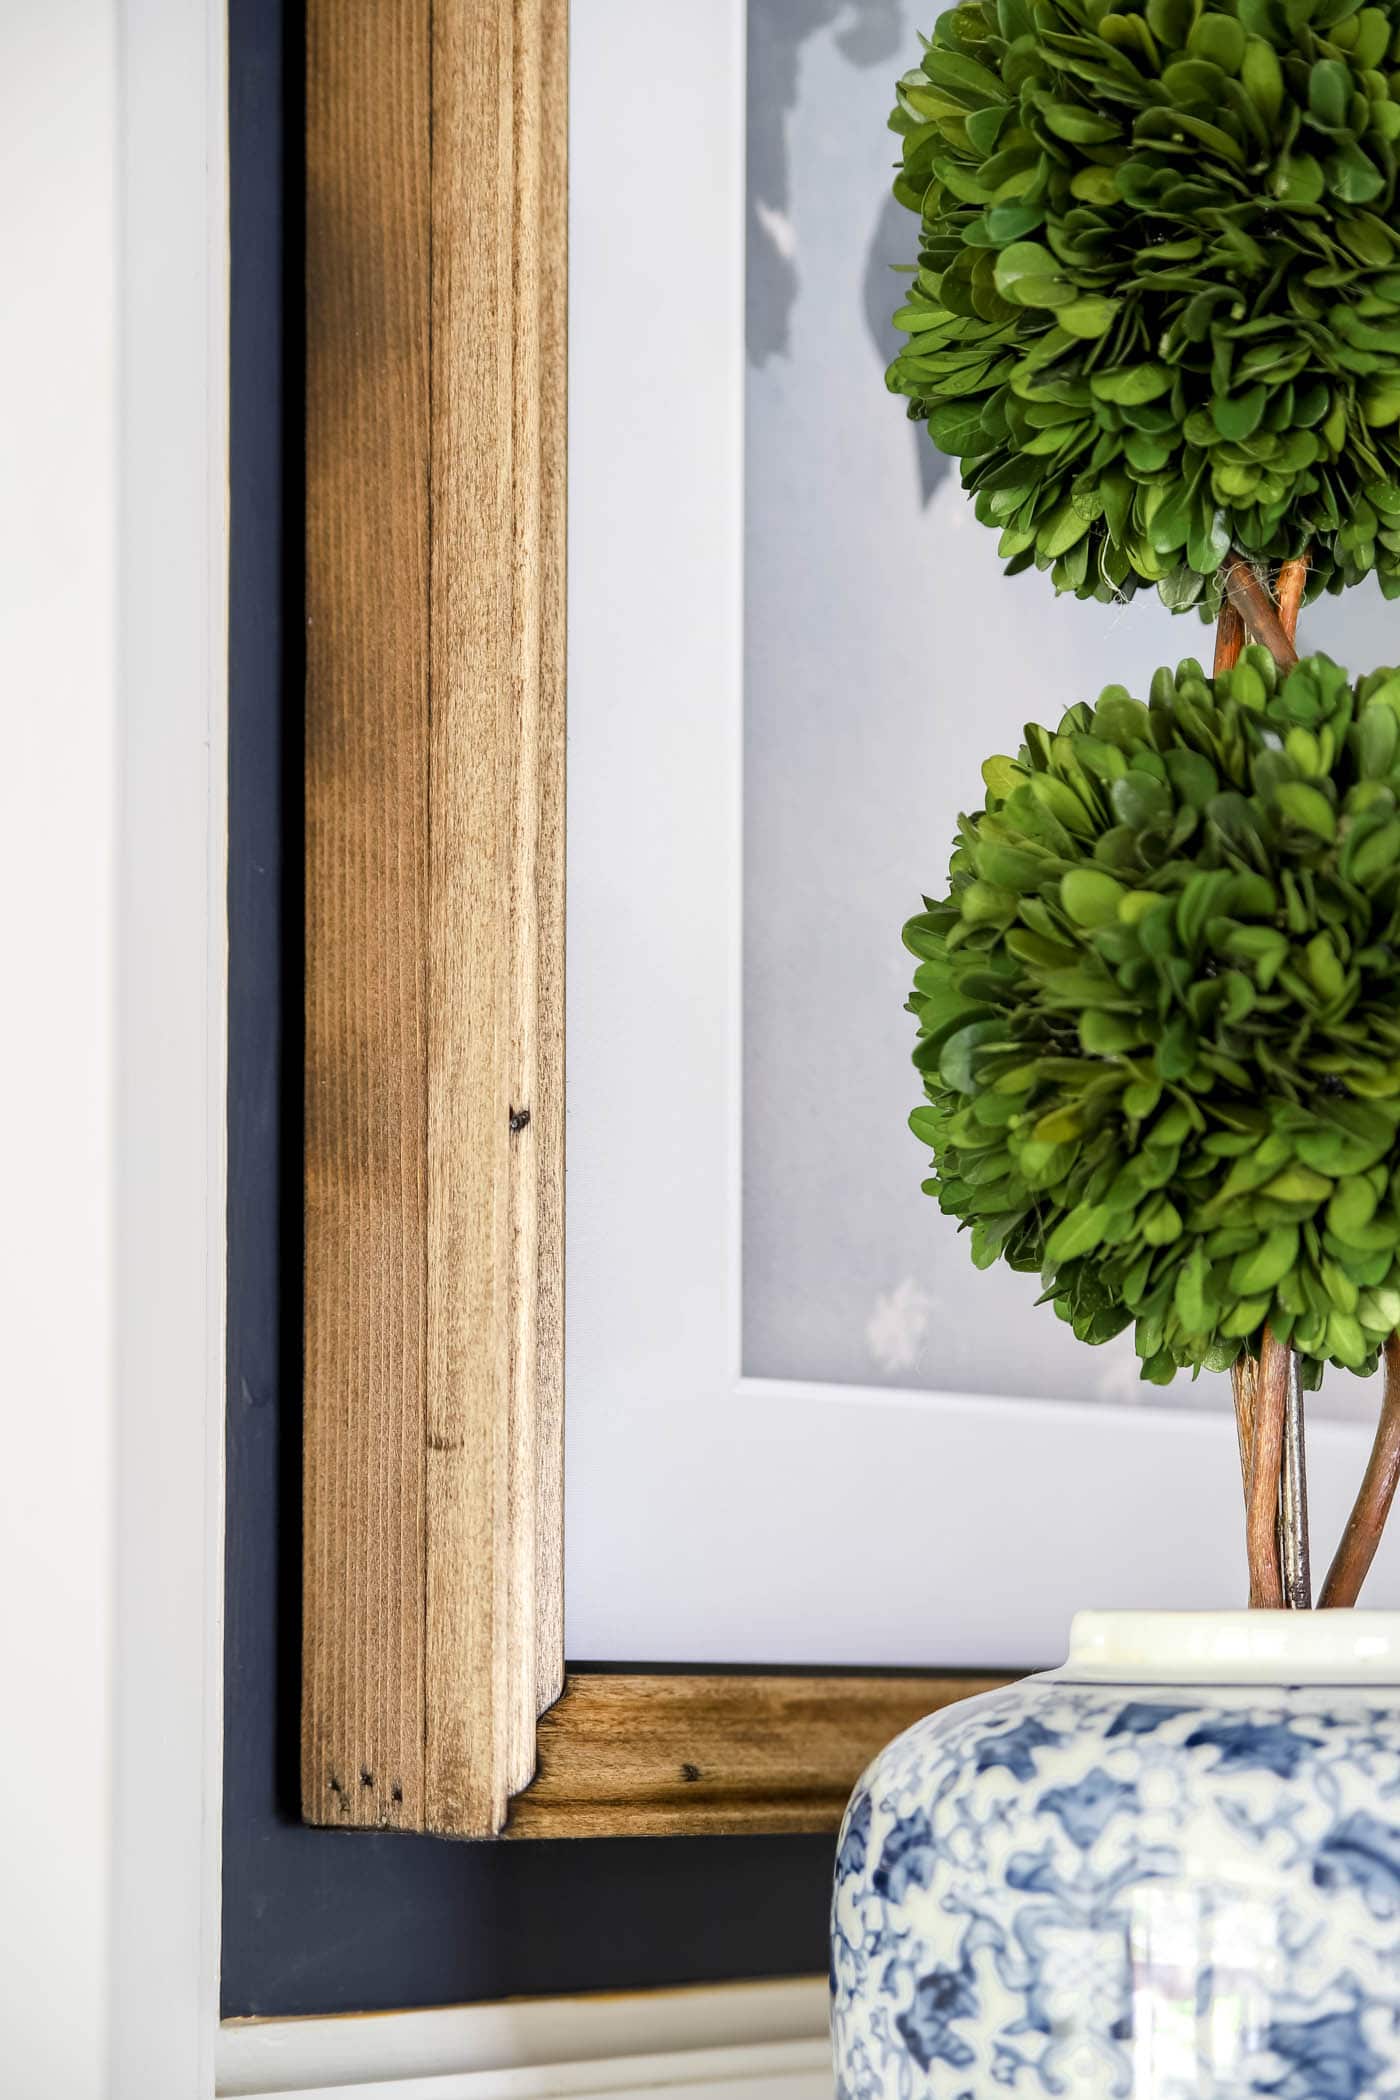
A miter joint means cutting each end of the frame pieces at a 45-degree angle and then joining them together. They're usually glued and clamped until the glue dries. You can also add a brad nail to hold them together. I use one just for extra security.
The Butt Joint
A square butt joint simply means one frame piece overlaps the other, and you glue and/or nail them together. I used this style on my original lattice-framed canvas, and you can see another example in my beach canvas below.
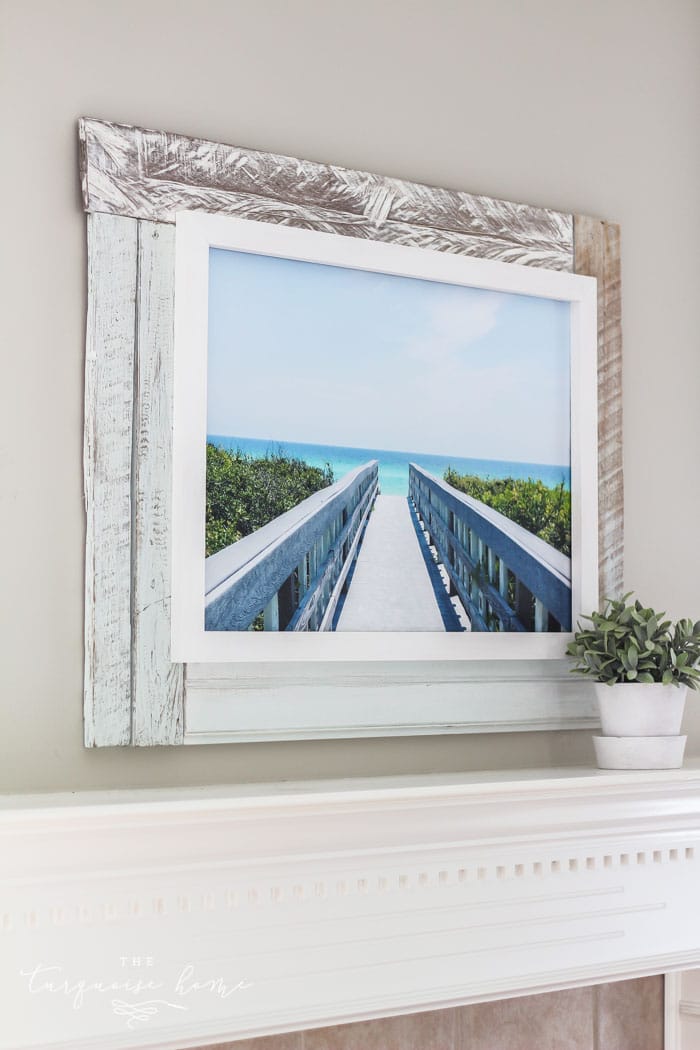
The style you choose affects your frame measurements and the tools you need. A miter joint needs a 45-degree cut, while a butt joint only needs a square cut.
2. Work Out & Gather Supplies
Once you know your joint type, work out how much wood to buy. Measure your artwork to find its perimeter, which tells you how much wood you need.
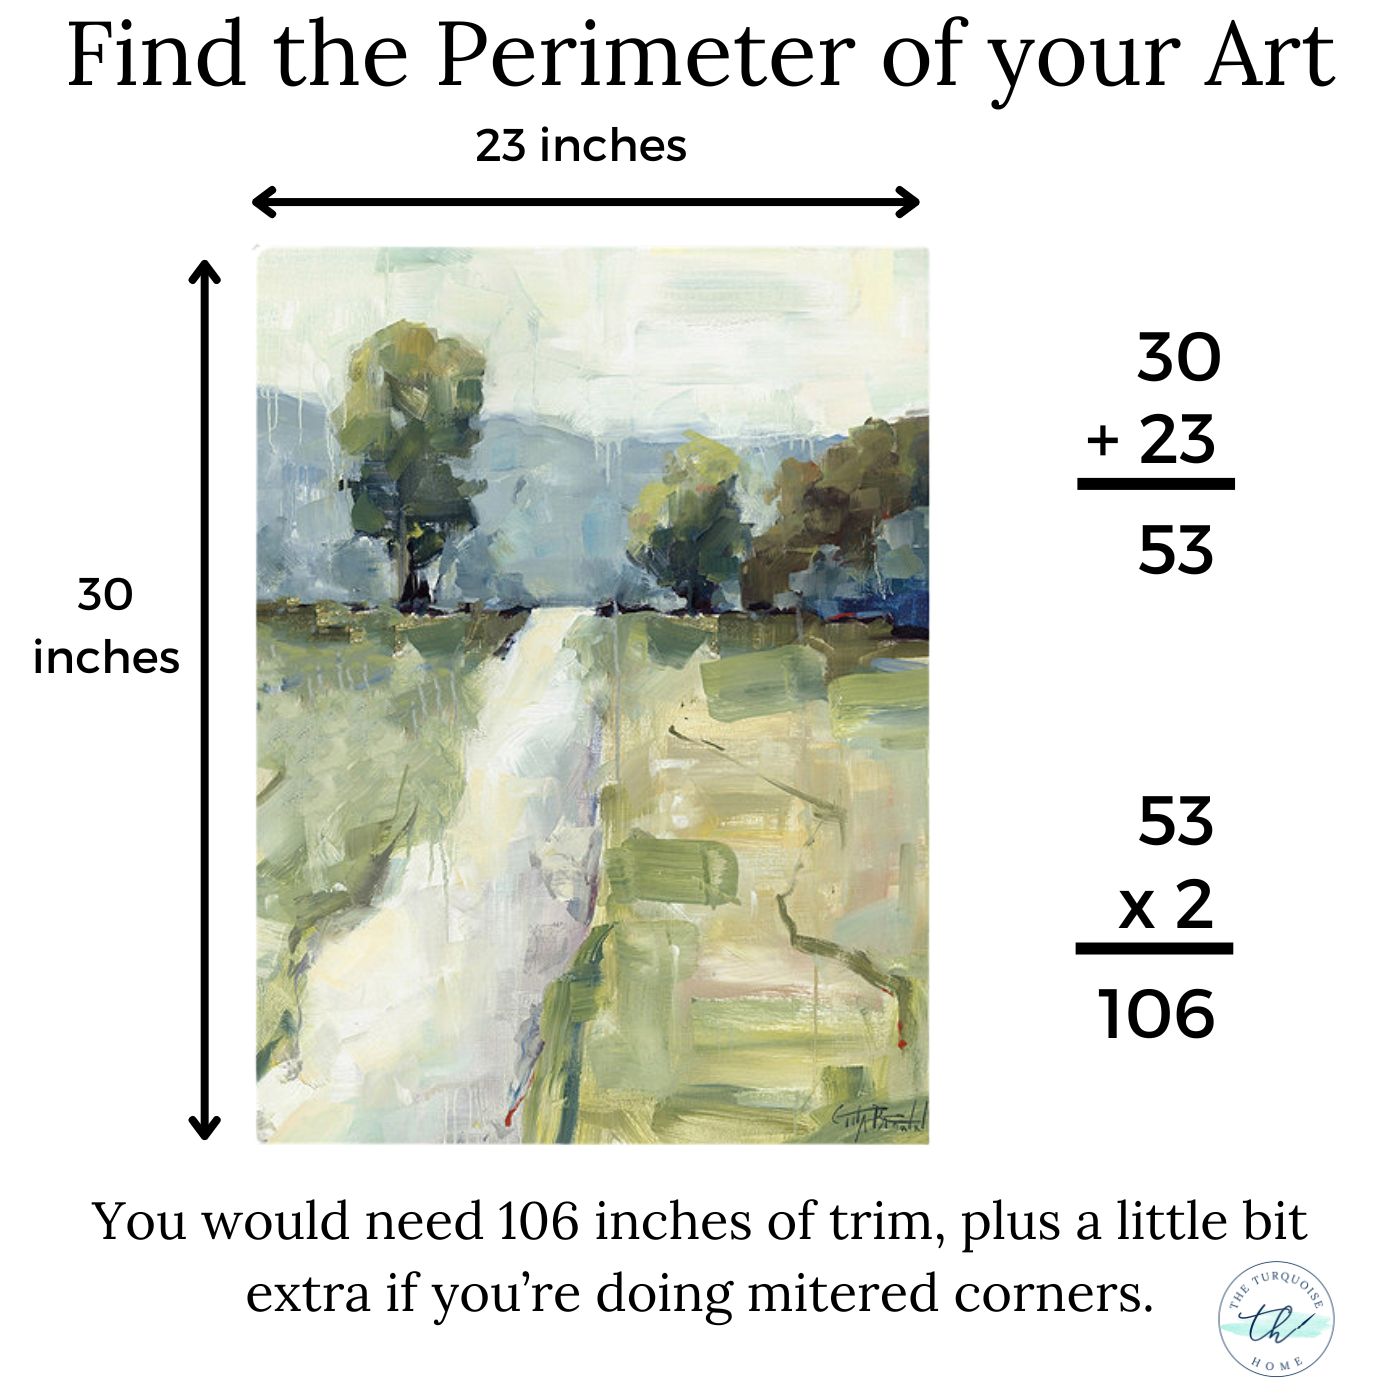
Use the graphic above to work out the perimeter by adding up the length of each side. If you're using mitered corners, add a little extra, since those ends will stick out past the corner of the canvas.
You'll also want to avoid joining boards together. Boards are usually 8 feet (96 inches) long. For the example above, one 8-foot board plus a little extra would technically work, but I'd buy two 6-foot boards instead. Each one yields two pieces, so you never have to splice anything. I hope that makes sense!
Now you have what you need to buy and gather everything on the supply list above.
3. Mark and Cut the Frame Pieces
You can paint or stain the wood before cutting, but I prefer to cut first. That way I can sand off any rough edges from cutting and finish the pieces afterward.
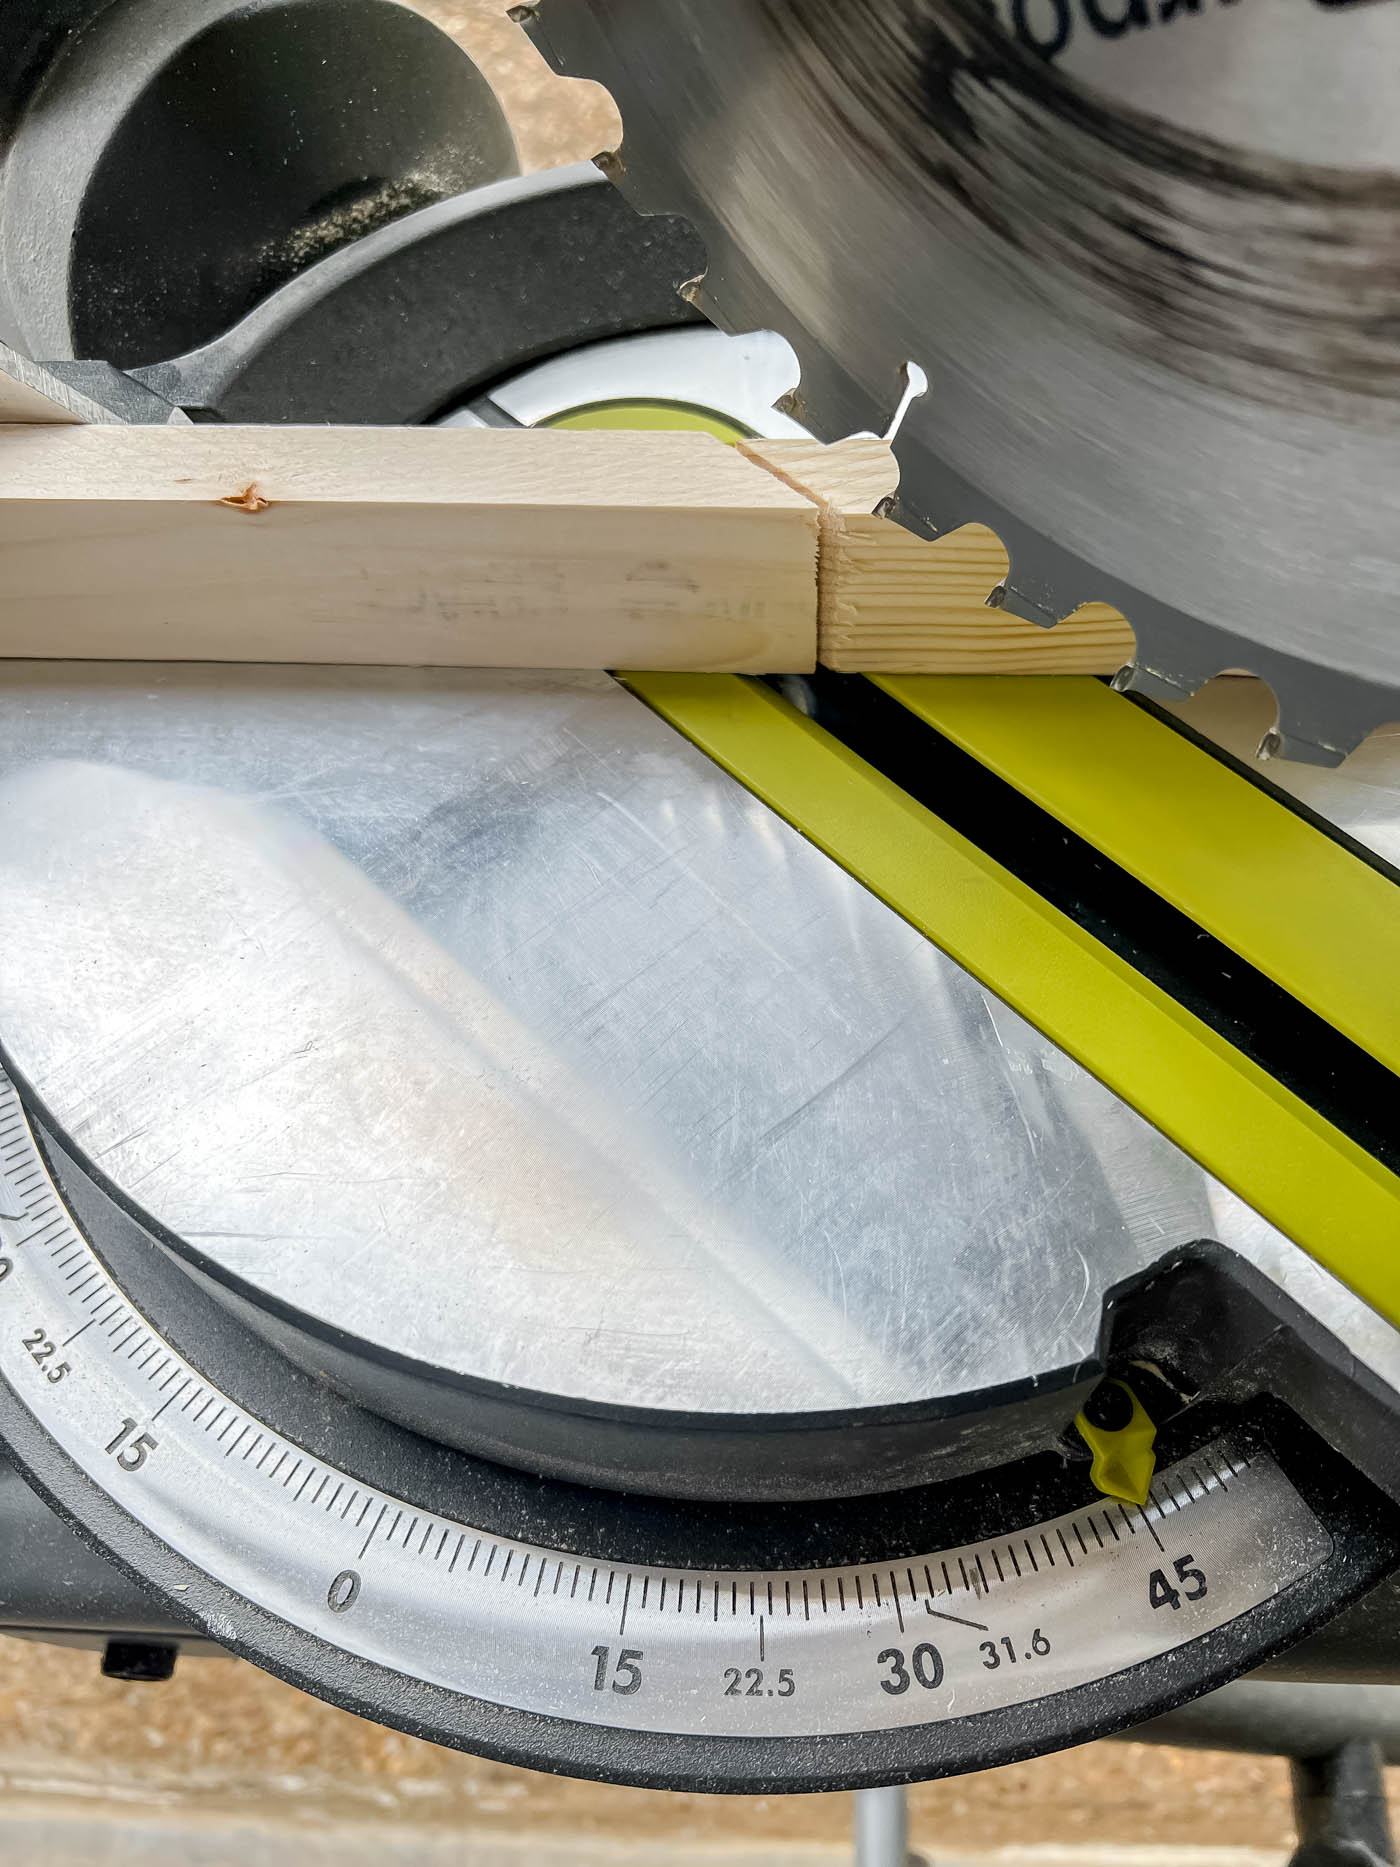
If you're making a fancier miter joint, you'll have two pieces: the frame side and the decorative trim that sits on top. See the picture below for how they fit together. Cut both pieces at a mitered angle, with the shorter side matching the frame length.
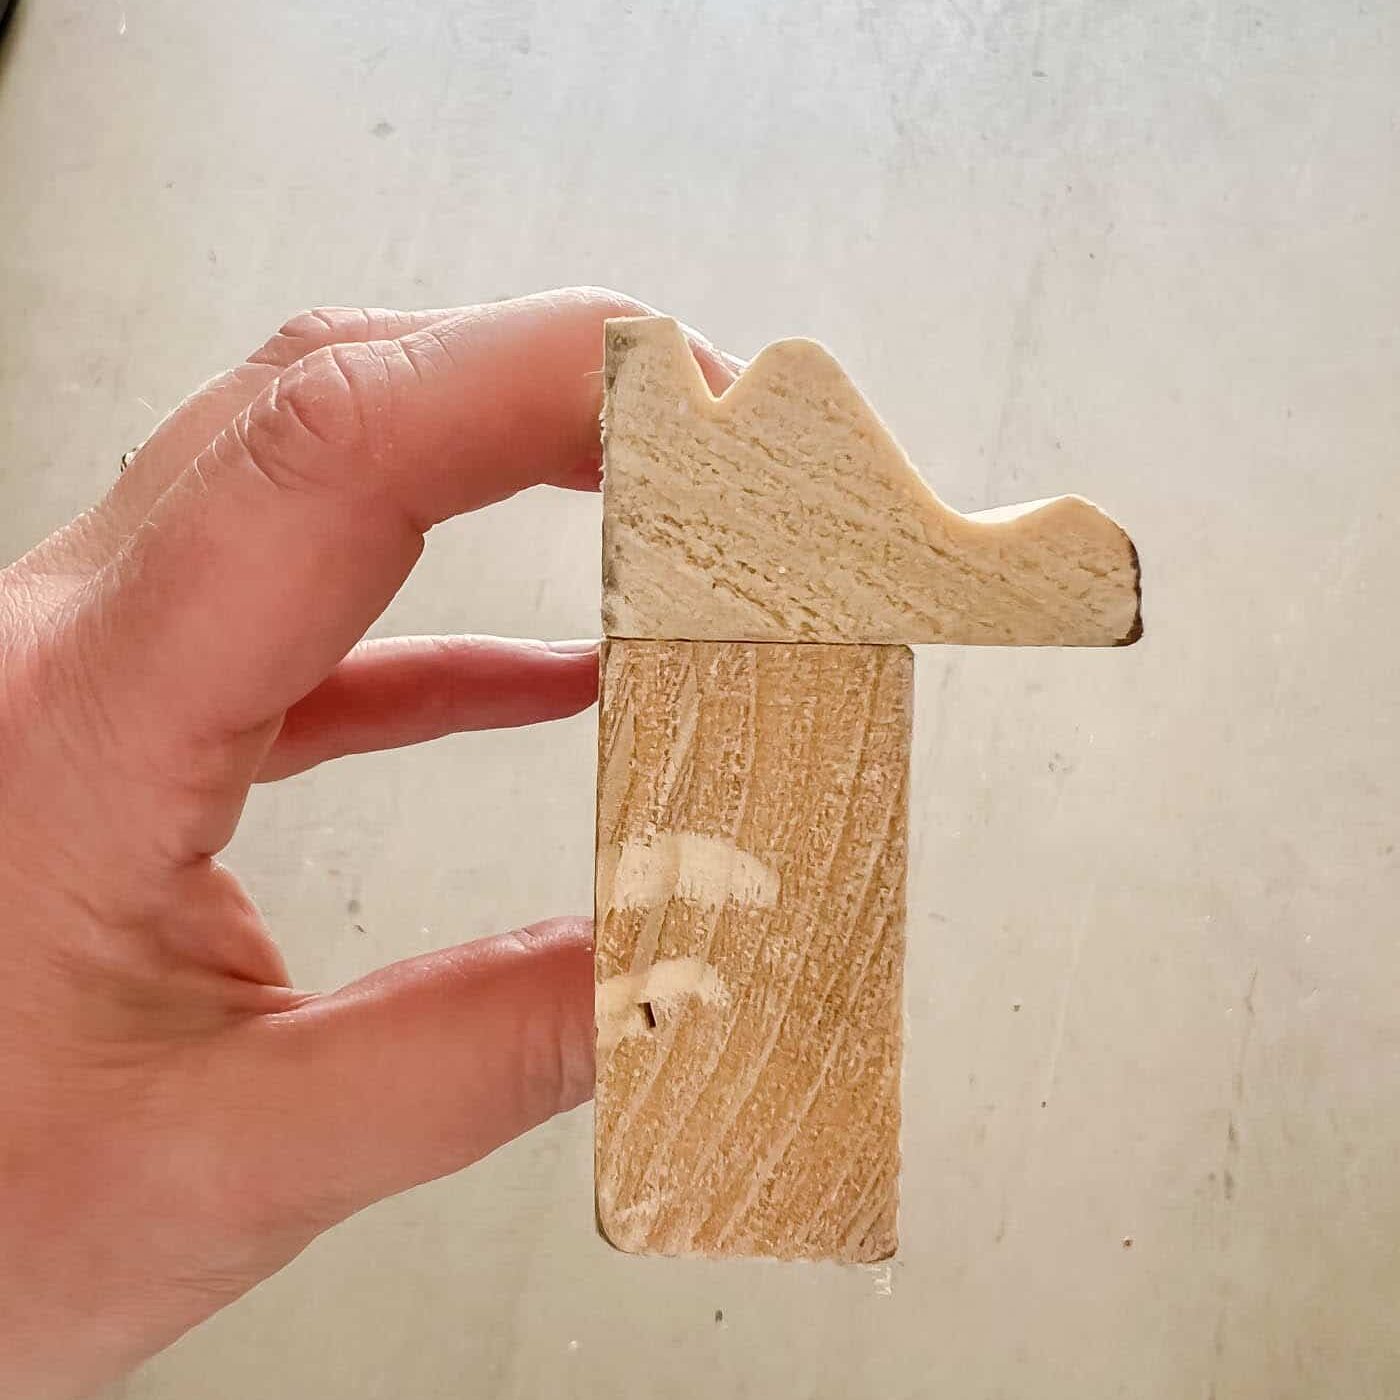
Start by cutting a 1×2 trim piece to cover the canvas sides. Cut the inside angle of each board to the length of your frame sides. Make the 45-degree cuts perpendicular to each other so the corners fit together.
Next, cut the decorative trim piece lying face down on the saw. Make sure the highest part of the trim is the longest edge of the cut.
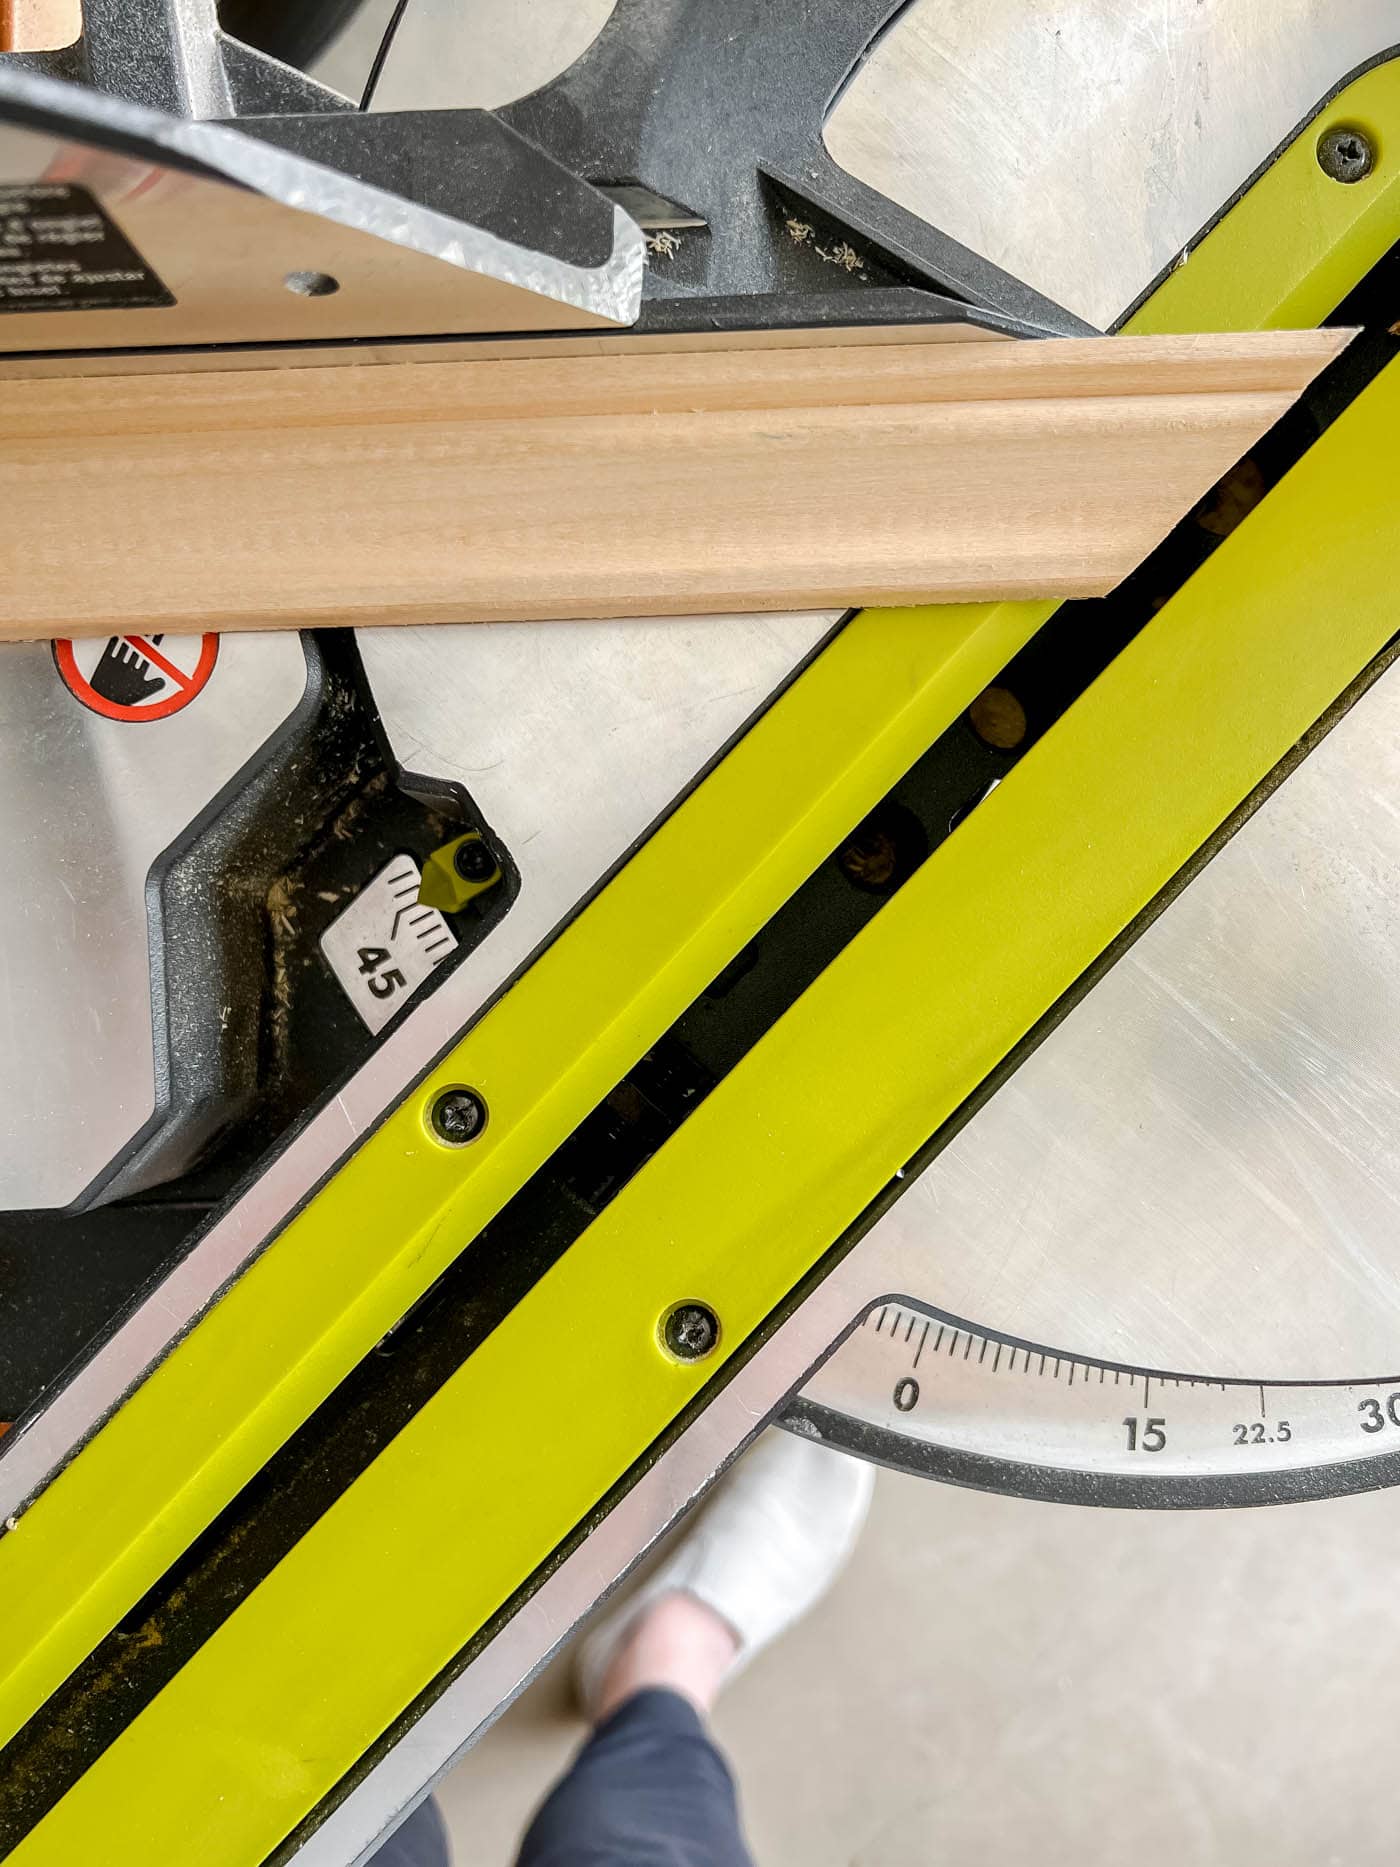
If you're doing a simpler miter cut, the first 1×2 board is all you need, and it will simply cover the sides of the frame.
4. Put the Frame Together with Corner Braces
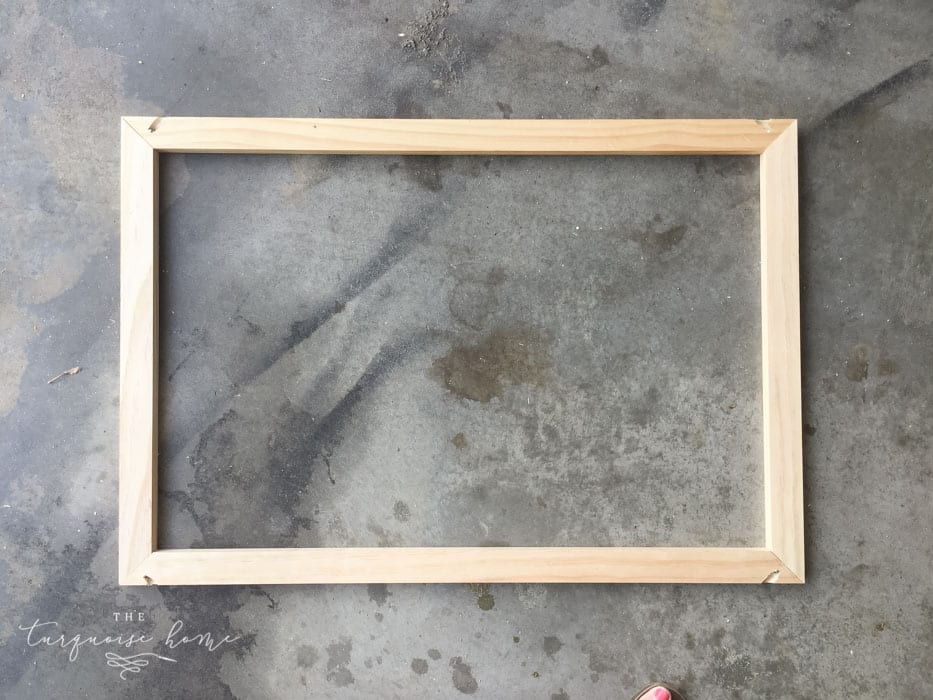
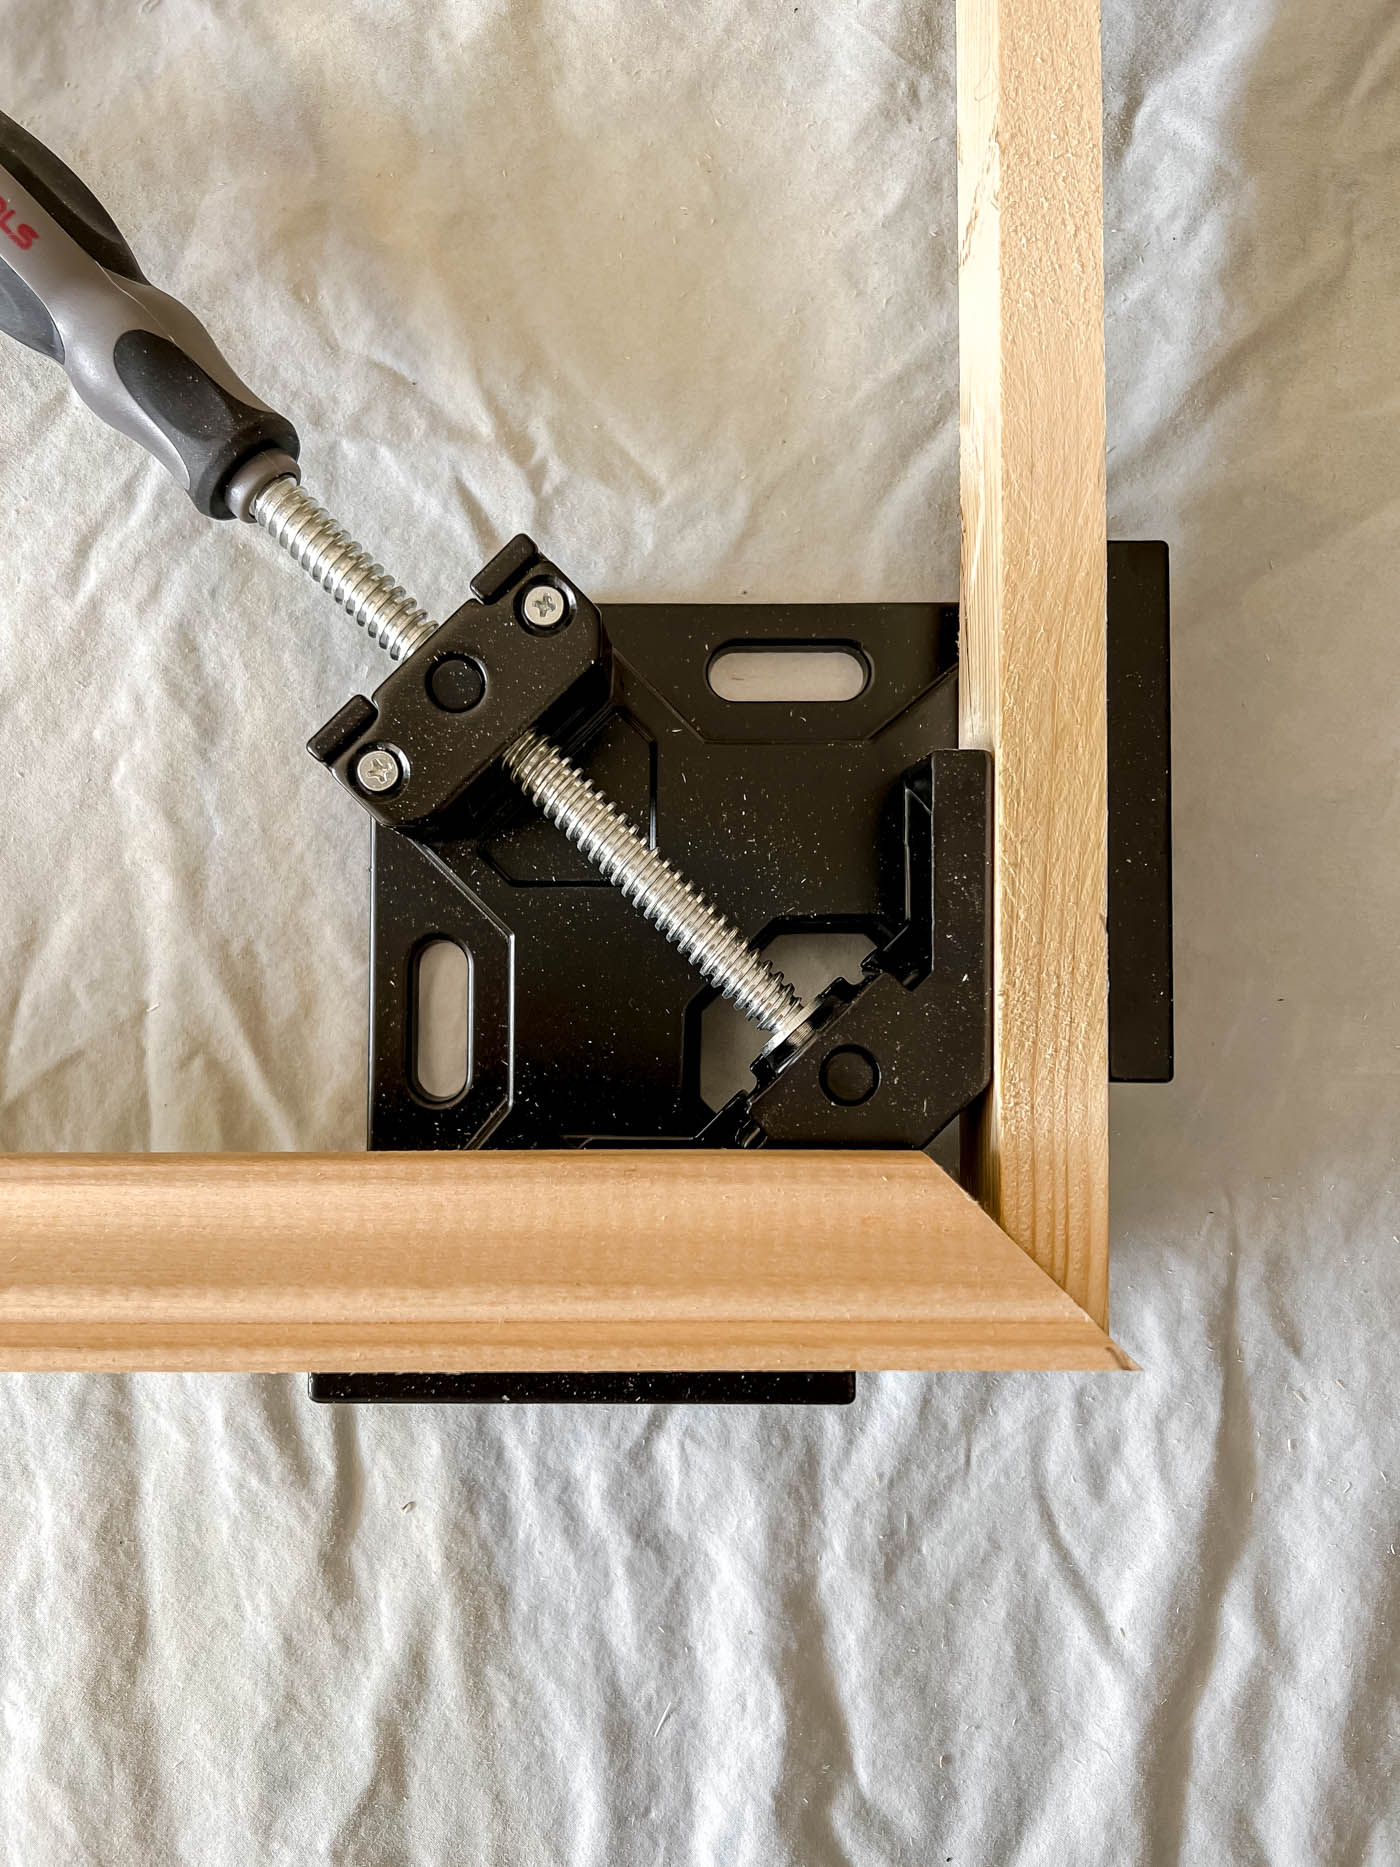
Put the frame together without the canvas inside, using glue, clamps and a brad nailer. Apply wood glue to each corner, clamp the pieces together, then nail them in place with the brad nailer.
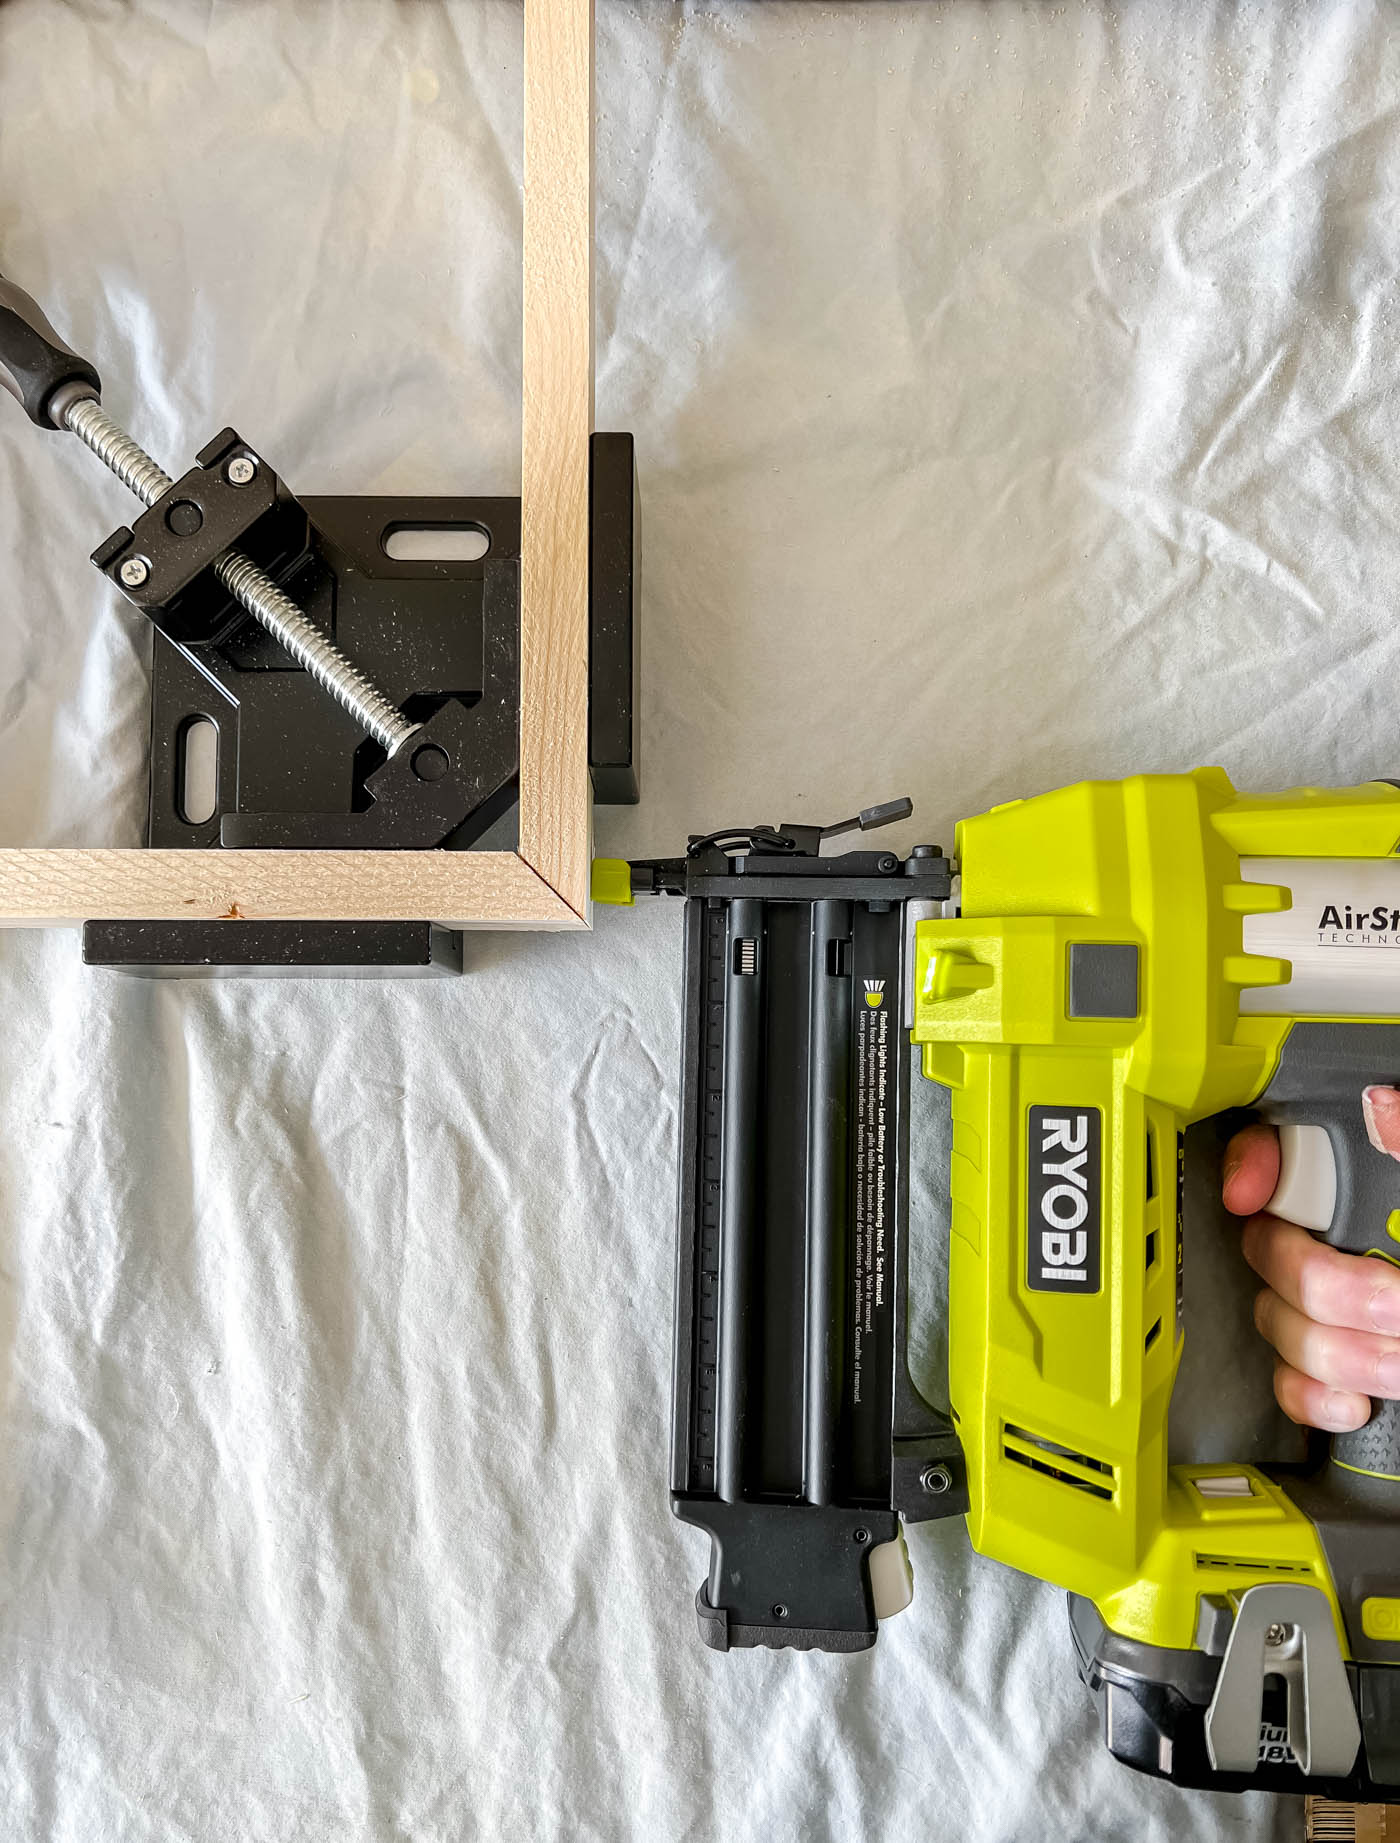
If you're going the fancy route, add the decorative trim on top of the frame sides. I glued the corners and nailed them down from the top into the bottom frame. If you're keeping it simple, you can skip this step!
5. Paint or Stain the Frame
Sand off any rough edges or splinters, then paint or stain the boards. Fill nail holes with wood putty or filler and let it dry before staining or painting.
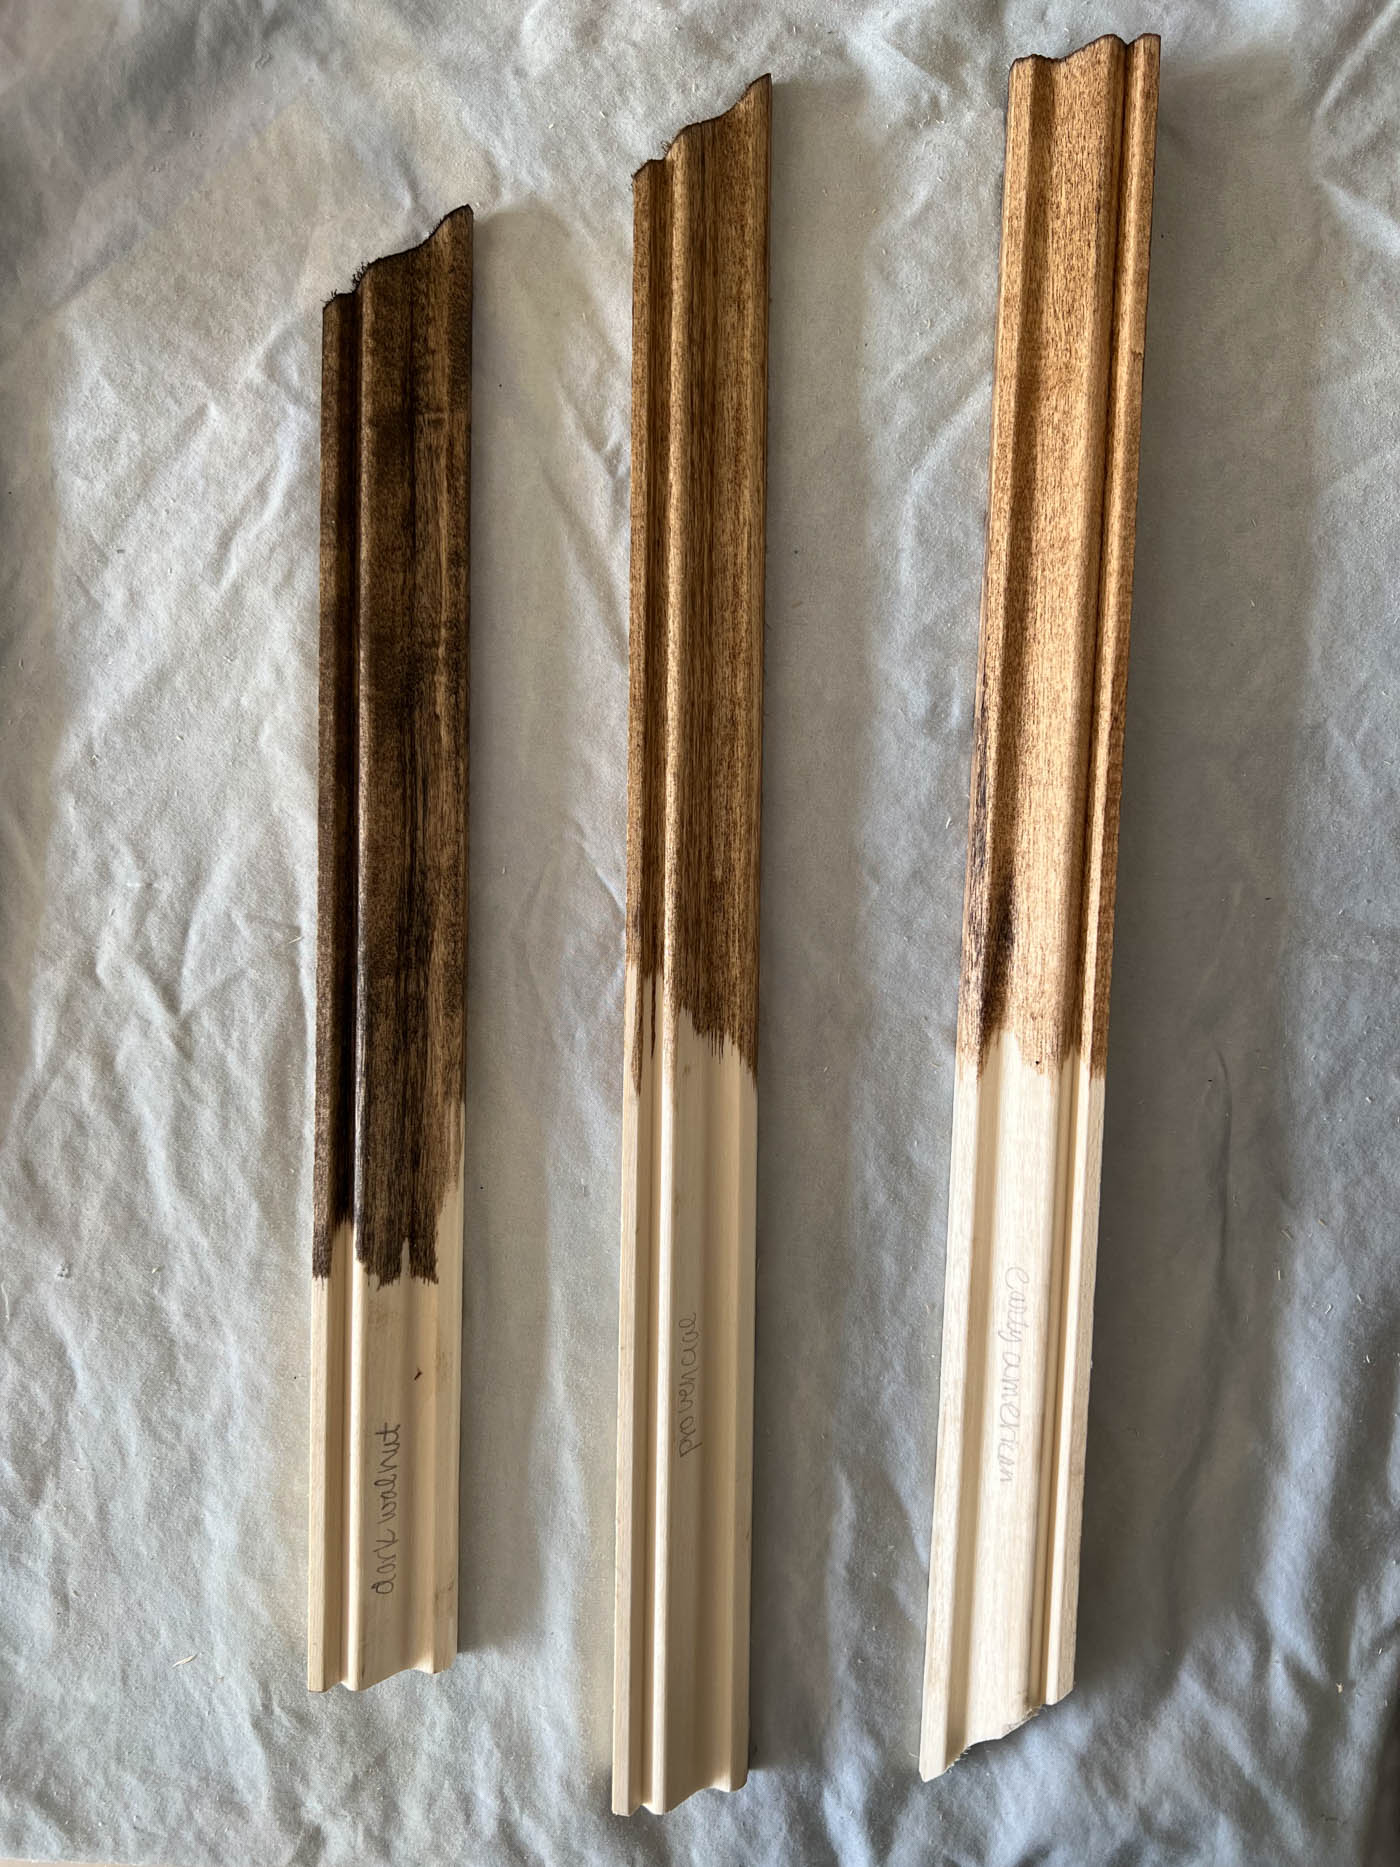
I tested a few stain colors (left to right: dark walnut, provincial, early American). In the end, I went with dark walnut.
I strongly recommend sealing the wood frame with polycrylic or polyurethane before hanging it. That will keep it protected for years to come!
6. Fit the Frame onto the Canvas
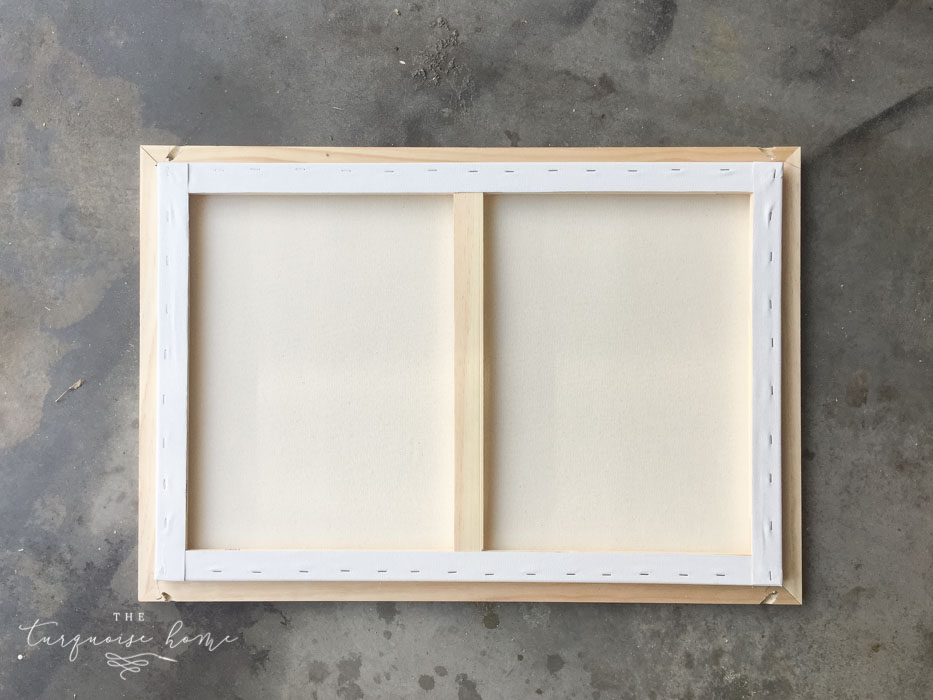
You can glue the canvas to the frame, or if the fit is snug, you may just need to set it over the canvas. You could nail it into the canvas too, but I wouldn't unless you plan to keep it that way forever. Place the nails toward the back of the frame, closest to the wall, so they're less visible and don't damage the front of the canvas.
7. Hang Your Frame on the Wall
Use a frame hanger, such as a sawtooth hanger or D-rings, to hang your framed art on the wall. I hope you love how it turned out!
I hope you love your newly framed piece. I know you'll enjoy it for years to come!
MORE POSTS YOU MIGHT ENJOY:
- A DIY Frame for a Frame TV
- DIY Picture Frame Moulding <– If you can make a frame, you can handle this too!
- The Samsung Frame TV Review: Is It Worth the Money??
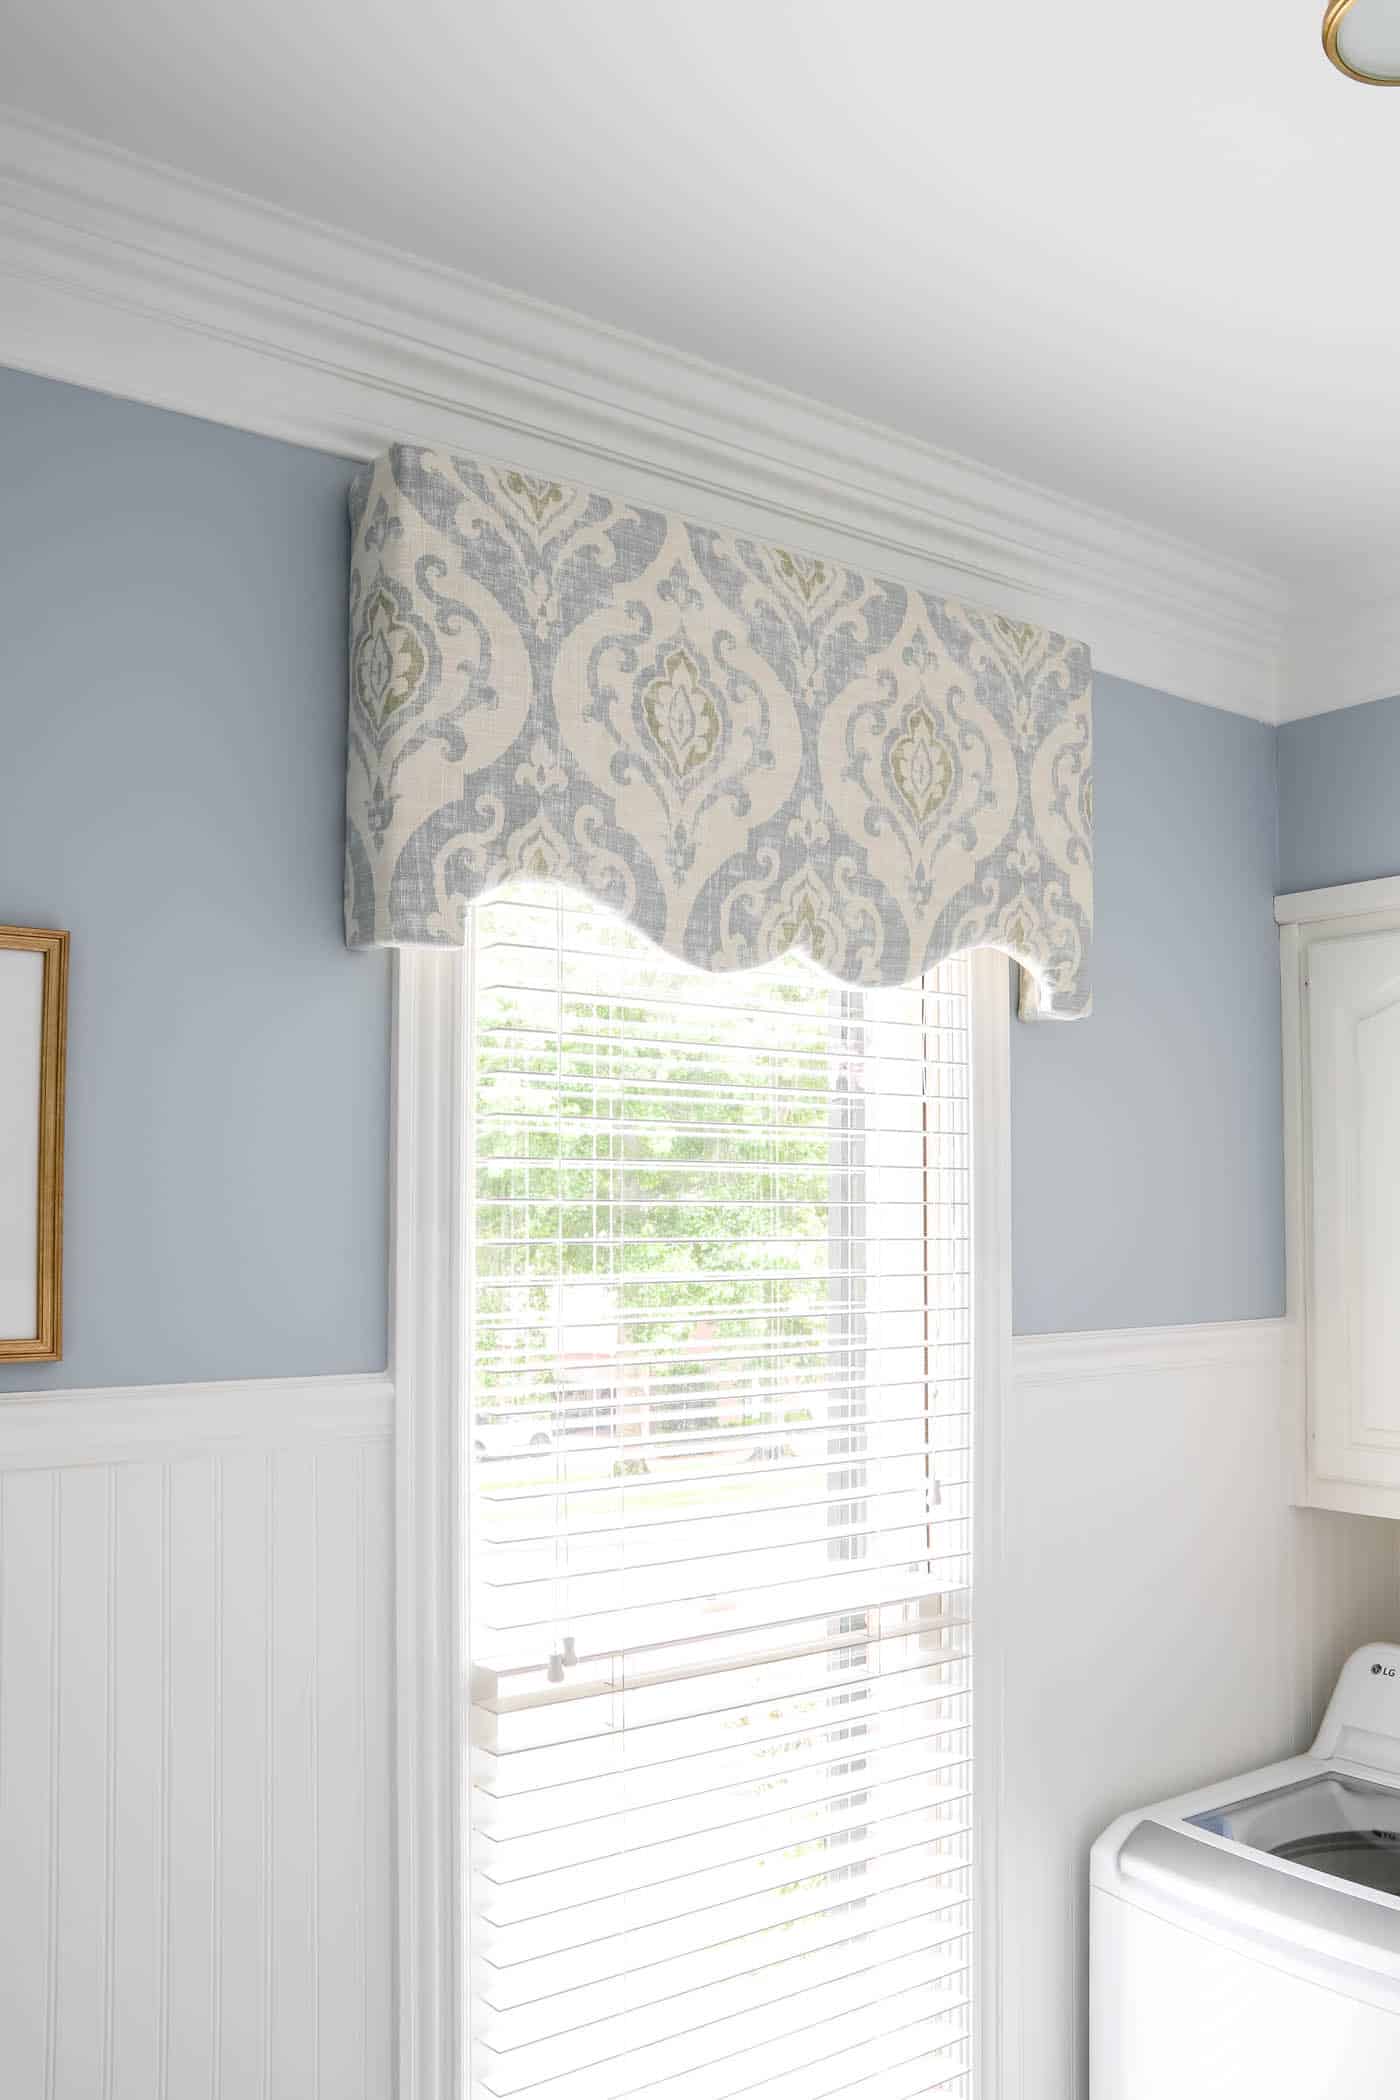
- A DIY Fabric-Covered Window Cornice Board
- Framing a Builder-Grade Mirror
Save