Turn your builder-grade mirror into a beautiful focal point with this DIY mirror frame that costs less than $20 and about 2 hours of your time!
Happy day to you, dear friends! Yesterday morning I spent time out in the garage finishing a project that's been on my to-do list for years. The weather was gorgeous, and my kids were busy entertaining themselves. Hallelujah!
I've had the supplies to finish this mirror framing project for months. I've recently set out to wrap up old projects that have fallen by the wayside, so this is project number one on that list!
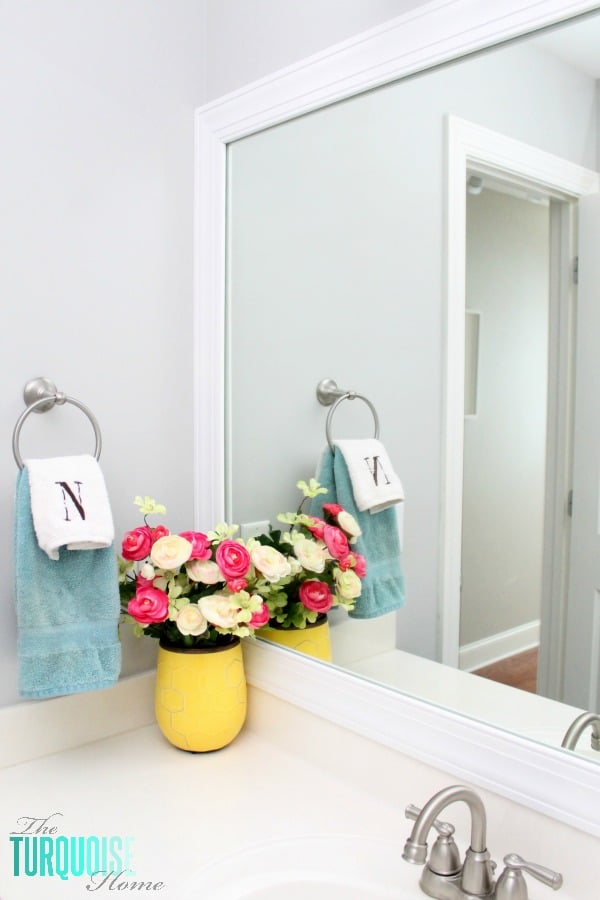
OK, I know this project is super basic and other DIYers have been doing it for years, but it's such a good one that I HAD to do it for myself. And just for fun, I'll share it with you. It's so simple that it seems silly to need a tutorial. But I hope it helps you see how easy it is!
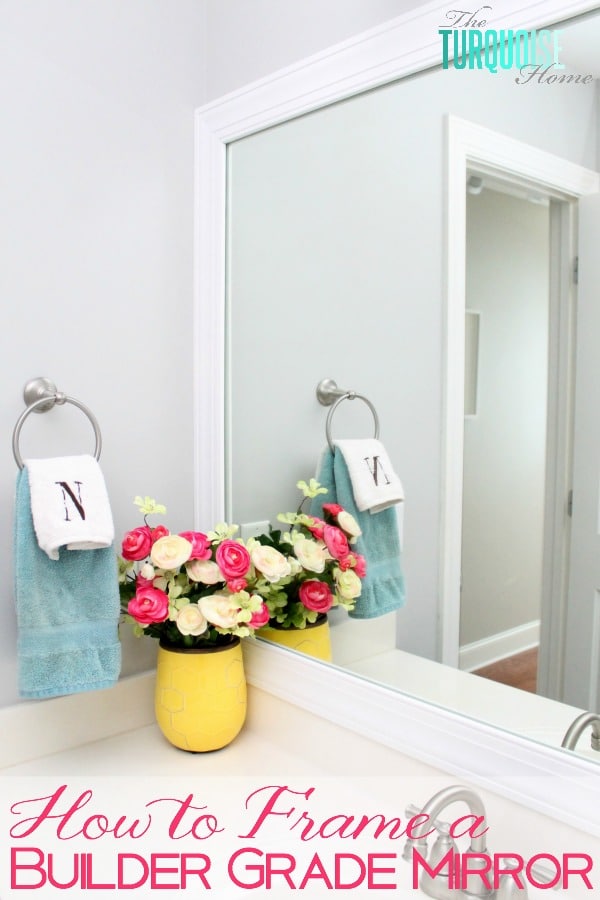
I give you: how to frame a builder-grade mirror. SUCH an easy project, but makes a huge impact when it comes to customizing your home. When we gutted our old house, we put actual mirrors over our vanities in the bathrooms. I loved the look. And super don’t love the look of a plain, clipped-to-the-wall, builder-grade mirror.
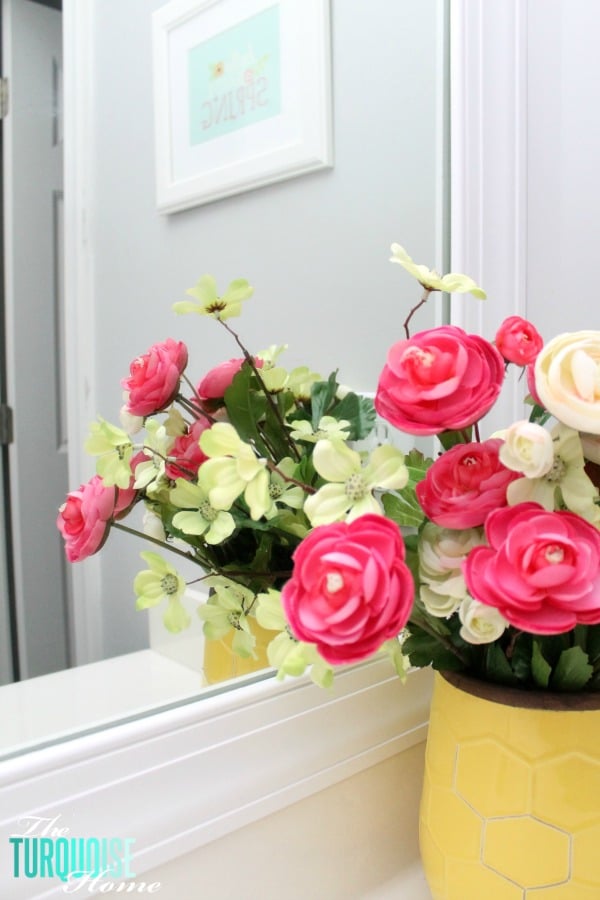
Tools you need for a DIY Mirror Frame
- Interior trim molding (the length of the mirror's perimeter)
- Miter saw or hand saw and miter box
- Wood glue
- Duct tape or painter's tape
- Spray paint
- Chisel
- Hammer

How to Frame a Mirror
Step 1. Measure the perimeter of the mirror.
Measure each edge of the mirror and allow a couple more inches on each side if you want the frame to hang off the mirror's edge at all. My mirror butted right up against the wall on the right and left sides, so the frame had to sit completely on top of the mirror.
Step 2. Buy some interior trim molding from the hardware store.
I chose a simple interior wood casing, but you could go as plain (think 2 x 4) or as fancy as you like. Just make sure the back of the molding is flat.
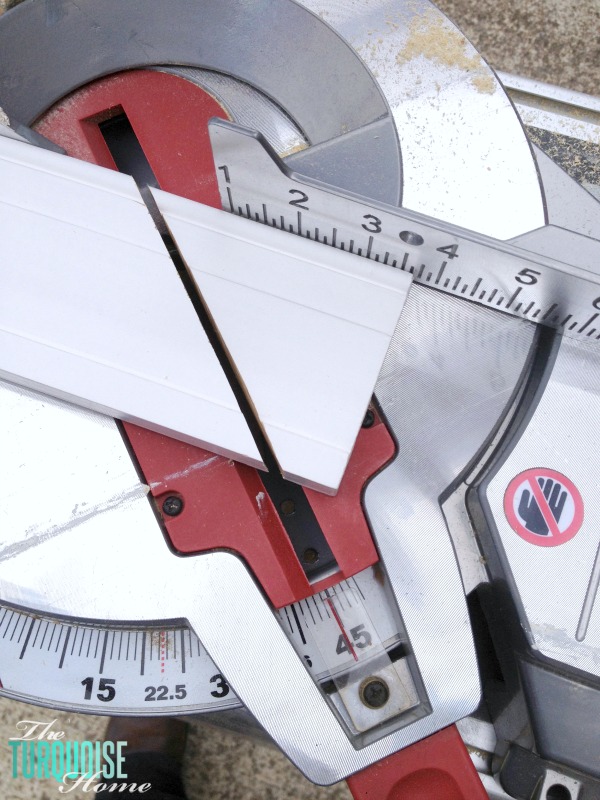
Step 3. Measure each piece of wood to the length you want and cut the corners at a 45º angle on the miter saw.
I measured my mirror and marked my cut lines on the boards, then cut them at a 45° angle. If you don't have a miter saw, a hand saw and miter box will work just fine!
Step 4. Mark the spots on the frame where the mirror clips are located.
A big mental block for me was how to get the frame flush without removing the mirror clips. I decided to notch out the backs of the boards.
I rubbed some blue chalk on the clips, held the frame pieces on top of the mirror, and the blue chalk rubbed off just enough for me to see where they would hit.
Step 5. Notch out the frame where the clips will hit.
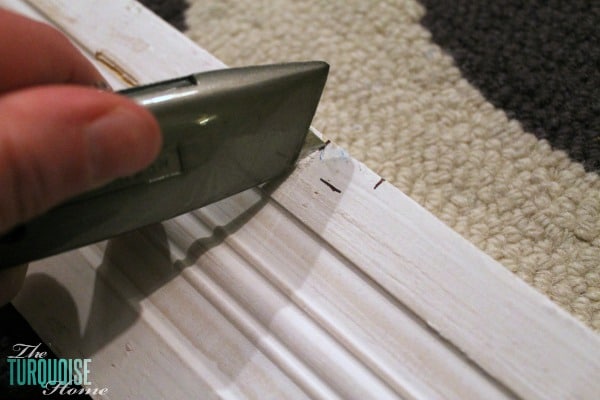
I marked the spot on the back of the boards and scored a box with an X-Acto knife.
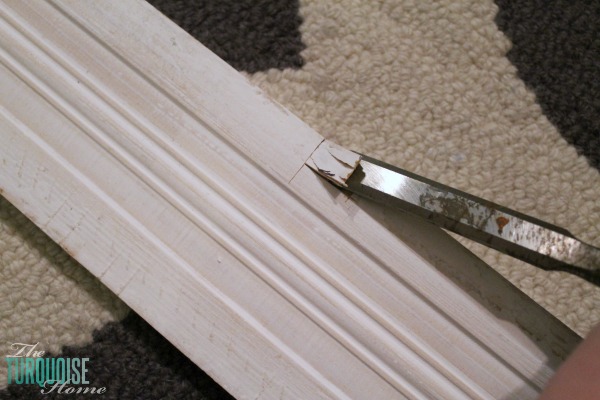
Then I took my chisel and hammered out a space bigger than the clips. It worked great! (I never thought I'd need a chisel, but I've surprisingly used this one on several projects!)
Step 6. Attach the corners of the frame.
Then I tried to figure out the best way to attach the corners to each other. I started with Liquid Nails. I clamped the boards together with duct tape and left them overnight. When I came back the next morning, every joint but one hadn't stuck. I think my Liquid Nails was old, and I didn't want to buy anything new for this project. Bummer.
So then I tried using my Kreg Jig to screw the joints together with pocket holes. No go. The boards were too thin for that to work.
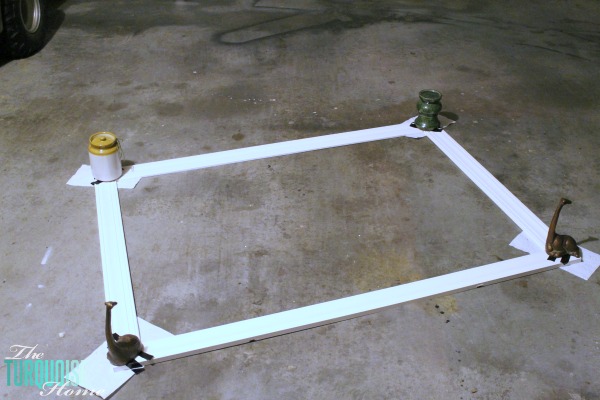
I finally went back to the drawing board and just used wood glue to join the corners, with duct tape holding them overnight. Worked like a charm!! Yay! (I had to set some heavy objects on each corner to keep them flush while the glue dried.)
Step 7. Paint the frame the color of your choice.
I spray painted the back first (since you can see the back edge of the frame reflected in the mirror). Then I flipped it over and painted the front with white spray paint. I like this brand of spray paint best!
I let it dry and then put it on the mirror. My mirror is as wide as the bathroom wall, so I could barely get it in there, because I'd made the frame exactly the same size as the mirror.
If yours is like this, I'd recommend making your frame just slightly narrower than the wall. I had to force mine in. And since it had to be forced in, I didn't attach it to the wall or mirror in any way.
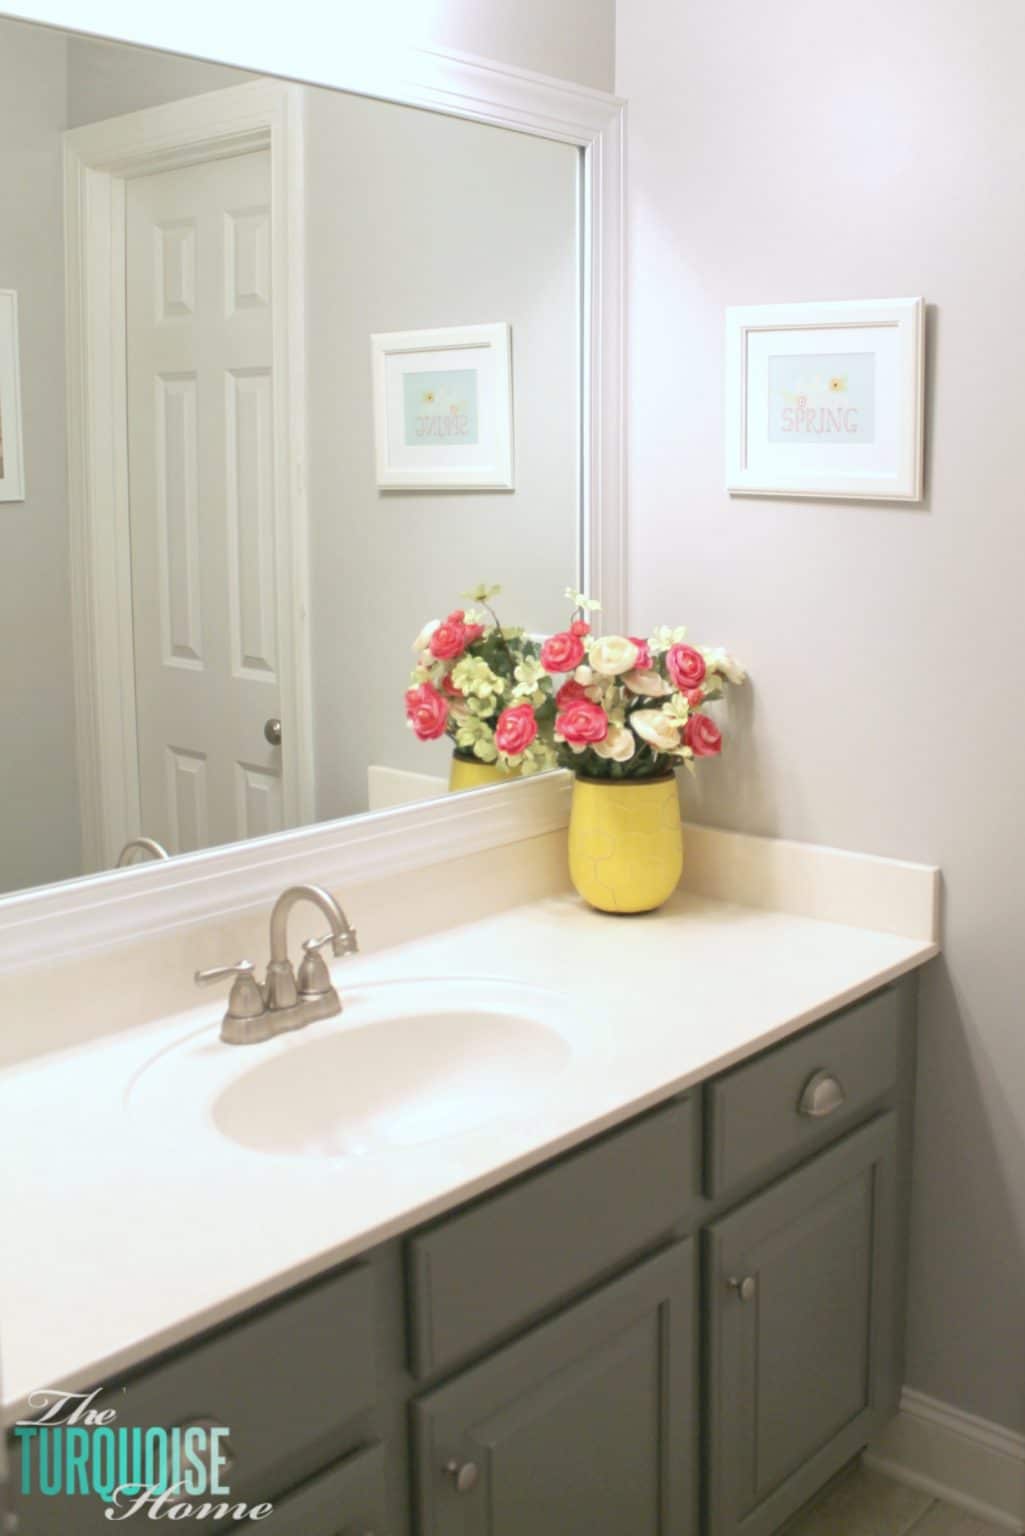
Want to paint your cabinets? Get my cabinet painting tutorial here.
I was planning to use Command strips, since I don't like doing anything permanent in case a future owner wants to take it down. I've seen people use everything from hot glue to Liquid Nails to keep the frame up.
Have you ever made a frame for your mirror? Is it on your to-do list?
(If not, it should be!)
More Posts You Might Like: