Make a simple DIY winter wreath with whatever winter greenery you can find! Add a few pretty bells for just the right festive touch!
It's time to start thinking about Christmas decorating and gathering inspiration from all corners of the internet. I'm always up for making a simple DIY wreath for myself, and this year is no different.

I also love holiday decor that transitions easily into winter decor. I might add some red berries right around Christmas if I'm feeling extra festive, then take them off once the holidays are over.
You can hang this wreath on the front door or an interior door. Either way, it's perfect from now through the end of January and beyond! Let's make it...
I love sharing new Christmas craft ideas with you! I've shared 7+ ways to decorate with Christmas ribbon, free printable Christmas tags and how to hang a Christmas mantel garland! I hope these posts help you create a beautiful home you love for the holidays.
Supplies You'll Need to Make a Winter Wreath
- Greenery from your holiday stash or a craft store. I bought mine from the Christmas section at Hobby Lobby.
- Grapevine Wreath Form
- Hot Glue Gun and Glue Sticks
- Gold Bells (optional, but they really make the wreath! They're usually cheaper on Amazon, but if those are sold out, check here!)
- Floral Wire Cutters
More Bell Options
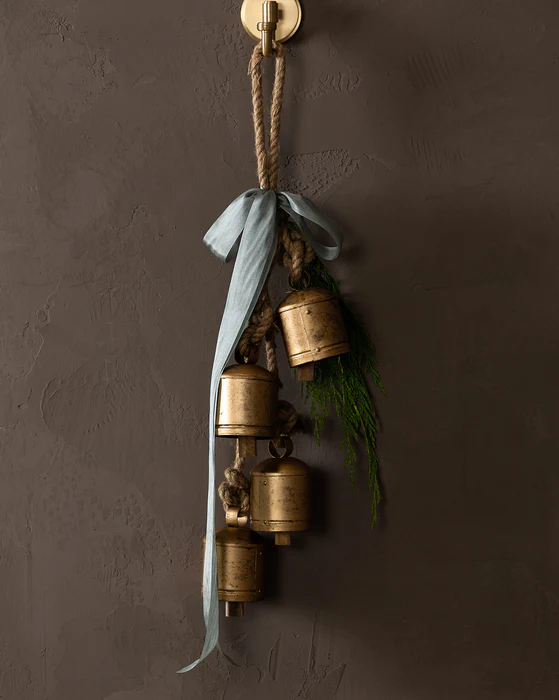
Holiday Winter Bells
3-Pack of Metal Bells


Golden Metal Bells Door Hanger

How to Make a Winter Christmas Wreath
I'm sorry I didn't take photos of these steps. I made a video of the key steps, which you can watch below. But it's really easy to do!
1. Choose Your Wreath Shape
Select the grapevine wreath you'd like to use. You can choose round or square!
2. Gather the Greenery
Gather all your greenery in one place and decide which pieces to use. I used faux eucalyptus, winter evergreen stems with white brushed pinecones and cedar sprigs.
You could absolutely make this winter wreath with fresh greens from your backyard. Add some twigs and pinecones, too, for a beautiful live wreath!
3. Take Apart the Greenery
Start by breaking down the Simple Pine Branch with your floral wire cutters. Don't make the stems too long. Keep them under 5 inches when you can!
4. Place the Stems in the Wreath
Start inserting the stems evenly along the grapevine wreath form until you've used them all. Alternate the different types of evergreens as you go!
5. Continue to Place the Stems Until the Wreath Is Full
Then I moved on to the next stem, broke it down and pushed it into the grapevine wreath until it was full! I used all four winter stems and then just a few sprigs of eucalyptus to finish the look.
6. Use Hot Glue to Attach Each Stem
I gently pull back each stem, add a little glue and push it back into the grapevine wreath.
7. Add Some Festive Bells!
Add a few pretty bells if you want to amp up the holiday look. They make the wreath feel complete, and they're so festive for the holidays and beyond!

I love how it turned out, and I'll keep it on my chalkboard through the holidays and into winter!
Video Tutorial for Winter Wreath
While I chose to hang mine on my chalkboard, it would make a perfect door decoration too!

Let me know if you have any questions about my winter wreath ideas in the comments below!
More Christmas Bell Ideas
Every year I use 3 sets of these same Christmas bells on my mantel garland, and it turns out so cute!

Learn how to make a mantel garland here.
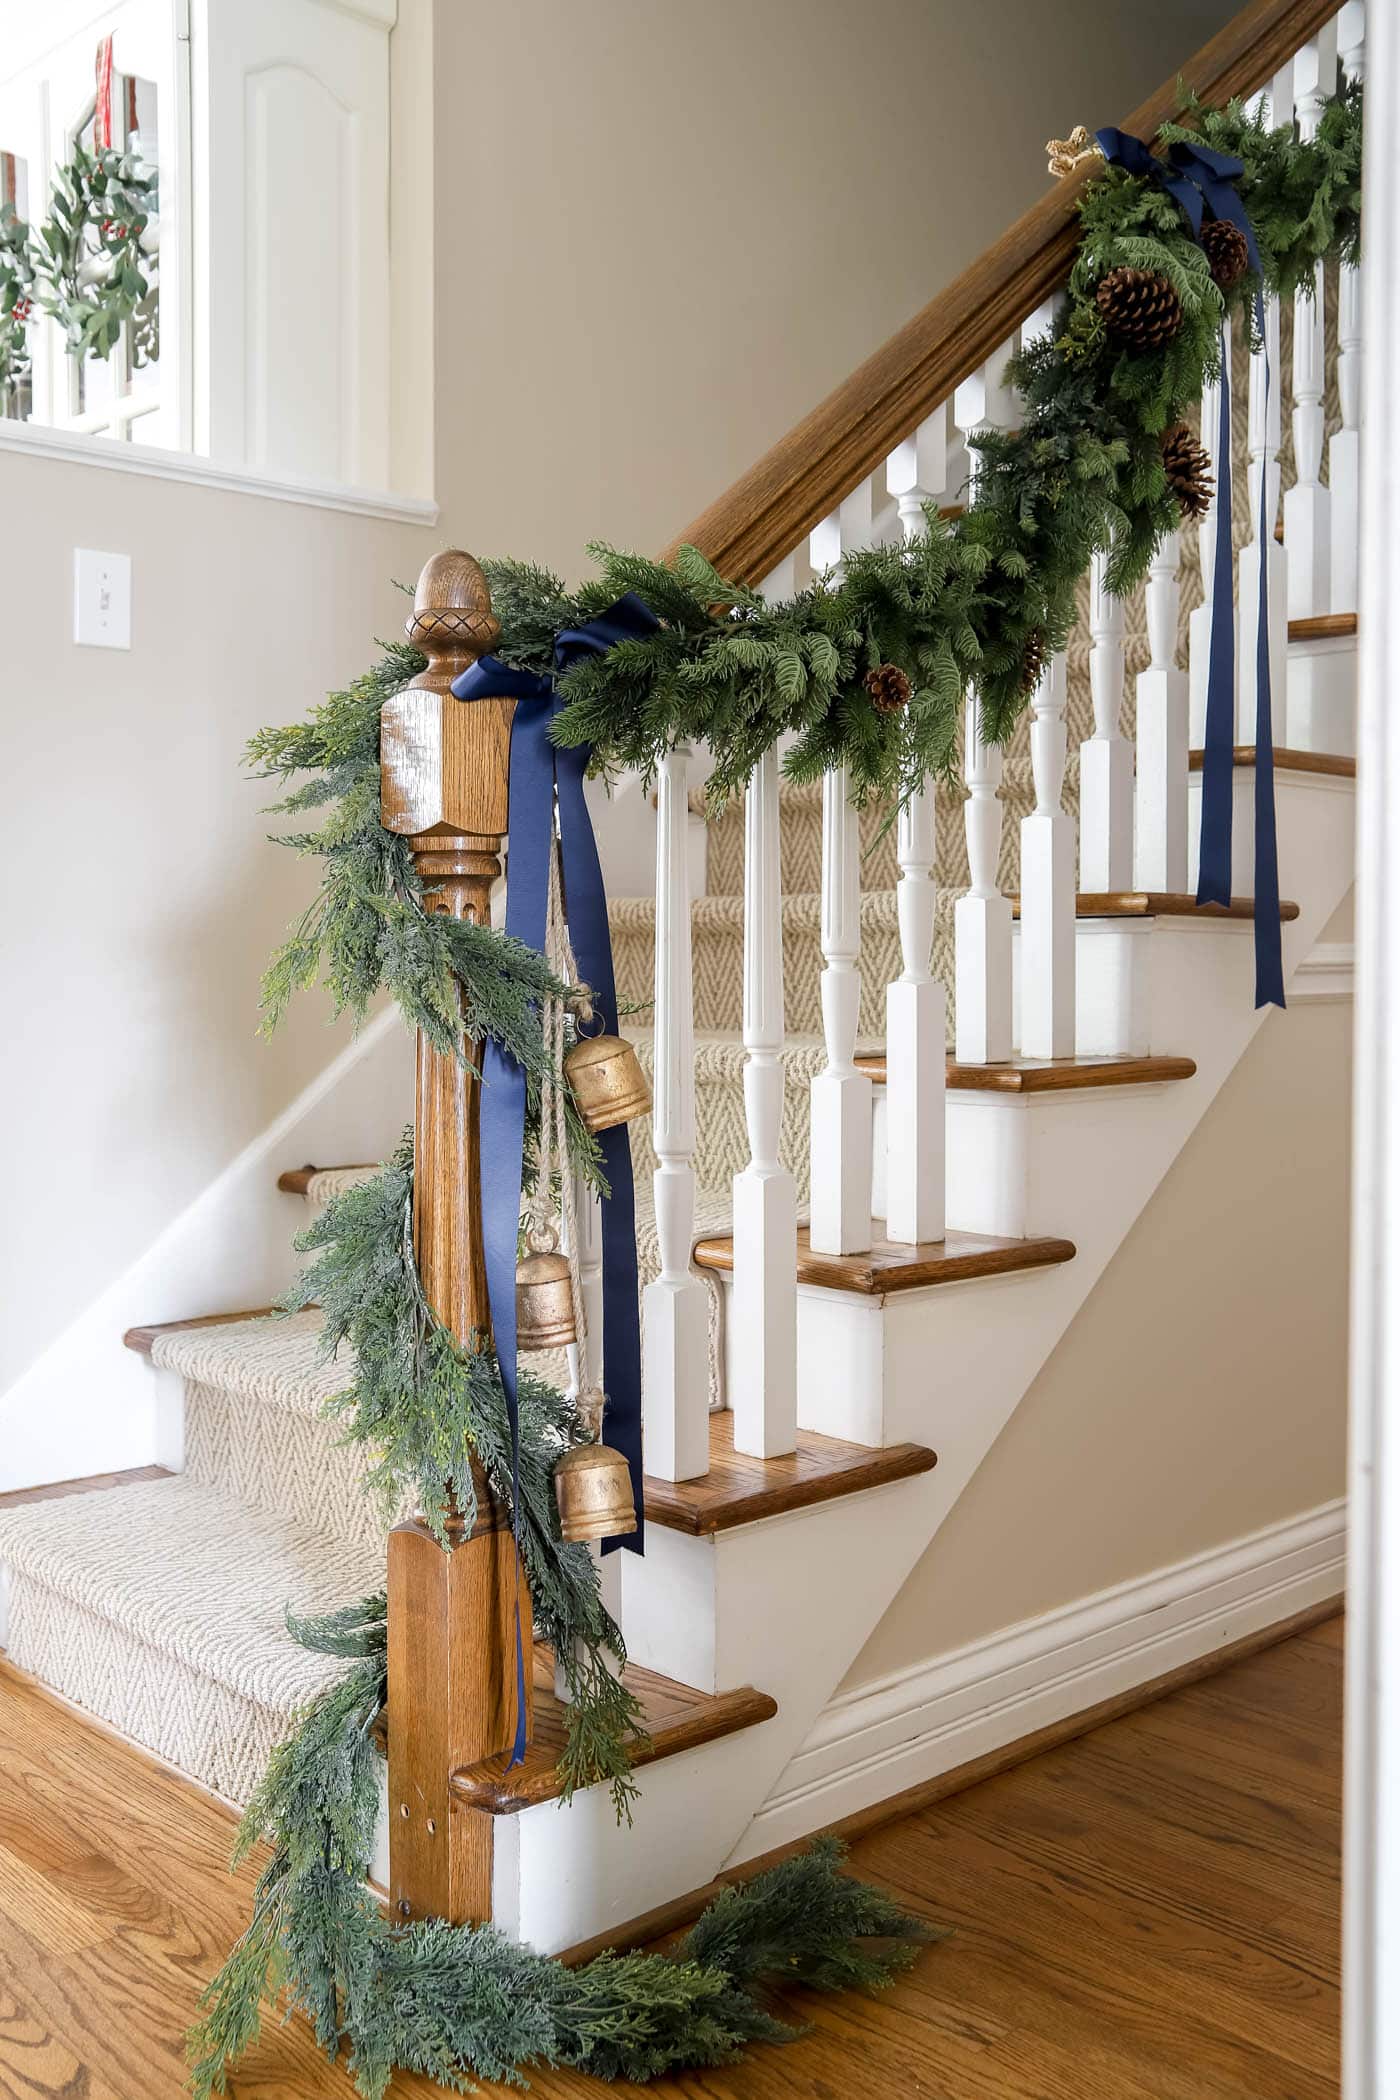
I've also used the bells on my stair garland!
More Posts You Will Love: