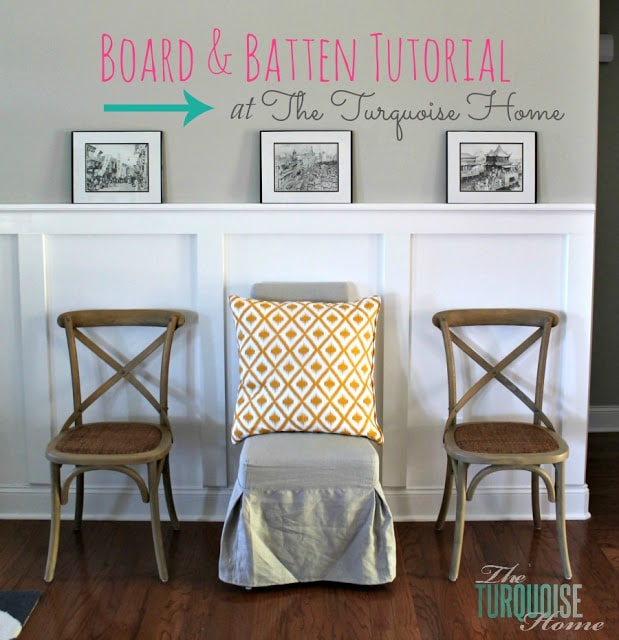
Follow this simple & easy DIY board and batten wainscoting tutorial to give your home plenty of character on a budget!
Everyone and their mother seems to have tried board and batten by now, or at least that's how it feels. I've been keeping a close eye on all things board and batten since we moved into our house last February. This post covers how I put mine up. Learn from my mistakes so you don't repeat them!
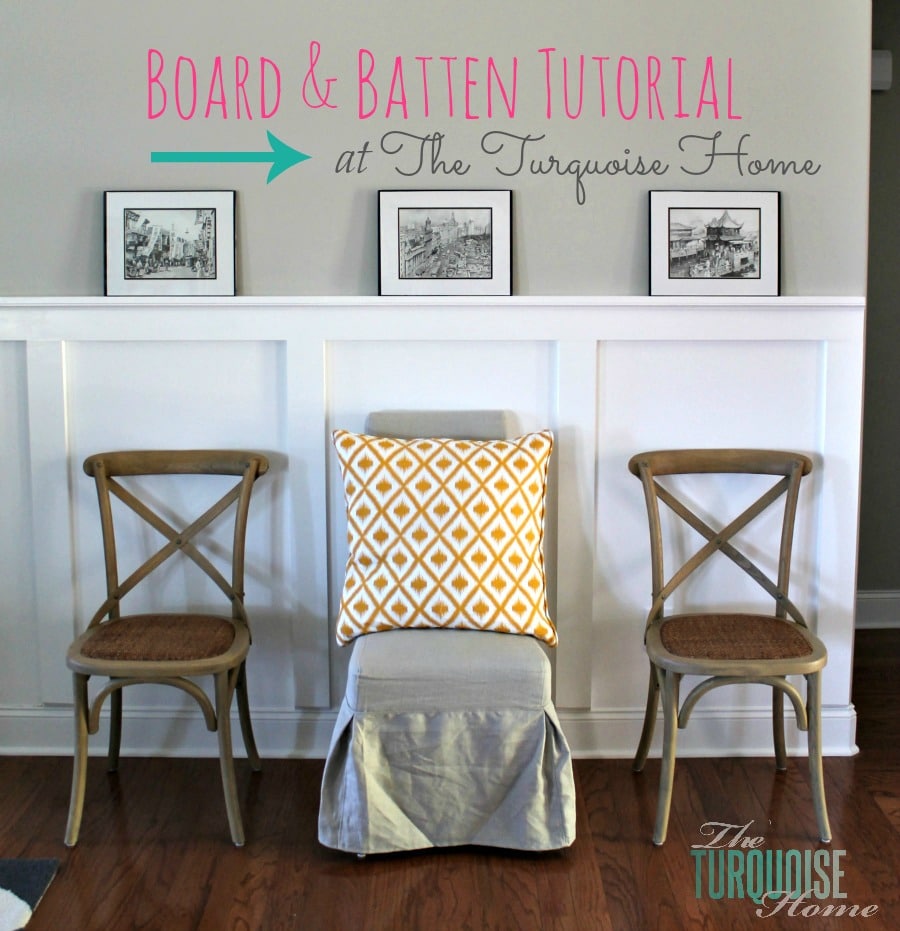
I put board and batten in my living room because it's a wide-open space with tall ceilings, and I felt it needed more structure. I wanted something to define the area in our open floor plan. And I think it did exactly that!
Here's the before and after side by side. You know, because that's what we do in the blogging world. Everybody loves a good before and after. (You can see all the details of this room in my Living Room Reveal post.)
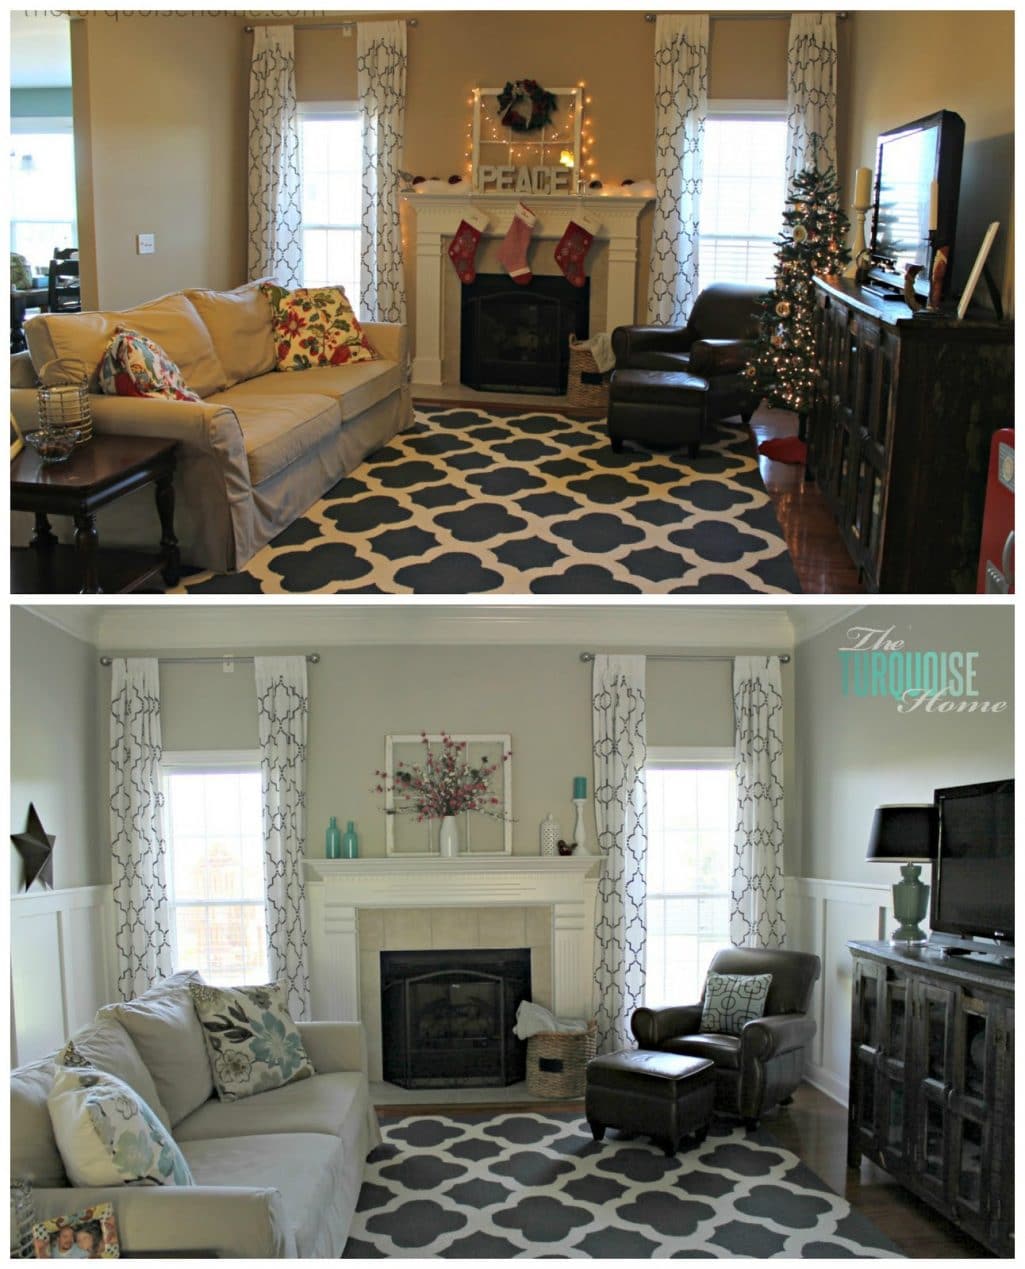
Here's an even earlier before shot, taken right after we moved in...
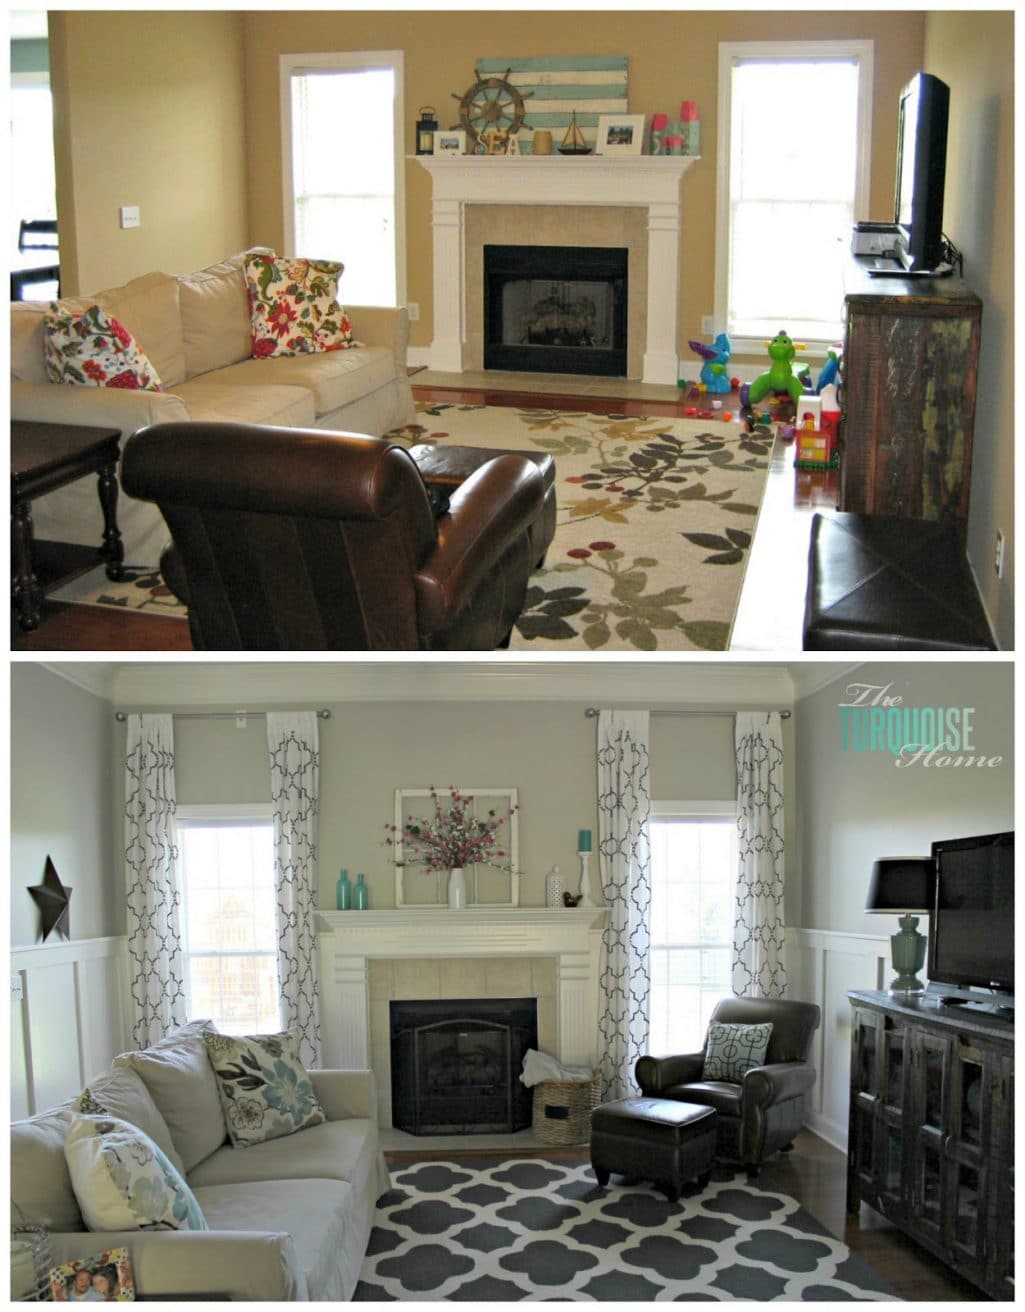
If someone had told me last year that my living room would look like this, I wouldn't have believed them. I simply love it!
And since, as I said before, everyone and their mom has done this in their home, I'll just walk you through what I did. I wish I'd tackled it sooner, but I knew it would be a big undertaking... and it was. Massive. (Of course it takes much less time in a smaller room, and mine is a big one.) I badly underestimated how long it would take to paint everything, nail it to the wall, caulk, spackle, sand and paint some more.
A lot of the delay came from working around a two-year-old. I couldn't nail up boards while she was napping, because her bedroom shares a wall with the living room. And I couldn't run my nail gun while she was awake, because it's too loud and she cries. So the biggest holdup was simply waiting for a stretch when someone else (like my hubby or my mom) could take her outside or somewhere, anywhere, else while I hung the boards.
So if you have a little one, plan on having your husband or a friend take your child while you put up the boards.
Putting Up Board and Batten, Step by Step
1. Choose the Height of the Top Board
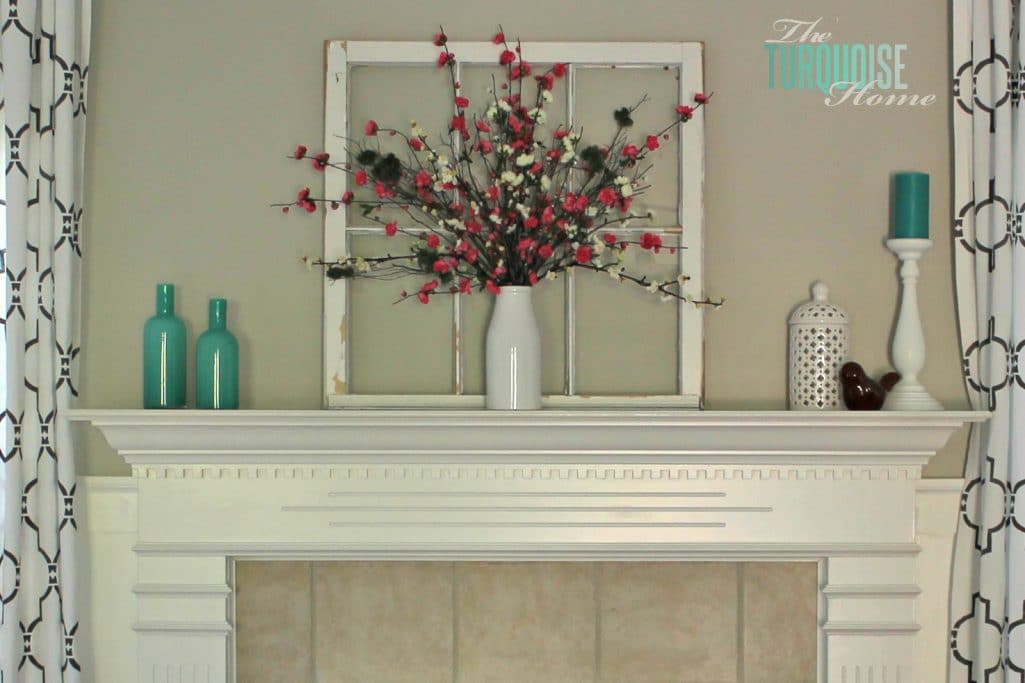
I worked out where to put the top of my boards. That was a real decision because of the fireplace. My first plan was to put the boards just above the fireplace, but a good friend helped me rethink that. It would have landed the boards almost exactly in the middle of the wall, slicing it in half. And we all know design works best with the rule of thirds, right?
So I decided to set the top board just below the "sticking-out-top, not-sure-what-you-call-it" part of the fireplace. I like that it keeps the fireplace's architecture intact and splits the room unevenly rather than in half. Design crisis averted! I think it looks much better the way I finally did it.
2. Draw a Level Line Around the Room Where the Top Board Goes
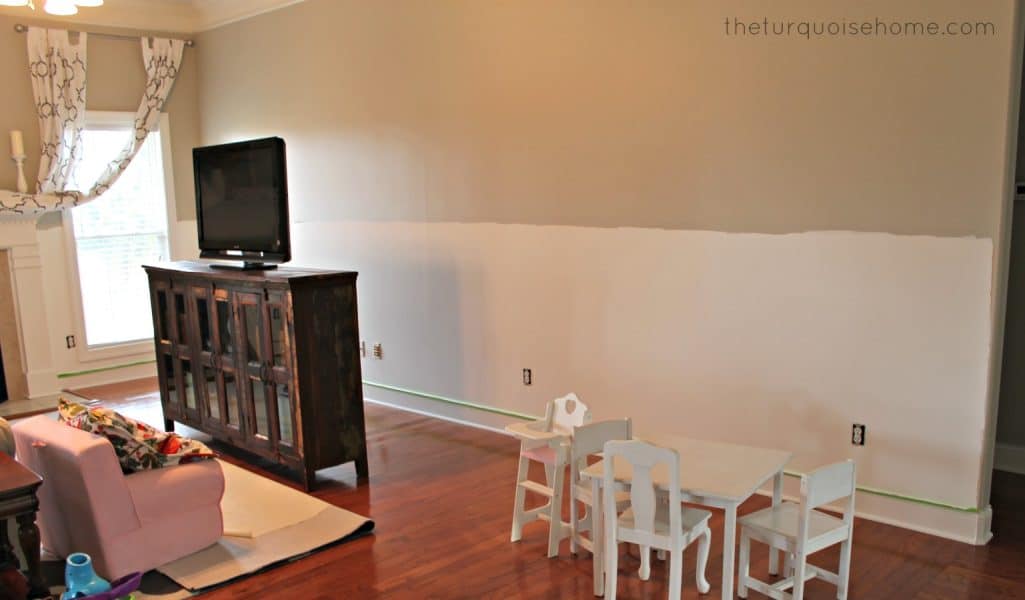
Once I'd picked the spot for the top boards, I drew a line around the room with my laser level (those things are fantastic, by the way!) and painted gray above it and white below. Several other tutorials said painting the walls first saves a lot of time and hand cramps, so I was glad I did my homework. (Read about how I Picked the Perfect Gray.)
3. Buy Your Boards
At this point you need to decide which boards to use. It's probably best to settle that first, but I'll cover it here. One night I went to Lowe's by myself (alone time, hallelujah!) and priced out every option. I looked at furring strips, pine board and MDF.
Furring strips are by far the cheapest, but straight ones are hard to find. I was going to go that route (and sort through the stacks for straight pieces, making a huge mess in the back corner of Lowe's), but at my store every piece had rounded edges, and I wanted a crisper line.
Pine was far too pricey for such a large room, though it would have been my first choice if money were no object. So I went with MDF. The guys at Lowe's ripped it for me there. I bought two sheets and had plenty left over. (Perfect for my next room reveal!!)
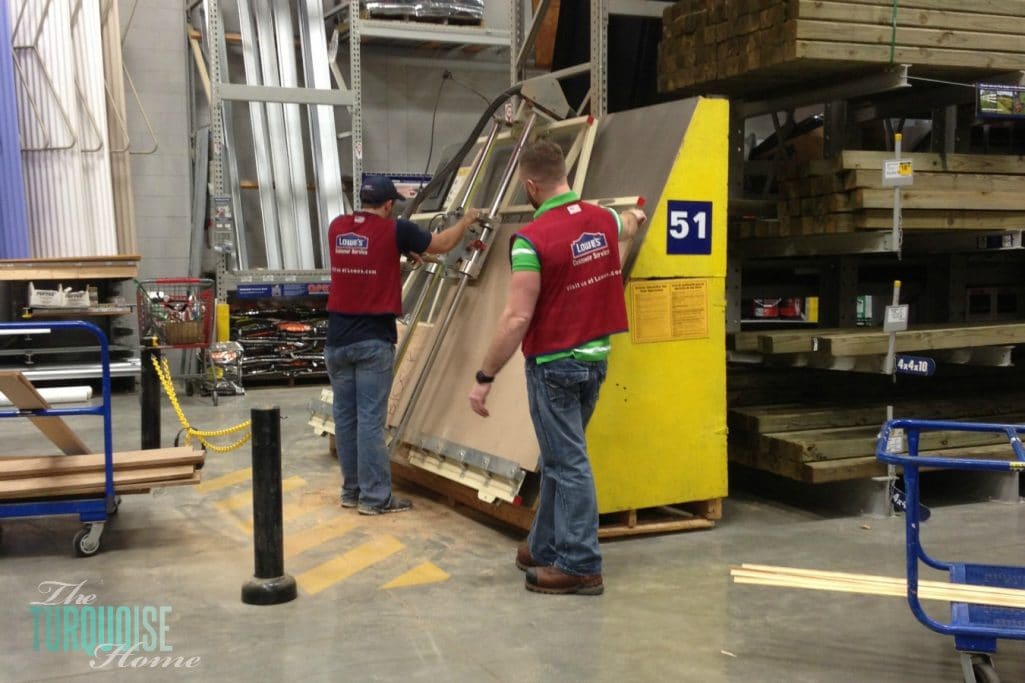
Side note: I asked them to rip it into 8-foot-long, 4-inch strips, but their saw kept jamming, so they cut 4-foot strips instead. When they tried a few 8-foot pieces and it went badly, they switched to cutting the other way, and I ended up with a pile of 3-foot-4-inch strips. That meant piecing together a lot of spots on my walls (see step #8). It added a lot of extra caulking, spackling and sanding. I'd strongly suggest making doubly sure they can cut 8-foot strips before you commit to MDF. And if they mess up mid-cut, ask them to start over with a fresh piece at their expense.
4. Angle the Bottoms of the Vertical Boards at 45 Degrees
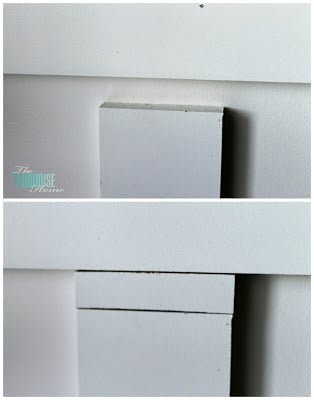
Since my vertical boards hung over the baseboards a bit, and I didn't want to pull the baseboards off, I cut the bottom of each board at a 45-degree angle. That makes the boards look like they rest on the baseboards rather than hanging over them. I picked up the idea from Jackie at Teal & Lime, and I borrowed one of her photos to show you what I mean...
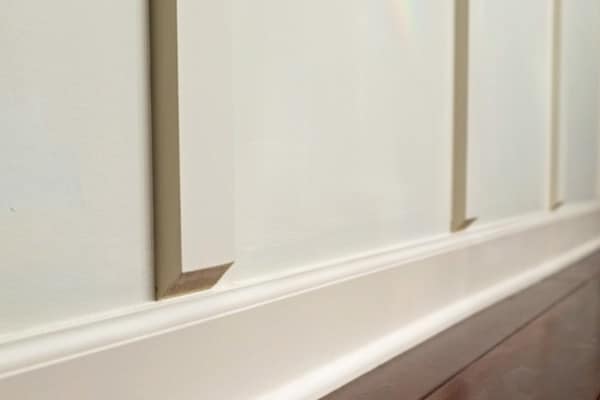
Make sure you cut these before you paint them, unlike me. I forgot and ended up painting them twice. Still, I was thrilled to find a way of NOT removing the baseboards. It saved both time and money, and I think it looks great!
5. Prime and Paint the Boards
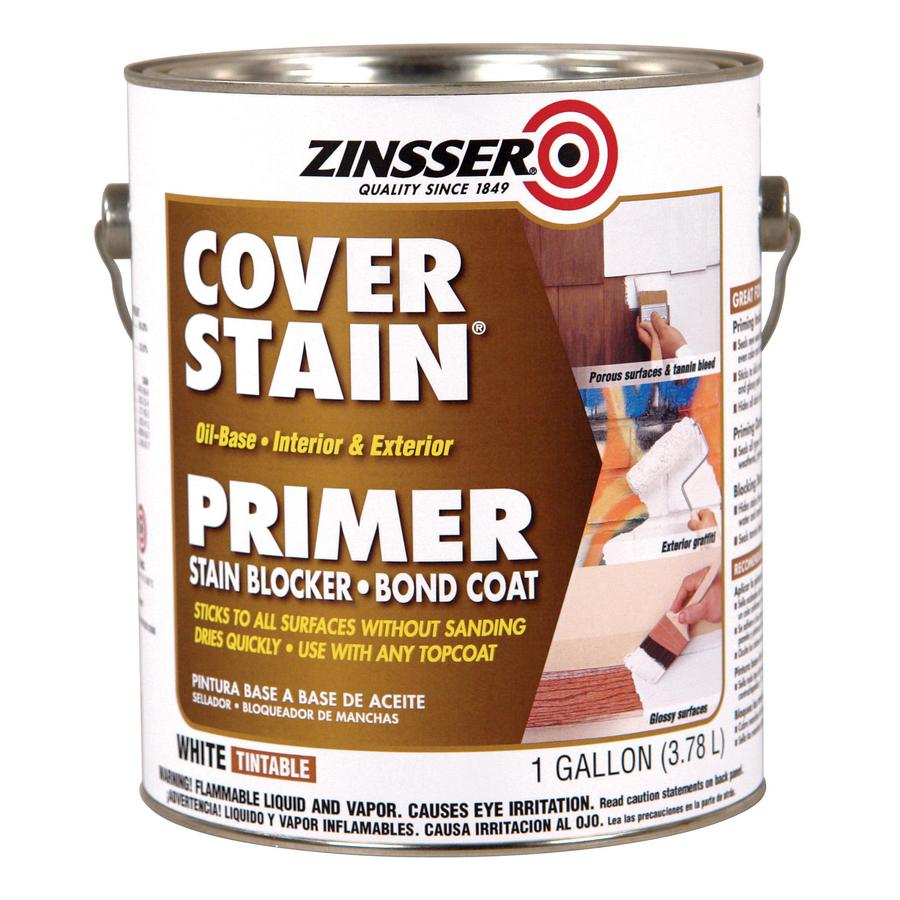
After I got the MDF boards home, I primed and painted them. My longtime favorite primer is Zinsser Cover Stain. You can pick it up at your local home improvement store. Then I gave them one coat of paint. (They got a second coat once they were on the wall.)
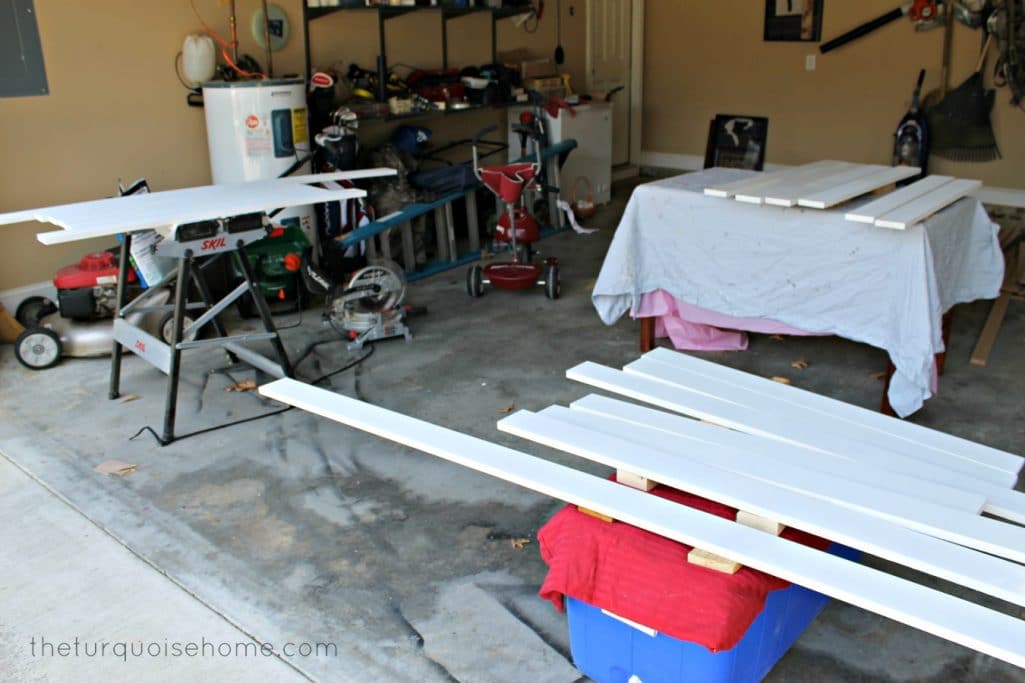
You might be fine painting them just once, after they're on the wall and caulked and spackled. That may be just as easy and less time-consuming. I'll try that on my next project and let you know. Don't mind the messy garage. Organizing it is on my to-do list for this summer. I also started a new Pin Board last week: Garage Organization.
Side note: I figured I could grab white paint off the shelf and be done, but once I rolled it on the walls it looked like fluorescent white. I HATED it. I don't know the color of my trim, since it was painted before we moved in and our house was a foreclosure. (No extra paint samples were left behind.) And that stark white clashed horribly with the trim.
So I pulled out my paint swatches, my many, many paint swatches, and chose Benjamin Moore's Simply White. I returned the off-the-shelf white and had Lowe's color-match the swatch. So much better!!
6. Install the Horizontal Boards
After the first round was painted {I had very little room to lay the boards out while they dried, so I had to paint in batches}, I nailed up the horizontal boards first. I didn't take any photos of this step, but make extra sure your horizontal boards are level using your level.
Side note: I can't believe I ever lived without a level. Best tool everrr!
I didn't get pictures because it took my husband and me to hold the boards in place while I nailed them in with my nail gun and checked that they were level. Don't use your baseboards as a guide for level, because they probably aren't level either.
7. Install the Vertical Boards
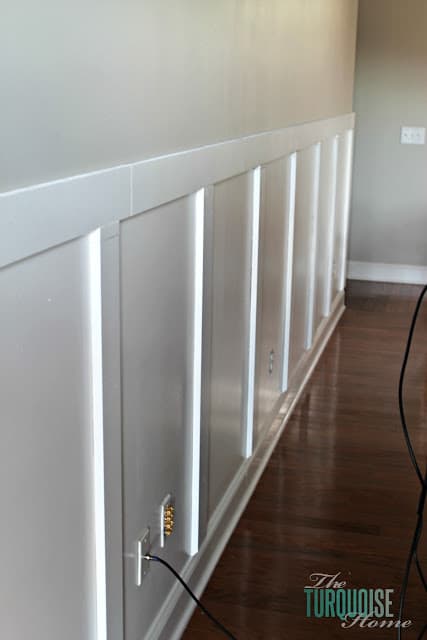
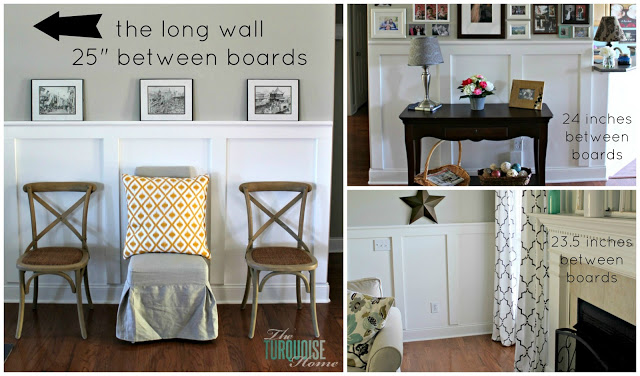
Then I nailed up all the vertical boards with my nail gun, checking that each one was plumb as well. Nobody wants wonky boards, right?? For spacing on the walls, I used 25 inches along the long wall with the TV. That spacing just looked right.
For my two shorter walls, I centered the boards on each wall instead. I think they came out something like 24 and 23.5 inches apart. That was close enough to 25 inches that the difference wasn't going to be noticeable. And I think the smaller walls look better with the boards centered.
8. Fill in the Gaps
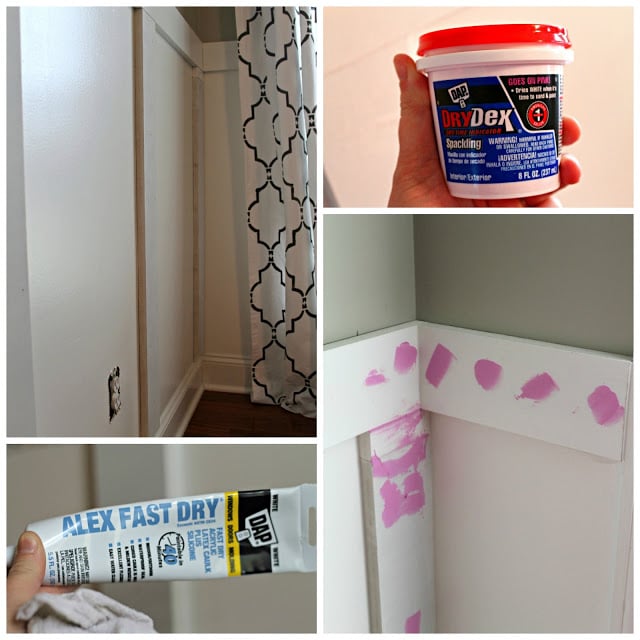
Once every board was nailed up, I figured I was in the clear. Wrong, oh so very wrong. I can't tell you how long I spent spackling, caulking and then spackling some more. Remember how I mentioned in step #3 that the Lowe's crew struggled to cut my MDF? Well, that caused this problem when I hung the boards. They were just a little too short, so I had to cut individual, custom-sized pieces to fill the gaps. Not fun.
Before you spackle over your nail holes, make sure each nail head sits flush with the wood. I assumed the nails weren't an issue and didn't sink them further with my nail set. I ended up going back to hammer in a bunch of them, then re-spackling and re-painting.
So I spent a LOT of time with these two friends: Alex and Dex...
9. Install the Rail Cap Pieces
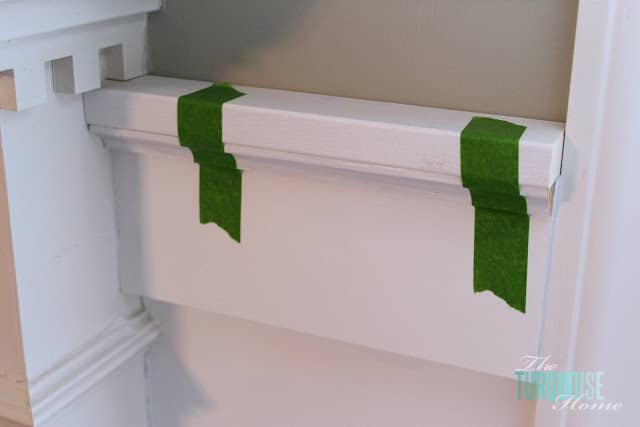
Finally, once all the caulk and spackle had dried, I put up the shelf along the top. It used a 1 x 2 pine board (I did splurge on this piece because the MDF was heavy and the ripped edges weren't so pretty!) I nailed it into the top MDF board with my nail gun.
Then I added some cove molding under the top ledge. I attached it with liquid nails and taped it in place while the adhesive set. I didn't want to damage the thin molding with the nail gun. (And I'll admit I was tired of filling nail holes by then, too. Frog Tape to the rescue!!)
10. Apply the Final Coat of Paint
After every board was in place and all the holes were filled and sanded smooth, I gave the whole board and batten one last coat. I did it one night as I was getting ready for bed. Instead of going to sleep, I decided to finish the board and batten.
I was sooo ready for this to be done. So at 2 a.m. one Wednesday morning, I painted that last piece, stepped back and admired all my hard work. Of course I can see every flaw in it, but from the couch it looks great. And nobody is going to get up close and tell me they can spot a nail hole. At least they'd better not! ha!!
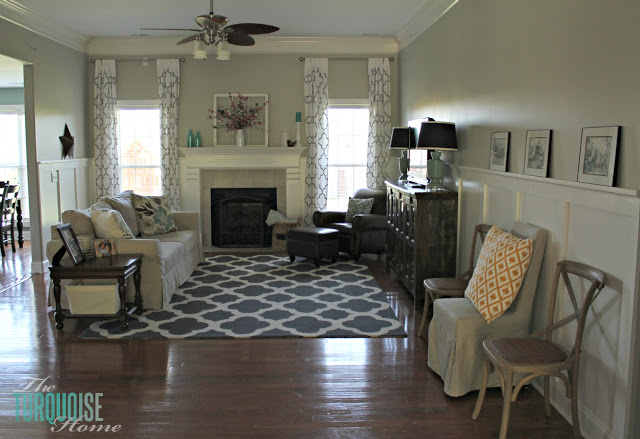
After all the work and time, the final result is so worth it. I love it, and it's even better than what I pictured in my head 14 months ago, when I first walked into this house. Time-consuming and tedious? Yes. But worth every patched nail hole and every stroke of the paintbrush.
Don't forget to see all the glamour shots in my Living Room Reveal!!
More Posts You Will Love: