Build a coastal concrete serving tray with dock cleats and a simple mold. I'm hooked on this DIY concrete tray for summer hosting and parties!
I've said it before and I'll keep saying it: simple projects that are useful and good-looking are my favorite. I get such a thrill from grabbing a few things at the hardware store and turning them into decor for my home.
Much like my jewelry organizer from last month, or my chalk holder that sits beside my chalkboard. Then there are my farmhouse shelves in my kitchen. Each one is a quick, simple build that looks great and costs very little!
Steps to Make a Concrete Tray with Cleat Handles
Today I'm sharing my newest little project: my DIY Concrete Tray with Dock Cleat Handles!
I'll be honest, I was really nervous about working with concrete for the first time. I'm not sure why I worried! It was so easy to use once I followed the instructions.
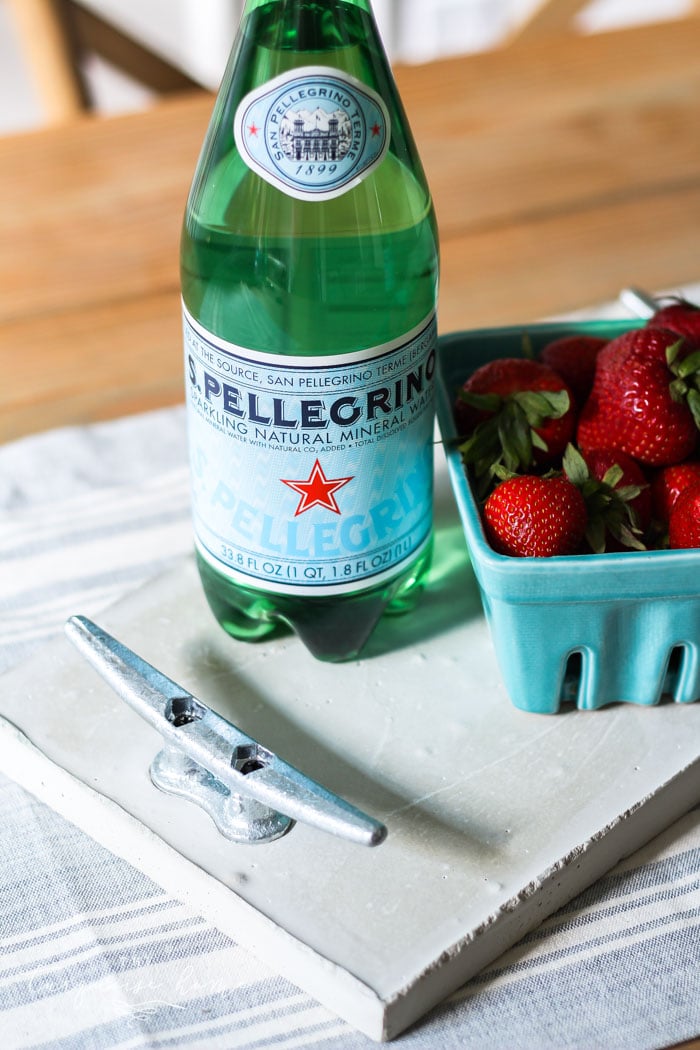
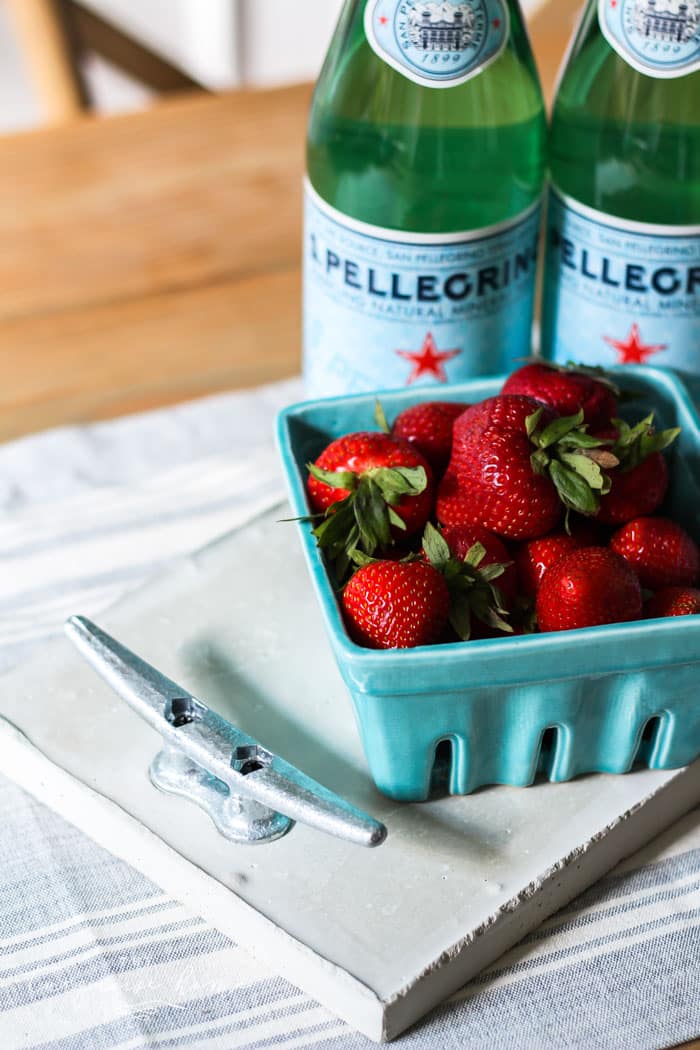
I kept this project simple since concrete was new to me, but I gave mine a coastal feel with dock cleat handles. Here's how mine turned out!
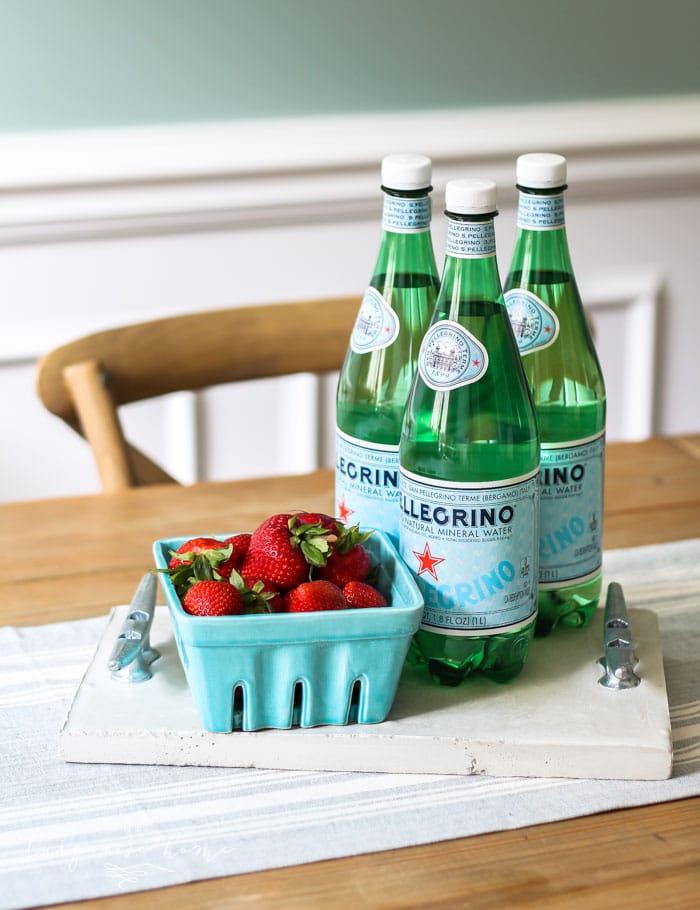
Don't you love those dock cleats as handles? I adore their subtle, summery coastal look. The tray is a bit heavy, of course! I think it looks lovely on the table holding fresh strawberries, and it would make a cute fruit tray.
Supplies Needed for a DIY Concrete Tray
Tools:
- Power drill
- Circular saw
- 1 small bucket
- Measuring cup
- Paint stirrer
- Sandpaper
- Painter's tape
- Tape measure
- Pencil
- Trowel
Materials:
- 1 – 1/2 inch plywood sheet
- 1 x 4 x 6 common board
- Multi-purpose concrete
- 2 – Dock cleats
- 1 1/2 inch wood screws
DIY Concrete Tray Step-by-Step Instructions
1. Cut the Pieces for the Tray Mold
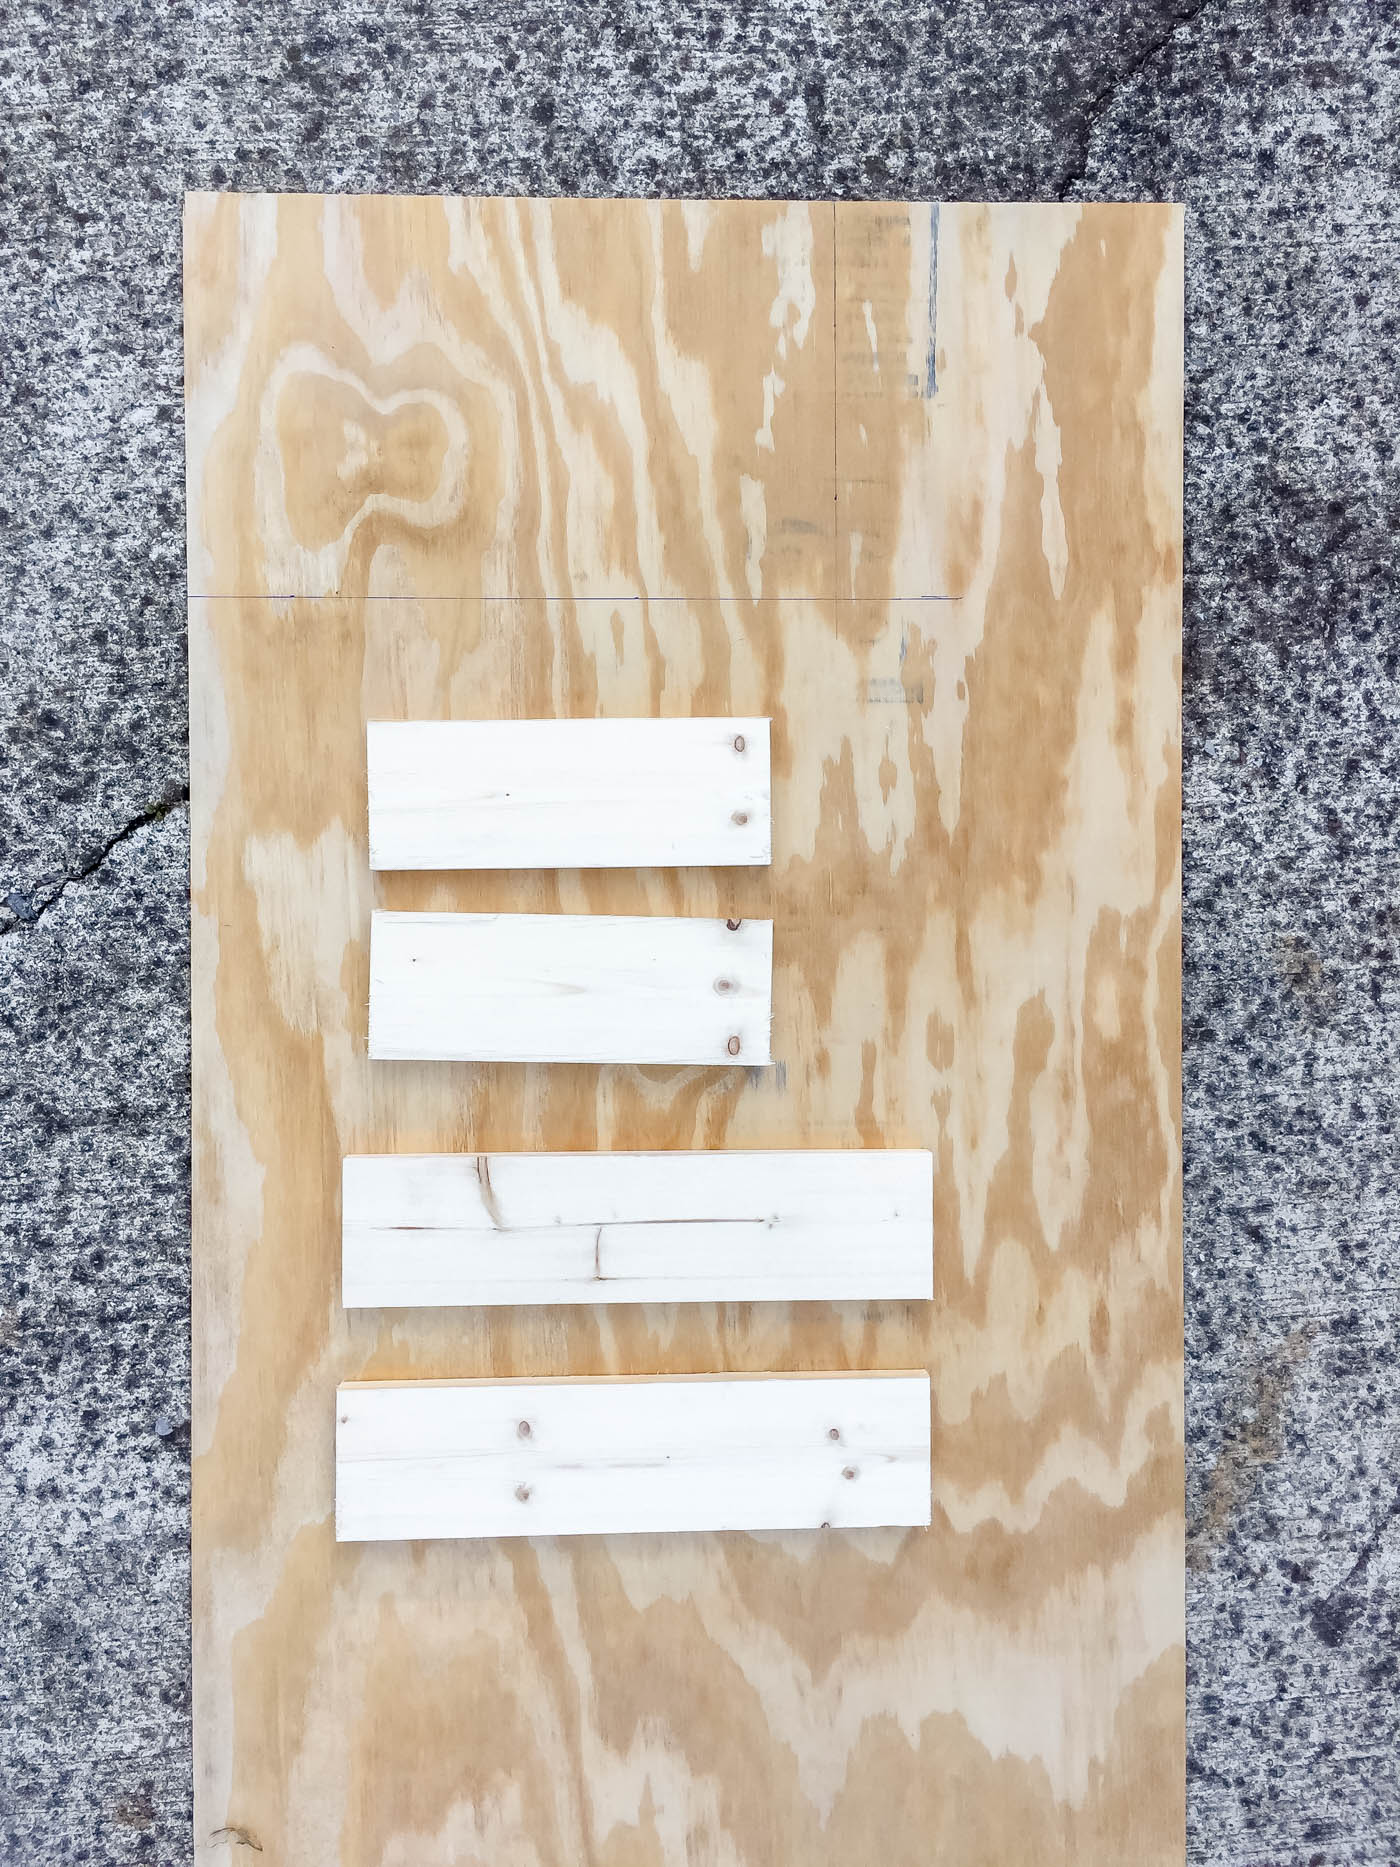
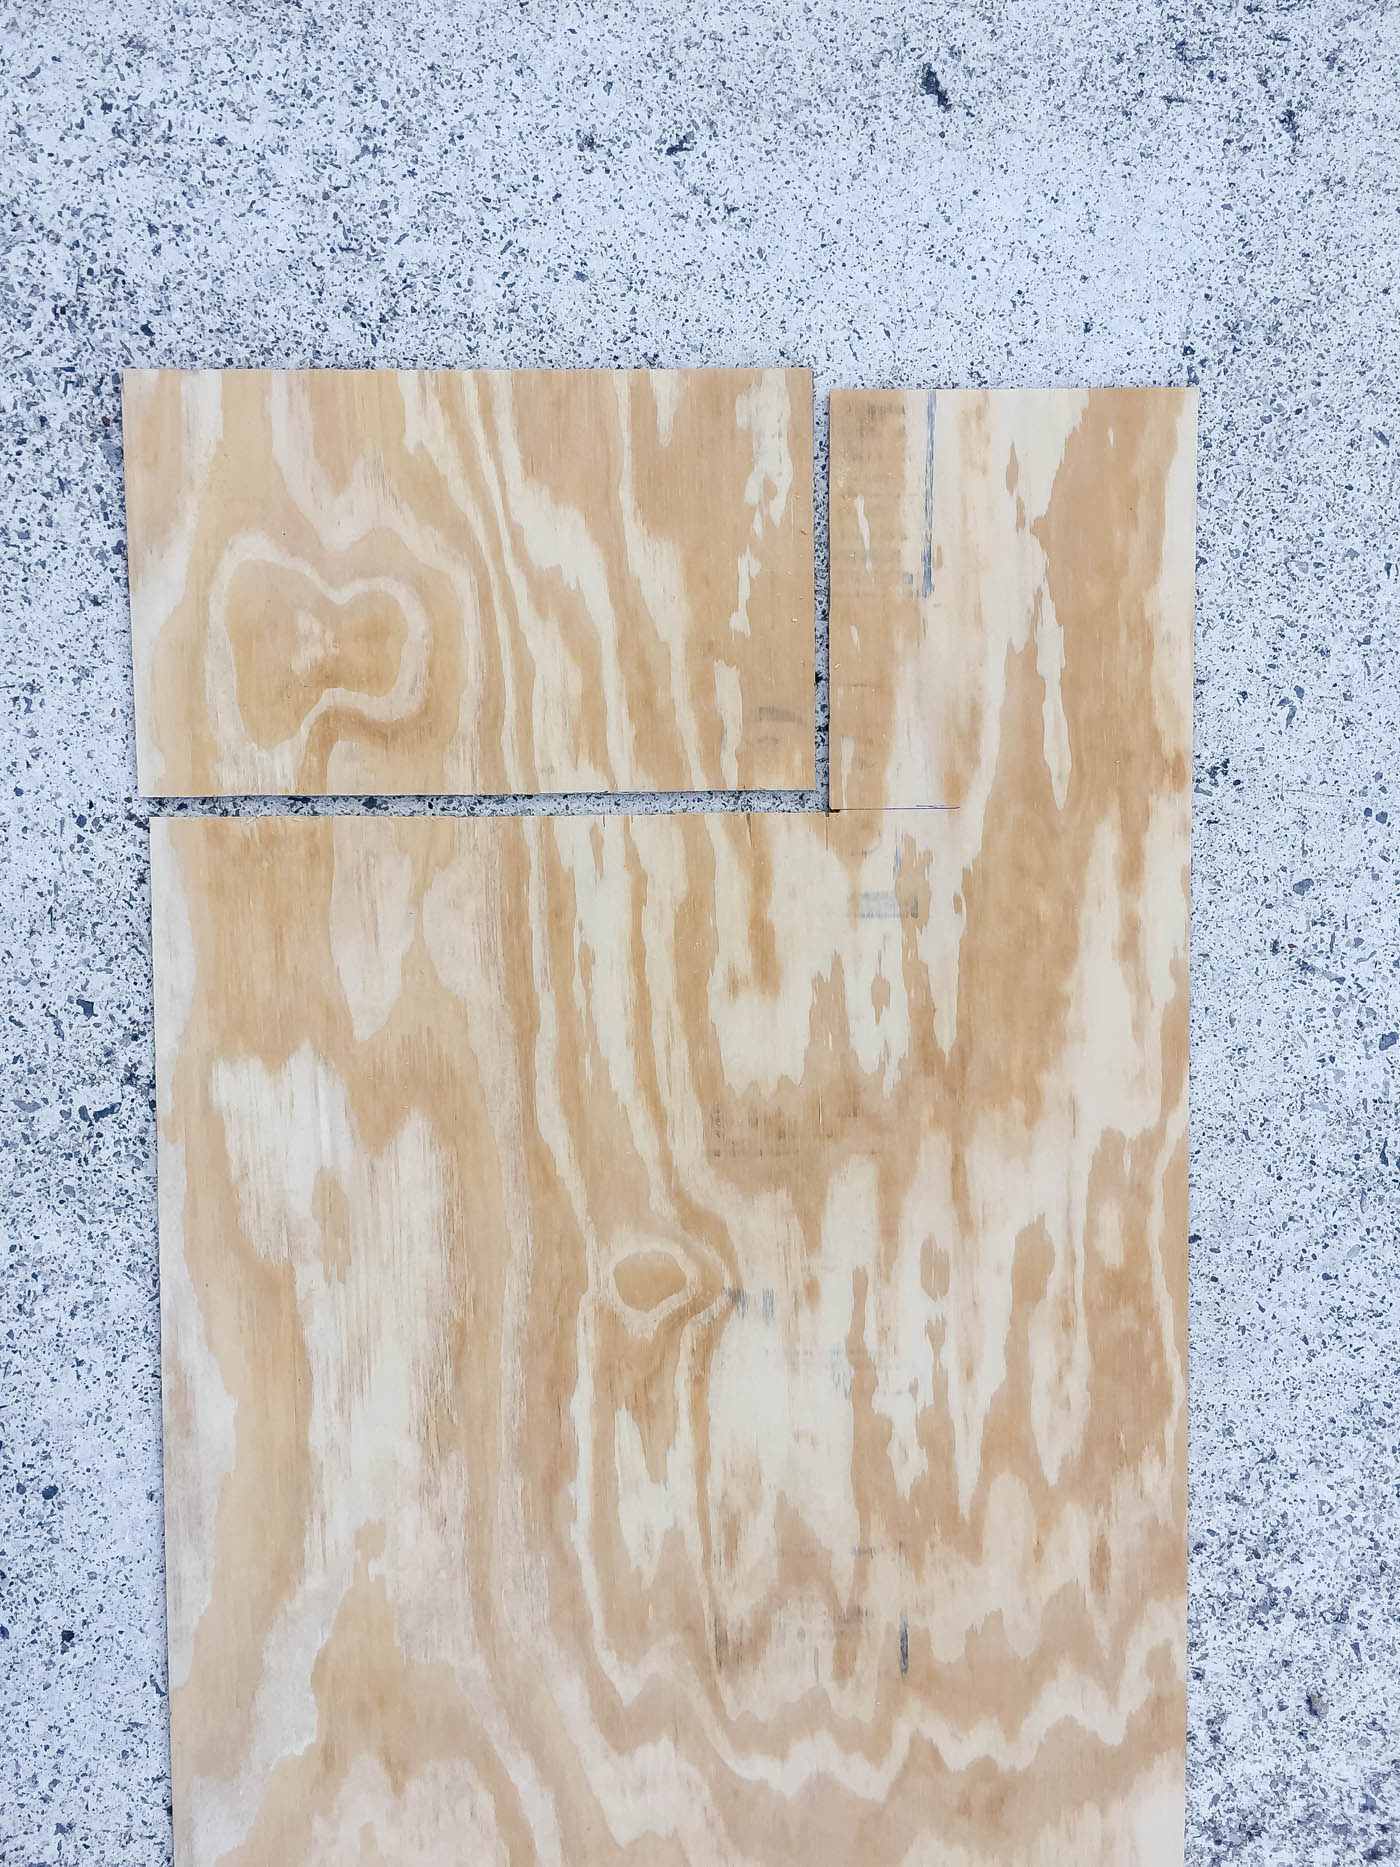
Cut the following pieces from the common board and the plywood:
- Two 1 x 4 x 14 inch pieces for the long frame sides
- Two 1 x 4 x 9 1/2 inch pieces for the short frame sides
- One 15 1/2 inch x 9 1/2 inch piece of plywood for the backing
2. Make a Box with the Frame Pieces
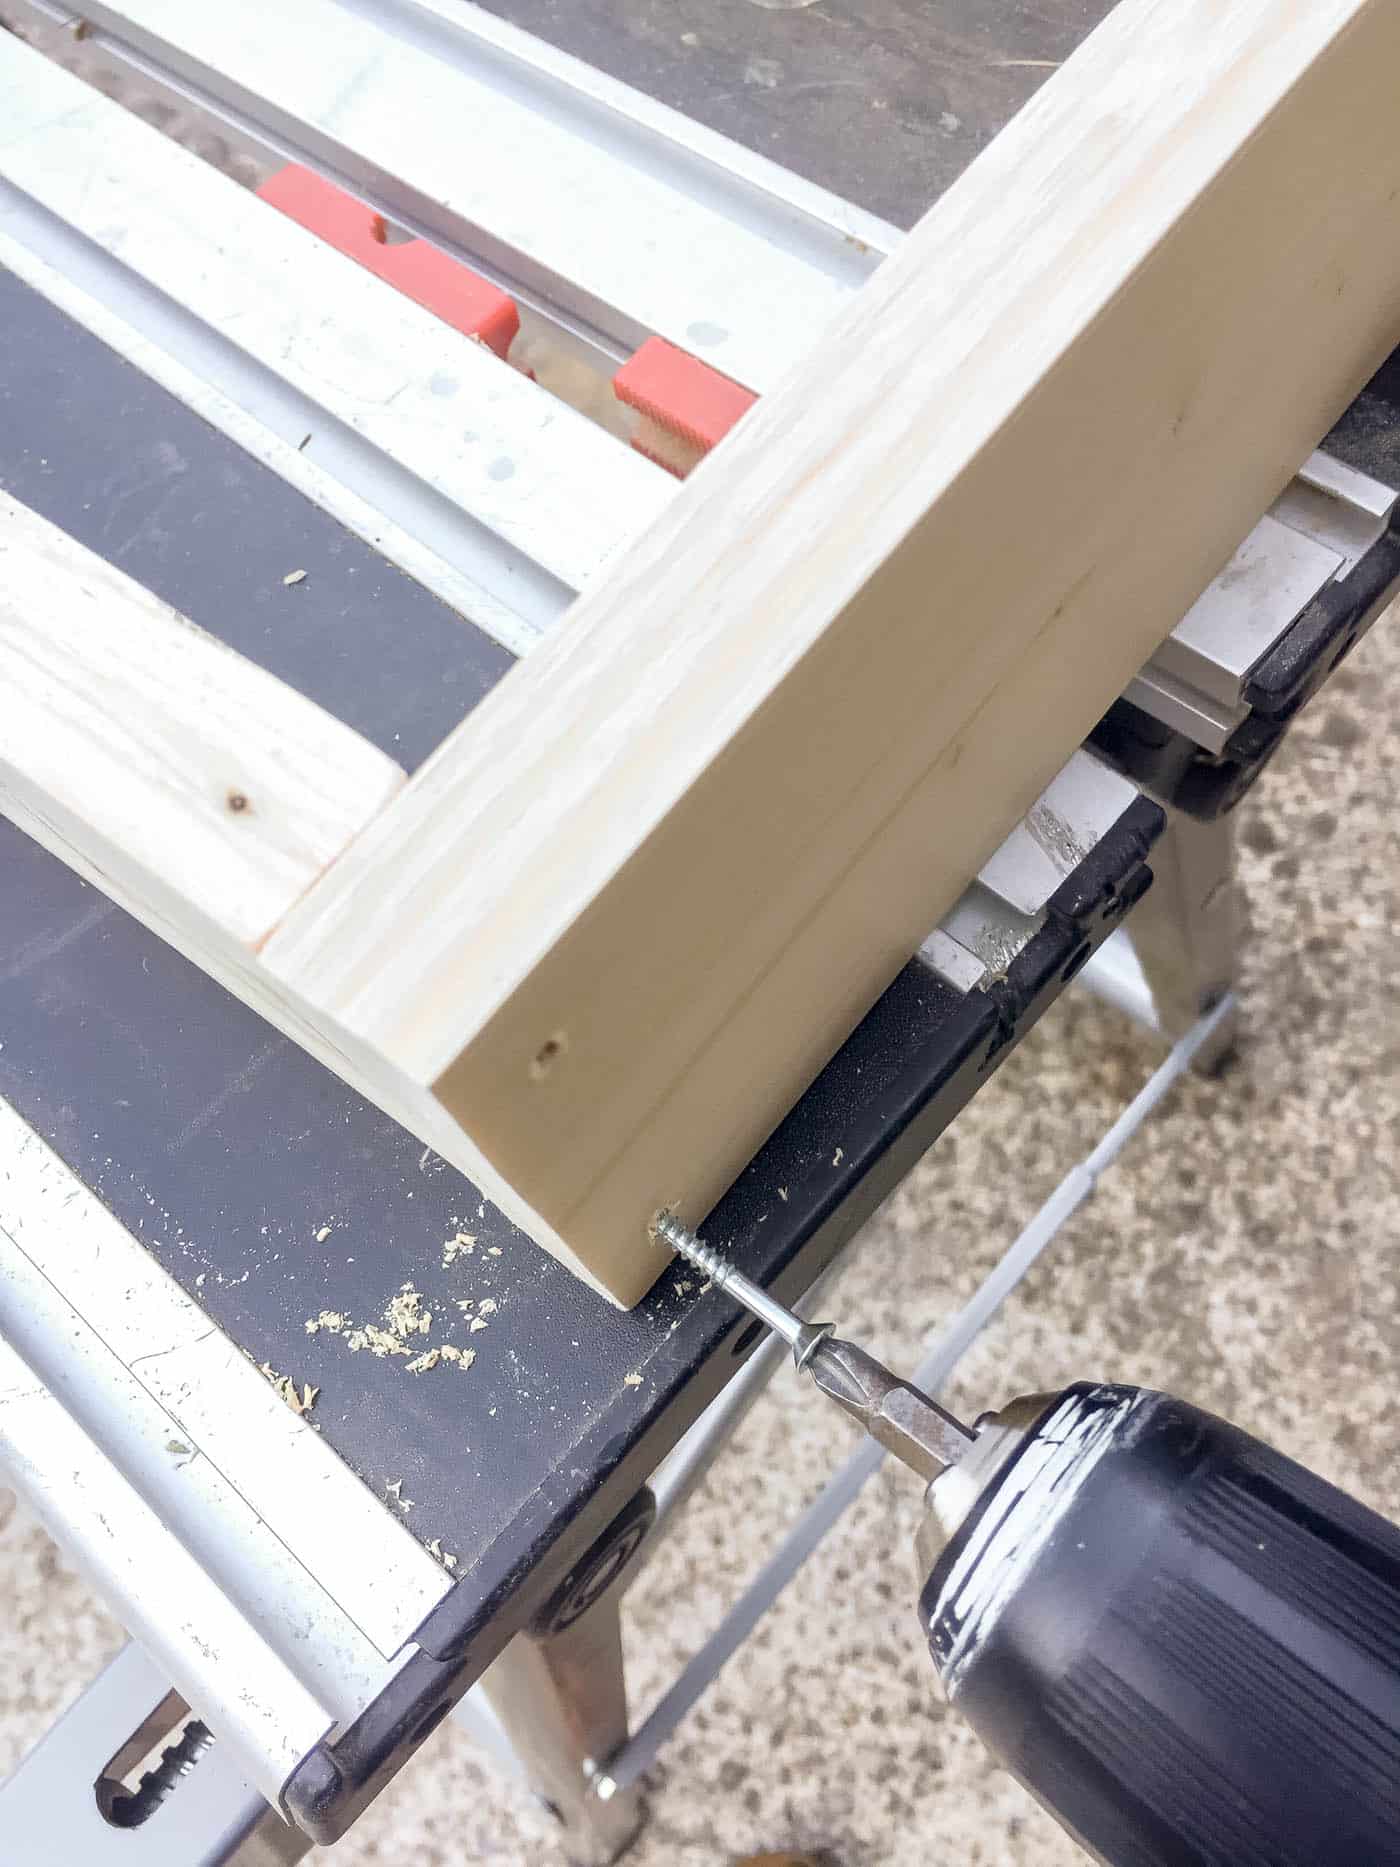
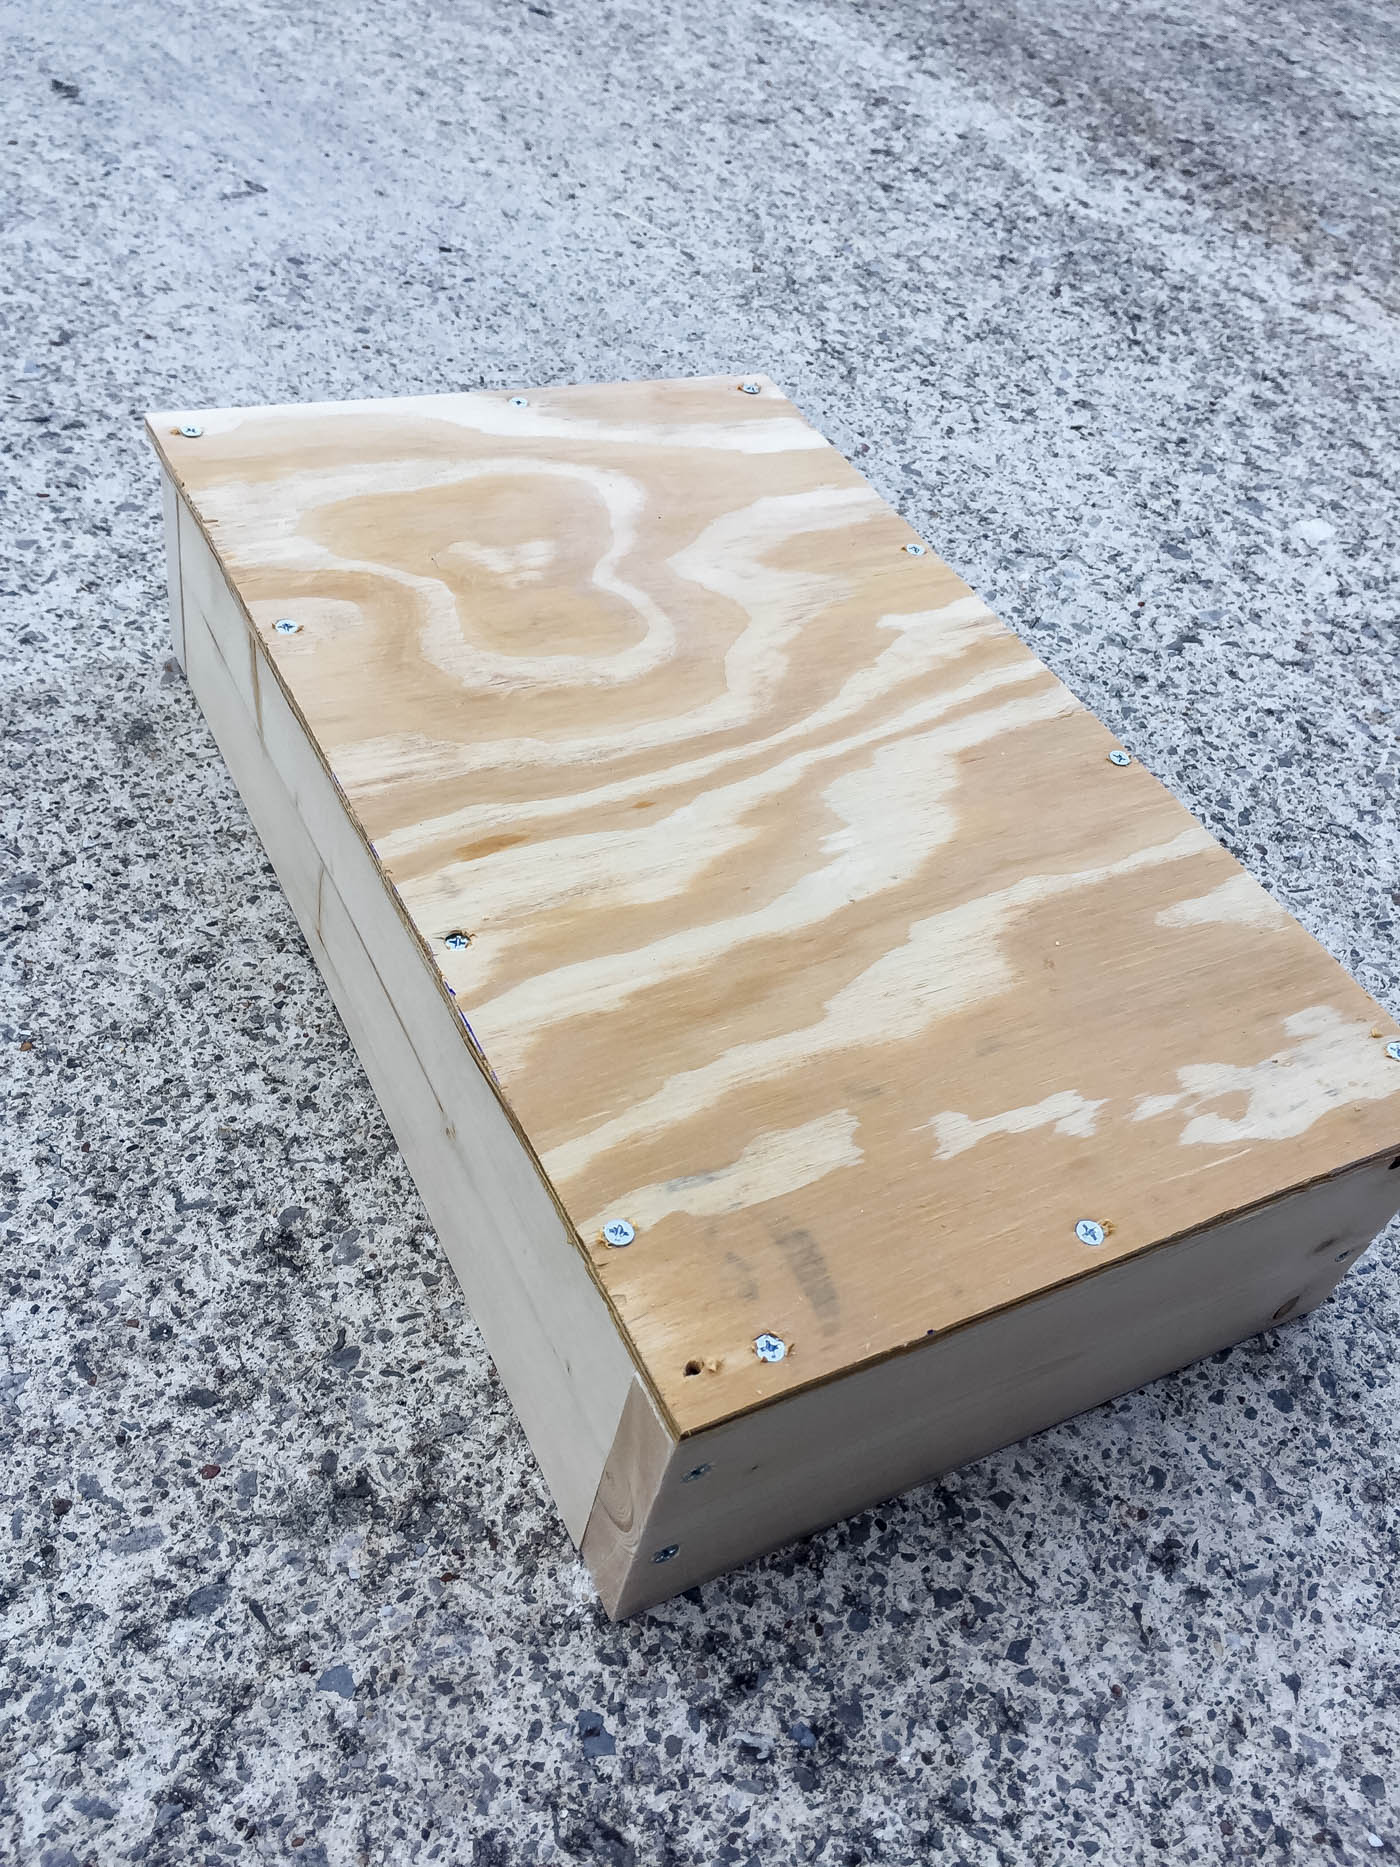
Screw the long and short frame pieces together with wood screws to form a box.
3. Attach the Plywood to the Bottom of the Box
Use more wood screws to fasten the plywood firmly to the bottom of the box.
4. Attach the Screws to the Dock Cleats
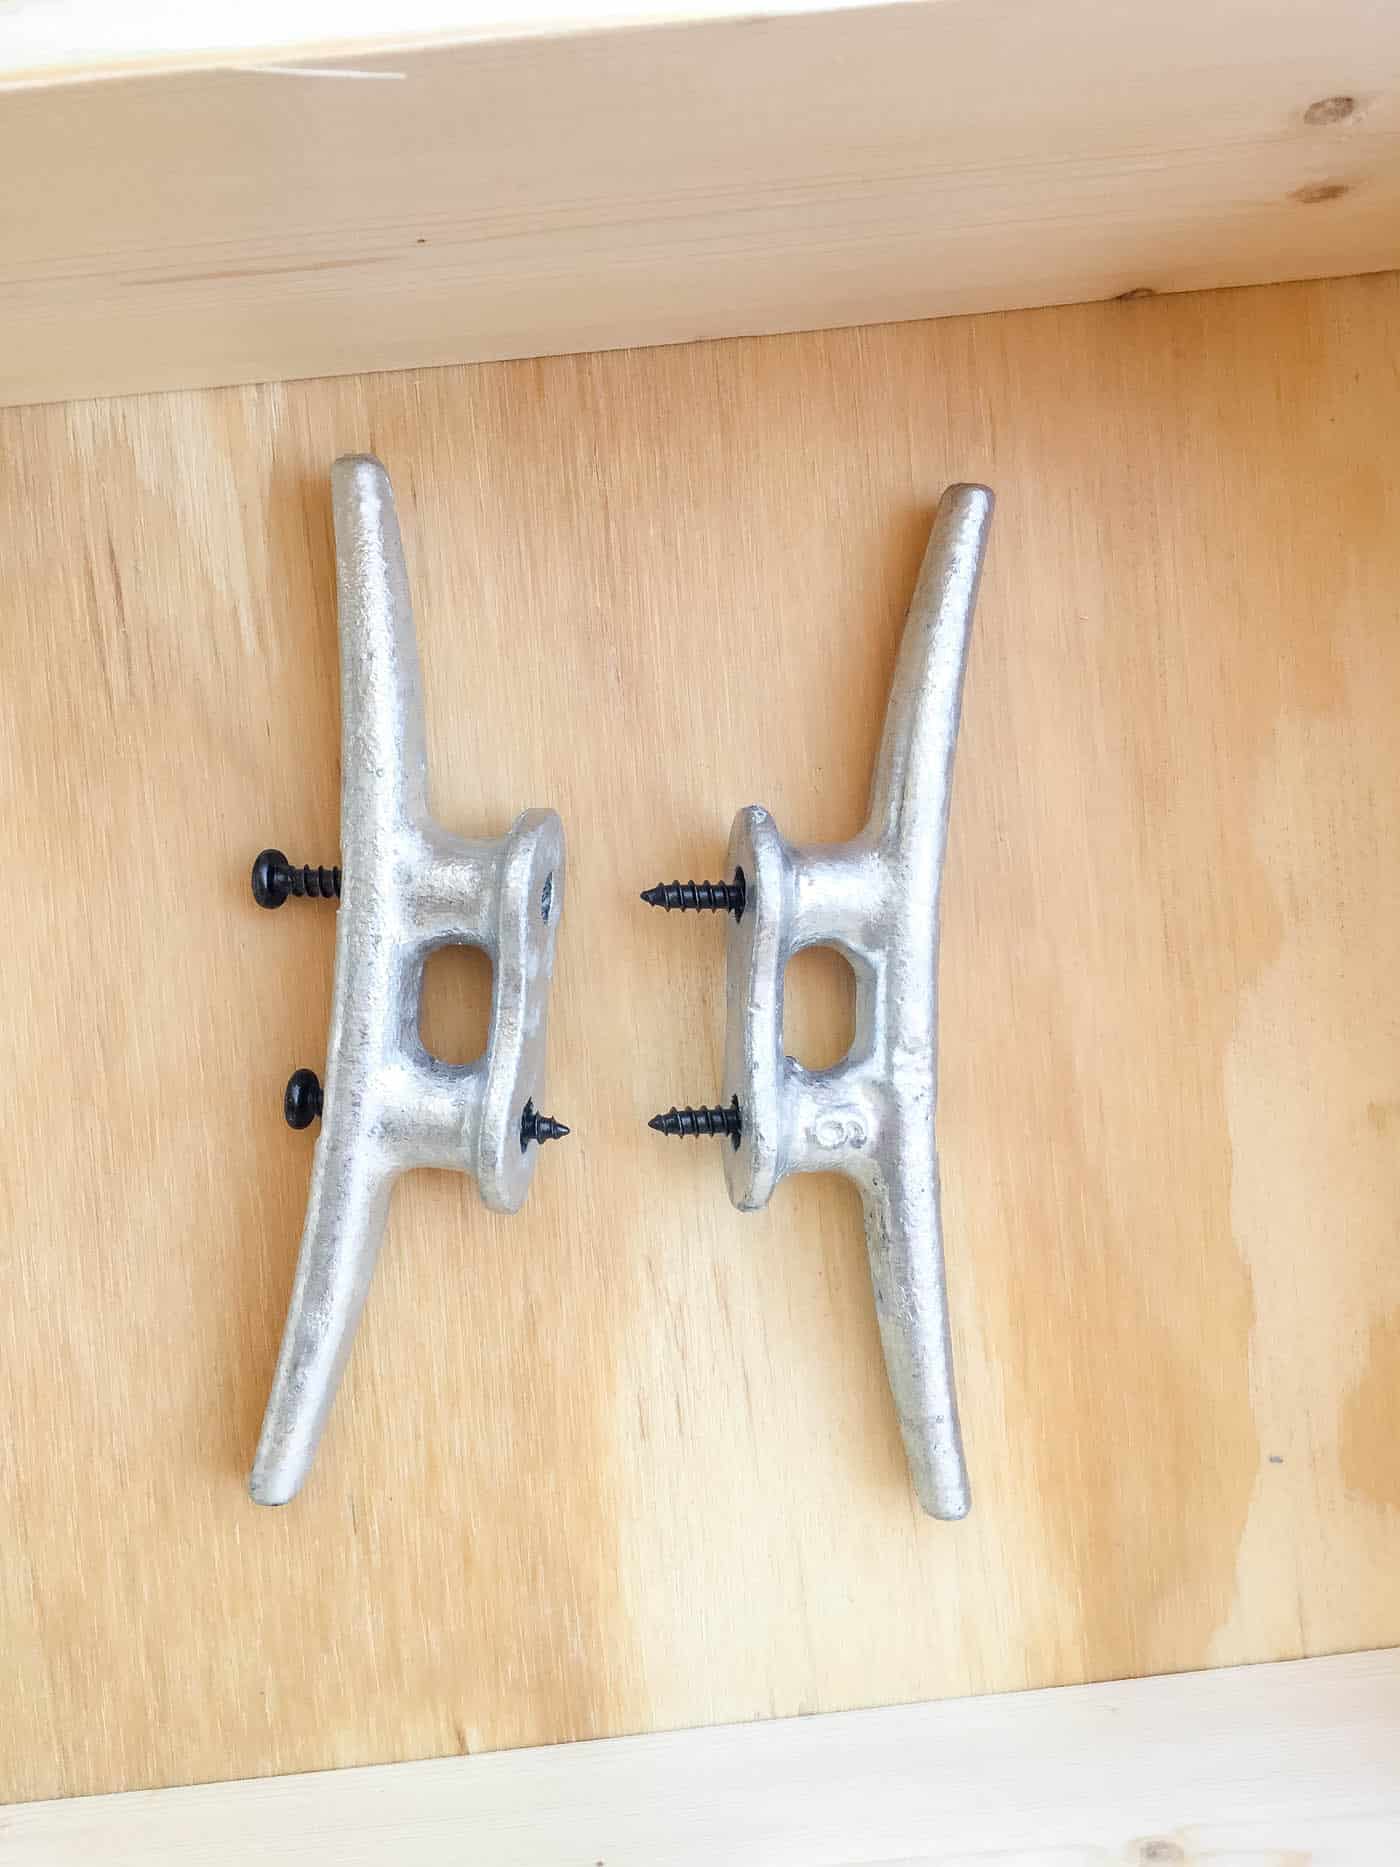
Use the smallest screws that came with the dock cleats. I suggest setting the screws into the handles so they sit inside the concrete. Otherwise the handles will pop right off when you lift the tray.
5. Mix the Concrete per the Instructions
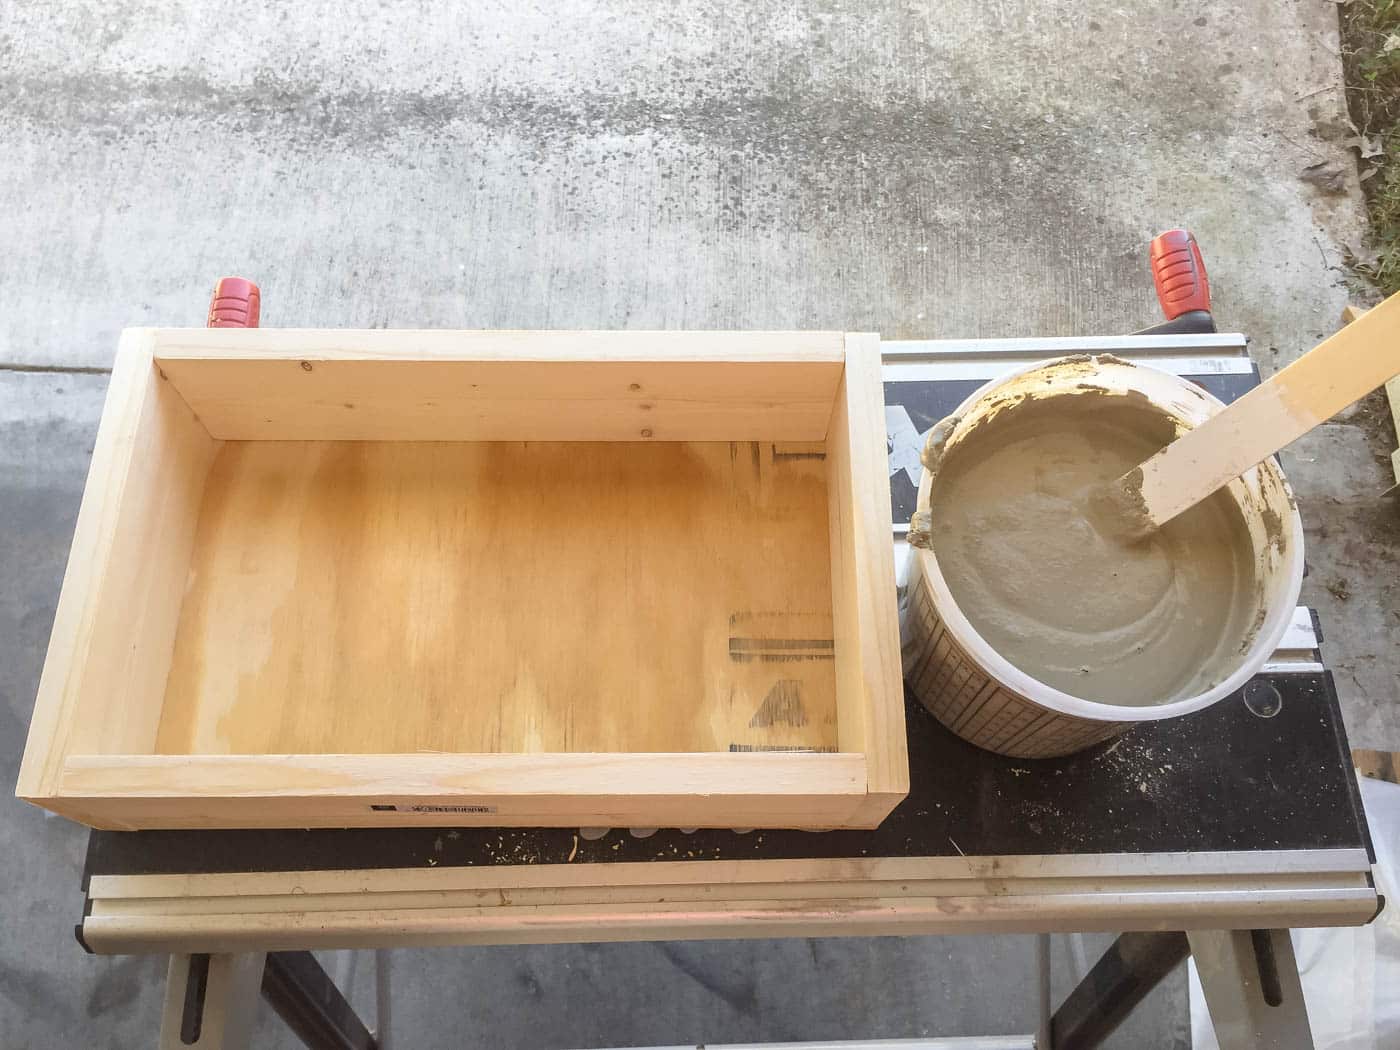
Follow the directions closely. Mix it right before pouring it into the mold, so have everything ready to go first.
6. Pour the Concrete into the Mold
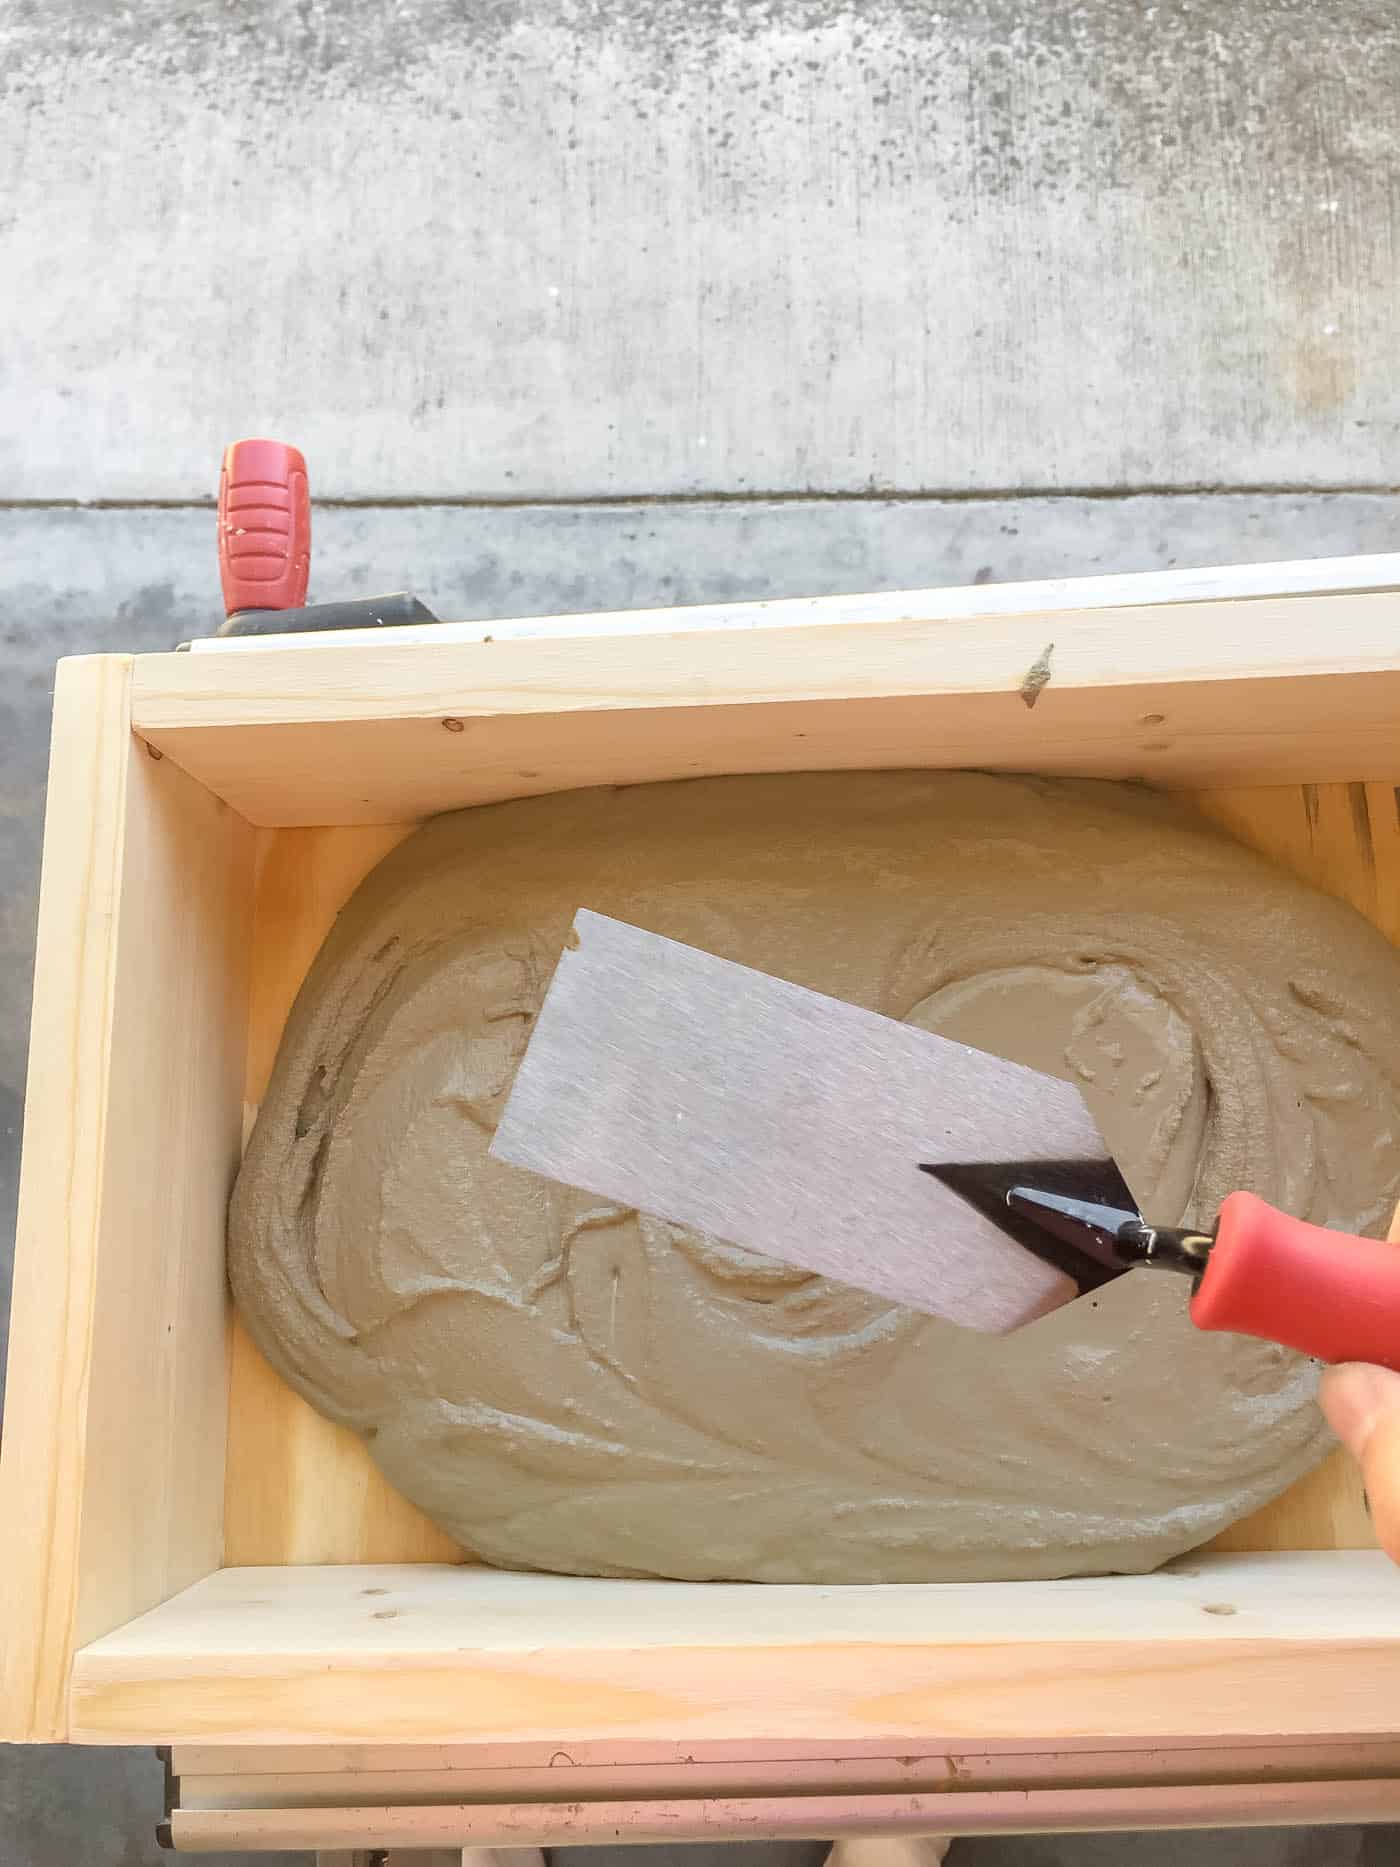
Pour the concrete into the mold quickly, about 2-3 inches deep, and smooth the top with the trowel. Gently shake or rock the mold back and forth to help the concrete settle and release air bubbles.
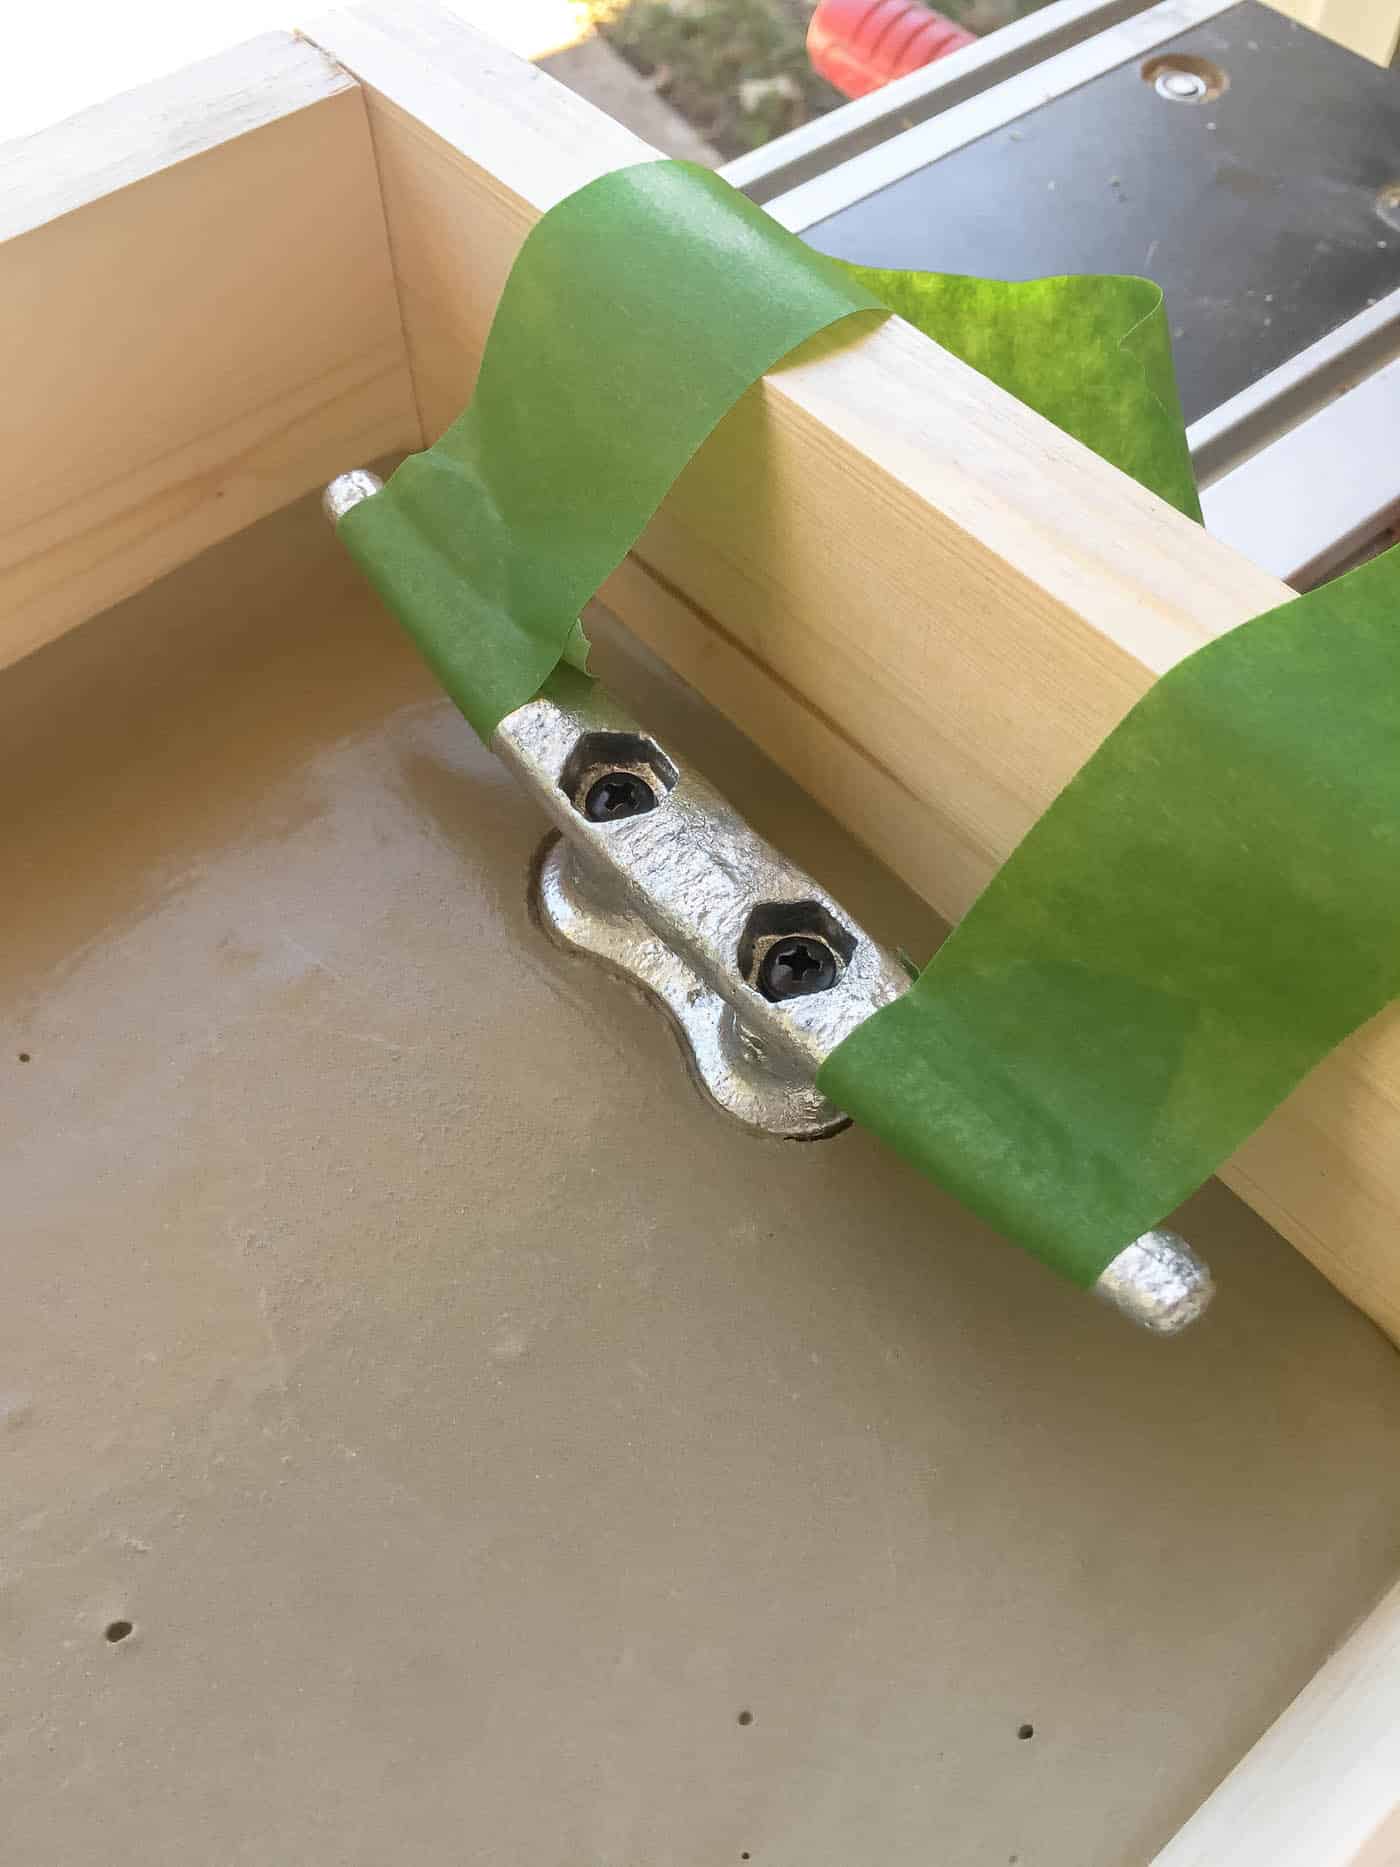
7. Wrap Cleats with Painter's Tape and Set into Concrete after 5 Minutes
Getting the handles in at the right moment takes a little practice. You need to wait about 5 minutes after pouring the concrete before adding the handles. I didn't wait long enough before placing the first handle, so it sank a little. I had to figure out how to hold it up while it set.
So while you wait those 5 minutes, wrap the handles in painter's tape so they stay upright and don't sink into the concrete.
After 5 minutes have passed, carefully press the cleat handles into the concrete. Then use painter's tape to hold them against the side of the form.
8. Let the Tray Dry
Follow the instructions on your concrete for exact drying times.
9. Carefully Remove the Form
Once the tray is completely dry, take the form apart by removing the screws and gently prying it off the tray.
10. Sand Down Rough Edges
Then enjoy your brand-new concrete tray!
Also, if food will touch the tray, I'd recommend sealing it with a food-safe concrete sealer like this one.
What a cute tray! It's perfect for hosting backyard parties all summer long!
It's such a fun and easy project!
More Posts You Might Like: