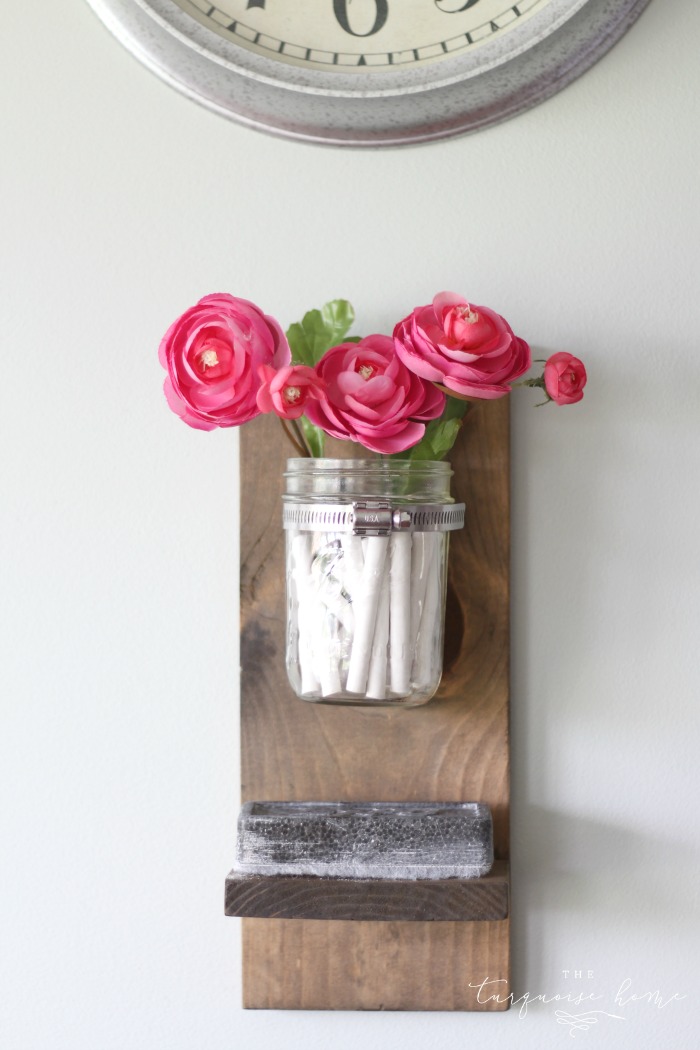
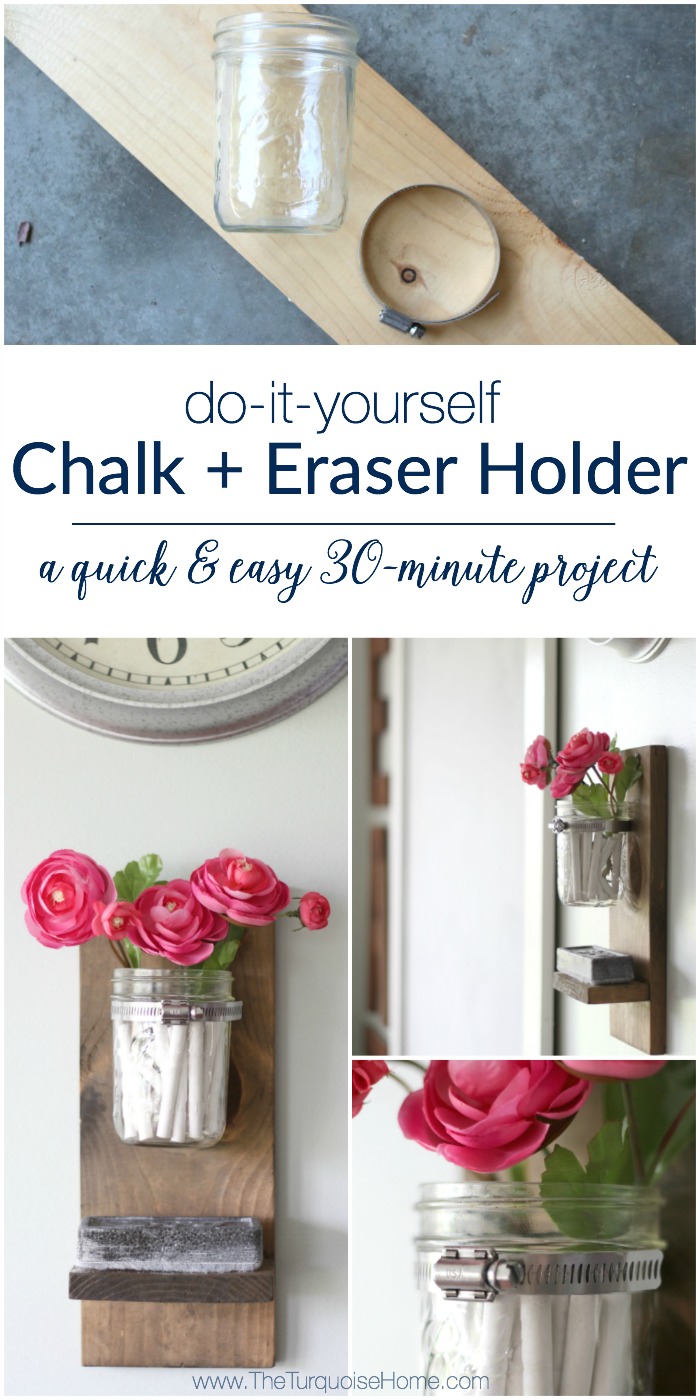
I love a quick project that looks good and keeps me organized. So I threw together this simple chalk and eraser holder in about 30 minutes with three items, two of which I already had. The whole thing cost me only $1.50 out of pocket that day. Isn't it adorable?
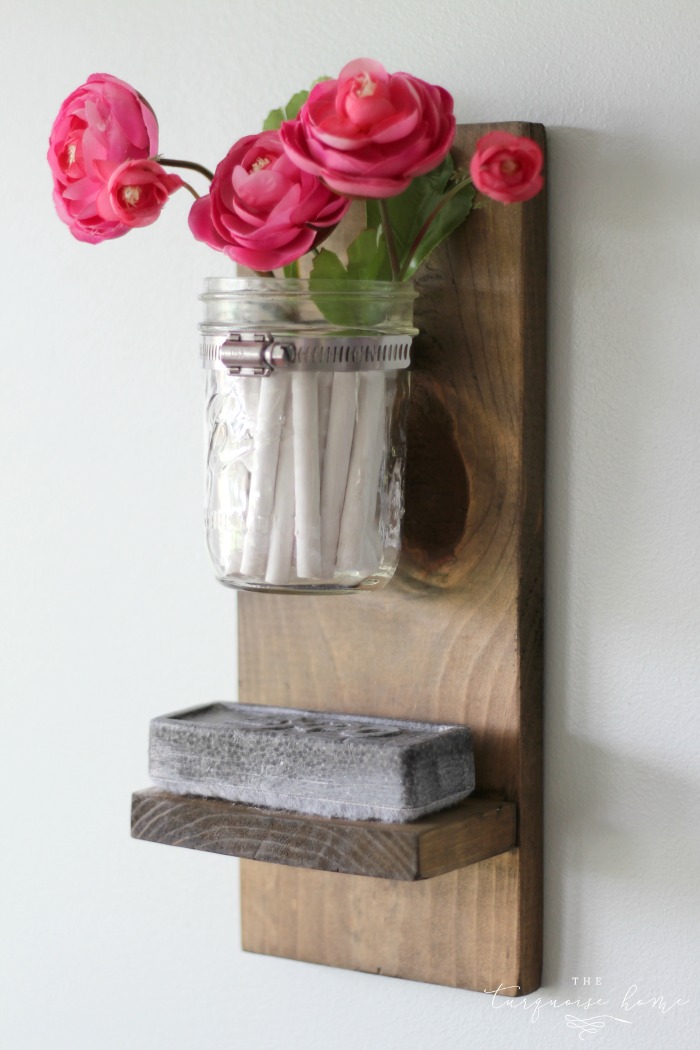
Here's a bit of background. I've had my large chalkboard in the kitchen for three years, and ever since hanging it I've had to walk into the laundry room just to grab my chalk and eraser. So I'd long wanted a spot to store them. I'd seen plenty of people use hanging baskets or upside-down drawer pulls, but I wanted something a little different.
I can also be extremely indecisive, which may explain why it took me three years to pick out a little chalk holder!
I'd seen mason jars and hose clamps everywhere, so I took a scrap piece of wood, attached a hose clamp to it, slipped in a mason jar, and added a small shelf. Voilà! Now I have a holder for chalk and eraser that's pretty, practical, and makes life easier. Win, win, win!
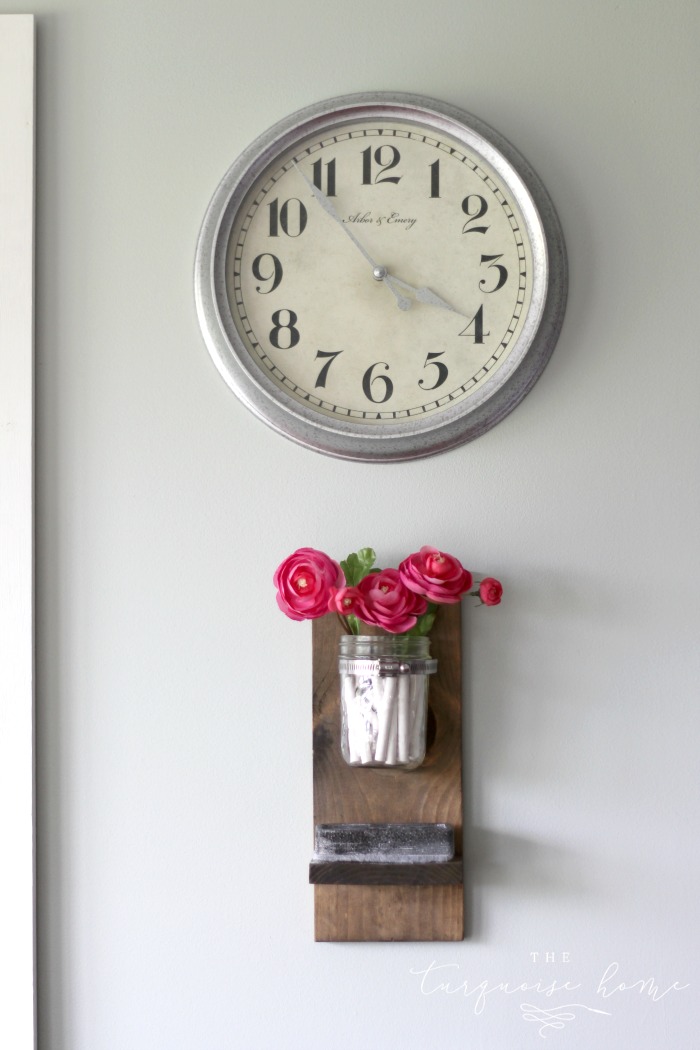
I also love that now that the chalk and eraser are within reach, Miss A, who starts kindergarten this fall, uses the board constantly to practice her ABCs!
The big chalkboard (full tutorial here) sits right beside our kitchen table. I wanted it in the kitchen so it could double as a teaching tool. Sometimes I use it for our weekly Bible verse or cute little sayings, but I really want it to help my children learn as they grow. I'm thrilled that having the chalk within easy reach means she uses it more often.
Supplies for a Homemade Chalk and Eraser Holder
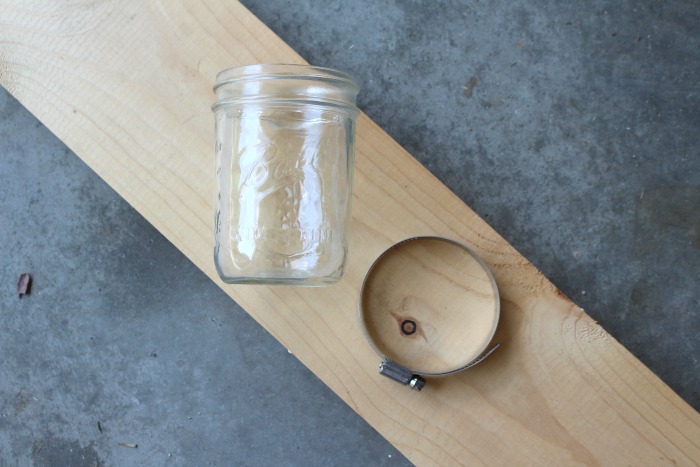
- Wide-mouth mason jar
- Hose clamp large enough to fit around your mason jar (you'll find these in the plumbing aisle of a home improvement store)
- 1 x 6 board at least 17 inches long (I pulled this one from my scrap pile.)
- Saw (I use this miter saw. A basic circular saw or hand saw would also do the job.)
- Sander —>>> here is the model I own
- Stain (I combined Minwax’s weathered gray and dark walnut.)
- Kreg Jig —>>> I truly couldn't do without this tool!
Steps to Make a Chalk and Eraser Holder
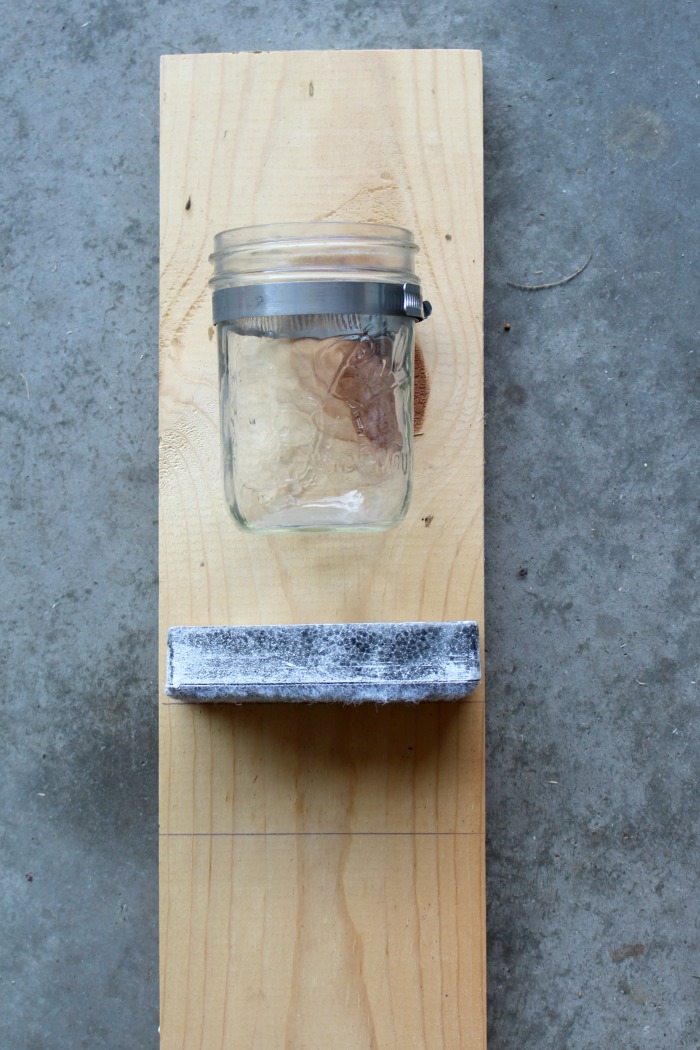
Step #1: Measure the board.
I placed my mason jar and eraser on the 1×6 board to figure out where to cut the back piece and the shelf. I cut one piece to 13.5 inches and the shelf to 2.75 inches.
Step #2: Cut the board where you marked it.
Very easy! I used a miter saw, though a circular saw works too. If you don't own a saw, a hand saw paired with a miter box is the most budget-friendly choice, and it's perfectly suitable for this project!
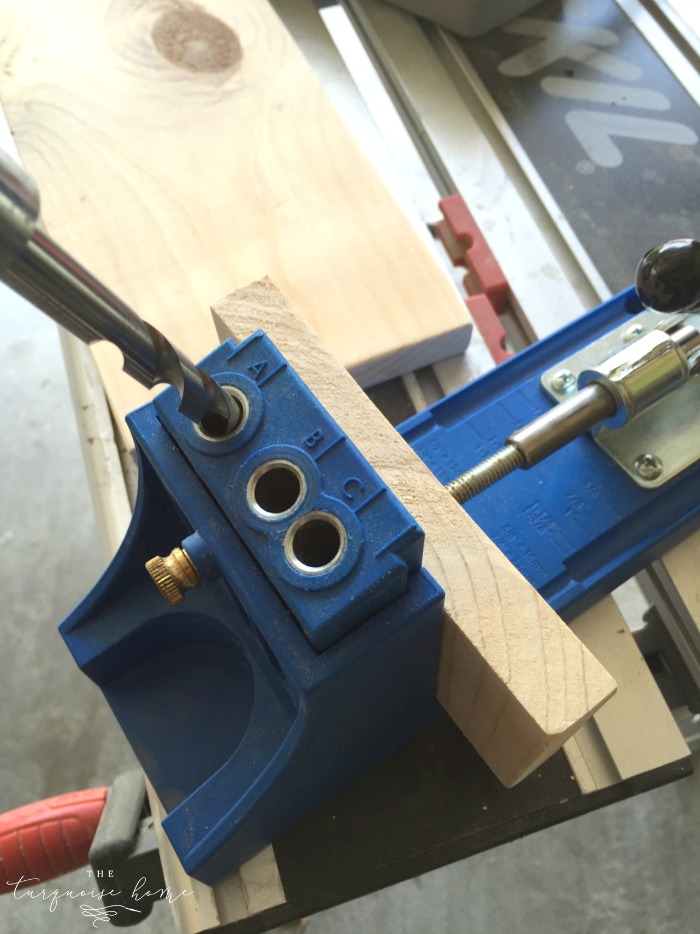
Step #3: Fasten the small shelf with the Kreg Jig.
I absolutely adore my Kreg Jig. If you ever plan to build anything, you'll want one. It attached this little shelf right to the board and it's very sturdy. That shelf isn't going anywhere!
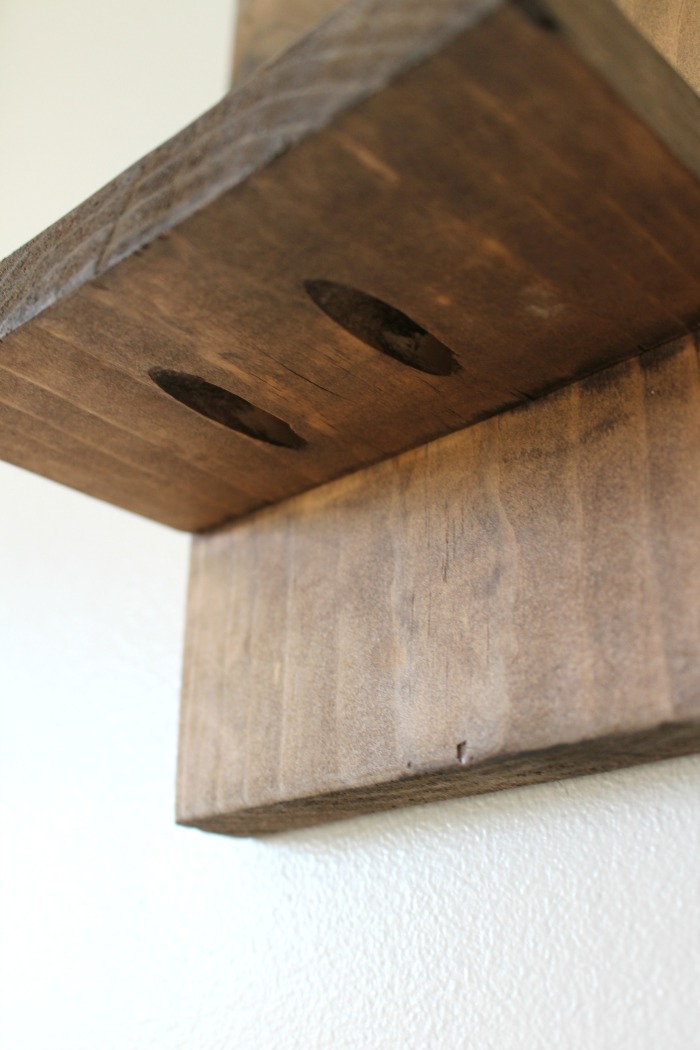
Here's the underside of the shelf once it's finished. The screws go into those two holes underneath, straight into the back board. They're hard to spot and the connection is very solid.
Step #4: Apply the stain.
My go-to stain combination is one coat of Minwax’s weathered oak first. I usually wait for it to dry fully, as the can instructs, but I was impatient that day and applied the second stain straight after the first. That isn't recommended, but it turned out fine, I think. My second stain is Minwax’s dark walnut, which I left on for only a few seconds before wiping it away, because I didn't want it too dark! You could add a topcoat, but I skipped it.
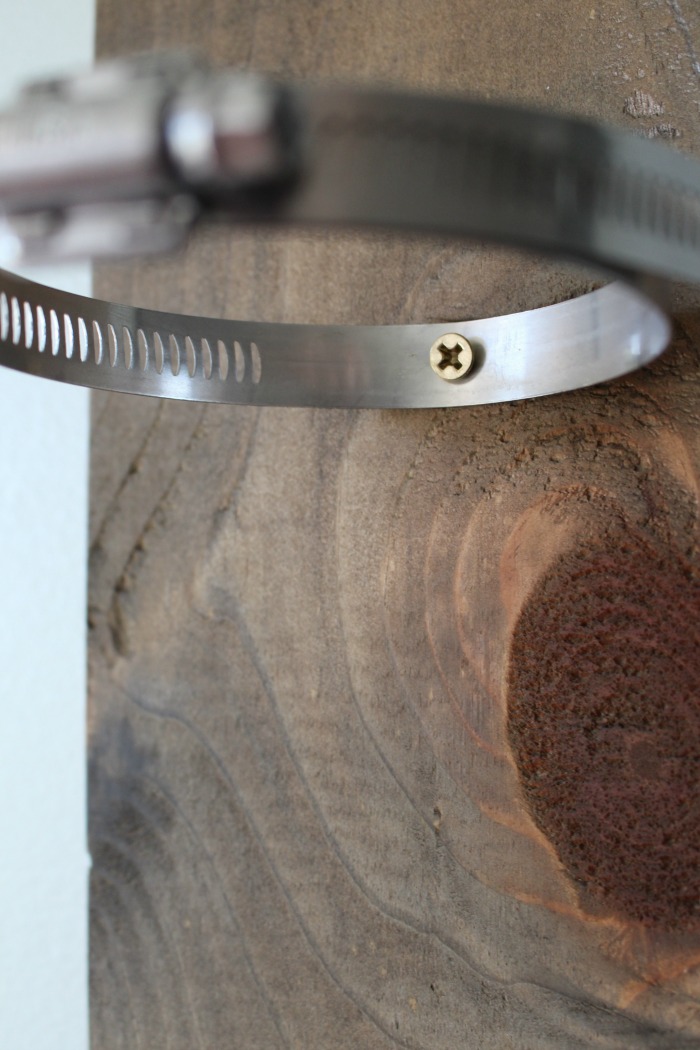
Step #5: Fasten the hose clamp to the board.
Use the mason jar as a guide to decide exactly where the hose clamp should go, then mark that spot. Tighten the clamp around the jar just enough that the jar can slide out the top but still sits comfortably without dropping through. Next, drill a hole through the back of the clamp with a drill bit and screw the clamp into the board at your mark.
Step #6: Hang it on the wall.
I attached a couple of small sawtooth picture hangers to the back and hung it up!
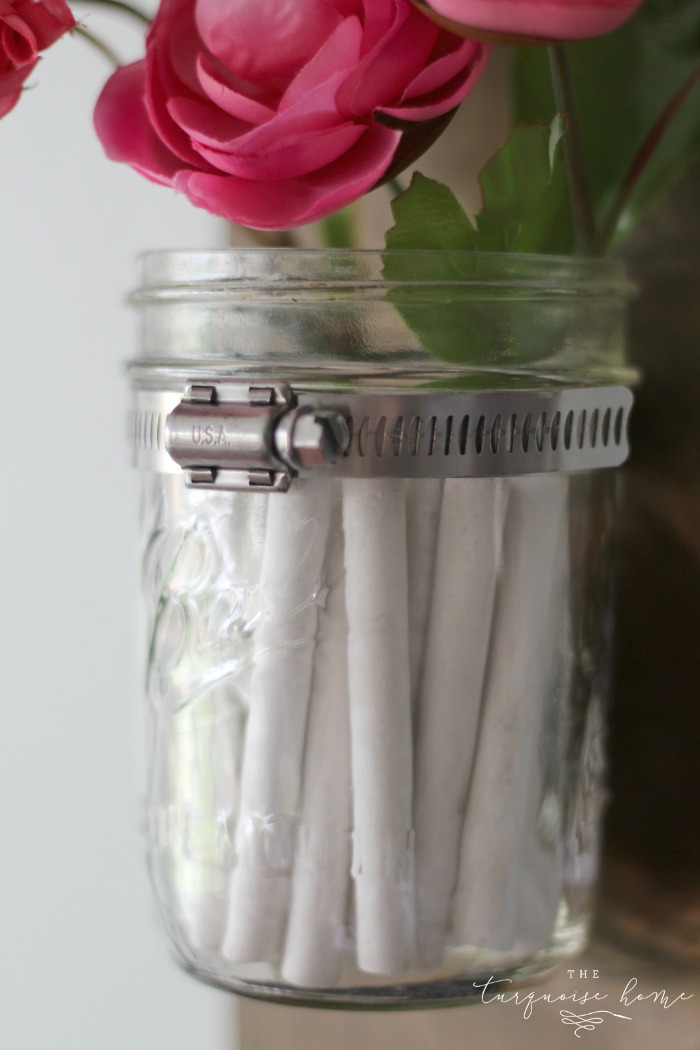
Step #7: Add the mason jar, chalk, and eraser, and you're all set!
I tucked a few faux flowers into the jar to add a pop of color, and I think it makes the whole thing even sweeter!
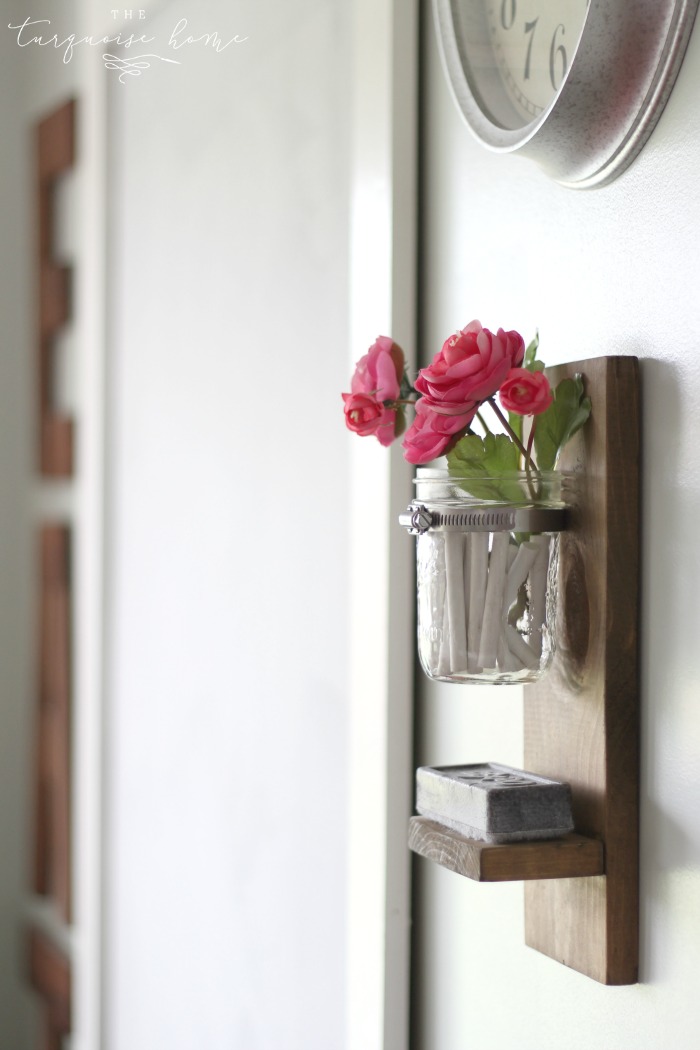
It's the perfect little piece for this spot on the wall beneath my new Target clock. I'd been trying to figure out what belonged there, along with some storage, and I'm so glad I finally solved it!
Now I just have a few more details to finish before I show you the new chalkboard wall! I rearranged everything when I swapped out my “EAT” letters and put up my farmhouse shelves after painting the kitchen Sea Salt. Ha!
Decorating around here is like the “if you give a mouse a cookie” story, or like falling dominoes, as I sometimes call it. One change leads to another, and eventually, years later, you look up and a space is finally finished. Well, no space is ever truly done, but this one is very close to done for now!
More Posts You Might Enjoy: