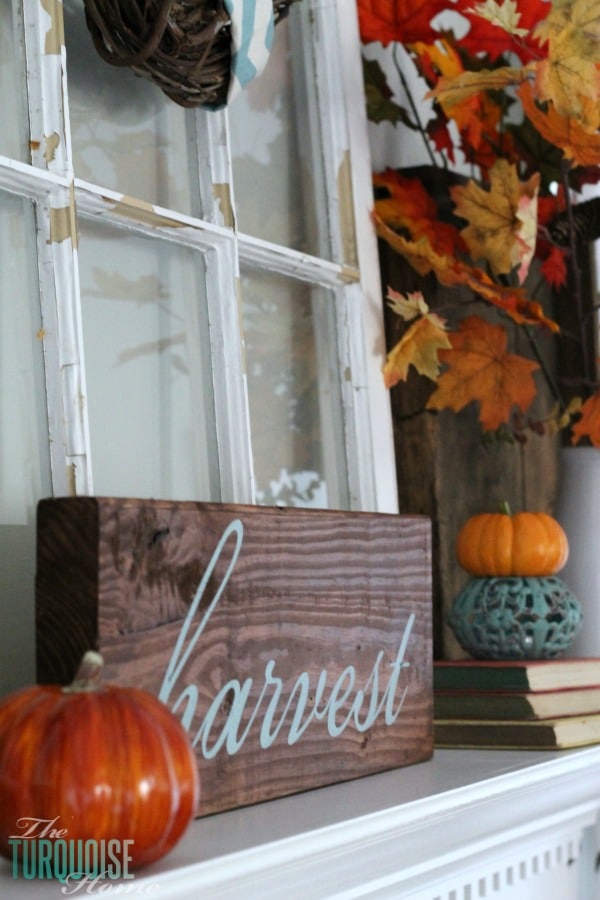
I finished my DIY harvest sign in under two hours, start to finish. It was ridiculously easy, thanks to a little luck and some handy tools I already had around the house.
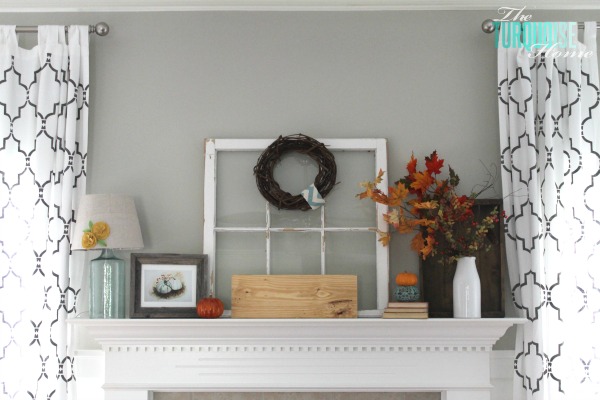
While building my mantel (which I walked through step by step HERE), I wanted something in the center to anchor the whole arrangement. Luckily I save almost all my scrap wood from projects, so I went out to the garage and found a board that seemed right for that spot. It fit perfectly. Yay!
But I needed to turn it into a pretty sign, and fast. It was around 11:15 on a preschool day, which gave me about an hour and a half to finish before I had to pick up my daughter.
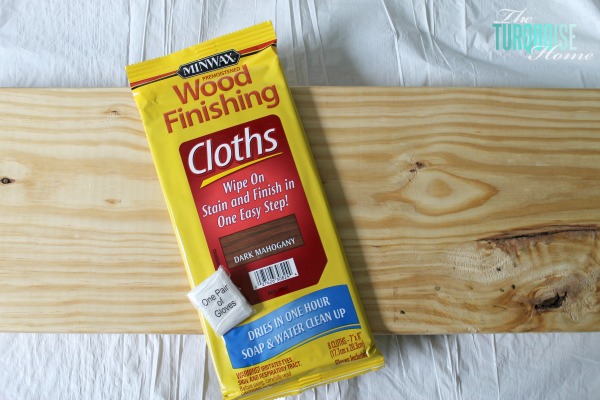
I remembered I had these Minwax stain cloths in dark mahogany. I used them at a conference to stain some unfinished picture frames, and they worked like a charm.

I pulled one out and found that they even include a pair of plastic gloves. Awesome!
I love that they have little to no odor and clean up with water. Amazing!! One of my least favorite parts of staining is cleaning up with mineral spirits.
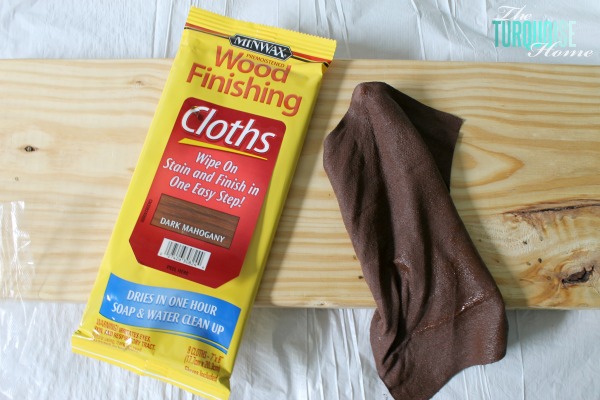
I pulled out one wipe and followed the directions on the package. Within a few minutes I had applied the stain and wiped off the excess. Then I just had to wait for it to dry. These stain cloths are great for small projects around the house. I love them!
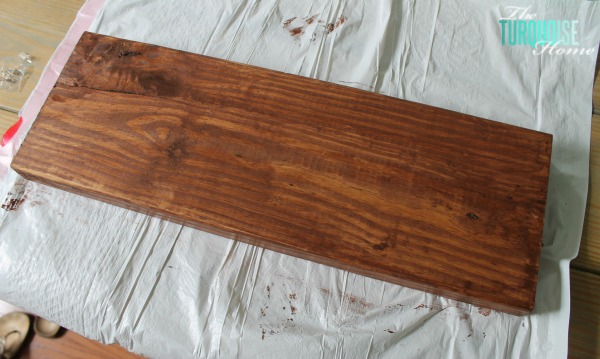
While the stain dried, I designed my word in Silhouette Studio and cut it from contact paper. (I didn’t snap any photos of this part, but I’ve written several posts on making stencils with a Silhouette and contact paper HERE and HERE.)
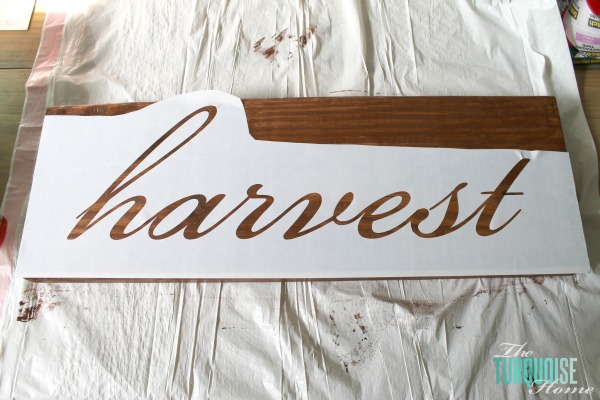
I used Bickham Script Pro for the “harvest” font, and the stencil was ready in no time. Once the stain was dry, which took about 30 minutes, I stuck the stencil on the board and brushed on a quick coat of Mod Podge. Click here to see WHY I use Mod Podge first.
After the Mod Podge dried, I painted on a coat of Stratton Blue (the Benjamin Moore color in my kitchen). I peeled the stencil away before the paint had a chance to dry, and voilà! I had a simple, quick sign for my fall mantel, and I love it!
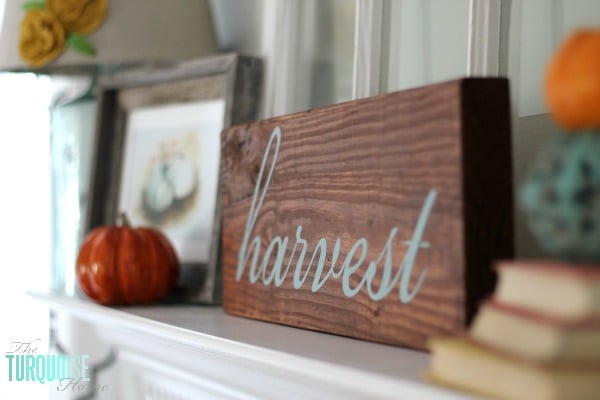
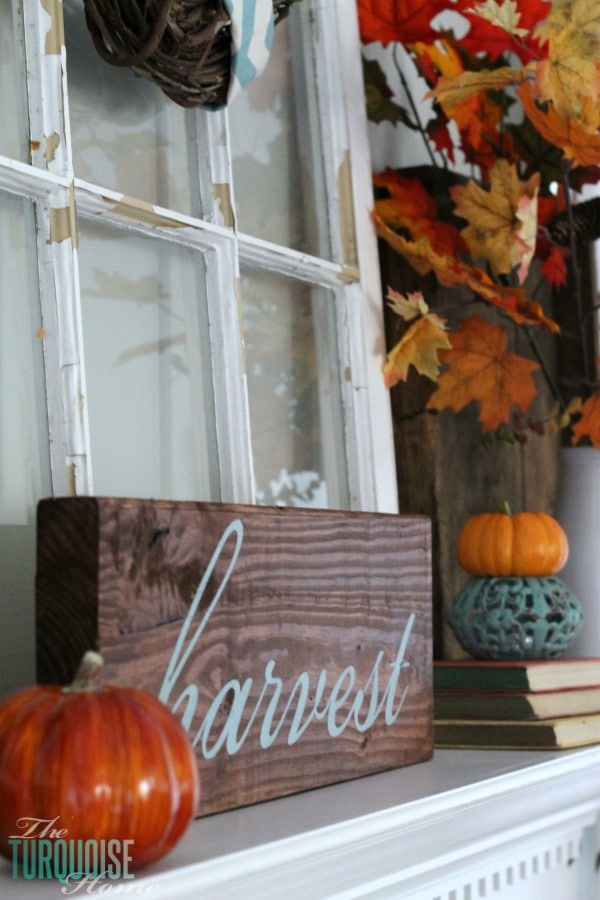
It really is the star of the show on my mantel, and I love that I used things I already had to make it. It cost me $0, and I used up leftovers. That’s a win in my book!
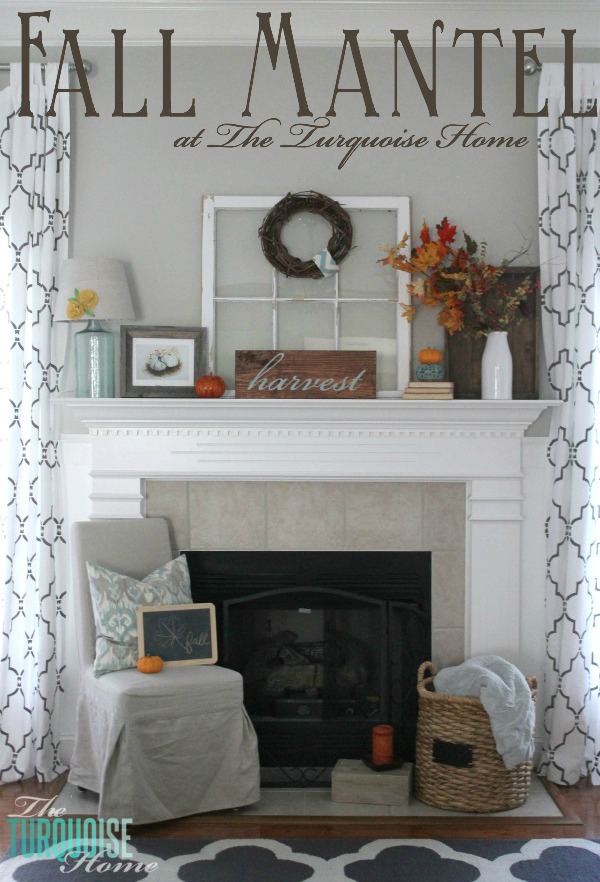
Turquoise & Orange Fall Mantel
More Posts You Will Love: