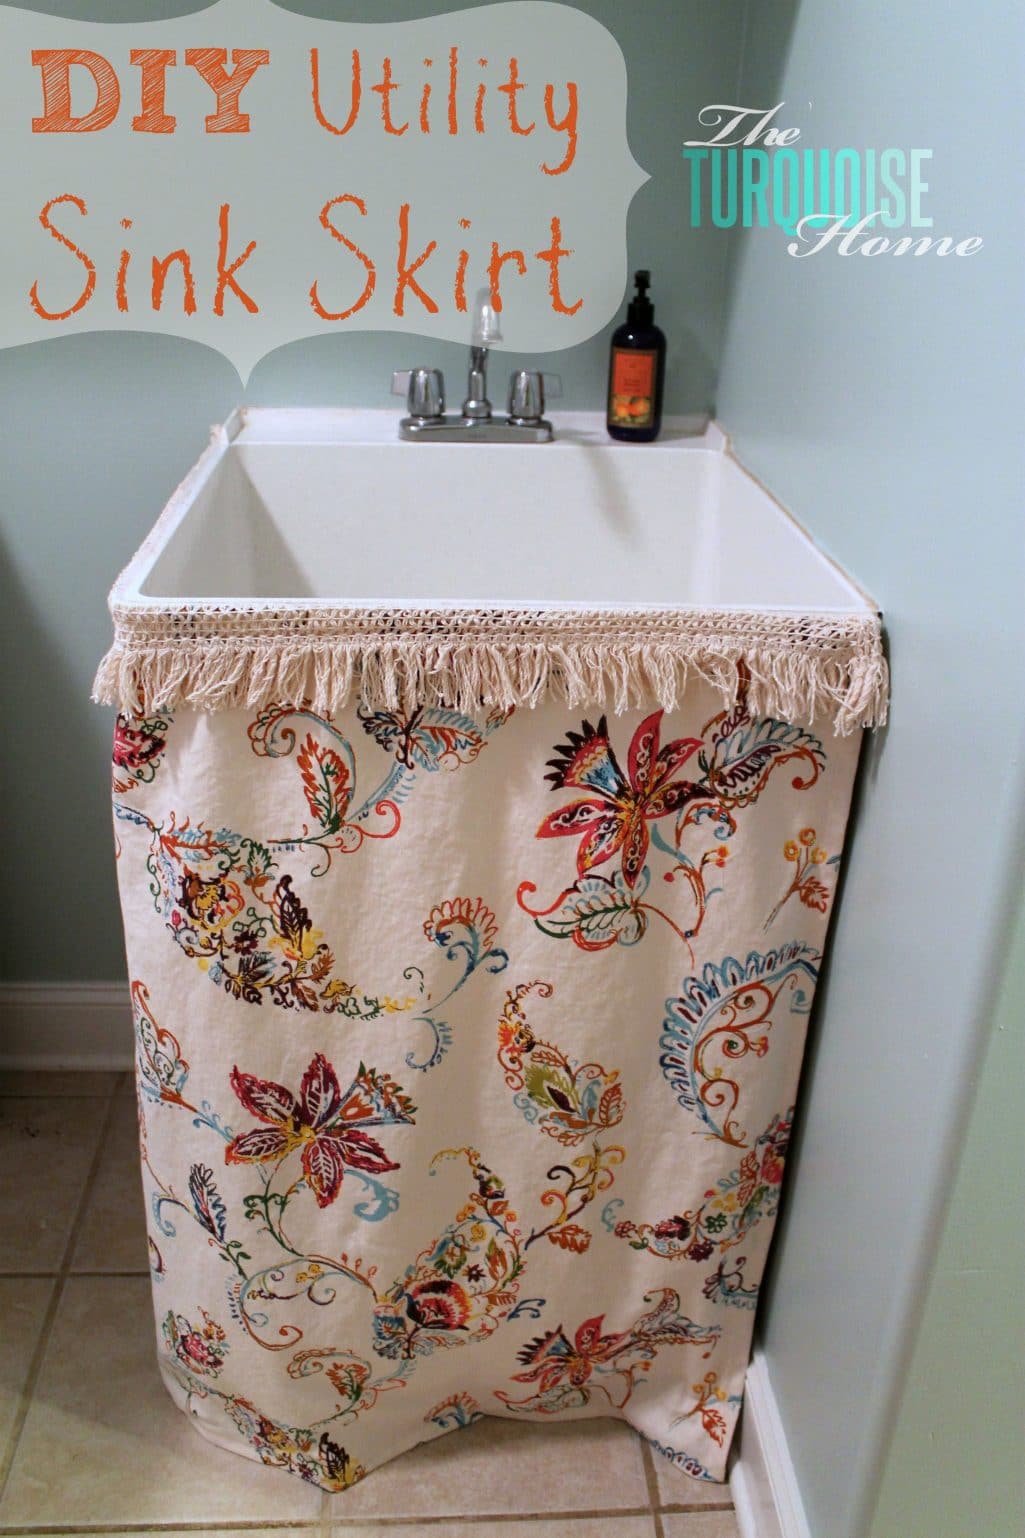
Learn how to make a DIY utility sink skirt that hides the unsightly area underneath and adds extra hidden storage space!
I've been working on my laundry room makeover for months now. I think it's been about six months. Ha! It's taking me a while. But I finished one of my projects this weekend. Hooray! I have a wonderful utility sink in my laundry room. I've never had a sink in a laundry room before this house, and I love having it there to wash out stains or clean up dirty paint brushes. Love it!
But I wanted to "pretty it up" for my makeover, and I knew I wanted a skirt to hide my paint underneath. I loved this inspiration from Traci at Beneath My Heart. And I knew exactly what kind of fabric I'd need to complete my coastal vibe.
So, let's go back to May, when I bought this fabric. Coach and I were spending our anniversary in Nashville, and he took me shopping at World Market. We don't have one in our hometown, so it was a special treat. I'd been eyeing these fun outdoor pillows (which are now out of season and unavailable). But at the time they were $25 each, and I wouldn't pay that much for outdoor pillows. $50 for two throw pillows … outside? I don't think so. But I loooooved the fabric. So, as I walked around the store, I spotted the same fabric on a tablecloth. Woohoo! I knew exactly where I wanted to put this fabric.
Note: if you LOVE a fabric but don't want to use it the way it was intended, don't ever be afraid to cut it up and use it for something else. I loved this fabric, but I didn't think the outdoor pillows were worth it. And in the end I got the fabric I wanted – in the laundry room – and I have enough leftover to make pillows if I want! It's a win all around!
Tools Needed to Make a Utility Sink Skirt
- Fabric
- Fabric scissors
- Adhesive Velcro
- Sewing machine
How to Make a DIY Utility Sink Skirt
1. Measure the Sink & Determine the Fabric Needs
The first thing I did was measure my sink and figure out how much fabric I'd need to cover it. I was able to use half of the tablecloth without wasting much fabric at all! Yippee!!
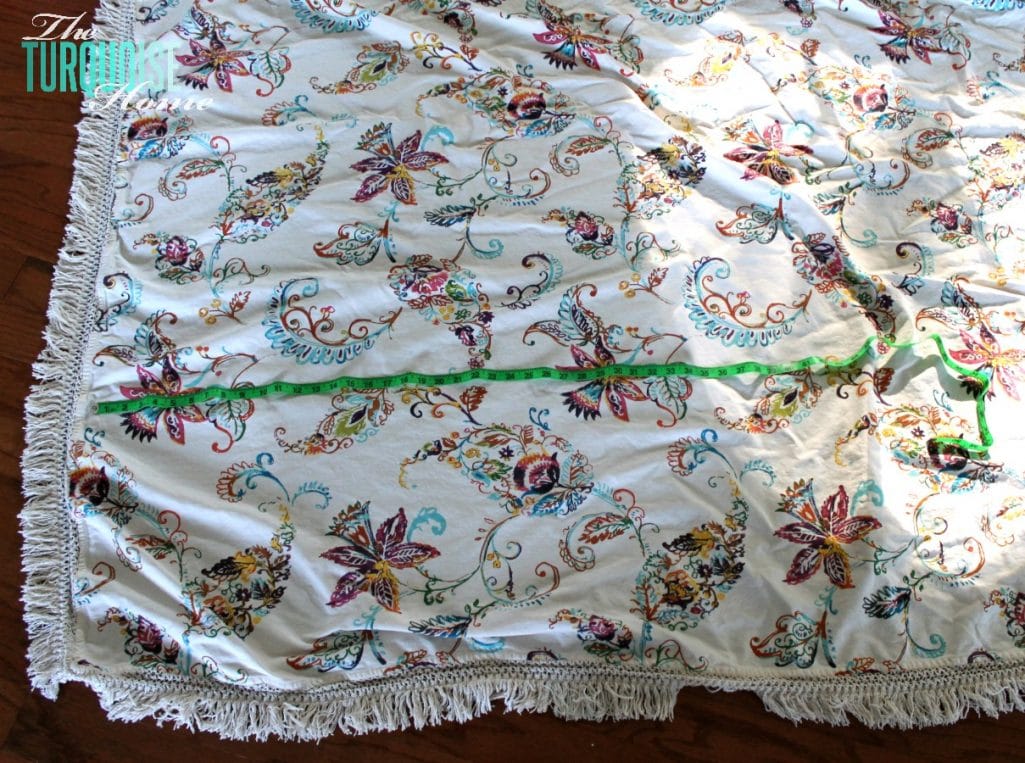
I knew I wanted to keep the fringe on the top, so I only had to cut the bottom and the sides.
2. Cut the Skirt Out
Then I cut the bottom off, which left me with quite a bit of fabric for another project. Woohoo! And I cut the sides off as well. I knew I had some wiggle room on the sides, so I just cut off the hem and fringe.
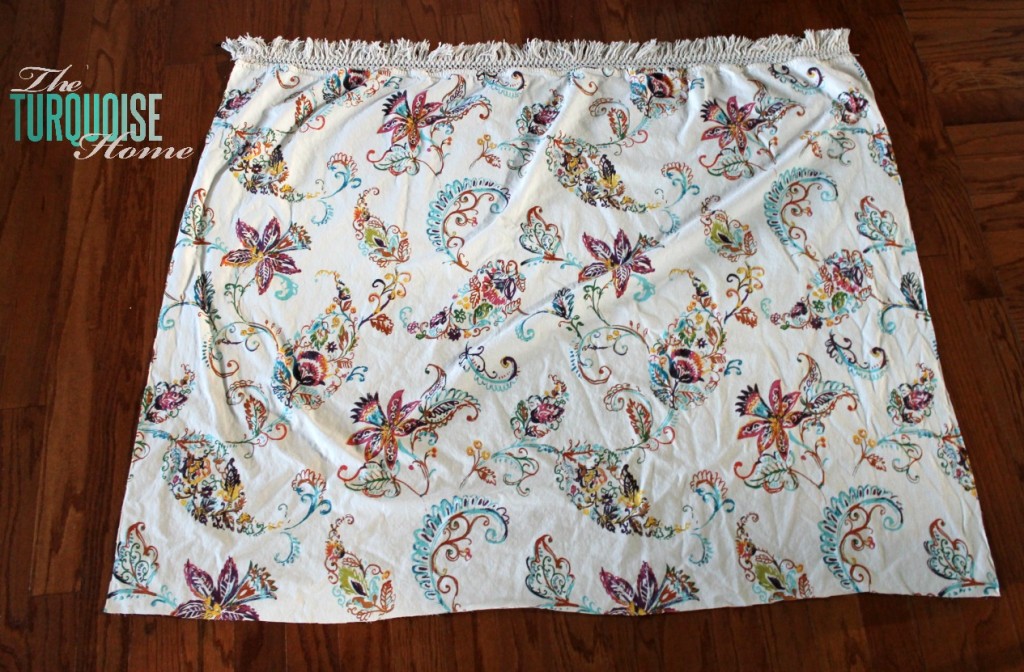
It's starting to look like a skirt! Then I ironed it, because my gosh – look at all those wrinkles!! It's always better to sew without wrinkles – says the worst seamstress in the world. Learn from my mistakes.
3. Hem the Sides of the Skirt
I hemmed one side and then the other. It was pretty simple, straight lines and done quickly. My sewing machine and I didn't get into any fights over the side hems. Thank goodness!
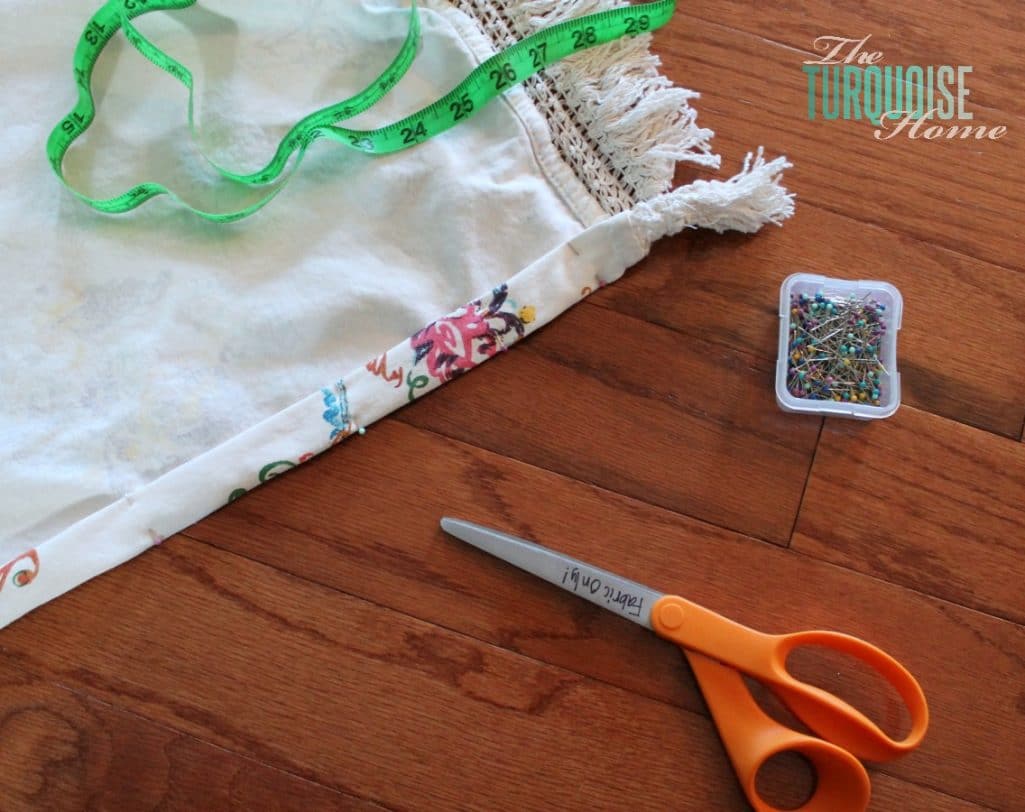
After I hemmed one side, I placed it against the sink and pinned where the other side's hem should go. I don't trust myself with just some measurements and a tape measure. I fit it as I go.
4. Attach the Velcro to the Sink
Once the sides were hemmed, I attached the Velcro to the sink.
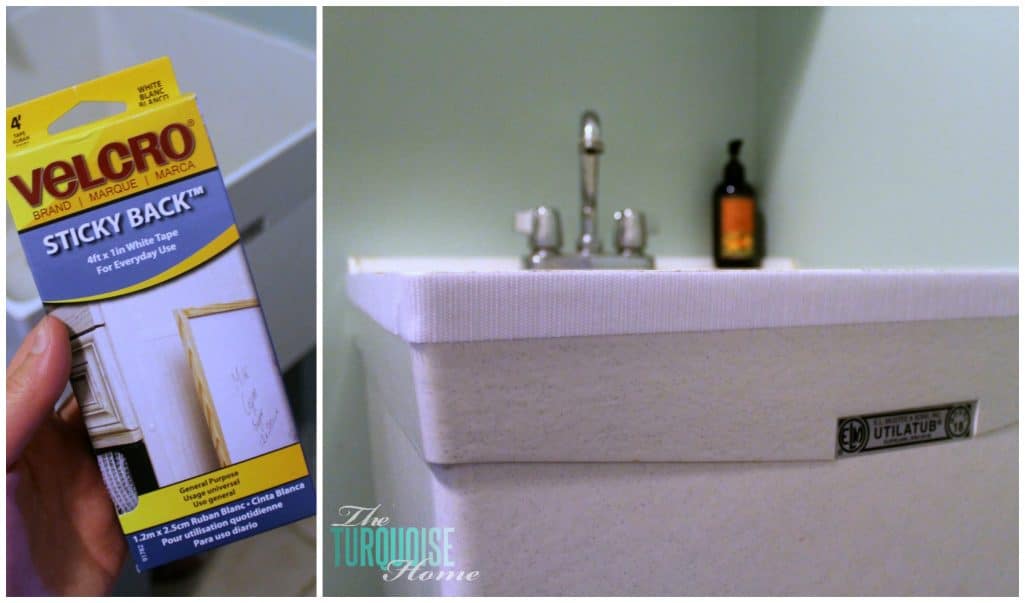
I found the Velcro at Walmart in the fabric section. It says not to use it on fabric, but I think that's if you plan to just stick it on there and wash it. Obviously it would probably fall off if you did that. But I think it will hold up fine for this project. I stuck the "teeth" side of the Velcro to the sink and it stuck really well. I don't think that stuff is coming off!
5. Attach the Velcro to the Skirt
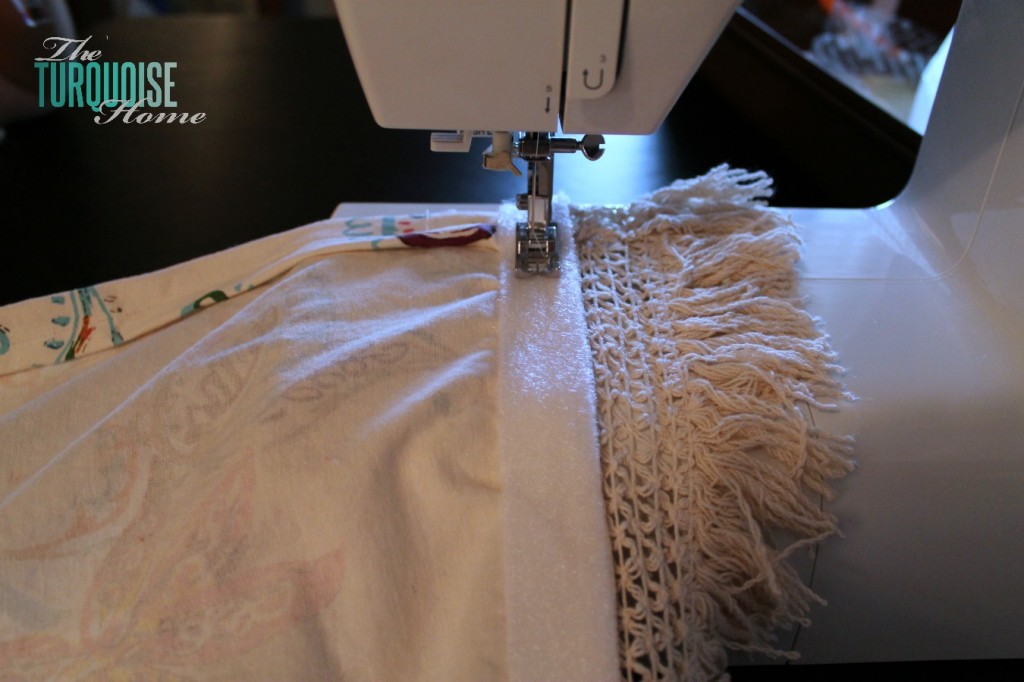
Then I stuck the softer part of the Velcro along the top of the fabric. I tried to sew it, but the needle ended up getting sticky and my thread kept breaking. I'm sure there's a better way to do it, but the sticky part was holding very well, so I decided to leave it. I did get some of it sewn, but not all of it.
6. Hem the Skirt
Then I Velcro'd the skirt onto the sink to measure the length. I just pinned the bottom of the skirt while it was already in place. This was the easiest way to get the perfect hem! I sewed one last straight line and called it done!
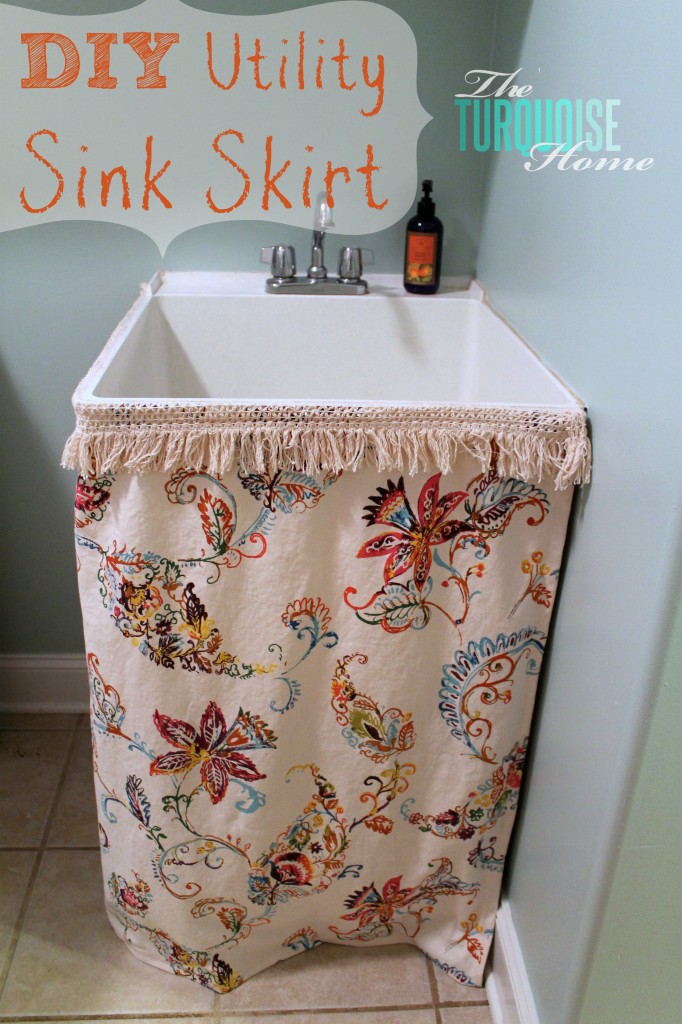
I love how it hides my paint underneath and gives the sink a much more polished look. The fabric looks great in the room and totally brings the whole coastal vibe together.
I can't wait to get the room finished so that I can show it off. And let's face it, so that I can be done with it. I'm kind of ready to move on to another room!
Let's take a look at the before and after photos. It's amazing what a couple of hours and a little fabric can do!
Thanks so much for stopping by! If this DIY utility sink skirt post was at all inspiring or helpful, I would so appreciate your pins!
More Posts You Will Love: