This mason jar lid pumpkin is such a cute craft and so easy to make that you'll want to make some for all of your friends. Using just five basic supplies, the project takes about 30 minutes or less! Yay!!
My first mason jar lid pumpkin was made back in 2012, when these started popping up on the fall craft scene. We made them as a craft at a women's retreat, and I came home, set it on the media cabinet, and admired its cuteness all fall season. The photo I took during my fall home tour that year got major attention on Pinterest.
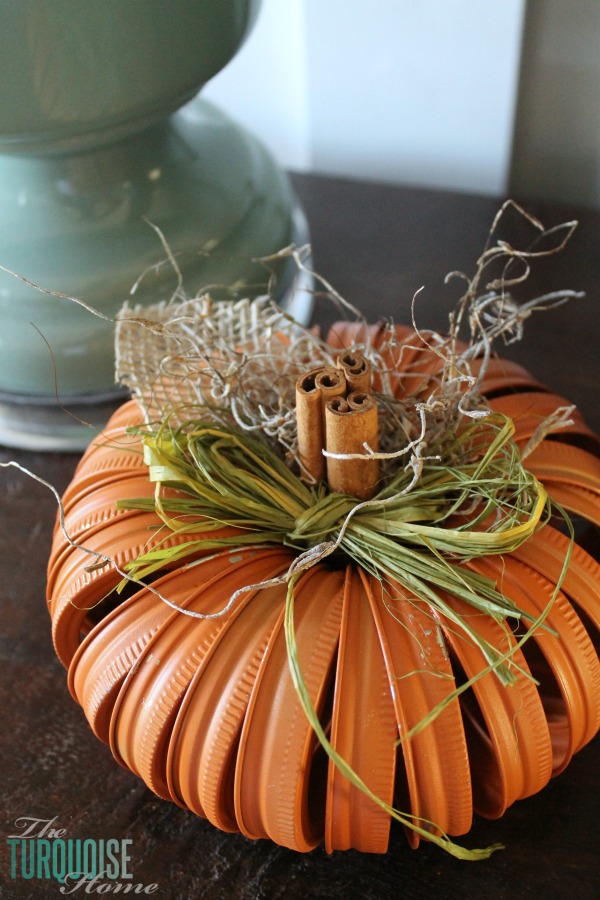
People loved it!!
I never got around to writing a tutorial for it like I promised. Well, not until now.
When I went looking for my orange mason jar lid pumpkin the other day, I came up empty-handed. I must have donated my cute little pumpkin to the local thrift store.
So I decided to make a new one and share the super simple steps here. Honestly, it's almost silly to call this a tutorial, because it's just so easy.
That might inspire you to buy the supplies and make your own, since it takes less than 30 minutes, not counting drying time. Even that isn't long if you use the same paint I did.

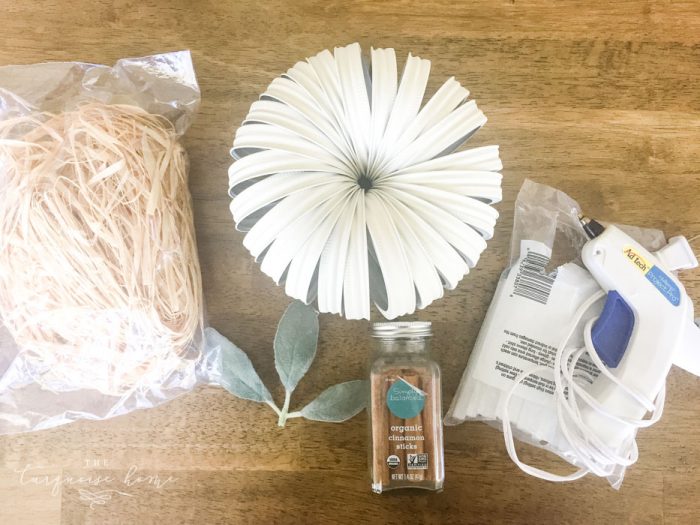
Supplies Needed for a Mason Jar Lid Pumpkin
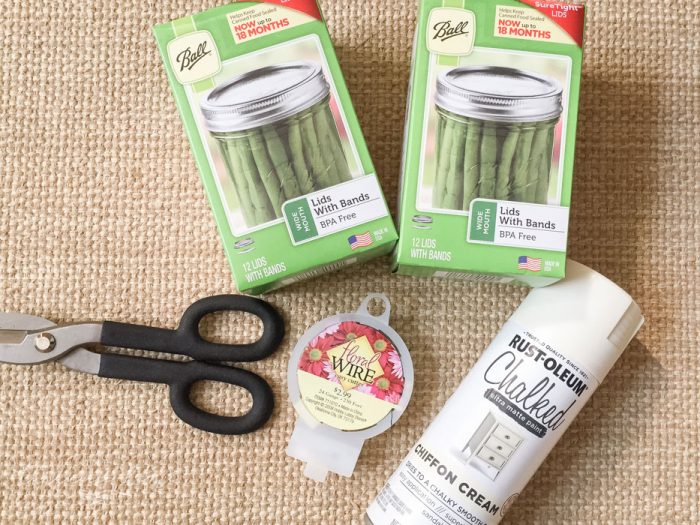
- 24 Mason Jar Lid Bands (wide mouth) – You don't need the actual canning lids, just the bands.
- Floral wire and wire cutters
- Spray paint – in the color of your choice. I went with Rustoleum's Chalked Paint (Chiffon Cream).
- Cinnamon sticks – for the "stem"
- Glue gun and glue sticks
- Other finishing touches – leaves, moss, and raffia are optional. See mine at the end to see what I did. Use your imagination and get creative!
How to Make a Mason Jar Lid Pumpkin
1. Cut a Piece of Floral Wire
Cut the wire long enough to thread all 24 lids onto it. I made mine a little extra long, which made it easier to tie off.
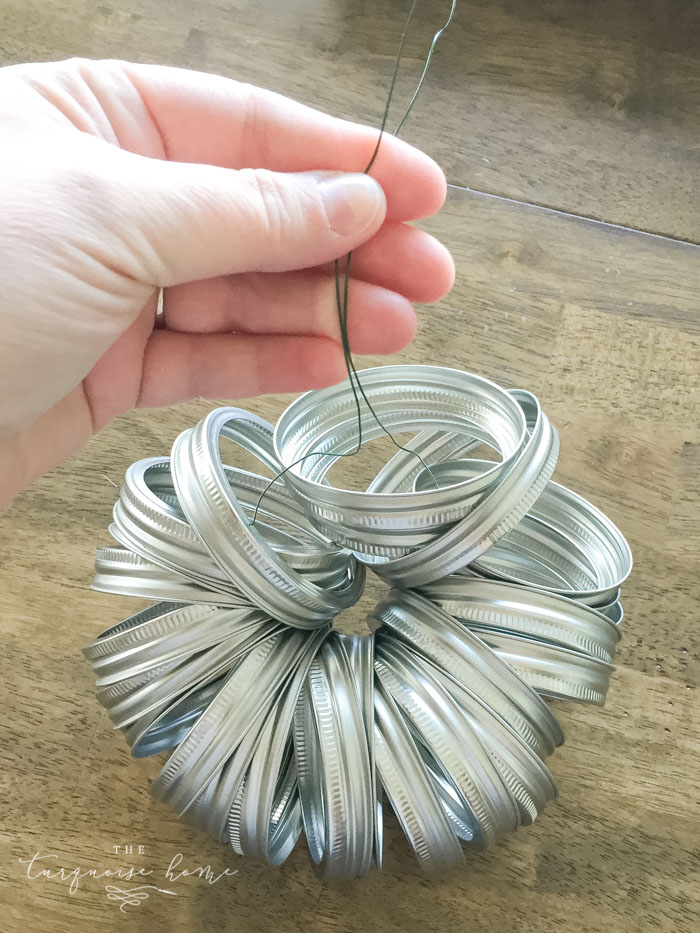
2. String the jar bands onto the wire, all facing the same direction.
3. Tighten the wire around the middle of the bands as much as you can.
This is honestly the hardest part. You want it tight enough that the bands don't look like a mason jar lid necklace, but leave enough room in the middle for your cinnamon sticks to become the pumpkin stem.
4. Spray paint the lid bands the color of your choice.
I chose Rustoleum's Chalked Paint spray paint in Chiffon Cream. It was the first time I'd used chalk paint in spray form, and I'm obsessed!! I've already made a list of everything else I'm going to spray.
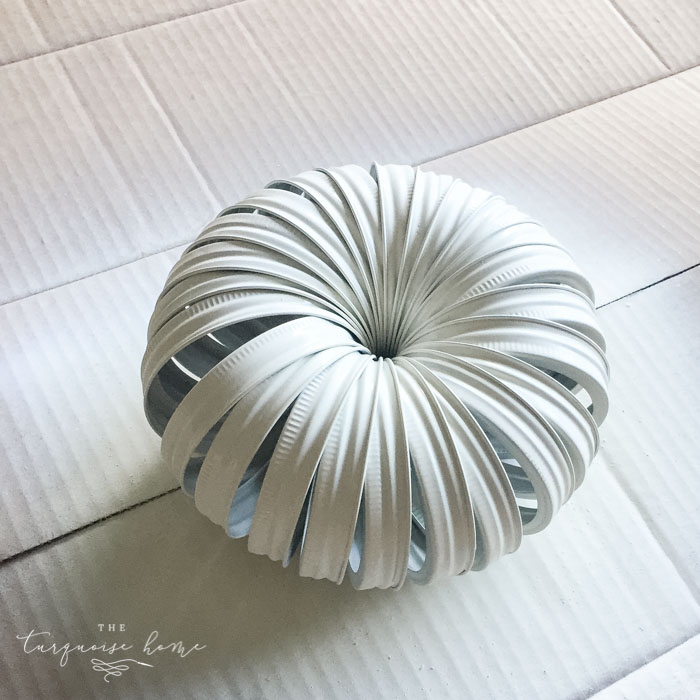
It goes on quickly and thickly, then dries pretty fast, in less than 30 minutes. That's great for an impatient girl like me. I painted 2 quick coats, and that's all it needed. You can also distress it easily. I LOVE it!
5. Add the "Stem" and Other Pretty Embellishments
The sky's the limit here. You can add jewels, paper, color, or leaves in a variety of fabrics and styles. Let your creativity run wild!
My original mason jar pumpkin had some wiry grass stuff (that's the official name, for sure) and a raffia bow along with a burlap leaf. The coordinator of the craft night provided all of those items, so I got to use a little of my own creativity, but not much.
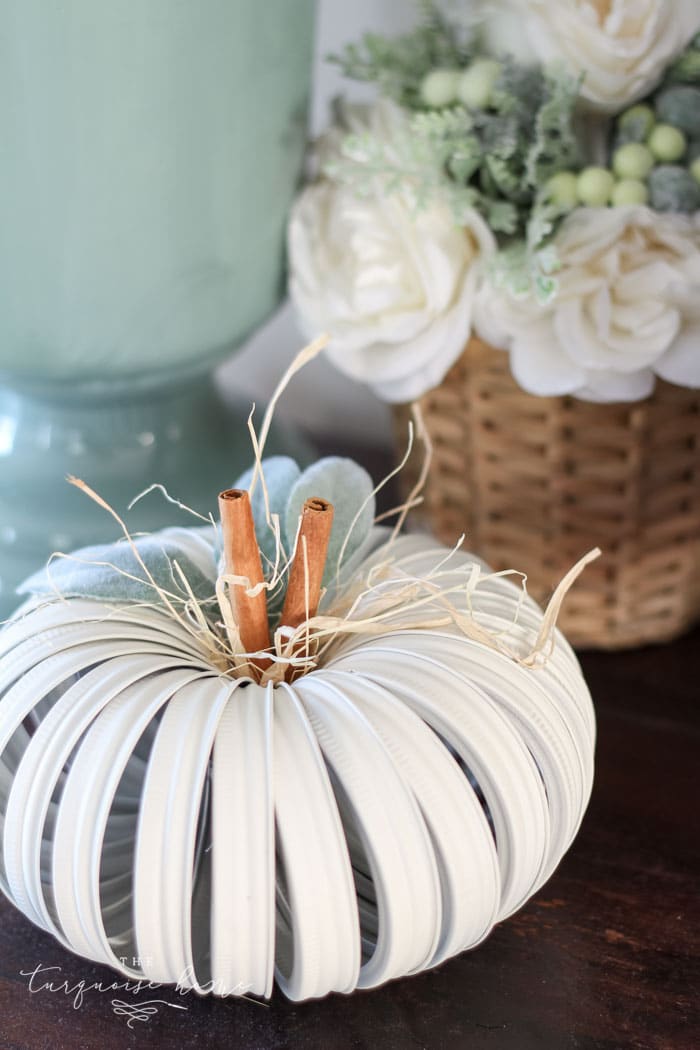
This time I went with some skinny raffia and lamb's ear leaves for my cute little canning-ring pumpkin. I considered a bow again, but decided against it this time.
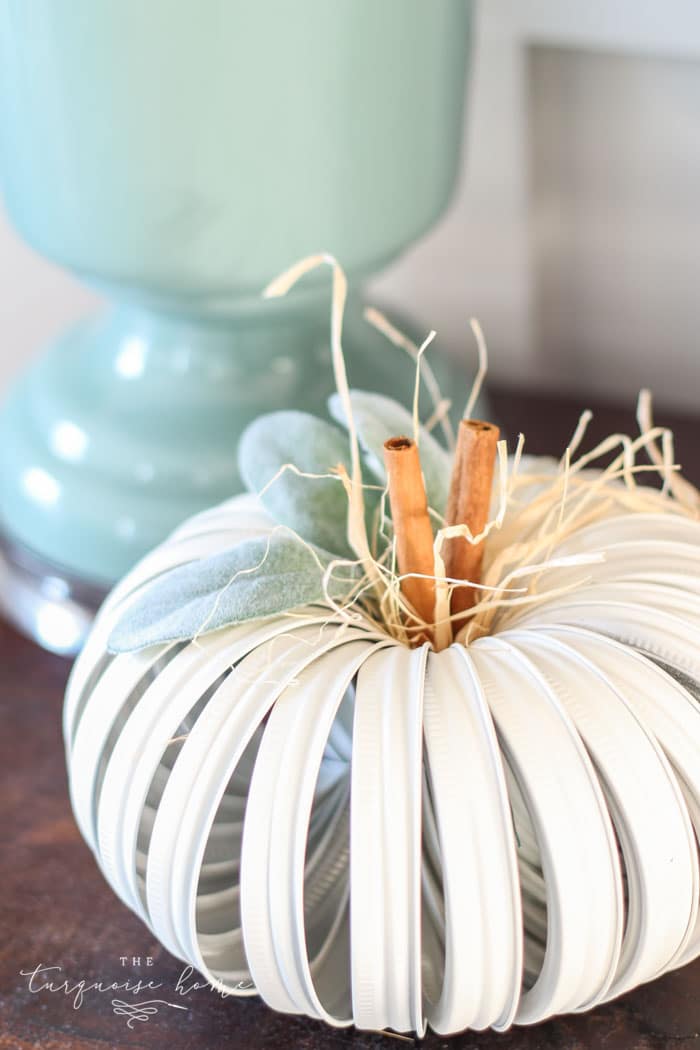
I used my hot glue gun to stick everything in place.
Final Thoughts
It's so cute, and I love how it turned out! So much more neutral. As you'll see in my upcoming fall decor posts, I've gotten rid of almost all the orange in my fall home decor. Sometimes I just get the itch to change things up! So this new farmhouse-style, neutral pumpkin fits right in!
If you don't have time to make this cutie today, I hope you'll pin it for later…
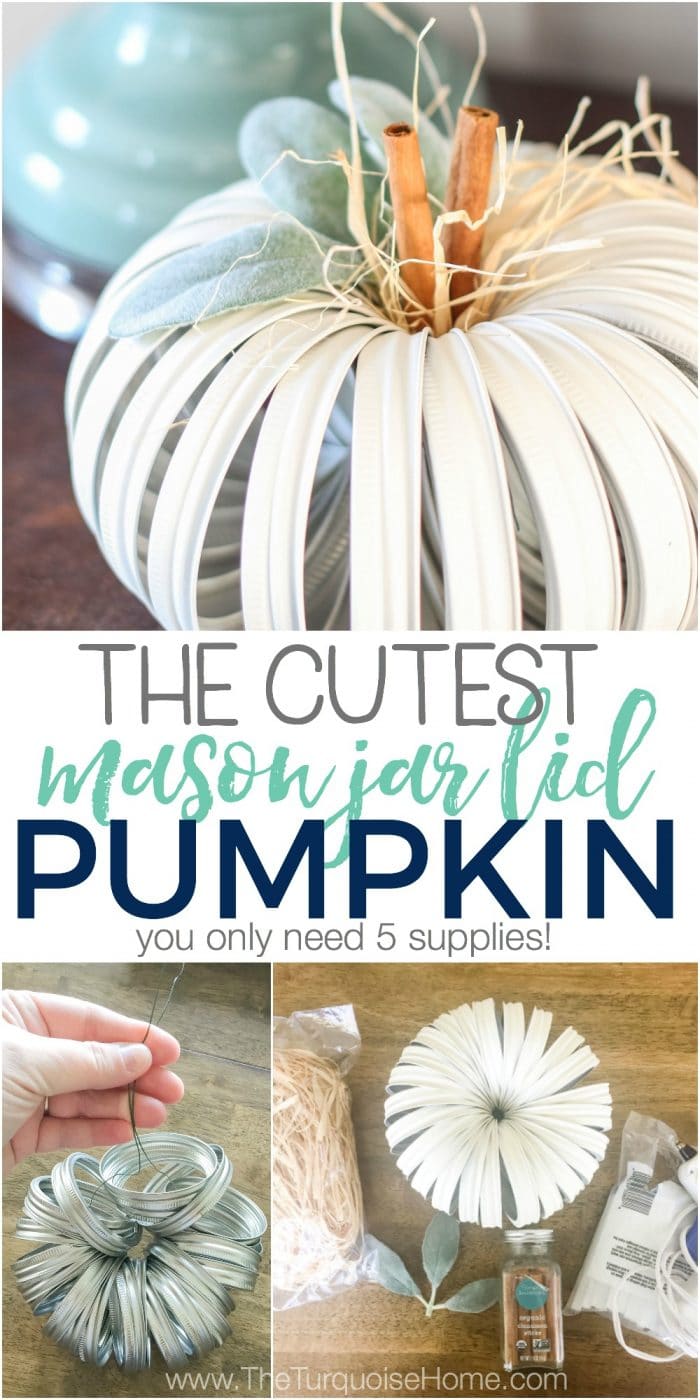
Or bookmark it in your web browser.
Either way, I hope you'll make one of these super easy, adorable mason jar lid pumpkins and show me how you did it! I'd love my inbox to be flooded with every variety of these. (email me at [email protected])
OK, that's all. Go get your craft on!
More Posts You Will Love:
- 25 Stunning DIY Fall Wreaths
- Cozy Fall Centerpiece Ideas
- 25+ Free Fall Printables to Decorate Your Home
- A Dough Bowl Centerpiece for Fall
- 11 Ways to Add Fall to Your HomeSaveSaveSaveSaveSaveSaveSaveSaveSaveSaveSaveSaveSaveSave