These super-easy DIY throw pillow covers are among the simplest projects you can tackle. If you can sew a straight line, like me, you can make your own pillows!
I love that I can take a pricey piece of fabric and bring it into my home without breaking the bank. Or I've made pillows from drop cloth from the hardware store and stenciled them! It's one of the most affordable ways to decorate your home and switch things up for every season!
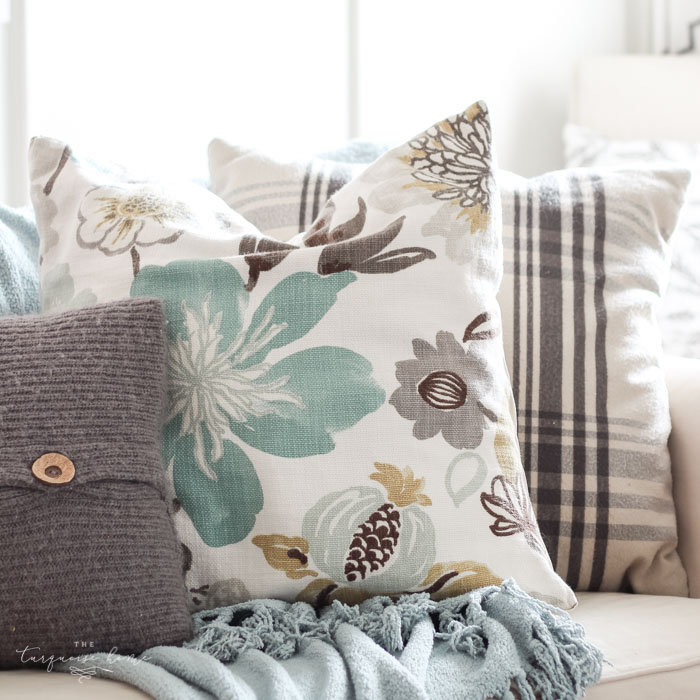
Okay, so now for this gorgeous fabric.
When I first spotted this Braemore Gorgeous Pearl fabric months ago, I wanted to make curtains for my kitchen with it. But at $30 a yard, I couldn't afford it at the time.
So I decided to make envelope throw pillows for my couch instead. It took me forever to sit down and actually make them. Why? Because my relationship with my sewing machine is complicated (mostly on the hate side). Until now! This was by far the easiest sewing project I've done so far. If you're hunting for a beginner sewing project, throw pillows are perfect!
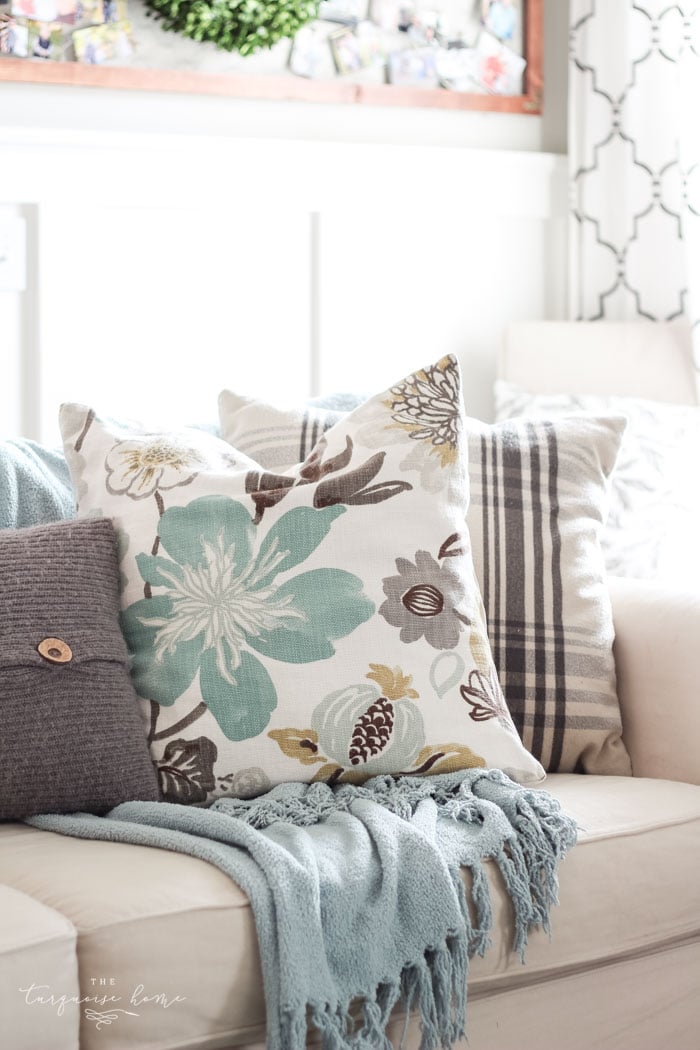
Seriously, I want to make throw pillows for my whole house now. Super easy, peasy!

Supplies Needed for an Easy DIY Pillow Cover
- Fabric of your choice. I bought a yard of my favorite fabric for the front of the pillow and a yard of neutral fabric for the back. I made 2 matching pillows.
- Fabric tape measure or clear ruler (optional: cutting mat)
- Scissors or rotary cutter
- Basic sewing machine
How to Make an Easy DIY Pillow Cover
1. Decide on the Size.
First I settled on the pillow size. I had Euro inserts, which measure 26 x 26 inches. I wanted the pillows to look somewhat plump, so I cut the fabric at 26 x 26. That way, once it was sewn up, the cover would be a bit smaller and the insert would fill it out.
2. Measure your Fabric.
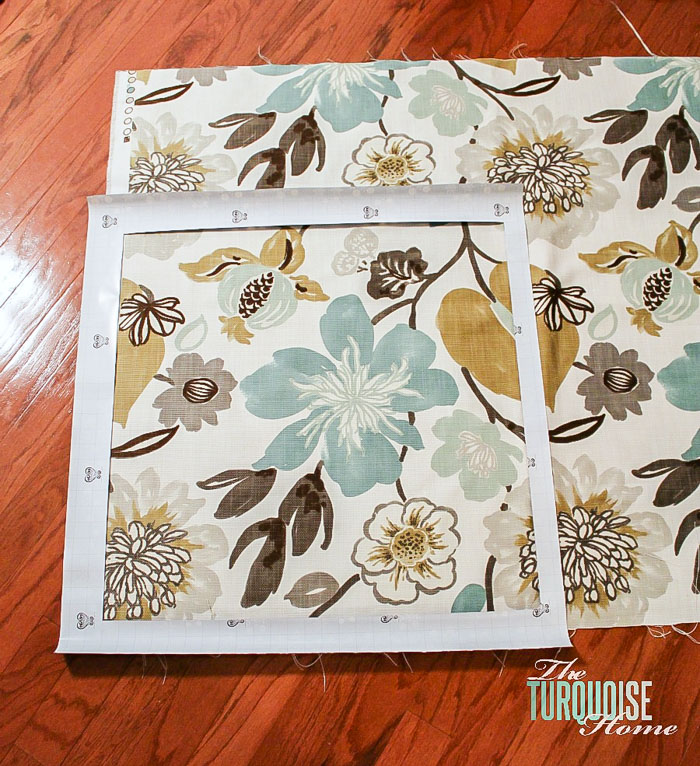
I'd only ordered 1 yard of the Braemore fabric, and I decided to use a less expensive fabric for the backs. (I think it was just an off-white canvas.) Since the floral pattern repeated twice across one yard, I cut out a "frame" from some wrapping paper.
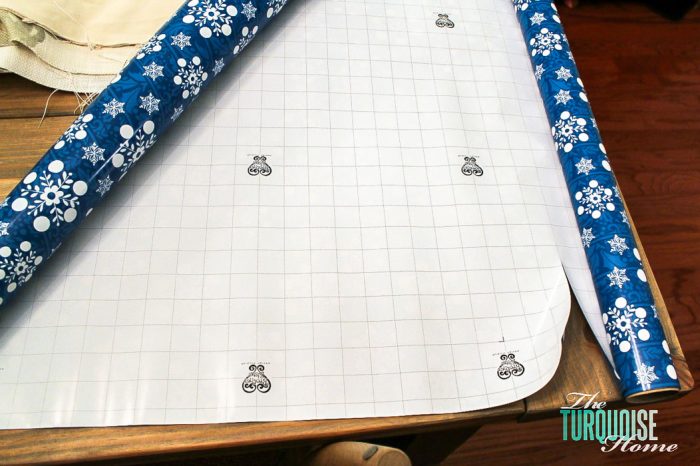
I know what you're thinking: wrapping paper and making pillows? Strange. But this was my MacGyver method for measuring, since this wrapping paper has a grid printed on it, so I knew my cut would be perfectly square. Ideally you'd use a tape measure, a clear ruler or a cutting mat. And rotary cutters are pretty handy too.
3. Cut Your Fabric.
The nice thing about the wrapping paper trick (ha) is that it helped me picture the pattern I wanted on the front of the pillow. Once I cut out the first square, I laid it over the other half of the fabric, and cutting the second square was easy.
I cut two back pieces for each pillow. One was 26 x 20 inches and the other was 26 x 16 inches. That left plenty of overlap on the back and a generous hem allowance.
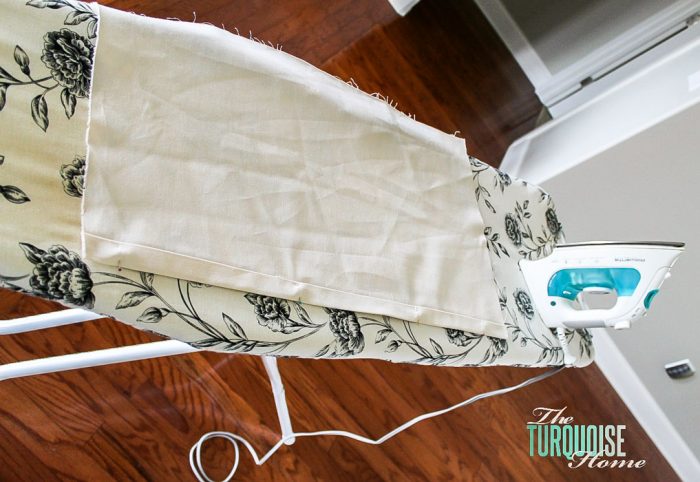
4. Iron Your Fabric.
Next I ironed all the fabric pieces. This step isn't required, but it makes the sewing much easier if you do it!
5. Sew the Edges
I wish I'd taken photos of every sewing step, but I did snap a picture of a finished envelope pillow, and I'll try to show you what I did with arrows and such. (wink)
First, hem one long side of each back piece. These are the edges that will meet in the back to form your envelope. I folded the hem down 1 inch and ironed it, then folded it again, ironed it once more, and stitched it. You can see me ironing the back piece in the photo above.
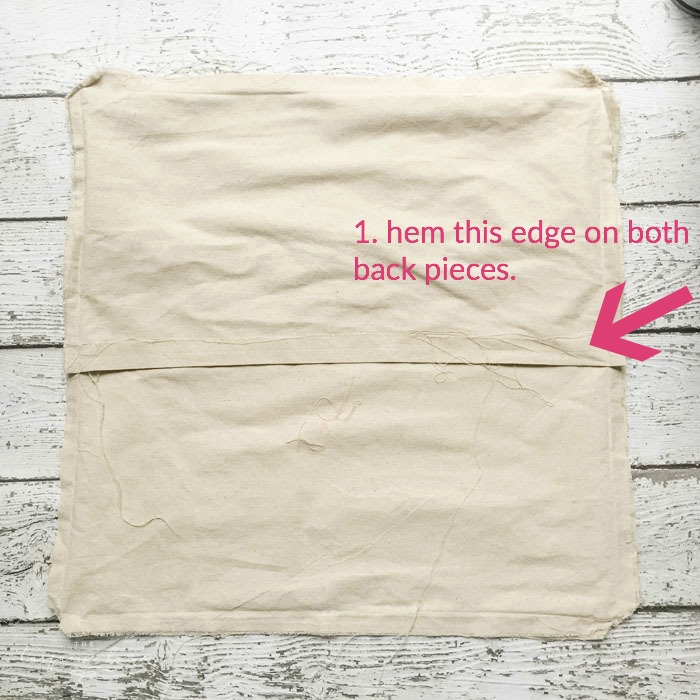
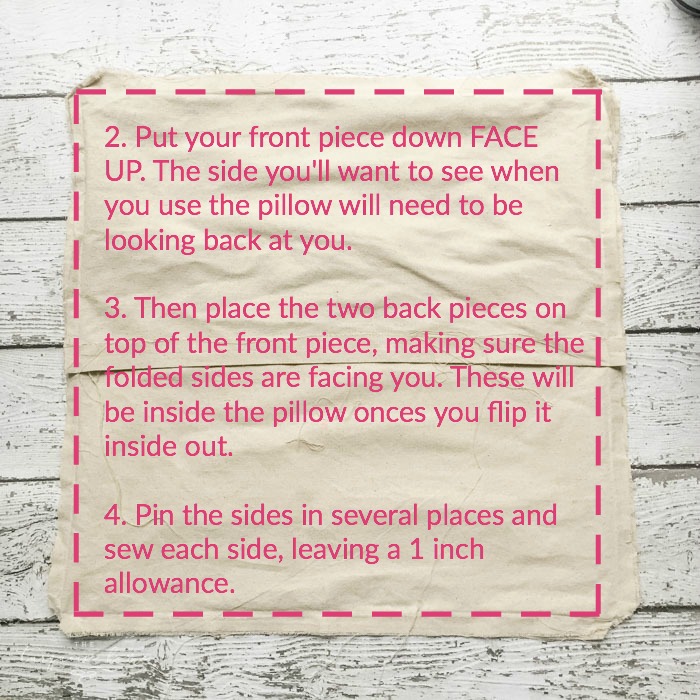
Once both back pieces are hemmed along one long side, place your front piece FACING UP toward you. Then lay the two back pieces on top, making sure everything is squared up. The hemmed edges should be facing up toward you.
Pin each side in a few spots, then sew all four sides, leaving a 1-inch seam allowance.
6. Cut the Corners Off.
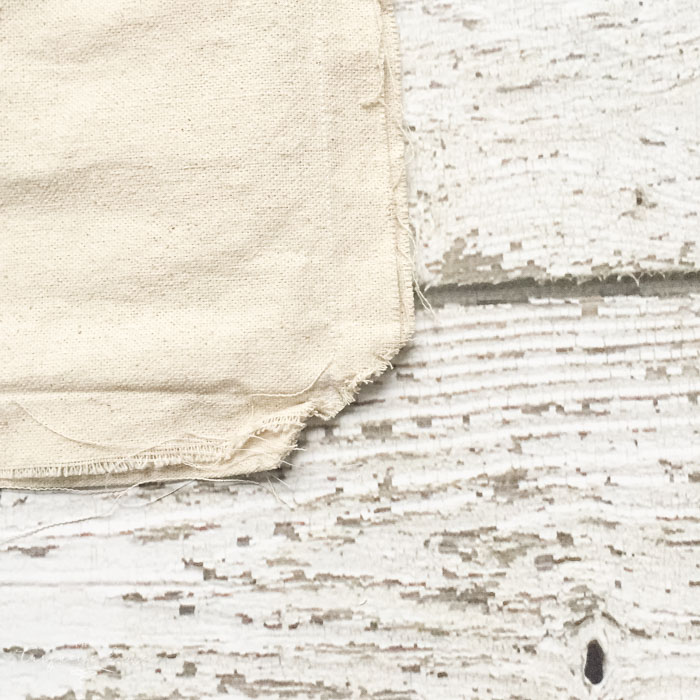
Now trim the excess fabric off each corner, taking care not to cut your stitching. This keeps the corners from getting bunched up when you turn the pillow right side out.
7. Turn Your Pillow Inside Out, Stuff it, Fluff it and Enjoy!
Turn the pillow right side out, push the insert inside and fluff it up. Now you have your very own pillow cover, and it was super easy to make!
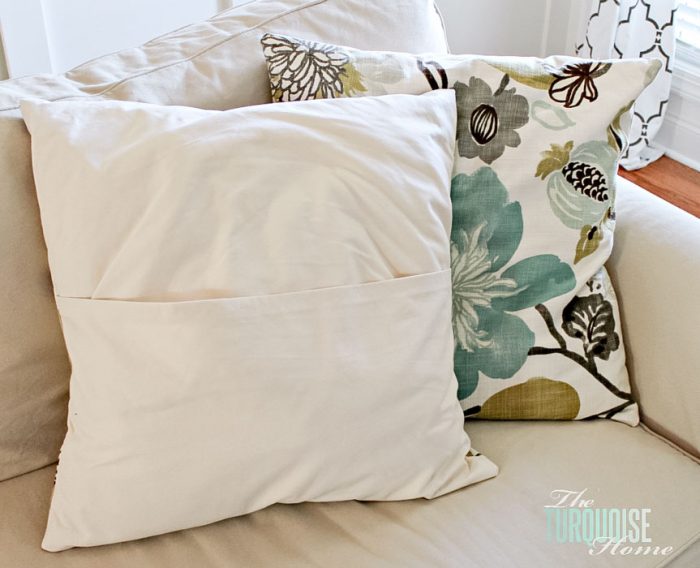
I think what makes this project so simple is that it's fairly small and you're only sewing straight lines. Once everything was cut out and ironed, sewing it all together took me maybe 15 minutes or less. It was definitely a one-nap-time project. I love those!
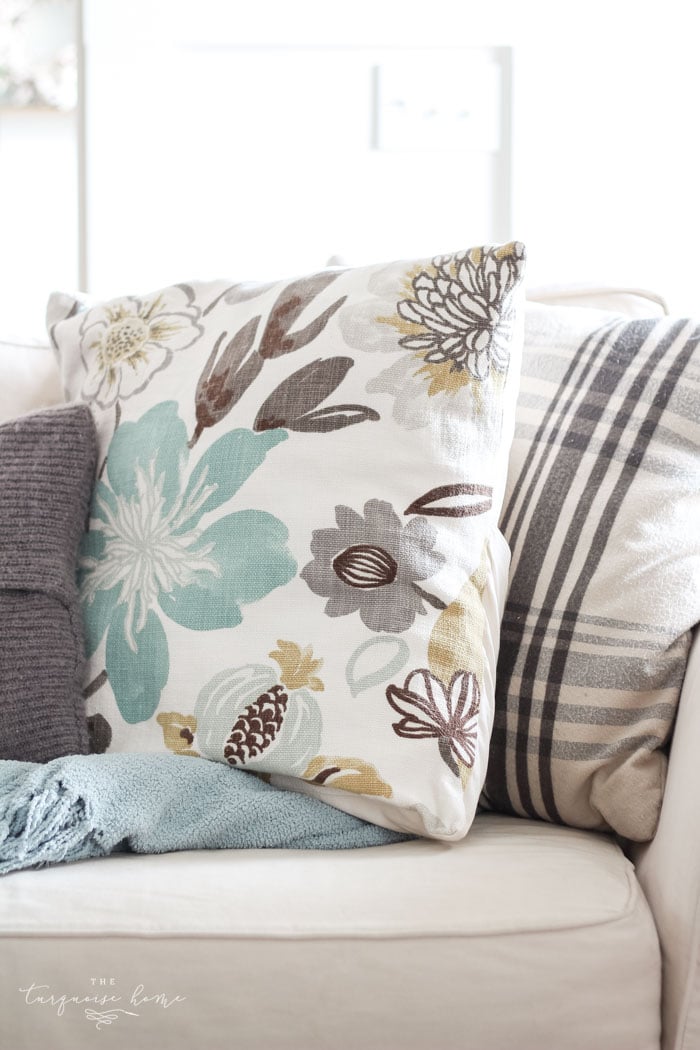
I love, love, love how this easy project turned out. Now I can't wait to buy more fabric for more pillows on the couch... and maybe for every other room in the house.
Have you ever made throw pillows? If so, do you have any tips or tricks to share?
READ THE OTHER LIVING ROOM MAKEOVER POSTS:
1: Wall Color
2: More Paint
3: Caulk and Spackle
4: Blue Accents
5: Gallery Wall
7: The Big Reveal!
MORE FAVORITE POSTS YOU WILL LOVE: