As part of my Home Goals 2013, I'm updating my living room with paint, board & batten and hanging pictures. I have several posts lined up, and I'll spread them out over however long it takes to get them done.
So, here's part 1: Paint. (If you're curious about this color, I recently wrote about Picking the Perfect Gray {Paint}.)
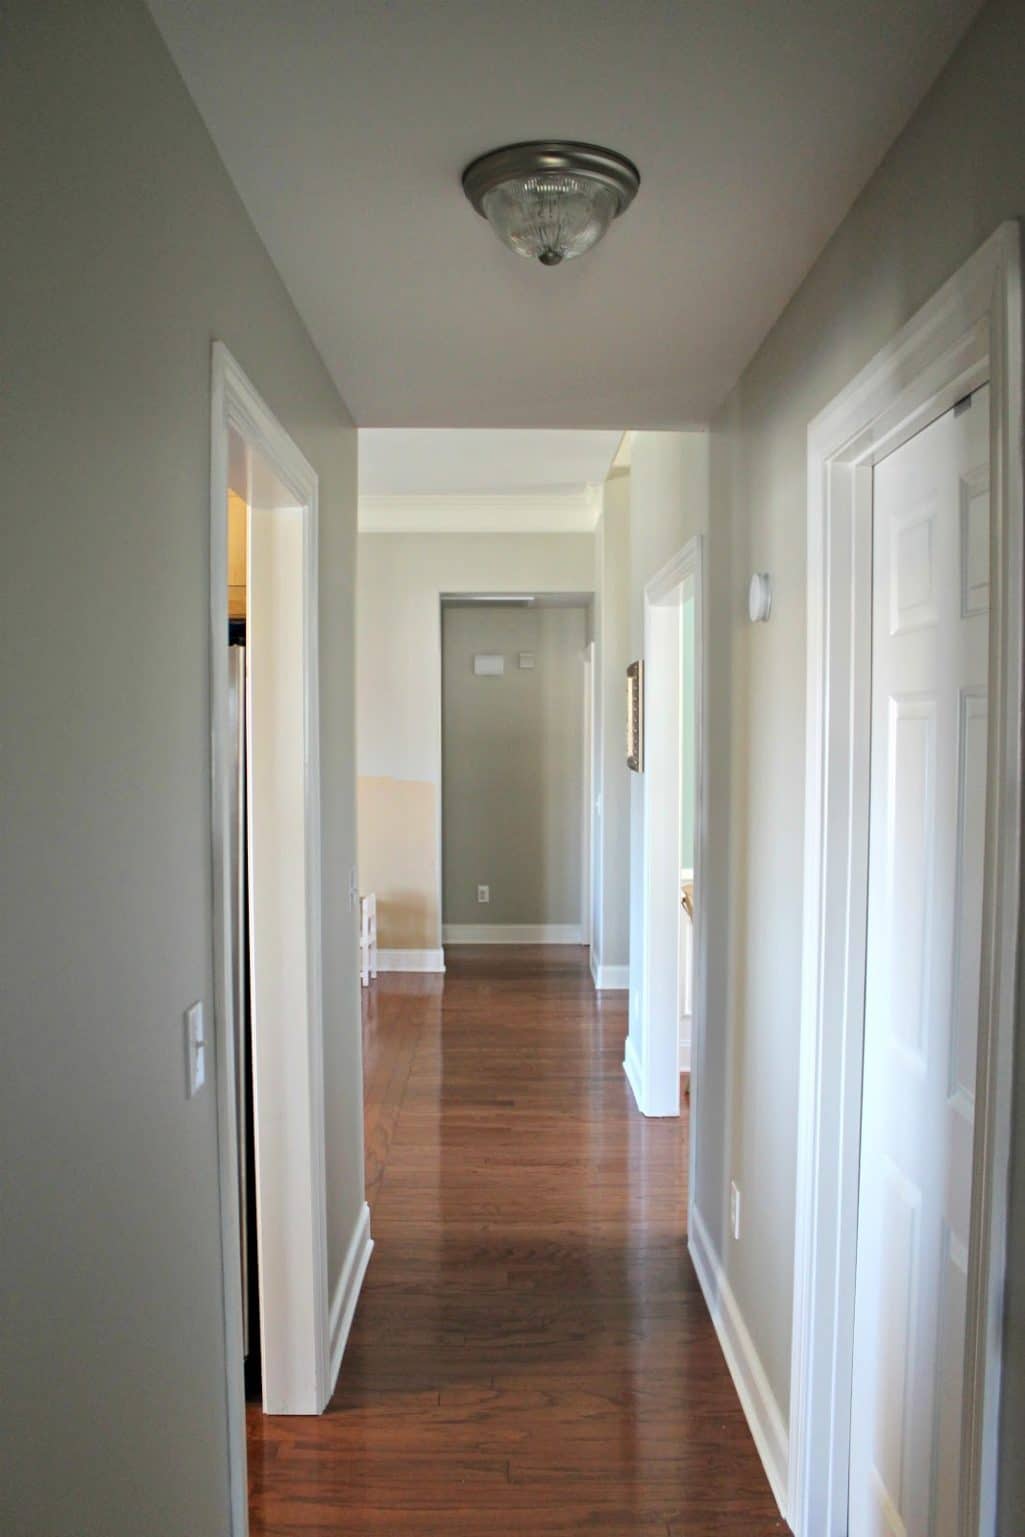 |
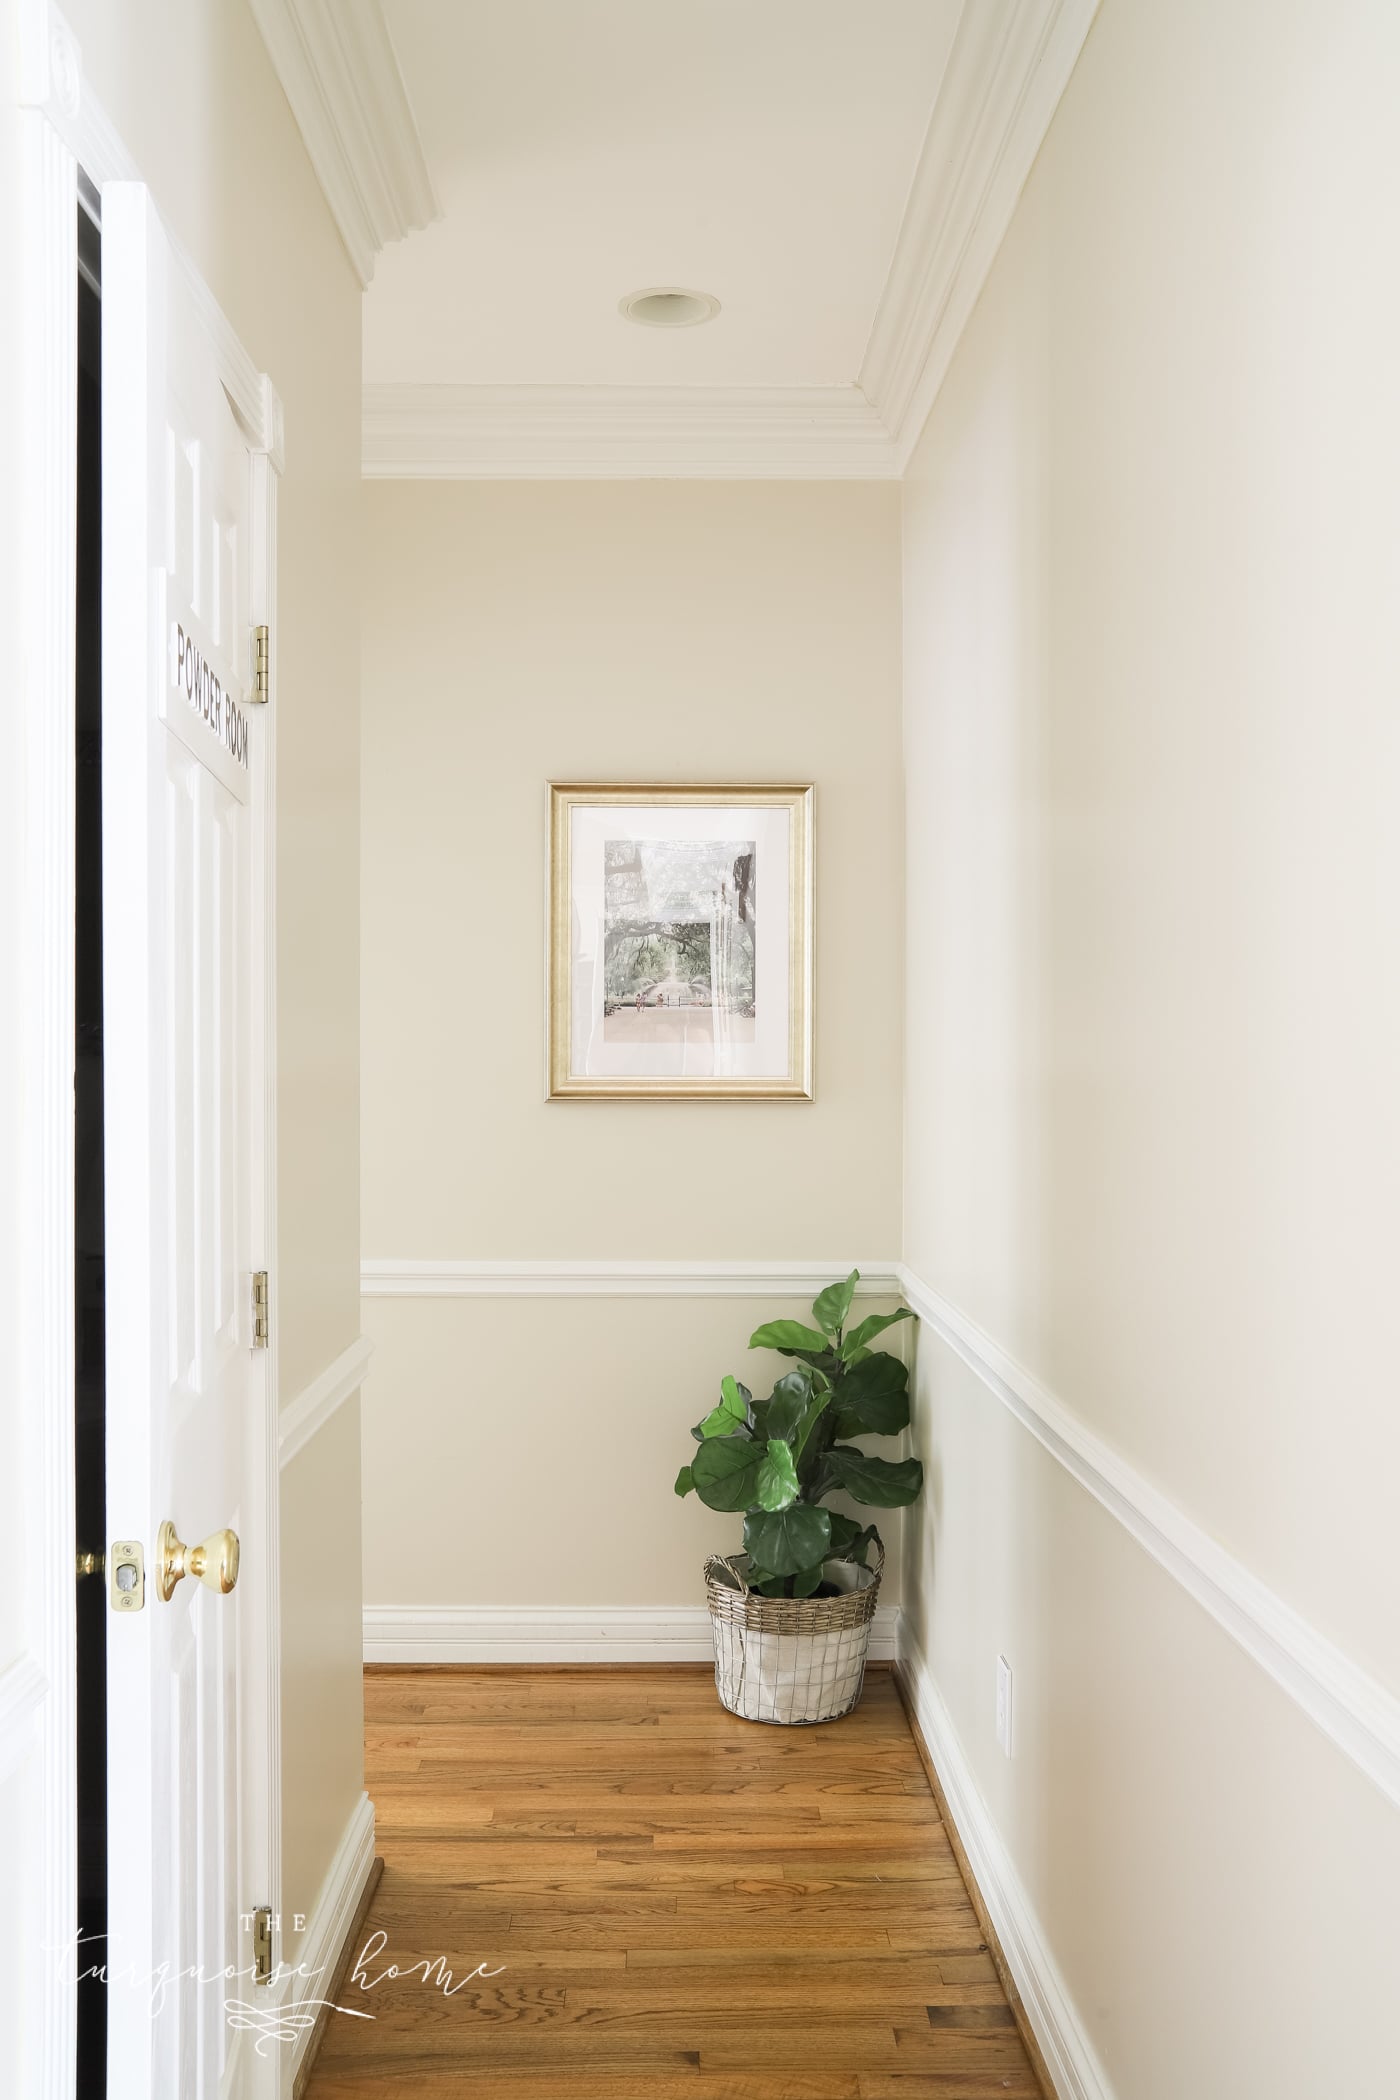
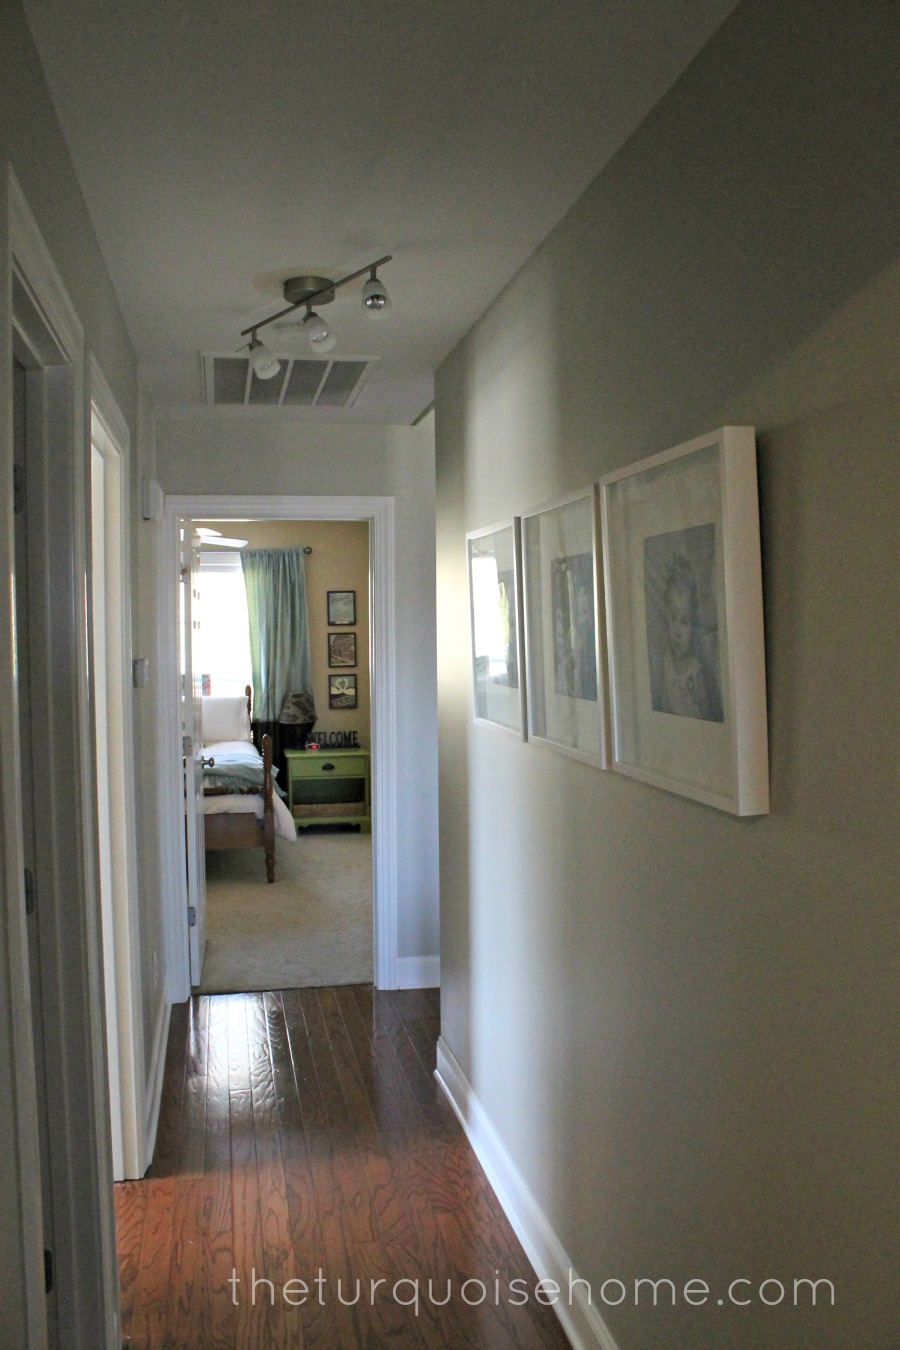
This is the hallway leading from the open living space to the master bedroom.
To the left is the kitchen, and to the right are the laundry room and garage.
I've been painting the walls gray in short bursts over the past two weeks. This covered the foyer, the two hallways and the top half of my living room. (I didn't want to waste the gray on the bottom half if I'm only going to cover it with white paint.)
All that = a lot of paint and time.
I decided to paint one section at a time, so I had small wins along the way. I need quick, small victories or else I get bored and want to walk away from a project. (Trust me, I almost went out and bought cabinets for my laundry room before even finishing the entryway. But a good friend encouraged me to finish what I'd started before moving on. Glad she did. Two room makeovers at once might have done me in!)
I painted two coats on each wall. I never think one coat works well. With the paints I use, a single coat leaves the roller and brush strokes far too noticeable. So I always do at least two.
{These two photos aren't an apples-to-apples comparison. The beige in the before shot had an unfair advantage because the lights were on. It wasn't really that yellow-orange... well, maybe a little.}
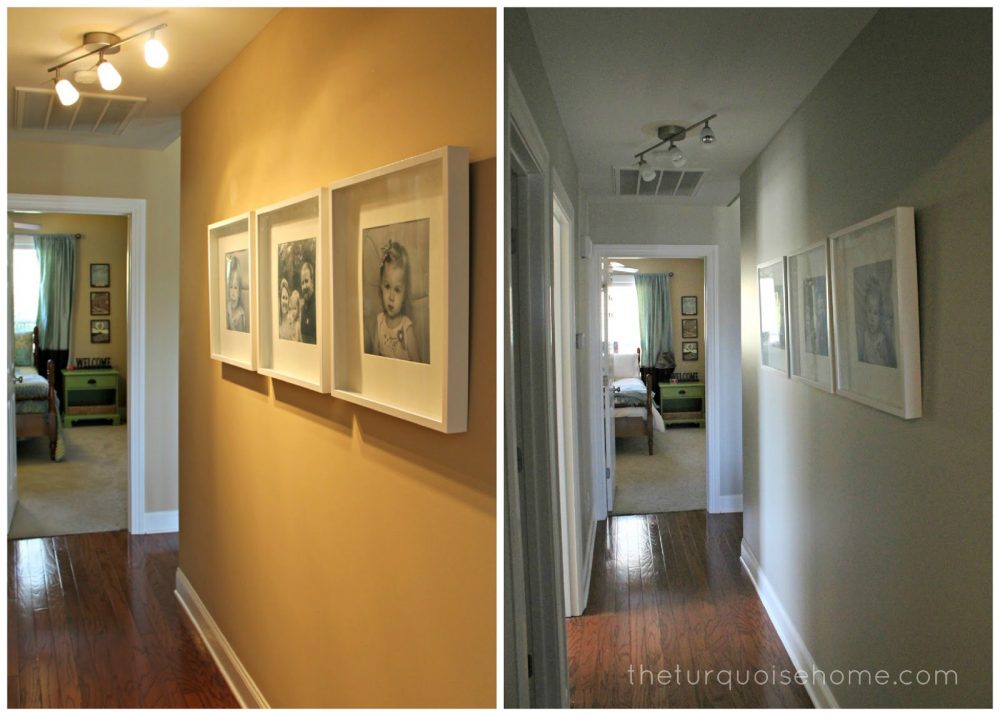 |
Sorry for the grainy photo on the right...
I've been learning about my camera and forgot to change the ISO before I took this picture.
I used Valspar Ultra Paint + Primer in an eggshell finish (Valspar is Lowe's brand). It's the first time I've used this paint, and I've been pleased so far. The paint didn't splatter when I rolled it, unlike some cheaper paints. It's fairly thick and covers well. At first, when I rolled it over the beige, I thought the gray looked like baby blue. But as I finished more walls and added a second coat everywhere, the gray really came into its own. Now it just looks blue-ish when I see it right next to the beige in the living room.
I rushed to get all the gray painted by Monday for play group at my house Tuesday morning. Yes, it was odd to let people come over with a half-and-half look going on in the living room. But I let go of my pride and let people into my house mid-project. Aren't you proud of me? I don't think I've ever done that before!
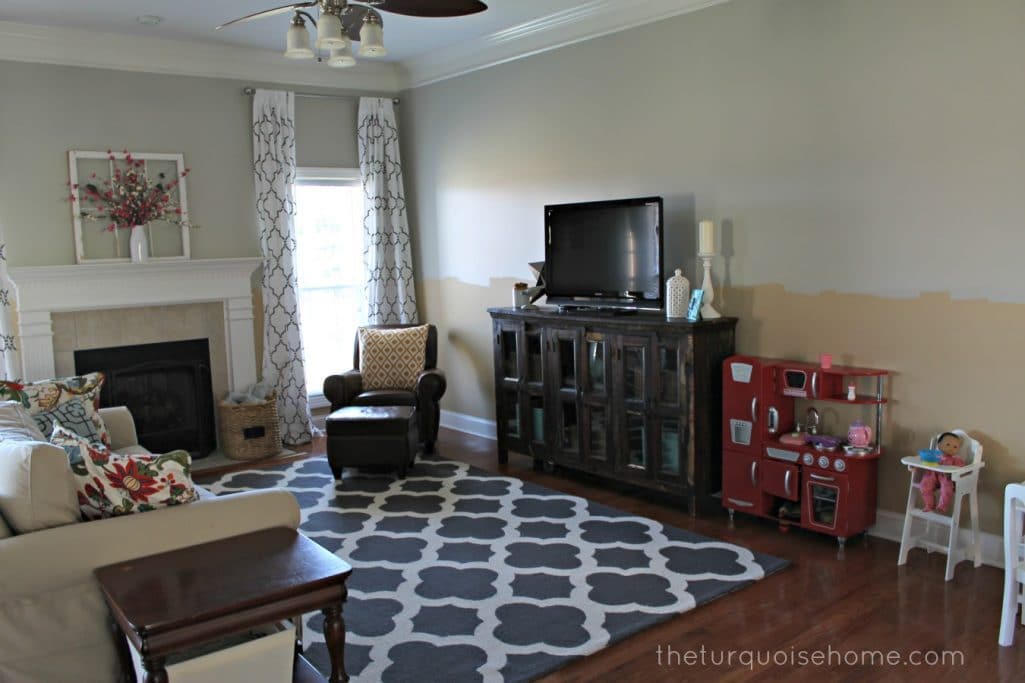
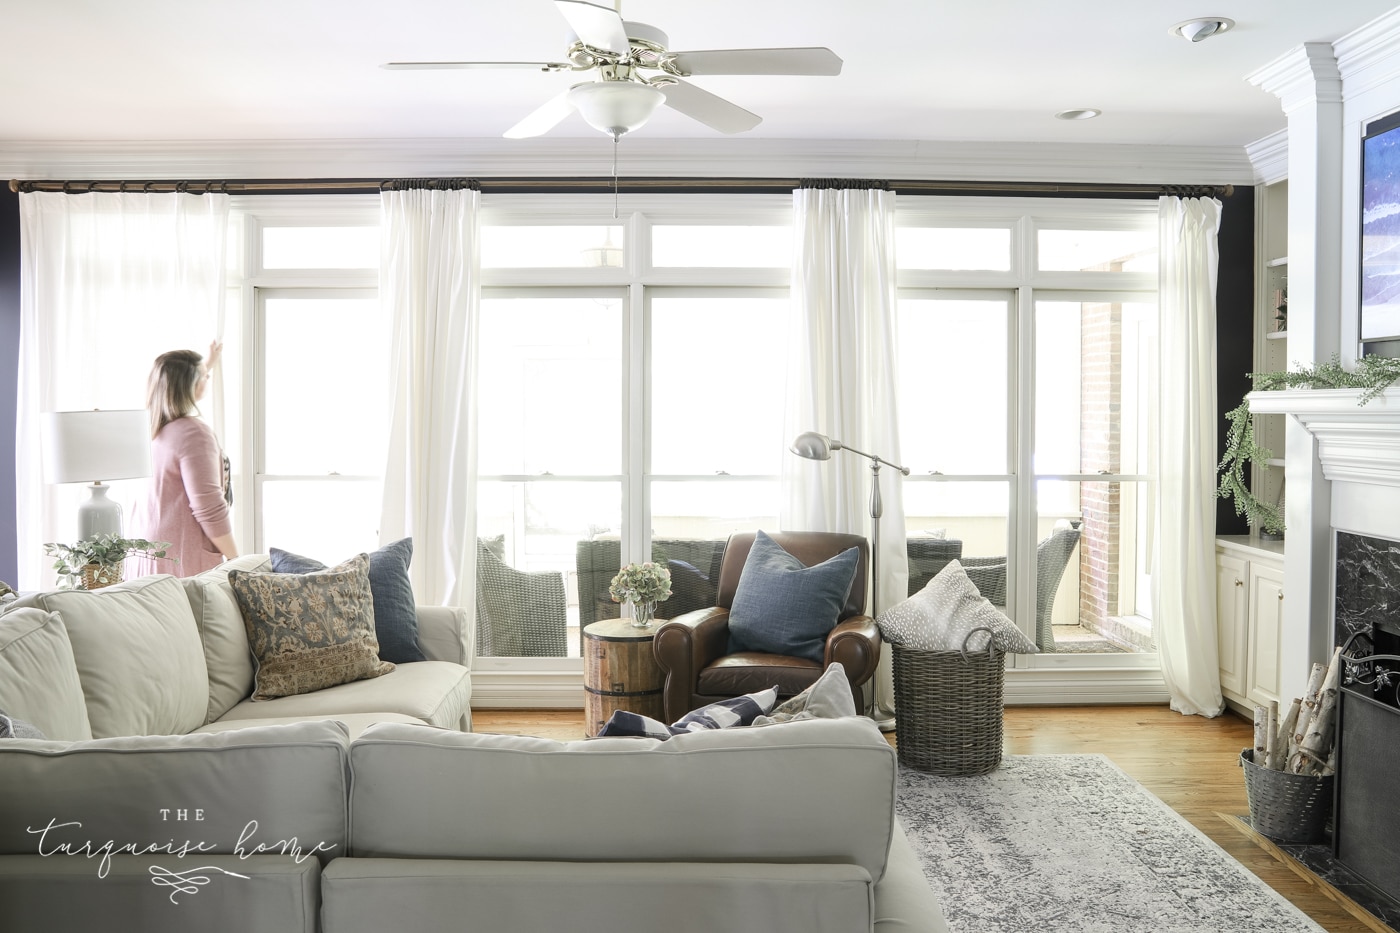
A little half-and-half wall for your viewing pleasure.
Next up, I'll paint the bottom half of the living room white, and then it's off to the hardware store for my boards for the board and batten treatment. I know it's going to look amazing.
I'm so excited to use this architectural element to define my large living space and give the room some structure. If you have a big room, it's a great way to add oomph and definition. I love that it will set the living room apart as its own space from the other areas in our open concept.
But back to painting... I'm so excited to finally get the walls the color and structure I wanted so I can start hanging pictures and other items. After a year of living here with blank walls, I think it's high time! I did finally hang something new in the foyer, since it's done (for now). I hope to show you soon.
How have you added interest or definition to a large open space? I'd love to hear about it in the comments!
More Living Room Makeover Posts:
- Living Room Paint, Part 2
- Part 3: Caulk and Spackle
- Part 4: Blue Accessories
- Part 5: Gallery Wall
- Part 6: Quick and Easy Throw Pillows
- Part 7: The Big Reveal
More Posts You Will Love: