Build a simple farmhouse wooden pumpkin from scrap wood and craft pieces you already have at home! It’s so charming!
Do you have scraps of wood and fabric just taking up space? Show your love for fall by reworking leftover wood and materials you probably have lying around the house, and turning them into lovely farmhouse wooden pumpkins!
Make your own rustic pumpkin decor to brighten your home this fall. They look great on the mantel or in a styled vignette!
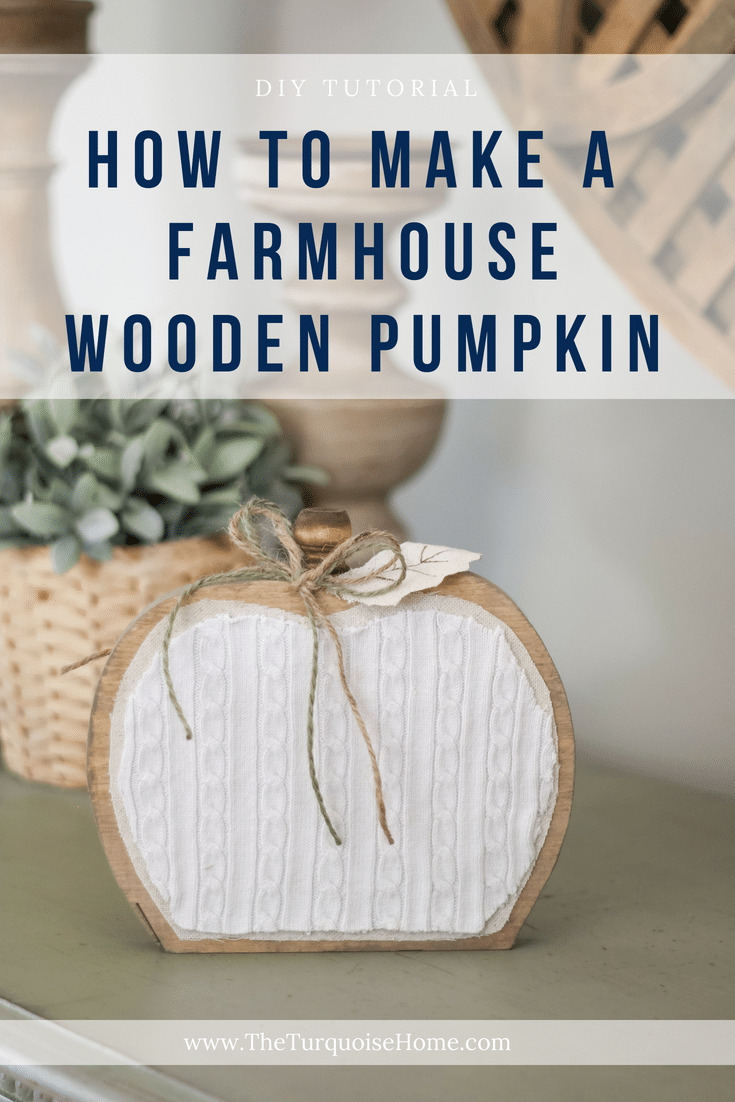
I’m a total softie for a pretty little wooden pumpkin. I can’t quite explain it, but I adore them. I suspect it’s because they’re an easy way to make your home feel like fall without looking cartoonish, especially when they’re cozy and wooden.
I also love making a craft using only supplies I already have on hand. So, hopefully you have a stash similar to mine, but feel free to swap in whatever you’ve got!
Wooden Pumpkins to Buy
And if you don’t feel especially crafty or don’t have time to make your own pumpkin, I found some great options available online!
Supplies & Tools Needed for Wooden Pumpkins
- 1″ x 8″ board ~ 1 foot long {Use whatever you have, but if you use the printable template, you will need at least an 8 foot wide board.}
- Mod Podge
- Sandpaper
- Stain (& a brush)
- Burlap or Drop Cloth {or any fabric you adore. I used an old piece of drop cloth.}
- Cable knit sweater {or any other fabric you prefer}
- Finial Dowel Cap {Make sure the cap suits the size of your board.}
- Hot Glue Gun & Glue
- Jigsaw {I use an old jigsaw we inherited, but if I were buying one today, I’d trust this brand and this brand.}
Steps to Make Wooden Pumpkins
1. Trace a pumpkin outline onto your board.
I made a template you can use if you like. Click here to download the template.
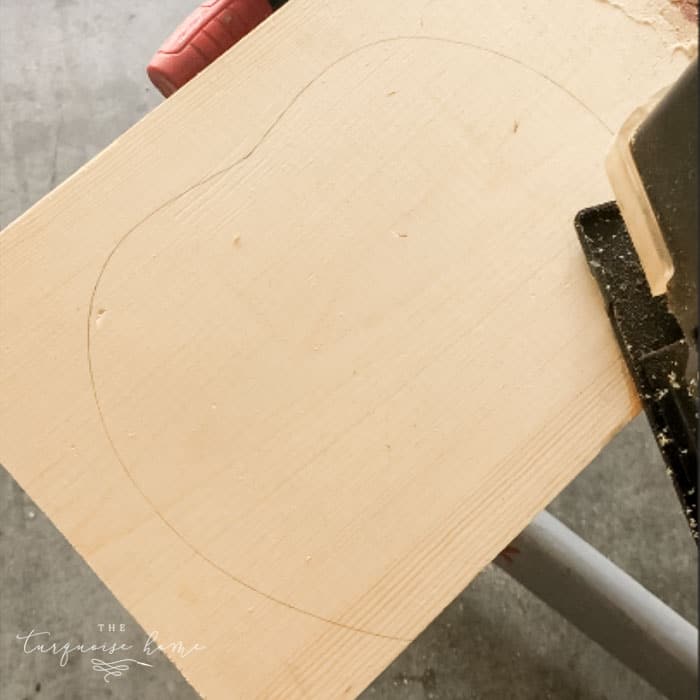
Make sure the bottom is flat. I used the edge of the board for the base of my pumpkin so I didn’t have to cut a straight line along the bottom.
2. Cut out the pumpkin shape with a jigsaw
I use an old jigsaw we inherited, but if I were buying one today, I’d trust this brand and this brand. Use some sandpaper to smooth any rough edges if needed.
3. Apply stain to the pumpkin
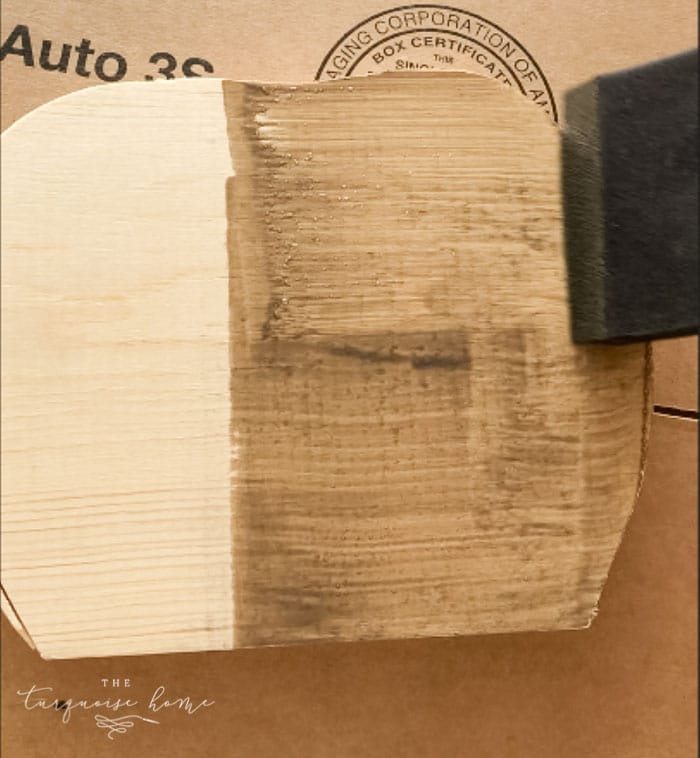
I used my go-to stain, Old Barn Milk Paint stain in Weathered. It goes on like paint, so you only need a thin coat and then let it dry. The color is just gorgeous! It’s hands down my favorite stain color ever!
I also love Minwax’s Early American stain if you don’t have the Weathered shade.
Let the stain dry completely before moving on to the next step.
4. Cut burlap or drop cloth into the shape of the pumpkin
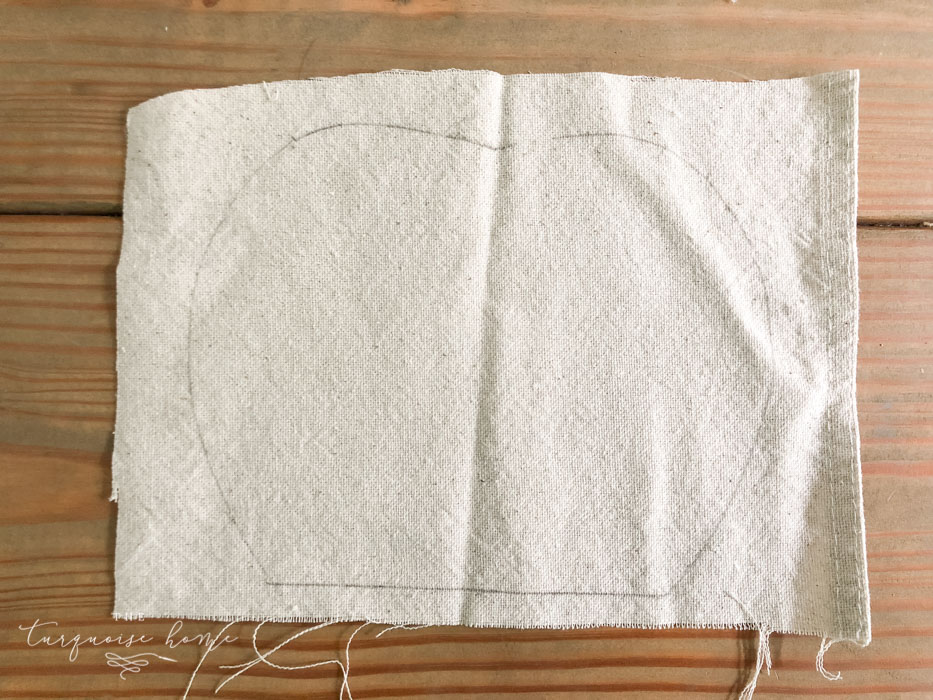
I traced the wooden pumpkin onto the fabric, then cut about a quarter inch inside the line so it would sit neatly within the outer edge of the pumpkin.
5. Adhere the burlap or drop cloth to the wood with Mod Podge
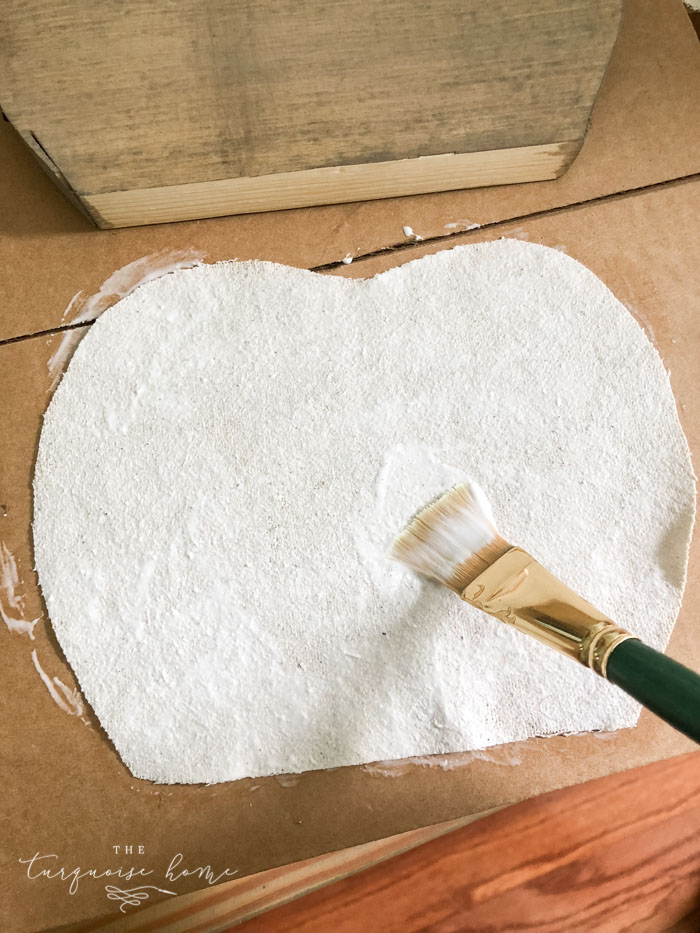
I brushed Mod Podge onto the back of my drop cloth and pressed it onto the pumpkin. Smooth it down to work out any creases or bubbles.
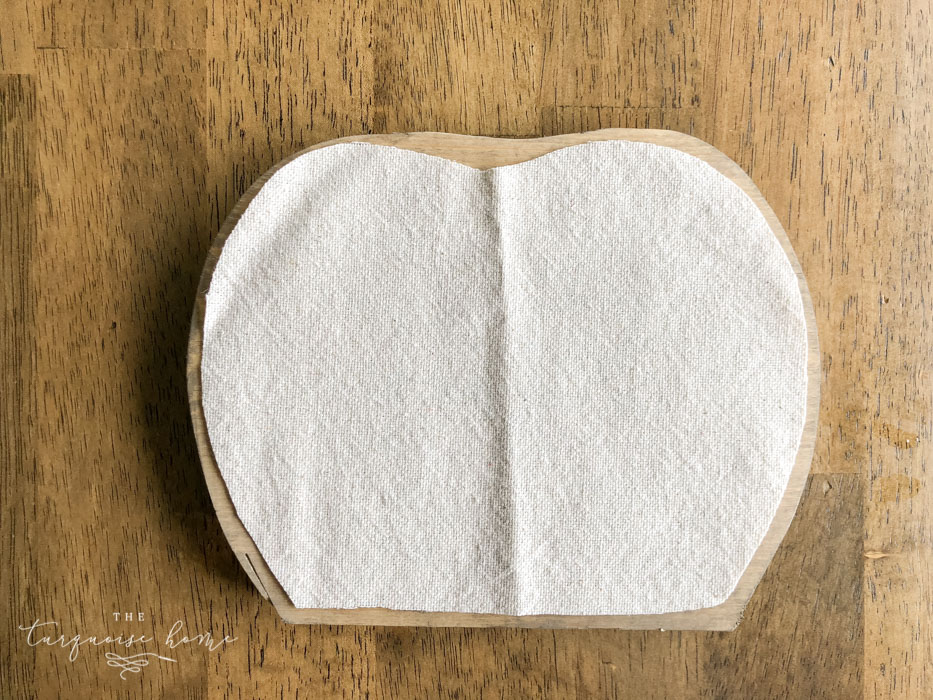
6. Repeat steps 4 & 5 using the sweater
You can use any material you like. I took one of my daughter’s old cardigans that she had outgrown and cut out the pumpkin shape.
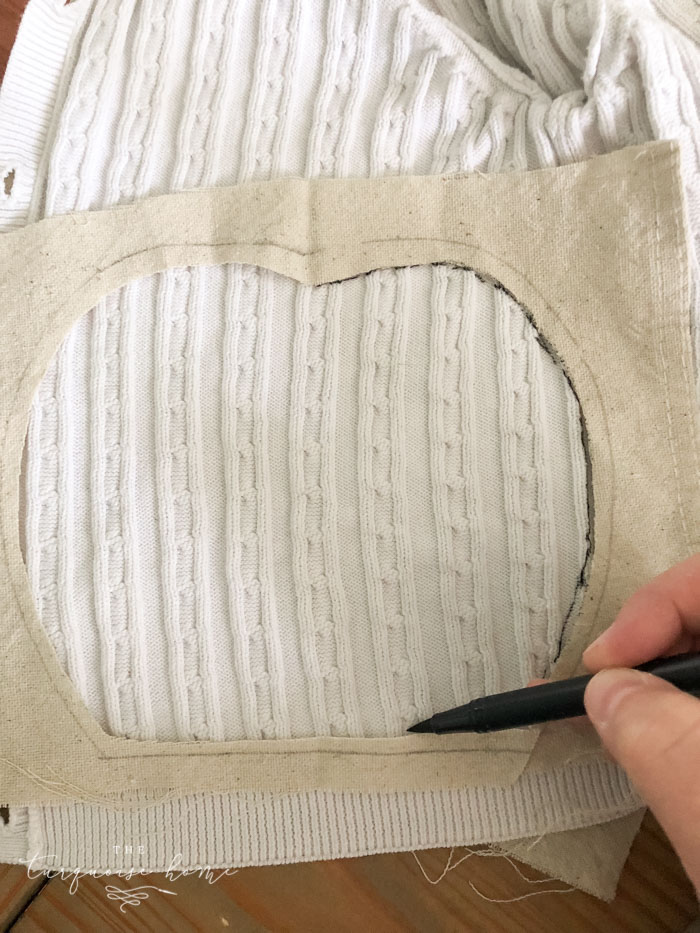
I used the leftover drop cloth as a template for the sweater and traced it with a fine-tip marker. Then I cut just inside the line so it was a touch smaller than the drop cloth.
I used Mod Podge to attach the sweater to the pumpkin as well. Hot glue would work too!
7. Stain the finial and attach it as the pumpkin’s stem
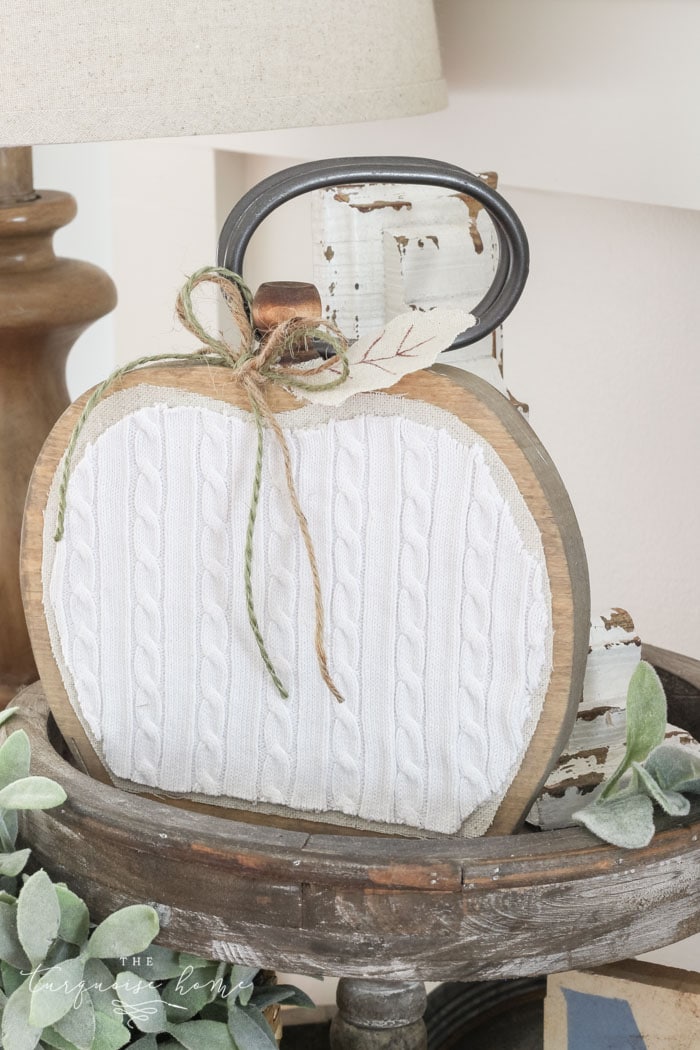
I stained my finial with Minwax’s “Early American” and attached it with my hot glue gun.
Isn’t it just adorable?!
8. Add finishing touches to your wooden pumpkin
I tied a jute string bow and added a leaf cut from the drop cloth. I drew a few leaf “veins” on it with a brown Sharpie.
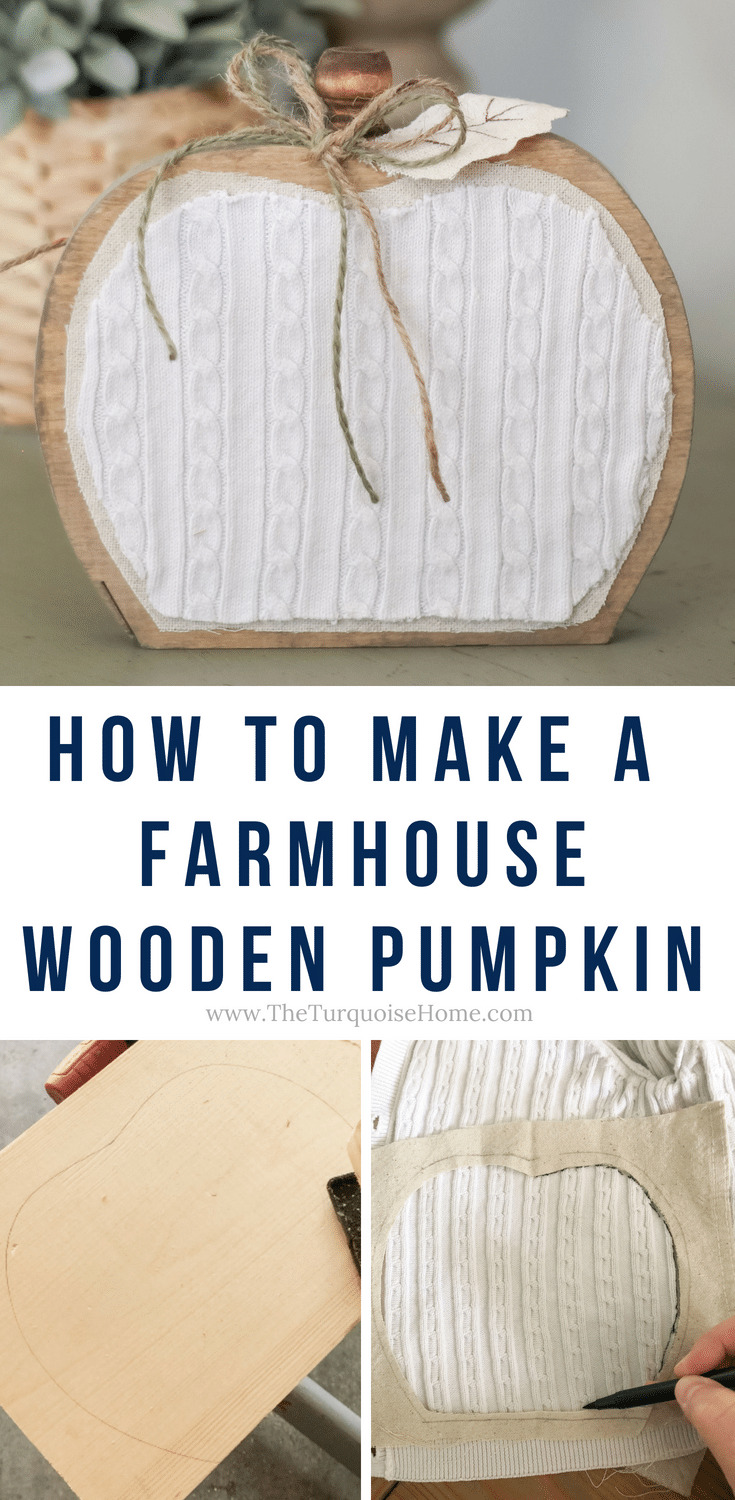
You’re all done! What do you think!?? I’d love for you to save this to Pinterest here, or by clicking the Pinterest icon on the left side of your screen. Then, when you make your own pumpkin, share it in the Pinterest comments so everyone can see!
More Pumpkin-Themed Posts:
- DIY Illuminated Pumpkin Candy Holder
- Mason Jar Lid Pumpkin Project
- “Scrappy” Pumpkin Fall Decor
- Pumpkin Chocolate Chip Muffin Recipe
MORE POSTS YOU MIGHT ENJOY:
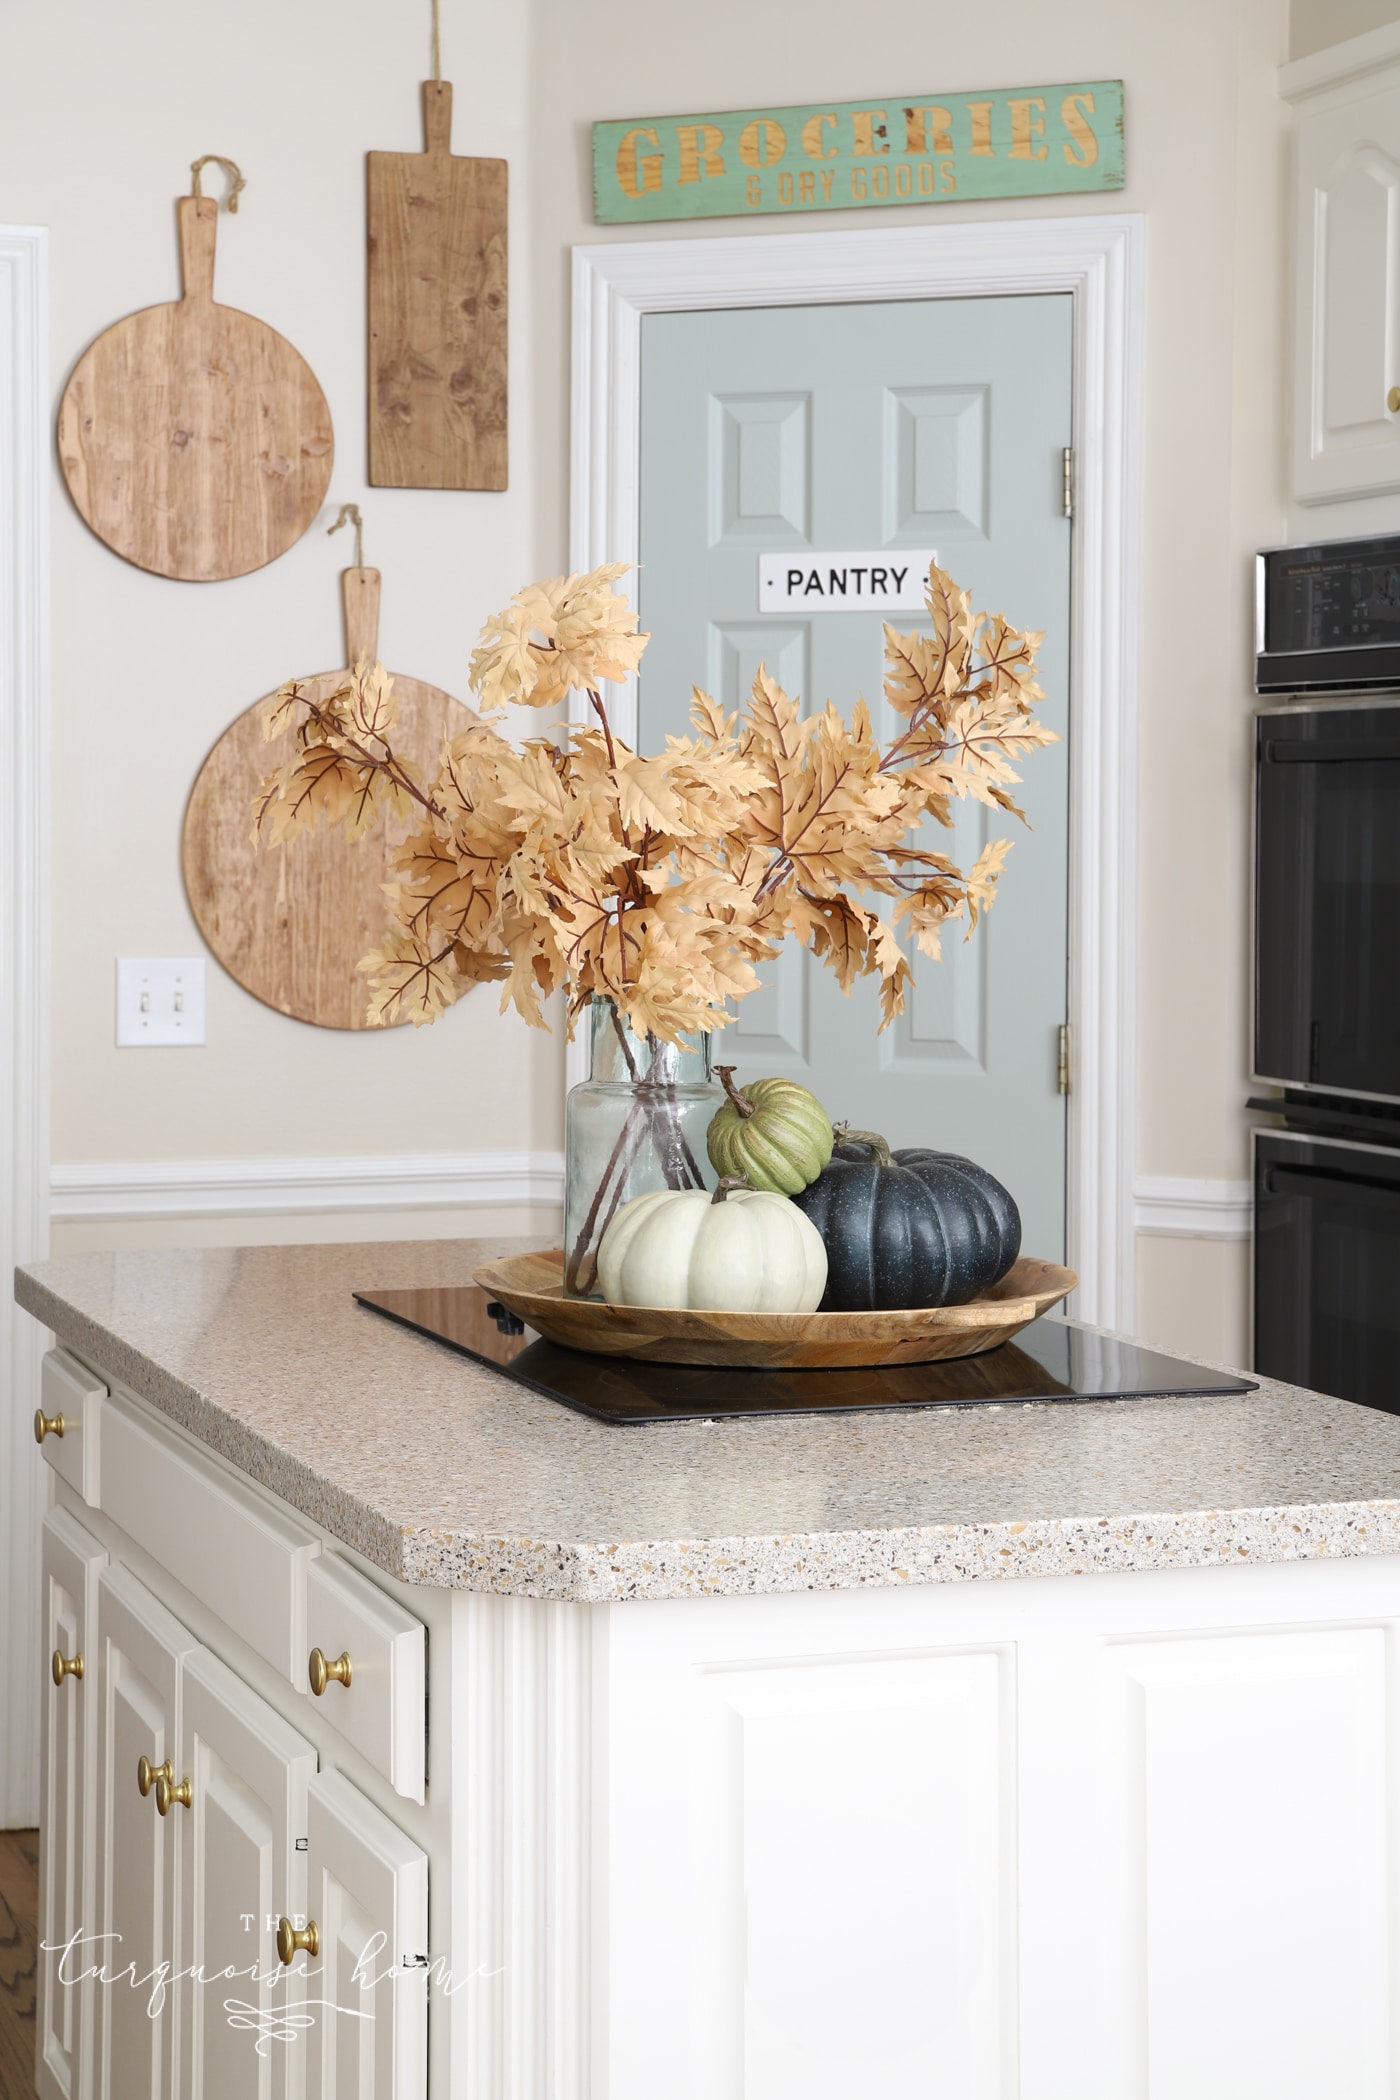
12 Warm Autumn Kitchen Decor Ideas
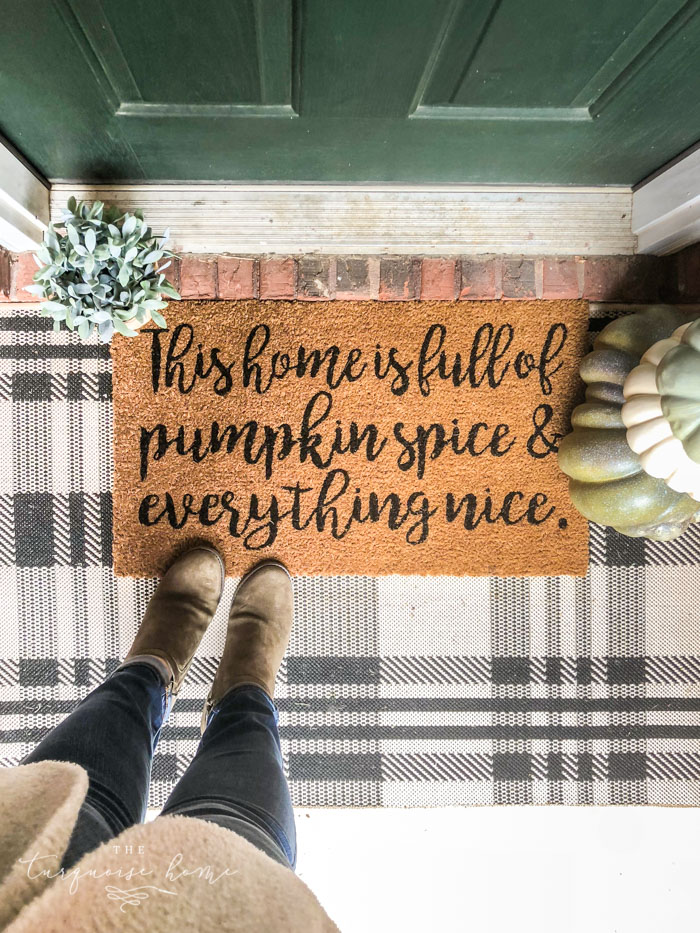
15 Autumn Outdoor Doormats + How to Achieve the Layered Look
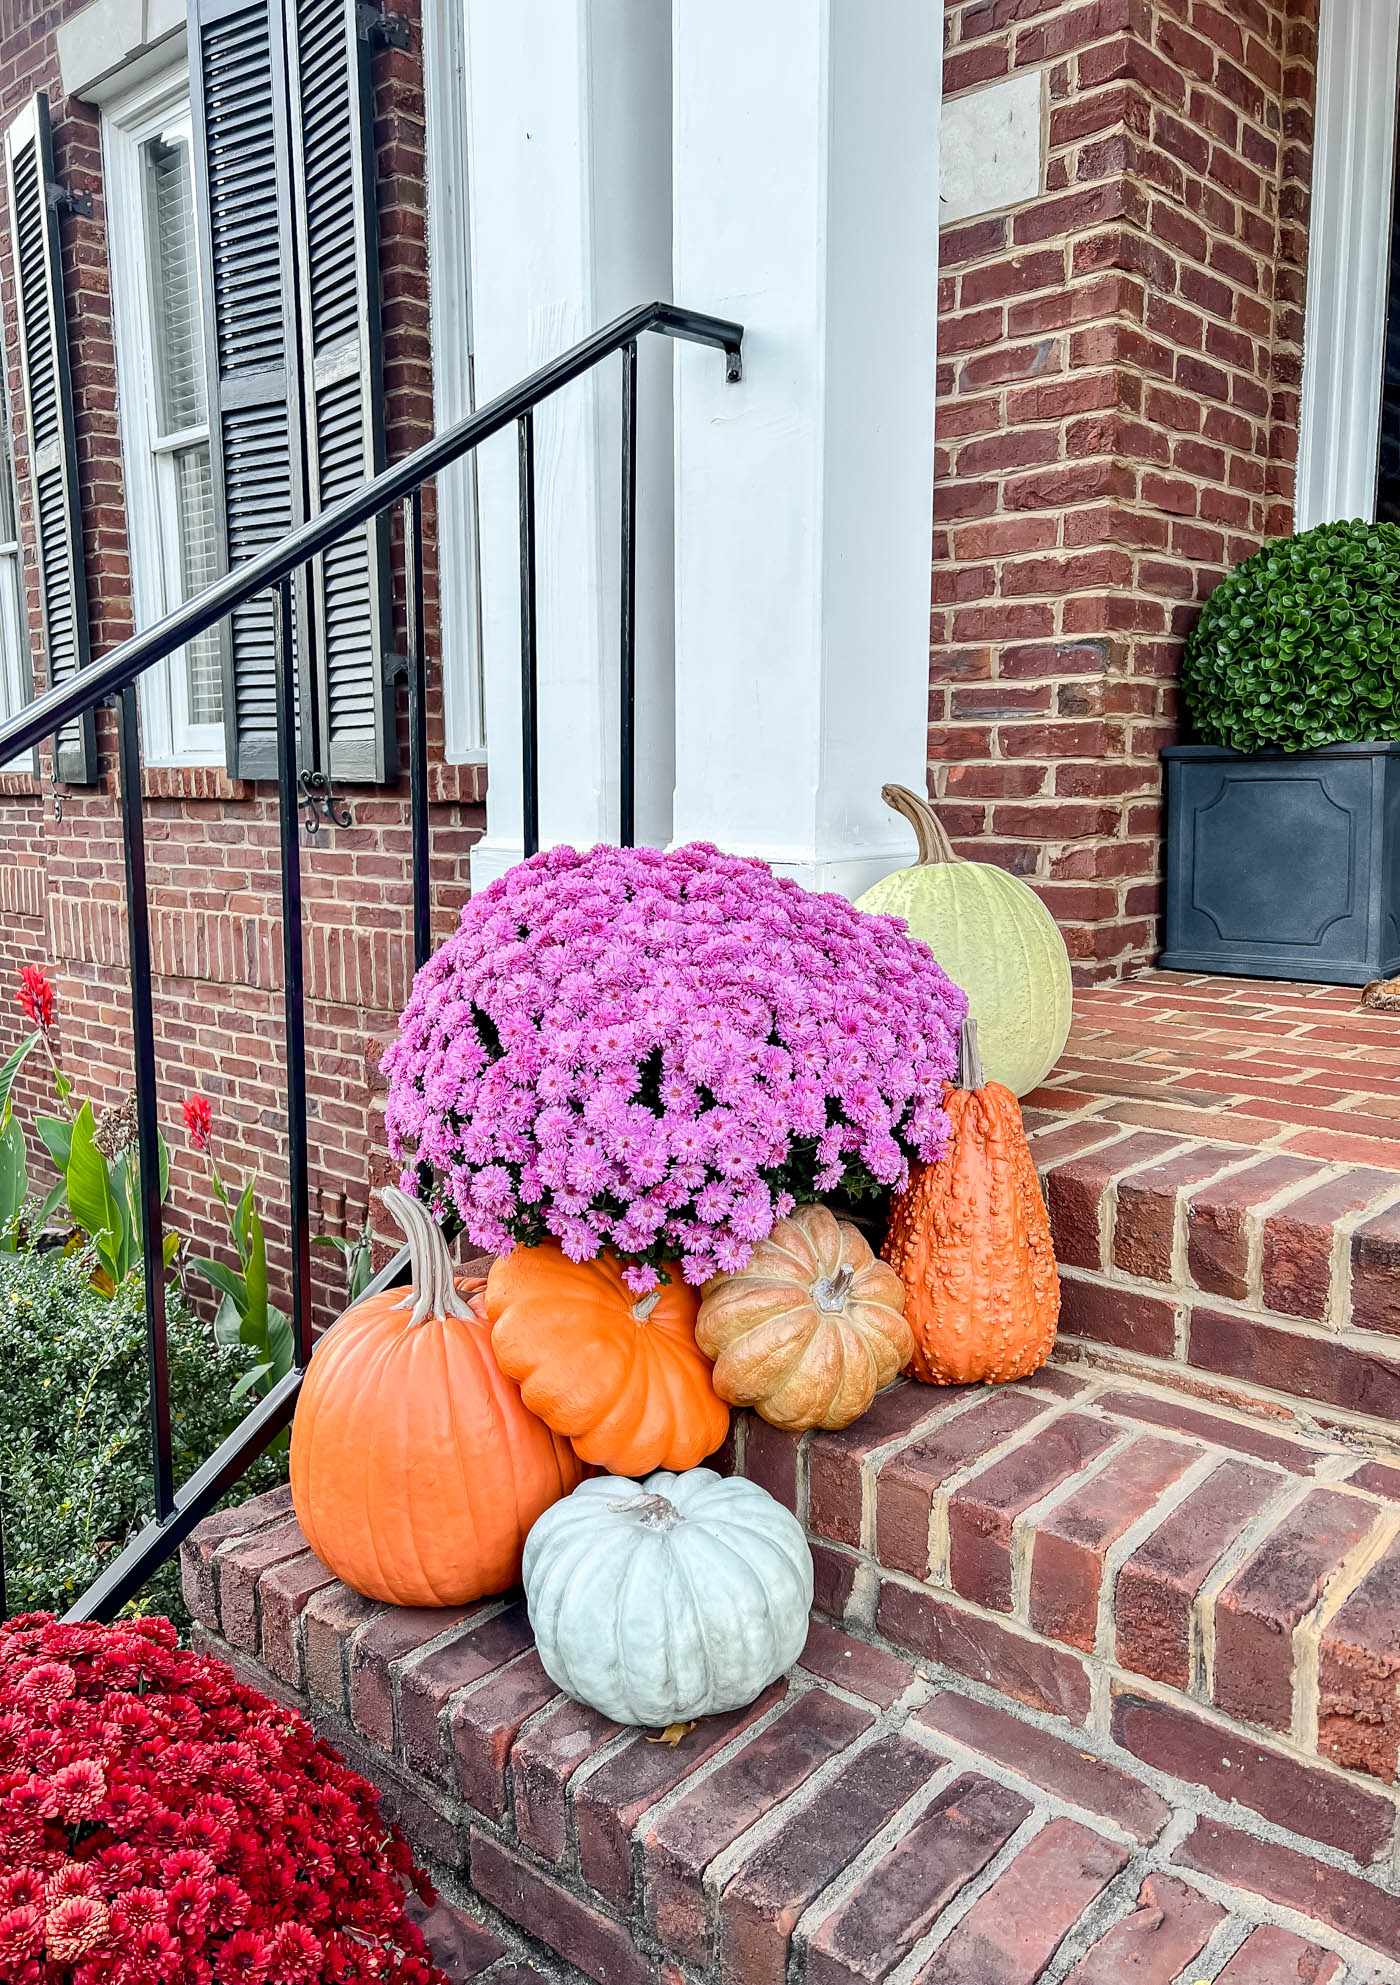
The Finest Realistic Fake Pumpkins for Your Autumn Porch in 2026
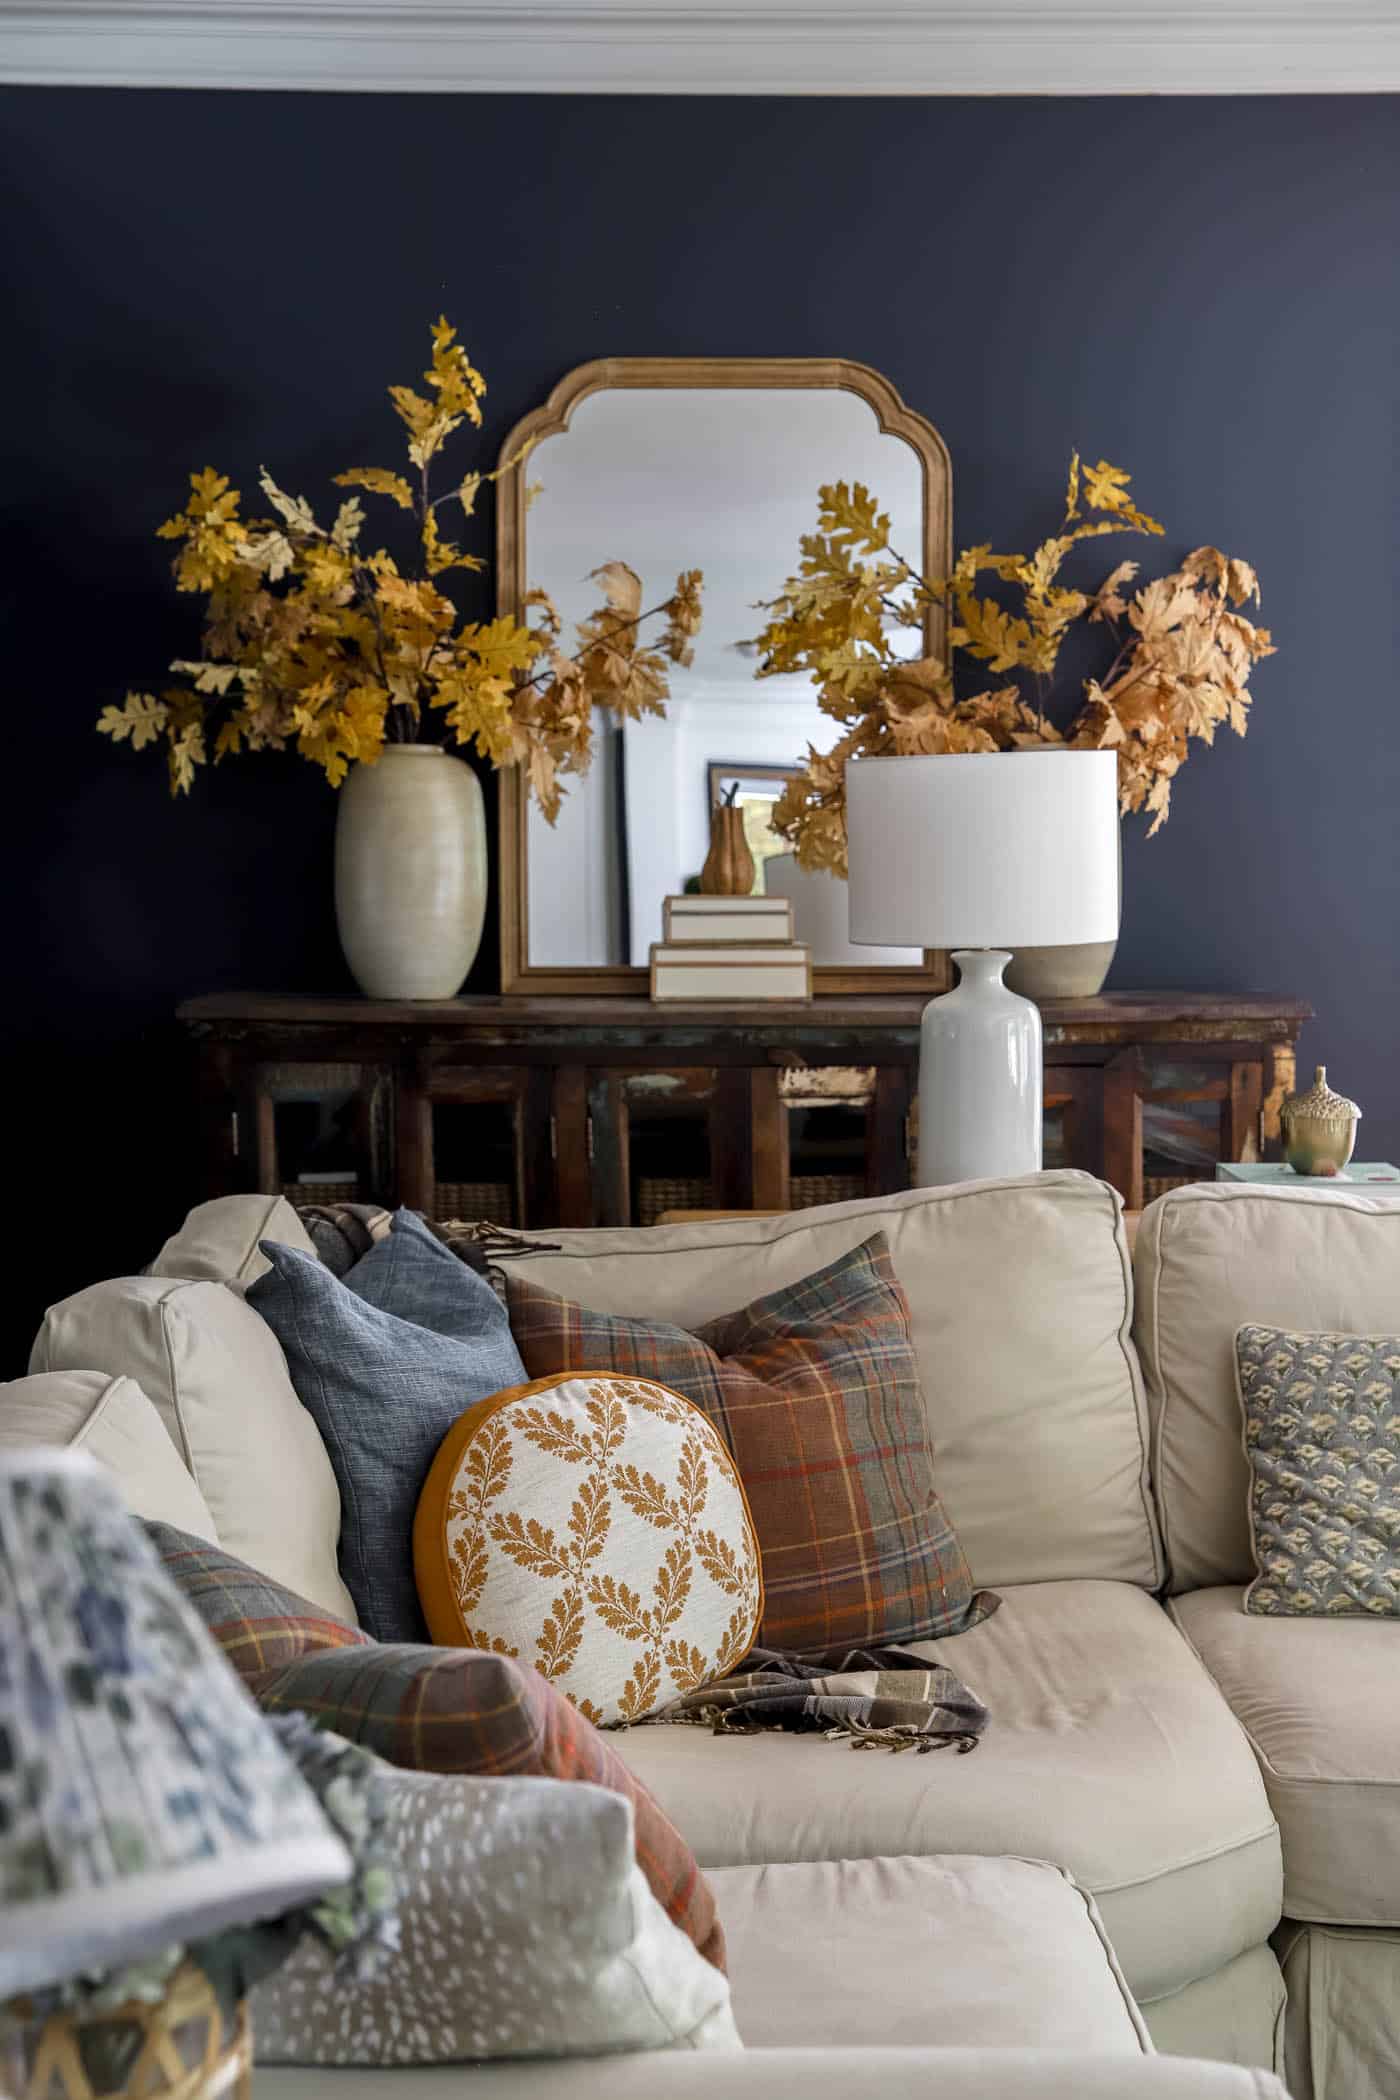
10 Warm Autumn Pillow Ideas for Your Couch and Porch
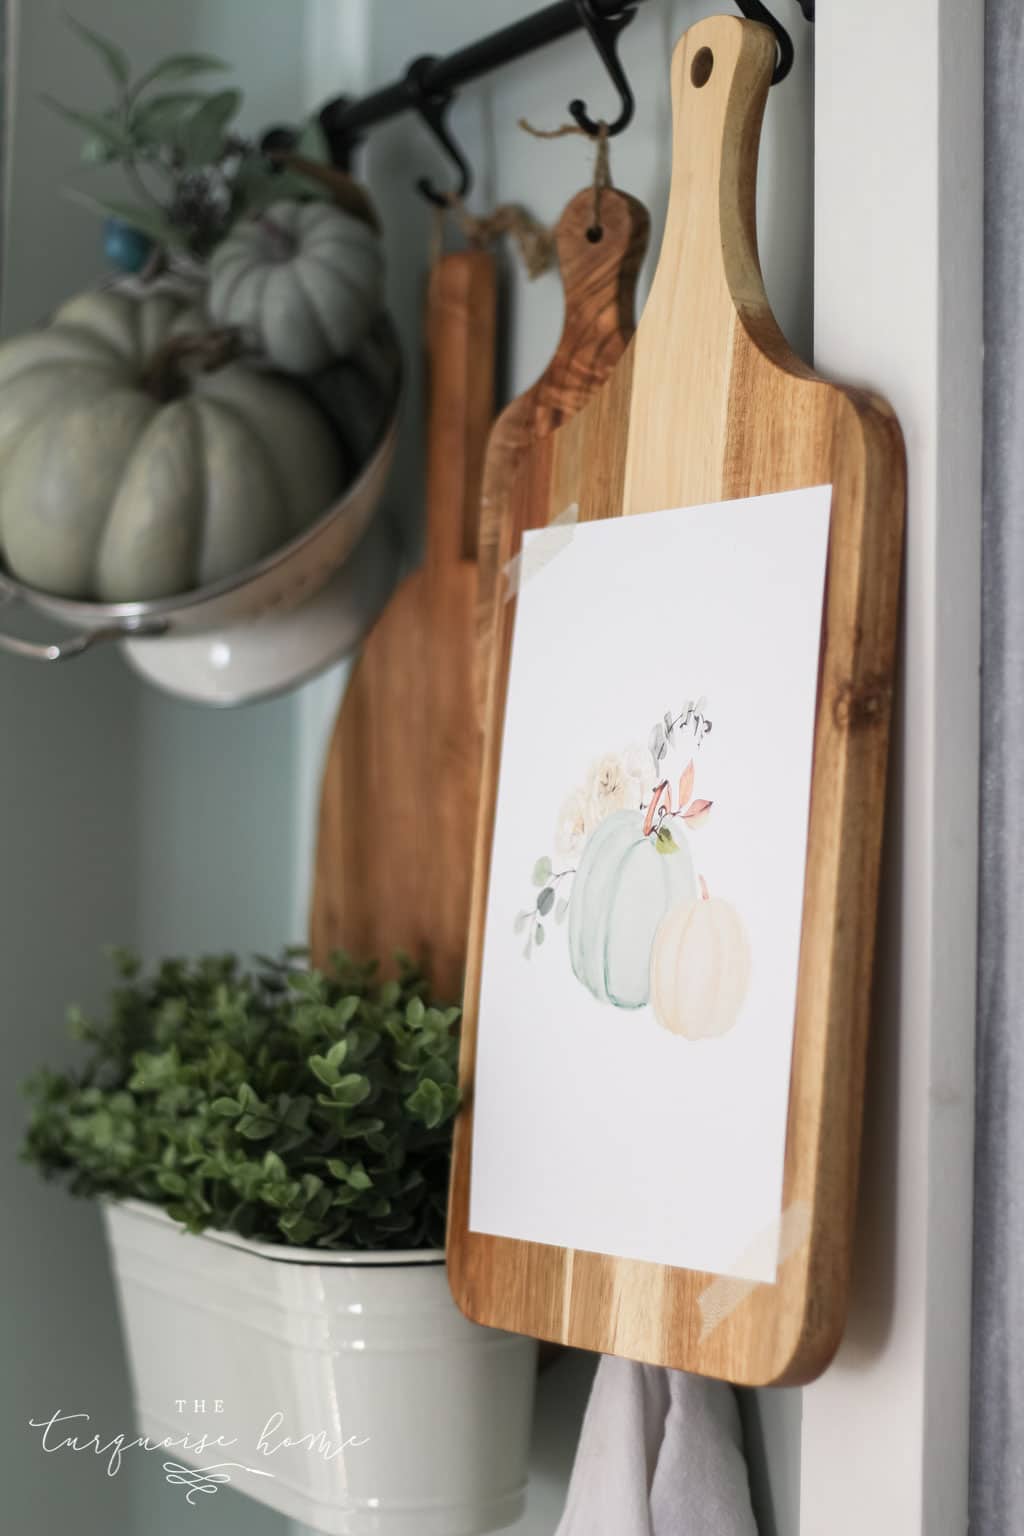
Greenery & Pumpkins: Complimentary Fall Printables
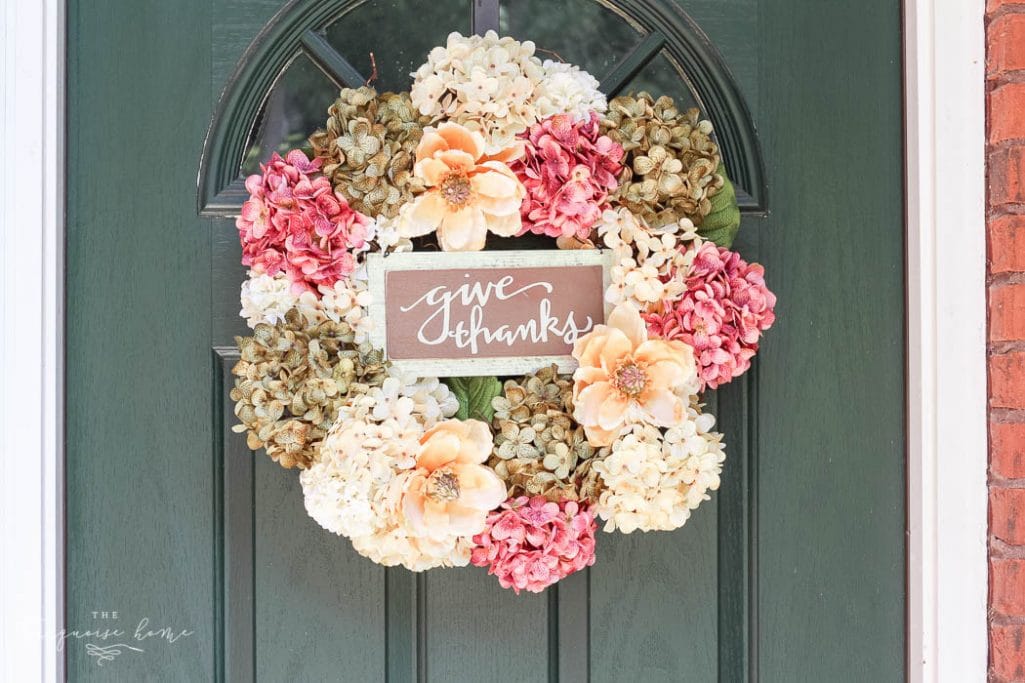
DIY Fall Hydrangea Wreath Using Artificial Stems
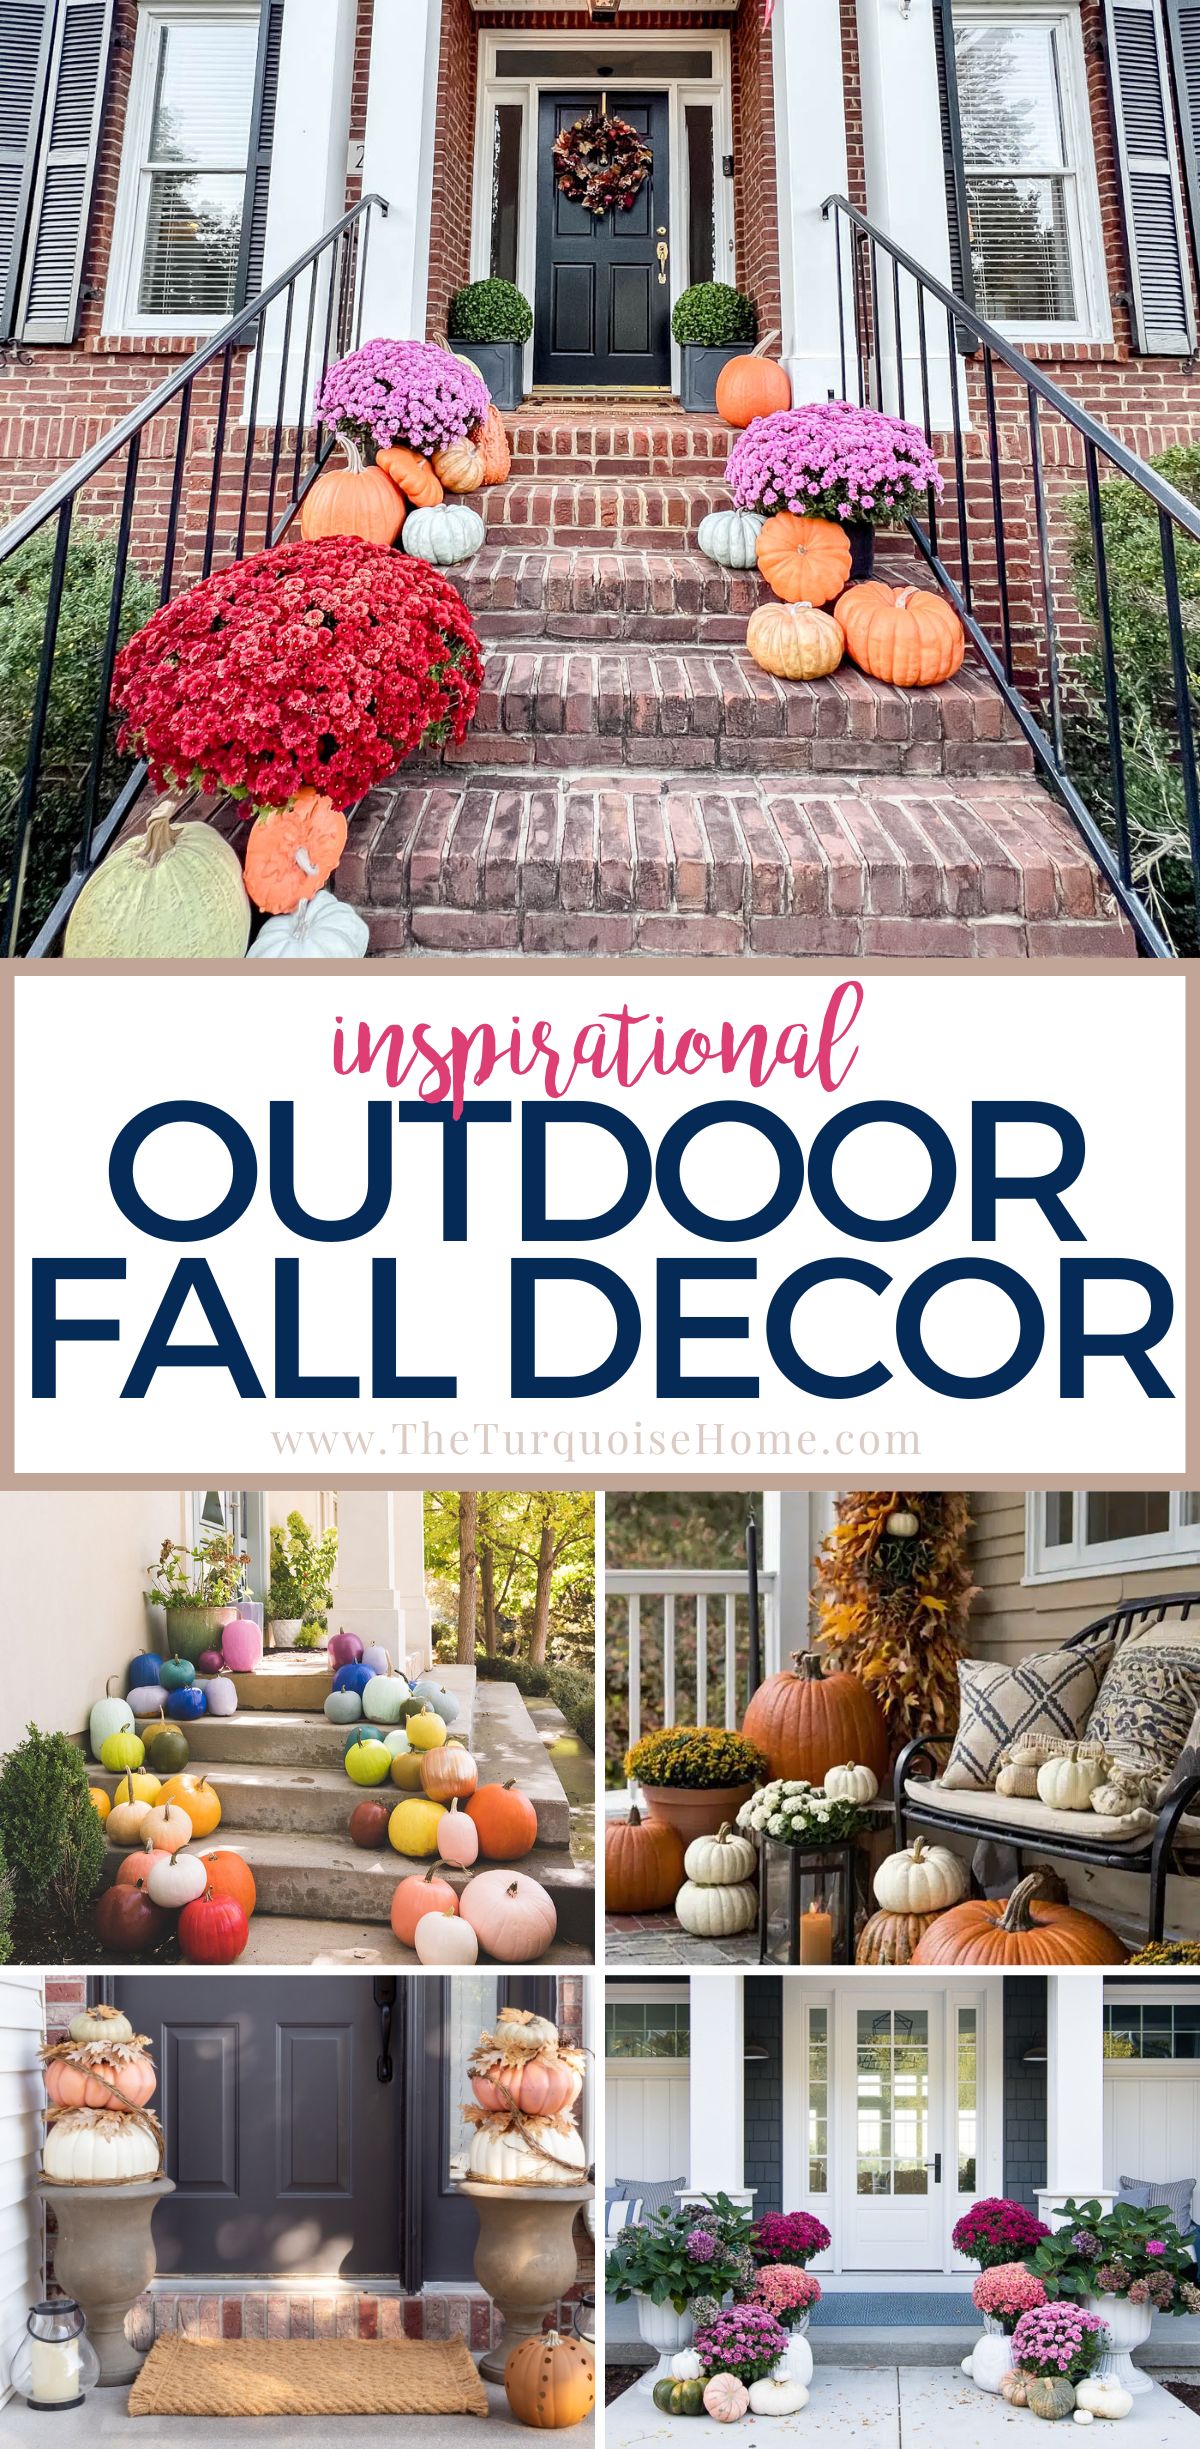
7 Ways to Add Autumn Outdoor Decor
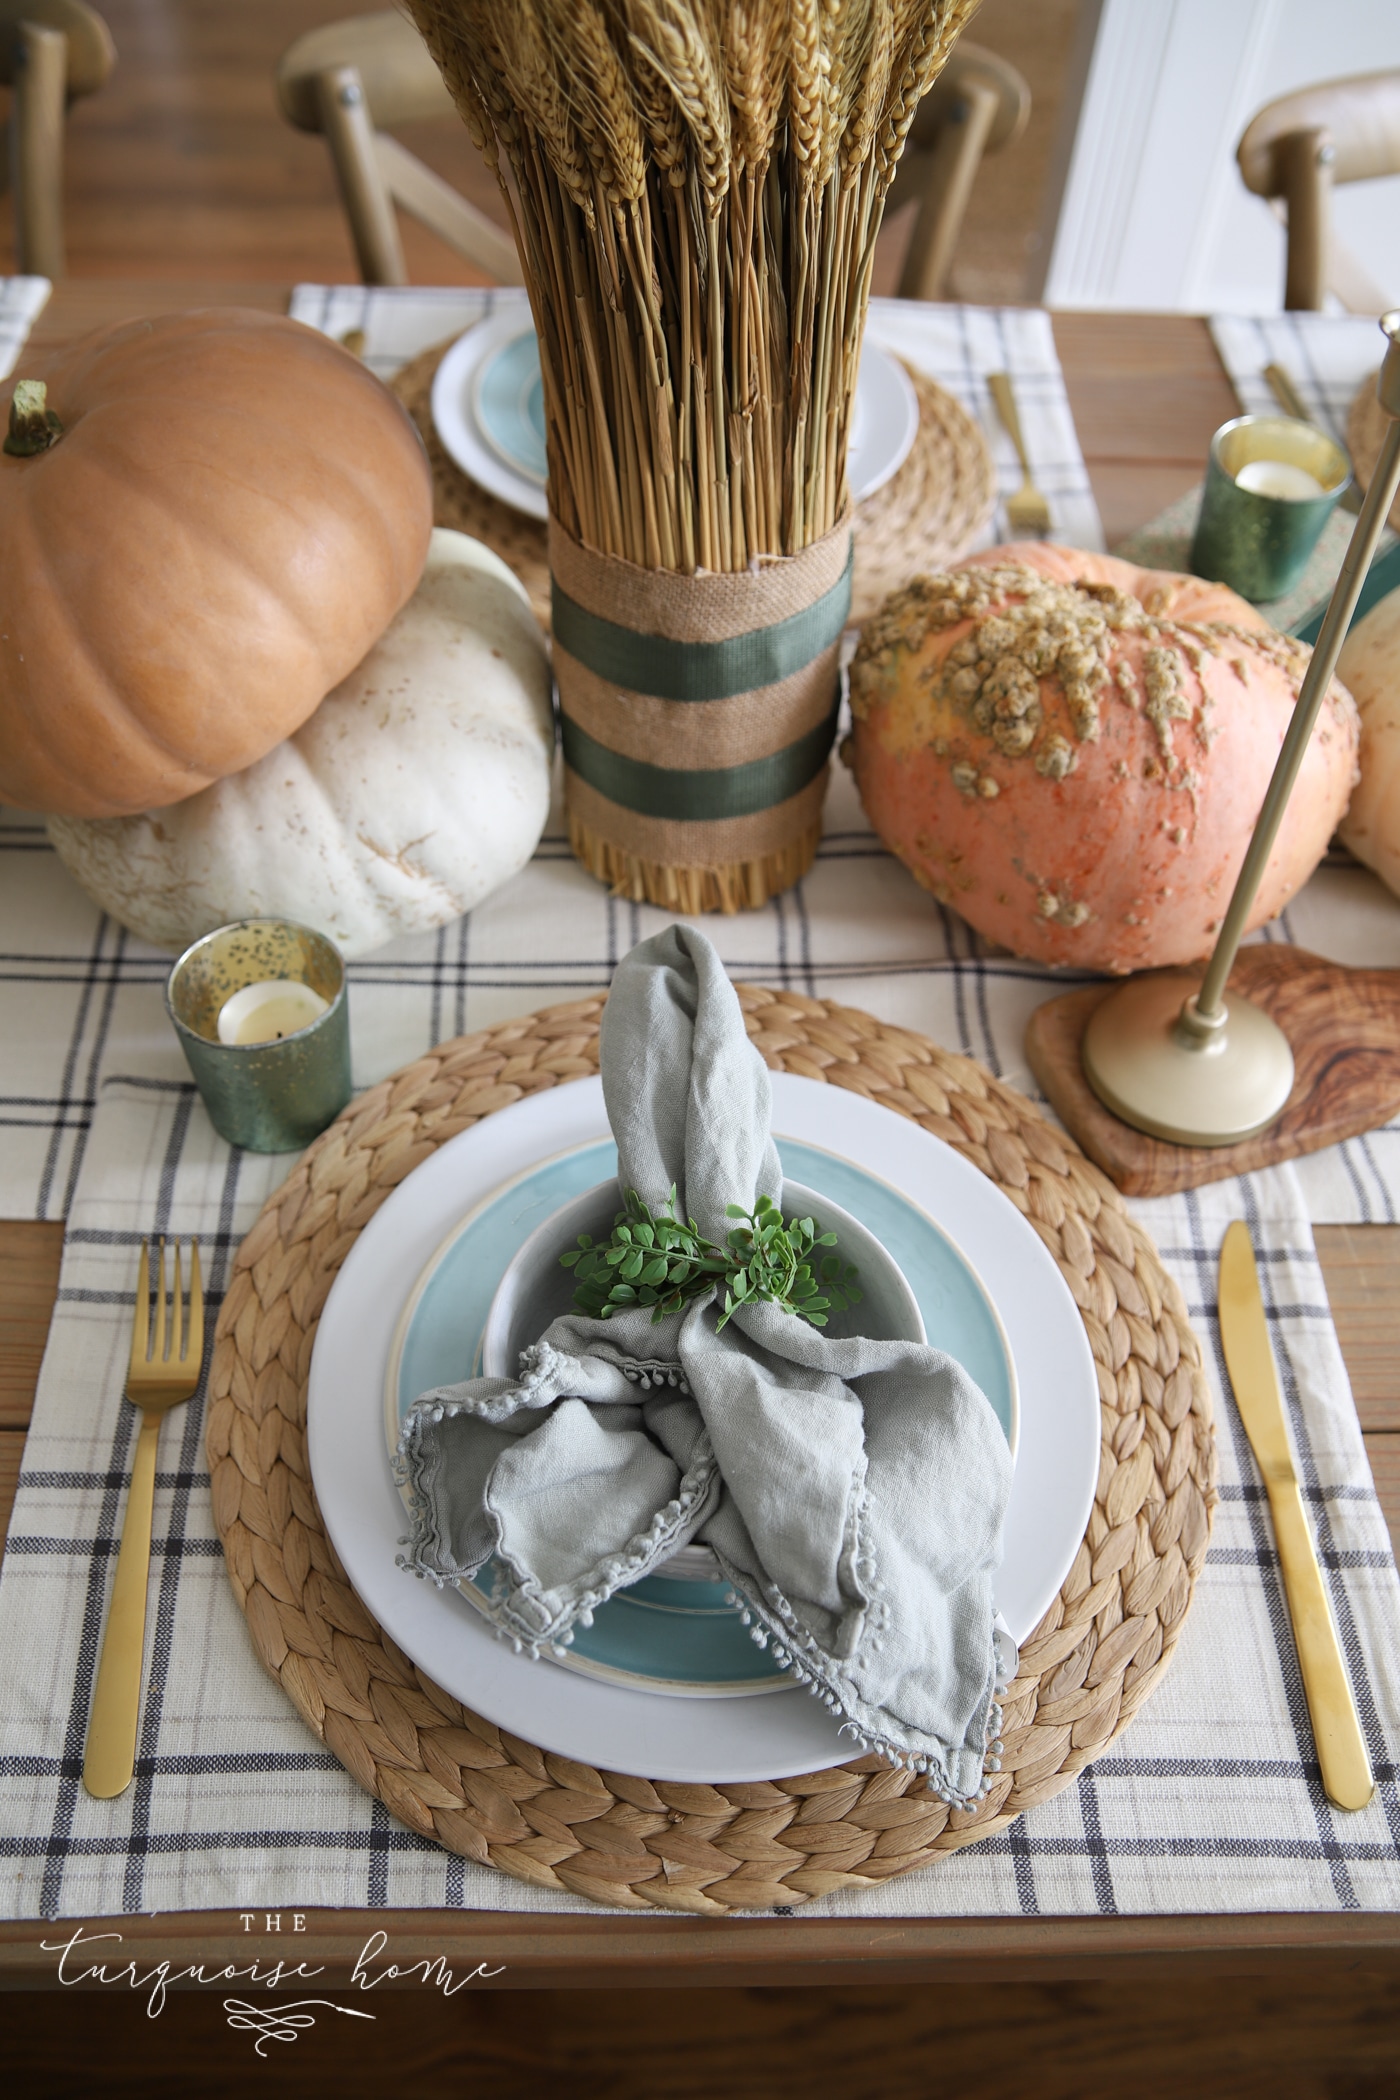
A Relaxed Friendsgiving Gathering {Hosting and Decor Ideas}
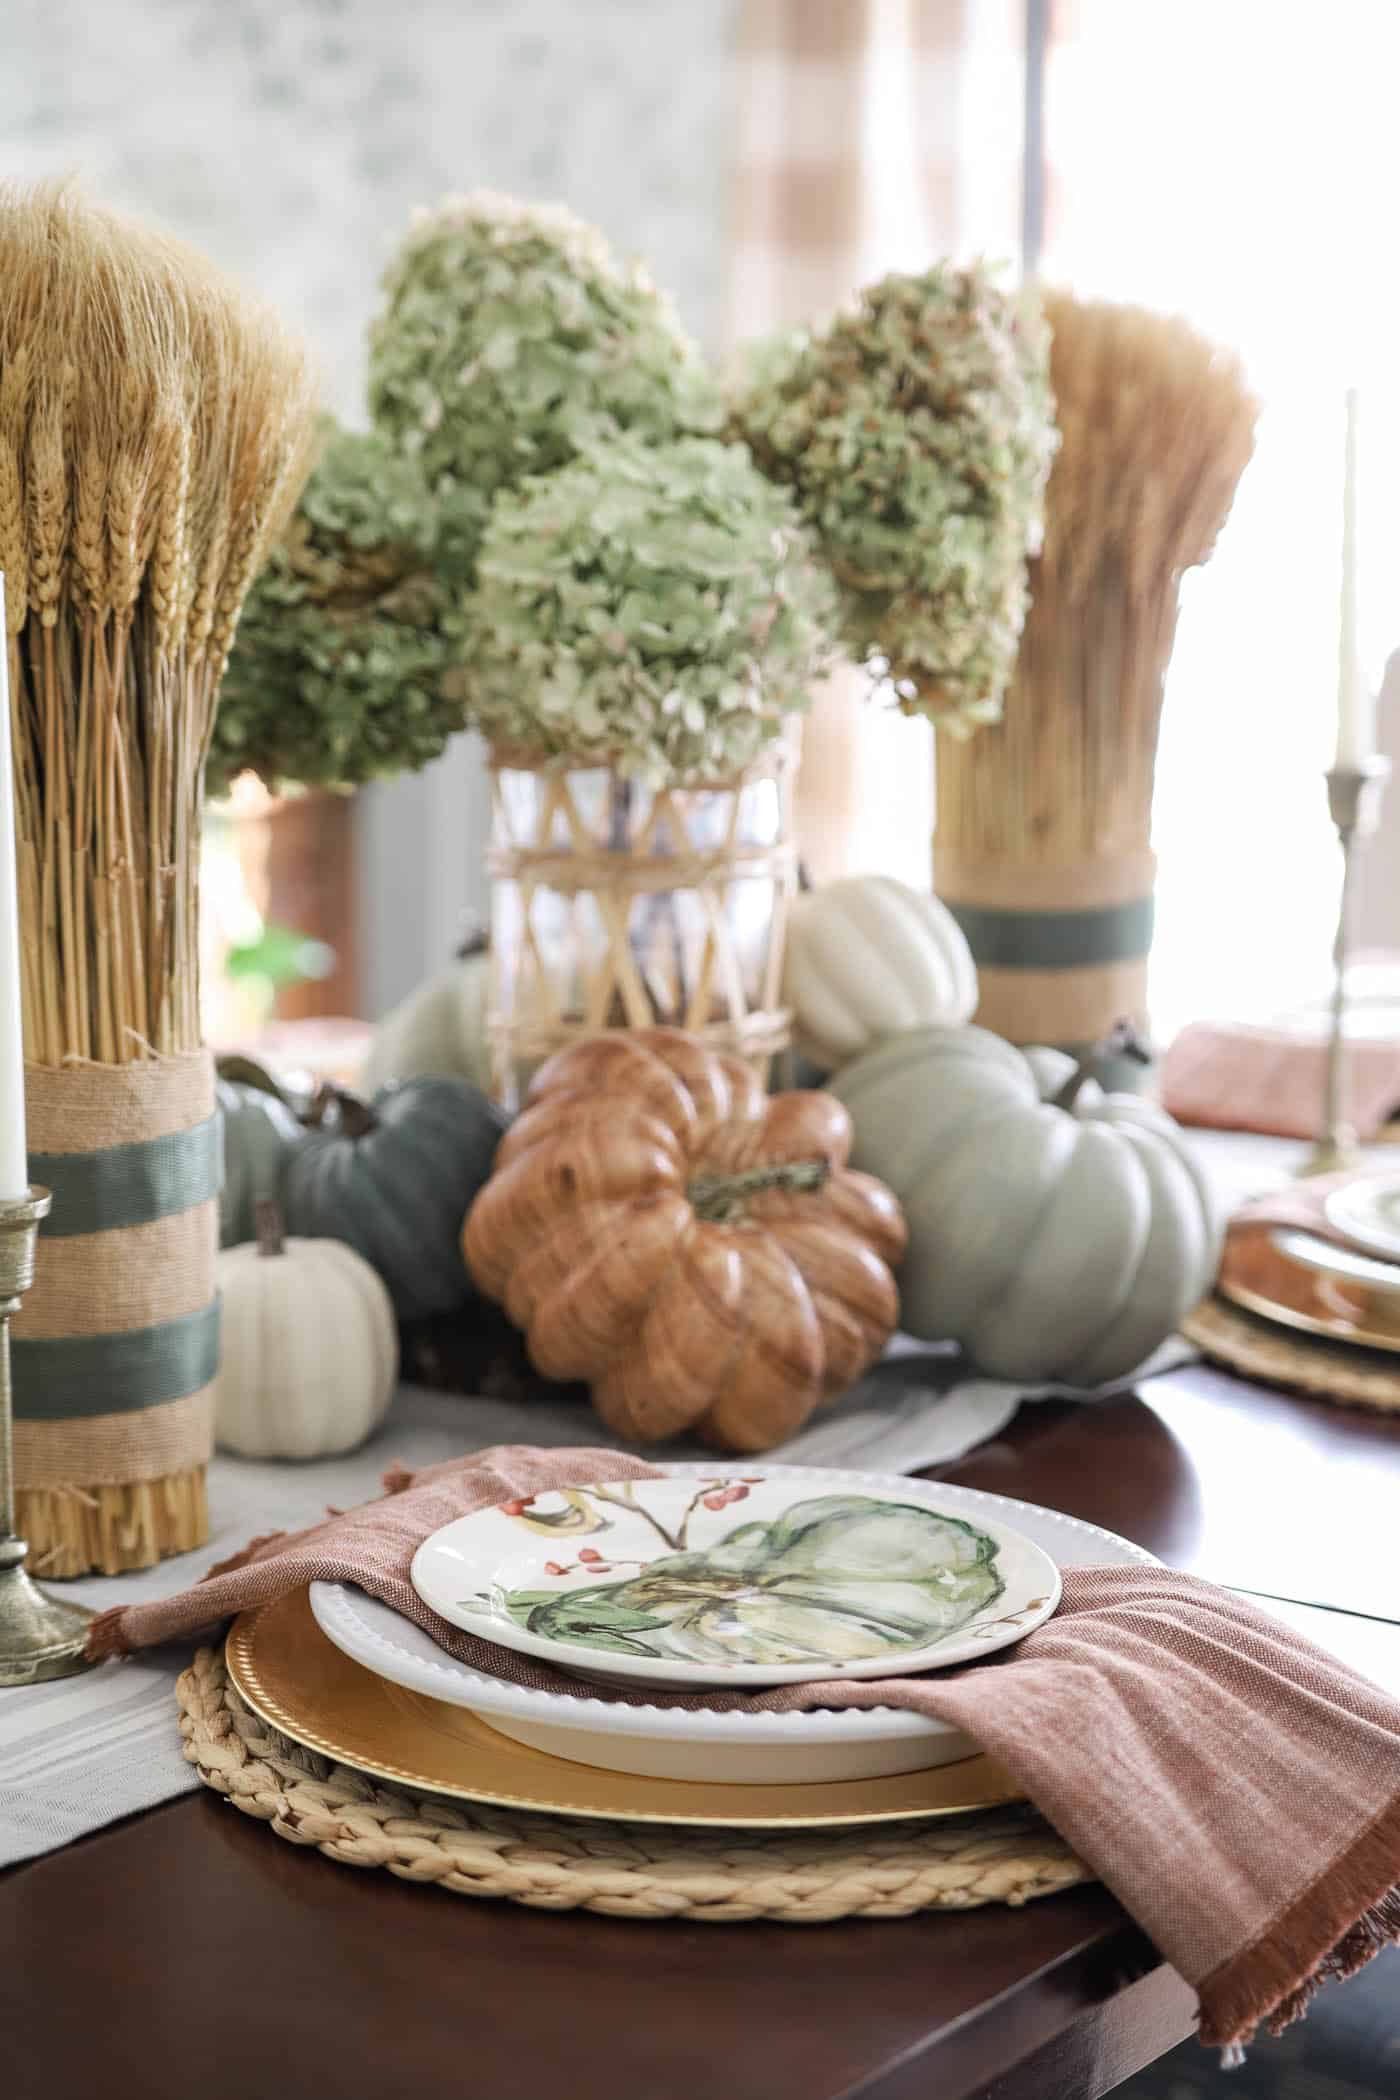
How to Set Your Table for Thanksgiving Dinner
...Continue ReadingShow More