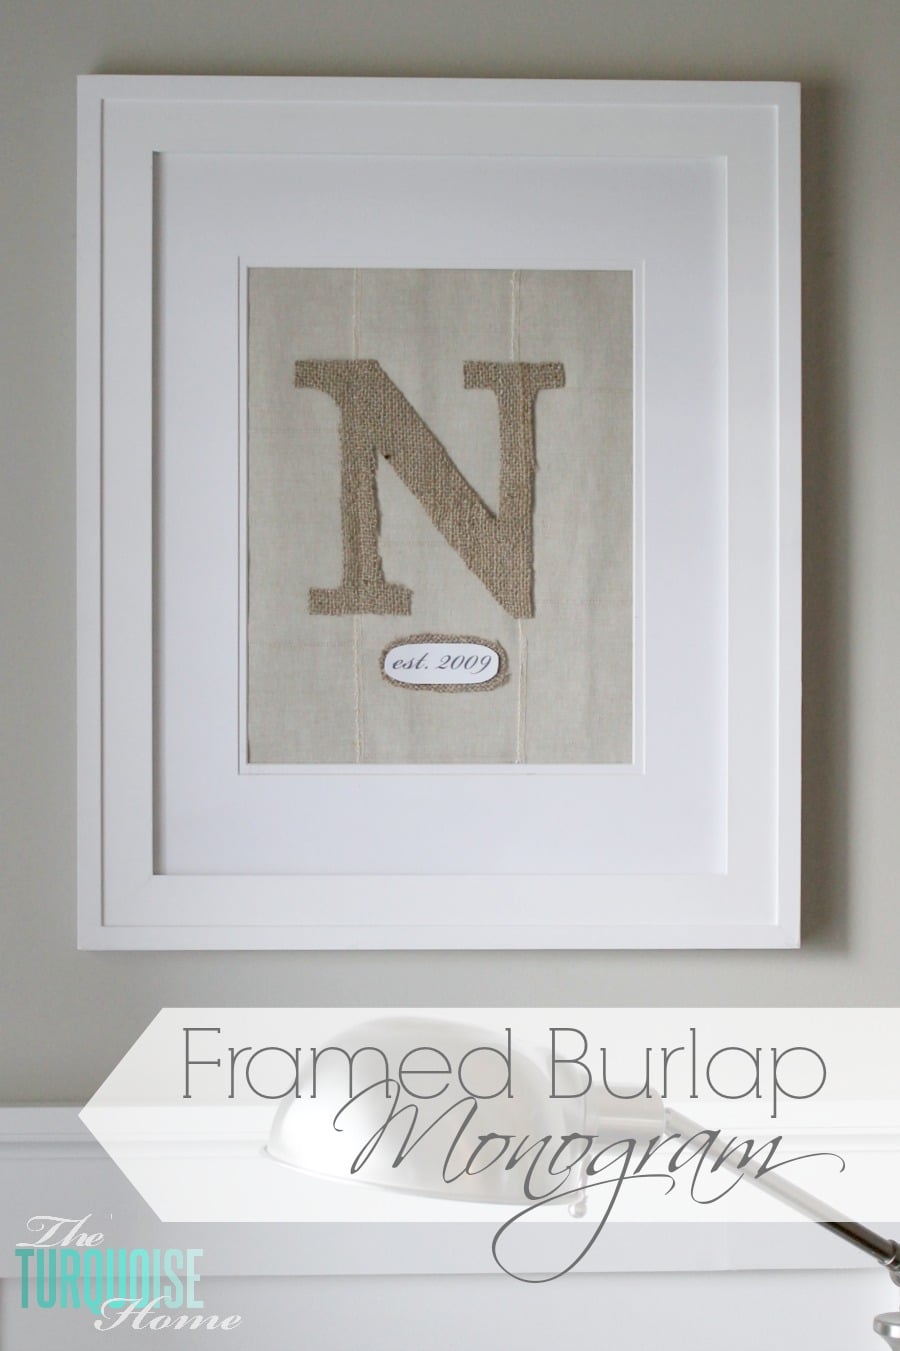
If you've been around for a while, you'll notice that I changed something out in my reading corner. Did you notice?? I made this cute framed burlap monogram from fabric scraps, so it was FREE! I love a pretty, free and easy project, don't you!?
I've mentioned before how much I love burlap for fall decor. I used it for my fall bunting and am trying it in other places around the house as well. It's such a fun, textured material that can really be used year-round.
So … I've had this image saved on my phone forever. I saw it in someone's wedding pictures on Facebook, zoomed in and saved it to my phone for safekeeping and future reference. Heck, it's probably not even burlap, but it's what I had and what I wanted to use, so burlap it is!
This week I finally got around to making one of my own. It probably took me 30 minutes from start to finish, so it's a super easy craft project.
You see, I needed something to fill this frame in the corner of my living room. It had been holding my favorite Mai Autumn print called Summer Bouquet. But since summer's over, I needed something different for the fall and winter months. Enter the burlap monogram idea!
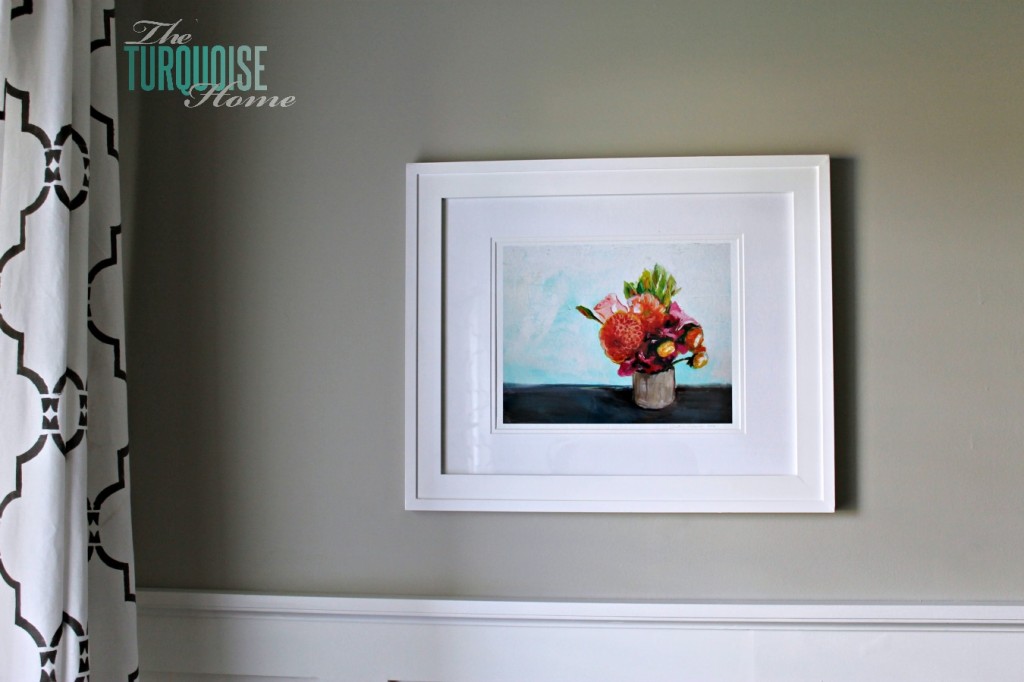
(Update: I have since moved the Summer Bouquet to my office, and I keep this pretty monogram in that frame nearly year-round!)
Tools You Need for a Framed Burlap Monogram
- Burlap
- Fabric for the backing
- Card stock or printer paper (and a computer for printing, of course)
- Frame (This can be as small or large as you'd like, but mine is 11×14 with a mat for an 8×10 size. I got the frame and mat from Hobby Lobby. Don't forget to get them when they're 50% off, or use your 40% off coupon!)
That's it!
I used the burlap I got in my Haven swag from OnlineFabricStore. Thanks OFS!!
I also had some scraps of fabric left over from hemming my IKEA curtains in my bedroom. I never throw away a fabric scrap, because you never know when you might need one. Ha! I might be a fabric scrap hoarder.
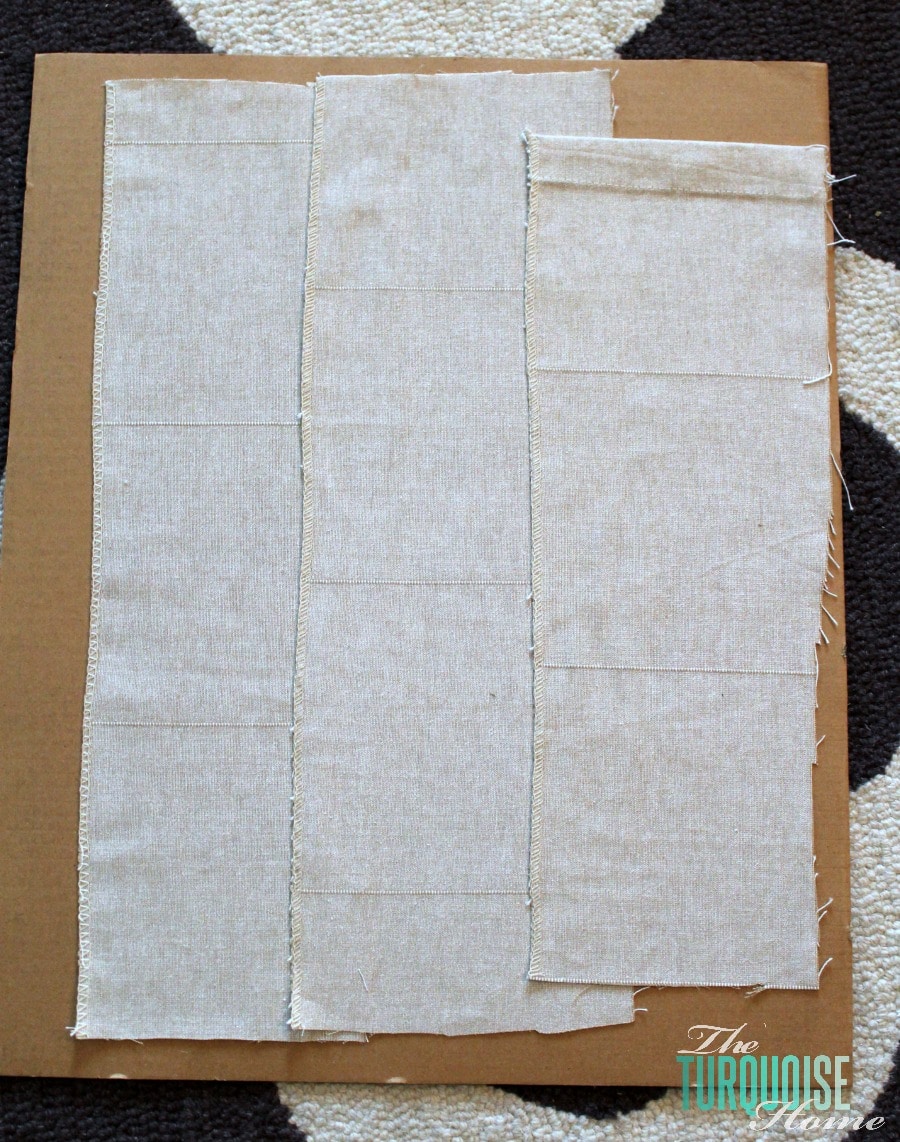
I didn't have a scrap wide enough to fit the whole frame, so I layered them. I really like how the layering adds a little more interest to the art piece. {If you can call it an art piece.} I just taped them down with double-sided tape. I love a good double-sided tape craft.
Then I printed out an N in Word on the computer. I used Times New Roman font. I know, yawn on the font. But I really couldn't find anything I liked better. I printed it onto card stock to make it sturdy enough to trace onto the burlap. When I cut out the card stock, I made the letter a little thicker than it printed out. I probably could have just bolded it in Word, but I wasn't thinking.
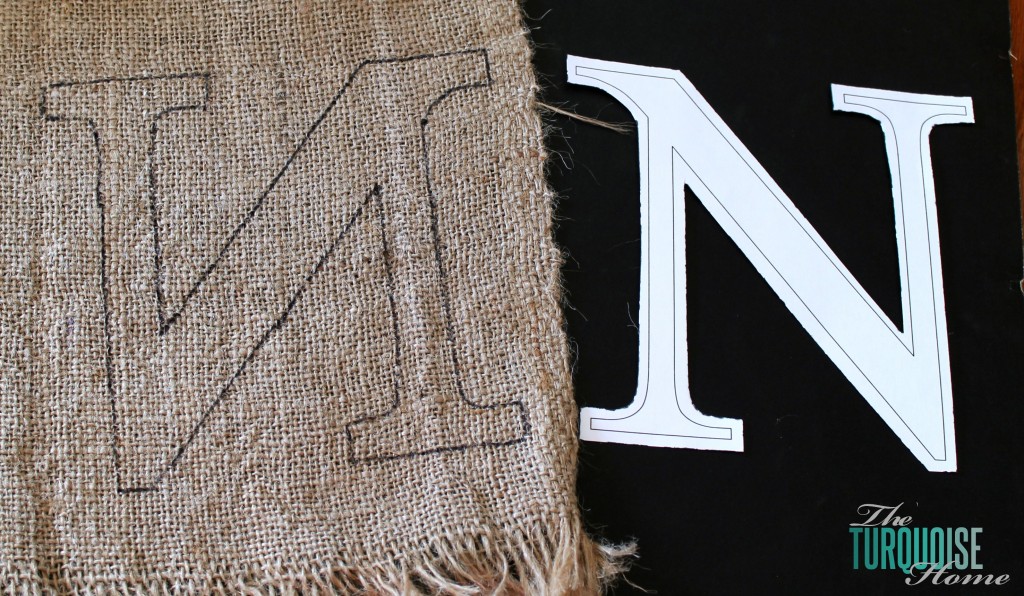
I traced the letter, cut it out, and stuck it to the fabric strips with double-sided tape. I love that it's just taped on, because I can change it out with different seasons if I want to. I might think of something fun for Christmas and then switch back to the monogram for winter.
The original inspiration photo had an "est. whatever-year-they-were-married." I thought that was too cute, so I whipped that up as well. I printed the "est. 2009" in Word using my favorite script font: Bickham Script Pro. I made it dark gray and printed it onto card stock again. I cut it out in an oval and then cut out a burlap oval a little larger. Then I taped them down underneath my monogram. I know all of the edges are a little wonky, but to me that adds to the appeal of an imperfect homemade piece.
I didn't take a picture of this part, but it's not rocket science. You can see it up close here …
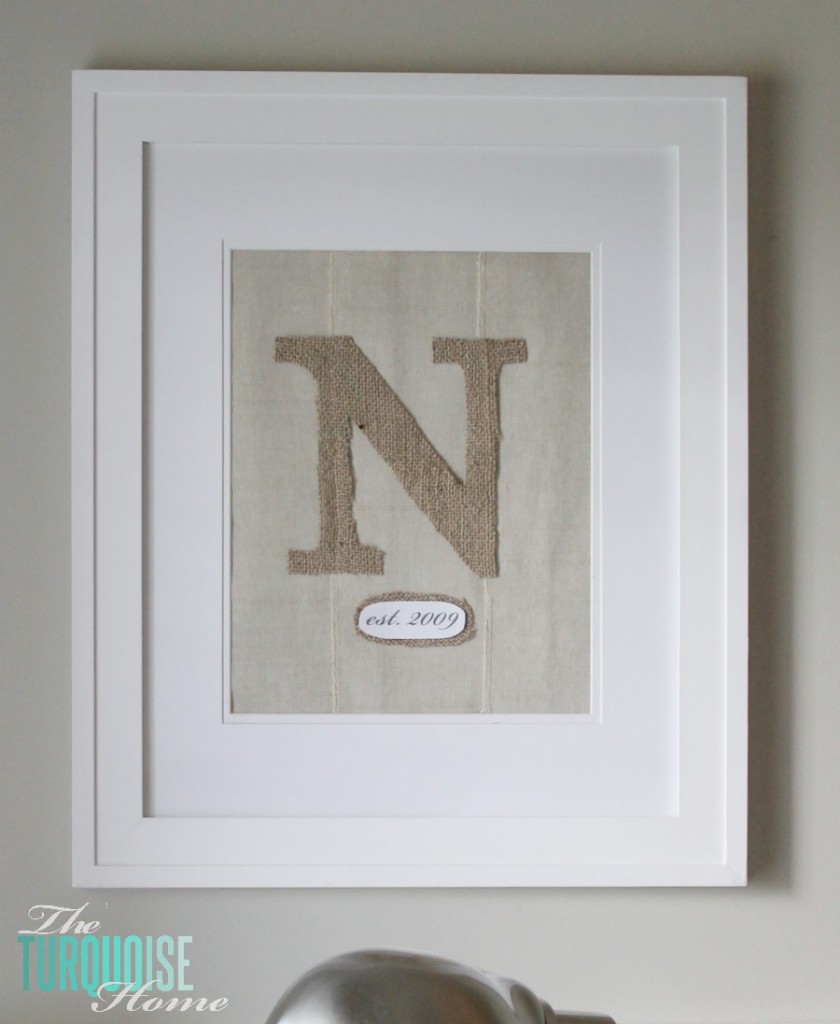
To be honest, I wish I had cream-colored cardstock for the "est. 2009." I thought about staining the white cardstock with some tea or something, but I was in a hurry and didn't have any tea.
I think it looks good from a distance, and I don't expect any of my guests are going to stand on the chair to take a closer look. You may want to spend a little more time on it, or maybe you already have some cream card stock on hand.
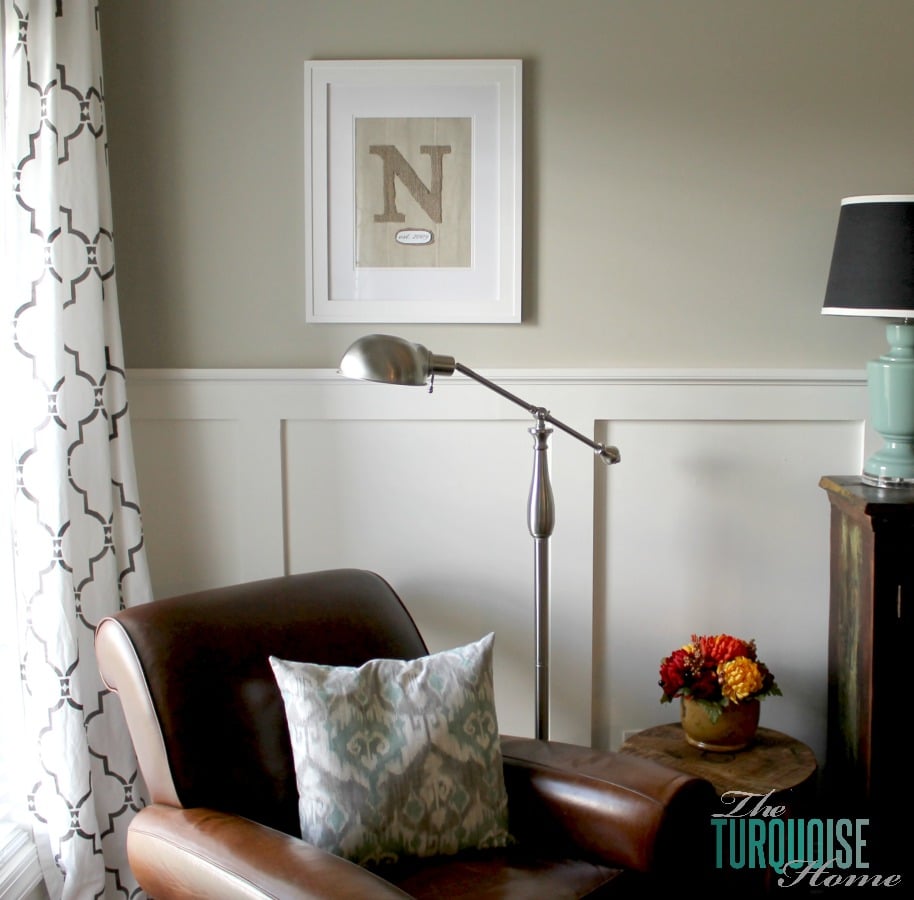
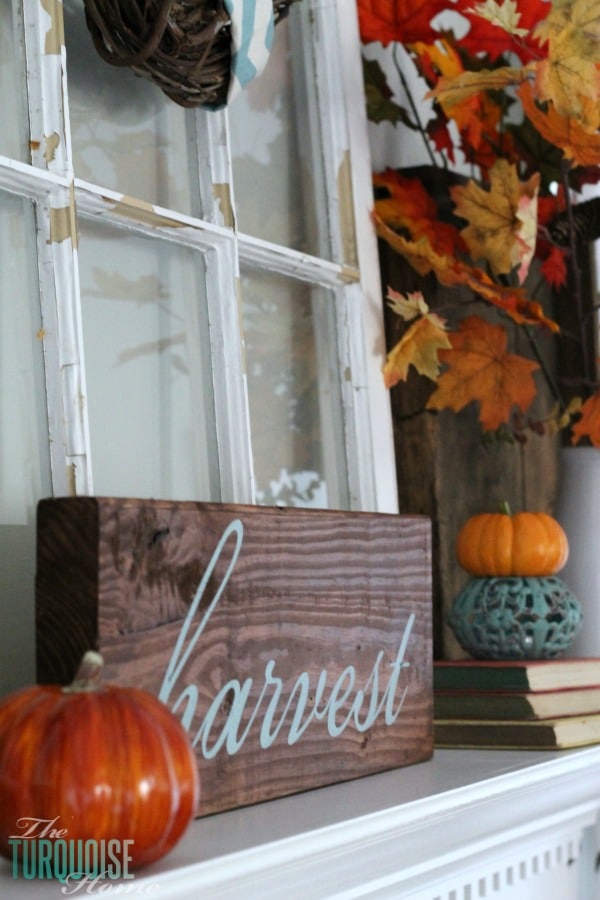
Then I just put the frame back together and hung it up. I love how it plays well with my fall mantel. It's an easy, handmade, personalized craft that looks cute and takes little time. Yes, please and thank you!
I hope you have a fabulous Friday and an awesome weekend!
More Posts You Will Love: