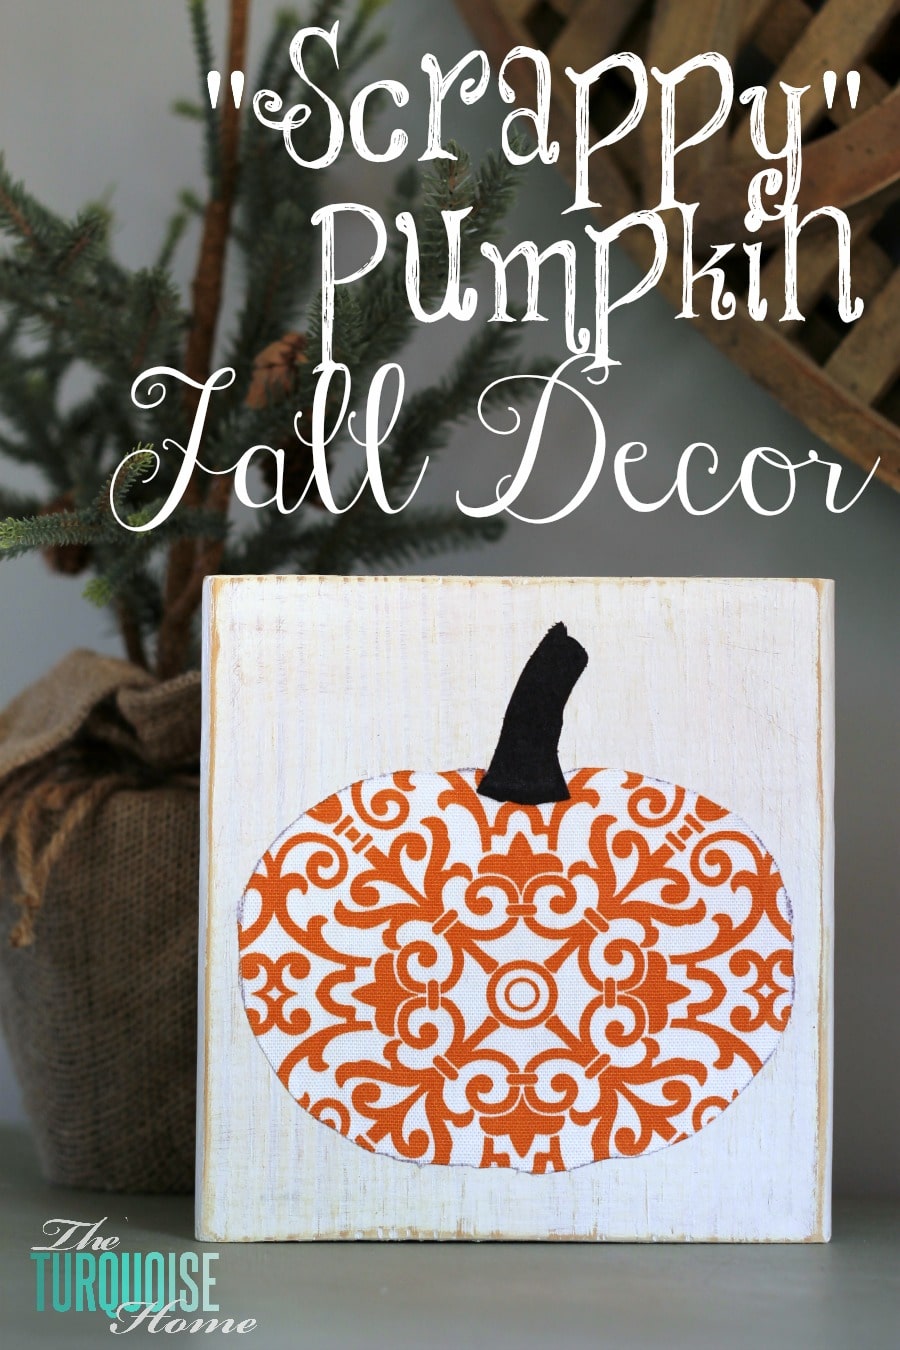
Use scraps of wood and fabric to make this adorable "scrappy" DIY pumpkin decor!
You know what I love? I love it when I can take old and forgotten things I have on hand and make them into something functional or cute for my home! And don't we all? That's what DIY is all about: giving new life to what's ugly, plain or forgotten.
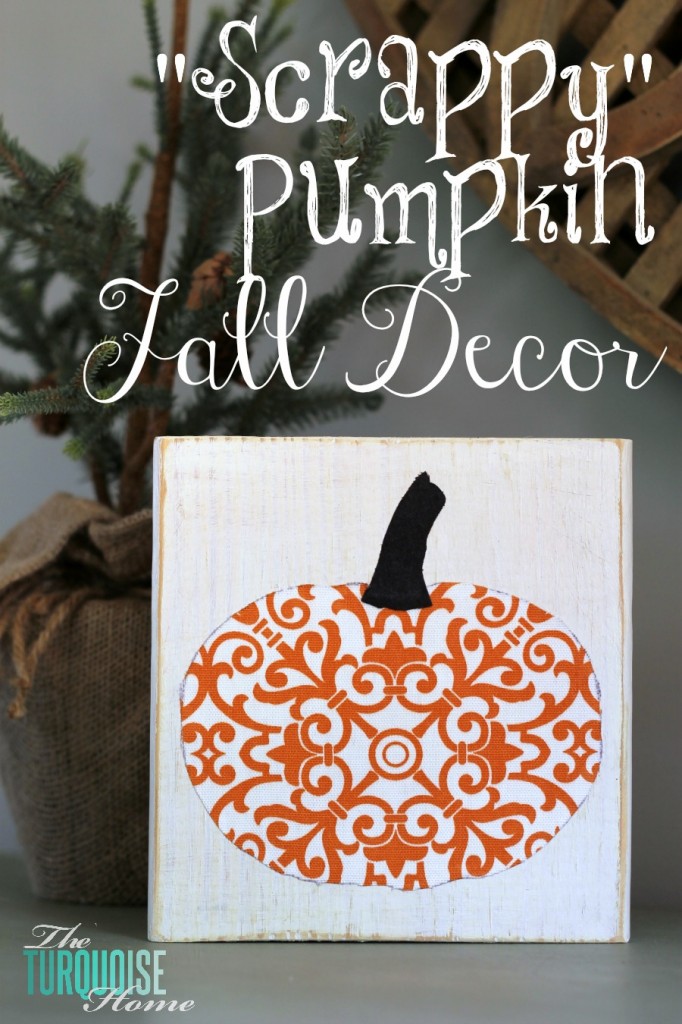
That's where the "scrappy" comes in! I took a piece of wood from my scrap pile and some scraps of fabric and made this adorable little pumpkin to go with the rest of my fall decor. I only used things I already had on hand for this project. Nothing like free!
Making this little pumpkin got me into the fall decorating spirit. I finally put away most of my summer decor and started playing around with the mantel.

What you'll need to make Scrappy Pumpkin:
- Wood scraps – oh, you don't have a garage full of them? You should! They come in handy quite often.
- Fall-ish fabric or paper … or whatever fabric or paper you want to use.
- A cutout shape
- Paint
- Mod Podge
- Miter saw, optional
- Sandpaper, optional
How to Make a Scrappy DIY Pumpkin Decor
Here's how I pulled this cute little project together … and in an hour, no less! {Minus paint drying times.}
1. Find a Pumpkin Shape and Print it Out
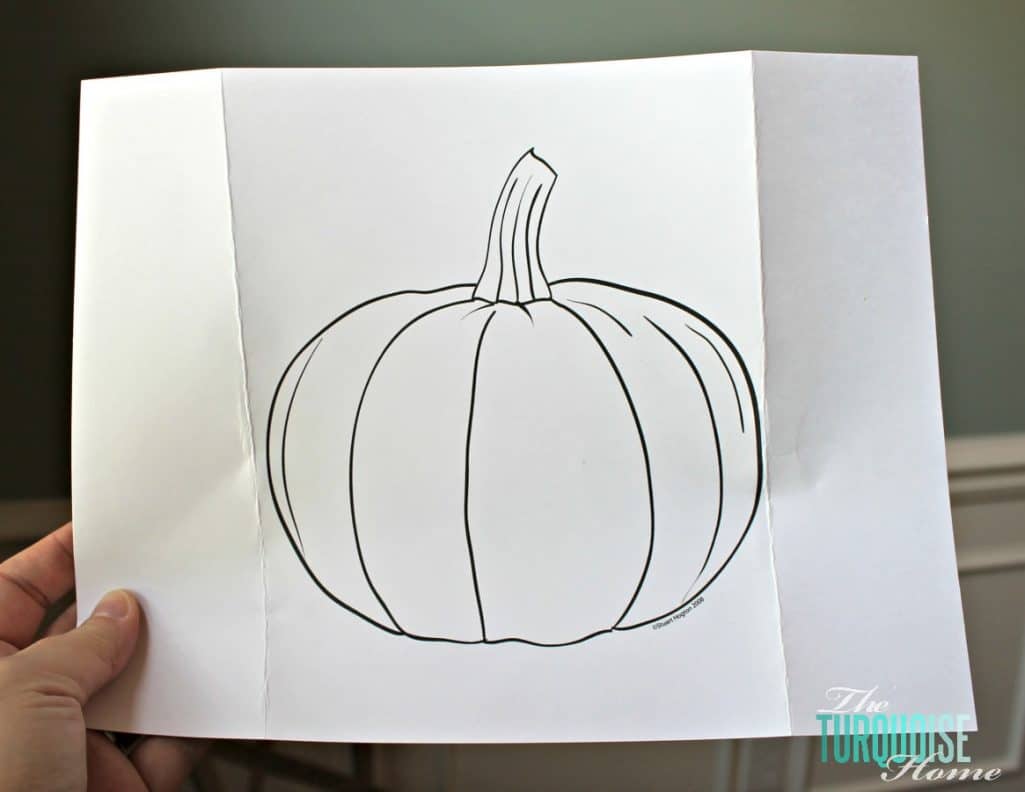
I found a pumpkin shape online that I thought would work for this project. You can get it HERE. Really, you could do any kind of shape you want! The only limit is your own creativity.
2. Cut a Block of Wood to Fit the Pumpkin
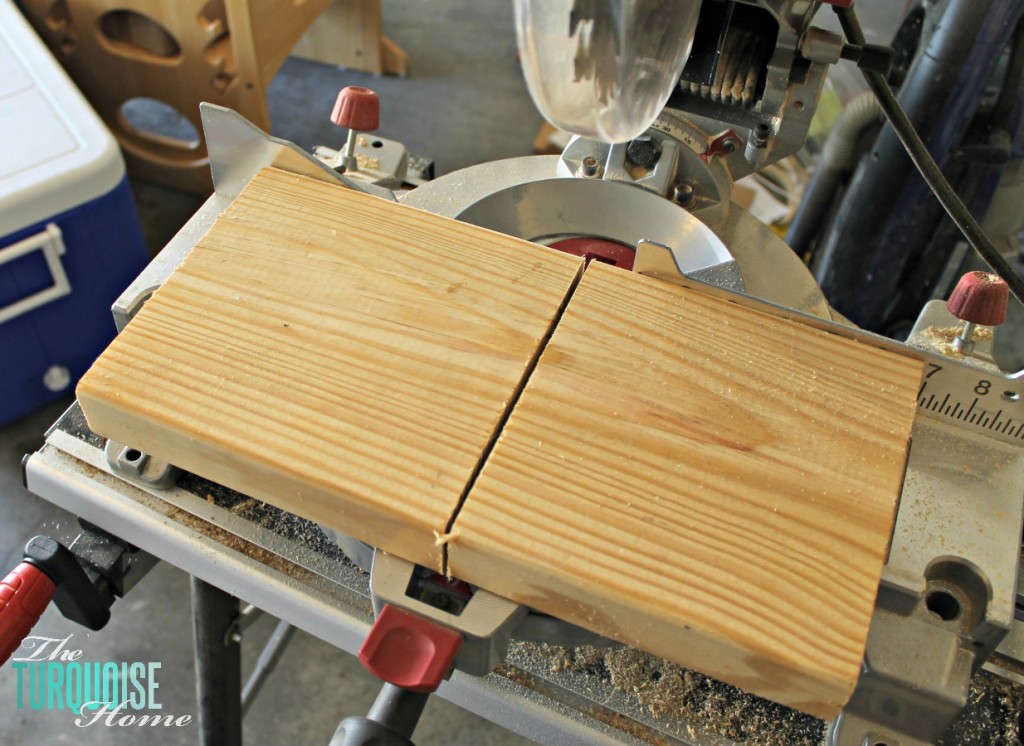
I printed it out at 100% scale and found a piece of wood that would fit my shape. I had to cut it down with my miter saw.
3. Sand the Rough Edges of the Block
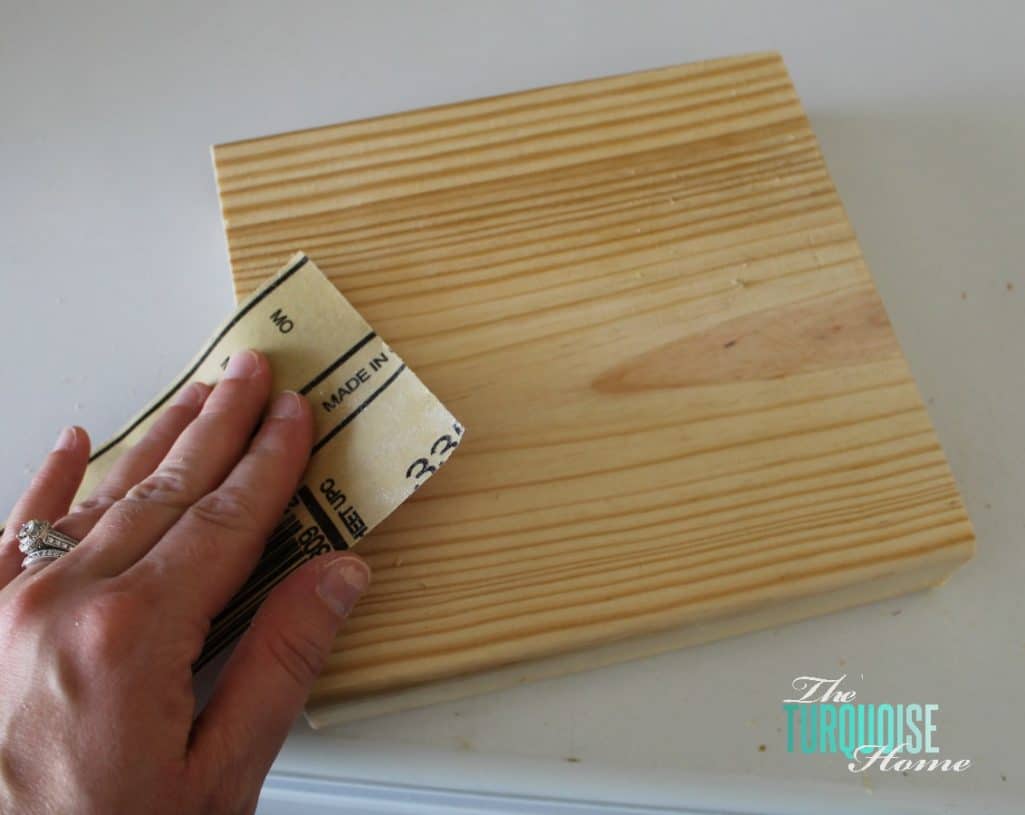
Then I sanded down the rough corners.
4. Paint the Block
I painted it with Sherwin Williams Antique White, leftover from this project. I painted both the front and the back of the board, since I knew it was going to stand up and might be seen from behind. If I were going to hang it on the wall, I wouldn't have bothered with the back side.
5. Sand the Edges for a Rustic Look (Optional)
Once the paint was dry, I sanded the corners a bit to give it a slightly rustic look. Sorry, I don't have a picture of the sanding, but you know what that looks like.
6. Cut Out Your Fabric using the Pumpkin Shape
While I was waiting for the paint to dry, I cut out my fabric using my printed shape. I decided to make the stem a different fabric, so I cut it out separately.
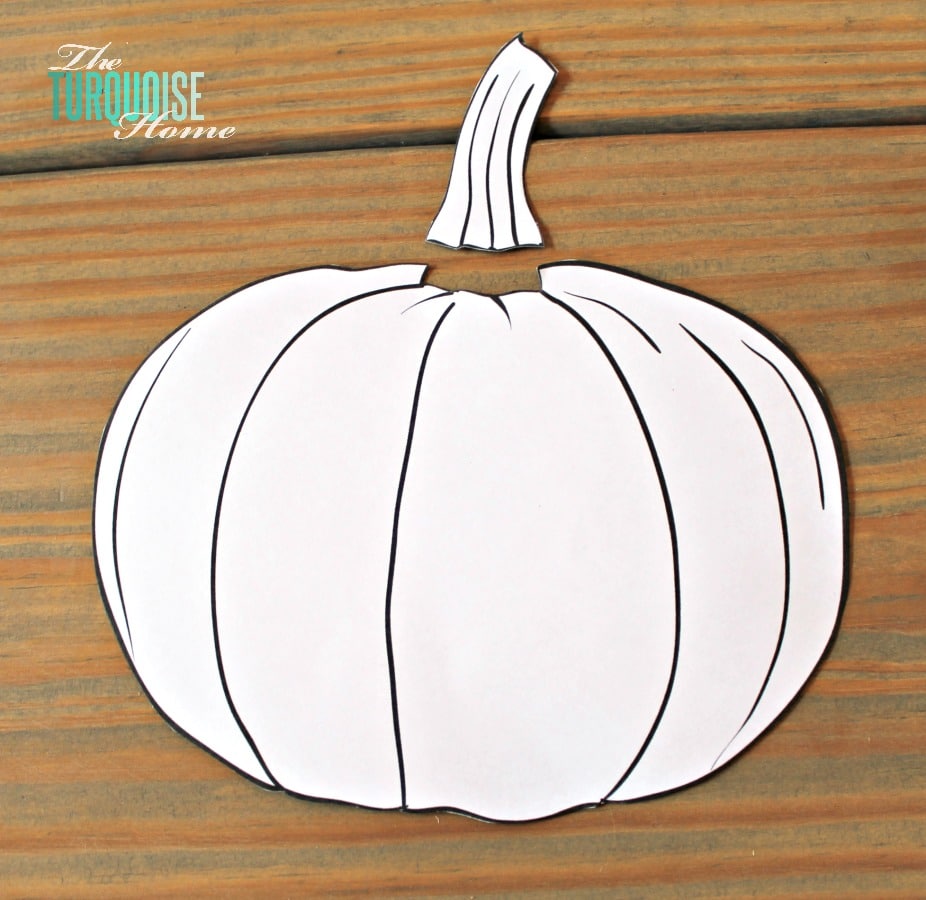
The photo shows the shape on top of the fabric, but I turned both of them over and traced the shape on the back of the fabric with a pen.
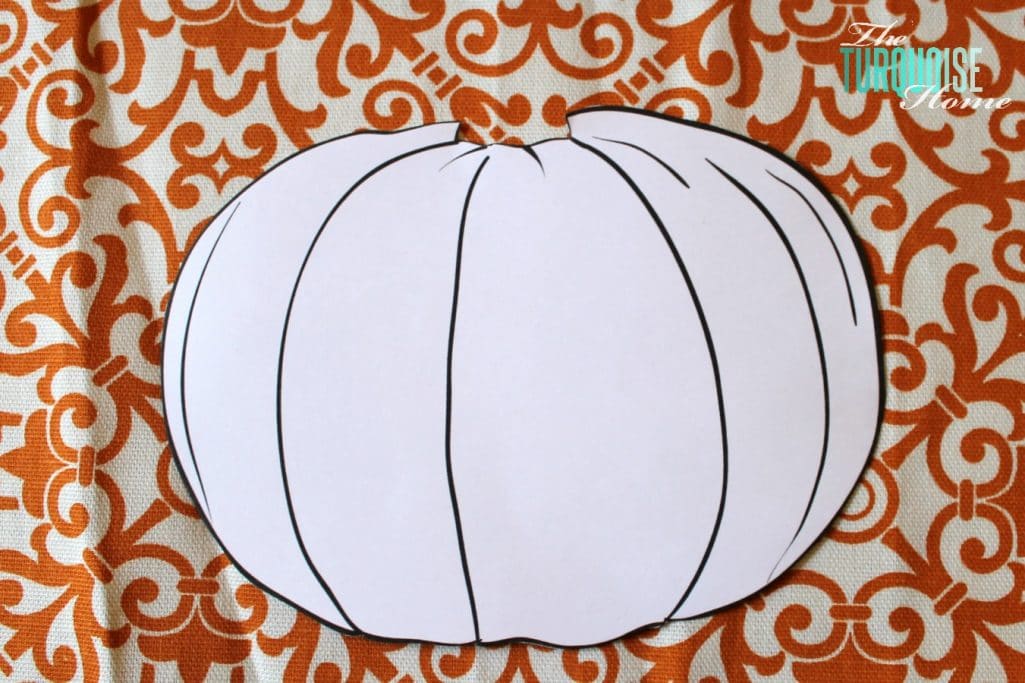
If I were high-tech and had a fabric blade, I would have used my Silhouette. So, if you have the Silhouette and a fabric blade, you'd probably use that instead. Oh, and make sure you iron your fabric if it has wrinkles.
7. Glue the Pumpkin on the Wood Block
Then I just "glued" down the pumpkin and stem to the board with Mod Podge. And then I "painted" Mod Podge all over the front and the fabric to help seal it onto the block of wood. It's not going anywhere!
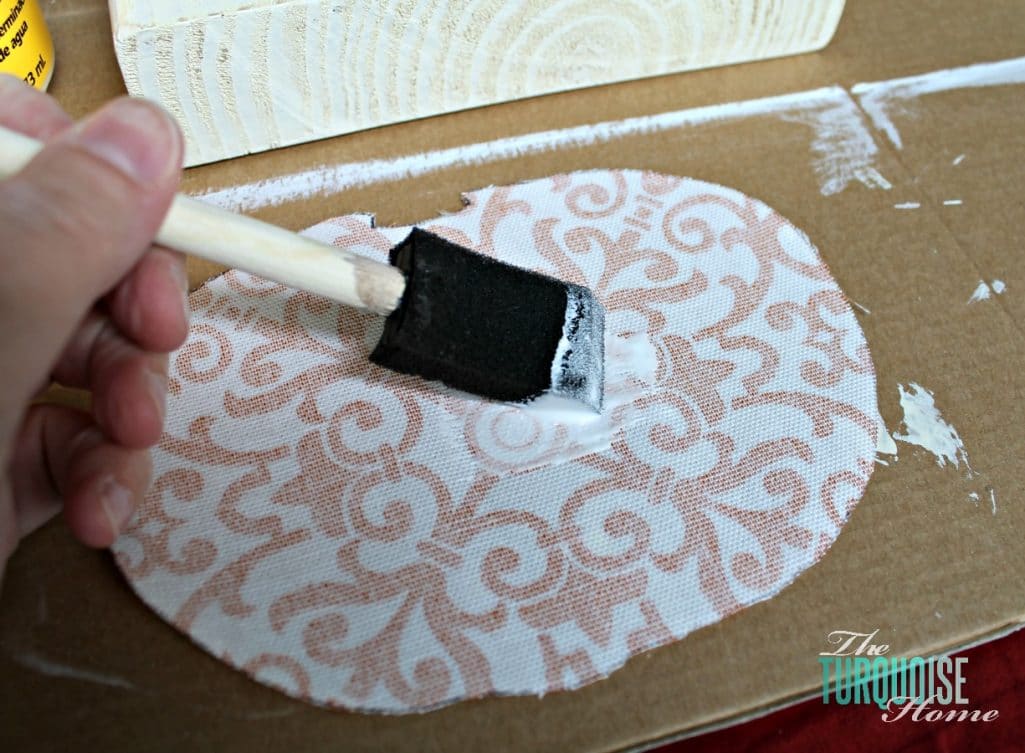
And that's how I made my free-to-me scrappy pumpkin fall decor.
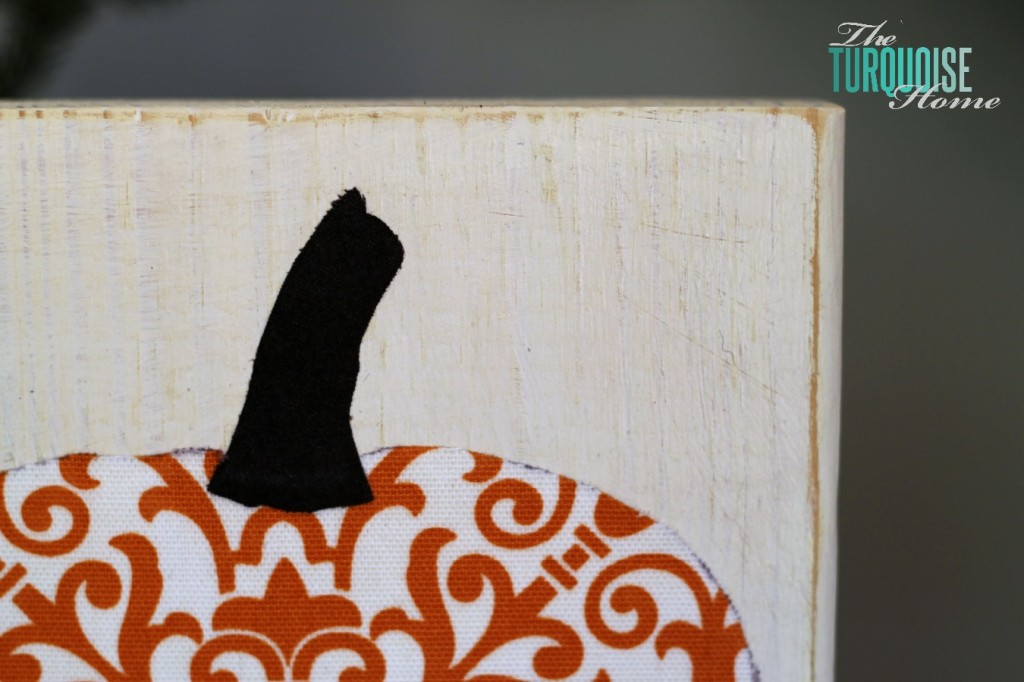
I couldn't figure out for the life of me what this should be called. Was I making a plaque? A wood and fabric craft board? What to call it? I asked a few friends last night and came up with the title. But what would you call this thing?
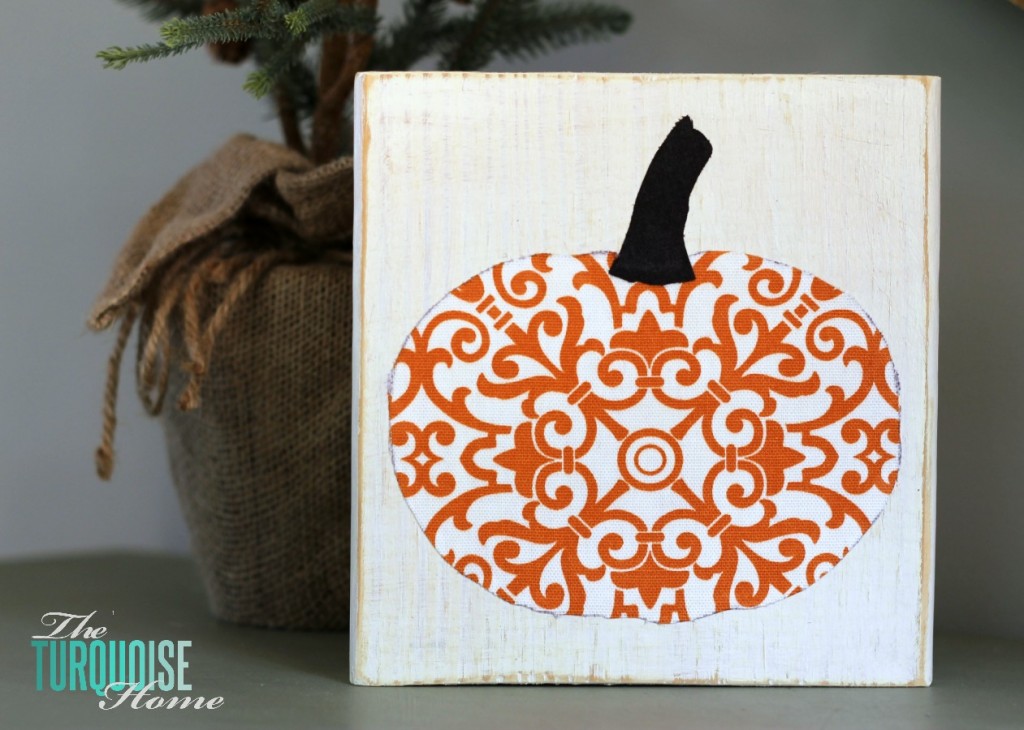
If you were around here a year ago, you may recognize this fabric. I used it to decorate my fall mantel last year. So, since I'm going to do something totally different this year, I was happy to find a way to use it. I may even make some of these to sell at my upcoming yard sale. Might as well make some money on my old decor items, right?
I hope you have a wonderful day!!
More Posts You Will Love: