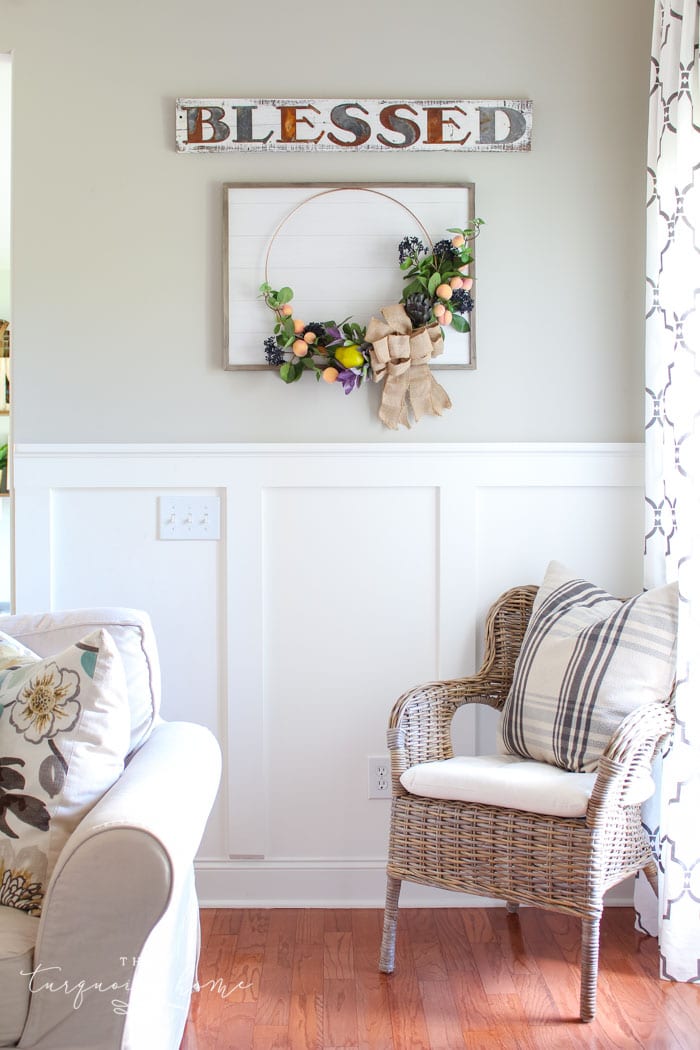
This contemporary autumn hoop wreath, with faux fruit and a shiplap backdrop, is a playful twist on classic fall wreaths! Grab your DIY tools and let’s dive in!
If you want a fall wreath with a bit of a difference, this one pairs a simple hoop, faux fruit and a framed shiplap-style backdrop. The peaches, pears and deep purple stems give it a gathered harvest feel, and you can substitute whatever faux fruit or greenery you find this year.
I enjoy making a fresh wreath for every season, and this one is no exception. This year, though, I wanted to test a few new ideas.
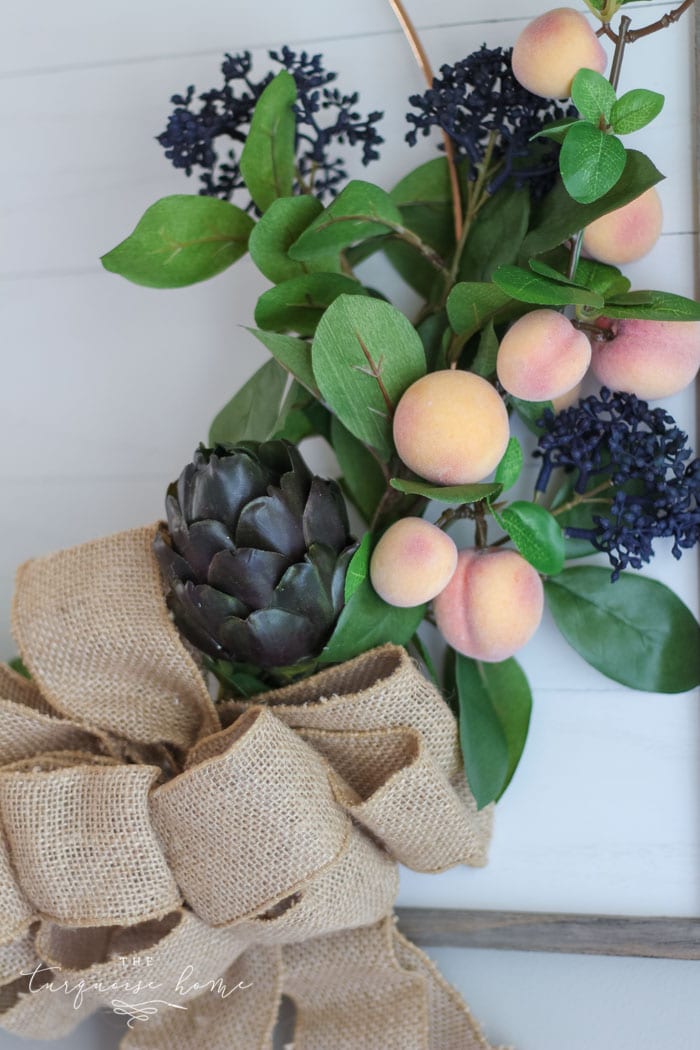
First, I wanted to work fruit into my fall wreath this year. The idea came from some faux peach stems I bought at a local store. I’ve since found very similar peach stems online!
While peaches don’t exactly scream fall, that orange shade fits right in. I paired them with deep purple stems and green pear and artichoke. I’d like to think it has a harvest theme!
I used the same approach of layering seasonal stems and accents in this fall dough bowl centerpiece.
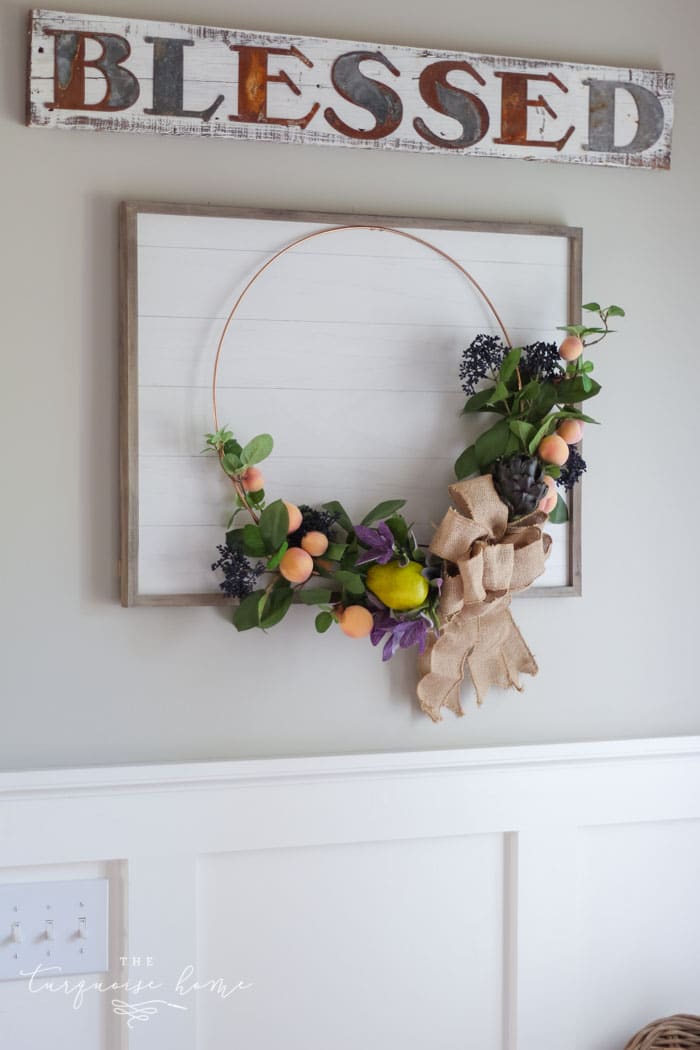
Second, I love this modern “hoop” wreath style, with a slim wire frame and a small floral arrangement tucked into one corner or to one side. It’s adorable, and it also needs far less faux foliage, which makes it more economical. I’m all about a budget-friendly DIY.
If you’d prefer a fuller grapevine base, my DIY fall hydrangea wreath is another easy option.
Lastly, I’ve spotted some really cute wreaths displayed on a framed “shiplap” board. Mine is simply a framed wooden board from Hobby Lobby with pencil lines drawn across it for the “shiplap” look. I love how it turned out, and it adds a little more depth to the wreath.
Materials for a Framed “Shiplap” Fall Wreath with Faux Fruit
- Framed board for hanging the wreath
- 19″ Hoop or Metal Ring to serve as the wreath base
- Spray paint, optional for coating the ring or hoop
- Artificial floral stems
- Faux fruit – stems or loose pieces
- Burlap Bow
- Hot glue gun
- Hot glue
- Floral wire
- Wire cutters
- Small nails & a hammer
You don’t need these exact stems. Choose one larger fruit, a few smaller accents and greenery that echoes the colors in your fall decor.
Steps to Create a Fall Hoop Wreath
It’s so simple that you’ll be decorating with your new fall wreath in no time! Here are the easy steps.
1. Collect your supplies.
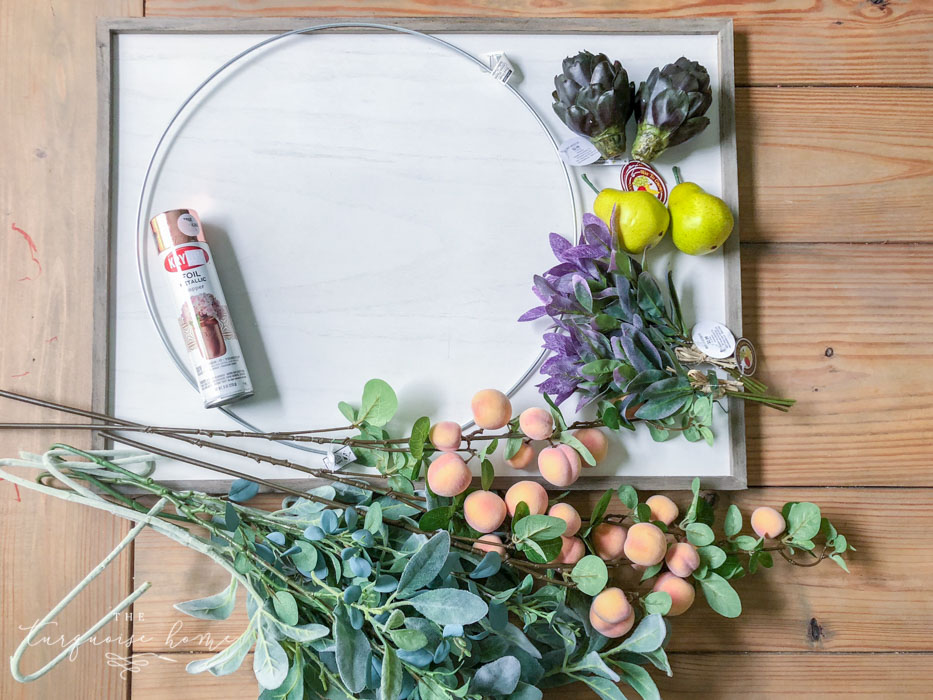
You will need a frame, a hoop or metal ring, (optional) spray paint, and floral and fruit stems of your choice.
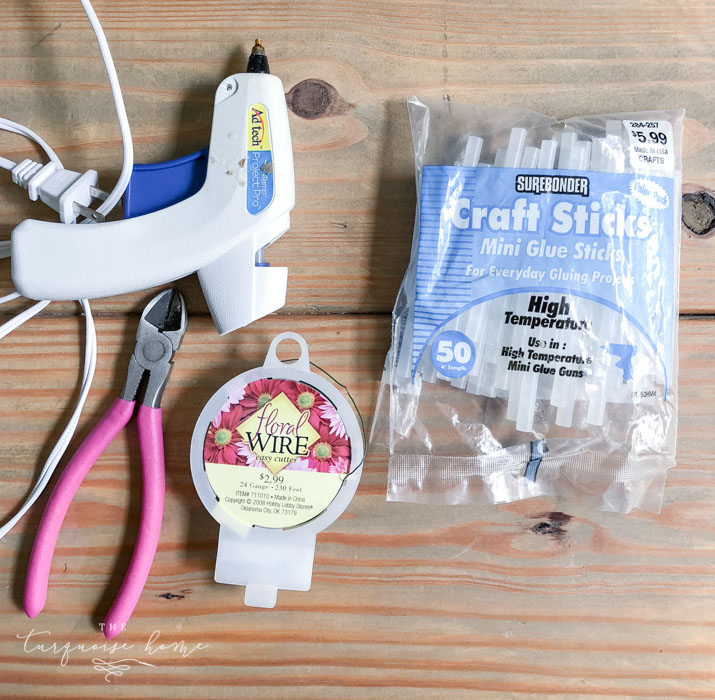
You’ll also need wreath-building supplies such as a hot glue gun & hot glue, floral wire and wire cutters.
2. Spray paint the wreath base
Pick the color you want for your metal hoop and spray it on!
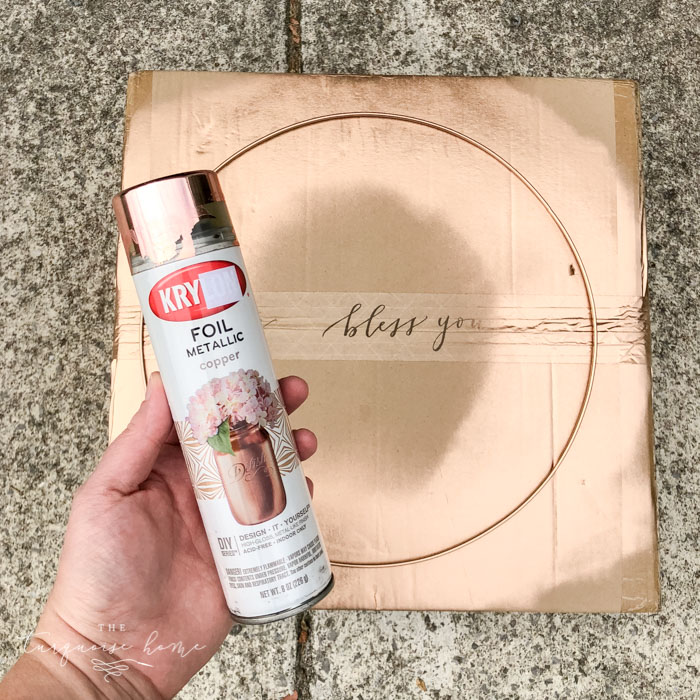
I wanted my hoop to be copper, so I grabbed this foil metallic copper spray paint, and it worked beautifully! Now I’m making a mental note of everything else I’ll be spray painting this fall. I LOVE copper for autumn.
3. Begin attaching the stems to the hoop with wire and hot glue
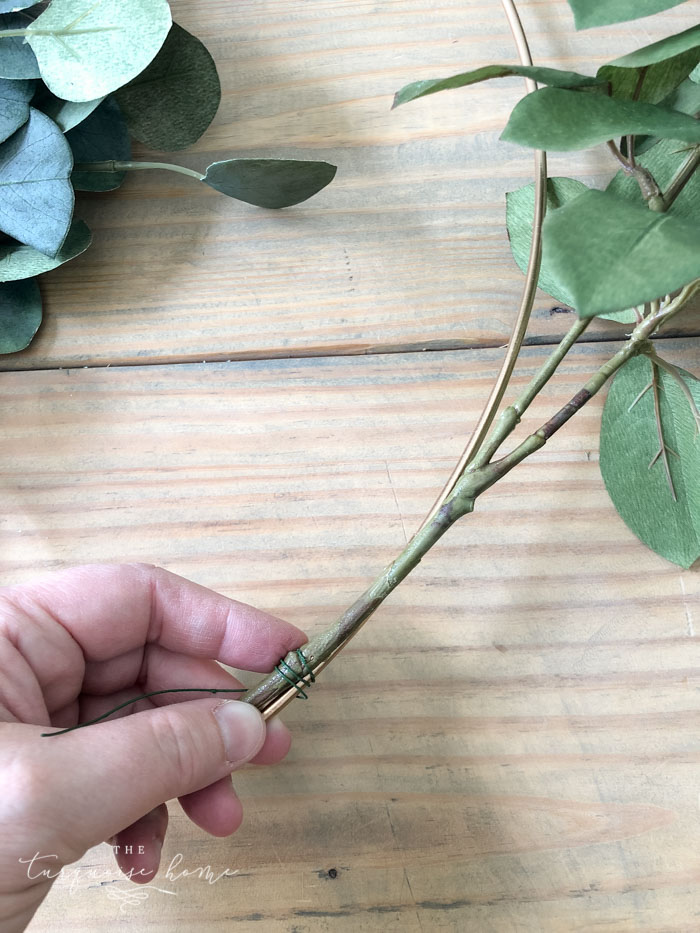
Once the paint on the ring is dry, you can start attaching your faux stems. I used floral wire in a few spots on each stem to keep it secured to the ring.
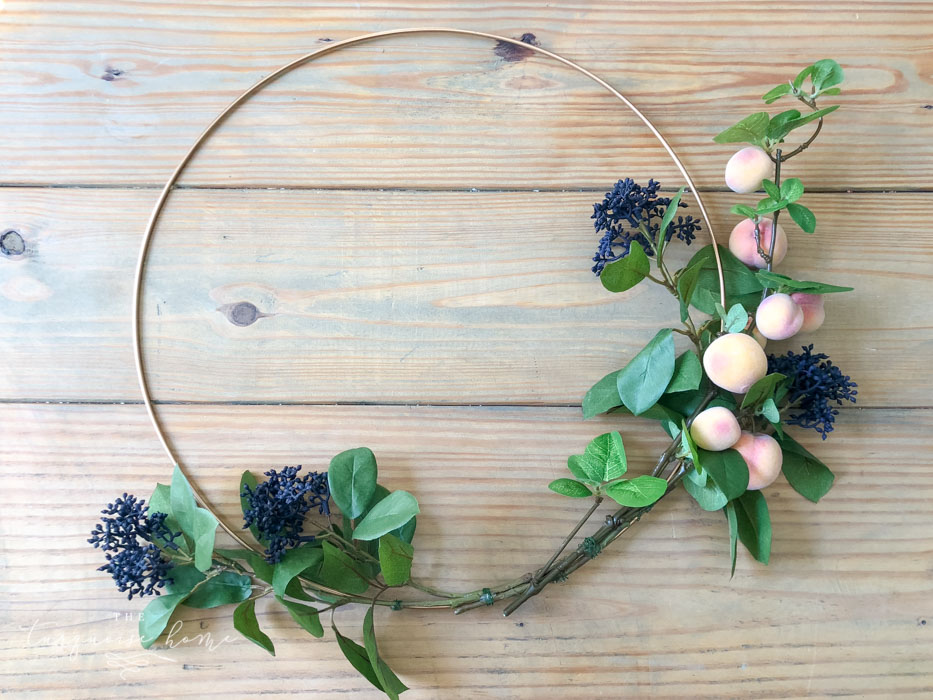
Then I glued the floral wire, stem and ring together so the stems wouldn’t shift once I lifted it!
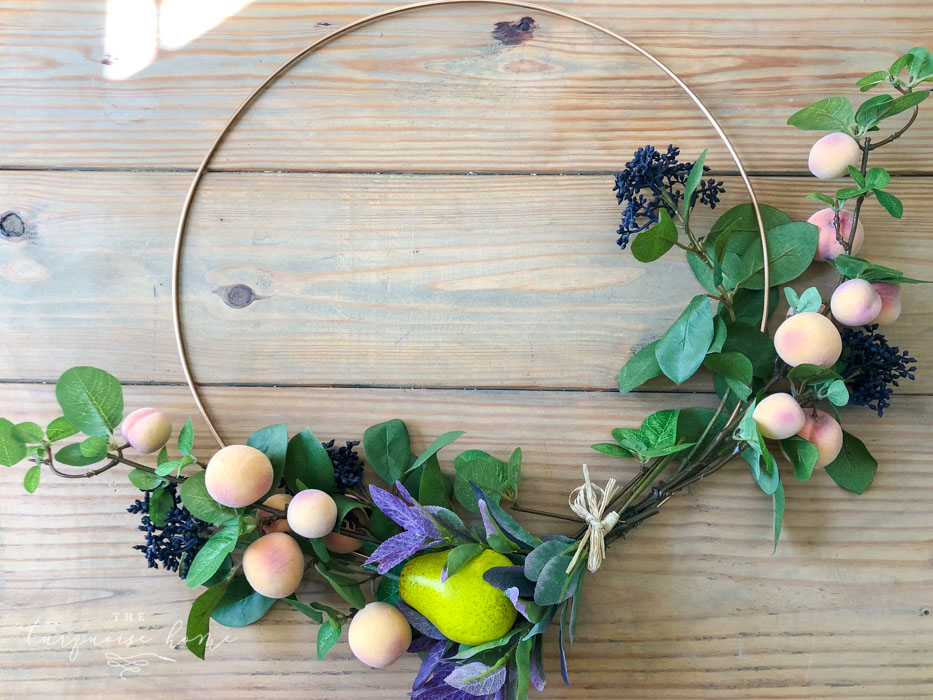
Pear / Artichoke / Skimmia Berries Stem / Faux Peach Stems (similar)
I started with the stems I wanted along the outer bottom edge and worked my way up and inward until everything looked right.
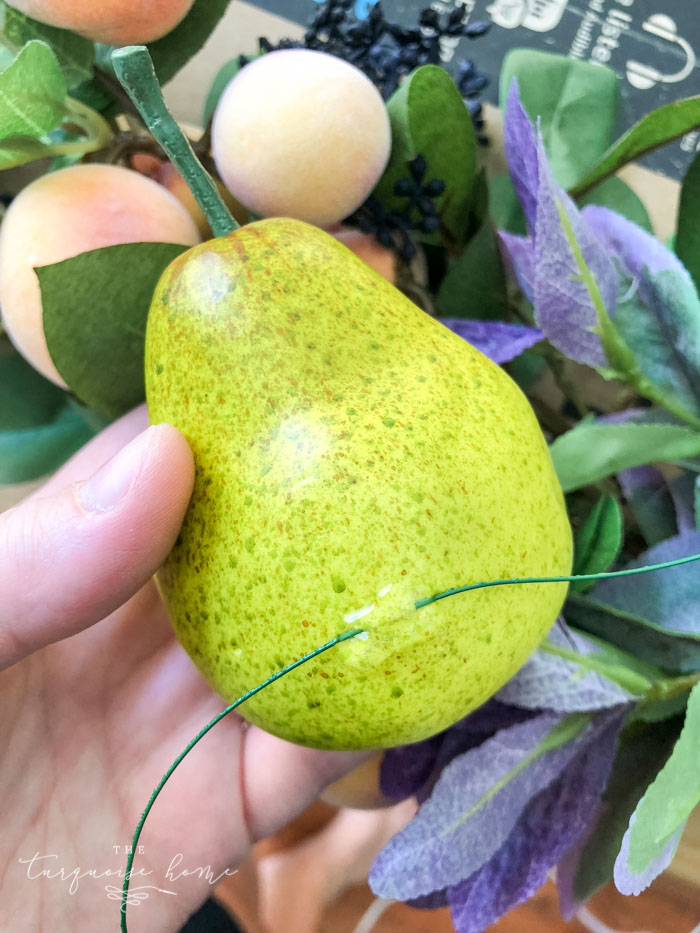
I attached the faux pear and artichoke by “threading” floral wire through the back of each piece. They’re made of styrofoam, so the wire slides through easily. Then I hot glued the wire in place.
4. Attach a burlap bow at the center of the floral and fruit stems.
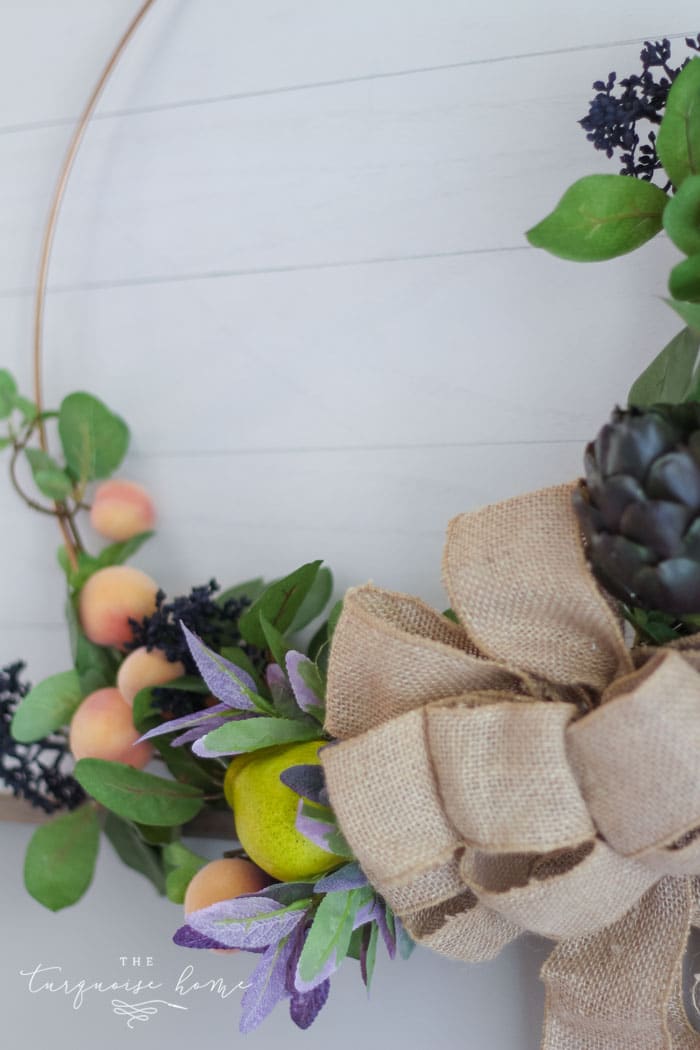
To hide the messy middle of the fruit and stems, I added a burlap bow! I love the look, and it brings back some rustic texture that’s perfect for fall!
5. Sketch “shiplap” lines onto the frame.
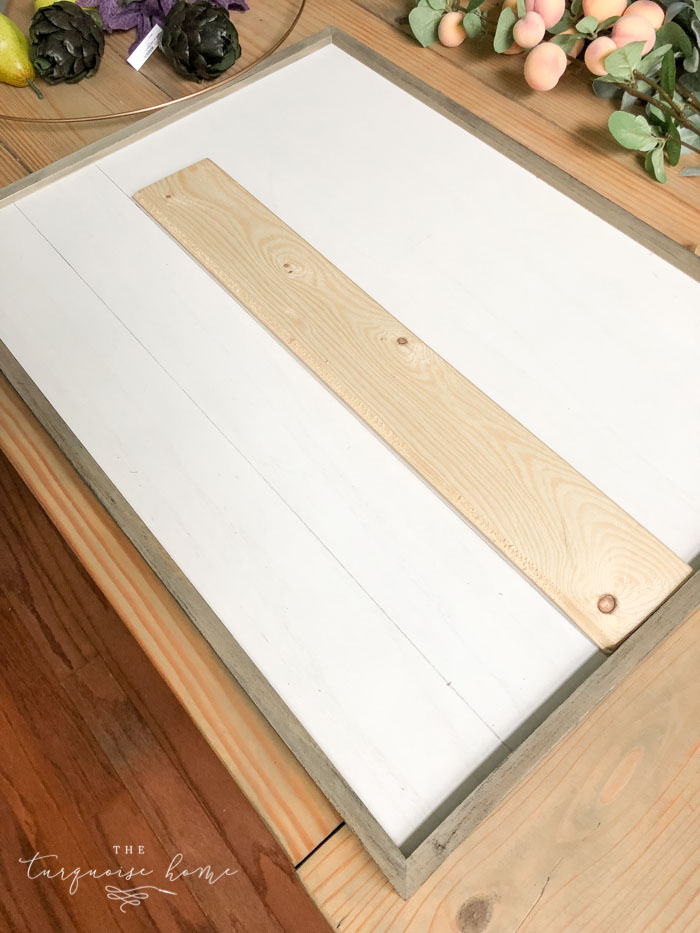
I used a pencil and a scrap board as a guide to draw lines across my framed board for a shiplap look. It turned out pretty cute for a free upgrade!
6. Mount the wreath on the framed board.
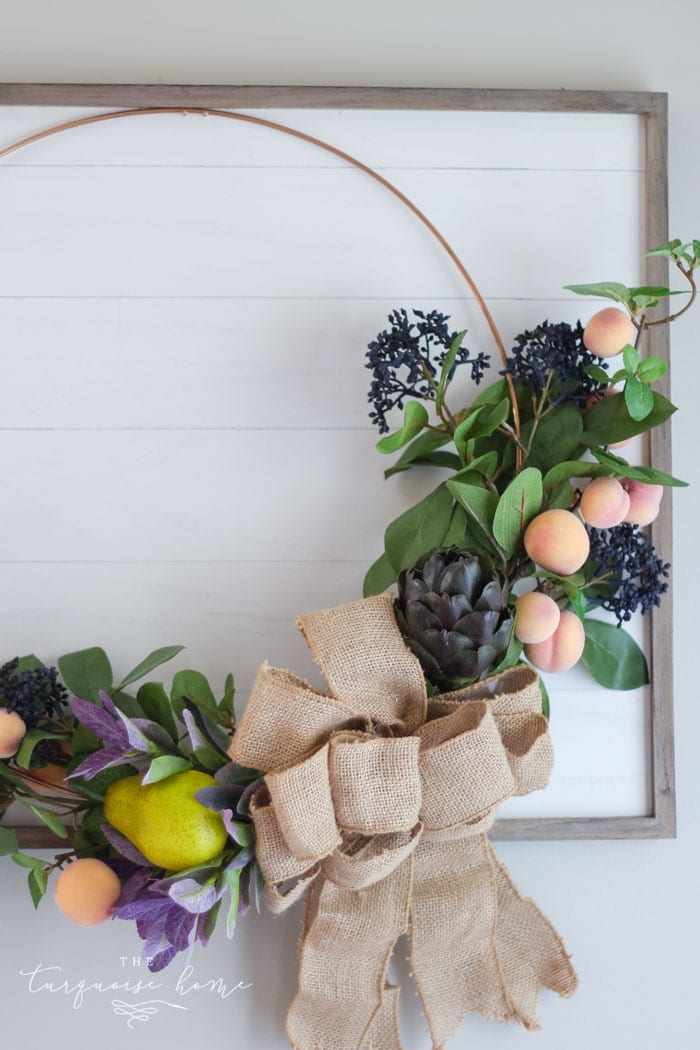
I hammered a small nail into the top of the board, just under the frame, and hung the wreath on it. Because the one-sided wreath pulled to one side, I added a second small nail to the right of the first so the wreath wouldn’t hang crooked.
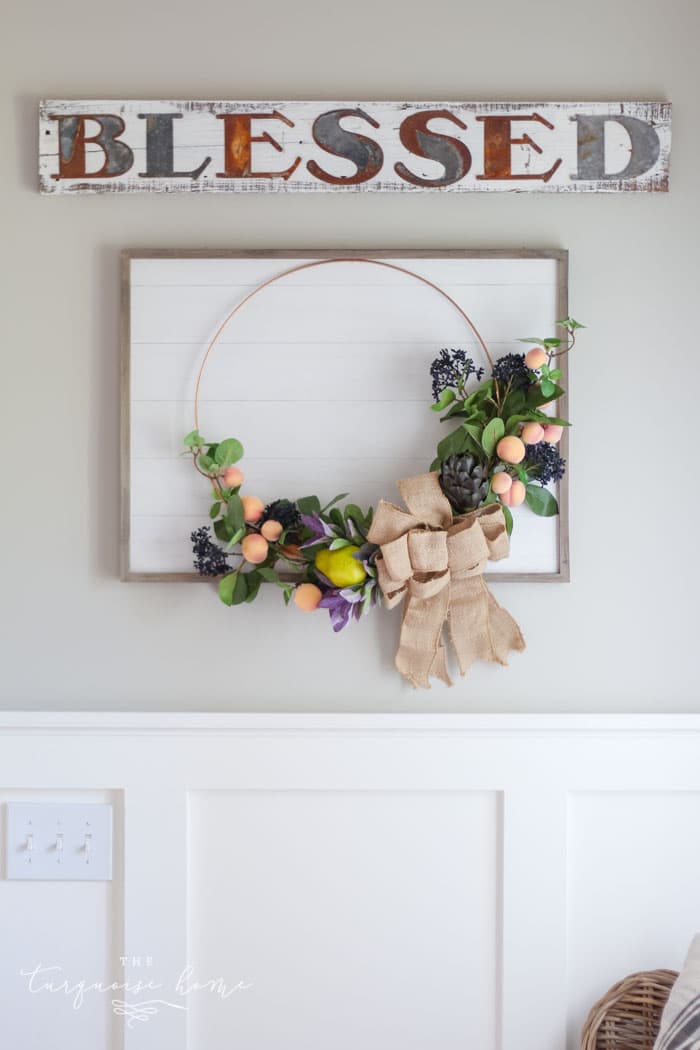
Ta-da! All done!
I love how it turned out and how it looks in my fall mantel post!
A handmade wreath is a simple place to start. Here are more fall decorating ideas for a cozy home if you’re ready to carry those colors throughout the house.
What do you think? I’d love to hear your feedback in the comments below. And if you make something similar, tag me on Instagram or share a photo on my Pinterest profile!
If this tutorial helped you, or you’d like to keep it for a future project, be sure to save the image below to Pinterest!