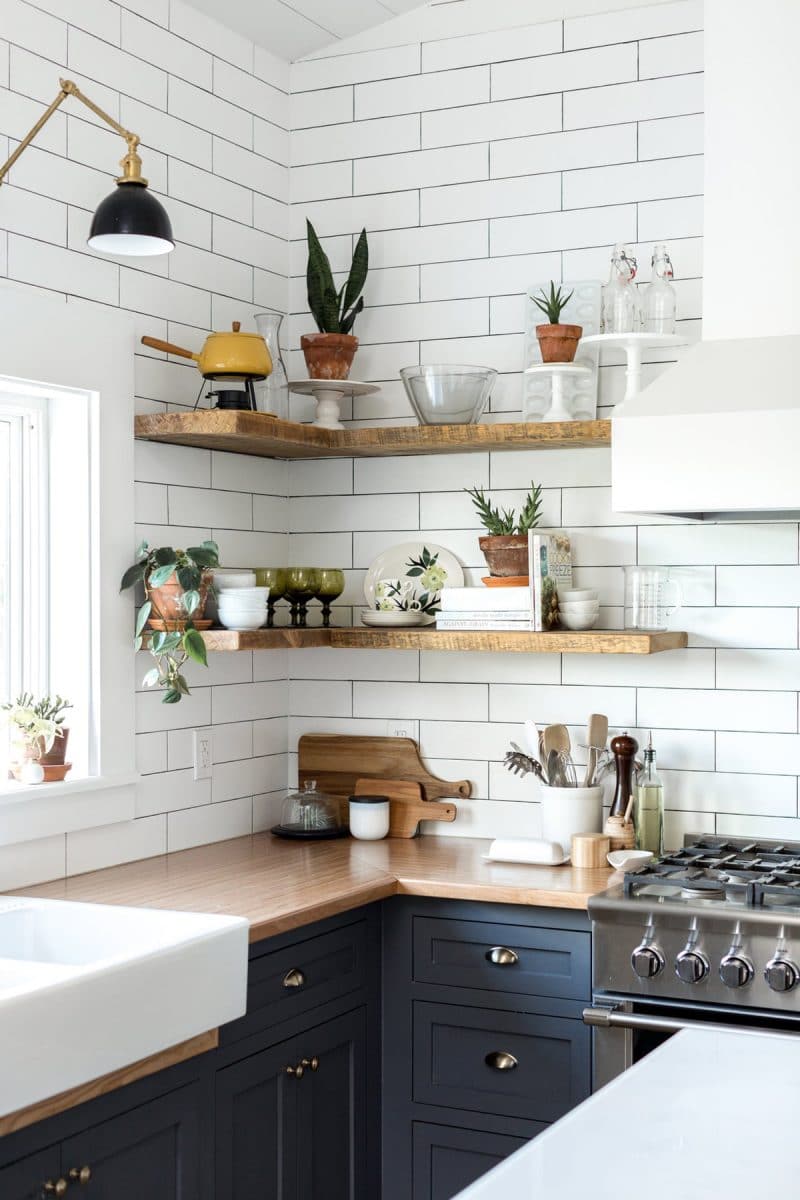
Learning how to change a light fixture is a simple way to update your home. New lighting can make a room feel fresh almost instantly!
When we moved into our first home, I waited far too long to change the light fixtures. I was paralyzed by the idea of working with electricity. So after probably 5 years, I asked my husband to help me swap the chandelier in our former dining room. It was stressful, since we had no idea what we were doing. Now, after many light swaps, changing a fixture is no big deal!
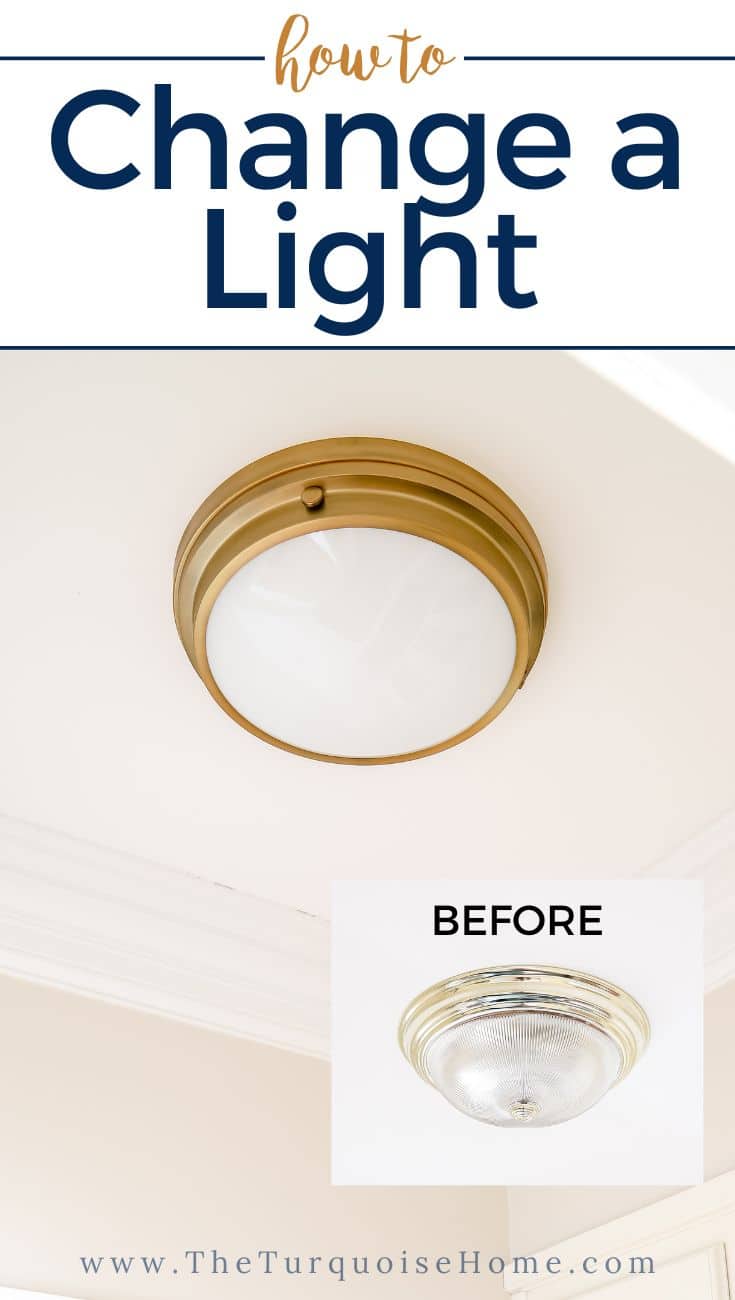
In fact, we've been in our current home for less than 3 years and I've already replaced 10 of the lights. And eventually we'll replace them all!
Quick note: this DIY project means working with electricity. It's essential to turn off the power to the light junction box you're working on. Electricity deserves extra care. If you feel at all uncomfortable doing this, please call an electrician. Stay safe, and if you feel confident you CAN turn off the power, you can tackle this simple DIY.
I love sharing my best tips and tools for DIY with you! I've shown you how to remove drywall anchors and how to pick the best light bulbs, as well as my top 5 tools for a beginner DIYer! I hope these help you create a home you love on a budget!
What You Need to Change a Light Fixture
- New light fixture
- Wire cutter and stripper
- Ladder
- Power drill or screwdrivers (both Phillips and flathead)
- Electric voltage tester, optional
- A helper is nice, too!
How to Replace a Light Fixture
1. Choose a New Light Fixture
Picking a new light can sometimes be the hardest part of replacing a fixture! Narrowing down my favorites is always tough, but I have several lighting posts that will help you choose one if you're stuck.
- 17 Beautiful Dining Room Chandeliers
- 15 Flush Mount Lighting Ideas For Your Home
- Modern Wall Sconces for Every Budget
- Gorgeous Kitchen Chandeliers You'll Love
- Traditional Brass Chandelier in the Kitchen
2. Turn Off the Electricity to the Light
Turn off the power to the light fixture by finding its switch on the breaker box and flipping it off. I leave the light on while I flip the breaker, and when the light goes out, the power is off! I always double-check by flipping the light switch a couple of times, then leave it in the off position.
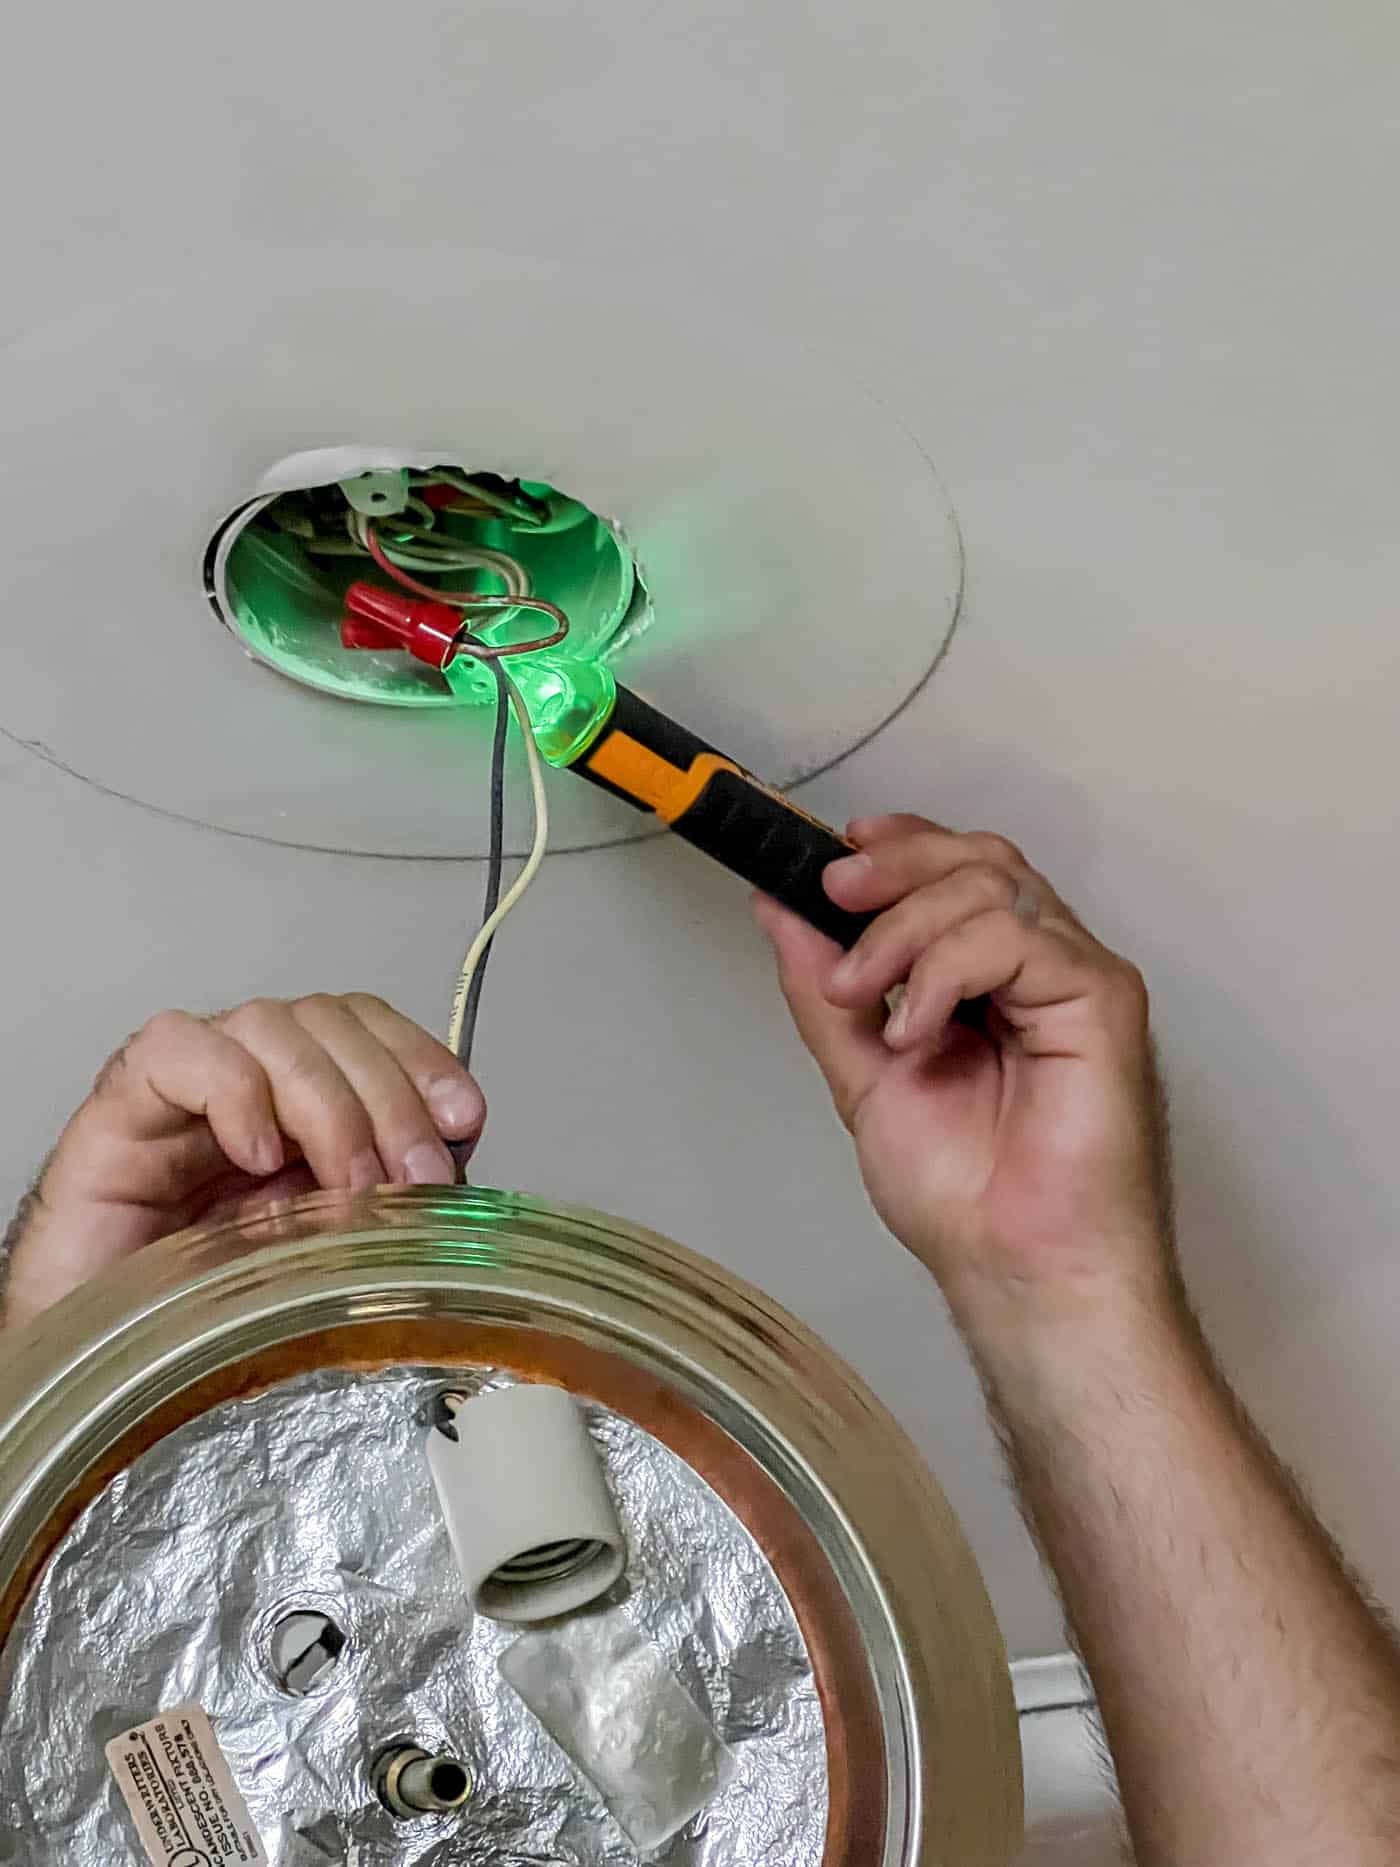
And if you have an electrical voltage tester, now is a good time to use it!
3. Remove the Old Fixture
The old light is usually screwed into the mounting bar or electrical box on the wall or ceiling. So find the screws and unscrew them. This lets you pull the light away from the ceiling to reach the electrical connections.
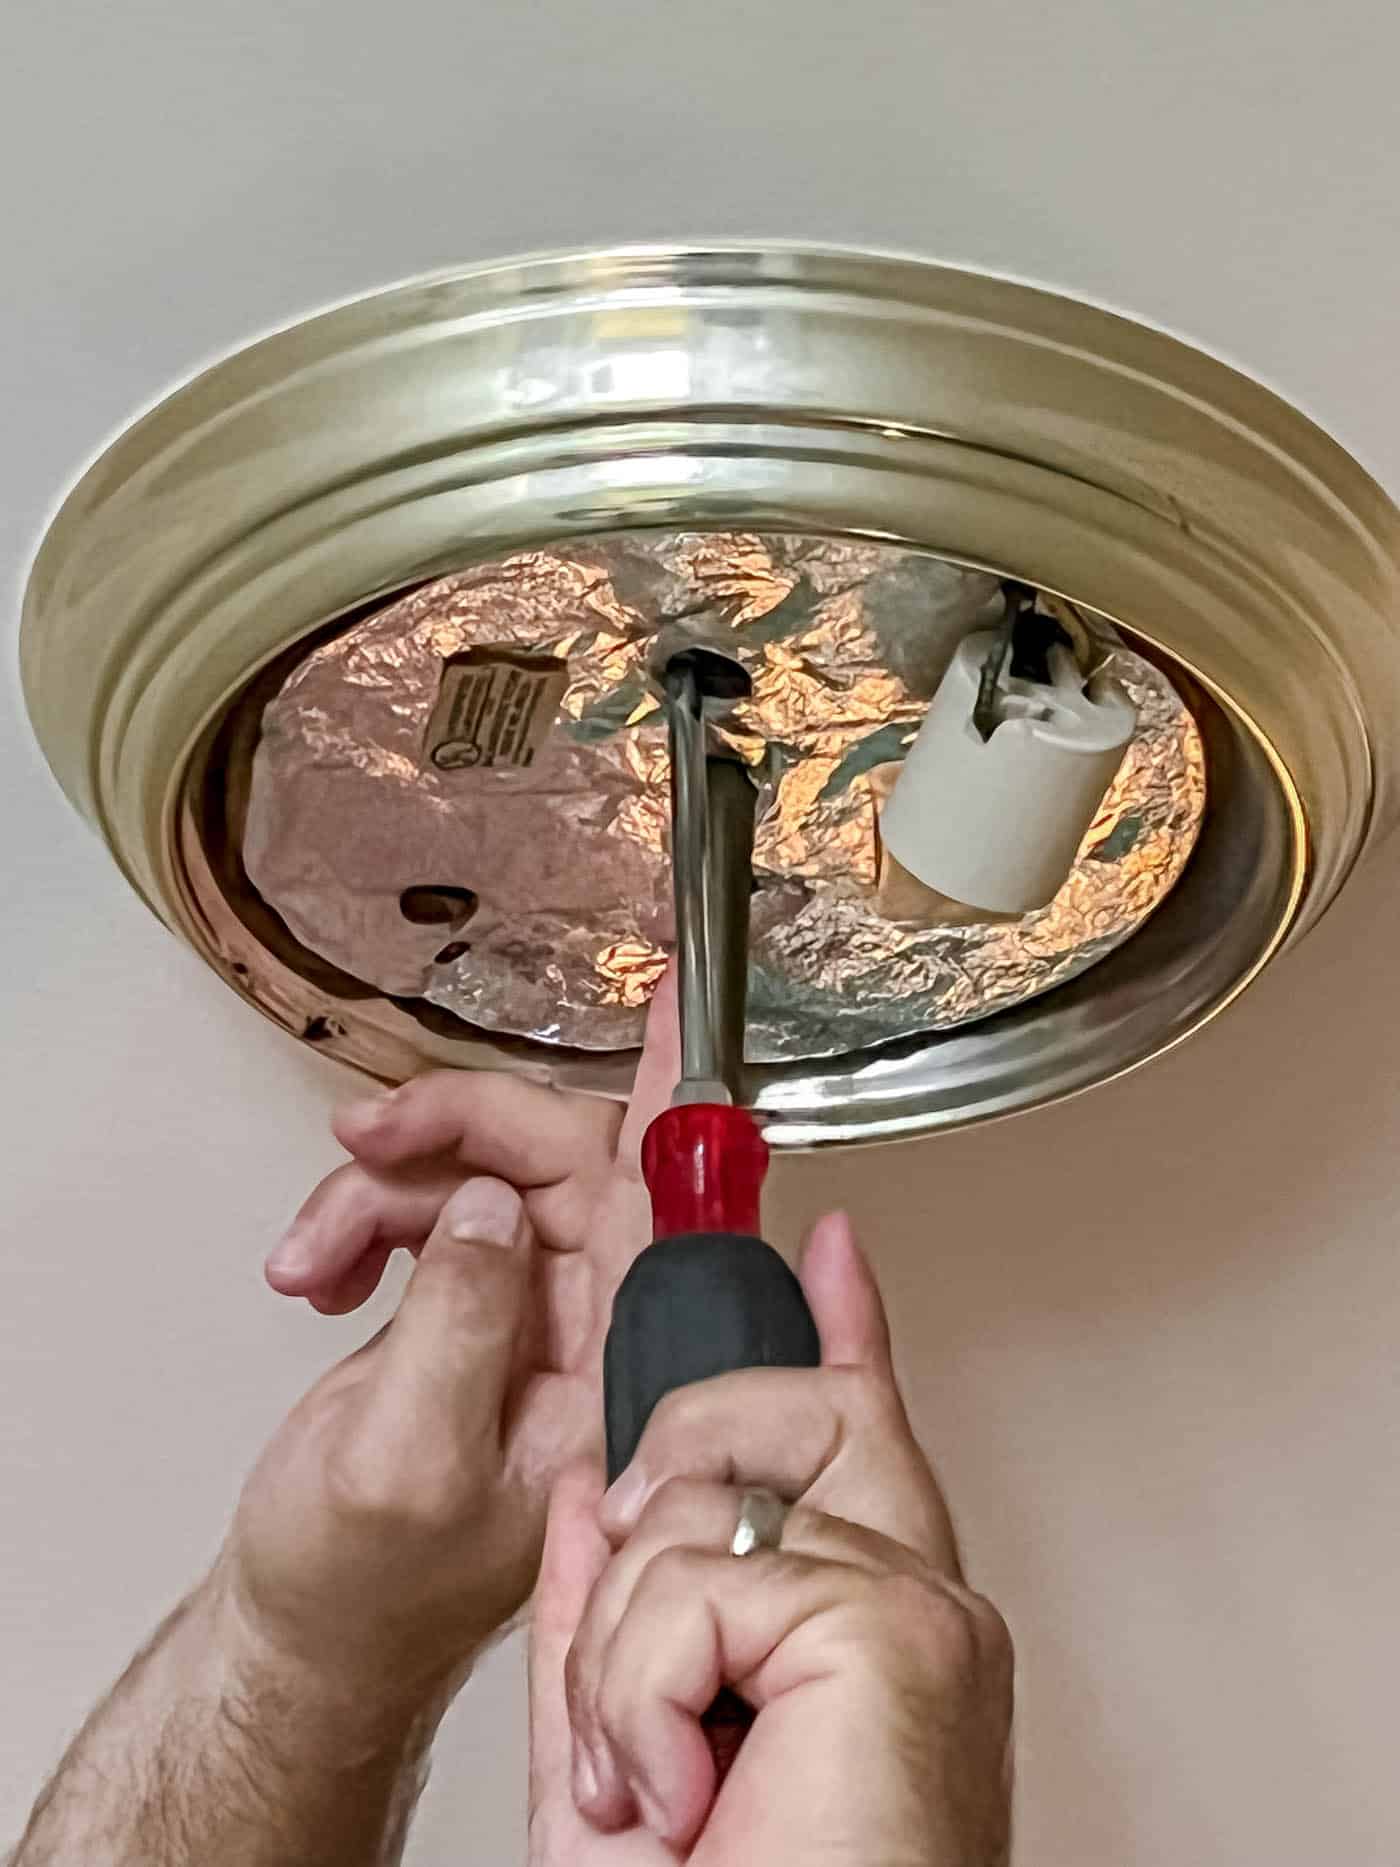
4. Disconnect the Electrical Connections
I recommend taking a photo of the connections before disconnecting anything. That way, if you have questions later, you'll have a reminder of how it was wired.
Untwist the wire nuts, and the light should be ready to come down!
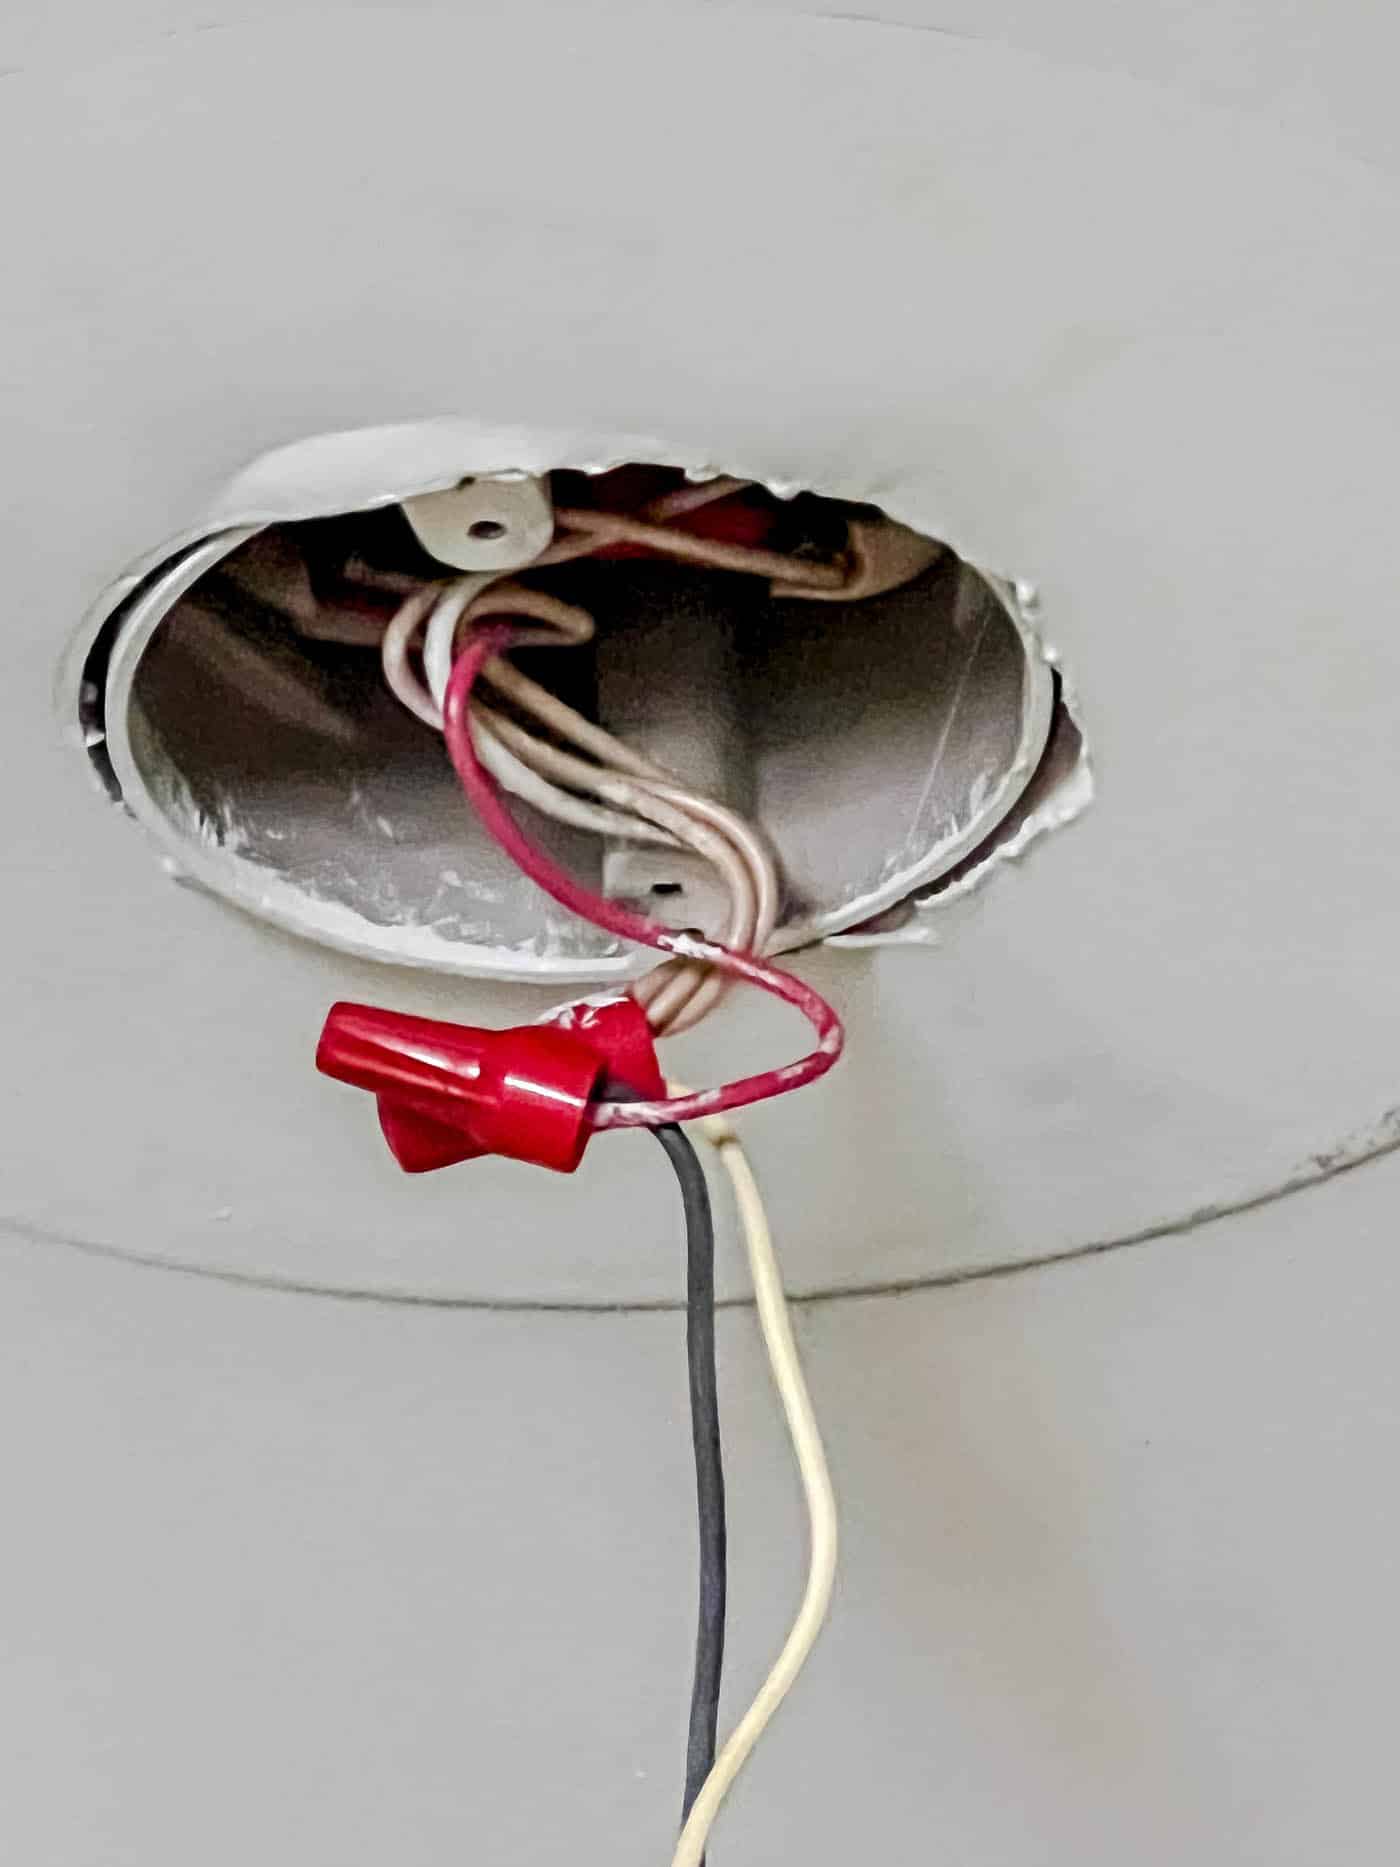
5. Prep to Install the New Light
Read the new light's instructions before installing. A new fixture usually comes with wires, wire connectors, screws and a new crossbar.
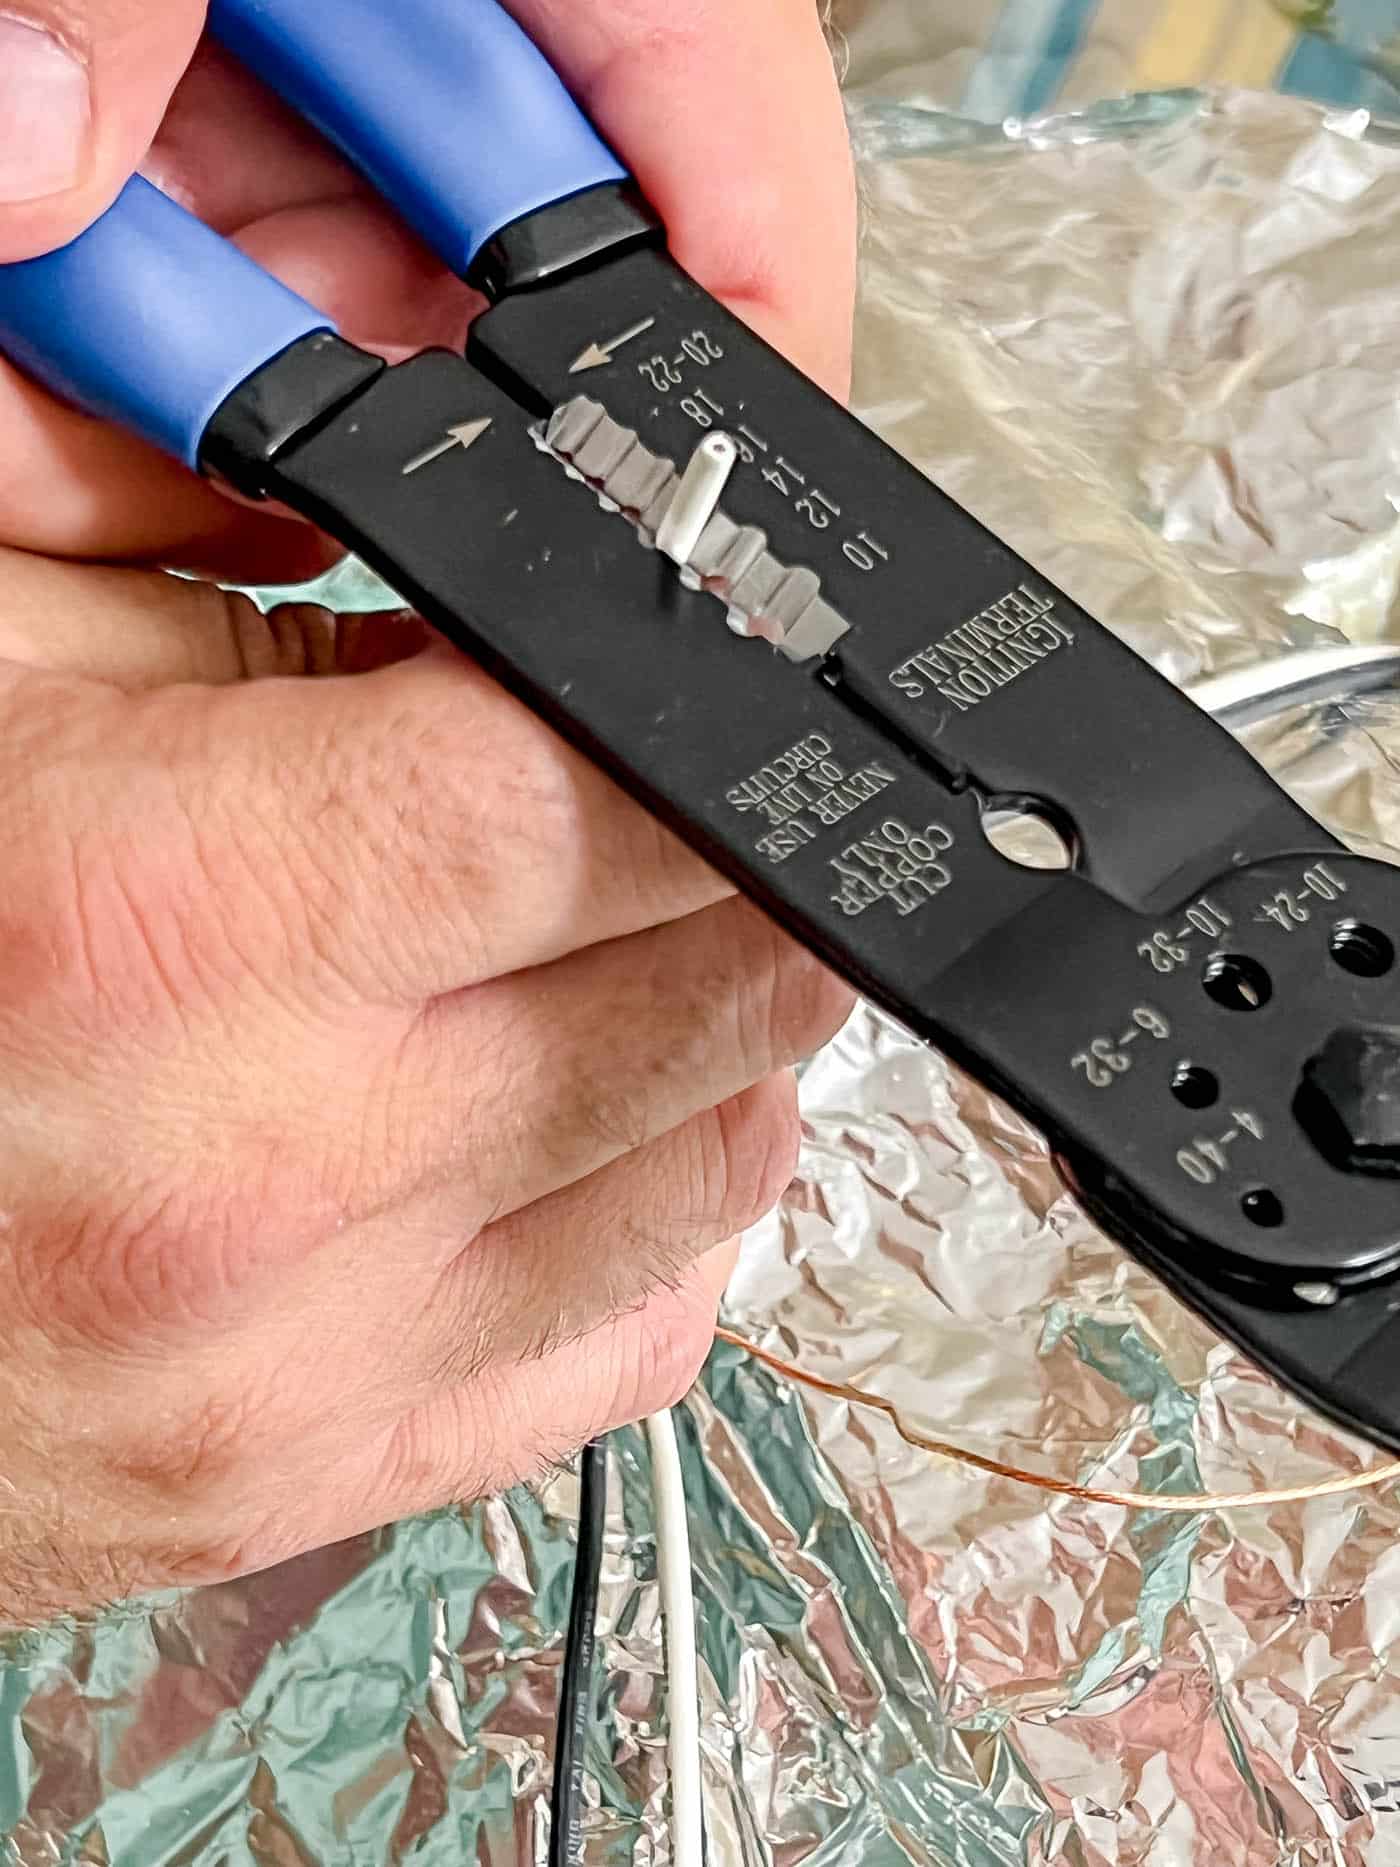
Some light fixtures have the wire coating pre-cut so you can easily pull it off. Other wires will need wire strippers. Either way, you'll want about 1/2 inch of wire exposed on the ends.
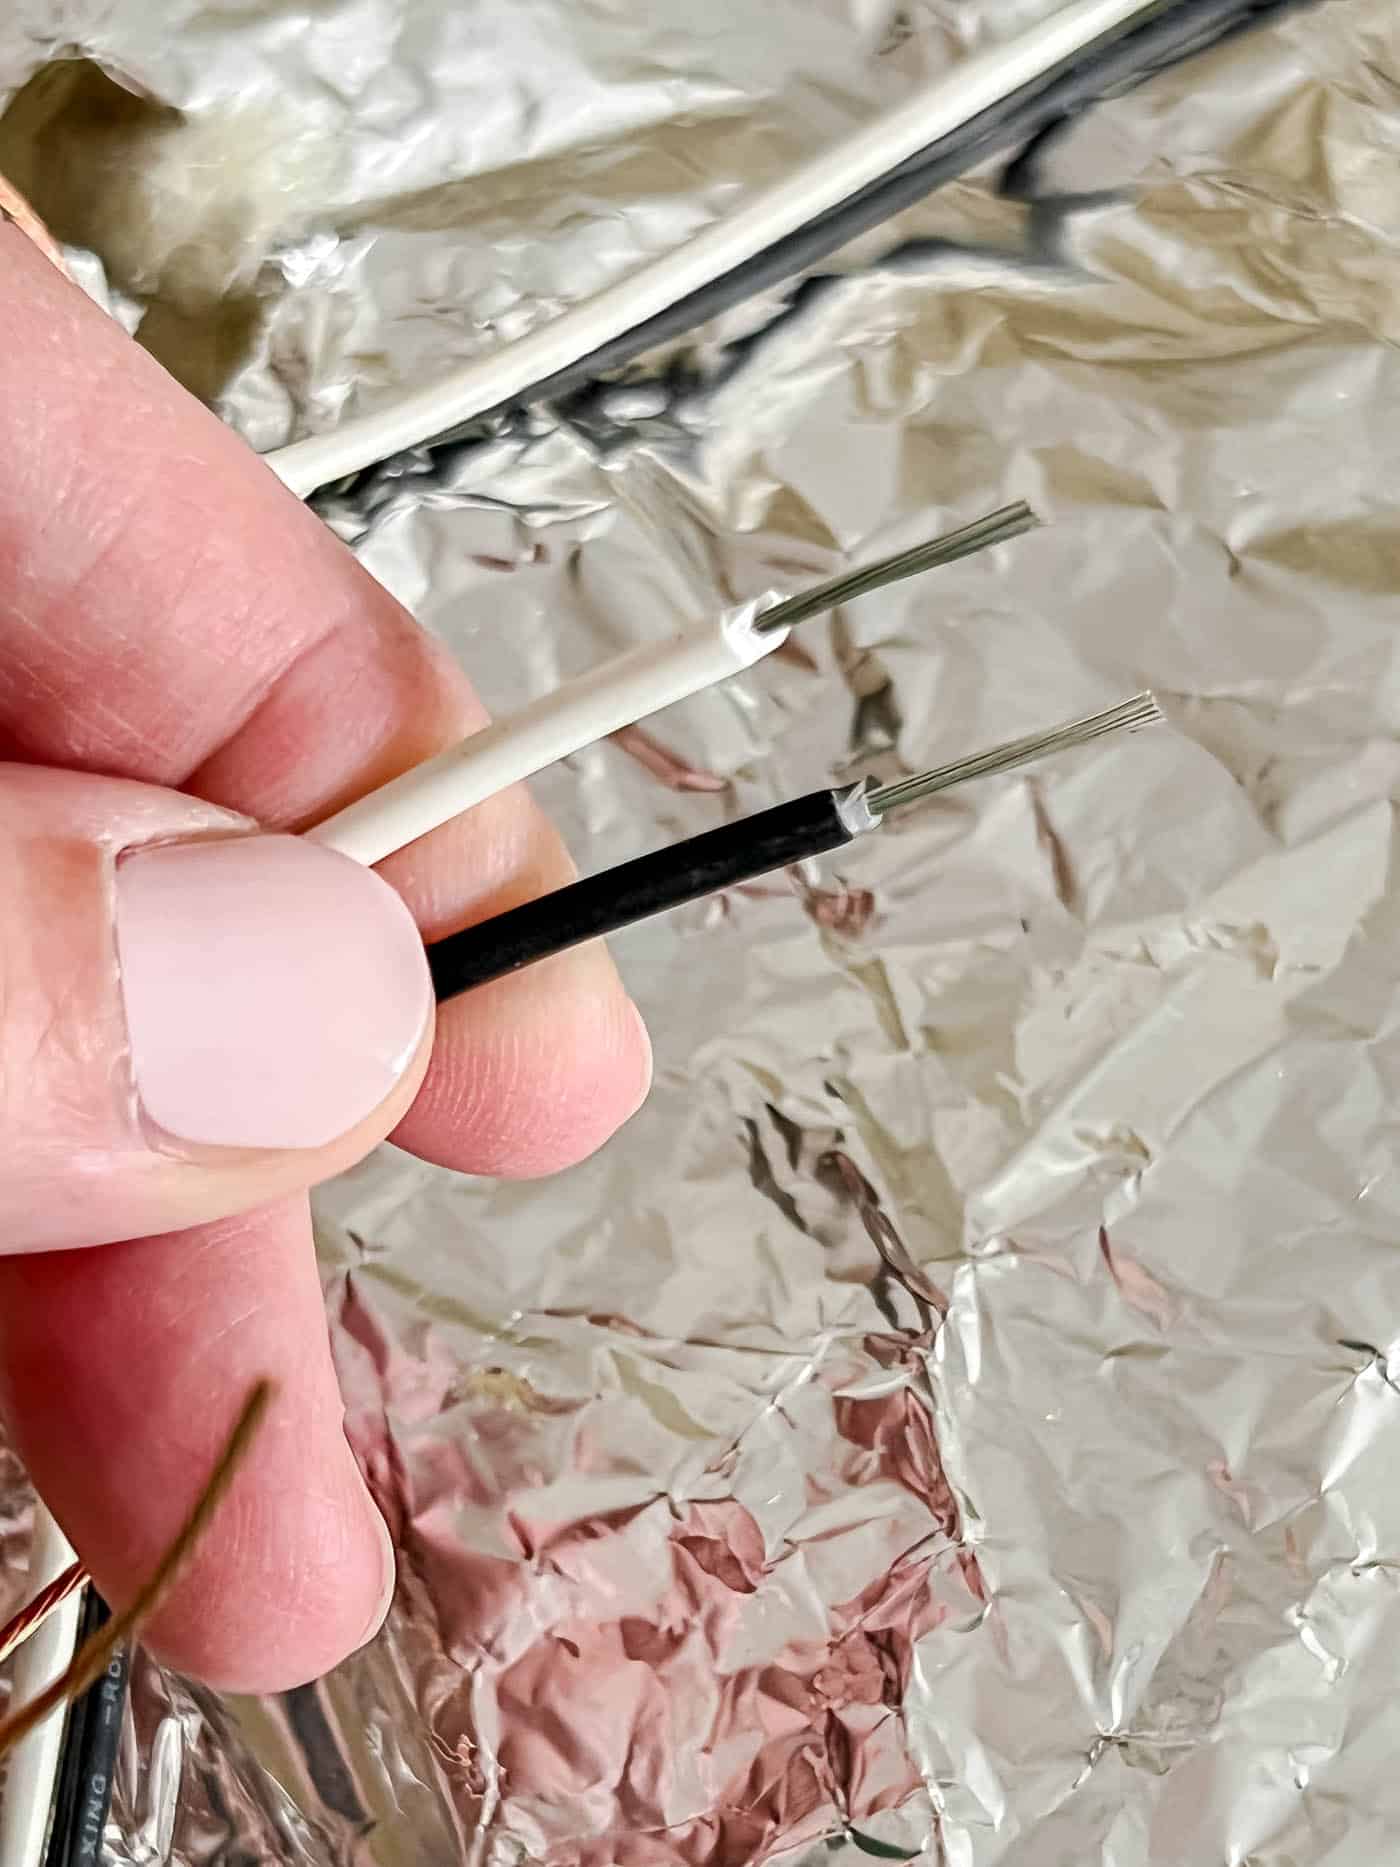
If there's more than one white wire or more than one black wire, twist them together before you climb the ladder.
6. Replace the Grounding Bar in the Ceiling Box, if Needed
Different lights need different crossbars (or grounding bars), so check whether the two lights use the same type. If they're different, replace the old one with the new one that came with the new light. If they're the same and the original is in good condition, you can leave it in place!
Our old light didn't have a crossbar, so we had to install a new one. This is how the light attaches to the ceiling. It also includes a green grounding screw for the grounding wire to connect to, in case the junction box doesn't have a grounding wire (copper wire).
7. Connect the New Wires
It's usually helpful to have two people for this step, so one can hold the light while the other attaches the wires!
Find the grounding wire (copper wire) on the new light and either connect it to the copper wire in the light box with a wire connector, or wrap it around the green screw on the crossbar.
Then attach the remaining electrical wires. Typically there are two wires coming from the ceiling, one white and one black. Connect the white wire to the white wire on the light, and connect the black (hot) wire to the black wire on the light by twisting them together with wire nuts until they won't twist anymore.
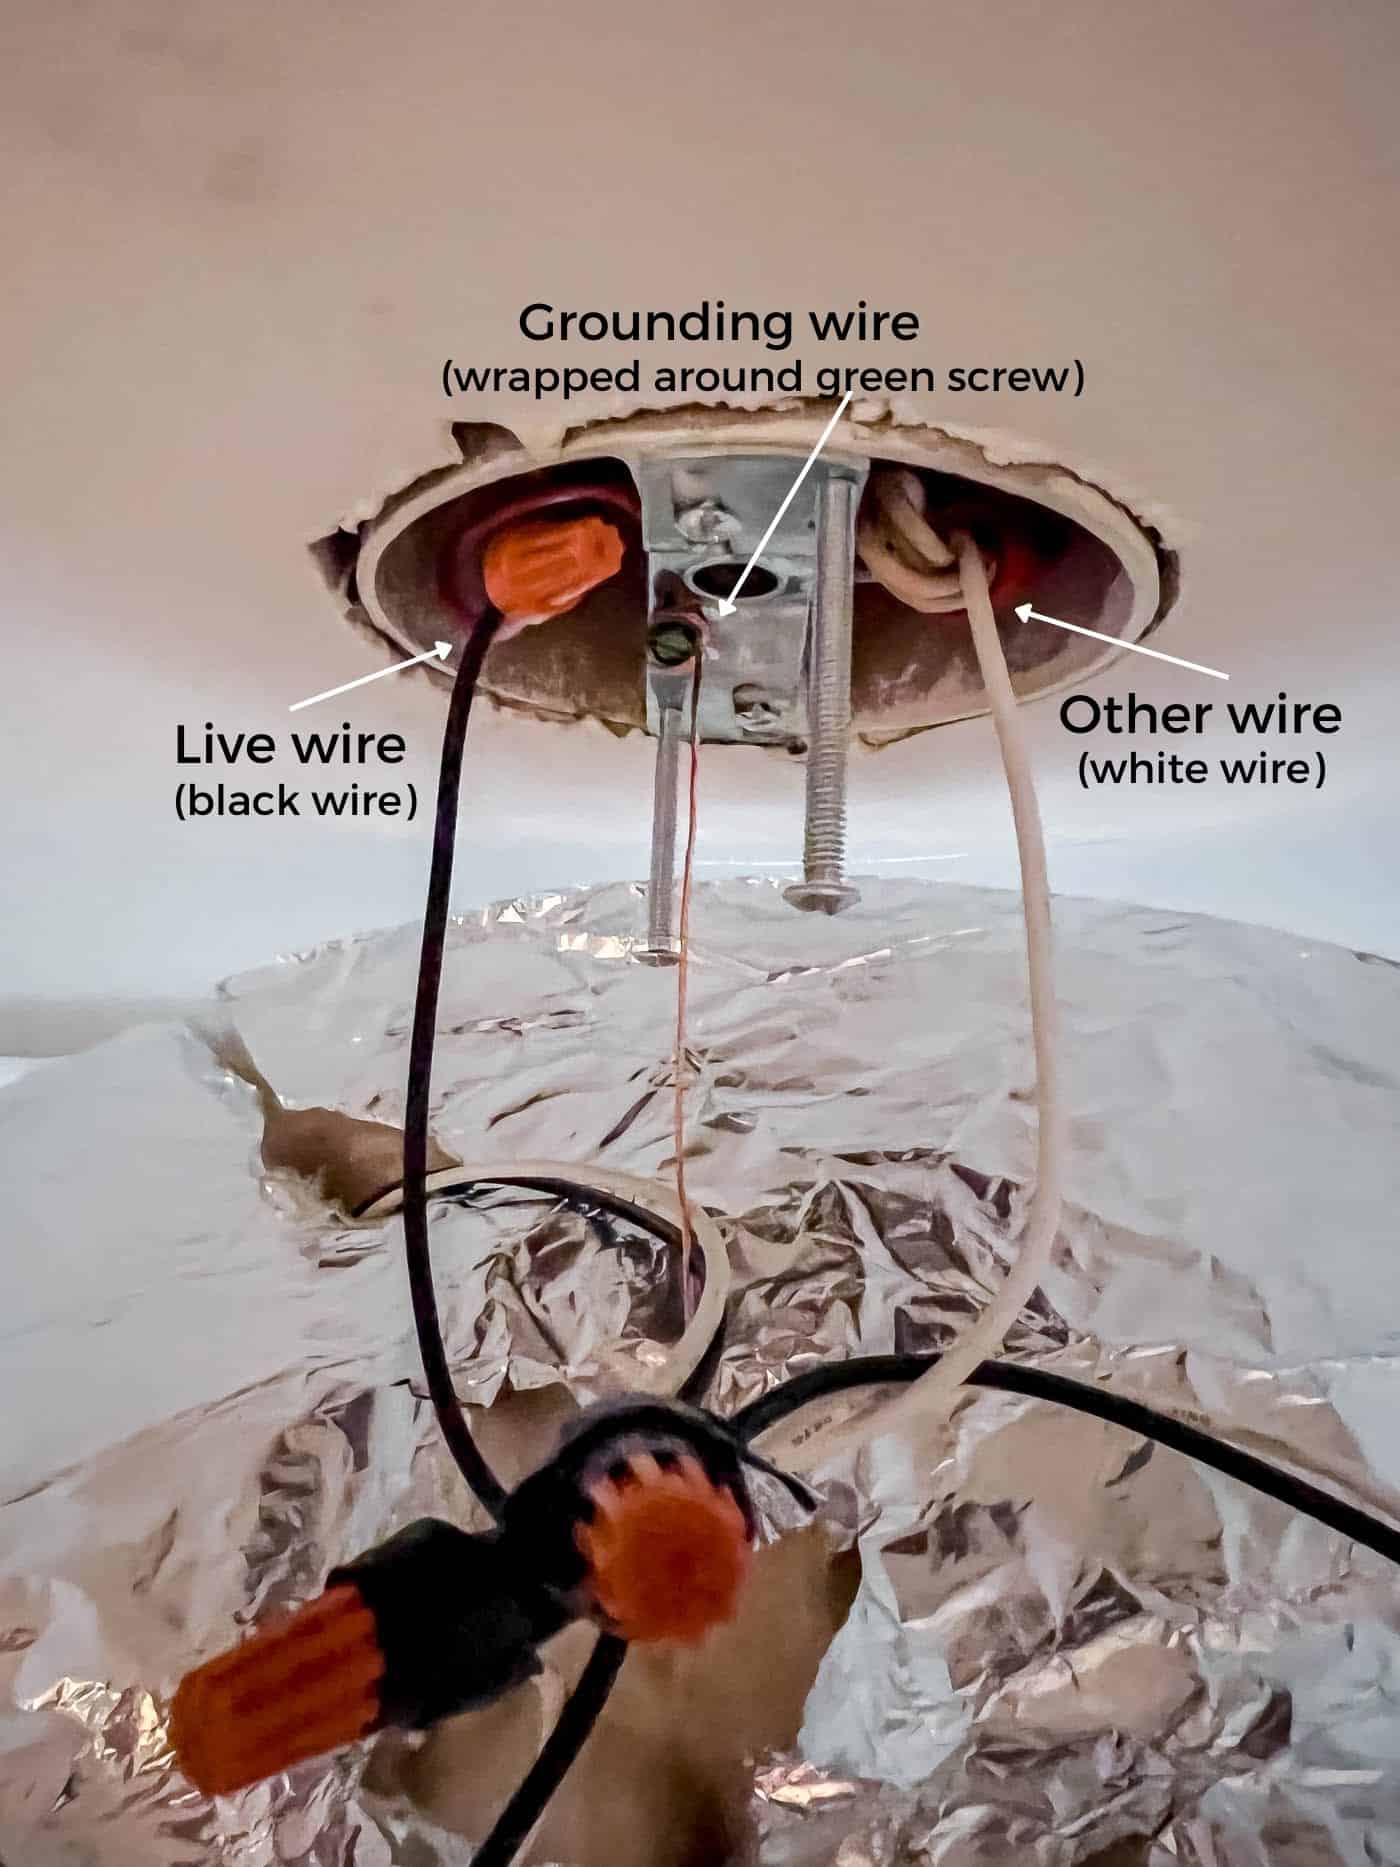
In our case, the hot wire from the ceiling was red, so we attached the red wire to the black wire on the light.
Push the wires up into the junction box as best you can.
8. Secure the Light to the Mounting Bracket
Follow the instructions that came with the light fixture for this part. Attachment methods vary widely.
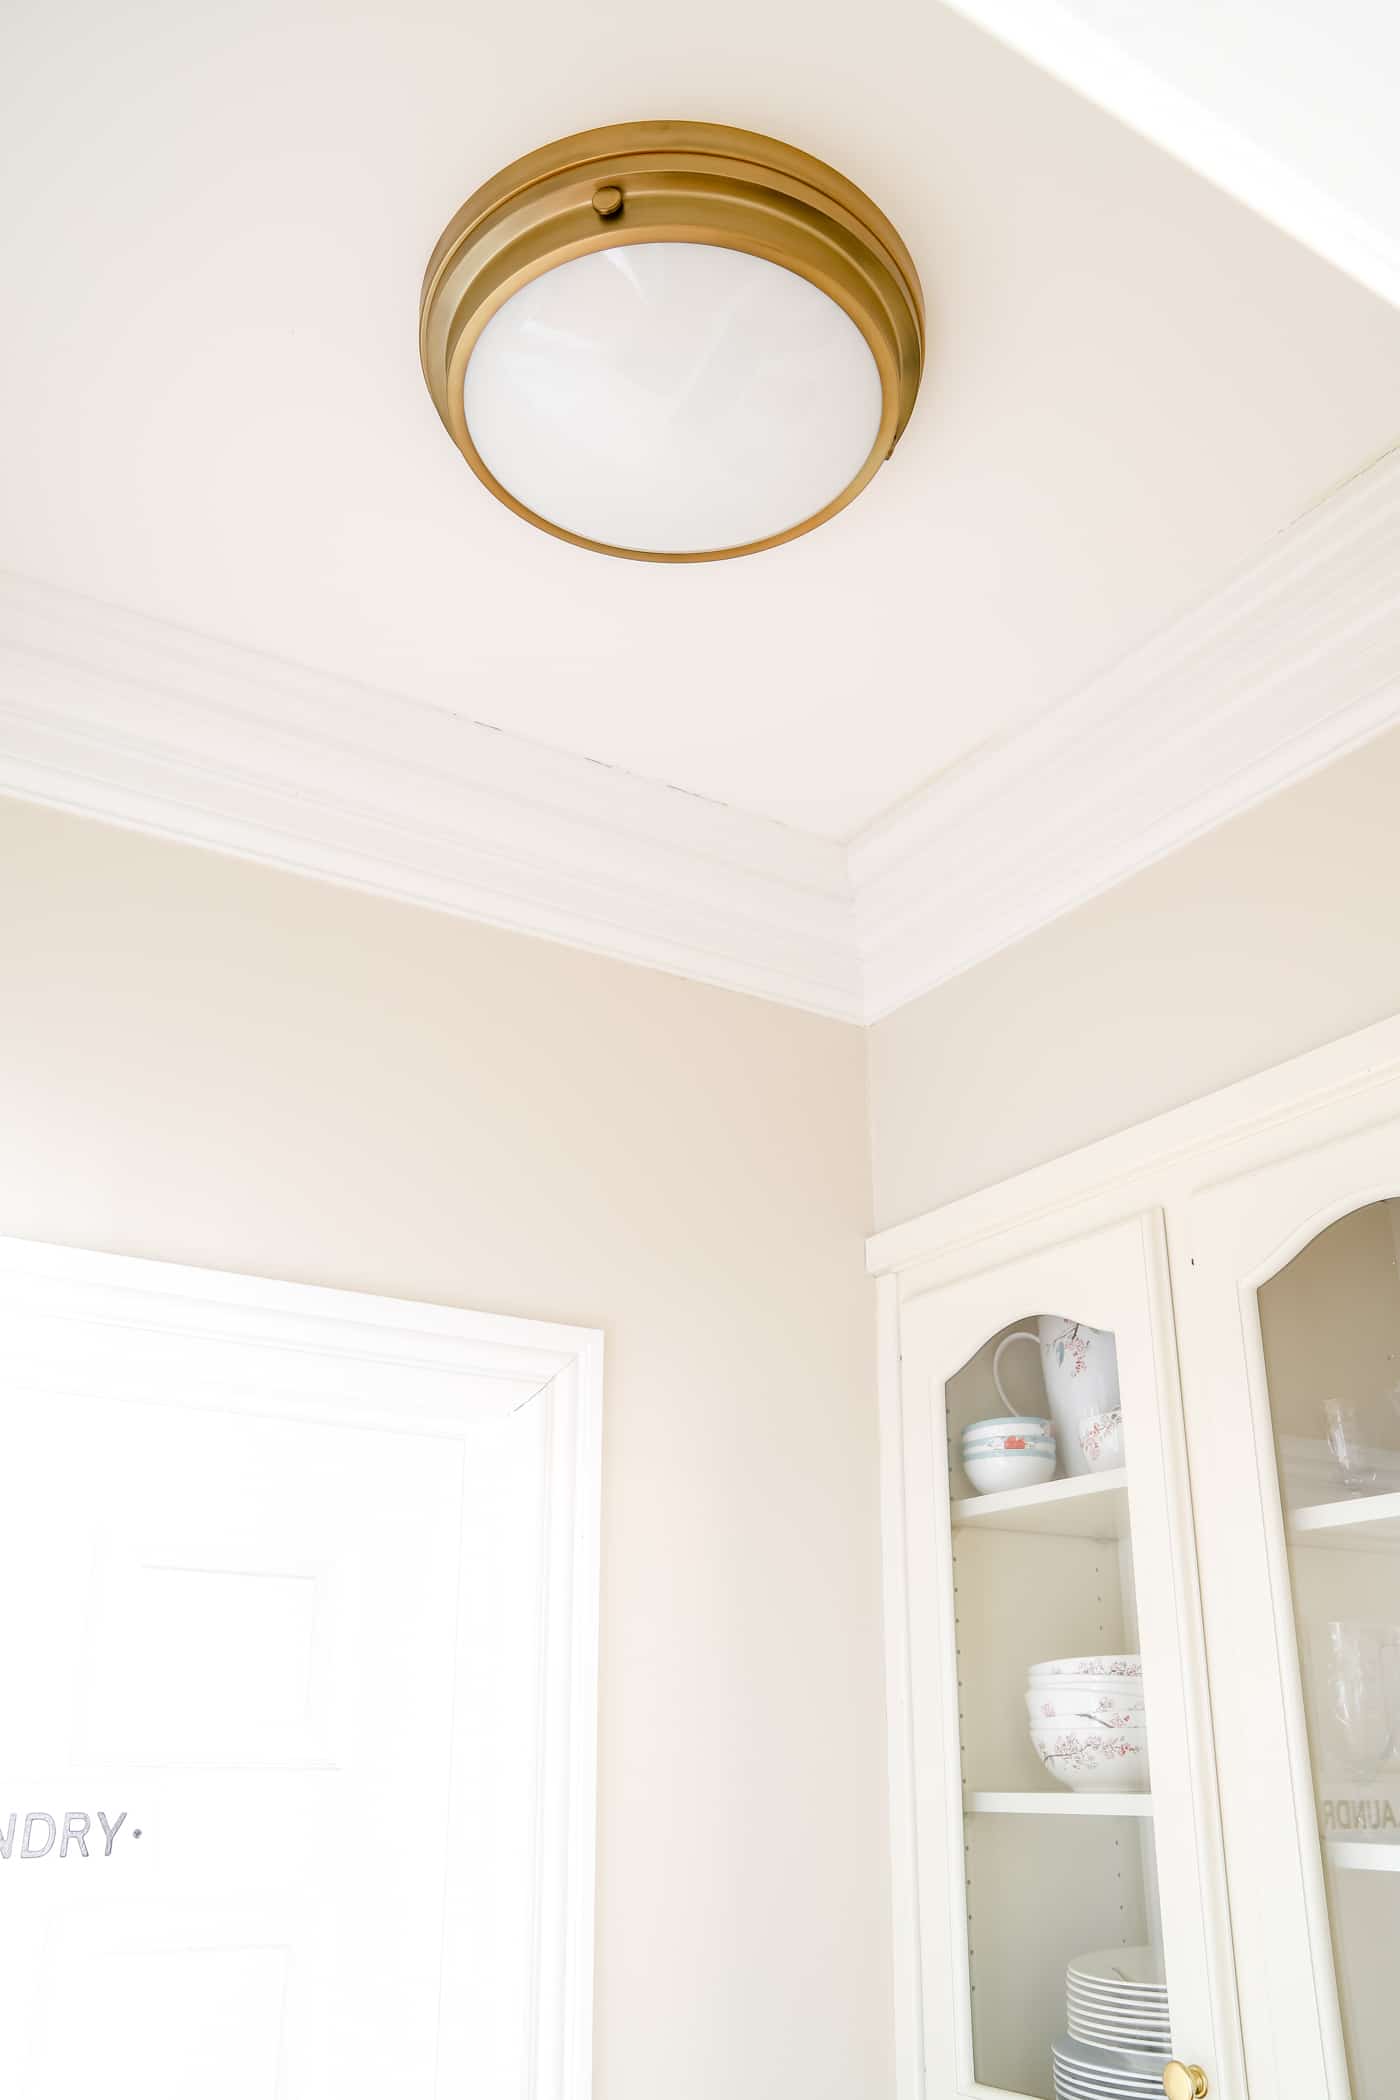
9. Add Light Bulbs and Install the Shade(s)
Follow the light bulb recommendations for your fixture. I have a great post on how to choose the best light bulb for each room in your home. It really makes a big difference in how your home feels!
Then add the shades or covers, depending on your light.
And you're done! Take a step back and enjoy your new light and how it refreshes your space. I hope learning how to change a light fixture helps you make your home your own!
More Posts You Will Love:
DIY Cornice Board: How to Make a Fabric-Covered Window Cornice
How to Build a Custom Frame for Your Frame TV (A High-End Look on a Budget)
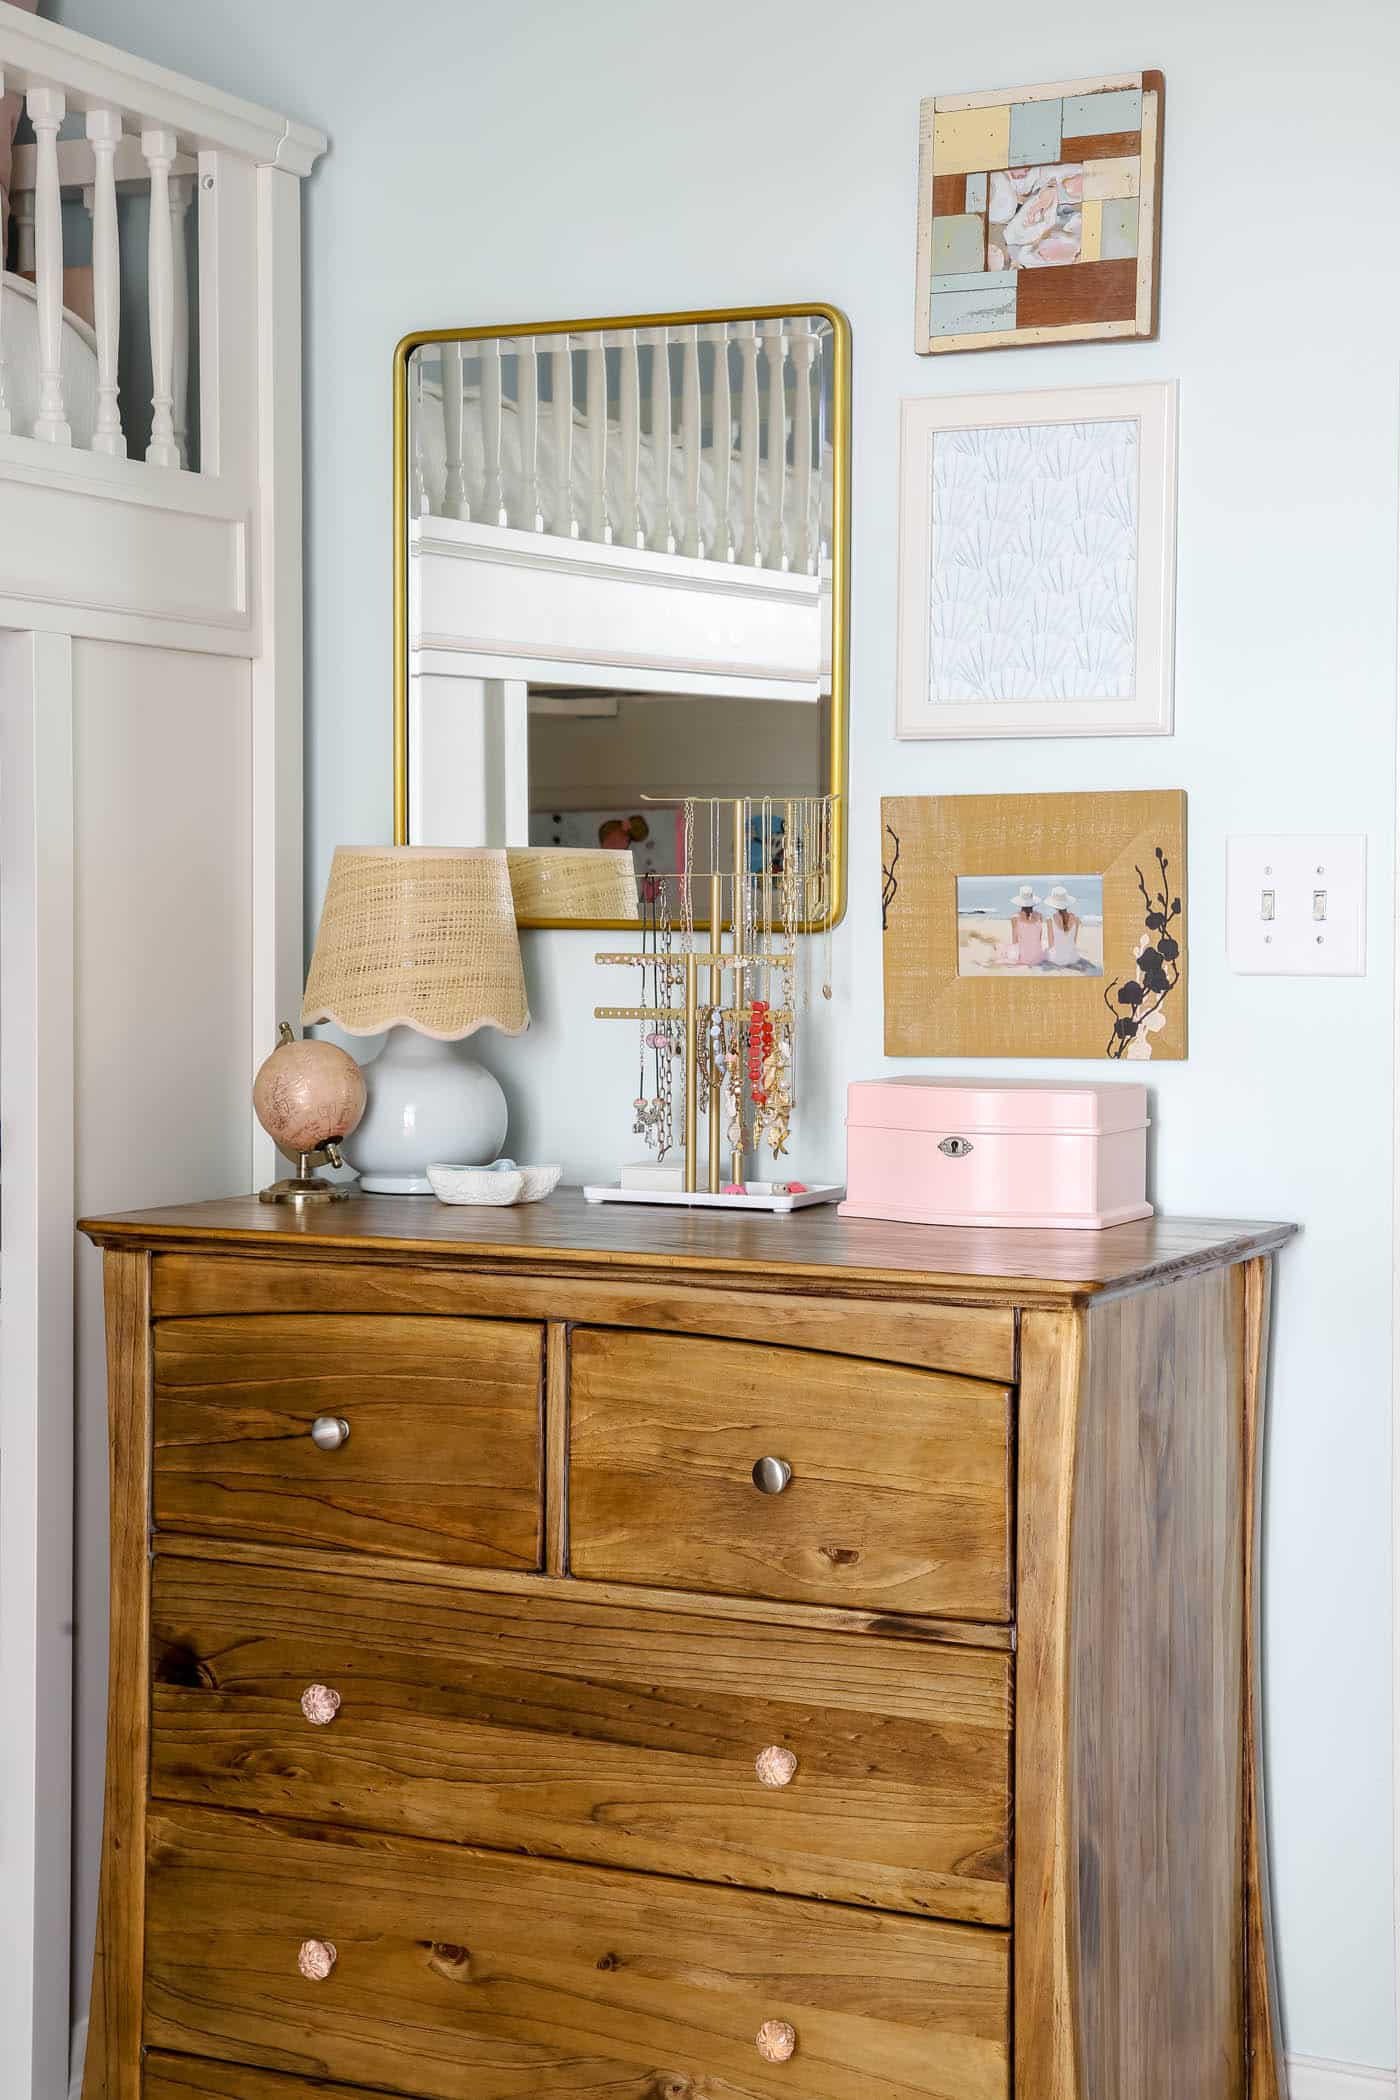
How to Refinish Wood Furniture

DIY Fall Hydrangea Wreath Using Faux Stems
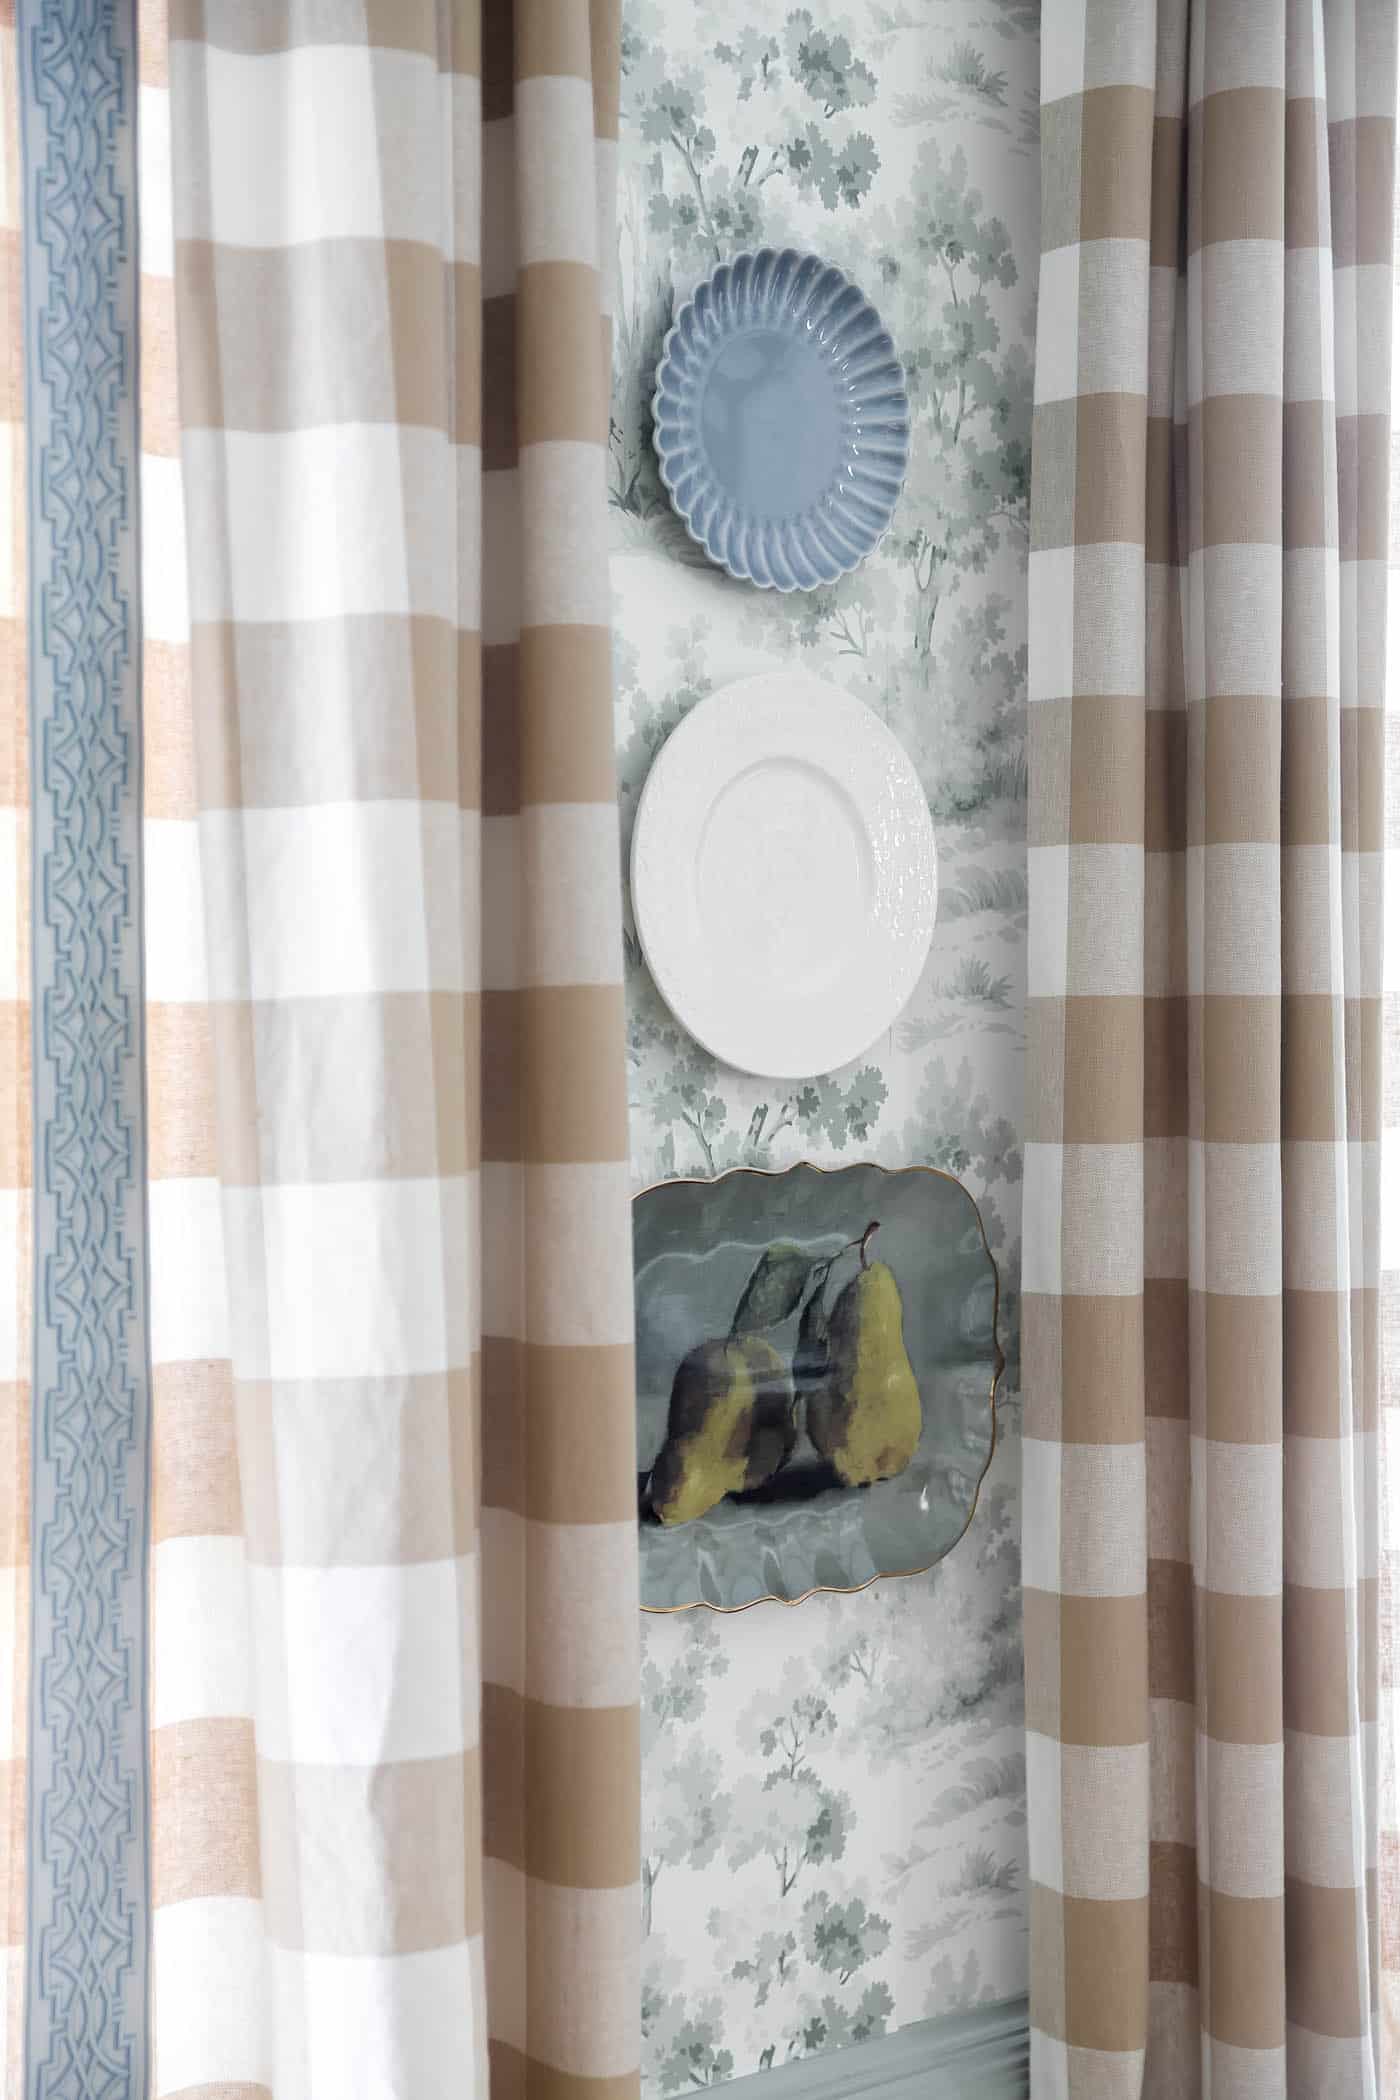
How to Hang Plates on a Wall
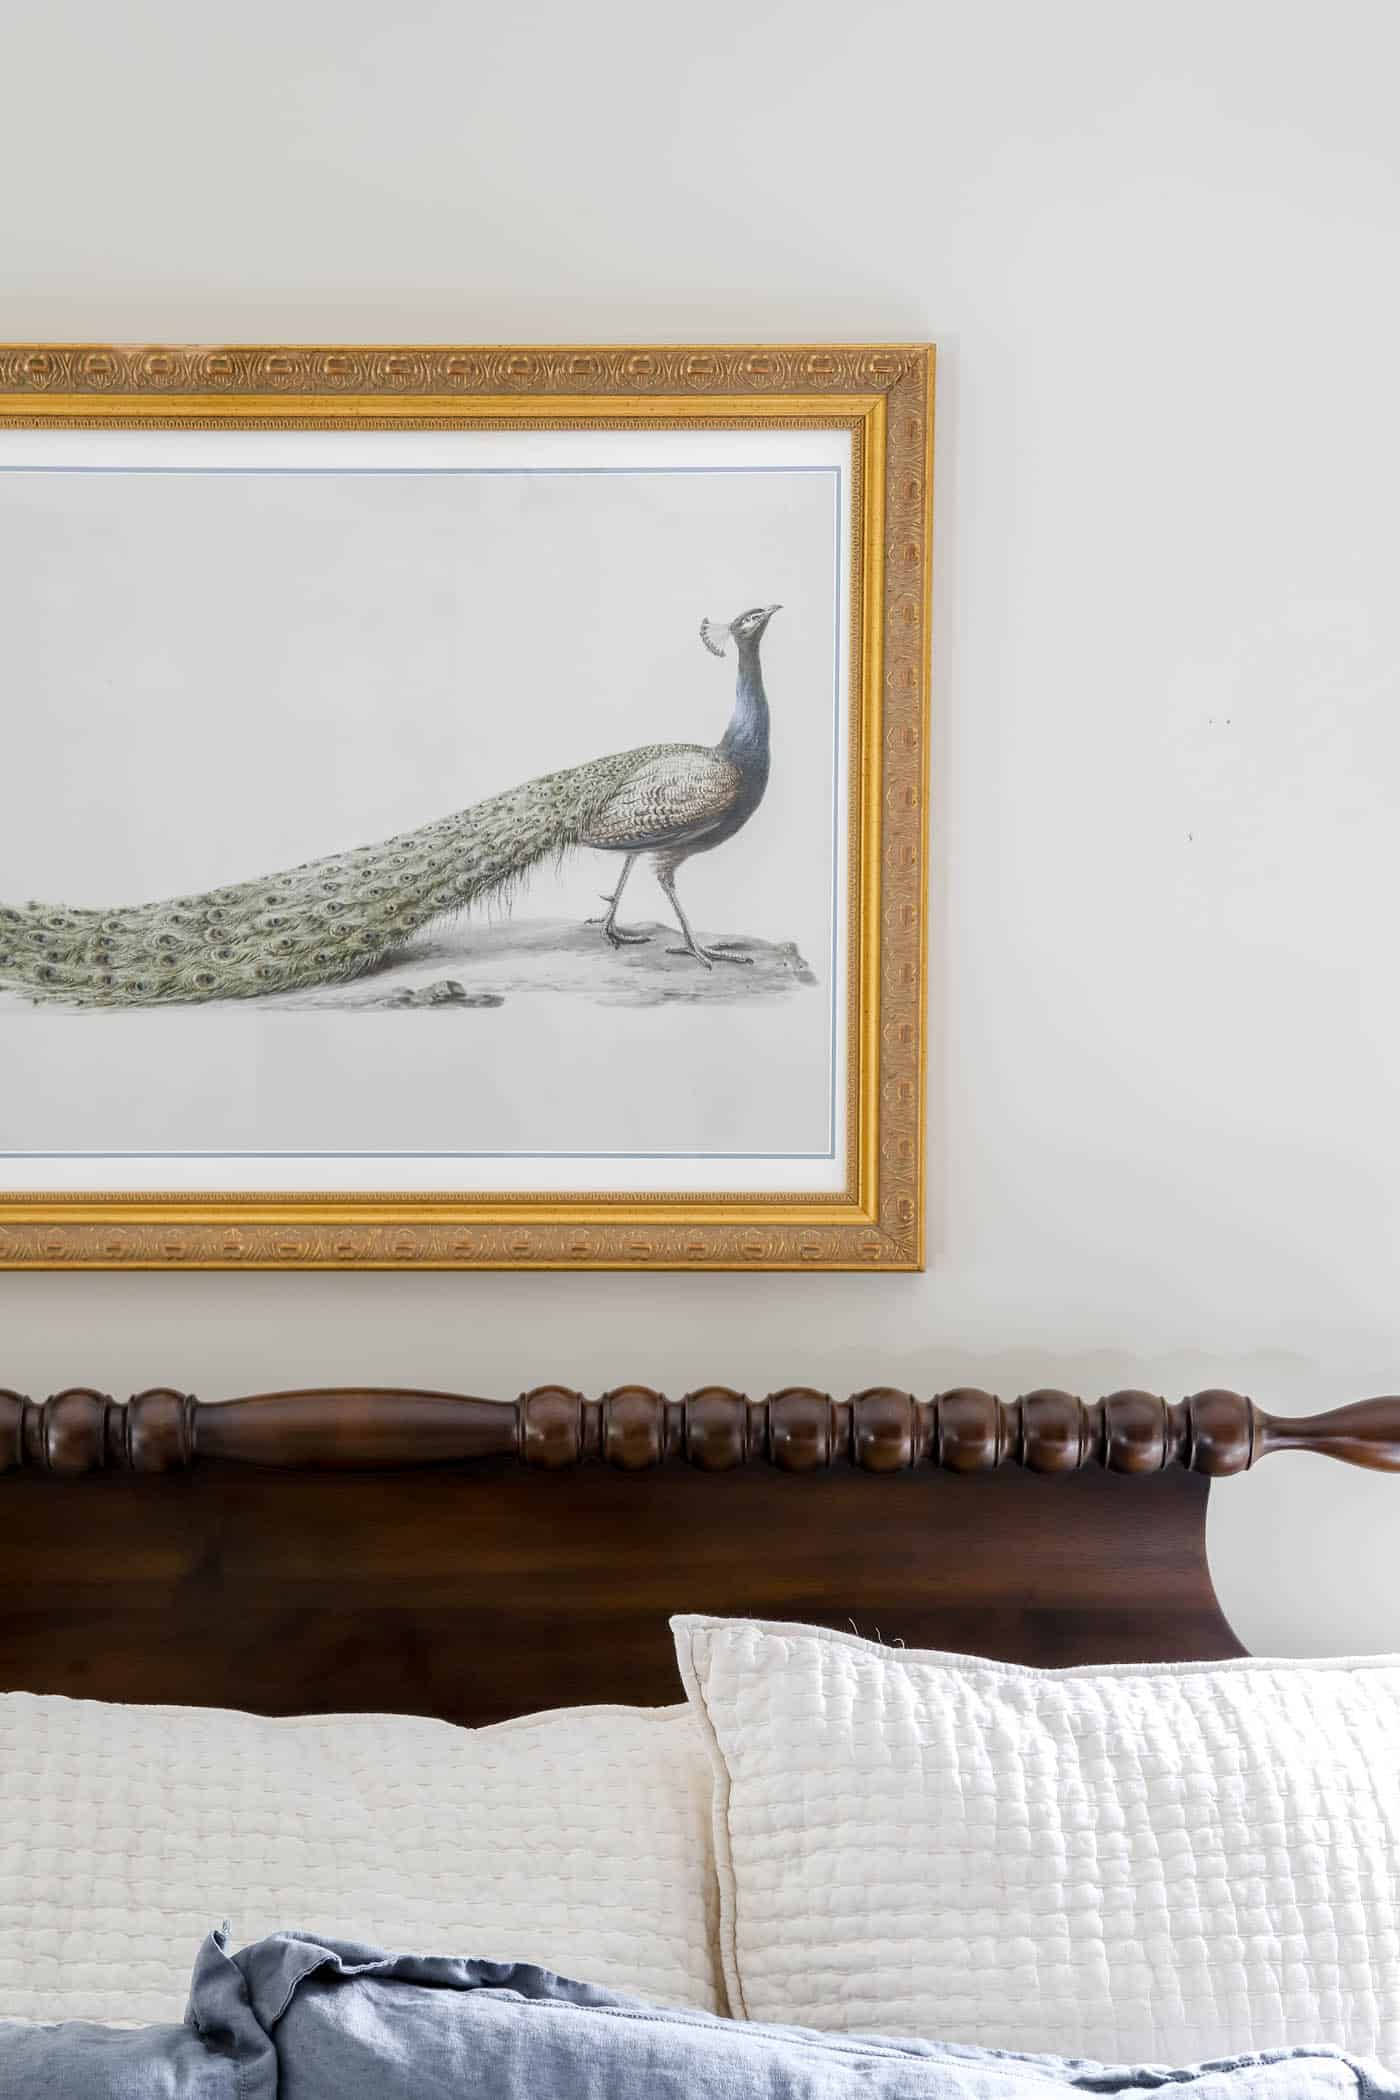
Trash to Treasure: Peacock Framed Art

DIY Chinoiserie Egg Wreath
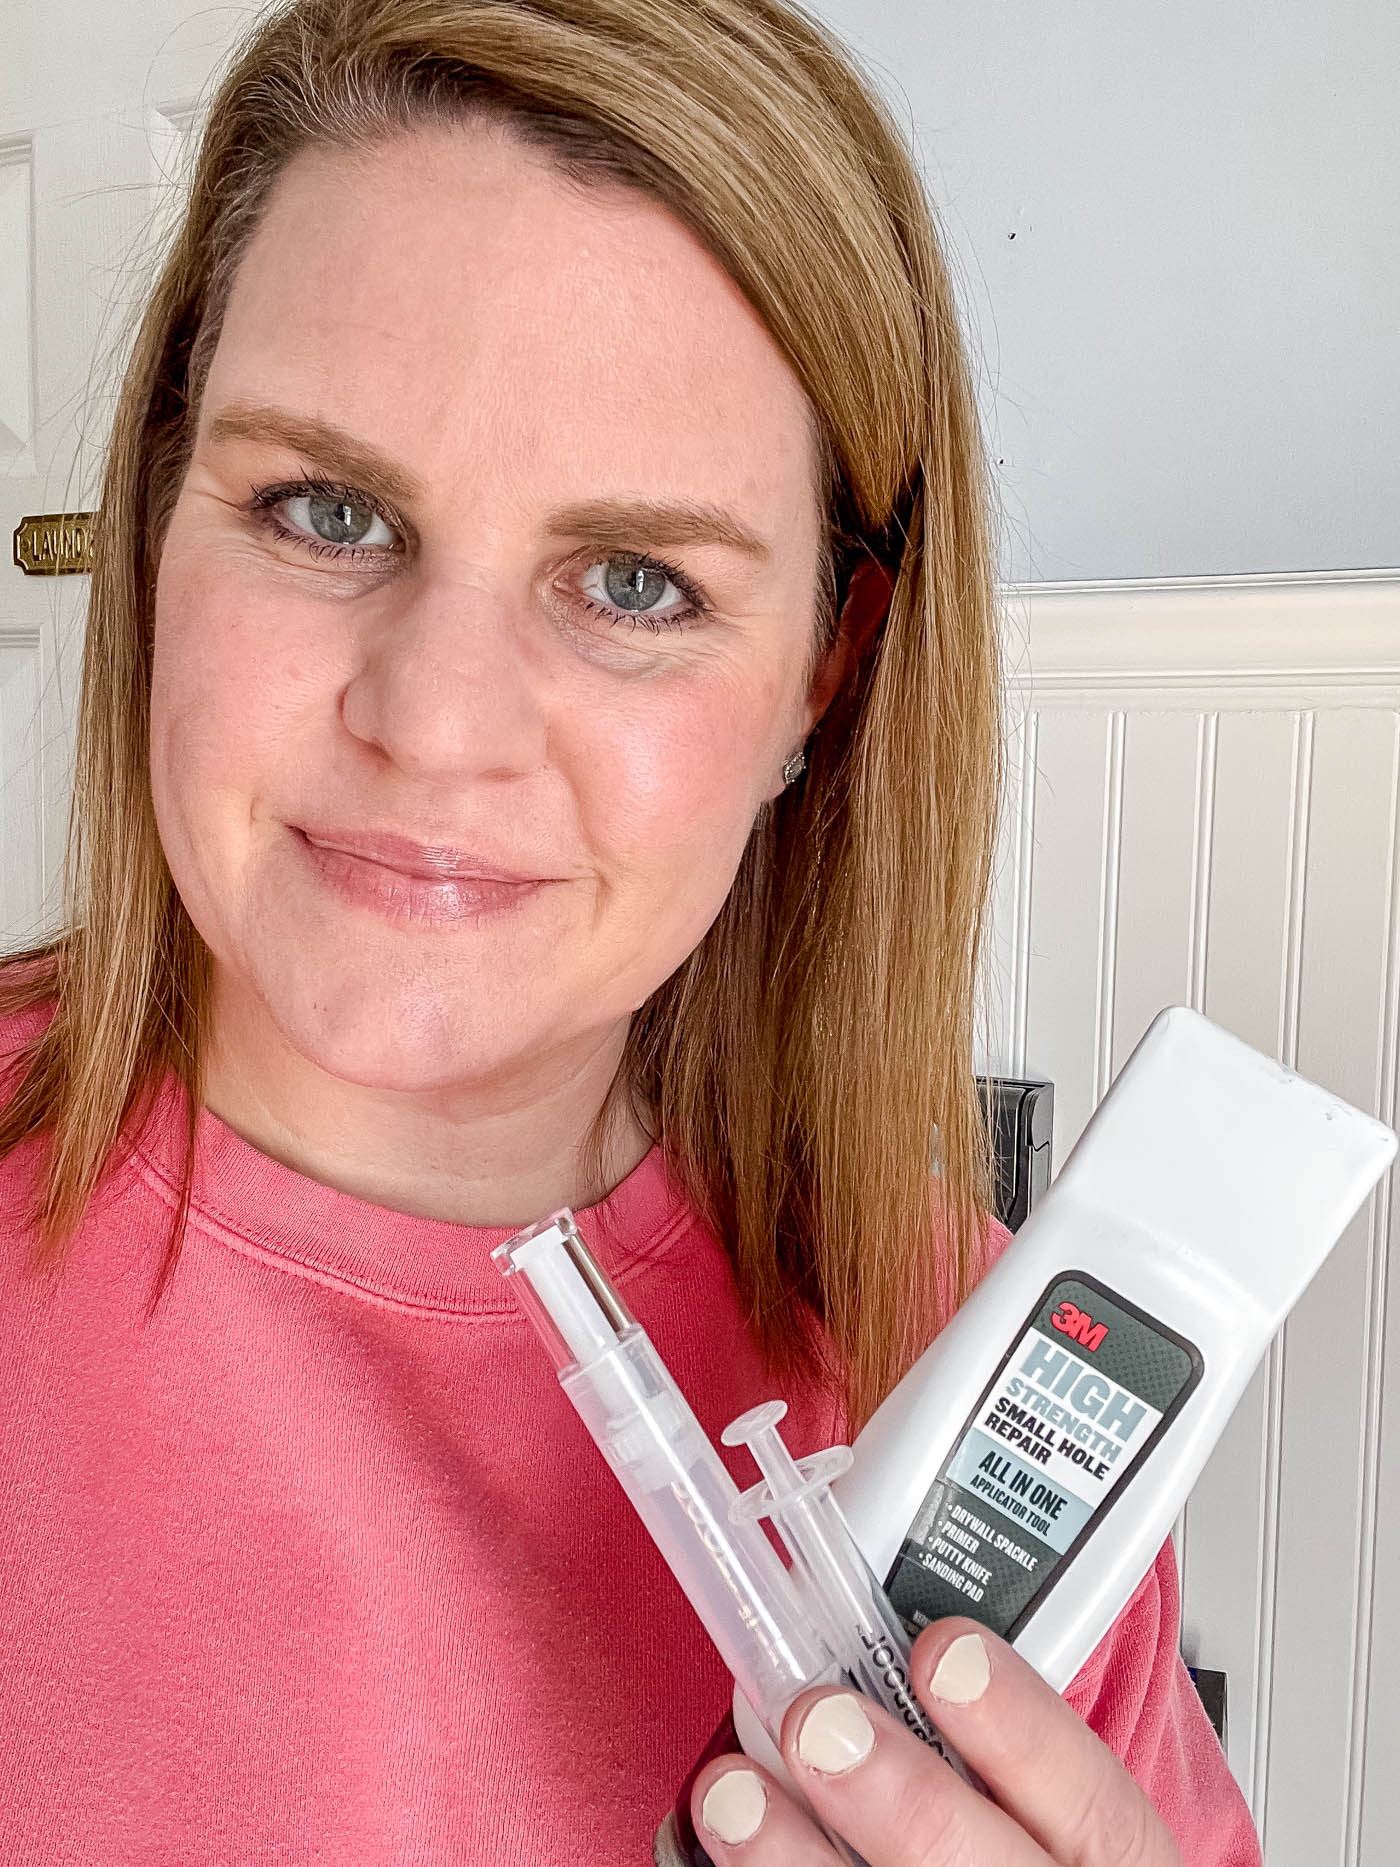
How to Patch a Small Hole in Drywall

How to Dry Orange Slices for Decorations and Crafts
...Read the Full PostShow More