Make a pillow cover from any image in 5 quick steps, using iron-on transfer paper and a bit of imagination!
Did you know you can take any image (including a gorgeous free printable) plus some iron-on transfer paper and turn it into a pillow cover? Or a t-shirt. Or anything made of fabric!
I'll show you how to make adorable pillows with a free printable and iron-on transfer paper in 4 easy steps!
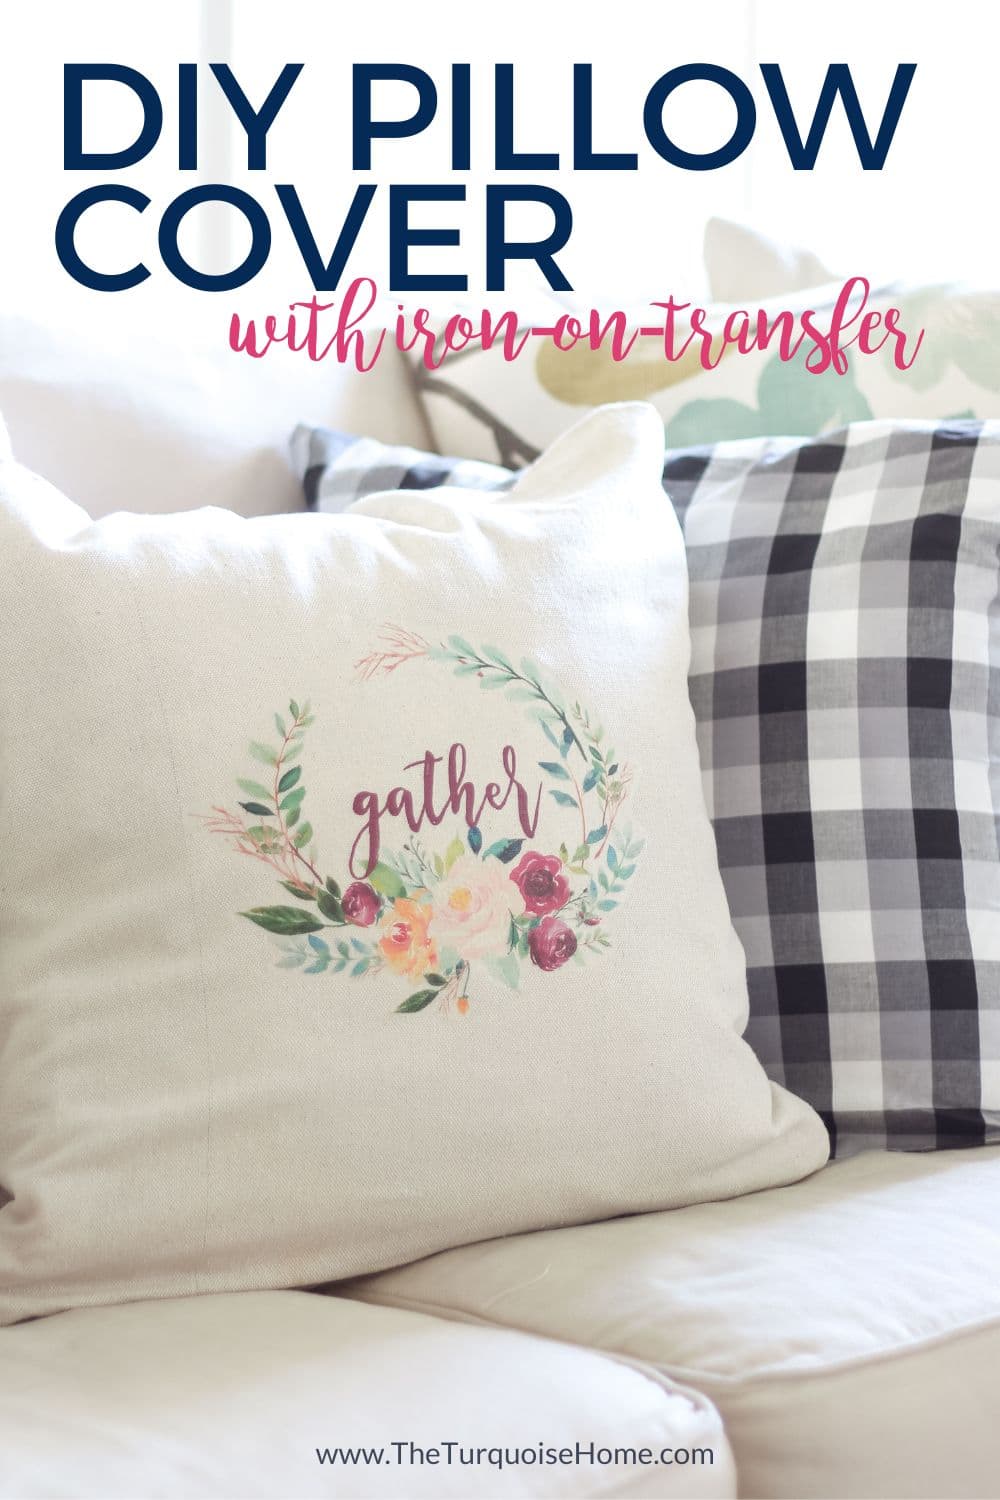
A friend recently introduced me to iron-on transfer paper, and I couldn't believe I'd never heard of this DIY craft! I thought I had seen everything in the DIY world, but this one was new to me, and I was excited to try it myself!
So I made some new free printables to test it out, and it couldn't have been easier. I love the results, and I know you will too!


Just grab your favorite image, whether it's one of the many free printables out there or anything you love, and let's get started!
Make a Blank Pillow Cover
You'll need to start with a blank pillow cover, but it's so easy to make your own! I used my simple DIY throw pillow tutorial and some drop cloth for the blank cover.

Supplies for a DIY Pillow Cover with Iron-On Transfer
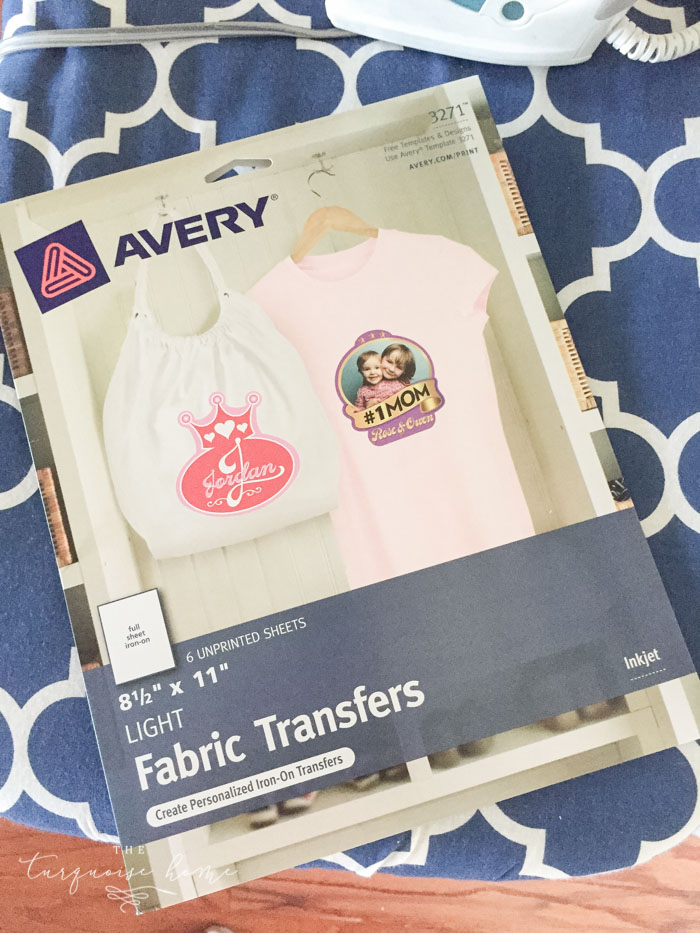
- Iron-On Transfer Paper – be sure to choose the version for light or dark fabric
- An image you want to transfer – I've included 3 fall printables here (and below), but you can browse my free printables here. (The image has to be mirrored for this to work! I use PicMonkey to mirror mine, but a quick Google search will show other ways. The printables below are already mirrored for you.)
- Iron
- Pillow Cover (or other fabric) – I made a pillow cover from drop cloth, and you can follow my pillow cover tutorial to make your own.
- Inkjet color printer – I recently bought this wireless color printer and love it! If you don't have a color printer, you can always have Staples or Office Depot print it for you. Just make sure it's an INKJET printer.
How to Make a Pillow with Iron-On Transfer Paper
1. Choose an Image
I've included 3 lovely free printables below, but you can pick your favorite image from anywhere! I have plenty of free printables to choose from here.
2. Mirror Your Image
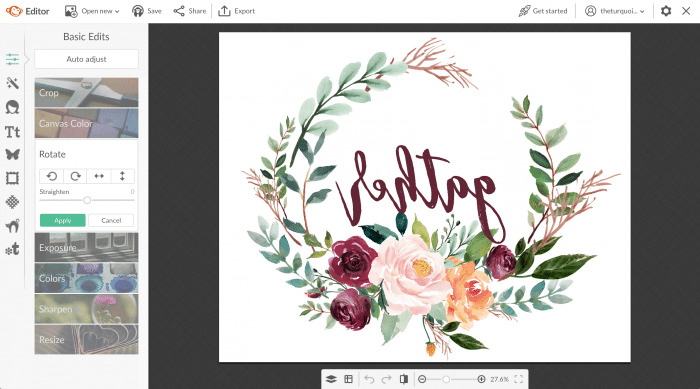
You'll need to reverse or mirror your image so it reads correctly when you iron it on. I mirrored mine using PicMonkey, but there are other ways too, and a quick Google search will show you. I've already mirrored the 3 images below for you, but you'll need to do it for any other images you want to use.
3. Print Your Image onto the Iron-On Transfer Paper
Be sure to use an inkjet printer if your transfer paper calls for one, as mine did. Follow the instructions on the transfer paper package carefully.
It really isn't hard, but make sure you know which side to print on so you don't waste any paper! I followed the instructions exactly and it worked great!
4. Iron the Transfer onto the Pillow Cover
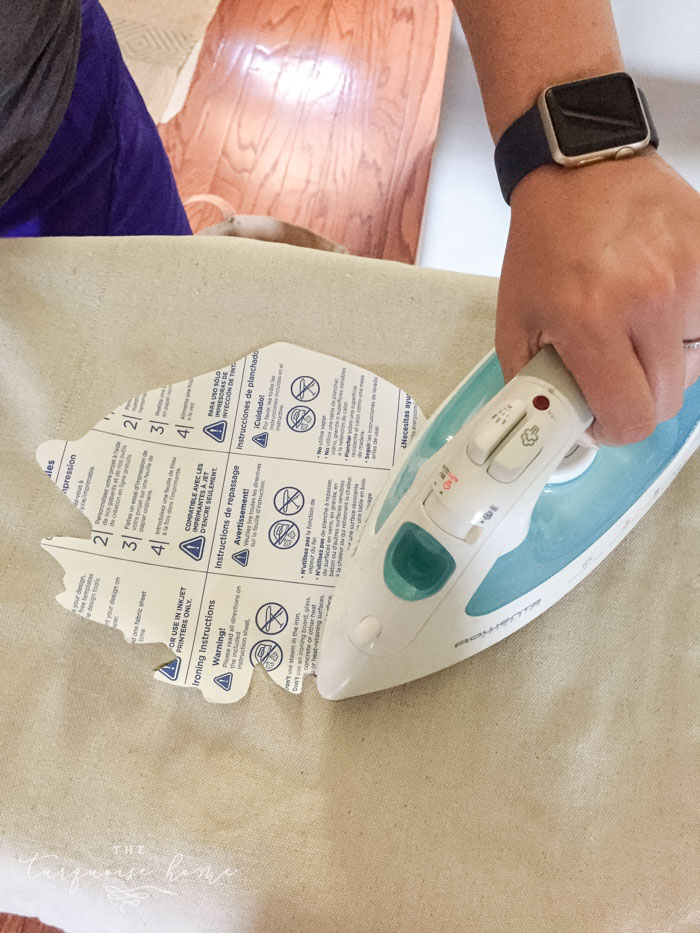
Once your image is printed (backward) on the transfer paper, place it in the center of your pillow (or t-shirt, or whatever you're using) and follow the instructions for ironing it onto the fabric.
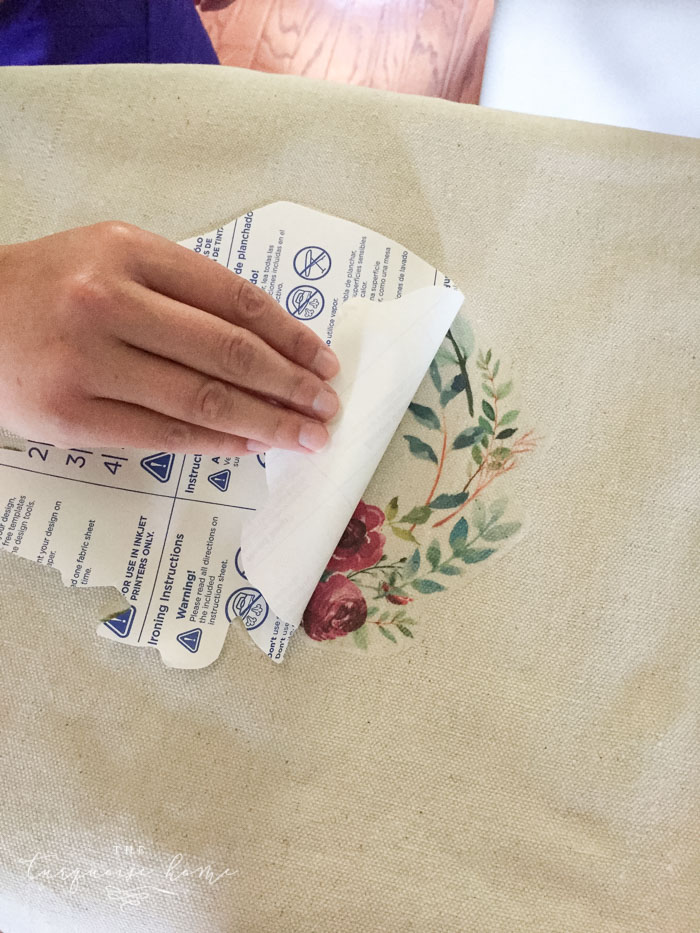
5. Remove the Transfer Paper
According to the instructions for the iron-on transfer paper I bought, once the paper is ironed onto the fabric, you can peel off the backing.
Now you have a gorgeous pillow cover with a one-of-a-kind design! I love it!!

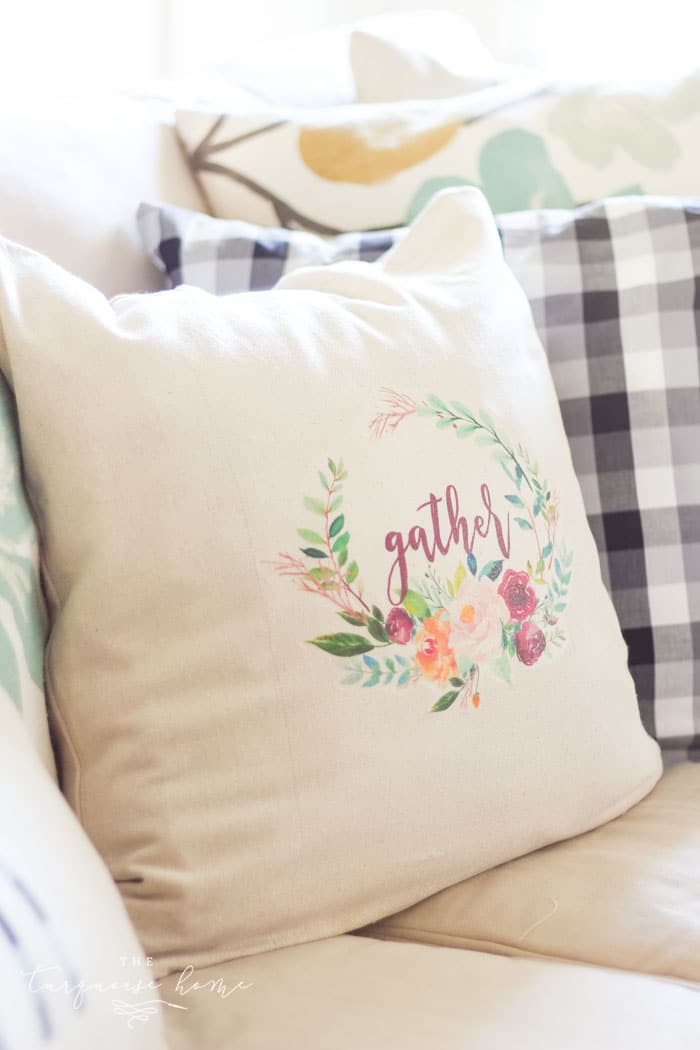
Free Fall Printables (mirrored for your project!)
I created 3 different free printables for you to try your new crafting skills on! I've already mirrored them, so you can use them for an iron-on transfer, or just print them on regular paper and pop them in a frame. Up to you!!
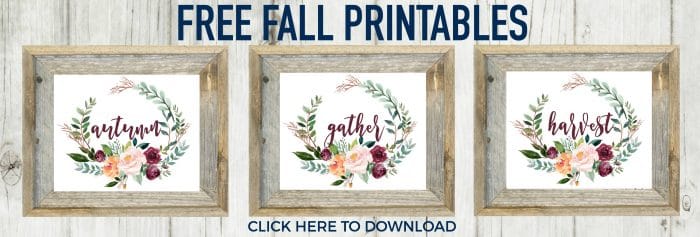
Tap here to grab the free fall printables
Enjoy your fall printable and your new pillow cover! I know you'll love it!
More Posts You Will Love: