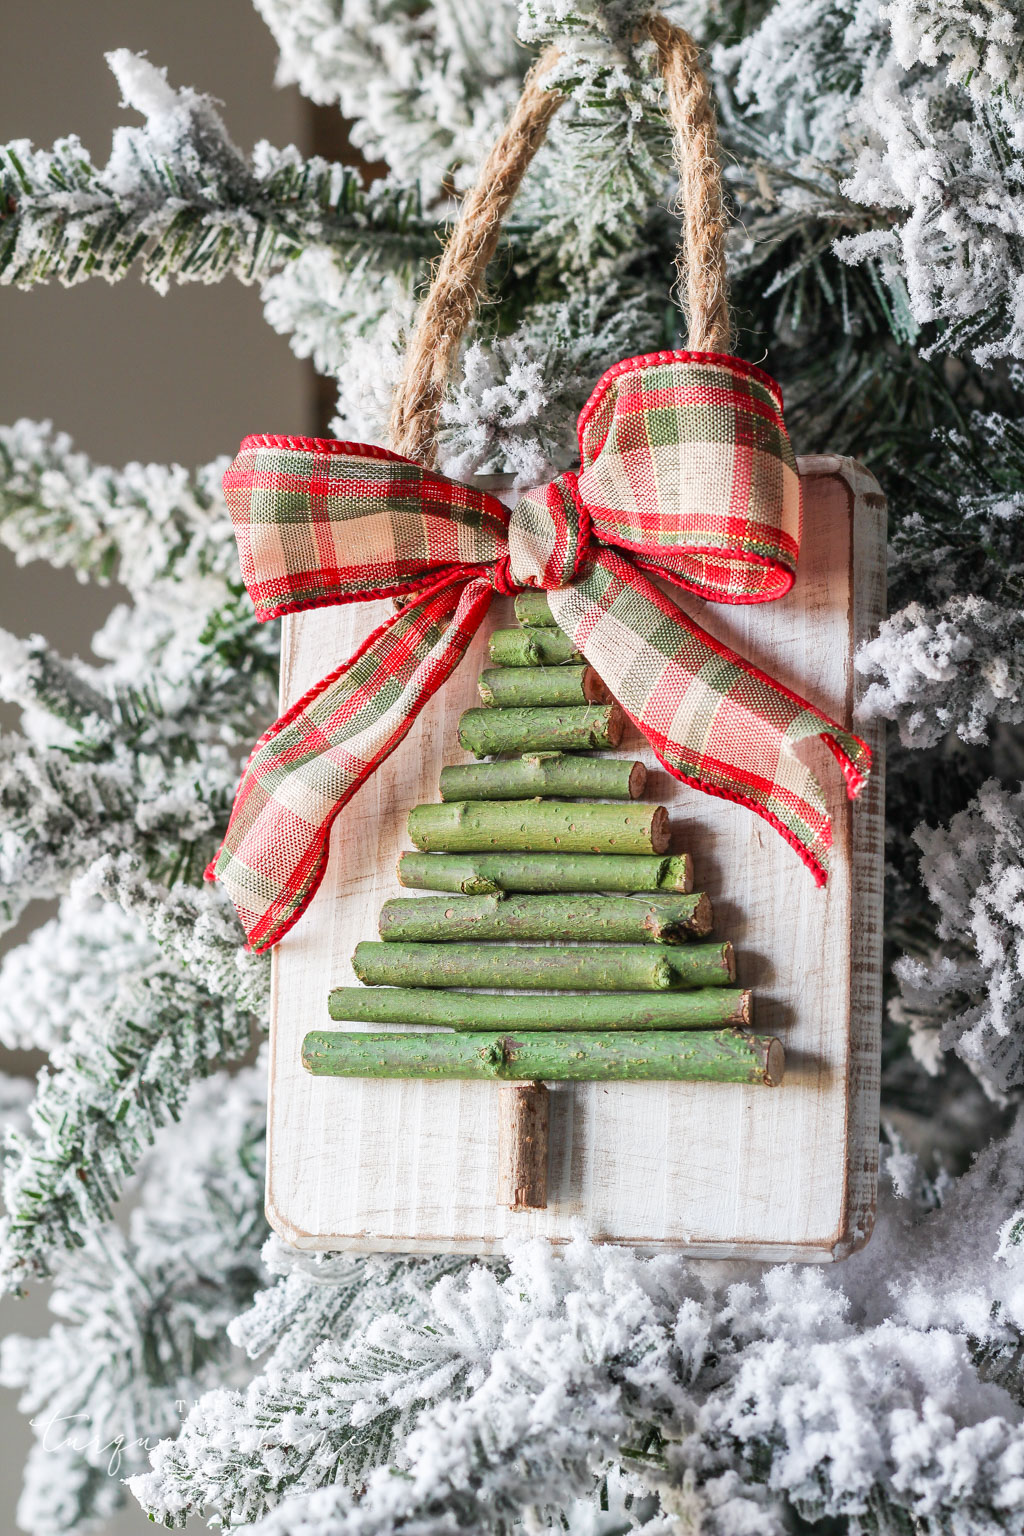
This DIY twig Christmas tree ornament is simple and cute! Dress it up with a bow or a star on top for extra pizzazz. And it's so easy the kids can help make one!
My daughters each made one (with a little help from me), and they all turned out so cute!
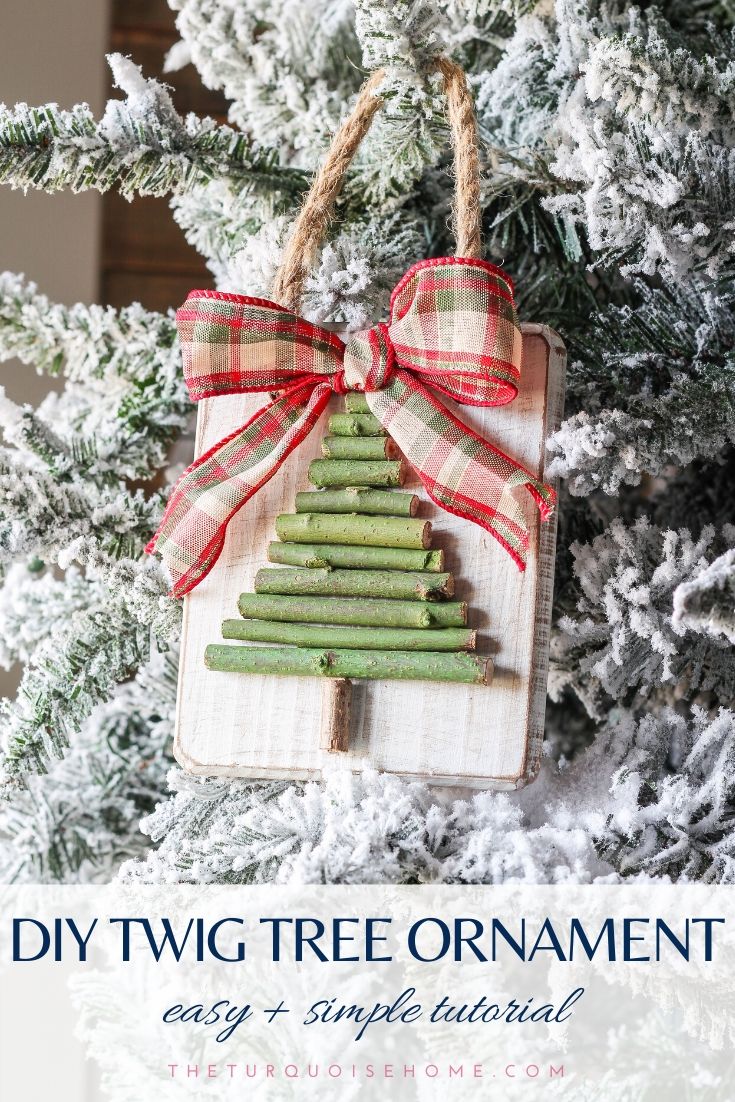
You could easily make this with a scrap piece of wood, drilling holes for some twine, then gathering twigs from your backyard. So you can get as fancy or budget-friendly as you like.
Add a bow or glittery star to the top, or any Christmas embellishment your heart desires. And it doesn't even have to go on a tree. I know some people just don't like

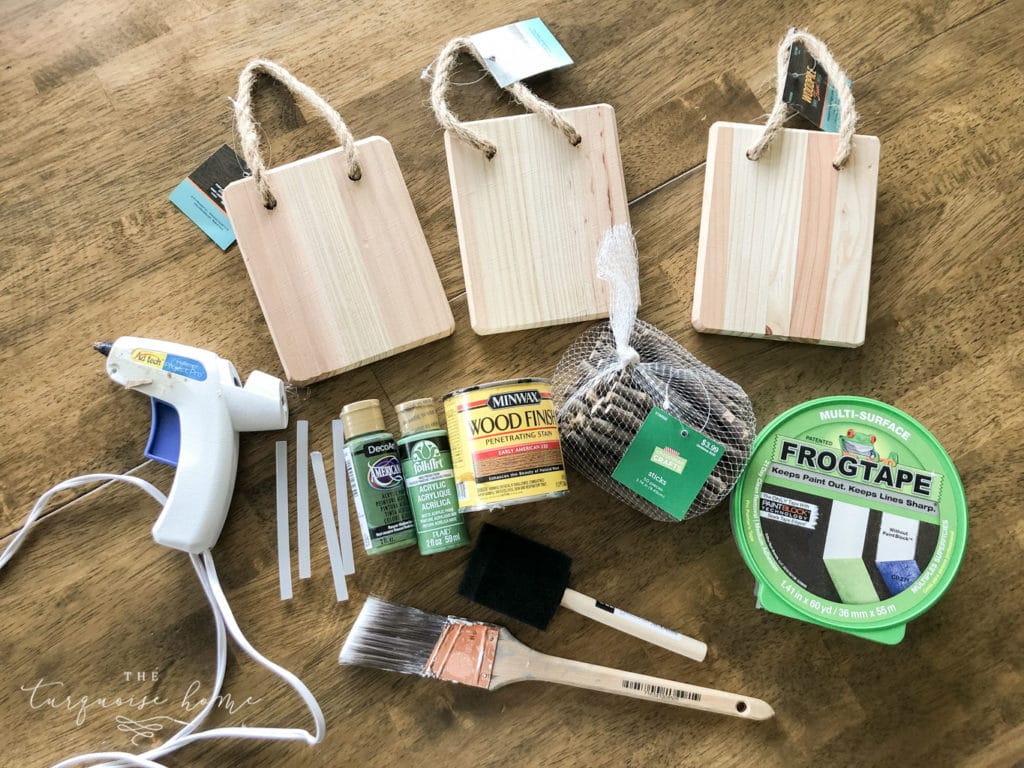
Supplies You'll Need to Make a Twig Ornament
- Natural wood plaque with rope hanger
- Wood craft twigs
- Glue gun & glue sticks
- Stain – I used Early American by Minwax
- White paint – I used Simply White by Benjamin Moore
- Fine sandpaper
- Paint brush
- Foam brush
- Green paint
- Hand saw
- Painter's tape
How to Make a Twig Tree Ornament
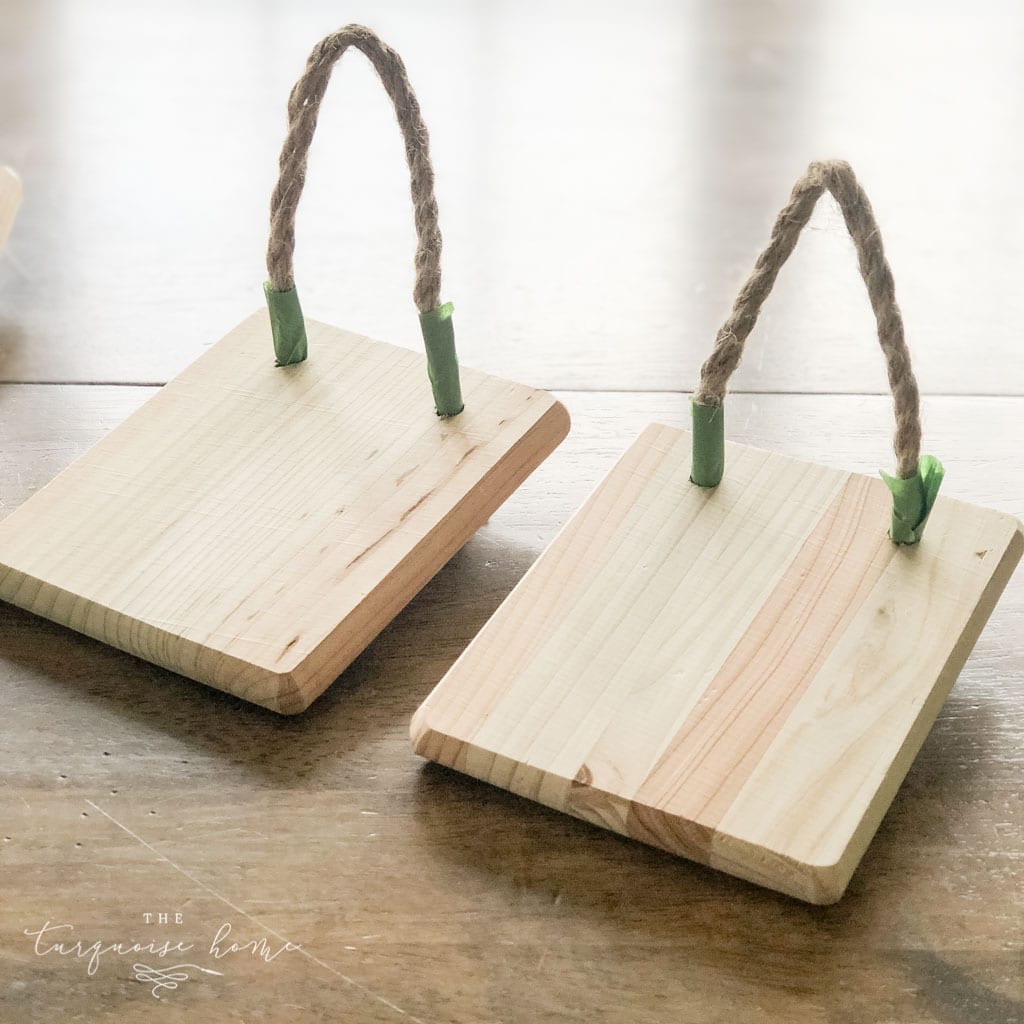
1. Tape Off the Jute Rope
If you bought the same board with jute rope that I used, use painter's tape to cover the spot where the rope meets the board in front. This keeps stain and paint off of it!
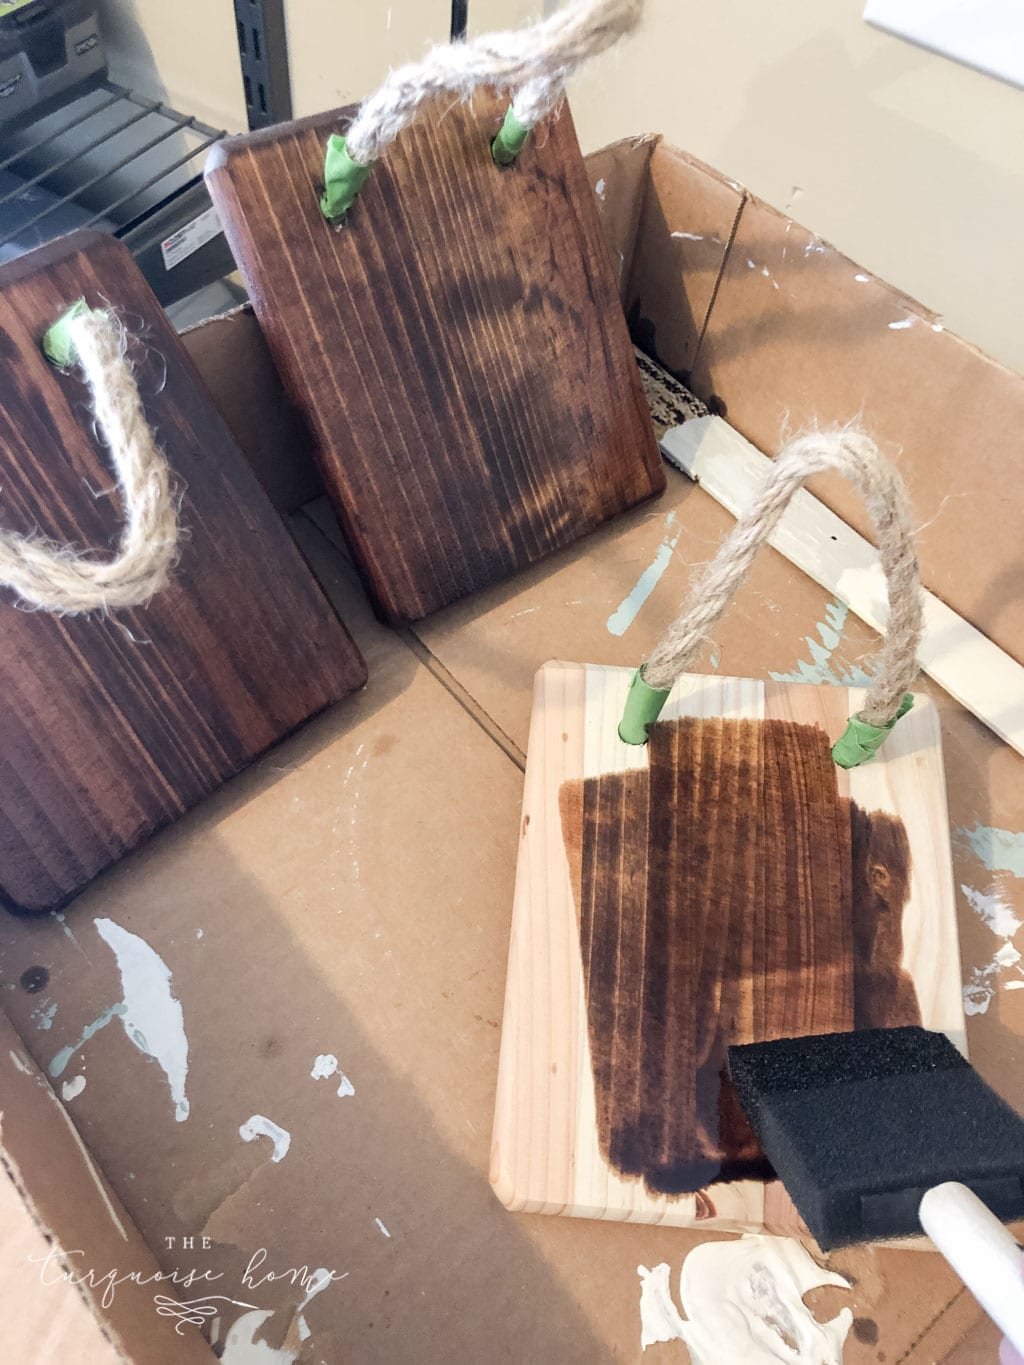
2. Stain the Board/Plaque
Wait for the stain to dry. I'll be honest, I didn't have time to wait the 8 hours the can recommended. But I waited about 45 minutes until it was dry to the touch, so I moved on to the next step.
3. Cut the Twigs
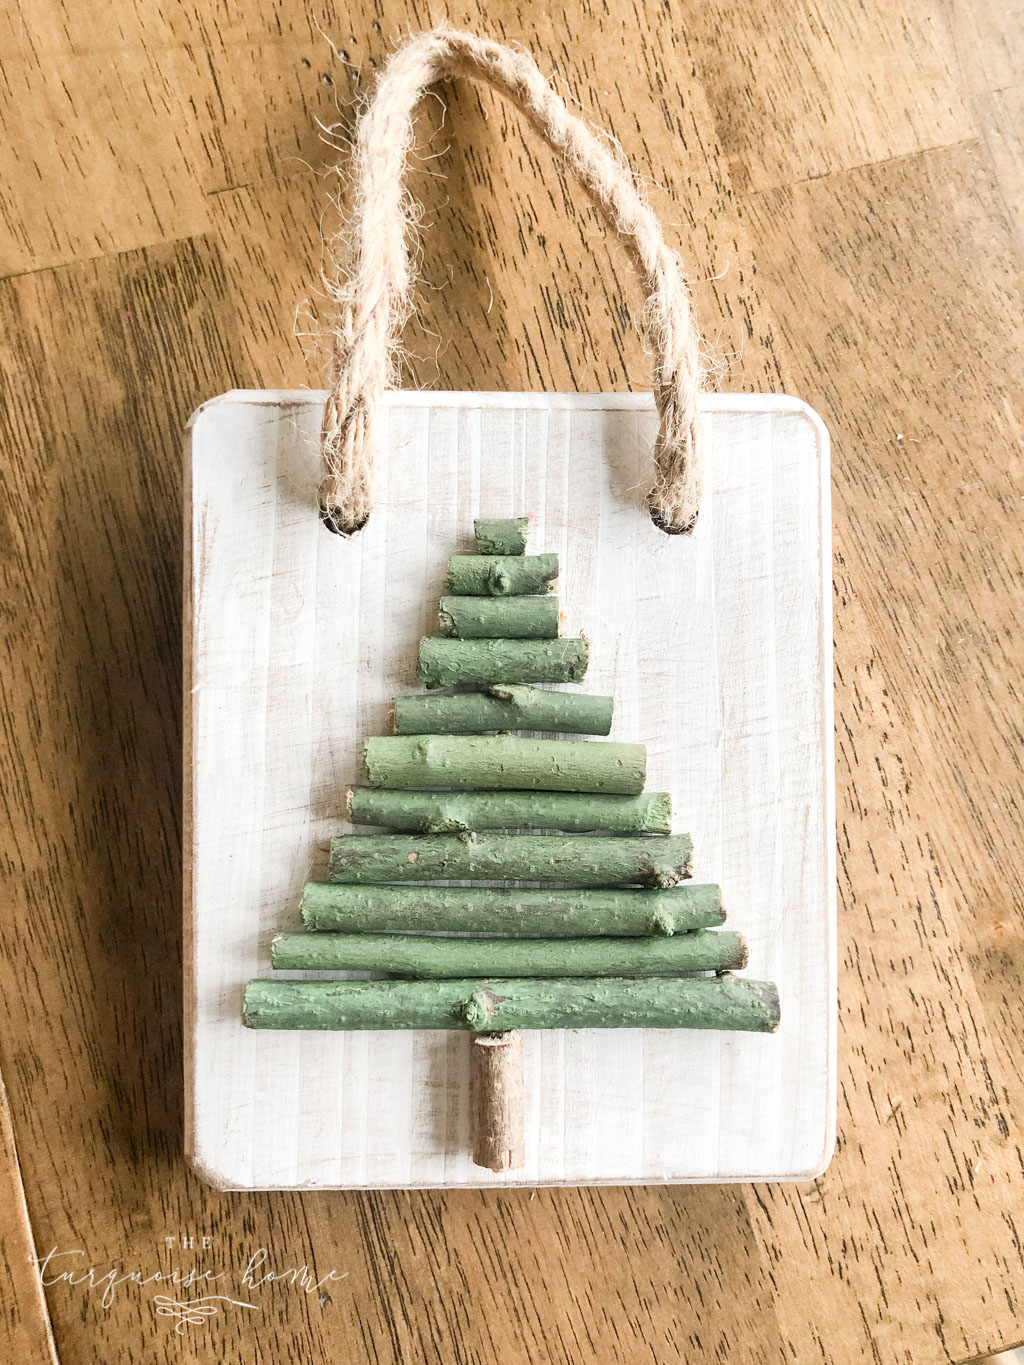
Do this step while the stain is drying. The twigs I bought were 3.75 inches long, which was perfect for the base of the tree. Then I gradually cut each one a little shorter until I had enough, which turned out to be 11 per tree. Then I cut a short twig for the stem. I used a hand saw to cut halfway through each twig, then used my floral wire cutters to finish the cut.
4. Paint the Board/Plaque
I used the white paint I had on hand: Simply White by Benjamin Moore. I put one coat on and let it dry for about an hour.
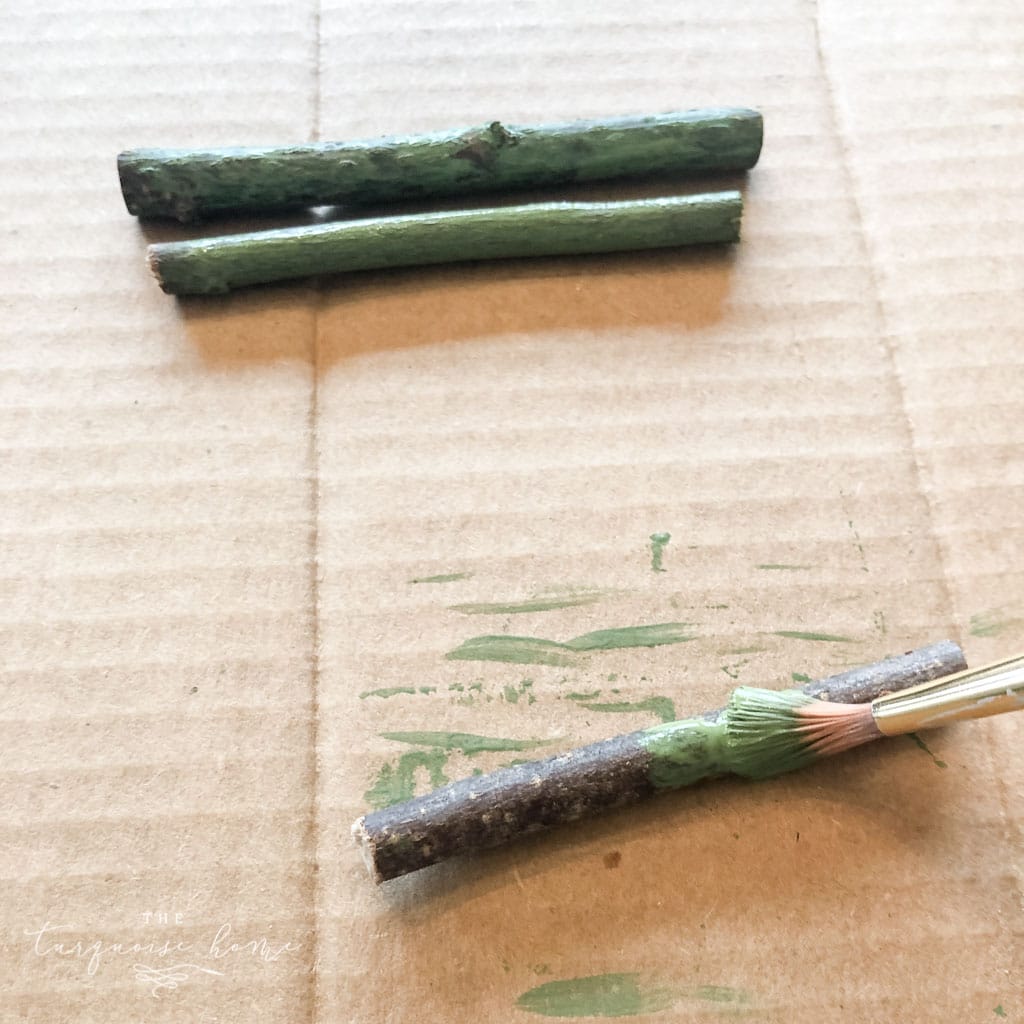
5. Paint the Twigs
Do this step while the paint dries on the board. I used a craft paint color called Hauser Medium Green by DecoArt for my twig trees, brushing it on lightly. My youngest daughter gave her twigs a full coat of paint, and that's cute too. So paint them however you like!
6. Optional: Distress the Board/Plaque
I just sanded around the edges of the board with fine grit sandpaper to rough it up a little. Wipe off any leftover paint dust.
7. Glue the Twigs to the Board
I placed all of the twigs on my board first and got them right where I wanted them, then glued them down one at a time with a hot glue gun.
8. Add Embellishments
I made some little bows out of ribbon I already had. It just needed a little something extra, but it's super cute plain too. I also thought about getting small wooden craft stars and painting them glittery gold to go on top of the trees. Be creative and dress it up however you like!
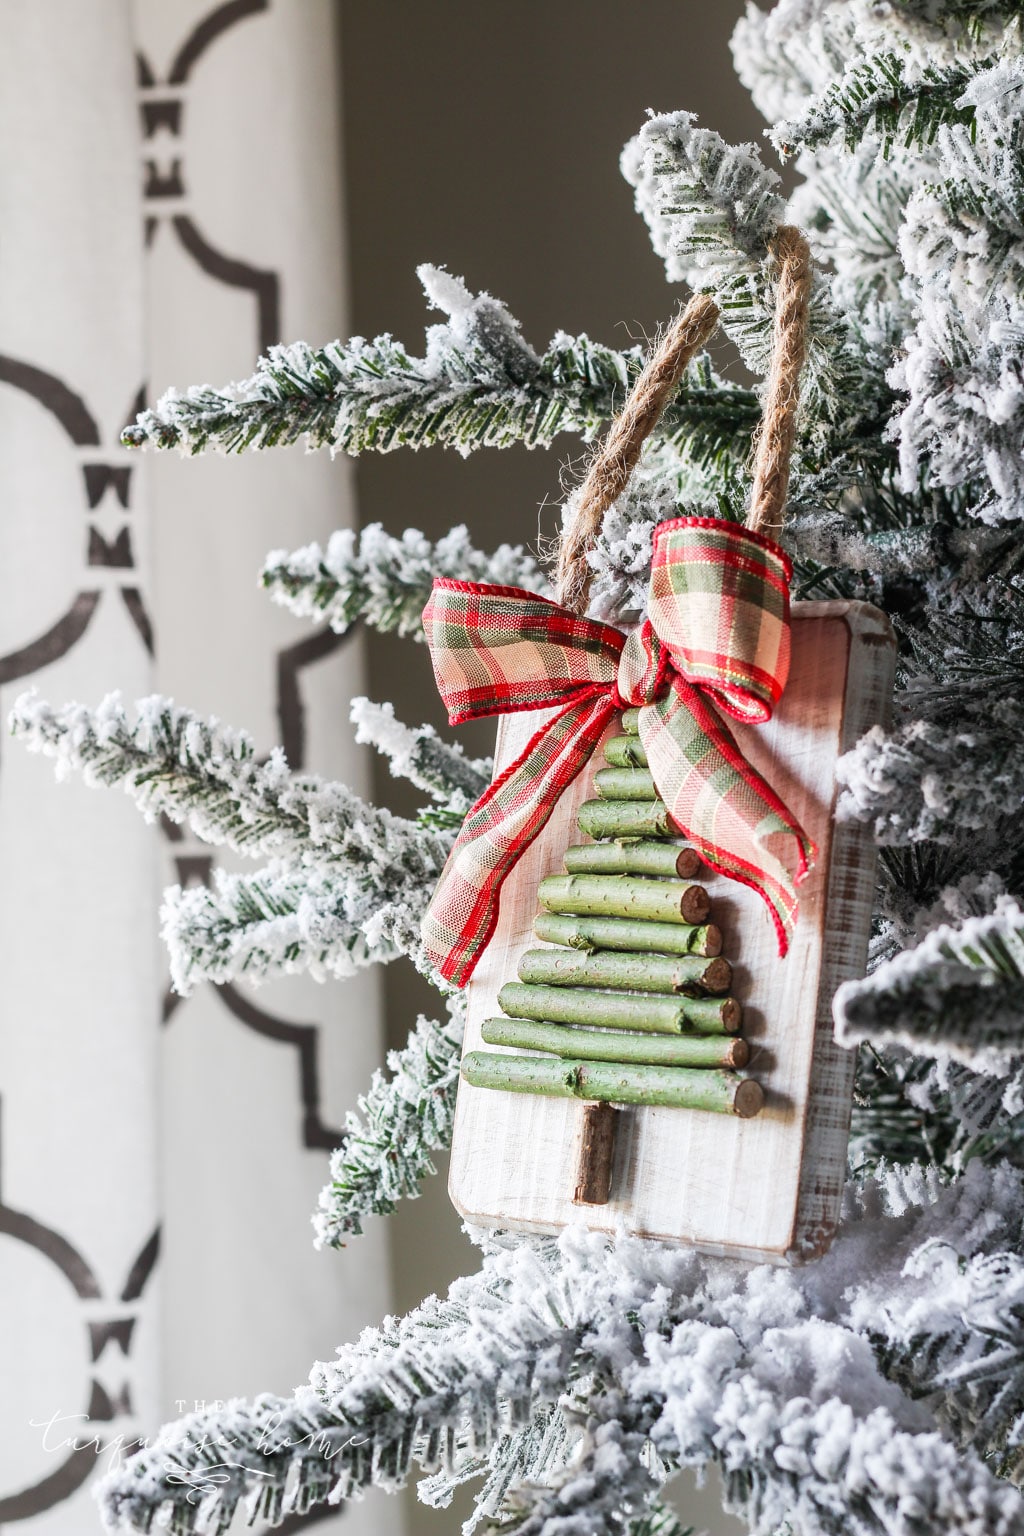
That's it! Your twig tree ornament is done. These are big enough to hang on the wall or use as decor in a vignette. I think it would also look cute hanging in the middle of a wreath. I know some people are funny about putting decorations on a Christmas tree, so put yours wherever you'll love it most!
Happy crafting!!
More Posts You Will Love: