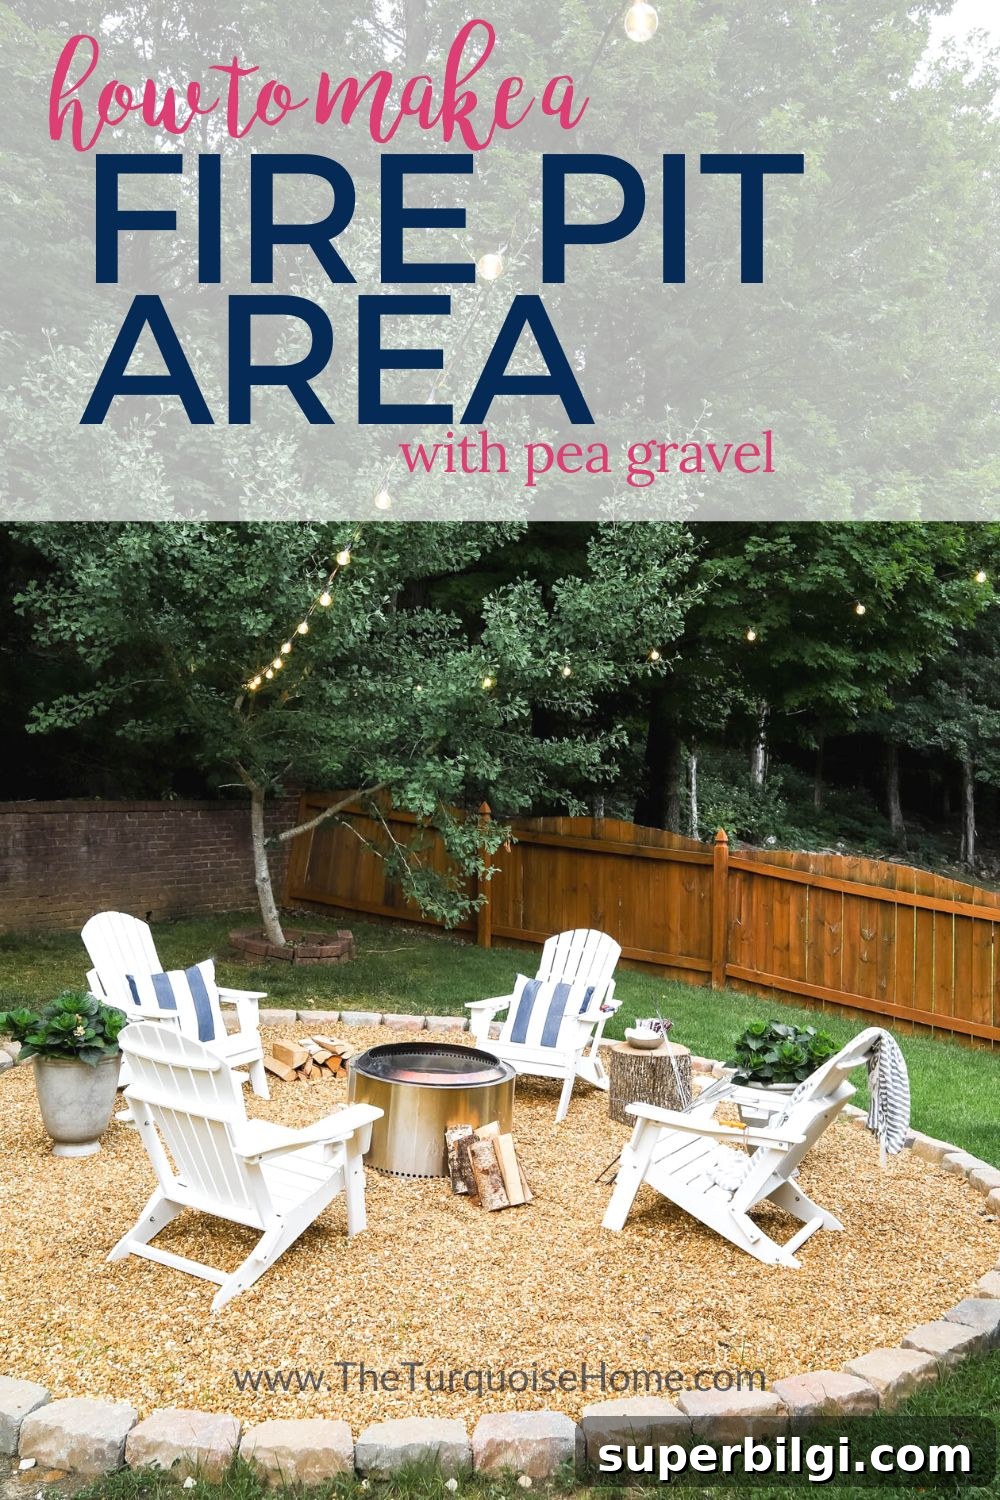
A DIY fire pit area is a wonderful way to create a cozy, inviting outdoor space at home. Use this straightforward tutorial to build your own comfortable gathering spot.
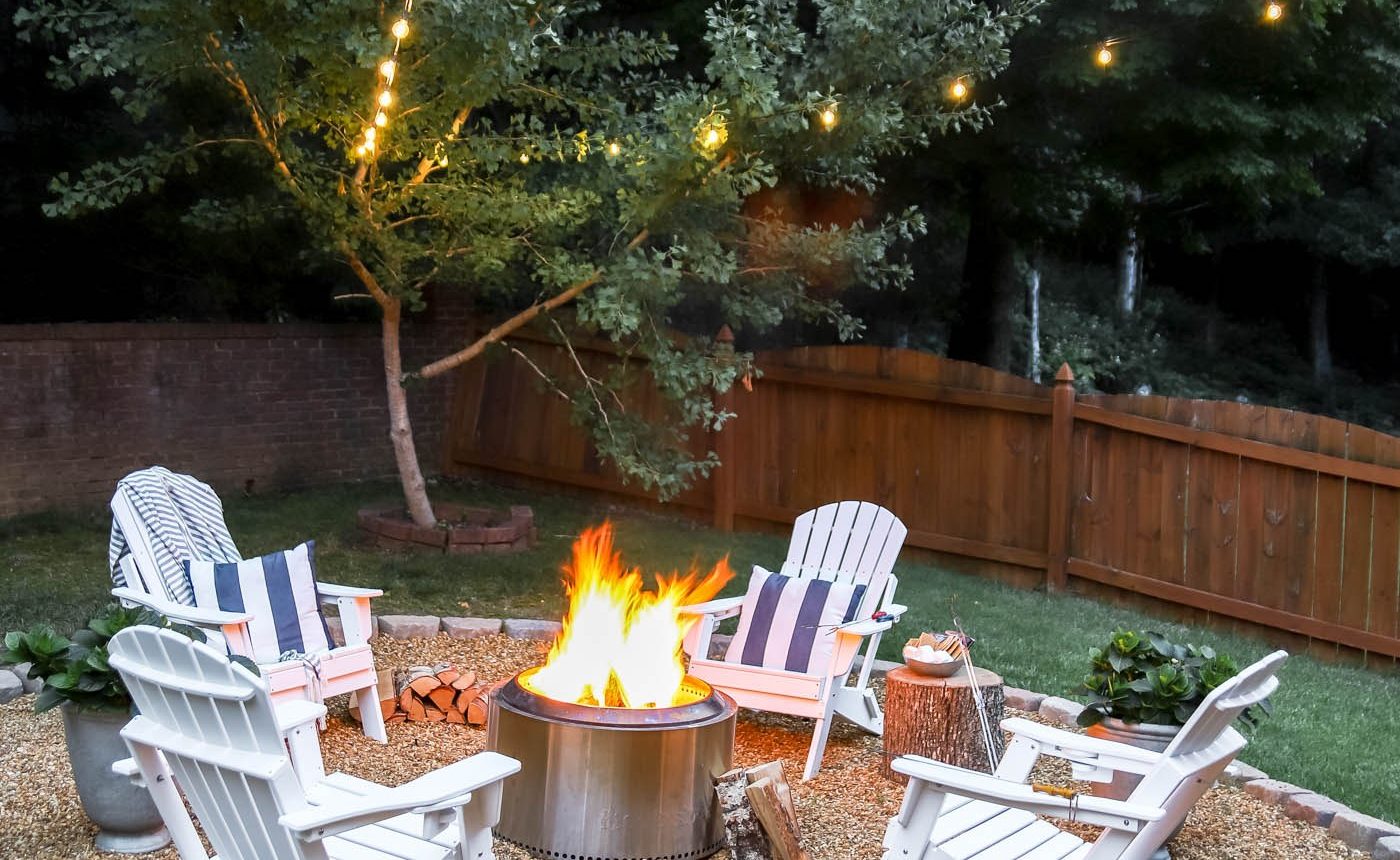
A few years ago I shared several DIY fire pit ideas, but now that our yard has more usable space, I wanted to walk you through how we created the full fire pit area around the fire pit itself.
This post references products we like for convenience and clarity.
We eventually decided not to build a permanent pit and instead bought a smokeless fire pit—the Solo Stove—which we’ve used for years. It’s portable, simple to set up, and we love that we don’t come away smelling like smoke after a night of s’mores.
When we moved into our current home, we traded a large yard for a smaller, more private, half-wooded backyard. We initially squeezed our previous yard items into the smaller space; the trampoline was the biggest eyesore but proved handy during quarantine. Recently, after bringing home a puppy and spending more time outside, we wanted the yard to be prettier and more functional for family gatherings. Once the trampoline was gone, the bare spot it left behind proved to be the perfect location for a dedicated fire pit area.
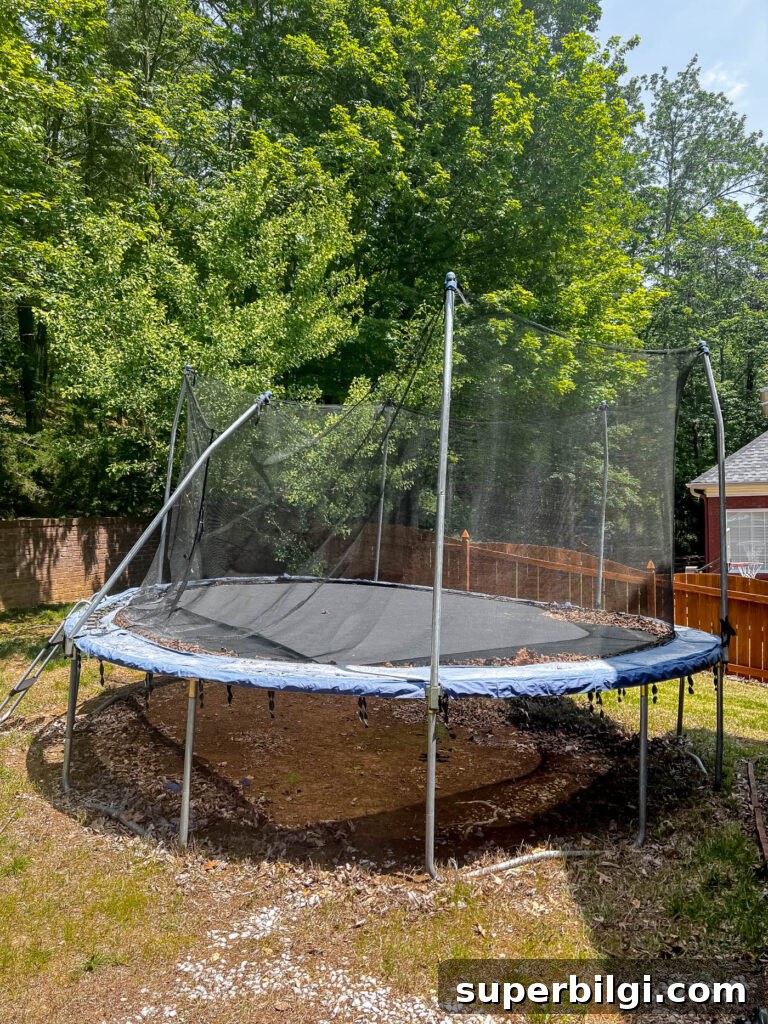
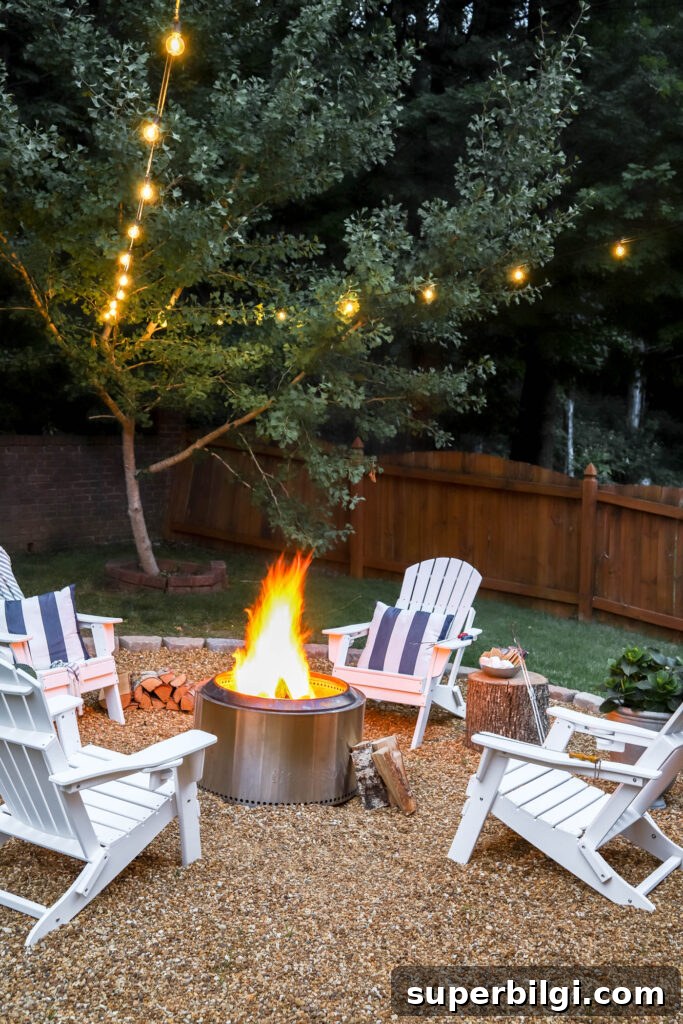
Here’s how we transformed that bare patch into a s’more-ready backyard hangout. This DIY is simple, affordable, and delivers a big payoff in family time and outdoor enjoyment.

Supplies You’ll Need for a Fire Pit Area
- Weed eater & weed killer
- Landscaping fabric and stakes
- Stake and string
- Light-colored spray paint
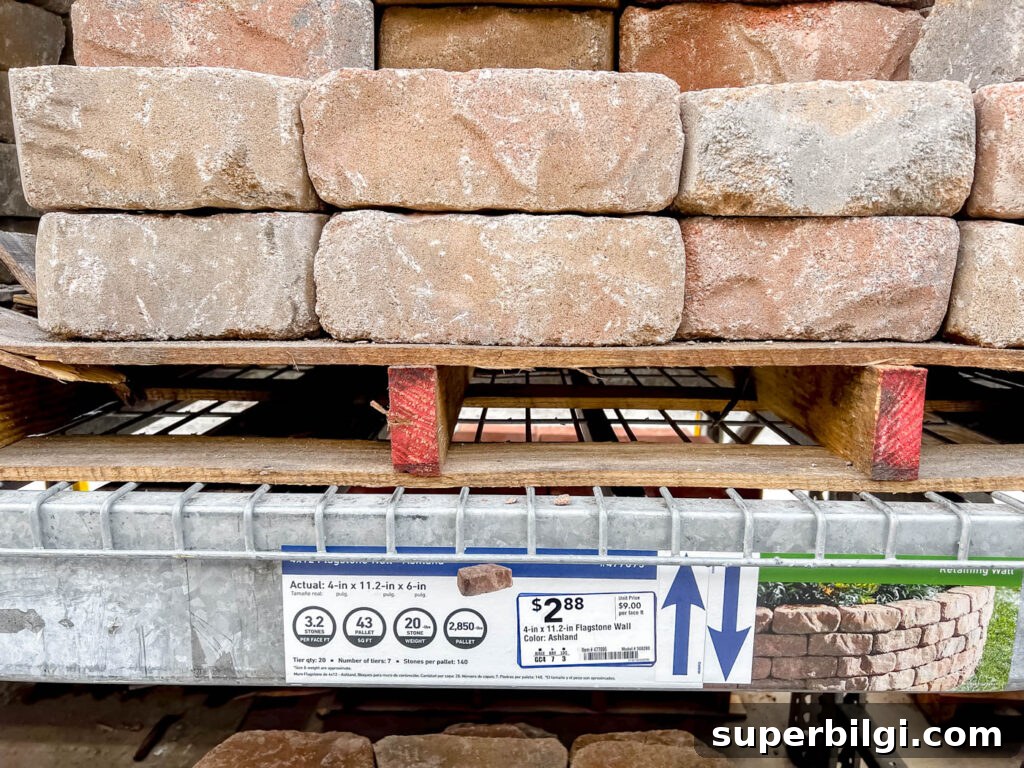
- Pavers or border stones for the outer edge (we used flagstone blocks)
- Construction adhesive
- Pea gravel
- Rake or shovel
- Wheelbarrow (optional but helpful)
- Fire pit — portable pit, smokeless unit like the Solo Stove, or a built kit
- Adirondack chairs or other outdoor seating
- Optional: string lights, pillows, potted plants and other décor
Things to Consider Before Starting
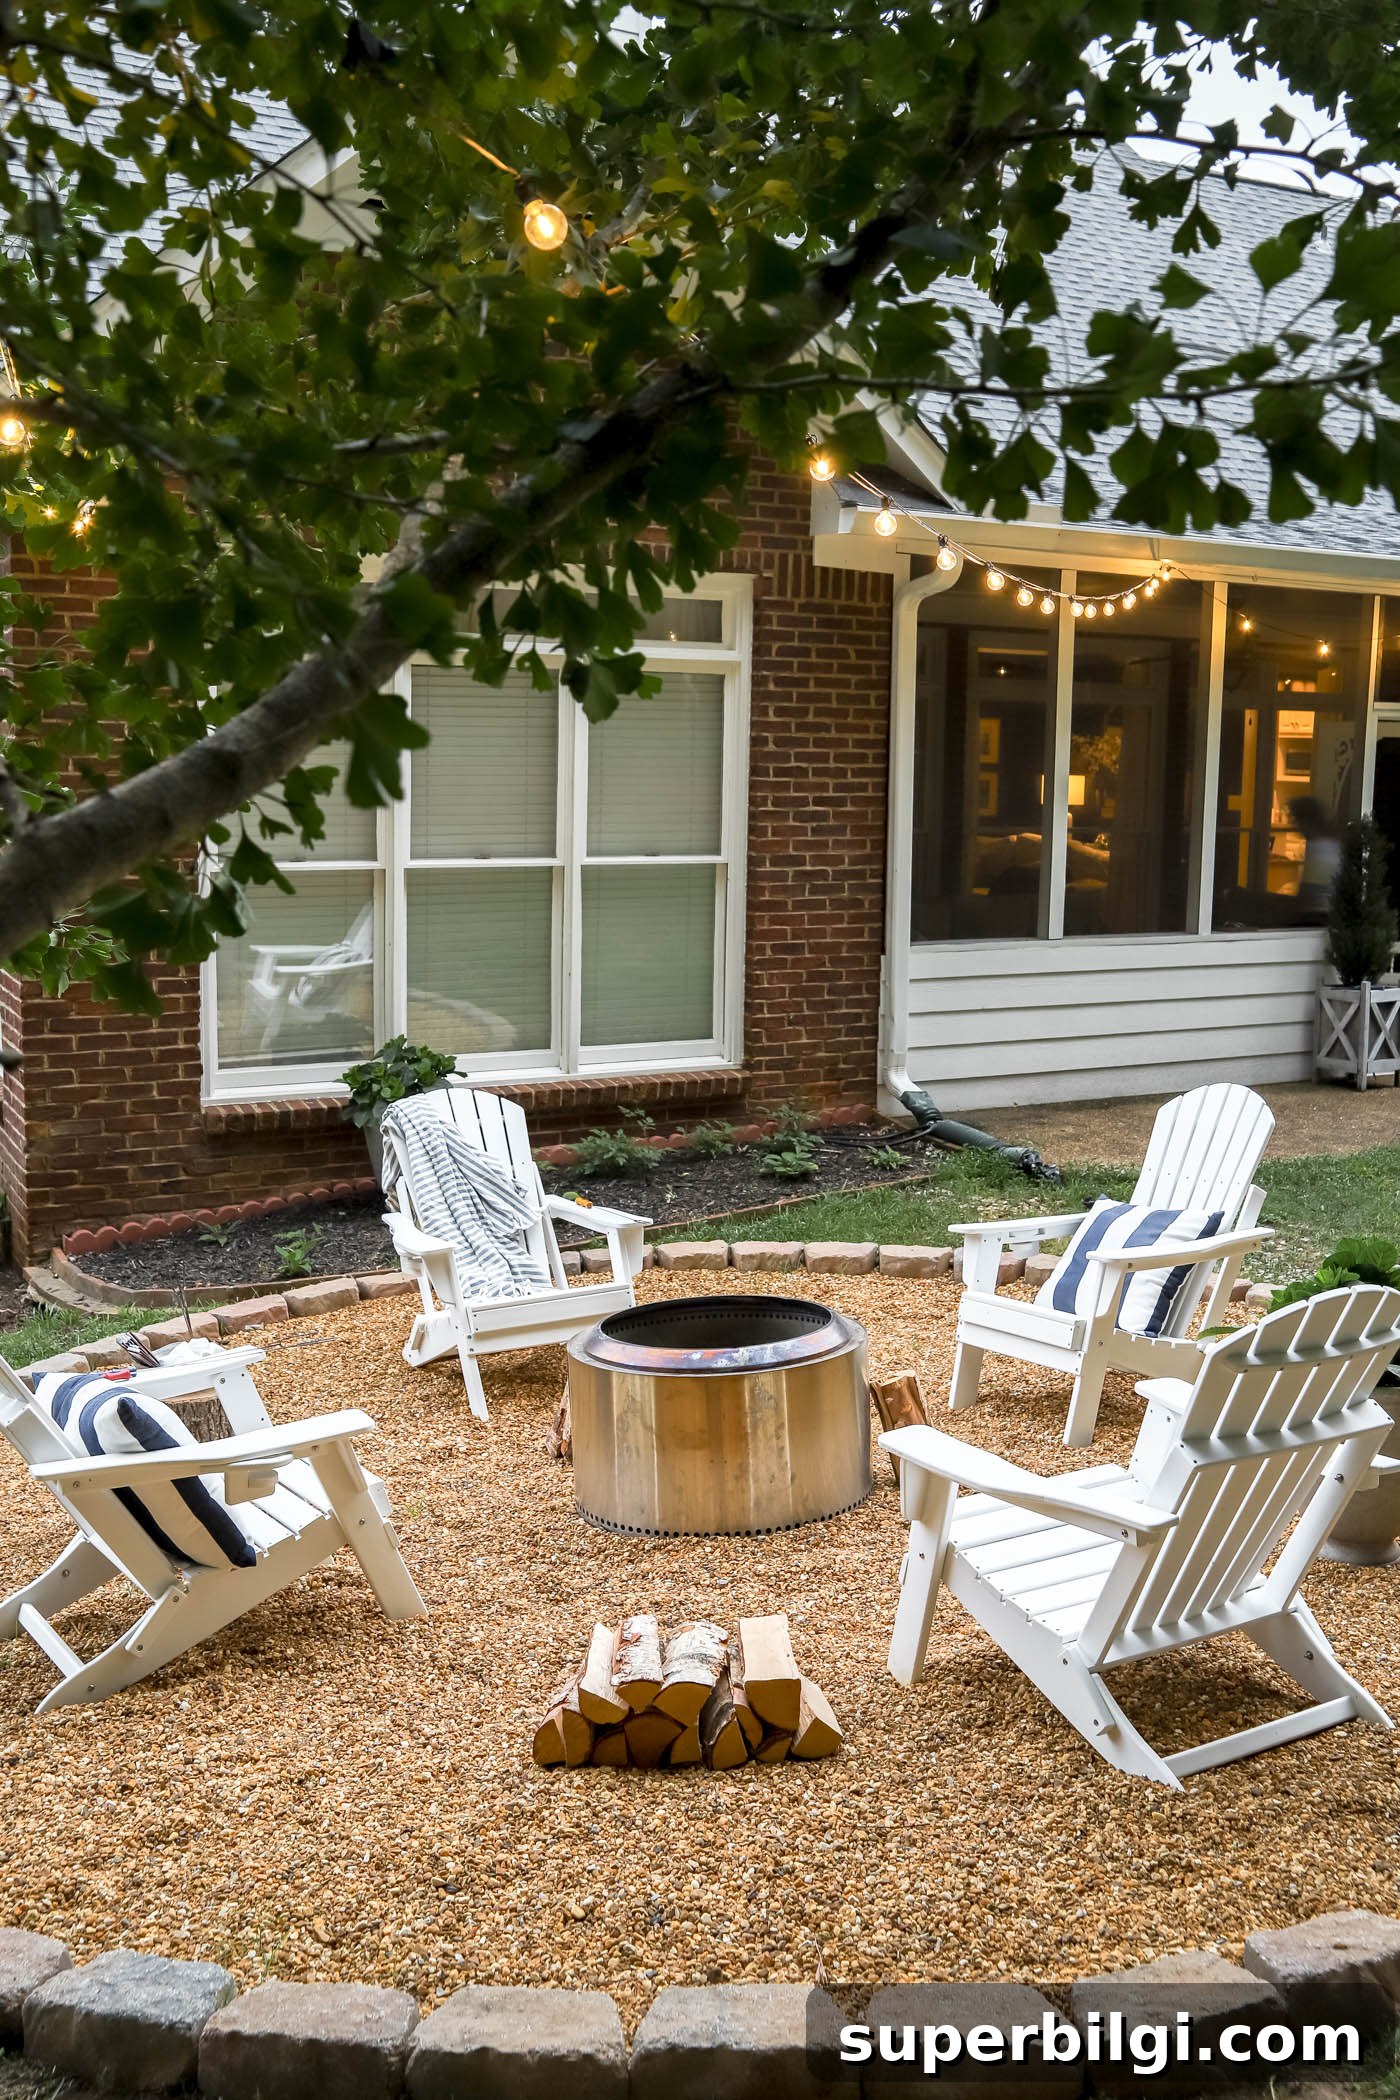
- Decide the overall diameter for your fire pit area and how many seats you want. Ours is about 16 feet across and comfortably fits 6–8 Adirondack chairs, leaving room to rearrange as needed.
- Choose the type of fire pit: portable, pre-made, or a custom-built ring of brick, stone, or concrete blocks.
- Confirm safety and insurance requirements—keep the fire pit at least 10 feet from your house and away from low branches or other hazards.
- Select a mostly flat surface or plan to level the area for better seating comfort and safety.
- Shop local for materials—garden centers frequently sell pea gravel in bulk at a better price than big-box stores.
How to Make a Fire Pit Area
1. Choose and Mark the Location
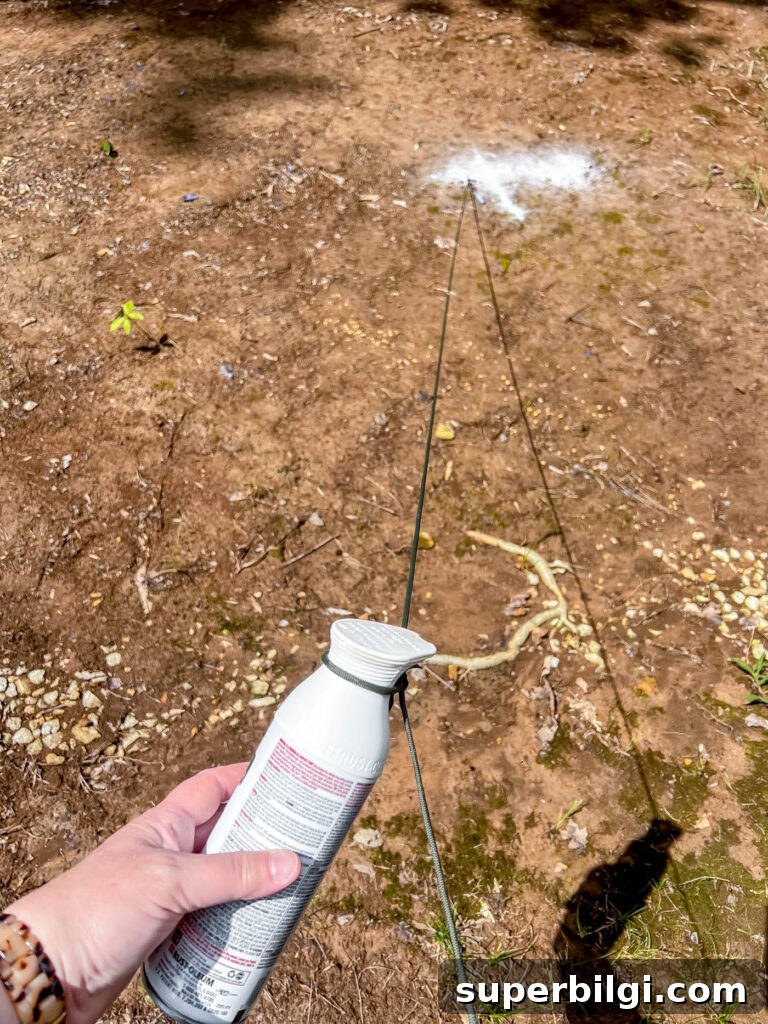
Pick a flat, level spot away from structures and low branches. Place a stake at the center, tie a string of half the desired diameter to it, then attach a can of light-colored spray paint to the other end. Walk the circle and spray a clean guide line for your perimeter.
2. Remove Grass, Weeds, Plants or Large Rocks
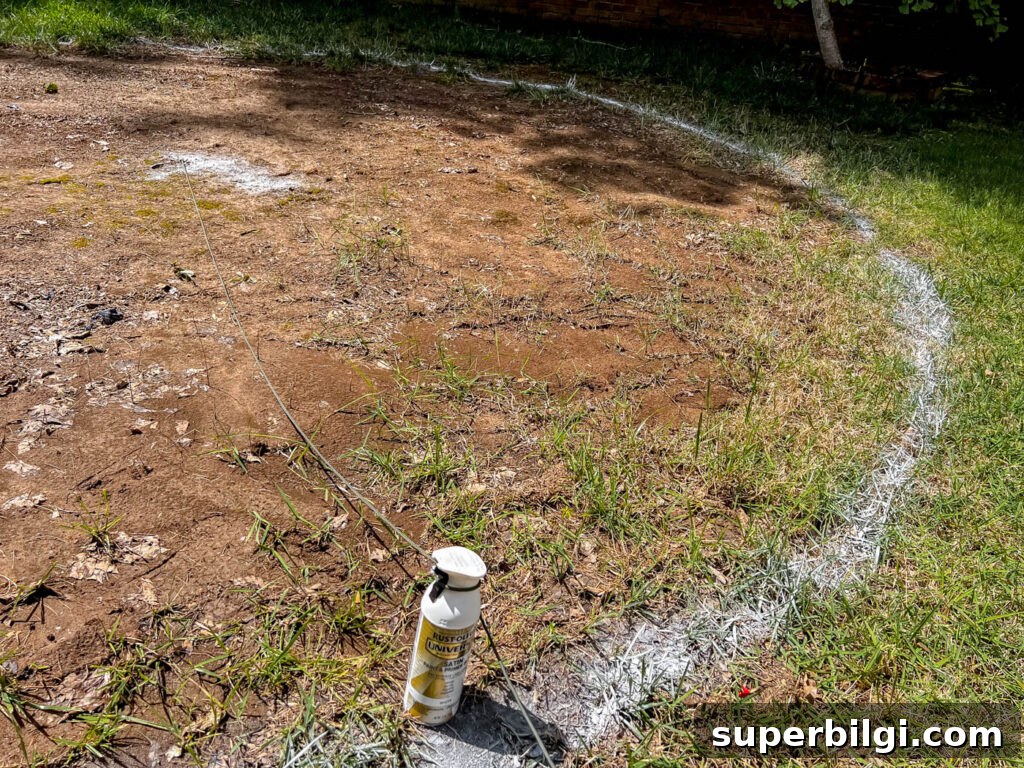
Clear the marked area by scalping the grass, digging out roots, or using a tiller. Eliminating vegetation helps prevent grass from reclaiming the space. On our site we mainly treated the edges, since the trampoline had already left a bare patch.
3. Level the Ground
Make the area as level as practical for comfortable seating. We left our space mostly as-is to preserve yard drainage, but tested it carefully to ensure chairs wouldn’t tip.
4. Install Landscaping Fabric
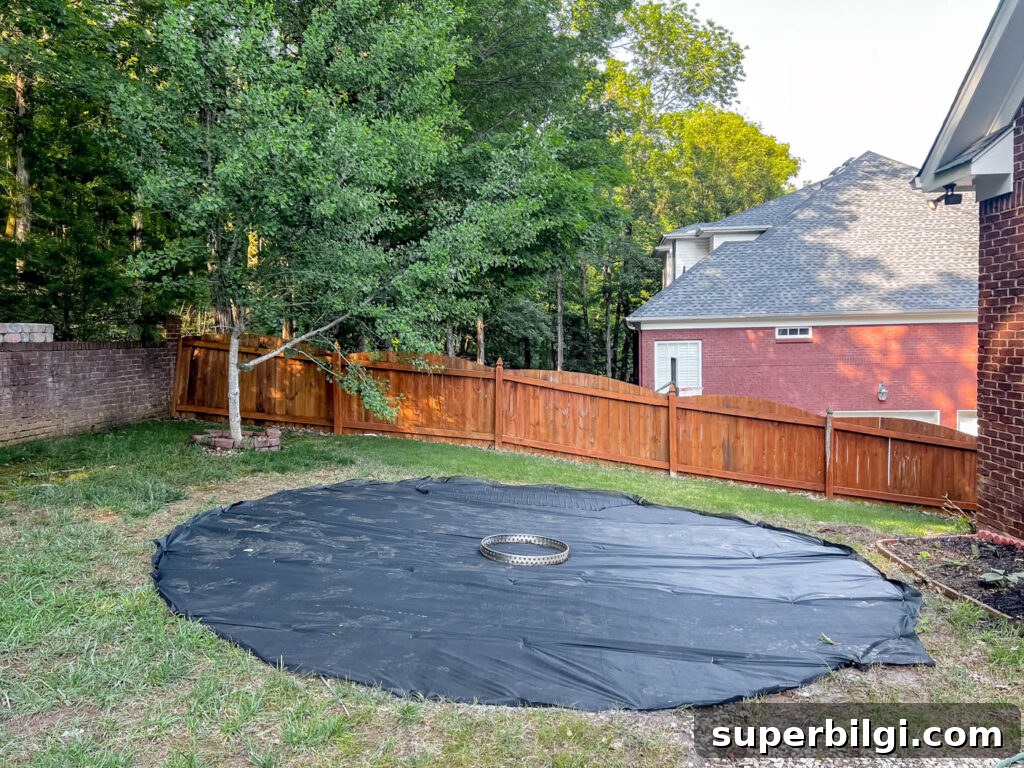
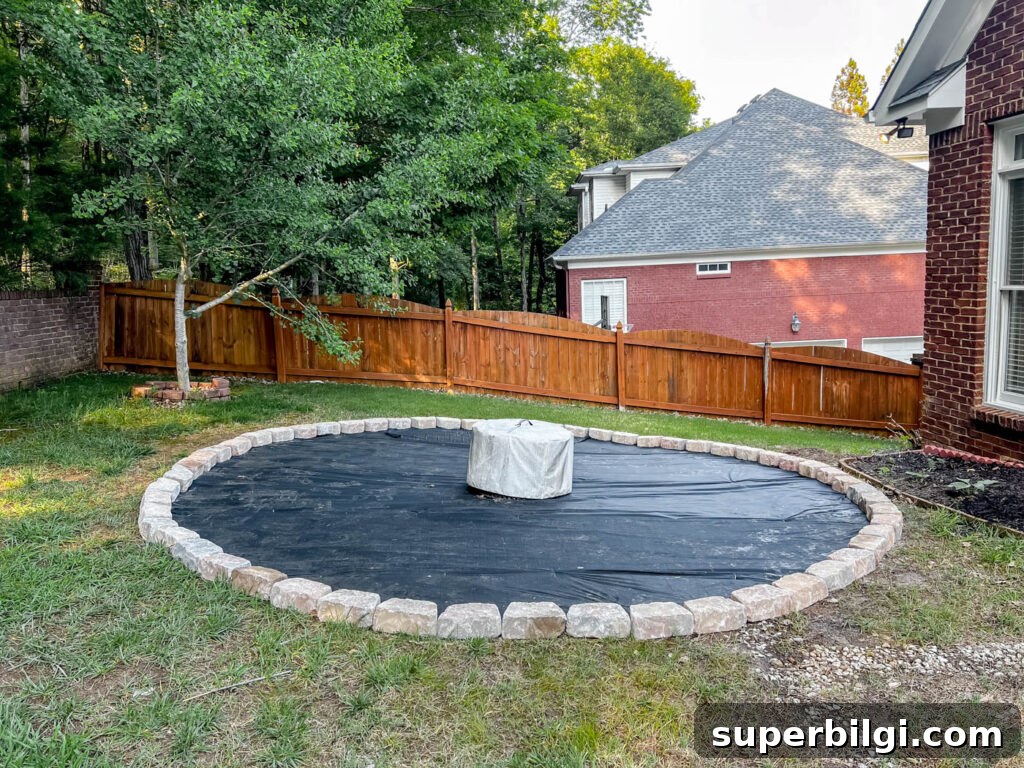
Lay landscaping fabric over the cleared area to suppress weeds and create a stable base. Anchor the fabric with small landscaping stakes so it stays in place while you add gravel.
5. Place the Fire Pit in the Center
Position your fire pit—whether a Solo Stove-style unit, a portable pit, or a built ring—in the middle of the circle. Follow all manufacturer and local safety guidelines, including any recommendations for a base of sand or gravel under the unit.
6. Create a Raised Border around the Perimeter
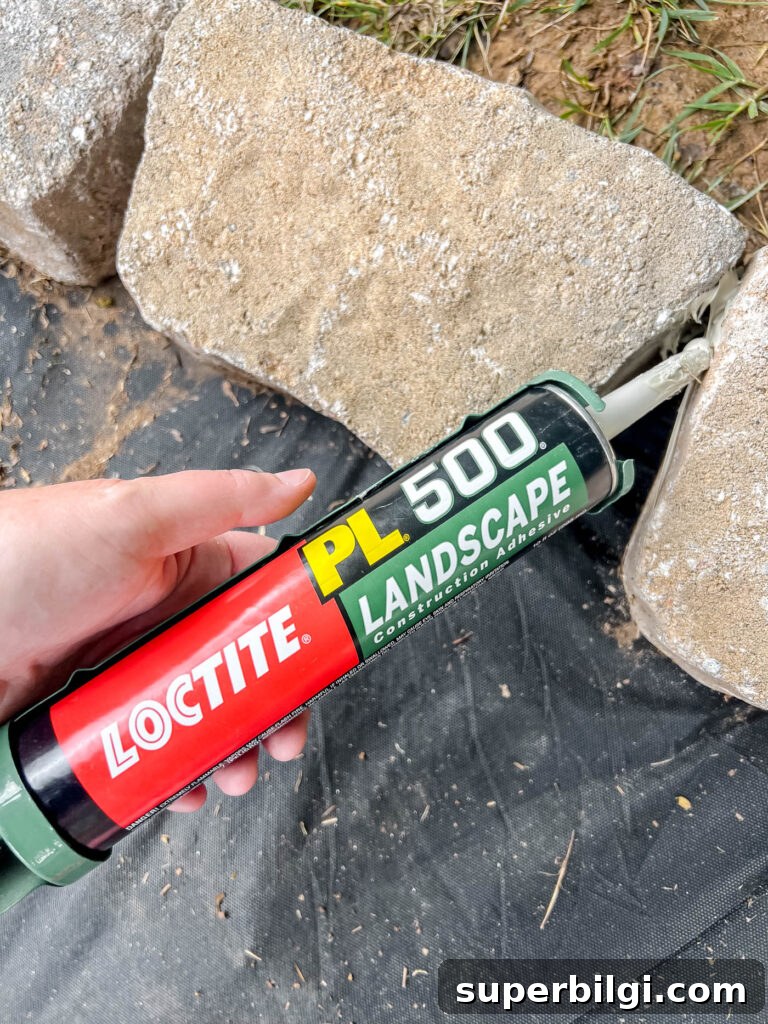
Build a low border to contain the gravel. We used flagstone blocks and applied construction adhesive where needed to keep pieces secure. You can use any suitable stone, pavers, or a metal landscape edging to form a neat edge.
7. Fill the Area with Pea Gravel or Decorative Rock
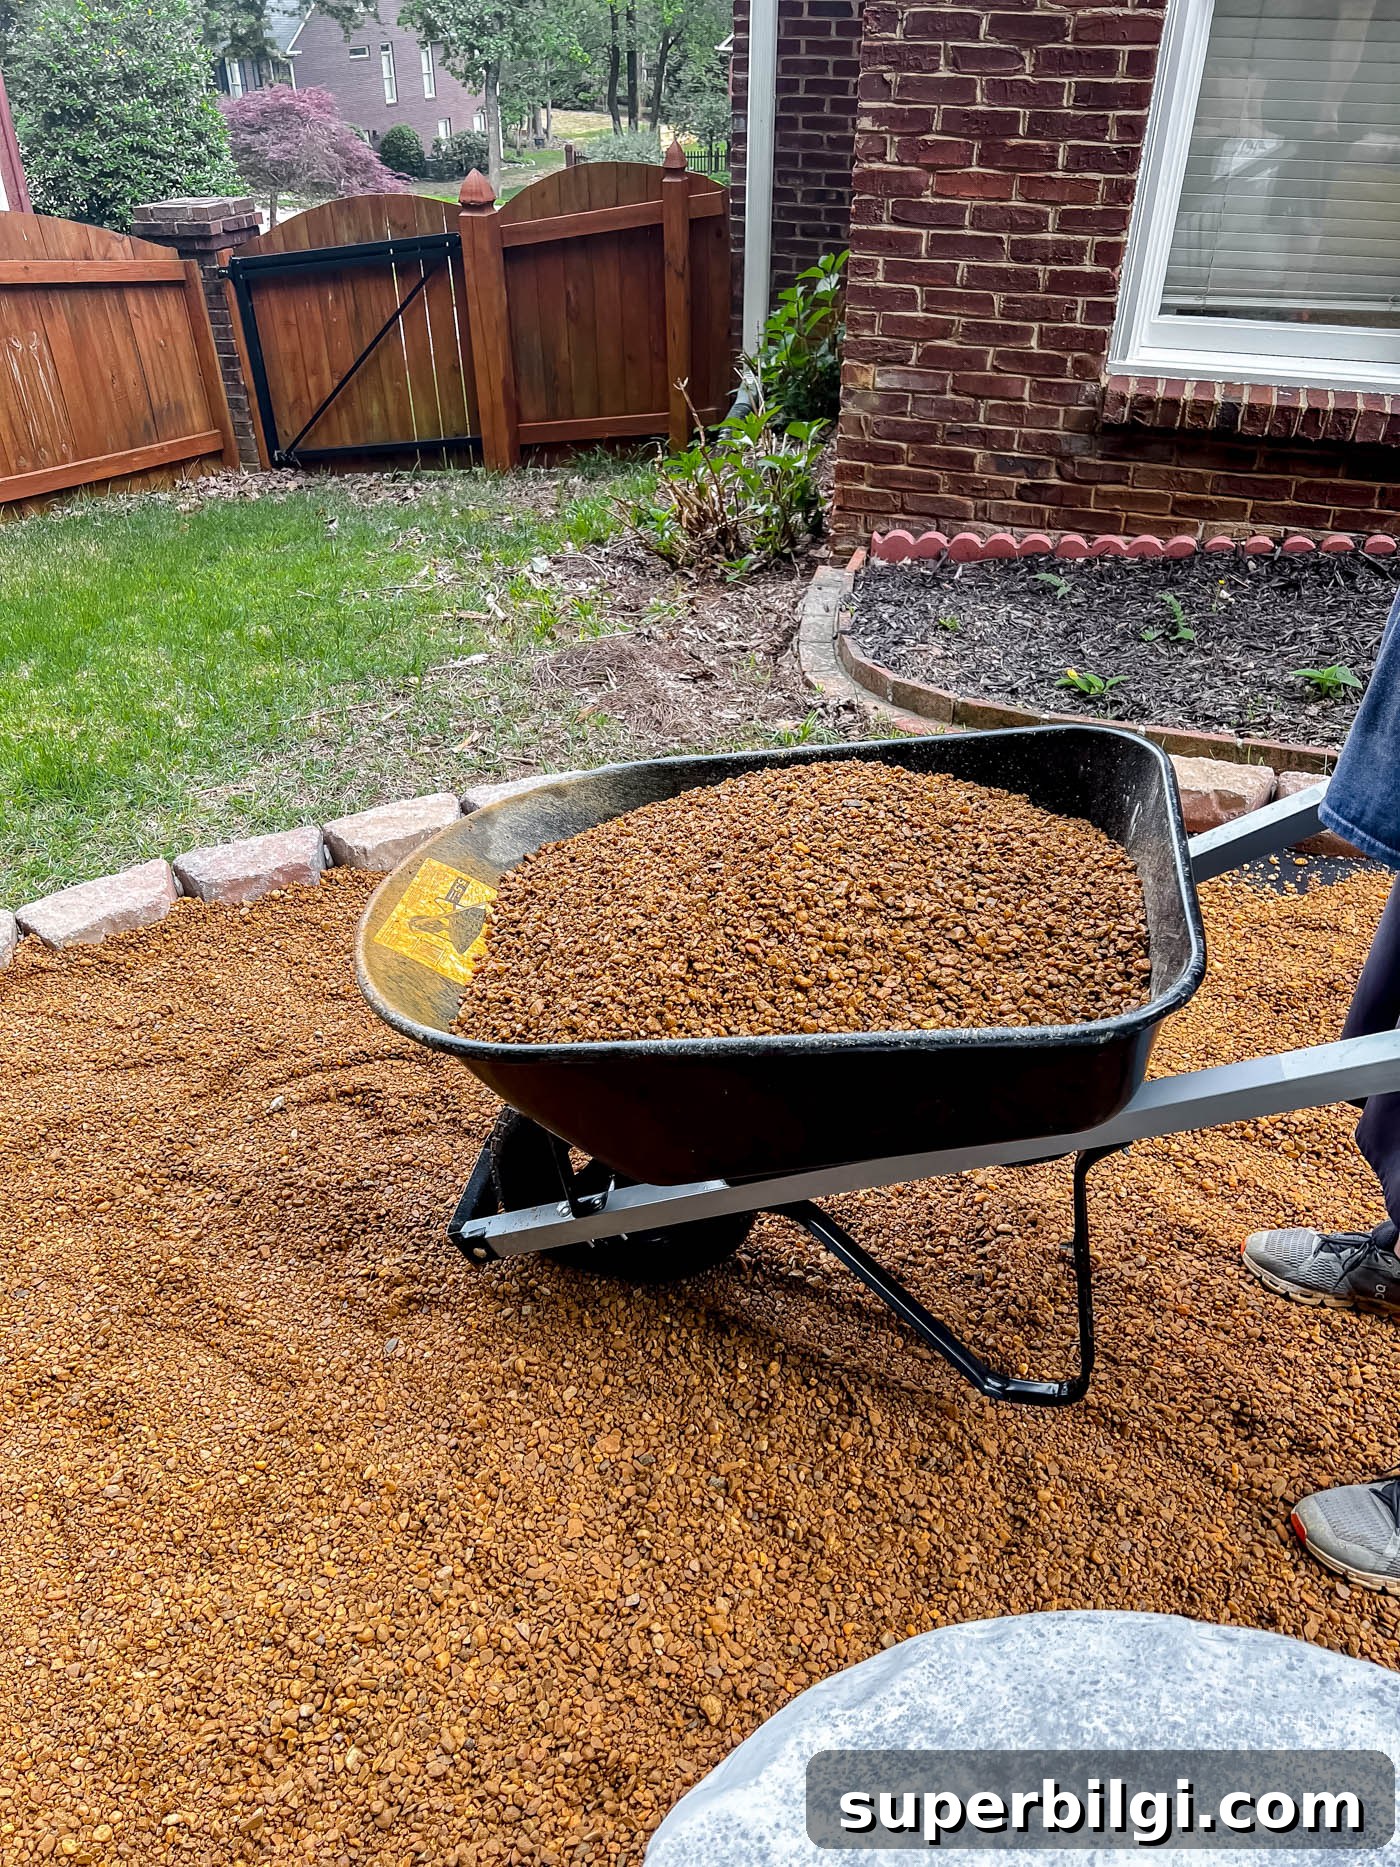
Spread pea gravel to a depth of roughly three inches, raking it smooth over the landscaping fabric. Pea gravel provides good drainage, a clean look, and a comfortable surface underfoot that pairs well with many home exteriors.
8. Add Seating and Final Touches
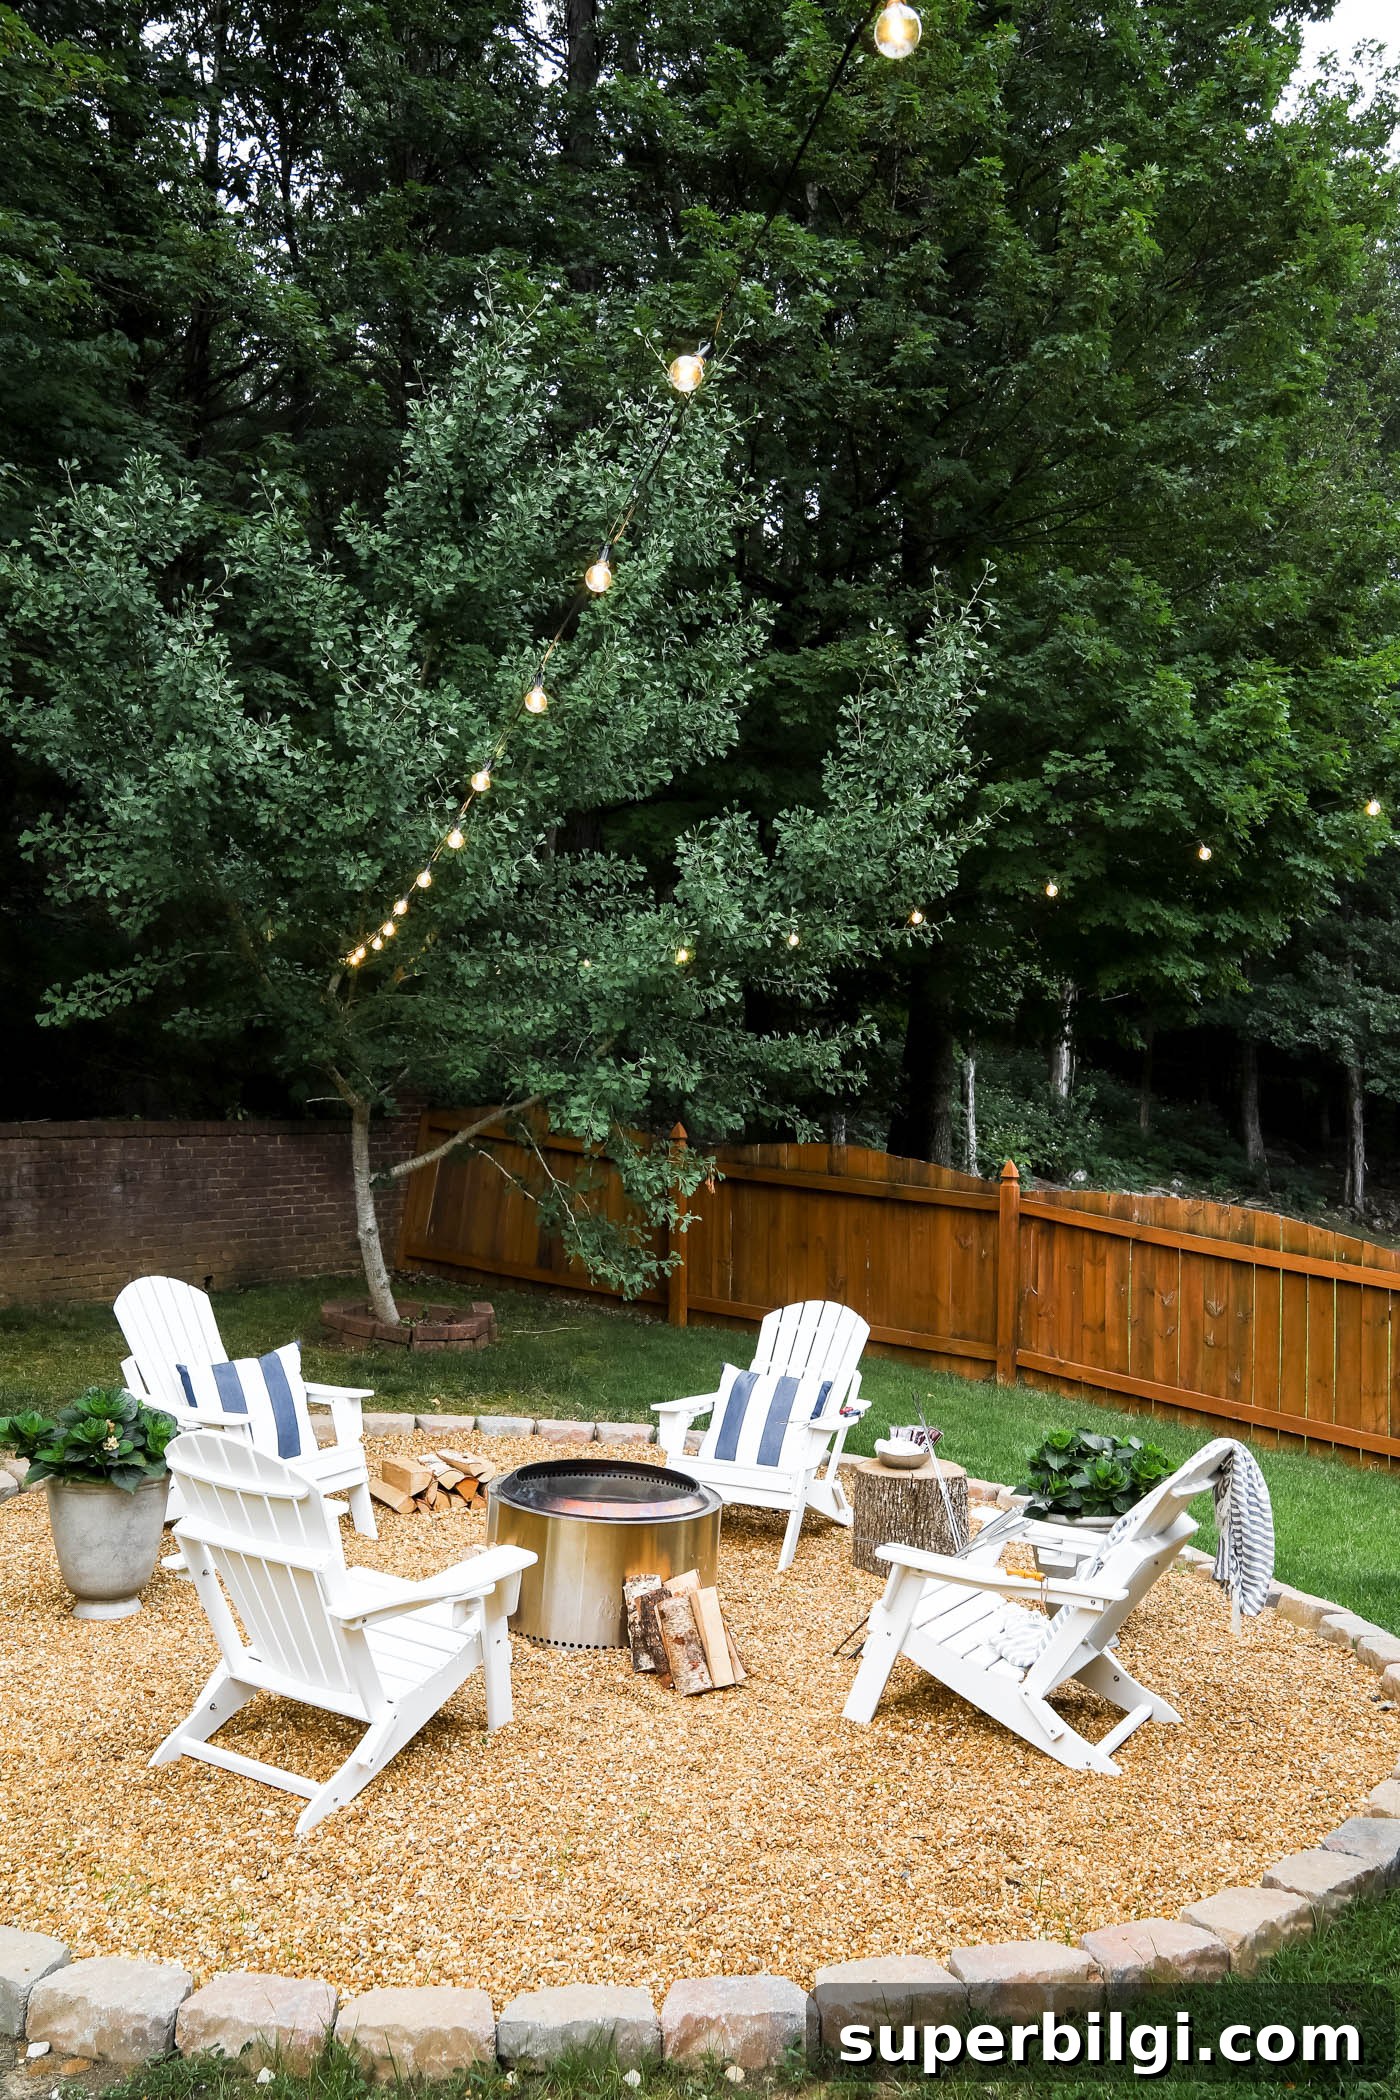
Choose comfortable seating—Adirondack chairs are classic and durable—or build a simple bench if you’re on a budget. We placed four chairs initially and plan to add more. String lights overhead (kept safely away from flames), outdoor pillows, potted plants, and side tables all enhance the ambiance and functionality of the space.
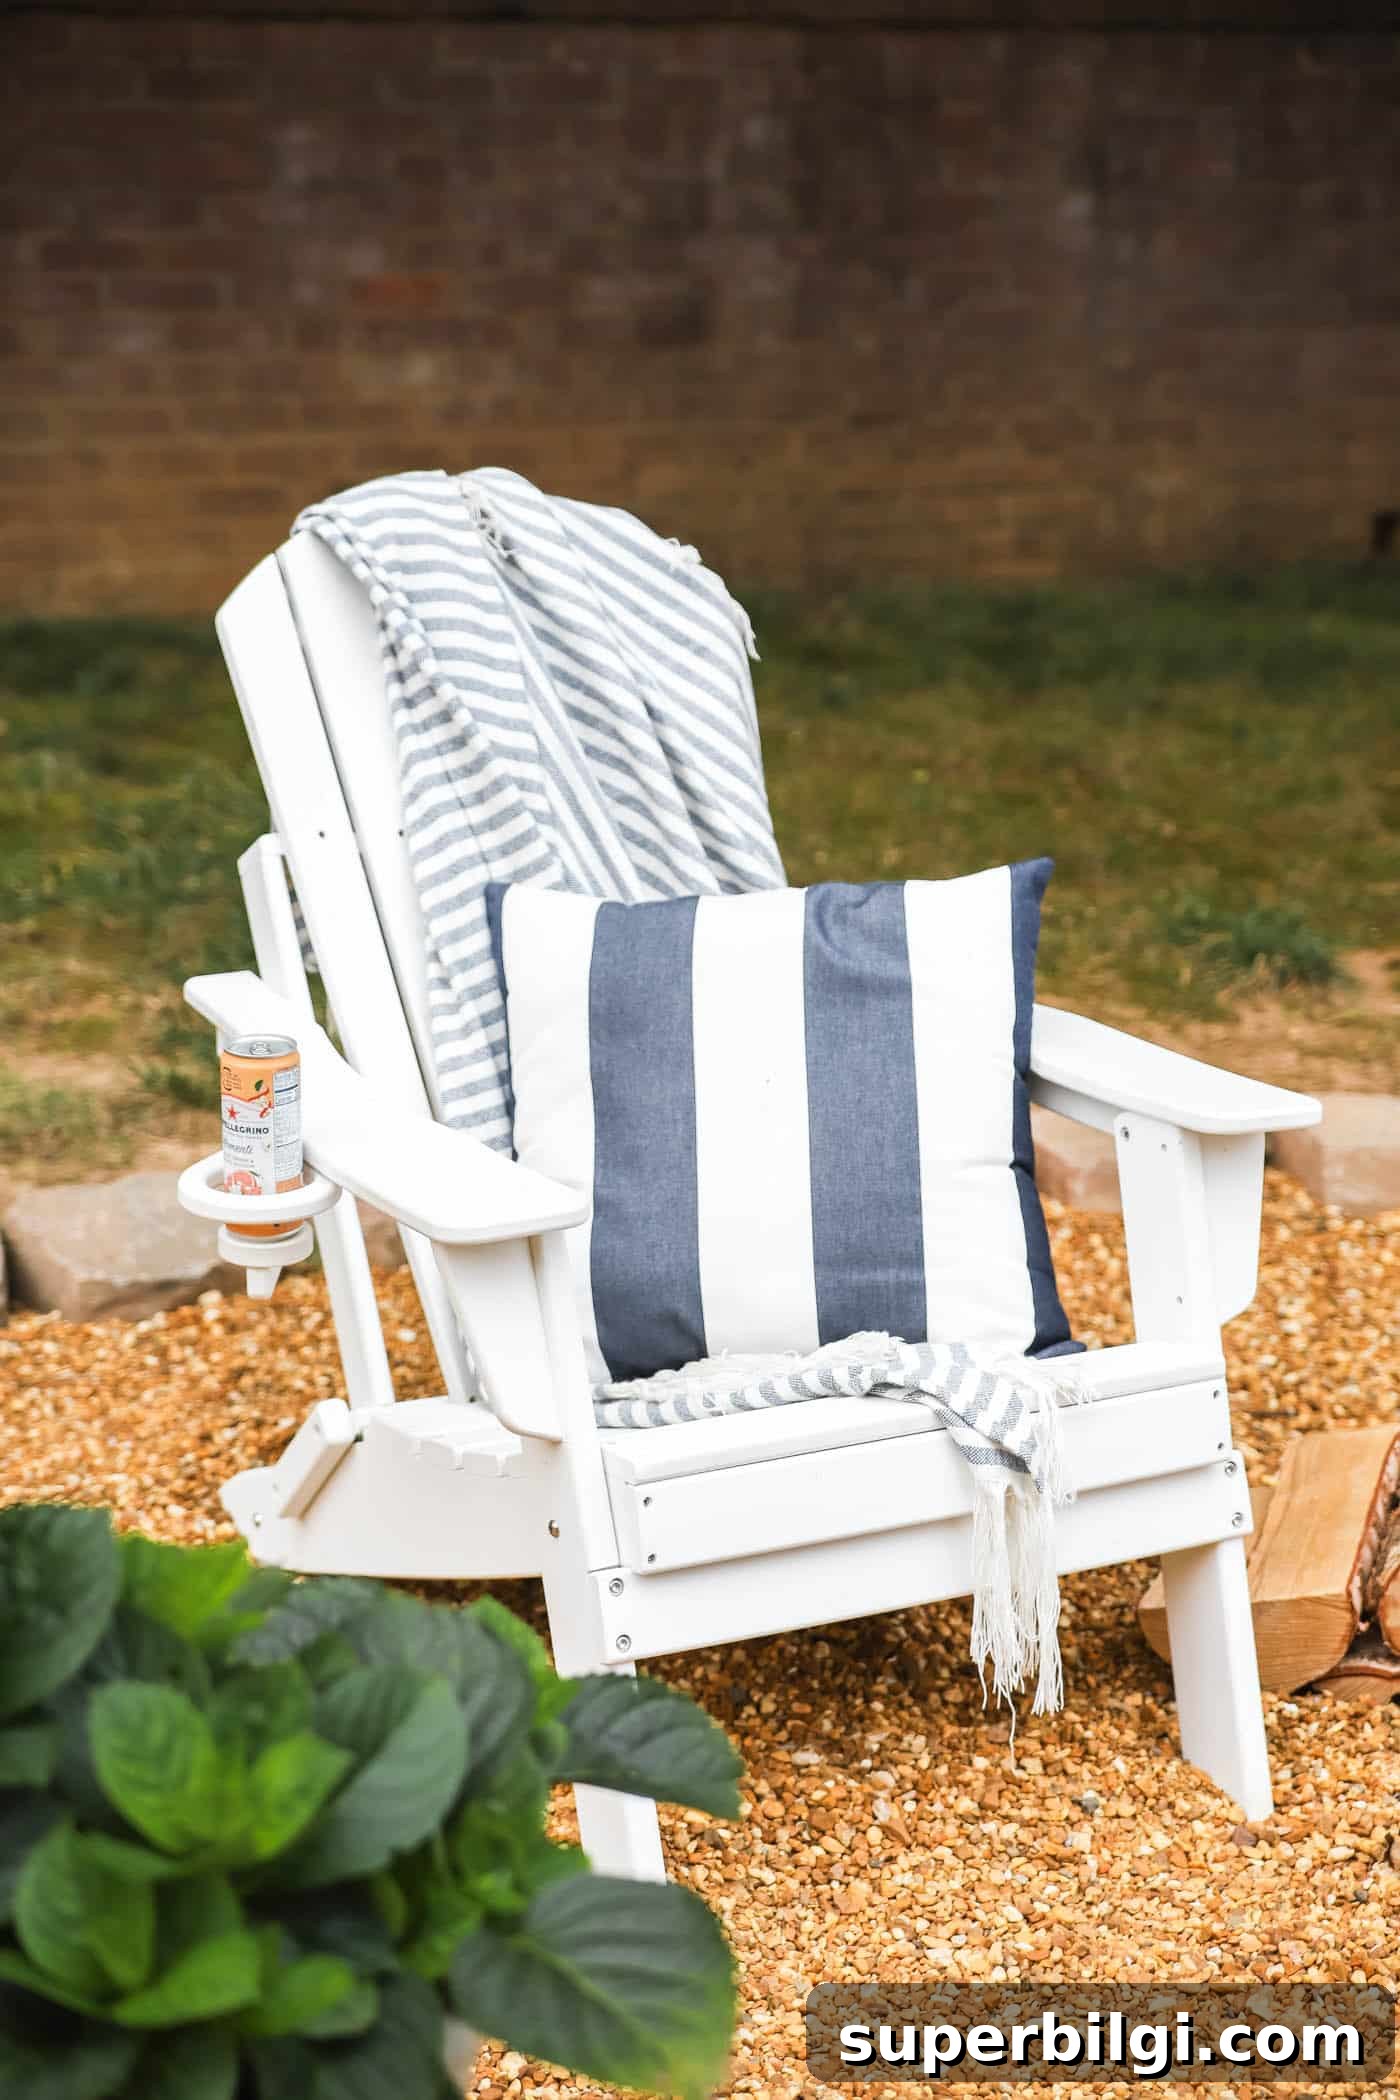
Small décor choices—like an outdoor rug, throw pillows, or a couple of lanterns—make the area feel like an extra room in your home.
Final Thoughts
We love how this project turned out. The new fire pit area gives us another comfortable outdoor room to relax, play with the dog, and host friends. It’s a simple project with a big return—more evenings spent together, a perfect spot for s’mores, and a cozy place to enjoy cooler weather.
Do you have a backyard fire pit area? If not, would you consider creating one in your yard?
More Posts You Might Enjoy:
- Gorgeous and Functional Outdoor Living Spaces
- My Haint Blue Porch Ceiling
- 12 Screened-In Porch Decorating Ideas
- How to Add Curb Appeal to Your Home
- How to Plant Flowers in a Pot, Planter or Container