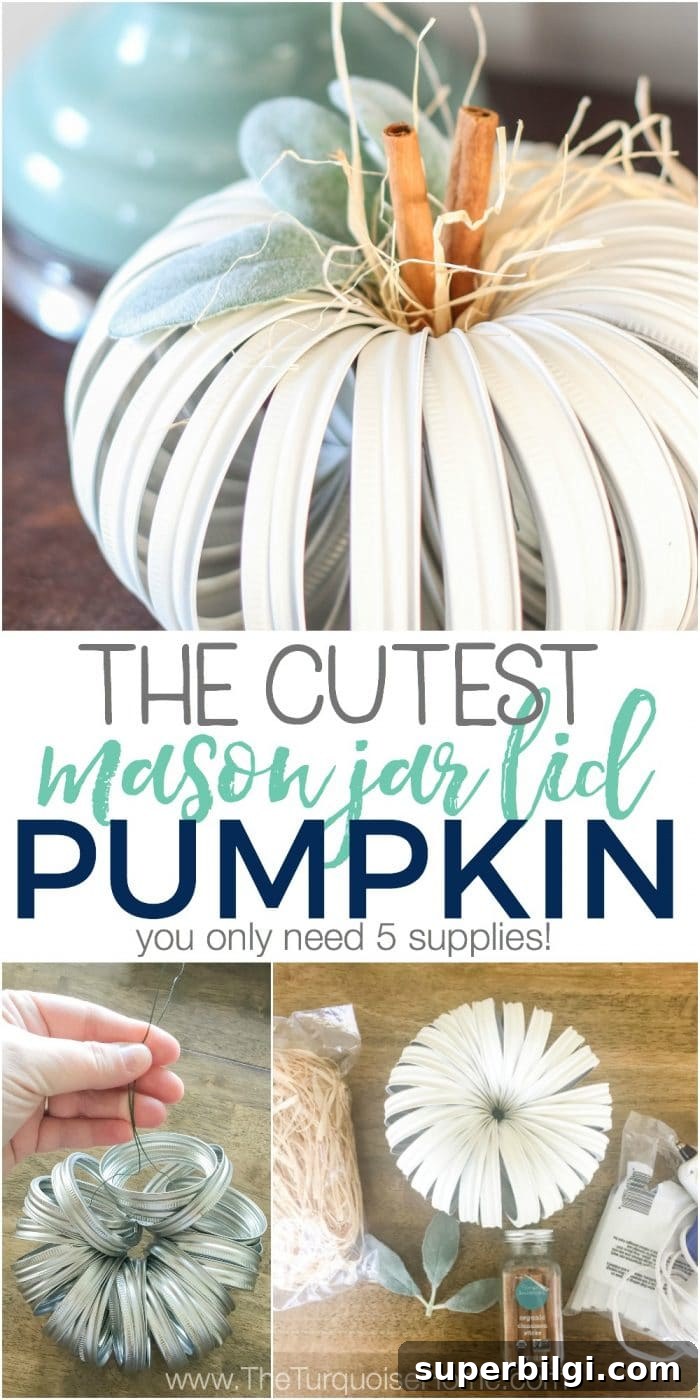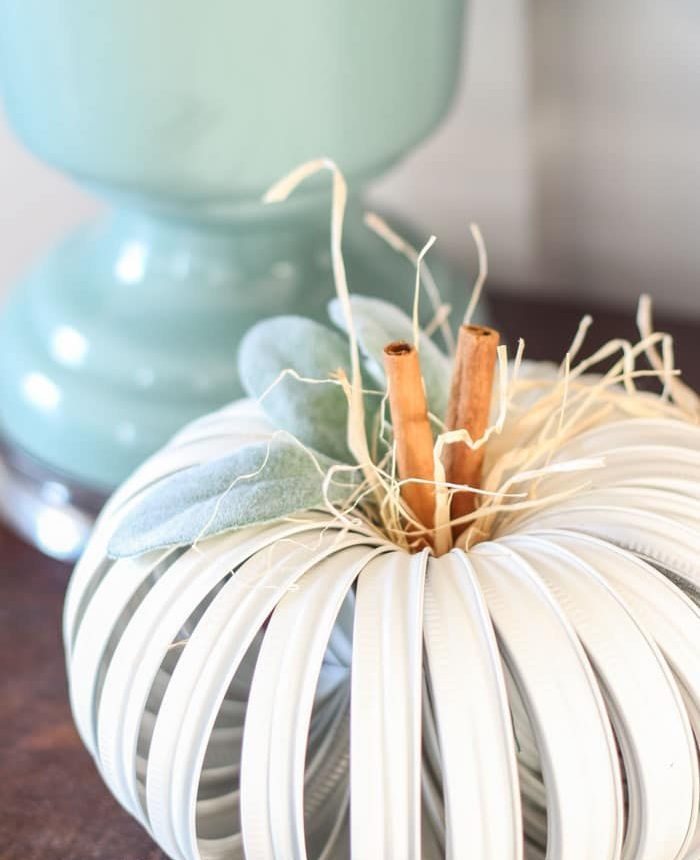
This Mason Jar Lid Pumpkin is an adorable, budget-friendly DIY for fall—and it’s incredibly easy. With just a handful of supplies and about 30 minutes of hands-on time, you can make a charming pumpkin to display or gift.
I made my first mason jar lid pumpkin back in 2012 during a fall craft night, and it quickly became a favorite. It started showing up on Pinterest and in my seasonal decor photos, and people loved the simple farmhouse look. I never posted a full tutorial back then, so I’m sharing the straightforward steps now so you can try one yourself.
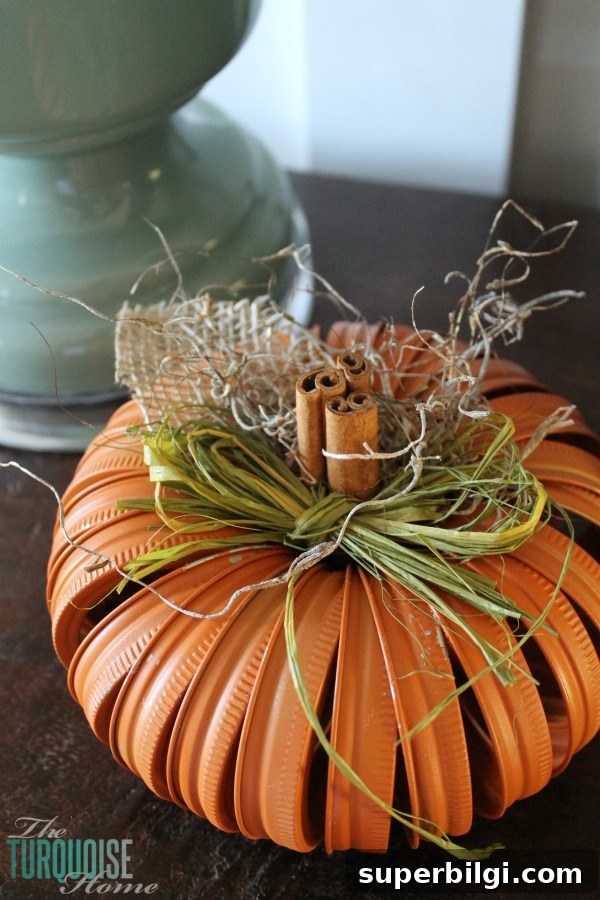
These pumpkins are compact, portable, and customizable. You can make them orange and bright, or go neutral and farmhouse-chic—either way they’re an easy way to add seasonal charm to mantels, shelves, or a coffee table.
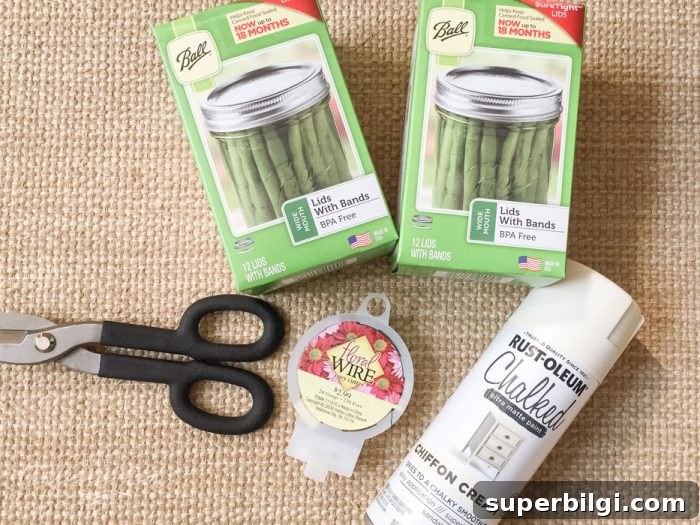
Supplies Needed for a Mason Jar Lid Pumpkin
- 24 mason jar lid bands (wide-mouth) – You only need the metal screw bands, not the flat sealing discs.
- Floral wire and wire cutters – to string the bands together and secure the shape.
- Spray paint in the color you prefer. A chalked, matte finish works beautifully for a farmhouse look.
- Cinnamon sticks or a small wood dowel for the “stem.”
- Hot glue gun and glue sticks to secure embellishments and the stem.
- Optional decorations: leaves, moss, raffia, fabric scraps, or faux lamb’s ear to personalize your pumpkin.
How to Make a Mason Jar Lid Pumpkin
1. Cut a length of floral wire
Cut the wire long enough to string 24 lid bands and leave extra length for twisting and tying. A little extra wire makes it easier to tighten and finish the pumpkin neatly.
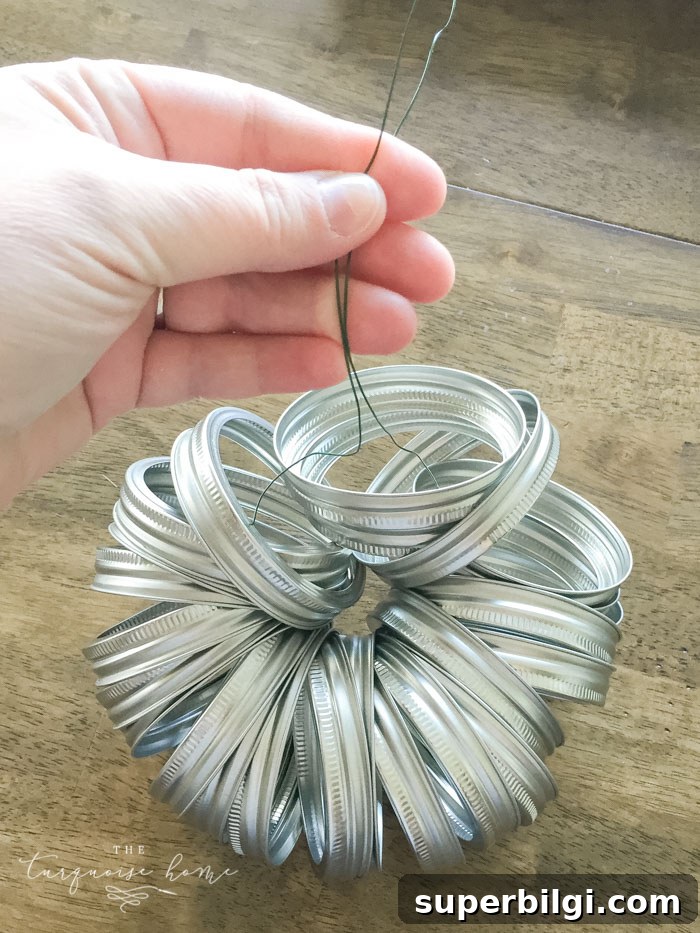
2. String the lid bands onto the wire, all facing the same direction
Slide each wide-mouth band onto the wire so they all face the same way. Arrange them evenly as you work—this will give the pumpkin a consistent, rounded profile.
3. Tighten the wire in the middle of the bands
This is the trickiest step: pull the wire tight in the center so the bands form a compact, pumpkin-like sphere. Tighten enough that the bands don’t dangle like a necklace, but leave a small central opening for the stem. Twist and secure the wire ends so the shape holds.
4. Spray paint the lid bands
Spray the assembled bands with your chosen paint. I used a chalked, matte spray paint which covers quickly and dries fast. Two light coats usually provide even coverage without drips. If you like a distressed look, sand lightly after painting.
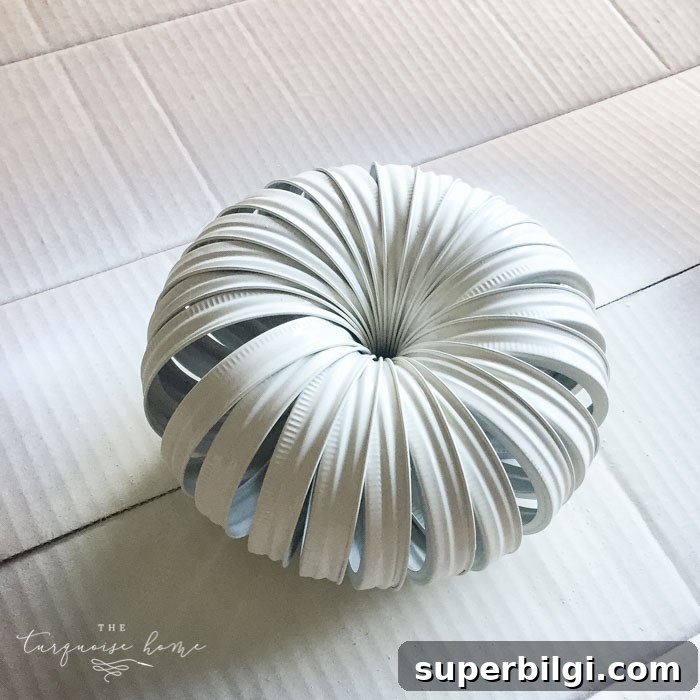
Allow paint to dry fully before handling. Fast-drying spray paints mean you can finish the project the same day—great for quick seasonal projects.
5. Add the stem and embellishments
Insert cinnamon sticks, a short wooden dowel, or a small twig into the central opening and secure with hot glue. Then add leaves, raffia, moss, or any decorative accents to finish the look. Burlap leaves, faux lamb’s ear, or skinny raffia work well for a neutral, farmhouse style.
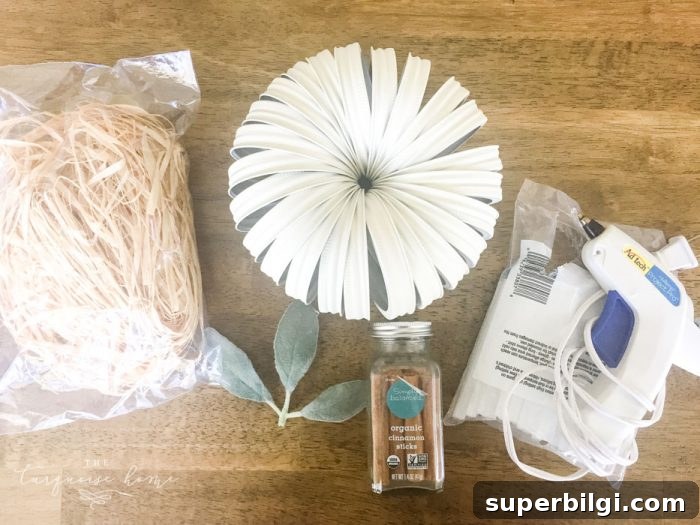
I used small raffia strands and faux lamb’s ear leaves for a soft, neutral finish and glued everything in place with a hot glue gun. You can get creative—add a tiny bow, a cluster of faux berries, or a bit of twine for rustic charm.
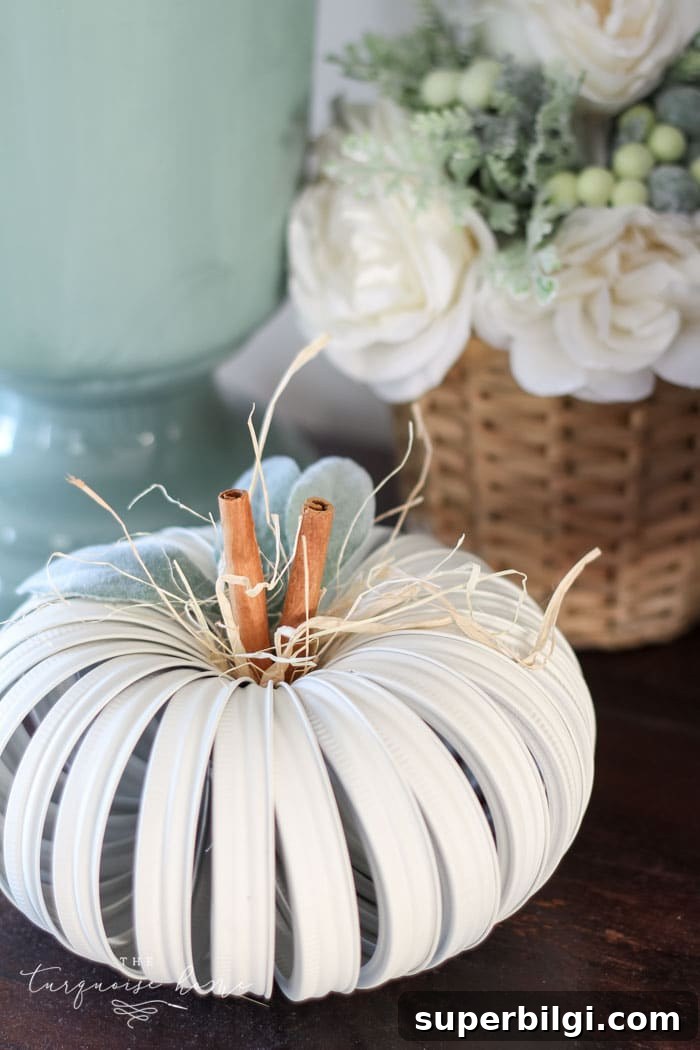
Final Thoughts and Tips
This project is perfect for quick craft sessions, group crafts, or last-minute fall decor. The result is a compact, decorative pumpkin with plenty of possibilities for personalization. Try different paint finishes (matte, chalk, metallic) or mix colors for ombré effects. If you want a softer look, add fabric leaves or lace; for a more rustic feel, use burlap and twine.
Here are a few extra tips to get the best result:
- Use wide-mouth lid bands for a fuller pumpkin; narrow bands will produce a smaller, tighter shape.
- String the bands on loosely at first, then tighten gradually so the shape forms evenly.
- If the central opening is too large for your stem, use floral foam or a bit of hot glue to stabilize the stem before securing decorative elements.
- Work in thin coats when spray painting to avoid drips and to keep the metal detail visible if you prefer a slightly distressed finish.
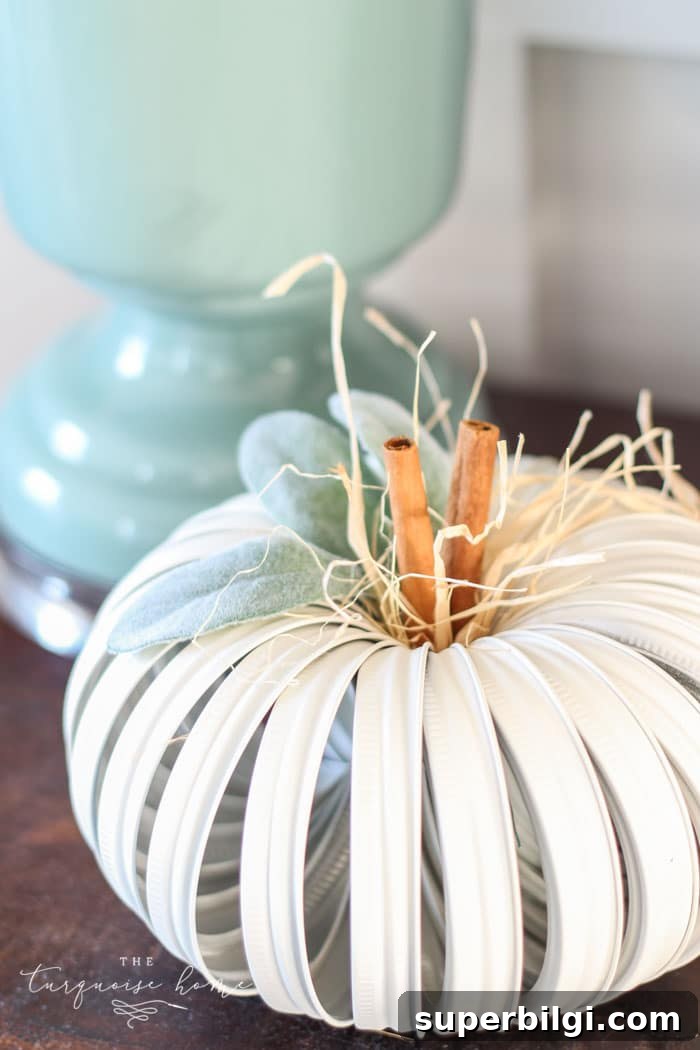
Whether you prefer classic orange, soft neutrals, or a modern white pumpkin, these mason jar lid pumpkins are an easy, affordable way to add handmade charm to your fall decorating. If you make one, I’d love to see how you styled it—use the ideas above, or invent your own signature version. Go get your craft on and enjoy a simple, satisfying DIY!
More seasonal inspiration:
- 25 Amazing DIY Fall Wreaths
- Fall Centerpieces for a Cozy Home
- 25+ Free Fall Printables to Decorate Your Home
- Dough Bowl Centerpiece for Fall
- 11 Ways to Add Fall to Your Home