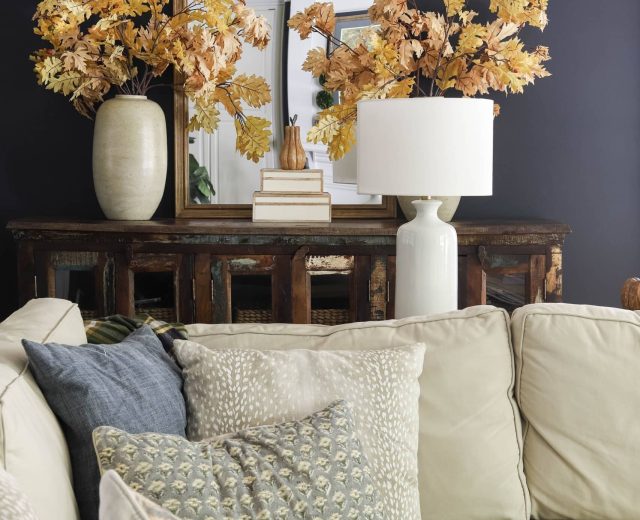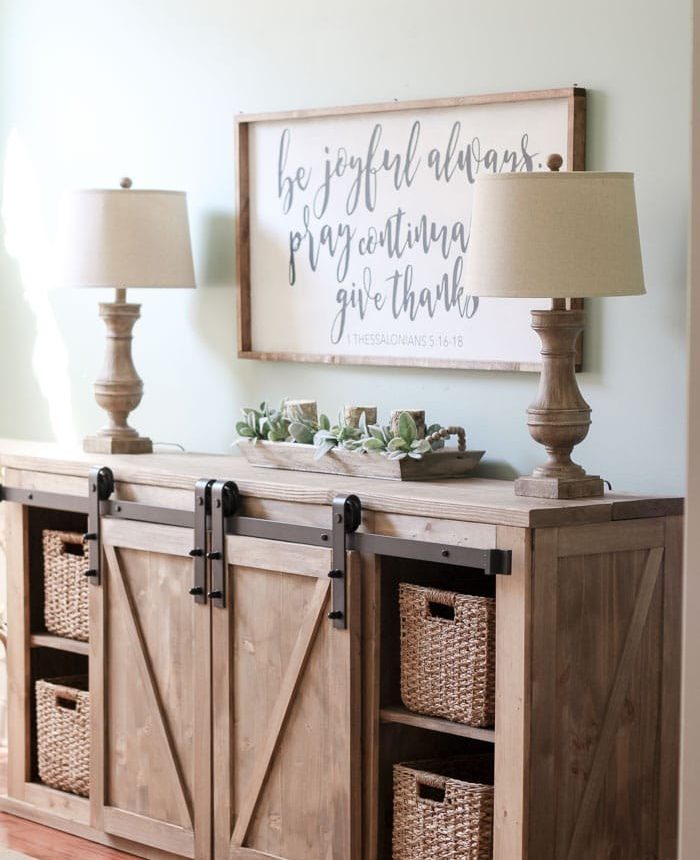
This DIY farmhouse media console table combines rustic charm with massive storage. The weathered-wood finish gives it character, while two sliding barn doors and four basket-ready drawers keep clutter out of sight.
It’s straightforward to build; the only real challenge is having someone strong help you bring it inside once it’s complete.
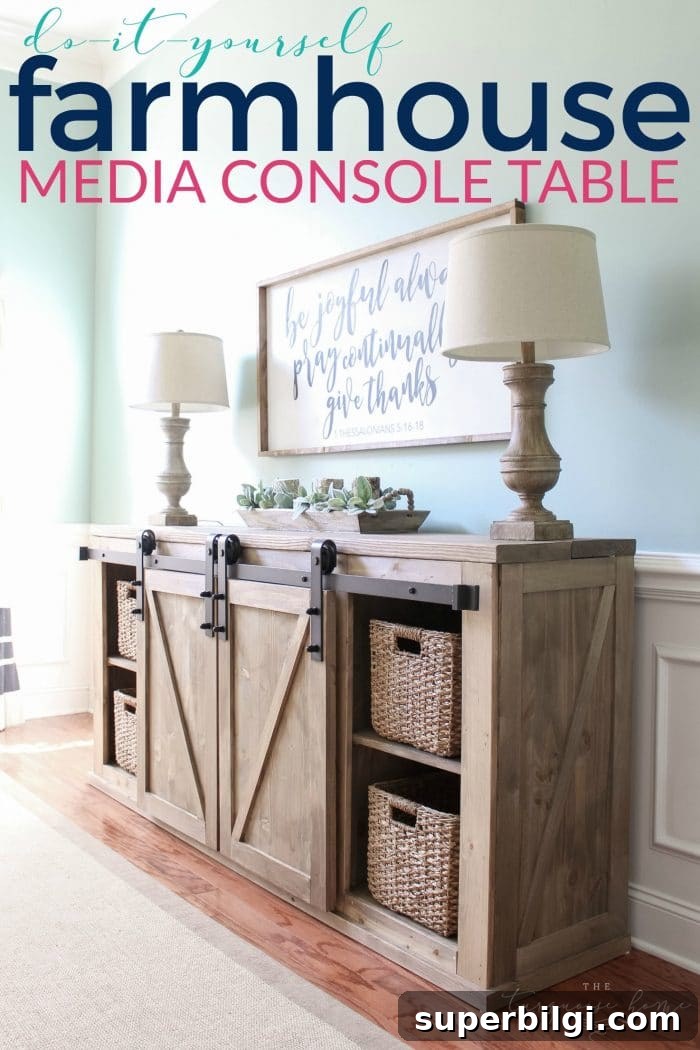
I’m excited to share the full plans for this DIY farmhouse media console table. After many requests since I first shared photos, here are the detailed notes and adjustments I made while building mine.
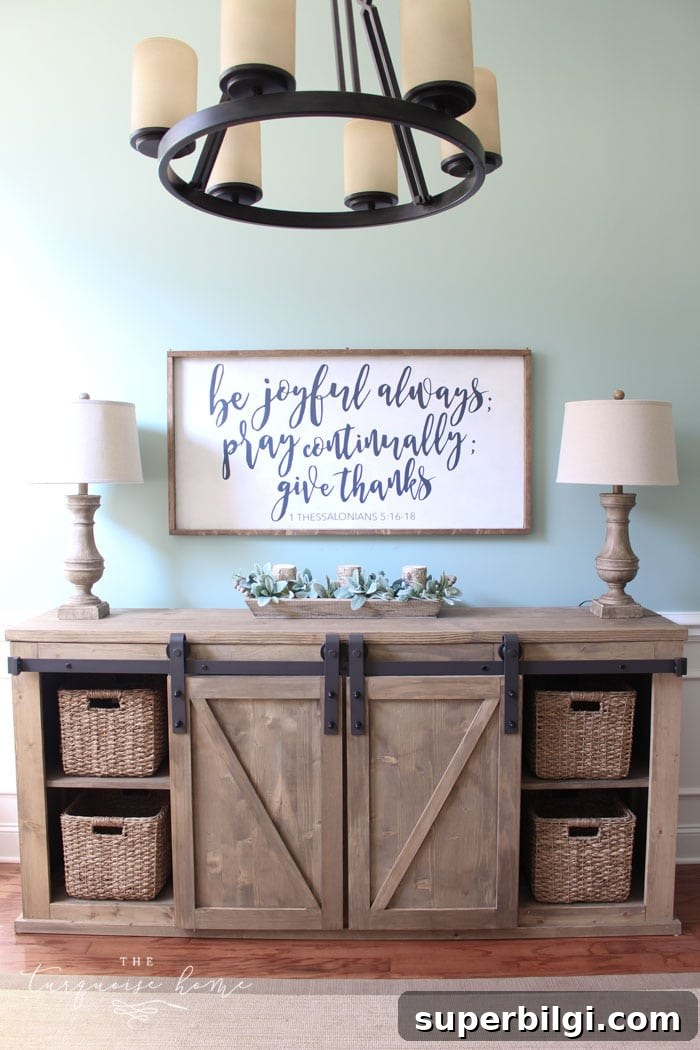
This multi-use dining room in my home has served as an office, craft room, playroom and dining area. I needed a piece that was functional enough to hold toys, craft supplies, seasonal decor and more, but still looked good since it’s one of the first rooms guests see when they enter our home.
A buffet-style console was the right choice to anchor the wall and provide generous storage. I adapted plans I found elsewhere to match the sliding barn door hardware I wanted to use and sized the console to fit that hardware.
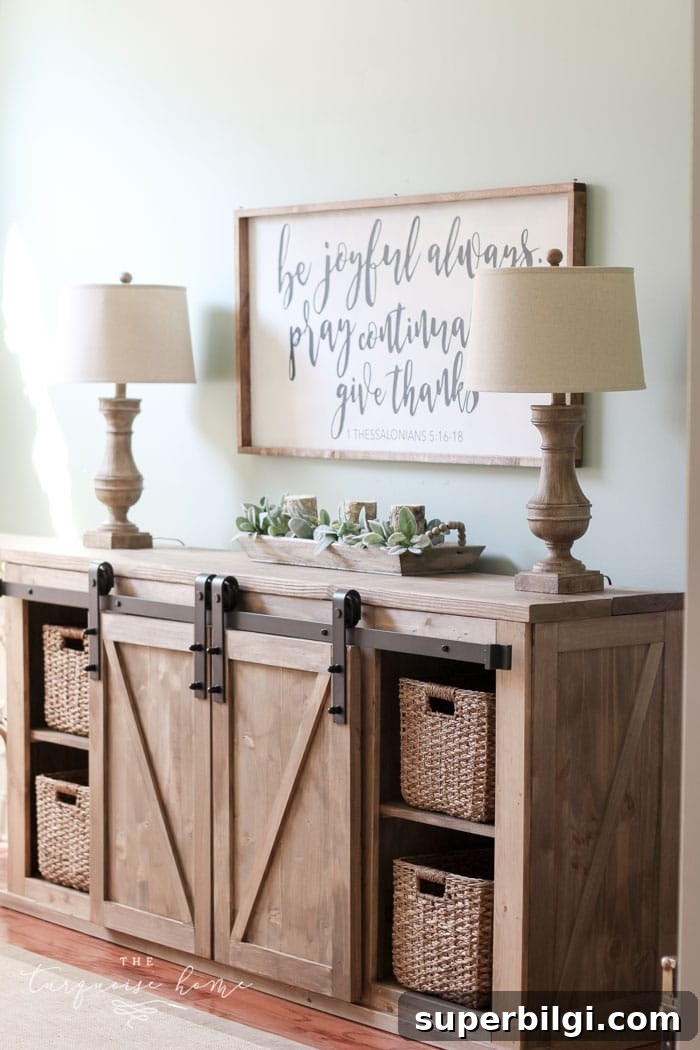
Decide on your sliding barn door hardware before starting the build. The hardware choice affects the overall length and placement of the doors, so plan accordingly.
Read through the full steps and the cut list before you begin. If you have questions after building, leave a comment and I’ll help where I can.
This post contains affiliate links for your convenience. See my full disclosure policy here.
What You Need to Build a DIY Farmhouse Media Console Table
Tools:
- Miter saw
- Drill
- Tape measure
- Level
- Brad nailer
- Safety goggles
- Carpenter’s square
- Kreg jig (pocket-hole system)
- Clamps
You don’t need a full professional toolset for this project. A miter saw, drill, brad nailer and a Kreg jig are the most helpful tools for furniture building and make this an excellent project for intermediate DIYers.
Materials:
- 2 — 2×10 @ 8 feet
- 2 — 1×8 @ 8 feet
- 2 — 1×10 @ 8 feet
- 1 sheet 1/4″ plywood for back (rip to required lengths)
- 3 — 1×2 @ 8 feet
- 4 — 1×4 @ 8 feet
- 5–6 — 2×3 @ 8 feet (plans call for 6, but careful cutting may reduce that)
- 2 project panels (approx. 17.25″ x 36″ or similar) for shelf dividers
- 1 glued-edge panel 3/4″ x 20″ x 6′ (for doors)
- 2-1/2″ screws, 2″ screws, 1-1/4″ finishing nails
- Wood filler (optional)
- Sliding door hardware (size to match overall length)
- Spade bit for hardware holes
- 4 baskets sized for cubbies
- Stain or paint of your choice
Cut List:
The console I built measures 82″ long to match a 6.6-foot sliding door track. I kept the original plans’ height (37.5″) and depth (18.75″) for simplicity. If your barn-door hardware differs, change these lengths accordingly.
Frames:
- 4 — 2×3 @ 75″
- 4 — 2×3 @ 17″
- 4 — 2×3 @ 14″
Face Frame:
- 5 — 1×4 @ 36″
- 8 — 1×4 @ 16.25″
Shelves:
- 2 — 1×8 @ 78″
- 2 — 1×10 @ 78″
Middle Shelf Supports and Cleats:
- 7 — 1×2 @ 14″
- 5 — 1×2 @ 17″
Shelf Dividers (optional):
- Top dividers: 2 panels cut to approx. 16.75″ x 14.625″
- Bottom dividers: 2 panels cut to approx. 16″ x 14″
Top:
- 2 — 2×10 cut to 82″
Doors:
- Cut the large glued-edge panel into two pieces: 20″ x 30.75″ each
Back:
- Rip the 1/4″ plywood into strips and attach at 36″ lengths to create a planked back
I used 1/4″ pine project boards for all the trim around the doors and cabinet sides. Use the trim that matches your aesthetic.
How to Build a DIY Farmhouse Media Console Table
These instructions outline the steps I followed. I started from a set of free console plans and adapted dimensions to fit my hardware; use the original plans as a reference if you need additional diagrams.
1. Cut the 2×3 Frame Boards and Assemble the Frame
Cut the 2x3s for the frame. Assemble with wood glue and screws or pocket holes for a strong frame. If you plan to attach the top using pocket holes, add those to the top rails before assembly.
Tip: Check that your boards are straight before building; warped lumber makes the frame harder to square up later.
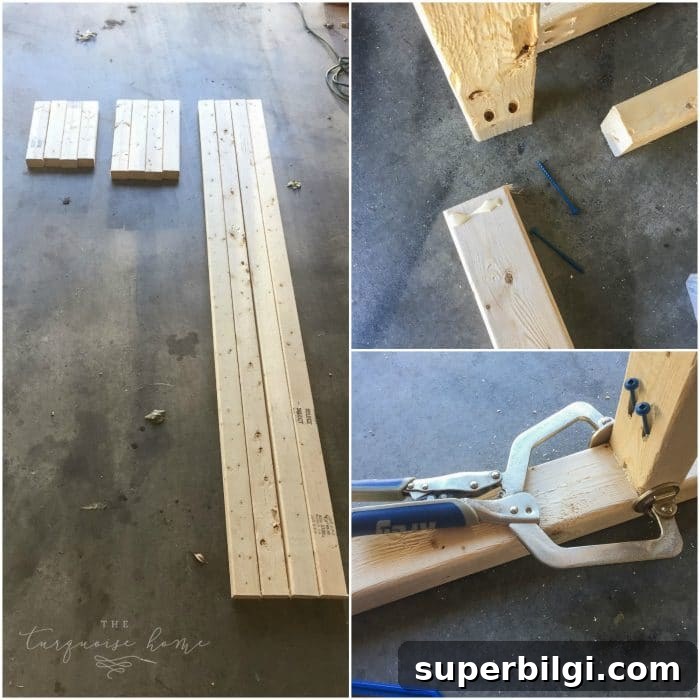
I used pocket holes and 2-1/2″ pocket screws with clamps to keep joints tight. The inner frame will be covered, so focus on structural strength rather than appearance.
2. Cut and Assemble the Face Frame
Cut the 1x4s for the face frame. You can either assemble the face frame separately using pocket holes and then attach it, or attach pieces directly to the assembled frame using 1-1/4″ screws and glue.
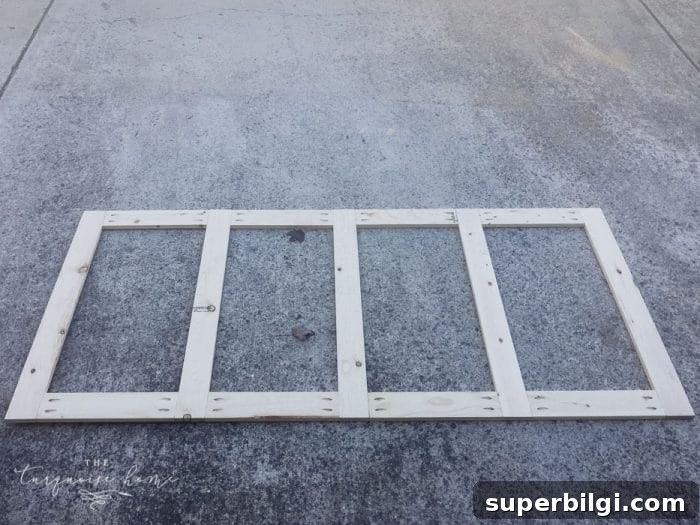
I assembled the face frame with pocket holes first, then glued and nailed it to the front. Use a scrap board to keep pieces flush while fastening.
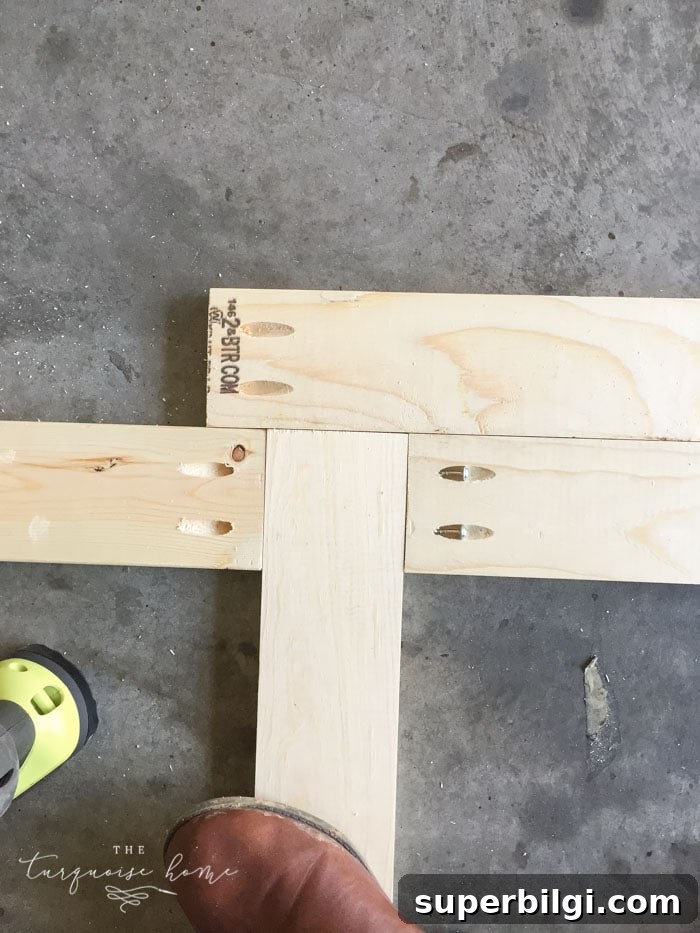
3. Attach the Side Panels to the Frame
Fasten the project panels to the sides from the inside using 2″ screws, or glue and brad nails. If your panels are slightly narrower than the opening, you can add decorative trim to cover any small gaps.
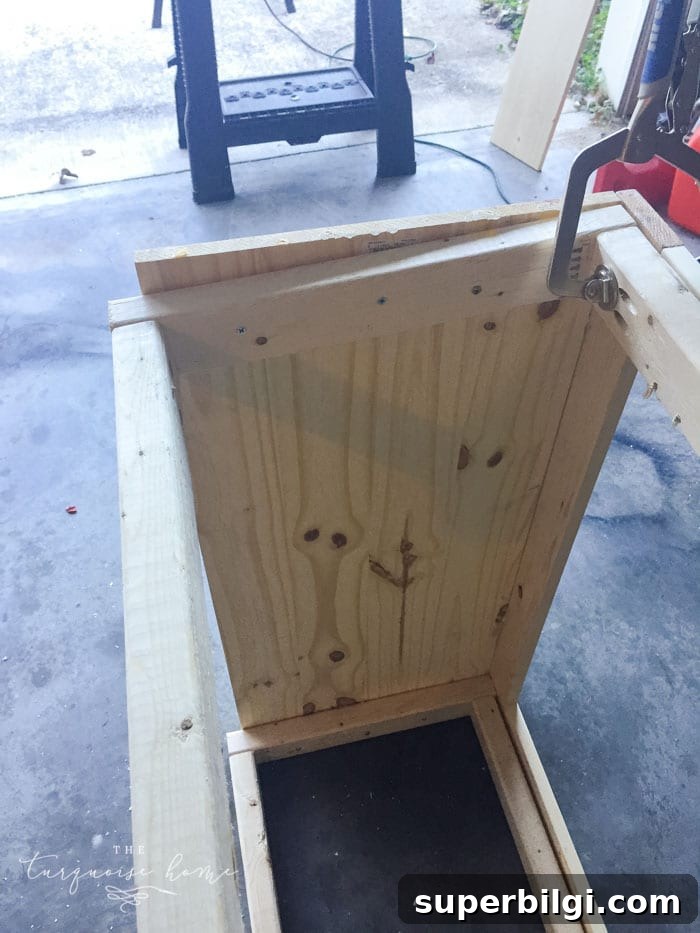
Clamp the face frame to the cabinet while glue dries for a flush fit.
4. Add the Bottom Shelf
Cut and fit the 1×8 and 1×10 boards for the bottom shelf and nail them into the bottom frame with 1-1/4″ nails. A small center gap between boards is fine; avoid overhang at the back.
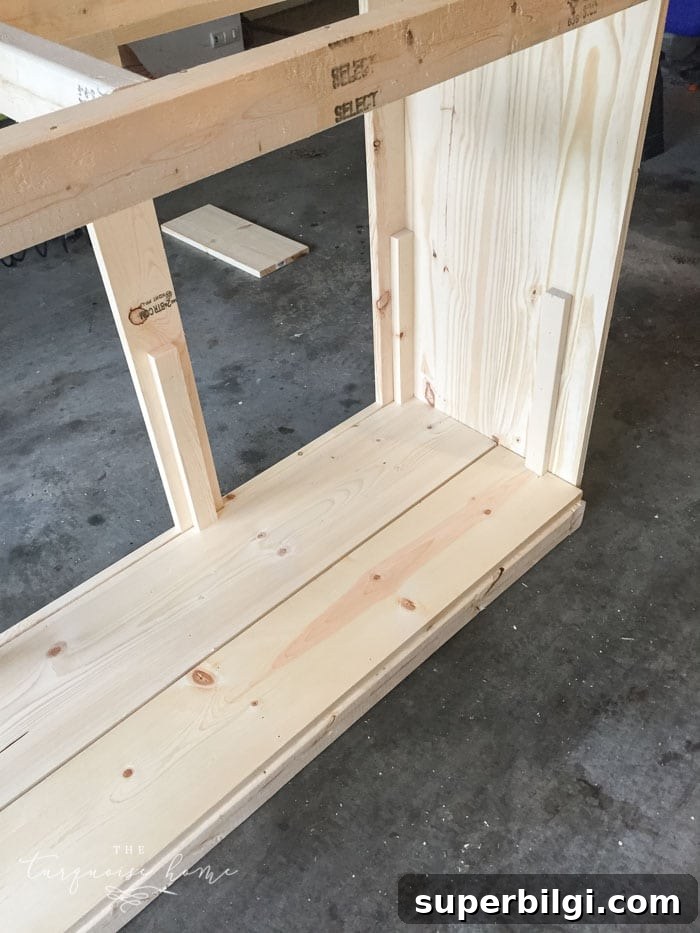
5. Attach the Shelf Supports
Install the 1×2 supports and cleats around the inside of the frame to support shelves. Use glue and 1-1/4″ nails. Place the top shelf boards on the supports to determine where additional cleats should be attached.
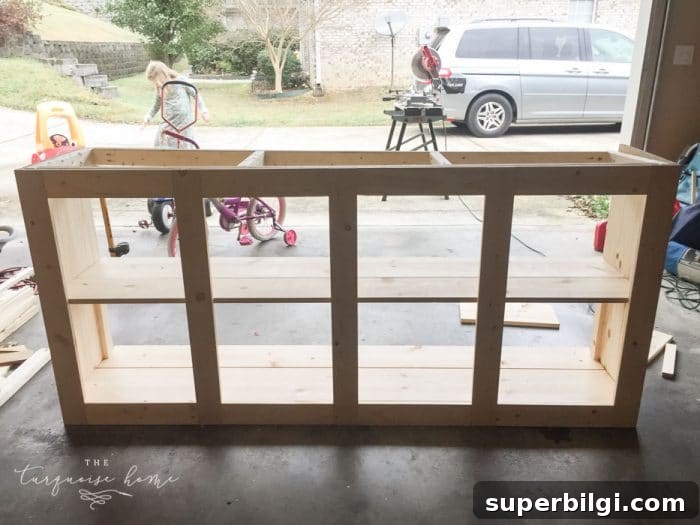
6. Assemble the Top Shelf
Assemble the top shelf boards and add cleats beneath (five 1×4 boards cut to 17″) with glue and nails. Leave a small gap between boards if needed for movement.
7. Attach the Top Shelf
Place the top shelf and fasten it from the outside with nails or from below with pocket screws if you added pocket holes in step 1.
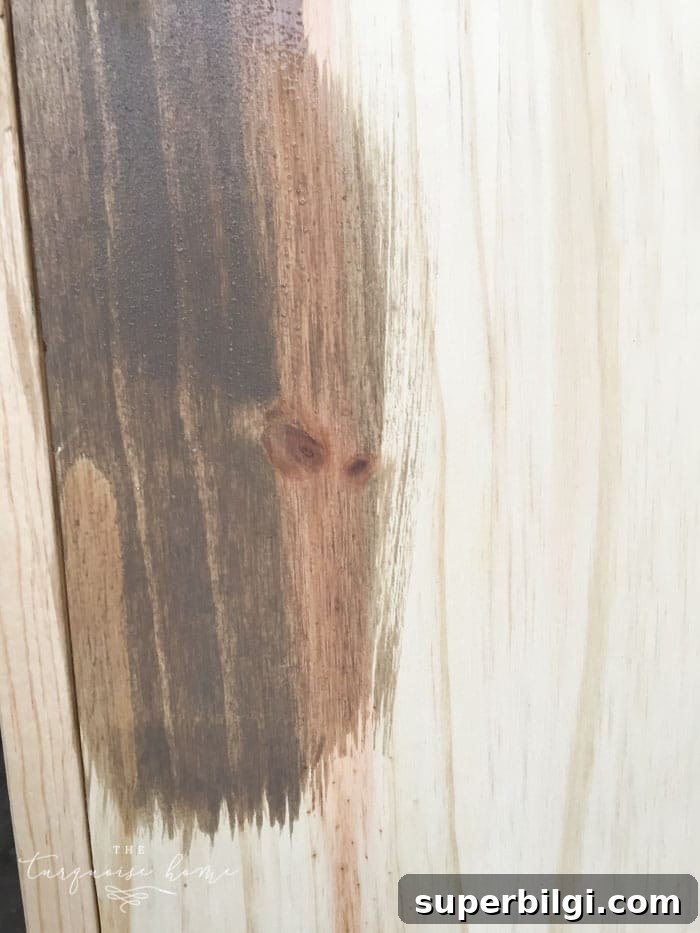
8. Apply Stain
Stain the assembled sections as you go. I stopped after the main assembly to stain panels and shelf pieces before final installation. Staining some pieces before installation makes finishing easier and cleaner.
9. Attach the Shelf Dividers
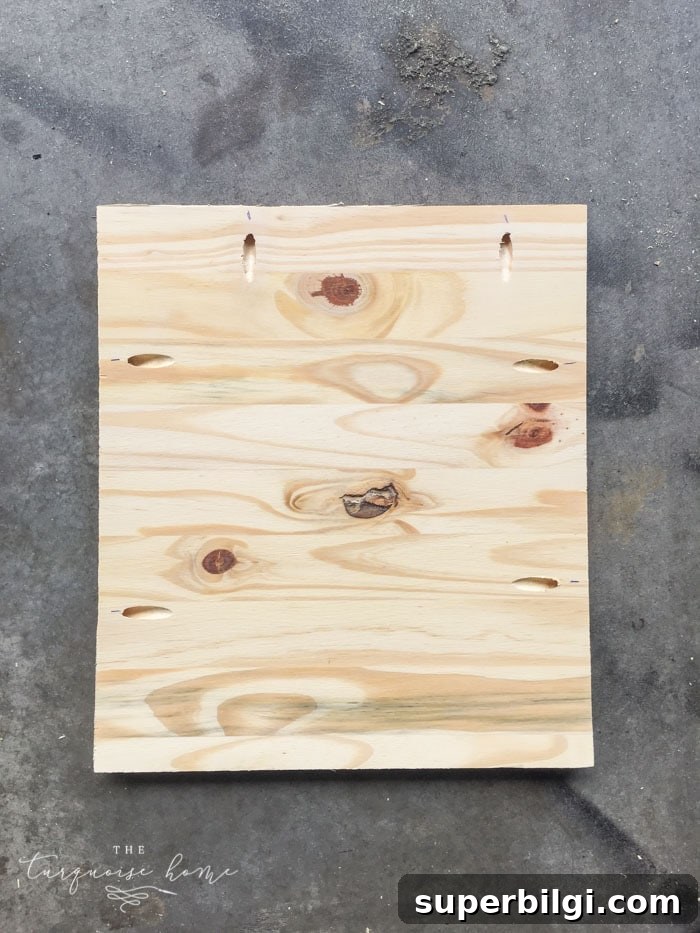
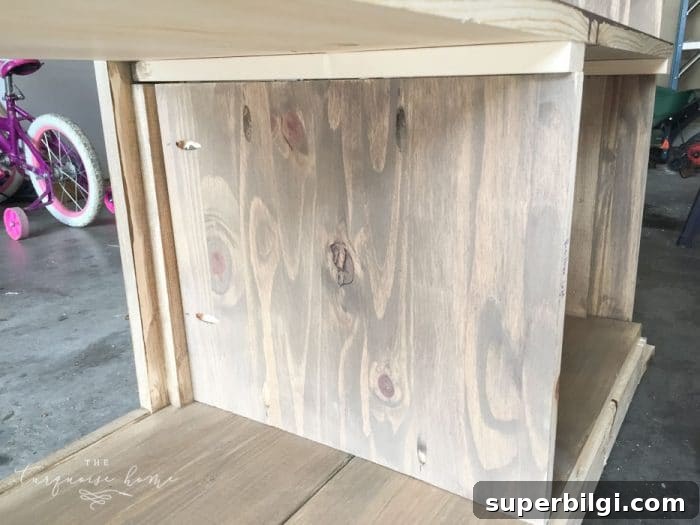
I added dividers to the left and right sections so small hands can’t reach around the edge of the doors. Cut project panels to size, add pocket holes where they meet shelves or the frame, stain, then install. This step is optional but adds privacy and structure to each cubby.
10. Attach the Back Pieces
Attach the ripped plywood strips to the back using 3/4″–1-1/4″ nails to create a planked look. If you prefer, a single sheet of plywood can be used for a simpler back.
11. Add Bottom Trim Pieces
Add 1×2 trim around the cabinet base with mitered corners. Measure and cut to size, then fasten with glue and 1-1/4″ nails.
12. Attach the Top of the Table to the Frame
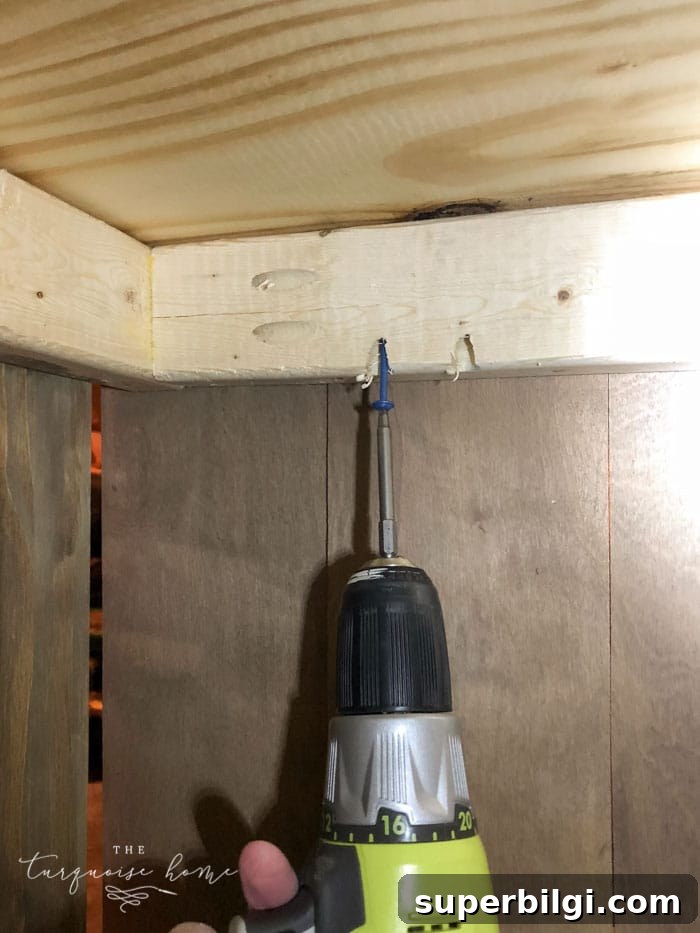
Stain the two 2×10 top boards before fastening if you prefer fewer finishing steps. Attach them overlapping the sides and front but flush at the back. If you created pocket holes in step 1, fasten the top from below with 2-1/2″ pocket screws for an inconspicuous connection.
13. Add Decorative Trim to the Sides
Adding trim is optional, but it gives a finished look and can conceal small gaps if your side panels were slightly short. Glue and nail the trim in place to match the door trim for a cohesive look.
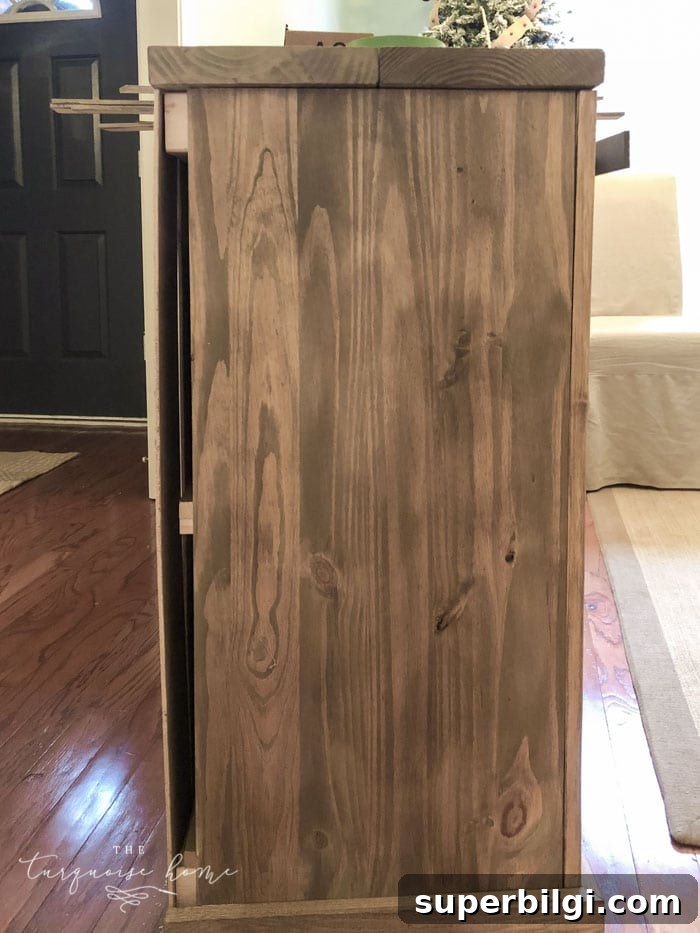
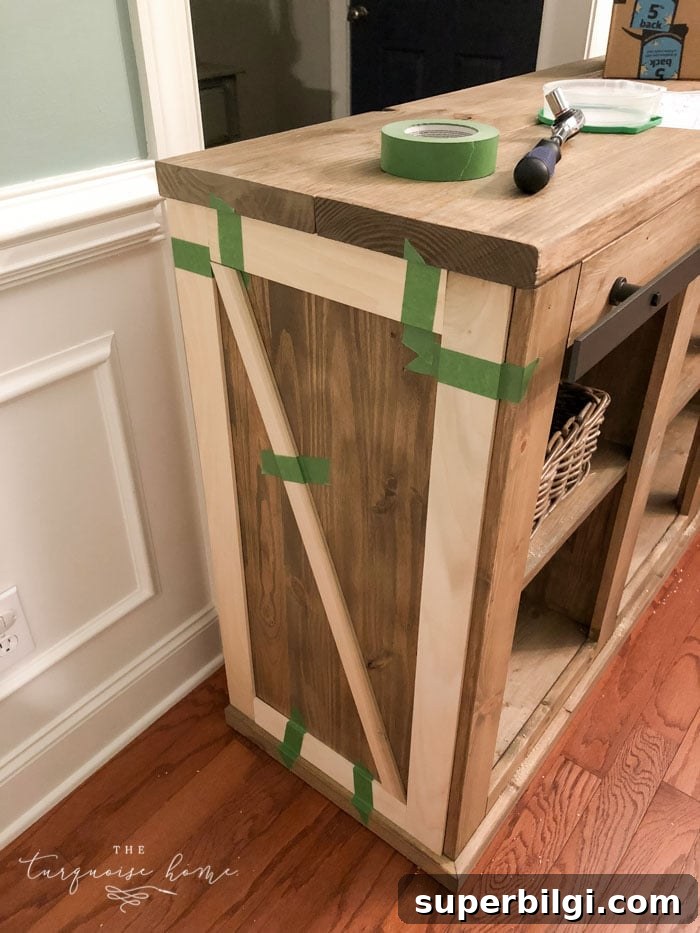
14. Build the Sliding Barn Doors
Cut the glued-edge panel into two door faces at 20″ x 30.75″ each. Add decorative trim with pine project boards and assemble. Stain the doors before final installation for best results.
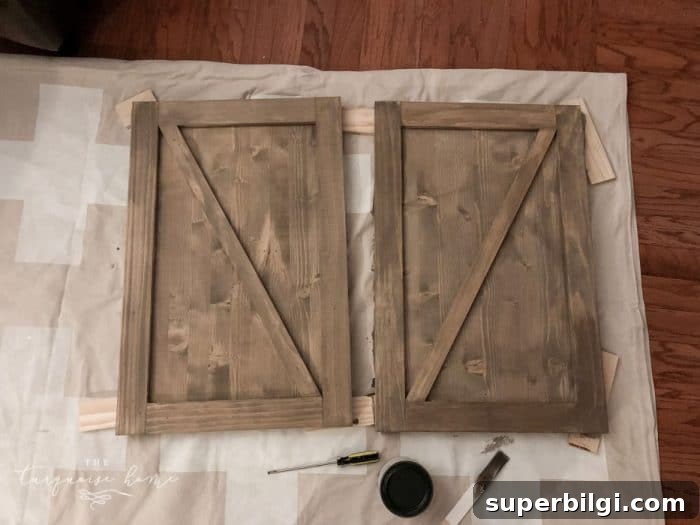
15. Attach the Barn Door Rail to the Front
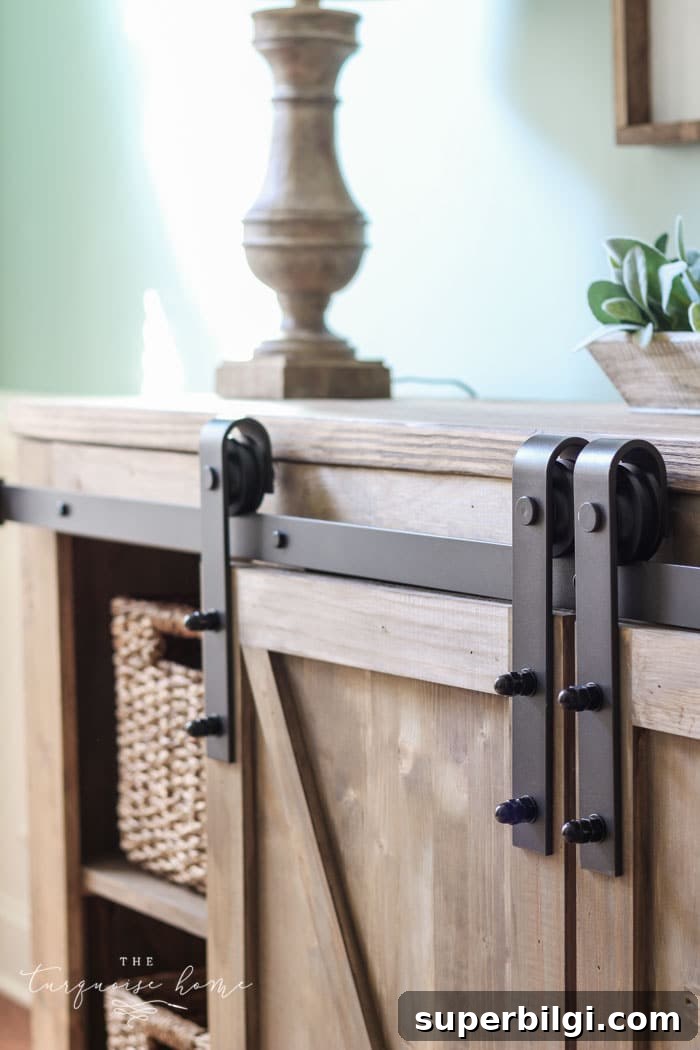
Follow your hardware instructions closely. Accurate placement is crucial to prevent the door from rubbing the bottom of the cabinet or sitting above the top. Ensure the cabinet sits on a level surface when you mark and install the rail.
16. Attach Hardware to the Doors
Use a spade bit to drill the holes for the hardware on the doors and fasten according to the hardware instructions. Install the doors on the track and make any necessary adjustments for smooth sliding.
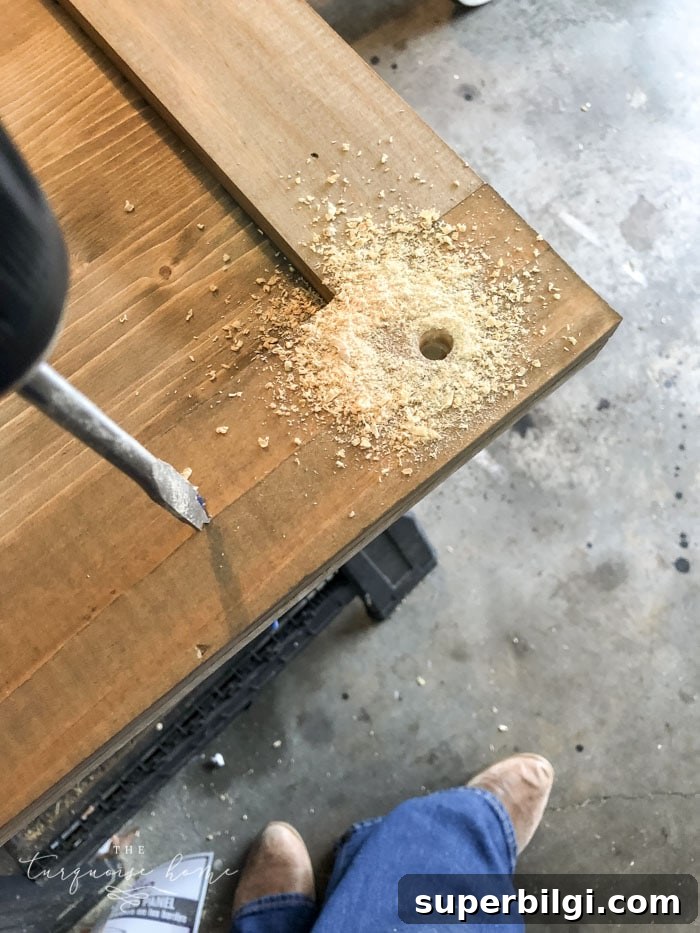
With the doors on the track and the hardware adjusted, the console is complete.
Stain for the DIY Farmhouse Media Console Table
I used a water-based, low-odor stain in a weathered finish that sits between a stain and a paint. It behaves differently than traditional oil-based stains—some boards absorb it while others show more surface color—so test and adjust your application method. It cleaned up easily with soap and water and required nearly two cans for this build.
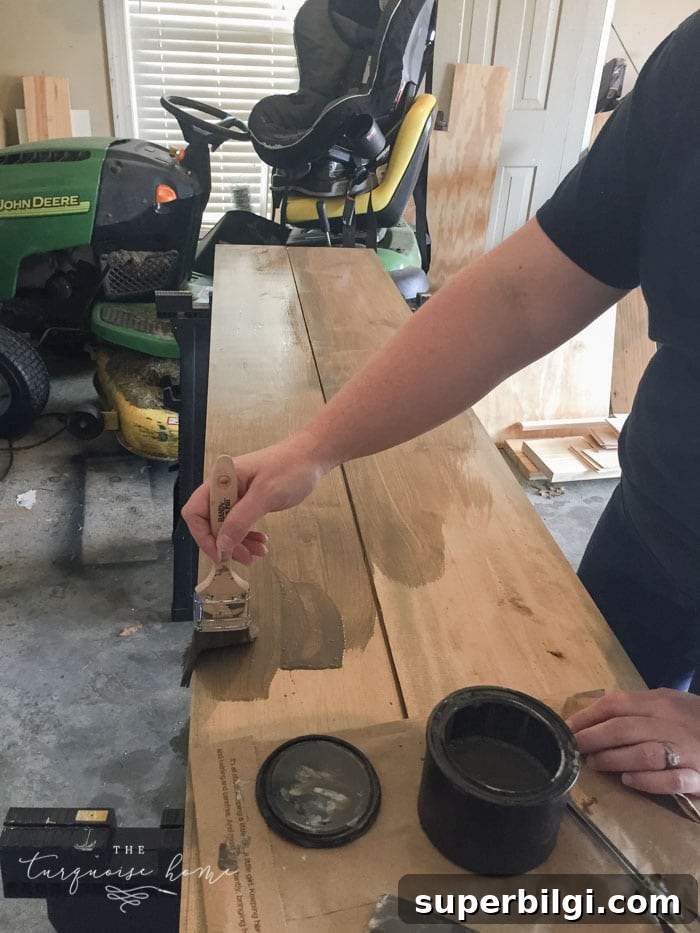
The product I used is water-based and low-VOC, making it suitable for indoor projects. Although it’s advertised as a stain-and-topcoat in one, I plan to finish my piece with clear wax for a more durable, tactile finish.
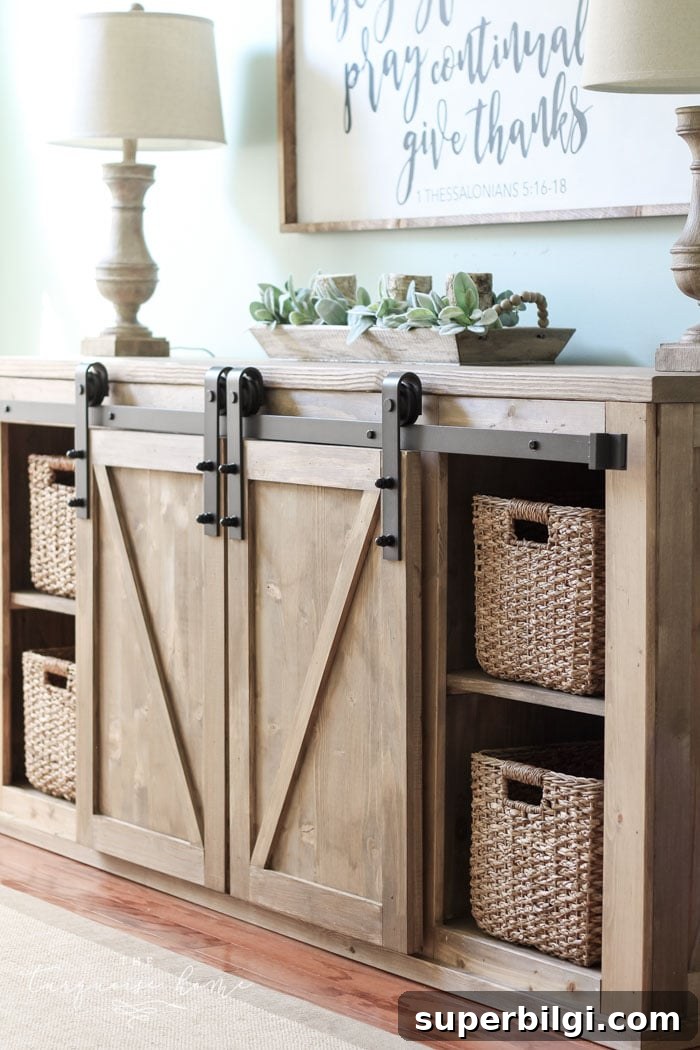
For baskets, I chose seagrass-style wicker baskets that fit the cubbies nicely and keep contents organized and accessible.
I hope this guide helps you build your own farmhouse media console. If you run into questions while building, feel free to ask for clarification.
More posts you may enjoy:
- Traditional Dining Room Reveal
- The Best, Affordable Wicker Patio Furniture
- Four Reasons to Love Wood Furniture
- What Color Walls Go with Dark Wood Trim?
- DIY Gray Wash on Wood Technique