
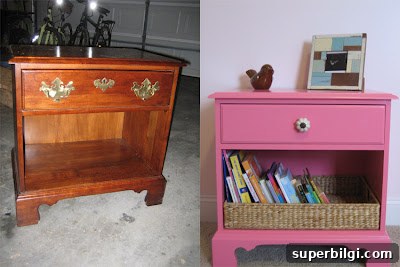
Hot Pink Nightstand Makeover: From Drab to Fab
This hot pink nightstand makeover shows how a simple DIY furniture refresh can transform a tired piece into a lively focal point. With a few basic supplies, some sanding, primer and paint, an ordinary nightstand becomes a bold, modern accent for a bedroom.
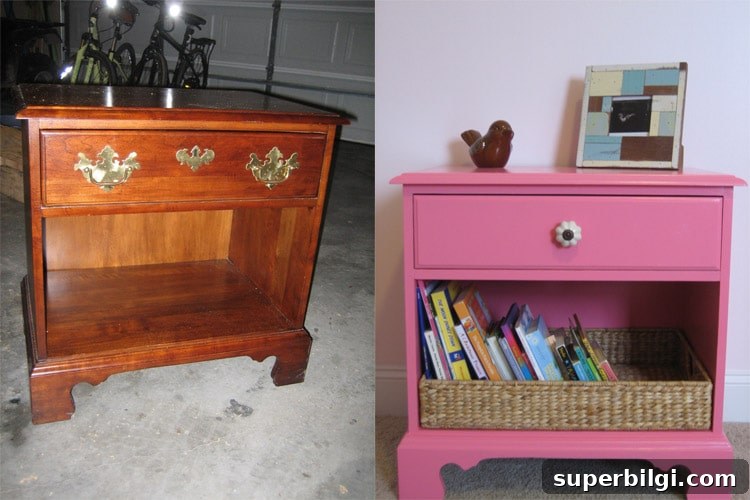
A few months ago my brother-in-law gave me several pieces of furniture: two nightstands and a desk. I had been searching for a nightstand or side table that would work in A’s room, so I decided to refresh one of these pieces and add a pop of color to the space. The result is a cheerful, hot pink nightstand that brightens the room and adds personality.
I followed a reliable step-by-step painting method to prep and finish the furniture. The process is straightforward: remove hardware, sand the surfaces, apply primer, fill holes if needed, paint, and finish with hardware and any decorative touches. Below are photos and practical tips from my own makeover to help you achieve similar results on your next furniture project.
Progress photos from the makeover:
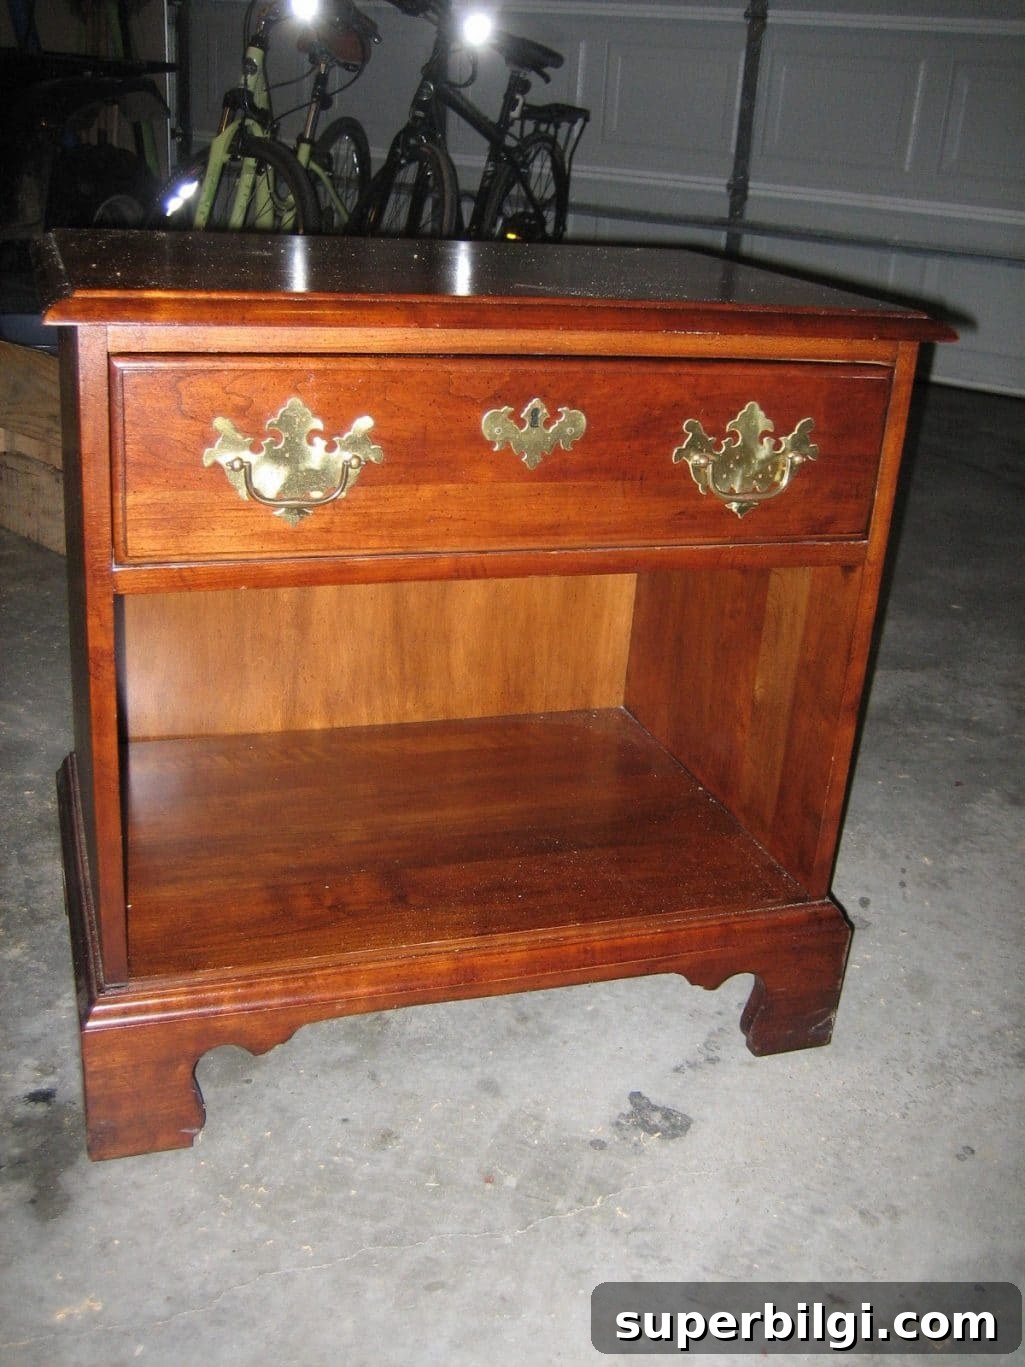
The piece as it looked before I started. Starting with a clean, uncluttered surface makes the rest of the job much easier.
I removed all of the hardware first — knobs and pulls come off easily and make sanding and priming simpler and cleaner. Keep screws and hardware in a labeled container so nothing gets lost.
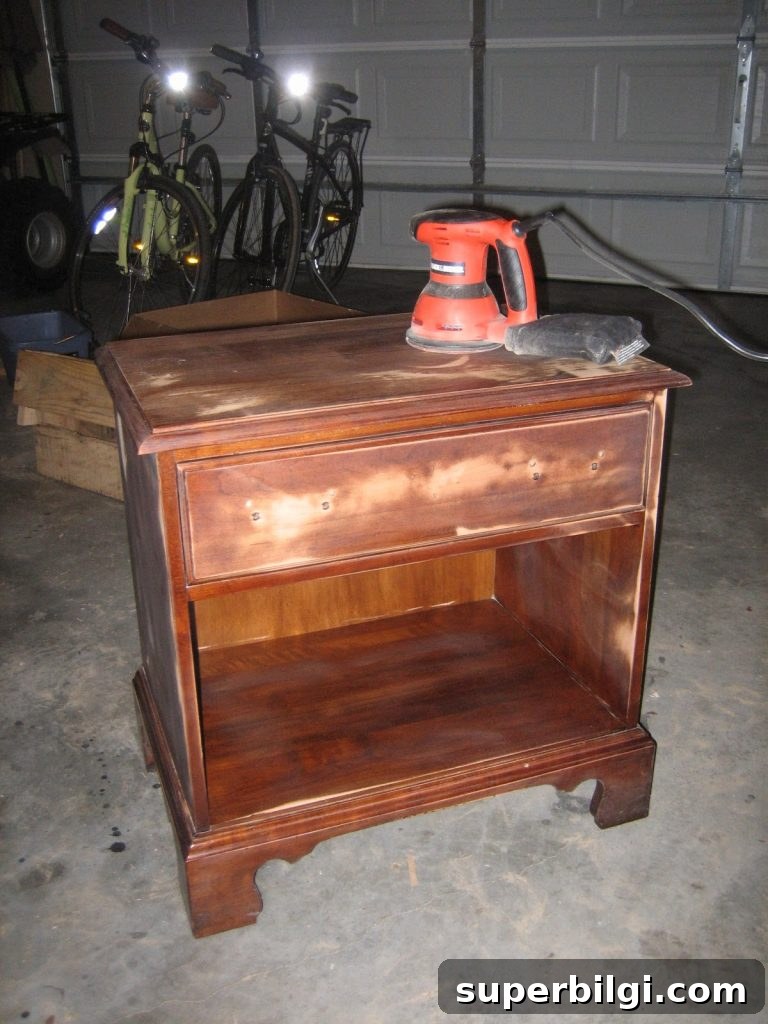
Sanding is an important step to ensure the paint adheres well. I used a new power sander, which sped up the job. If you’re new to sanding, work with even strokes and gradually move to a finer grit for a smooth finish. Any small sanding marks you see at this stage will usually disappear once primer and paint are applied.
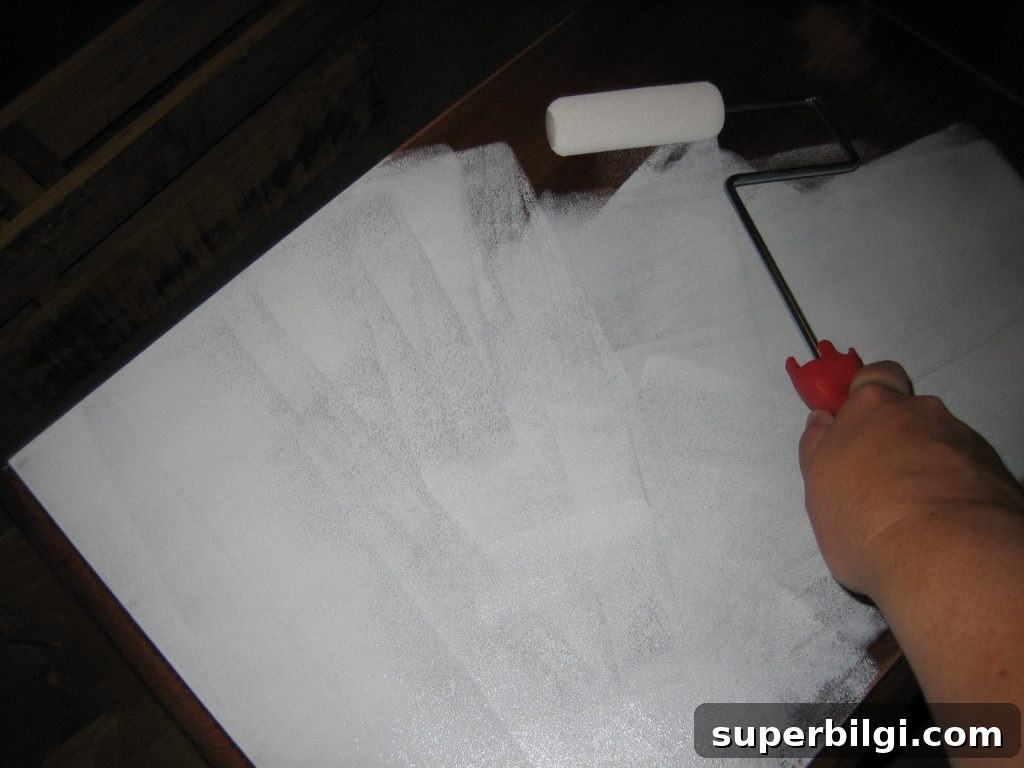
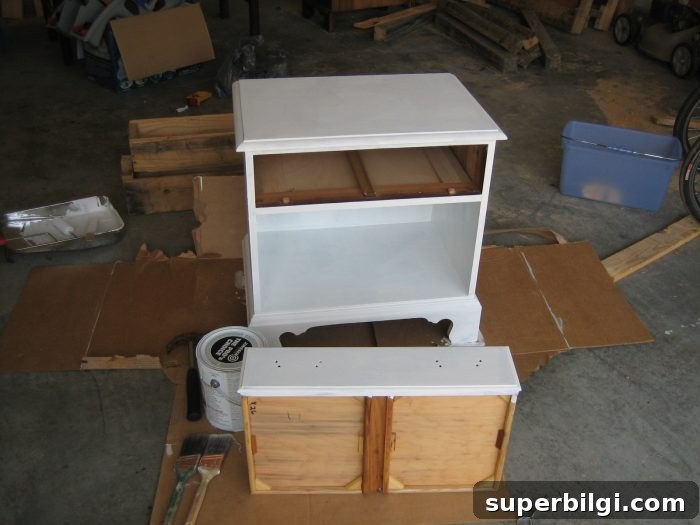
Priming came next. I applied two coats of primer to create a uniform base, cover any stains or wood tones, and improve paint adhesion. Using a quality primer reduces the number of topcoats you’ll need and helps the final color look vibrant and even.
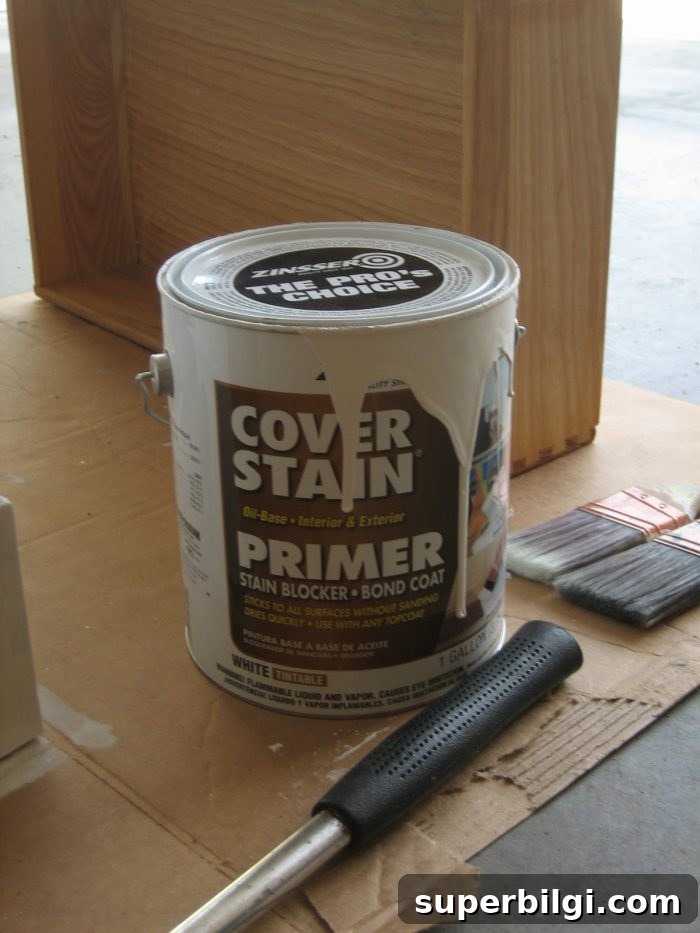
I used Zinsser Cover Stain Primer, which worked very well for this project. After priming, I filled the drawer screw holes with wood filler and sanded smooth so the drawer front would look seamless once painted.
Once the primer had cured and the surface was smooth, it was time for paint. I chose Grand Hotel Geranium Pink by Valspar (available at Lowe’s). The color is playful and saturated without feeling overwhelming — perfect for a child’s room or any space that needs a cheerful accent.
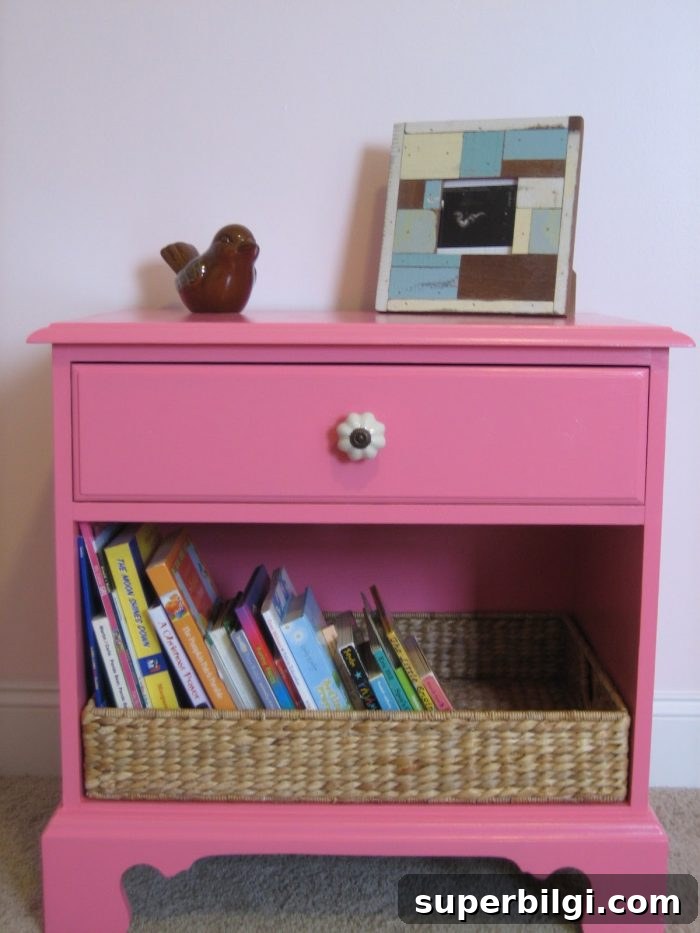
I’m very pleased with the finished piece. The drawer pull is from Hobby Lobby and complements the pink color nicely. I also repurposed a basket that used to be a drawer in an old house remodel; it fits perfectly as a storage basket for books and small items. Using a mix of new hardware and repurposed elements gives the nightstand character and function.

Final tips for a successful nightstand makeover: remove all hardware before starting, sand progressively for a smooth finish, use a quality primer and allow ample drying time between coats, and consider a clear topcoat for durability if the piece will see daily use. With a little time and a few supplies, you can turn an ordinary piece of furniture into a standout accent. This hot pink makeover added both color and personality to the room and proves that even inexpensive or secondhand pieces can look new again with the right approach.











