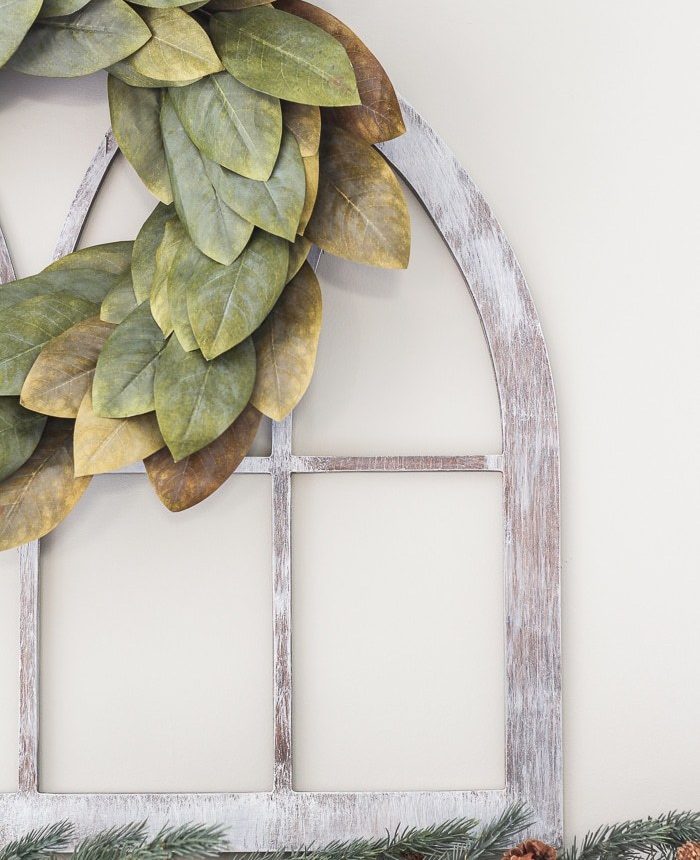
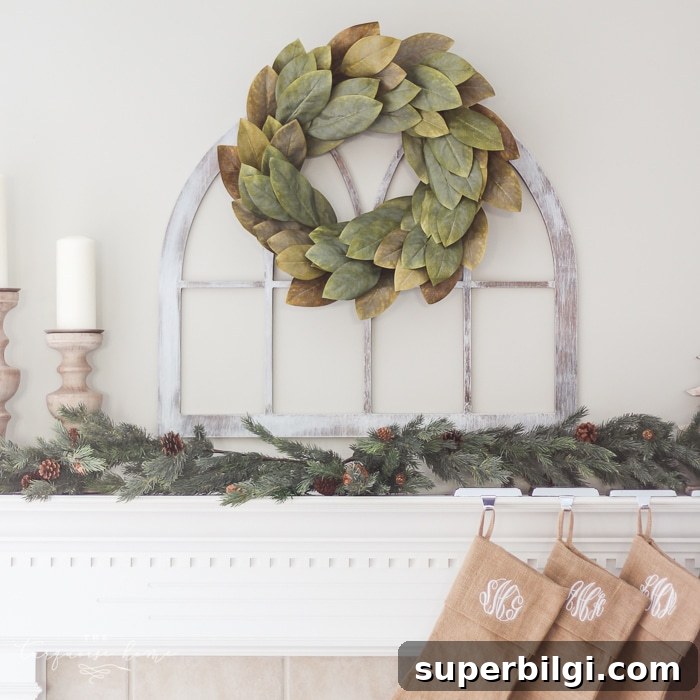
This DIY Fixer Upper-style cathedral window frame is an affordable and simple way to create a beautiful focal piece for your home. It’s a “sort of” DIY because I didn’t cut the frame myself, but you can absolutely make one with a jigsaw if you prefer. I ordered an unfinished arched frame and finished it in a rustic, farmhouse style that feels right at home on a mantel.
This post contains affiliate links for convenience. See my full disclosure policy here.
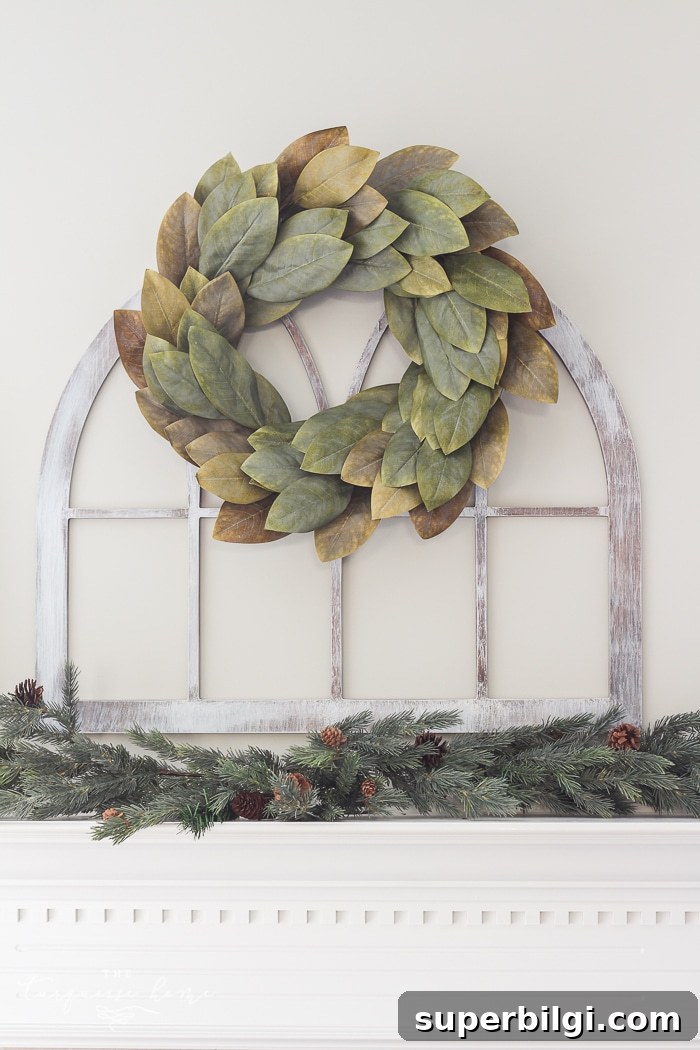
I think this cathedral window turned out perfectly for my mantel. I finished it with a classic magnolia wreath for a timeless, Fixer Upper-inspired look. I’d been wanting a magnolia wreath for a long time and considered making one, but I kept returning to a store-bought option because it captures a natural look so well—even though it’s faux and hand painted. I love the finished pairing of the arched frame and the wreath.
I’ve long appreciated using old windows in décor; an old window has been a mainstay on my mantel for five years as a large, attractive backdrop. Recently I wanted to change things up and channel the arched cathedral window look that’s become popular on renovation shows. The curved silhouette adds architectural interest and works beautifully over a mantel or as a statement headboard.
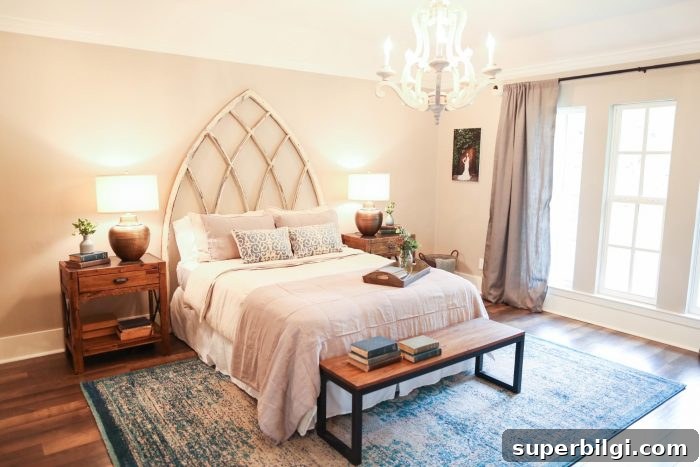
I originally spotted a similar cathedral window piece in the Magnolia Home collection at Nordstrom and was determined to have one. When it was frequently out of stock, I started searching for alternatives. I discovered that several sellers on Etsy offer unfinished arched window frames at a fraction of the price of the branded versions. The trade-off is that these frames often come either unfinished or with a single-tone stain, so I bought an unfinished version and finished it myself to get the rustic, aged appearance I wanted.
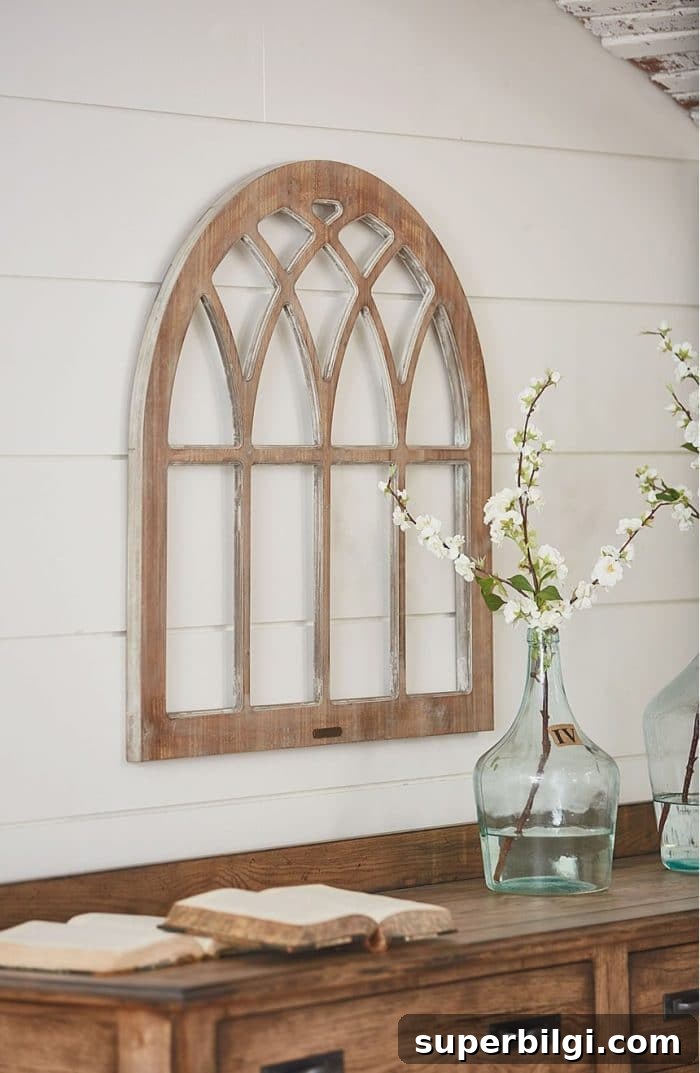
I didn’t attempt to recreate the Magnolia Home finish exactly. I treat projects like this as art—mixing paints and techniques until the piece feels right. My finished frame looks different from any store-bought version, and I like that it’s unique. When you DIY, embrace your own variations and personal touches.
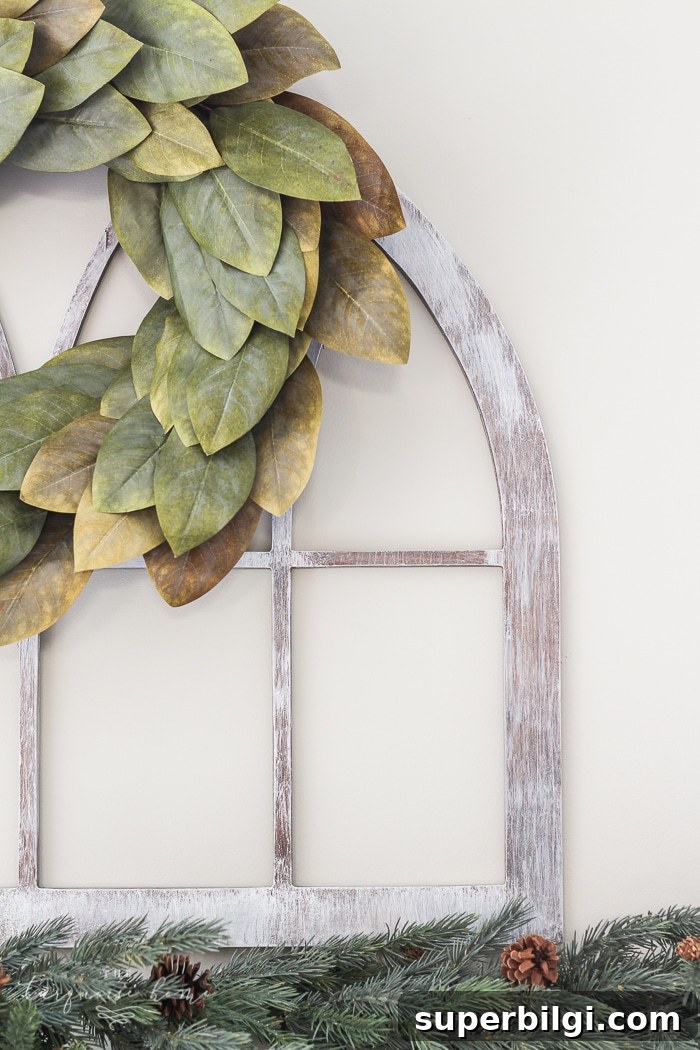
Below I’ve outlined the supplies I used and the step-by-step finishing process so you can recreate a similar rustic cathedral window frame for your home.
Project Supplies Needed for DIY Cathedral Window Frame
- Unfinished arched window frame (I purchased an unfinished cutout)
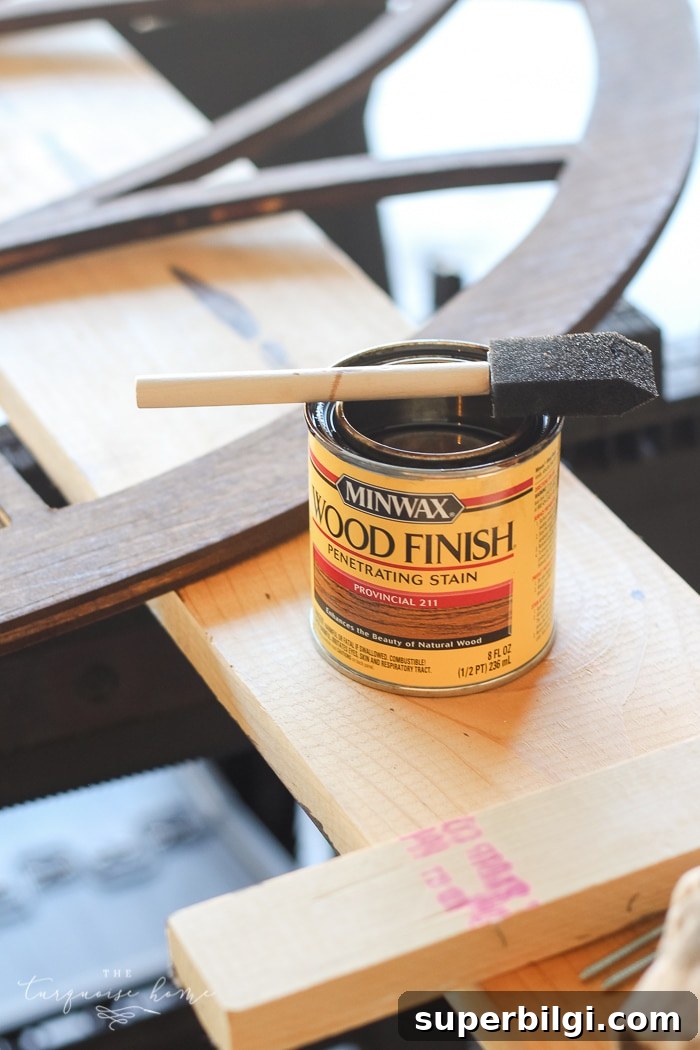
- Wood stain of your choice — I used Minwax Provincial (a medium to dark brown)
- Clear finishing wax
- White paint (or off-white for a softer look)
- Craft foam brushes or small staining brushes
- Old rags for wiping stain and buffing wax
- Optional: sandpaper (120–220 grit) for smoothing and distressing
Step-by-Step Finishing Instructions
Step 1 — Stain the Frame. Start by testing the stain on the back of the frame or a scrap piece of wood to ensure you like the color. Apply the stain with a small brush or rag, following the wood grain, then wipe off the excess with a clean rag. I used Provincial because that’s what I had on hand; if you prefer a lighter look, choose a lighter stain or dilute a darker stain and test first. Allow the stain to dry according to the manufacturer’s instructions.
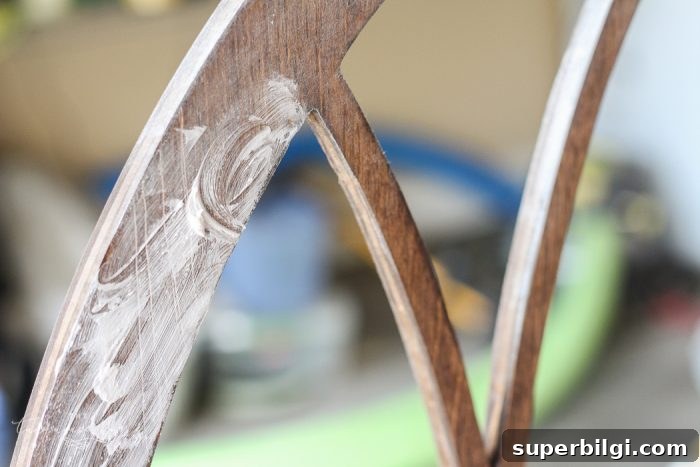
Step 2 — Create a Whitewash Wax Finish. Mix a small amount of white paint into clear finishing wax to create a whitewash mixture. Using a foam brush or cloth, apply the mixture to the stained frame and rub it in. Wipe away excess to let the stained wood show through, creating a weathered, whitewashed look. For more variation, use a dry-brush technique in places: load a brush lightly with paint, wipe most of it off on a rag, then gently brush the surface to leave faint streaks and texture. Add more paint in areas where you want a more pronounced antique effect.
Step 3 — Final Touches and Hanging. Let the whitewash and wax fully dry, then buff the wax with a soft cloth for a subtle sheen and protection. If you want extra aged character, lightly sand edges and corners with fine-grit sandpaper to distress selected areas. Hang the frame securely using appropriate hardware for its weight — a French cleat, D-rings, or heavy-duty picture hangers work well depending on where it will live. I placed mine on the mantel and topped it with a magnolia wreath for a polished, layered display.
Tips and Variations
- If you prefer a lighter overall result, choose a lighter stain or dilute your stain application and layer the whitewash more heavily.
- To mimic an older, more weathered look, gently sand certain areas after painting and waxing to reveal more of the underlying stain.
- If you want to cut the frame yourself, a jigsaw or band saw will do the job if you’re comfortable with power tools; otherwise, many sellers offer pre-cut arched frames in several sizes.
- Consider adding an inner trim or backing board if you plan to hang the frame on a wall where you want a solid backdrop behind the arches.
Related: Magnolia Wreath Christmas Mantel Decor
This frame is a great foundation for seasonal mantel decor. I used the arched window to anchor my Christmas mantel—more photos and styling ideas coming soon.
More posts you may enjoy:
- The Living Room
- The Best Labor Day Weekend Sales!
- My Favorite Small Shops for Shop Small Saturday
- The Old House: Before Pics
- Best 15 Haint Blue Paint Colors for Porch Ceilings