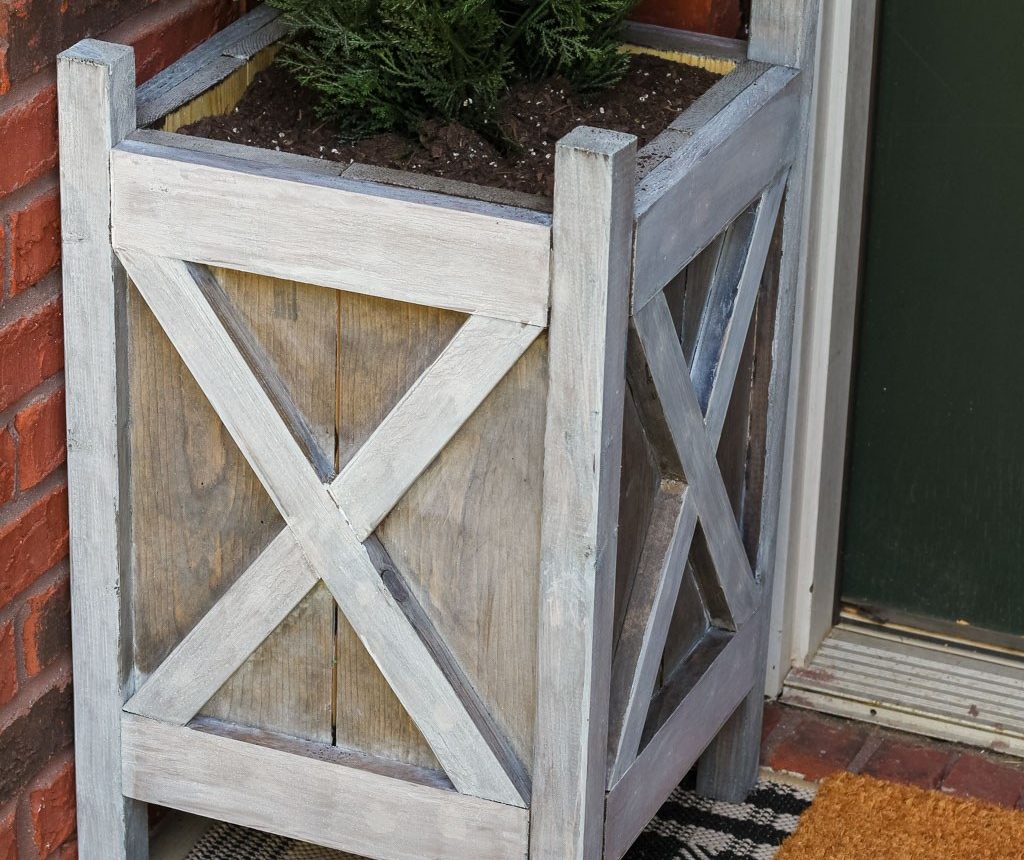
Learn how to create a beautiful gray-wash effect on raw wood using a simple paint-and-water mixture. This quick technique takes only a few easy steps and produces a natural, weathered look.
You might remember the DIY planters I started a while back — I finished one completely to take photos and left the other halfway done for months. I finally finished the second planter as part of my fall home tour, and I’m sharing the simple gray-wash method I used so you can recreate it on your own projects.
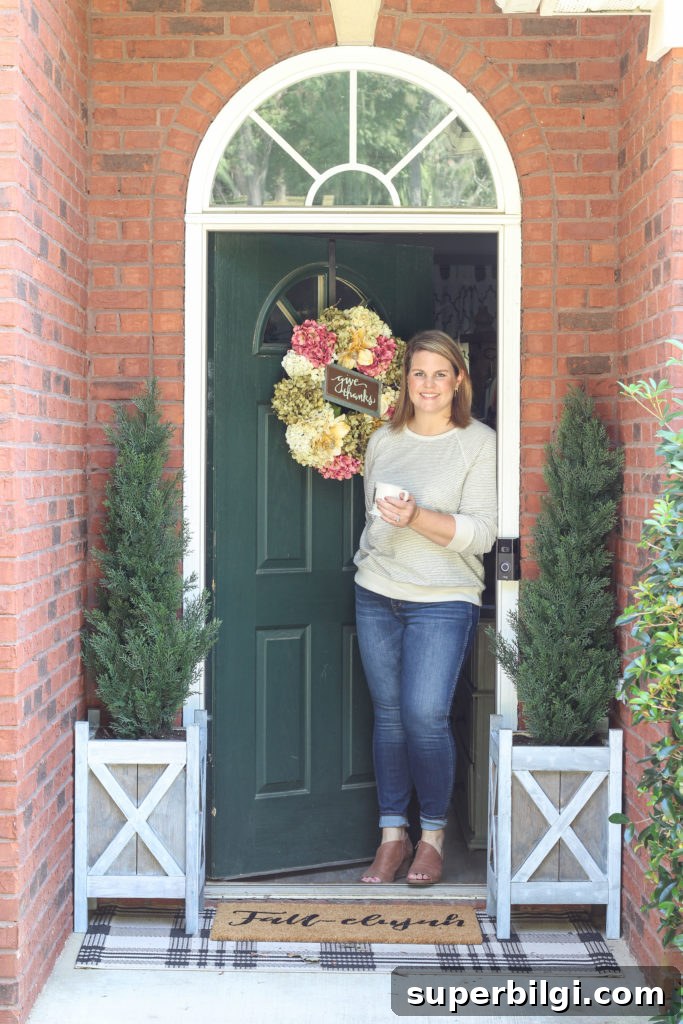
I’d planned to add greenery to my front stoop for a while, but choosing a finish for the wooden planters took some thought. I debated leaving the wood natural with a protective sealer, staining it dark, or painting it — and eventually combined stain and paint to create a soft gray-wash that I really love.
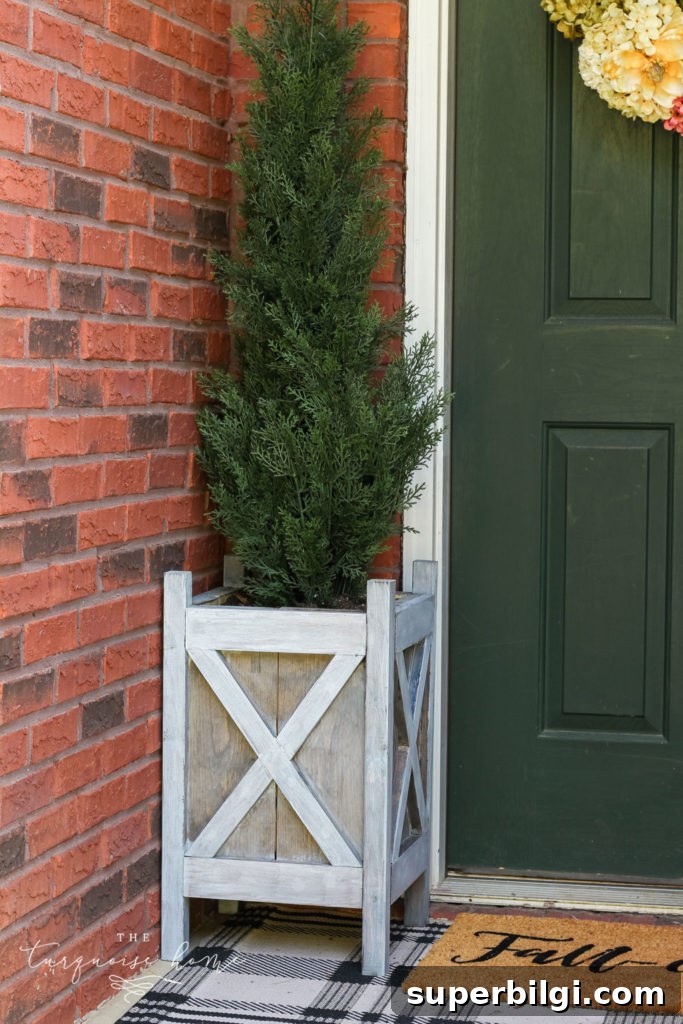
What you’ll need for the DIY gray-wash wood technique
- Dark wood stain (for example, Minwax’s Dark Walnut)
- White latex paint (I used Benjamin Moore Simply White leftover from another project)
- A paint brush for the paint
- A sponge brush or small brush for the stain
- Lint-free rags for wiping away excess paint wash
- Outdoor sealer (if the piece will be outside)
How to apply a gray-wash to wood
This method is intentionally simple and forgiving. It’s ideal for planters, furniture, shelves, and other decorative wood pieces when you want a soft, weathered gray finish without completely hiding the wood grain.
Step 1 — Stain the wood
Start by applying a dark stain evenly across the piece. Dark stains give the best contrast under the white wash and help the final result read as a true gray rather than chalky white. Apply the stain according to the product directions and allow it to penetrate as recommended.
Step 2 — Let the stain dry completely
Allow the stain to dry fully before proceeding. Drying time varies by product and environmental conditions, so follow the stain manufacturer’s instructions for best results. Proper drying ensures the paint wash wipes back easily and creates an even finish.
Step 3 — Mix the paint wash
Combine white paint and water in a 1:1 ratio (50% paint, 50% water) in a container. Stir thoroughly until the mixture is smooth. If you want a subtler or more transparent wash, you can add a little more water. The 50/50 mix gives a balanced gray wash when applied over a dark stain.
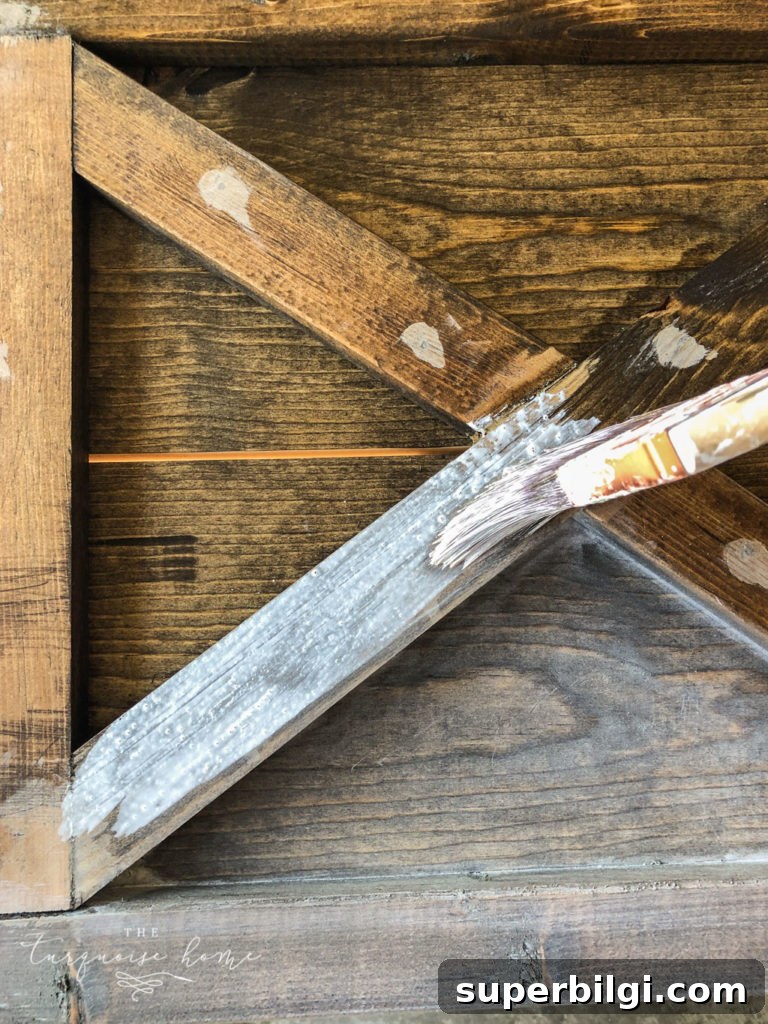
Step 4 — Apply the paint wash
Work in small sections. Brush the paint-and-water mixture onto the stained wood, covering only a manageable area at a time. Applying in small sections helps you control the look and ensures you can wipe before the paint dries.
Step 5 — Wipe off excess after about 30 seconds
After brushing the wash on, wait roughly 20–40 seconds, then gently wipe the surface with a lint-free rag. Don’t let the paint sit too long; wiping removes excess paint and lets the dark stain show through, creating the gray-washed appearance. Adjust the timing to get the opacity you prefer.
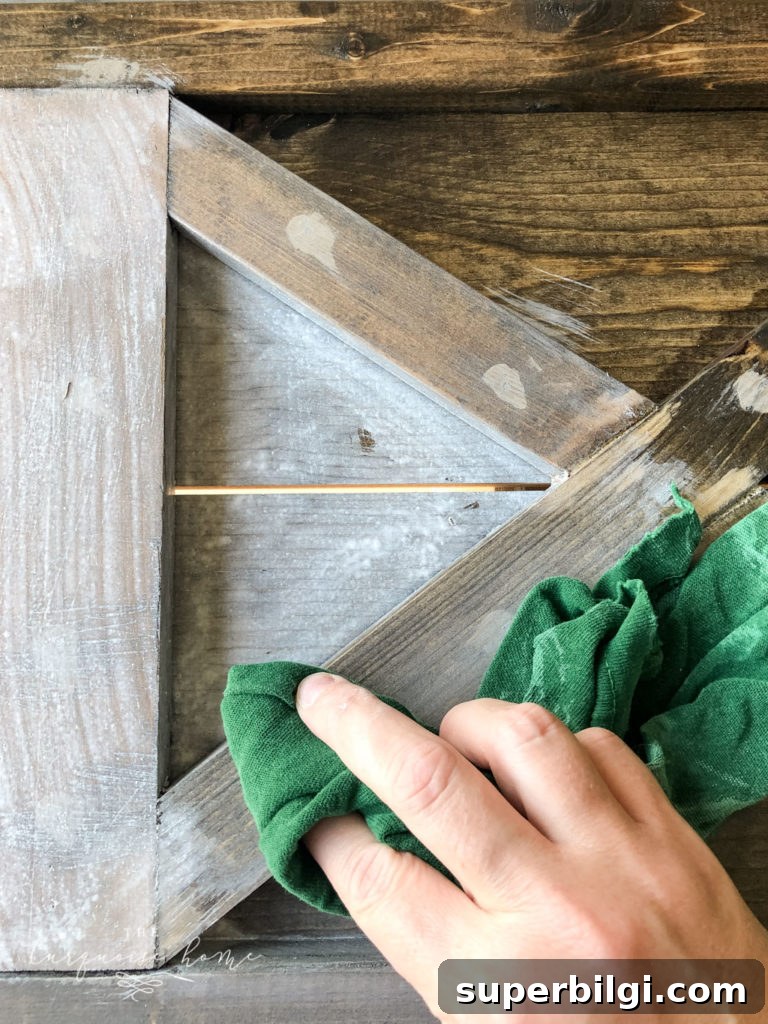
Step 6 — Continue across the piece and seal as needed
Repeat the brush-and-wipe process across the entire piece until you’ve achieved a uniform gray-washed look. For outdoor projects, apply a clear outdoor sealer once the finish is fully dry to protect the wood and the wash from weather. For indoor items, a furniture wax or clear polyurethane can add durability and luster.
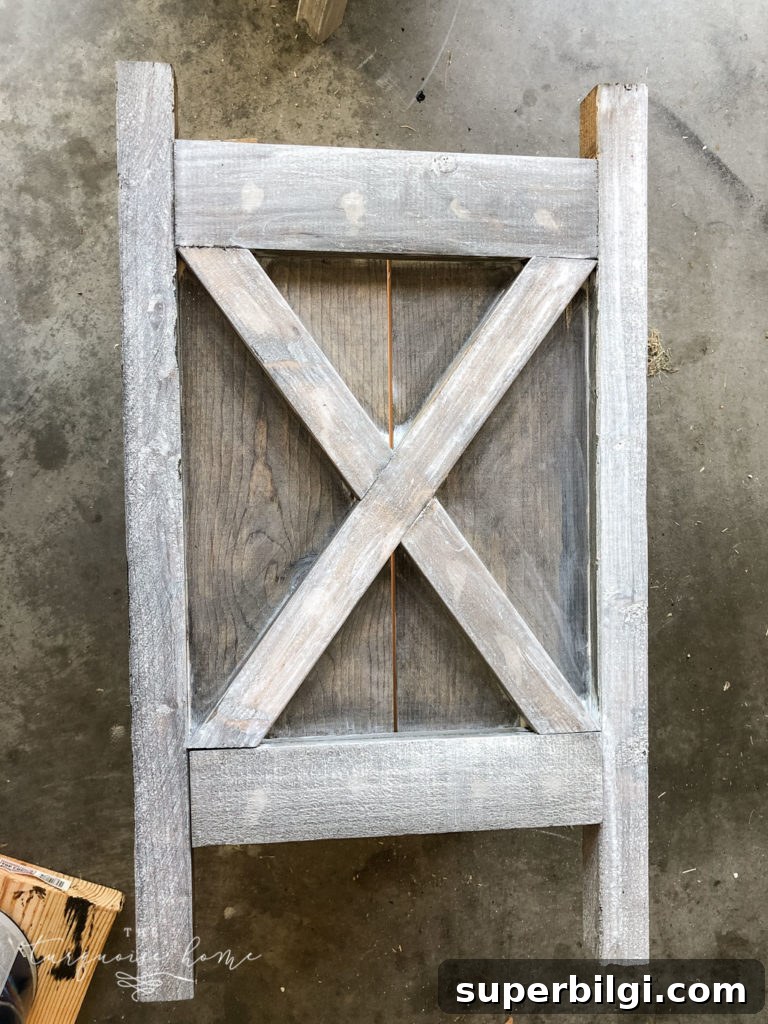
A quick note from my own planters: I painted the decorative X accents using the same paint/water mixture but didn’t wipe it off. Because I had filled the nail holes beforehand, wiping would have revealed the filler more than I wanted. Leaving those X’s fully painted helped them stand out. The rest of the planter kept the soft gray-wash I wanted, and I’m really pleased with the finished look.
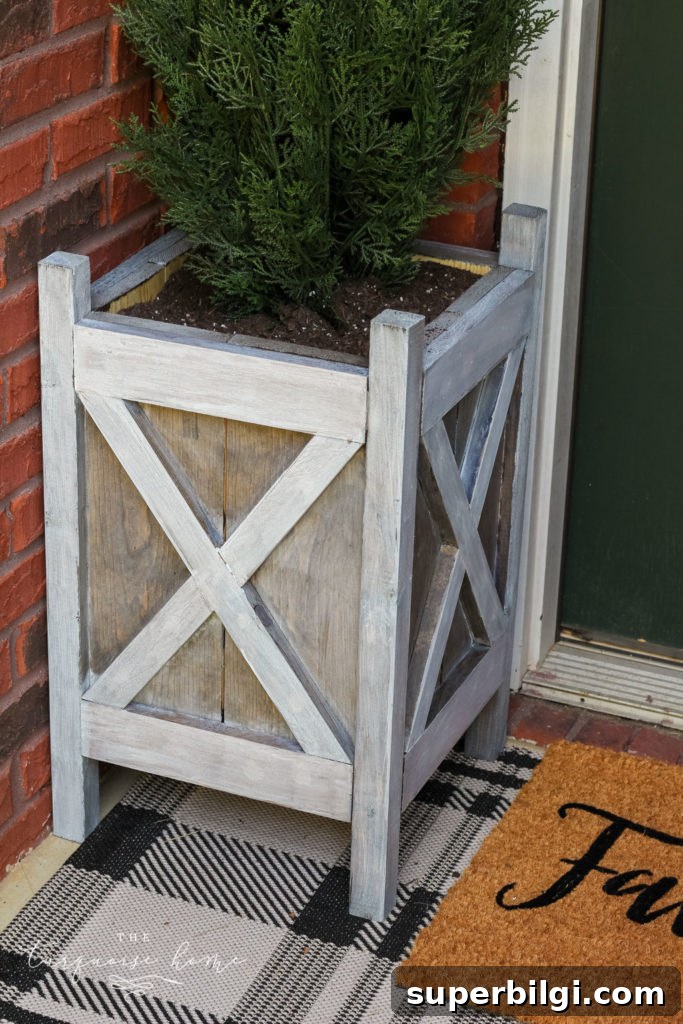
Tips for success: Test the paint-to-water ratio and wiping time on a scrap piece of the same wood before committing to the whole project. Sand lightly between stain and wash for a smoother finish, and always allow adequate drying time between coats and before sealing.
More posts you will love:
- 5 Easy Steps to Stain an Outdoor Structure
- How to Style a Console Table Behind a Couch (4 ways!)
- Butler’s Pantry Ideas: 10+ Beautiful and Functional Designs
- Sherwin Williams Extra White (SW 7006)
- How to Decorate with Ginger Jars