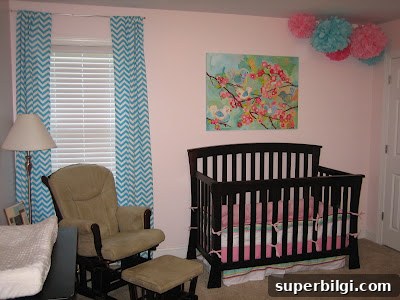
I finally mustered the courage to use my sewing machine. My very first project was a set of curtains for A’s room, and I’m happy to report it turned out better than I expected.

The beginning was more frustrating than inspiring. On my first evening at the machine, I wrestled with a bobbin thread that kept breaking and a few basic techniques I hadn’t yet learned. I went to bed convinced I’d given up on sewing for the time being. The next morning I decided to take one more run at it: I removed the stitches I’d made, re-threaded the machine from scratch, checked the bobbin tension, and started over with a calmer approach. That reset made all the difference — the second attempt went smoothly and gave me the confidence to finish the panels.
For guidance I followed a step-by-step rod-pocket panel tutorial, which helped me understand the measurements and the order of operations. Having clear instructions made the project manageable: I measured the window, cut the fabric with a little extra for hems, ironed crisp folds, and sewed consistent seams. If you’re new to sewing, a simple pattern for basic rod-pocket curtains is a great way to learn straight stitching, seam allowance, and how to create a clean pocket that will slide easily onto a curtain rod.
Before adding the curtains, A’s room felt a little unfinished. Curtains do so much for a space — they frame the window, add softness, and introduce color and texture without major expense. Even a straightforward pair of panels can warm a room and help tie together the other decor elements. I was excited to see how the finished curtains would change the overall feel of the space.
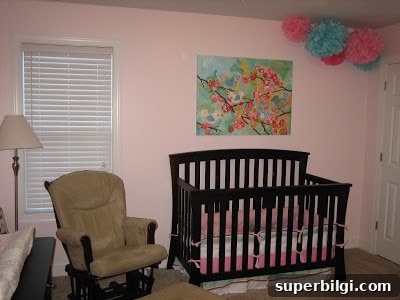
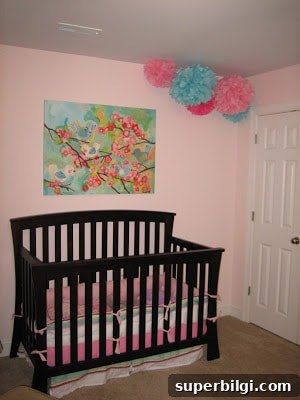
Once the panels were hung, the difference was clear. The new curtains added depth and made the room feel cozier and more finished. I kept the design simple to complement the existing decor, focusing on clean lines and a fabric weight that lets in soft light while providing privacy. The finished panels drape nicely and move smoothly along the rod, which is exactly what I hoped to achieve when I first sat down at the machine.

This project taught me a few practical lessons that helped the entire process go better: take time to thread and wind the bobbin correctly, use pins or clips to hold hems in place before sewing, press seams as you go, and test stitch settings on scrap fabric first. Those small steps reduce frustration and improve the final look. If you’re new to sewing, expect a learning curve — but don’t be discouraged. A little patience and a willingness to start over can lead to surprisingly good results.
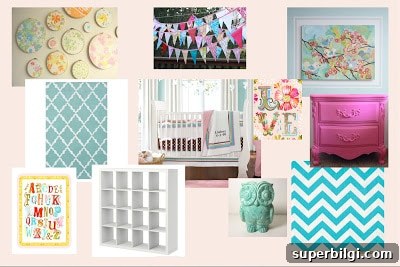
I’m also working on a design board for A’s room to help visualize future updates. The board collects color ideas, textiles, and accents I’m considering, and it’s been useful for staying focused as I plan the next changes. Designing a room in stages makes each update feel purposeful, and completing one DIY project at a time keeps things manageable and fun.
If you enjoyed this update, I’d appreciate a quick pin to save the idea. Whether you’re a beginner or returning to sewing after a break, a simple curtain project is a friendly place to build your skills and make a visible change in a room. Happy sewing, and have a great day!