Are you looking for an affordable way to refresh your home? Beadboard is a timeless, versatile option that adds texture, depth, and charm to virtually any room.
Whether you envision a coastal-inspired bathroom, a cozy country kitchen, or an elegant hallway, beadboard can help you achieve that classic look. This article covers the basics of beadboard—what it is, where to use it, how it differs from wainscoting, the supplies you’ll need, and a clear step-by-step guide to installation and finishing. You’ll also learn simple customization ideas to make beadboard work with your style.
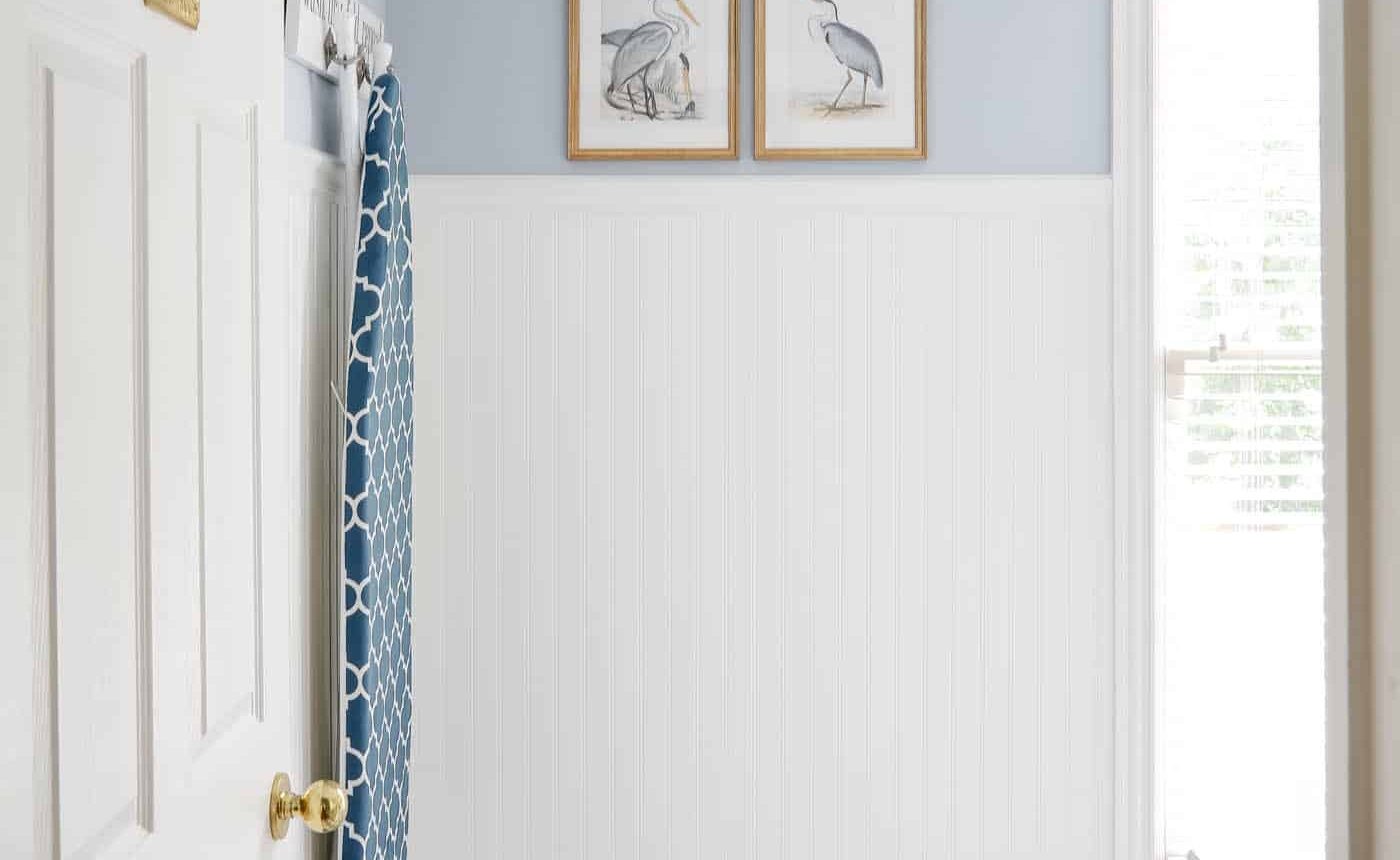
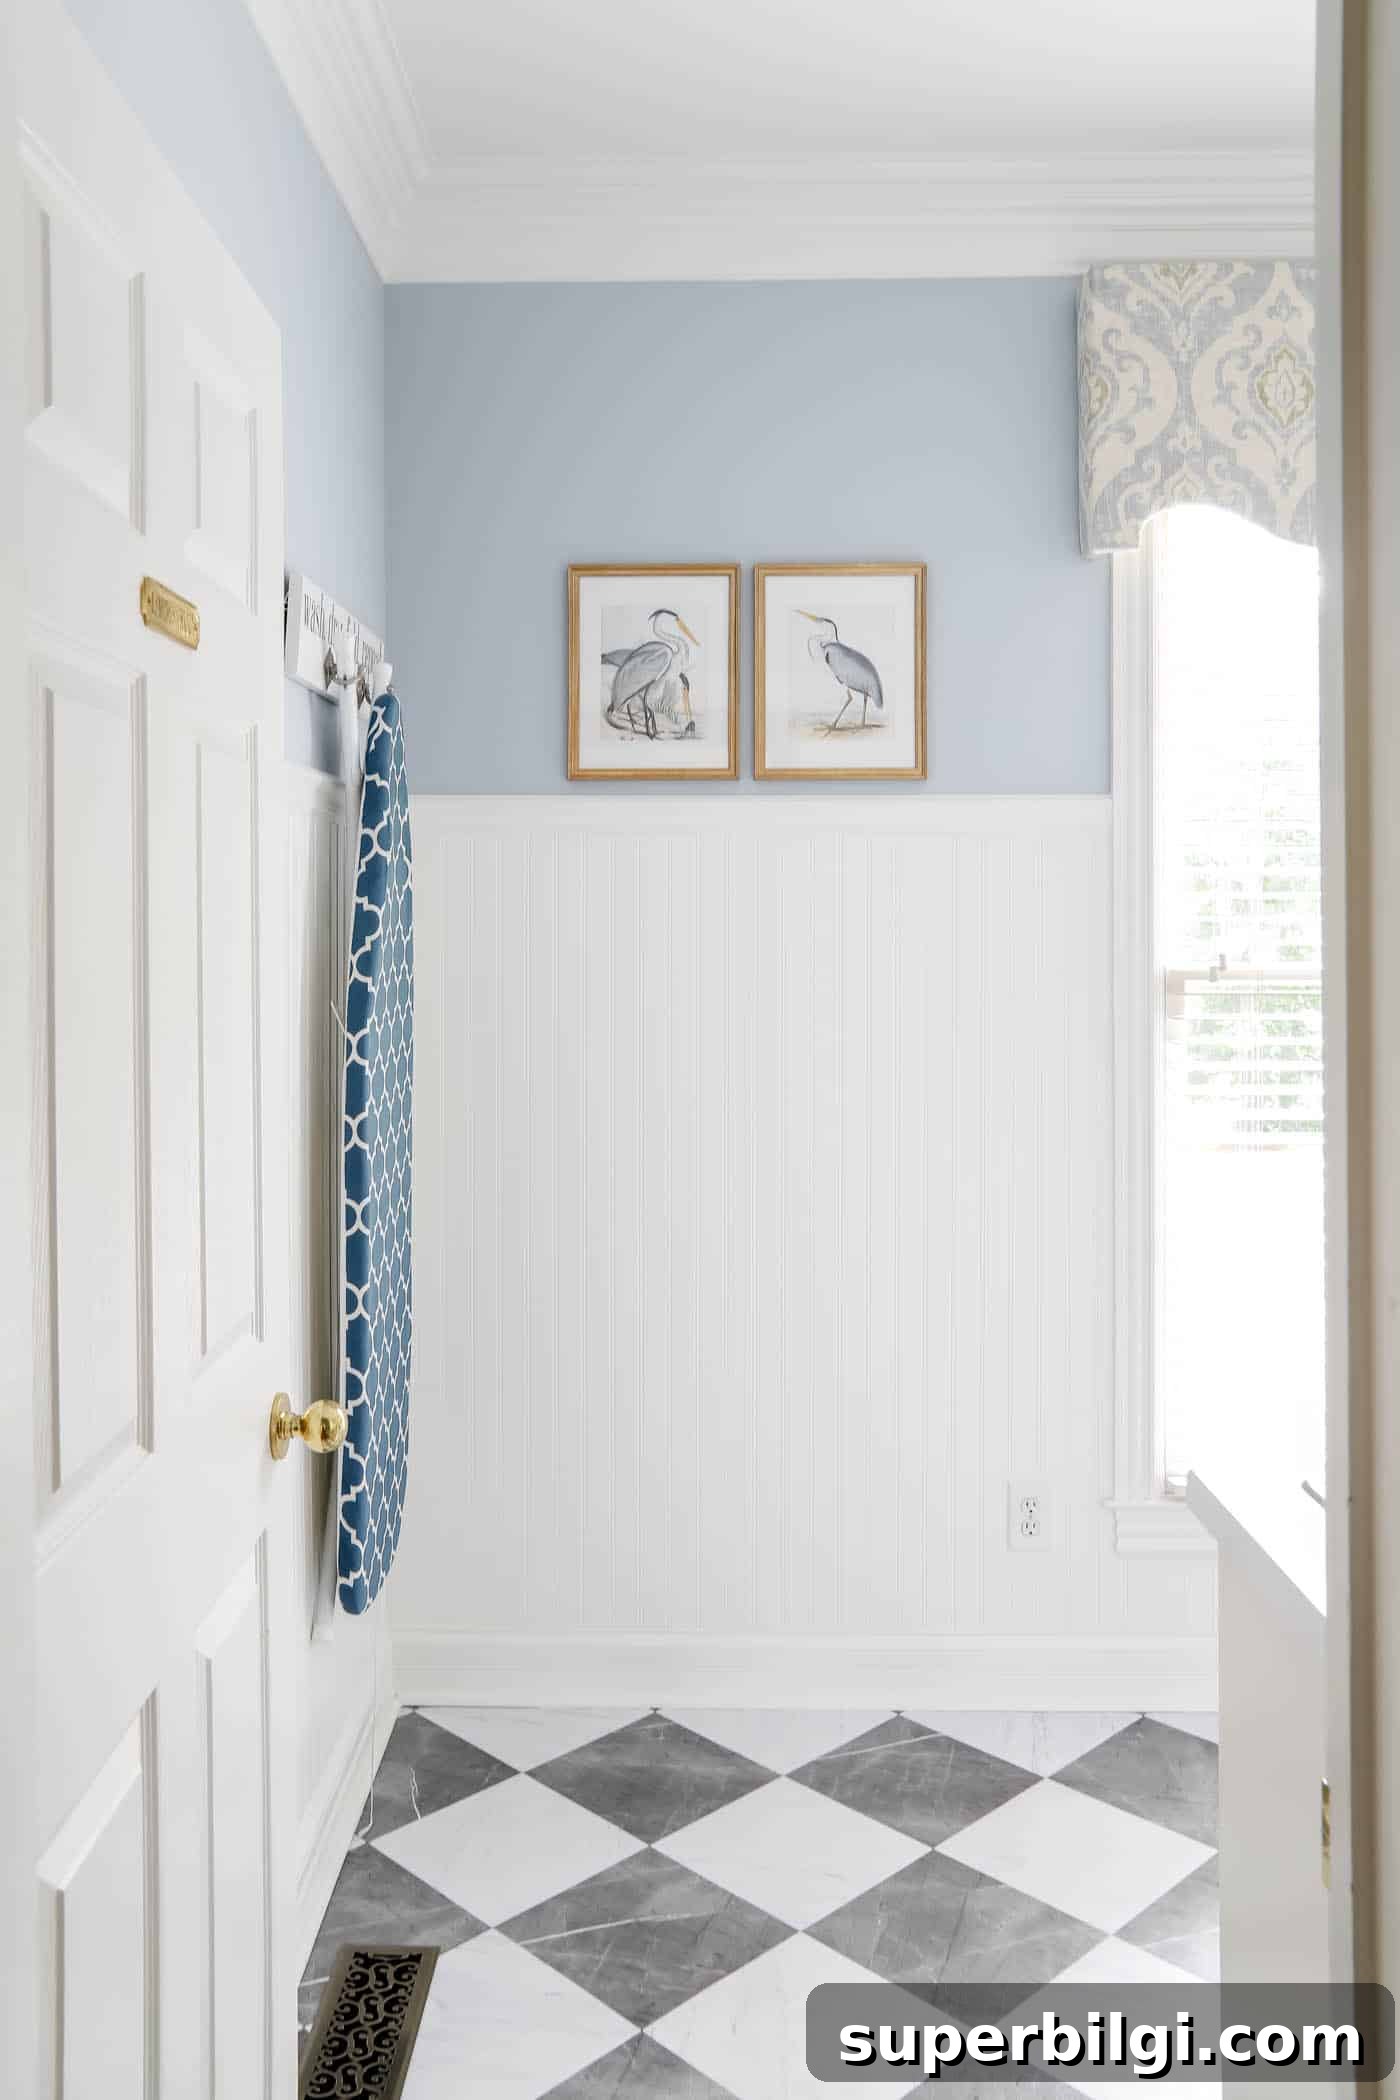
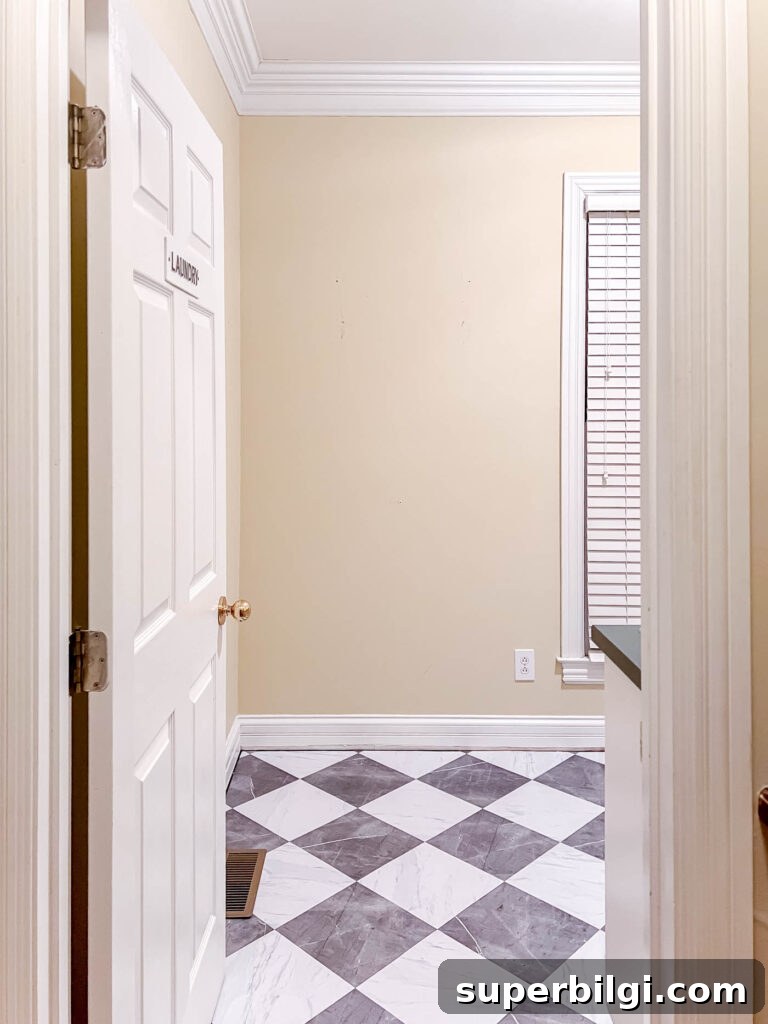
I’ve installed several wall treatments over the years, including board-and-batten and picture-frame molding, and recently I added beadboard to a newly remodeled laundry room. It’s an attractive wall treatment that’s budget-friendly, especially when you only cover part of a smaller space.
We also used beadboard on the ceiling of a back porch and on the half wall of a screened-in porch. Its traditional lines and subtle shadows make it a favorite throughout the house.
What is beadboard?
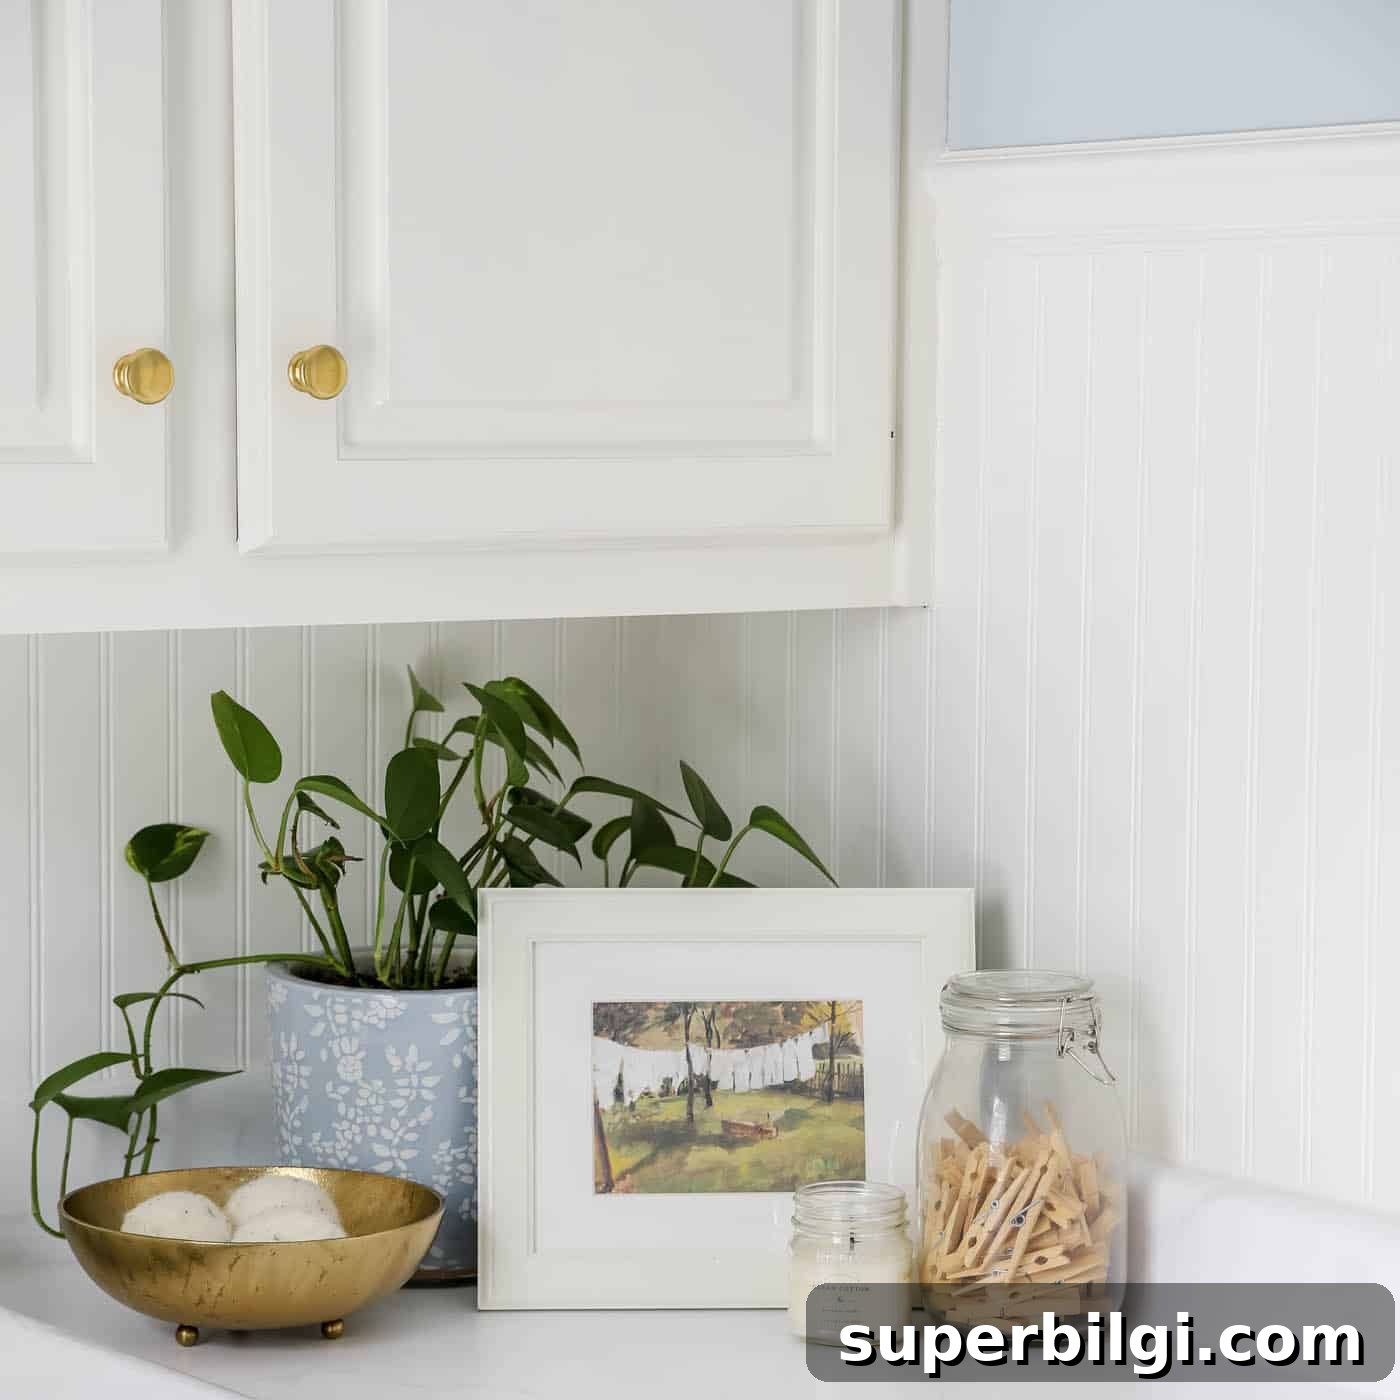
Beadboard is paneling composed of narrow, tongue-and-groove boards placed side by side to create a continuous, grooved surface. Materials range from real wood to MDF and PVC. You can also find sheet panels that mimic the tongue-and-groove look for faster installation.
The name comes from the small rounded ridge, or “bead,” along the edge of each board. These beads create subtle shadow lines that add texture and a cohesive pattern to walls or ceilings.
Where can you use beadboard?
Beadboard is versatile and suitable for nearly every room: mudrooms, laundry rooms, bathrooms, kitchens, bedrooms, hallways, and living spaces. It works well as a lower-wall treatment—replacing or complementing traditional wainscoting—or as a full-wall covering from floor to ceiling. Full-height beadboard can visually raise a room and add warmth and texture, especially when paired with crown molding or painted in a soft, neutral hue.
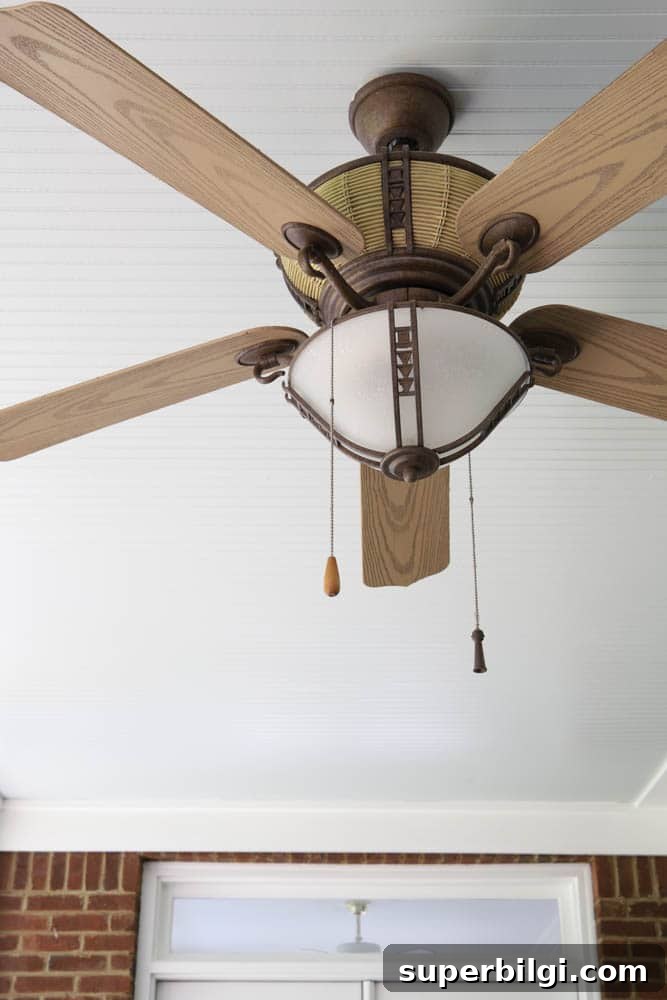
Beadboard also makes an excellent ceiling treatment. It’s an attractive way to hide imperfections or to cover a popcorn ceiling without messy removal. A beadboard ceiling gives the fifth wall of the room a finished, custom look.
Beadboard vs. wainscoting
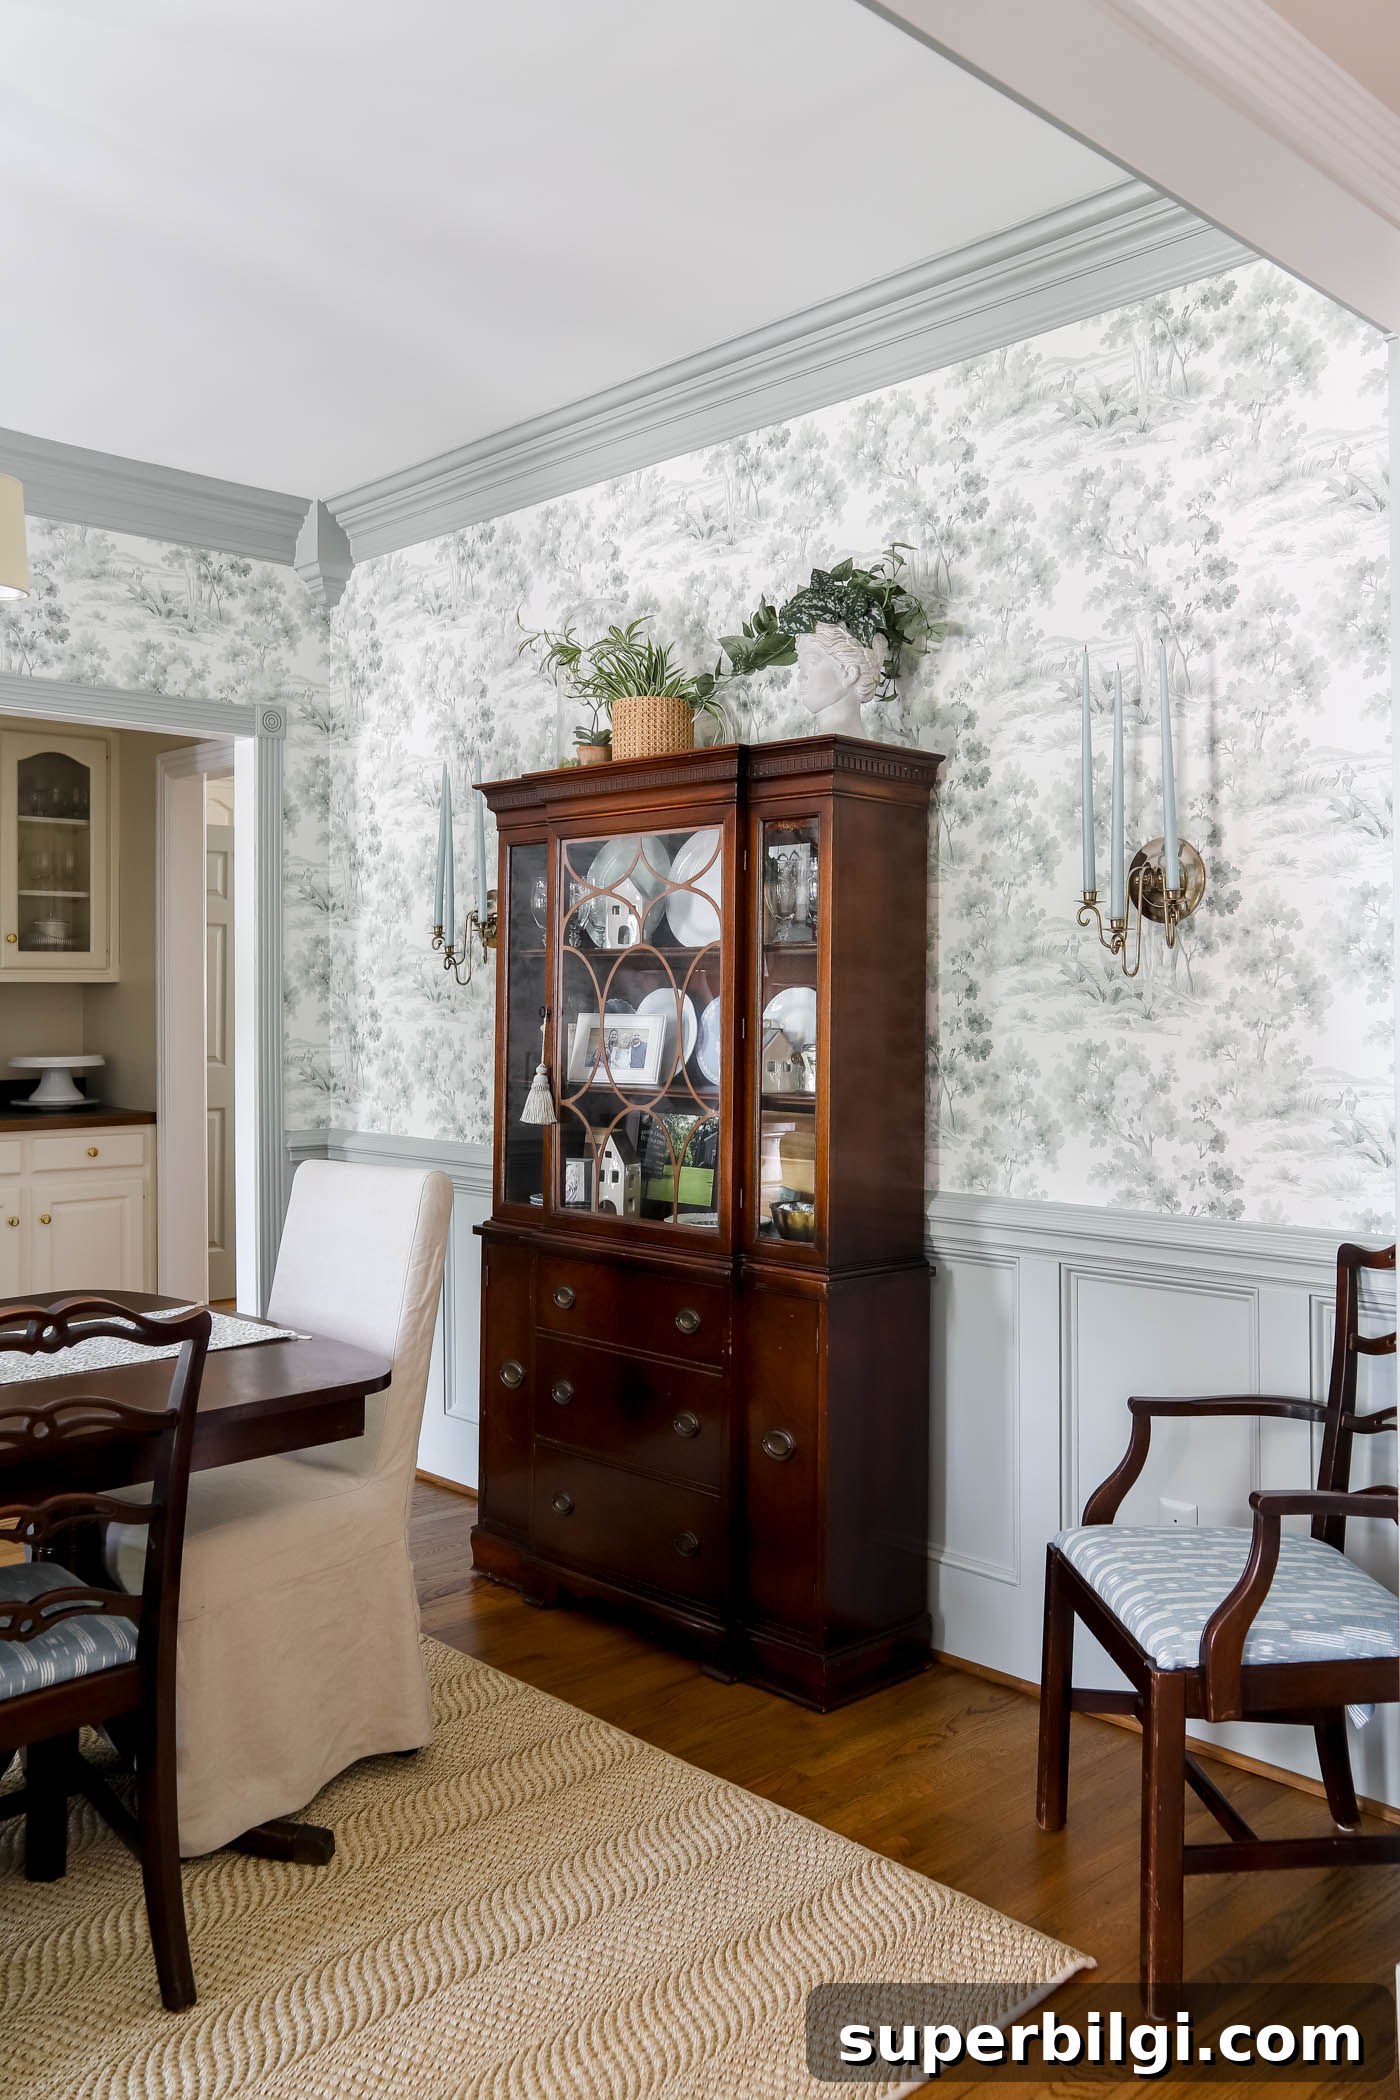
Beadboard and wainscoting are often used interchangeably, but they’re not identical. Wainscoting typically refers to a baseboard, a flat panel or raised panel section on the wall, and a top cap or chair rail. Wainscoting can also include picture-frame molding for added dimension.
Wainscoting protects walls from scuffs and moisture while adding architectural interest. Beadboard is a grooved panel product that can act as wainscoting when installed on the lower portion of the wall and capped with a chair rail. It’s particularly popular in bathrooms, creating a spa-like, vintage-inspired feel.
This post contains affiliate links for your convenience. See full disclosure policy.
Supplies needed to install beadboard
- Beadboard panels (MDF, wood, or PVC)
- Circular saw
- Jigsaw
- Construction adhesive (such as Liquid Nails)
- Caulk gun
- Measuring tape
- Level
- Nail gun (or hammer and finish nails)
- Brad nails or panel nails
- Poster board or printer paper for templates (optional)
- Outlet extender boxes for electrical work
- Wood filler
- Caulk
- Paint
- Paint brush and roller
How do you install beadboard?
Installing beadboard is manageable for most DIYers when you have the right tools and follow a methodical process. Below are the essential steps from planning to finishing.
1. Measure and plan
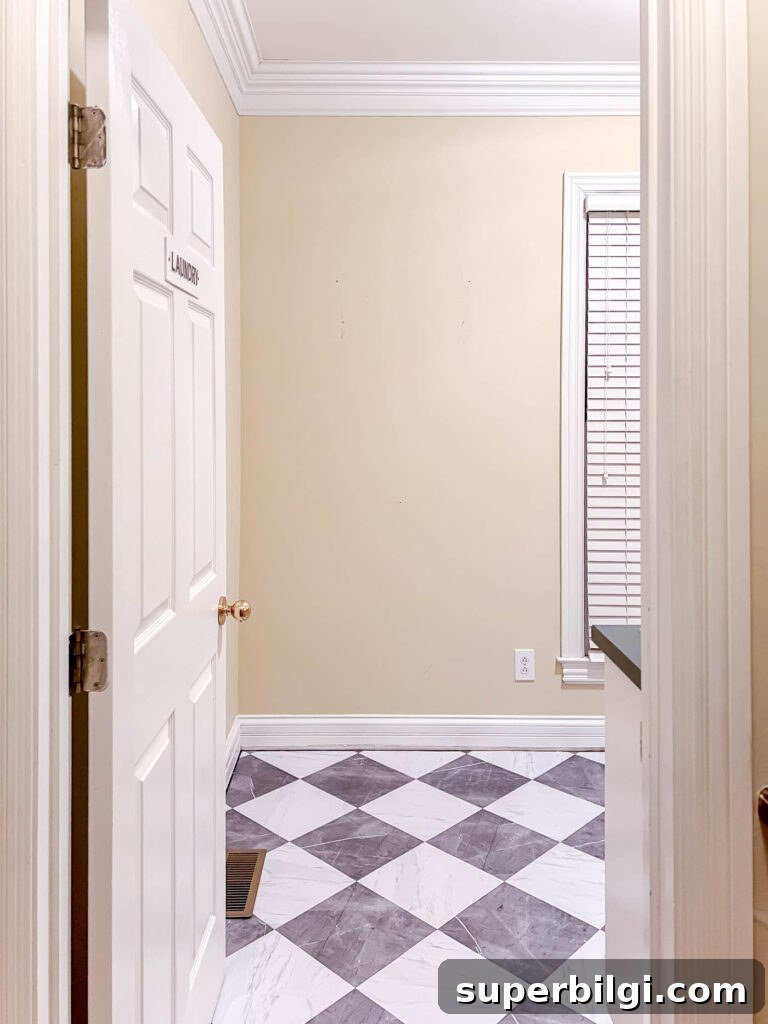
Begin by measuring the walls to calculate how many panels you’ll need. Decide whether you want beadboard to cover the entire wall or only part of it—common choices for partial coverage are one-third or two-thirds of the wall height, which generally give the best proportions. Note any outlets, switches, windows, or doors that will require cutouts or special trim.
2. Cut panels to size
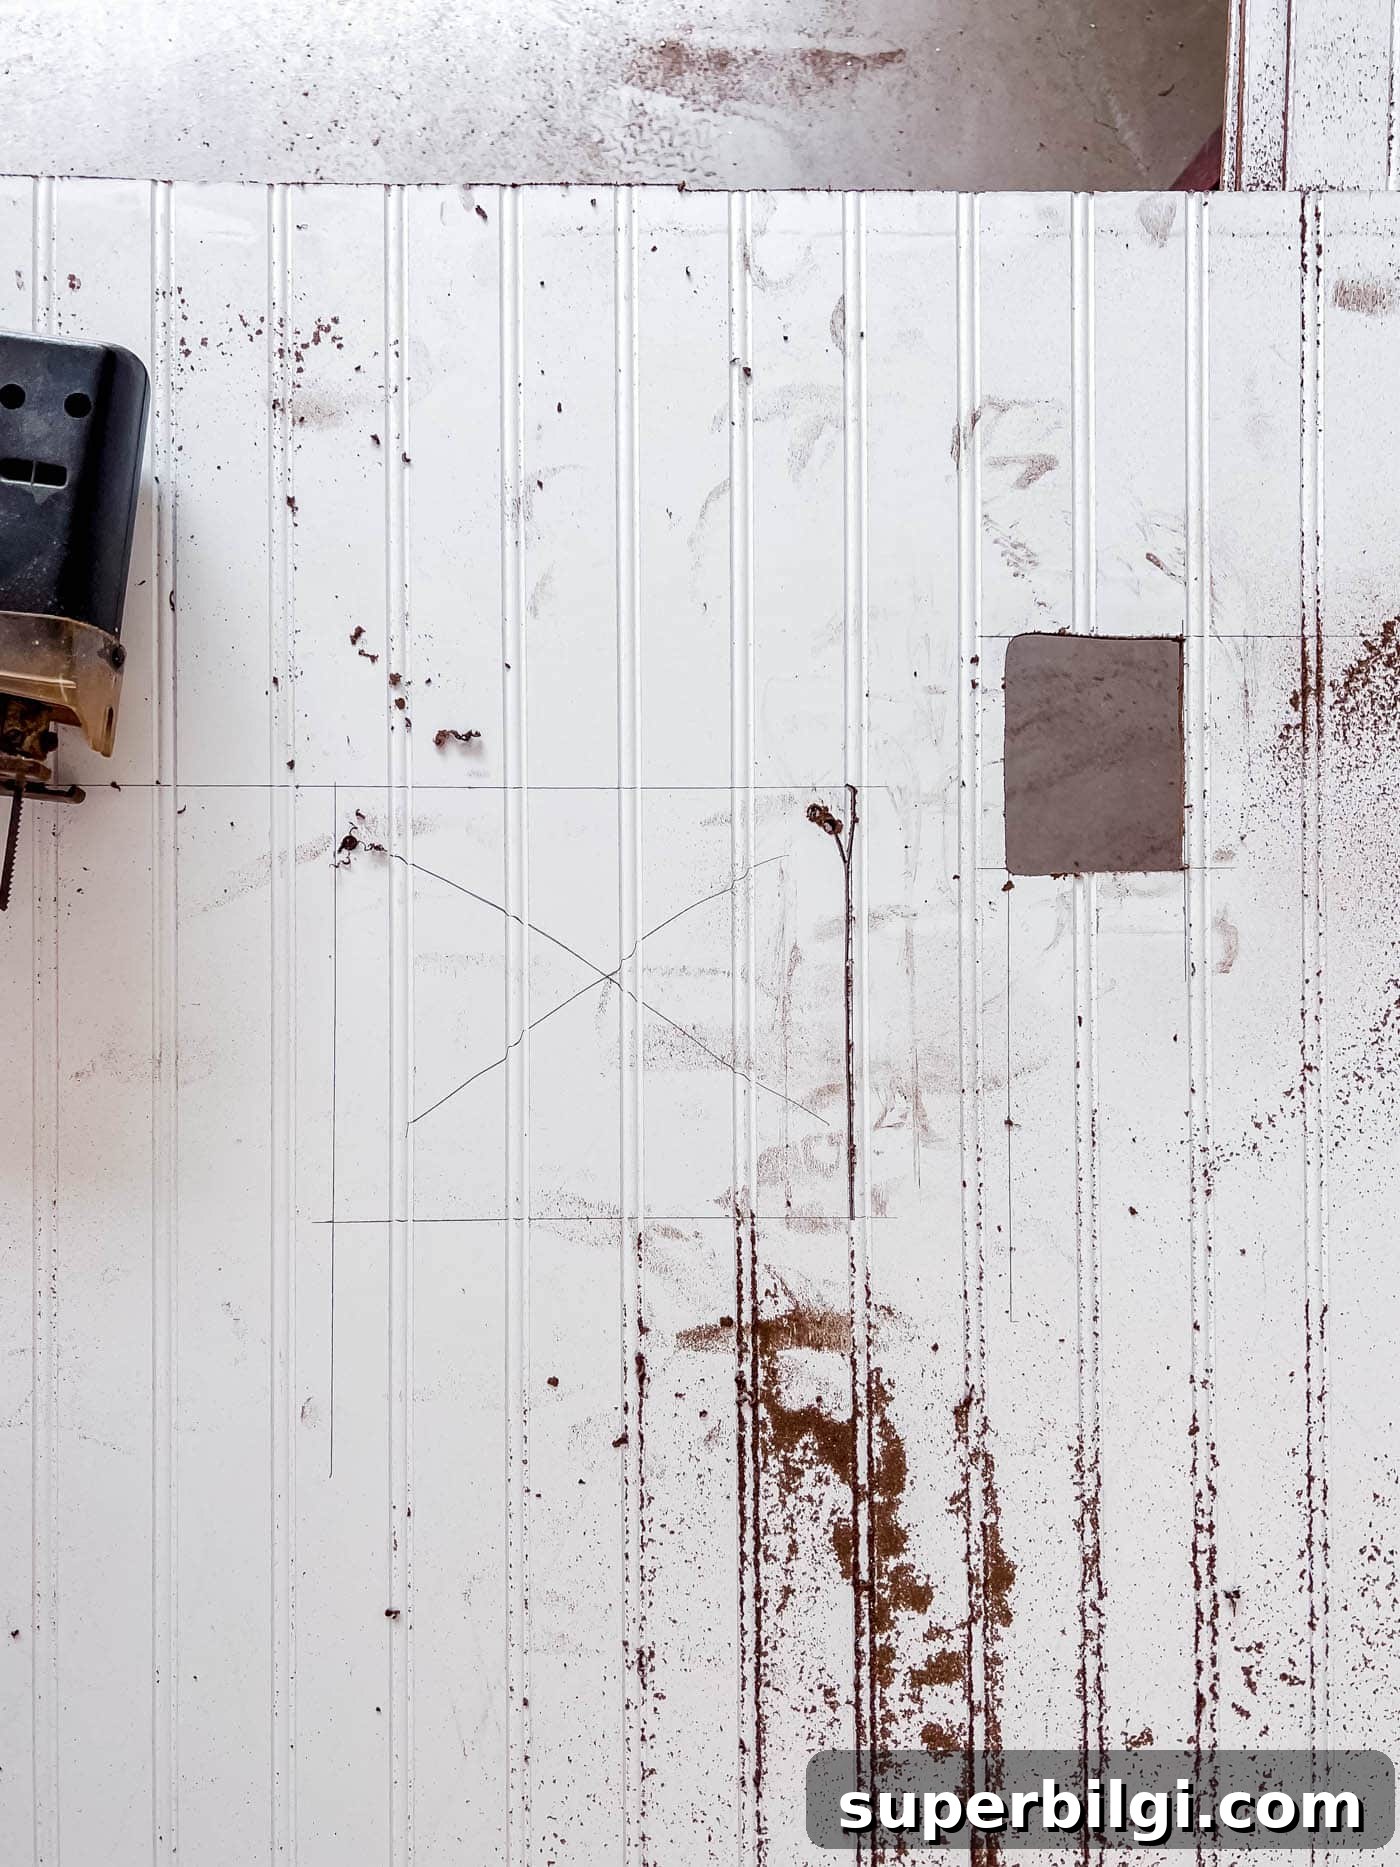
Mark the desired height on the wall and trim panels to fit with a circular saw or have them cut at the store. Cut openings for outlets and switches. For irregular shapes or obstructions, make a paper template to transfer accurate cut lines to the beadboard and trim with a jigsaw.
3. Attach panels to the wall
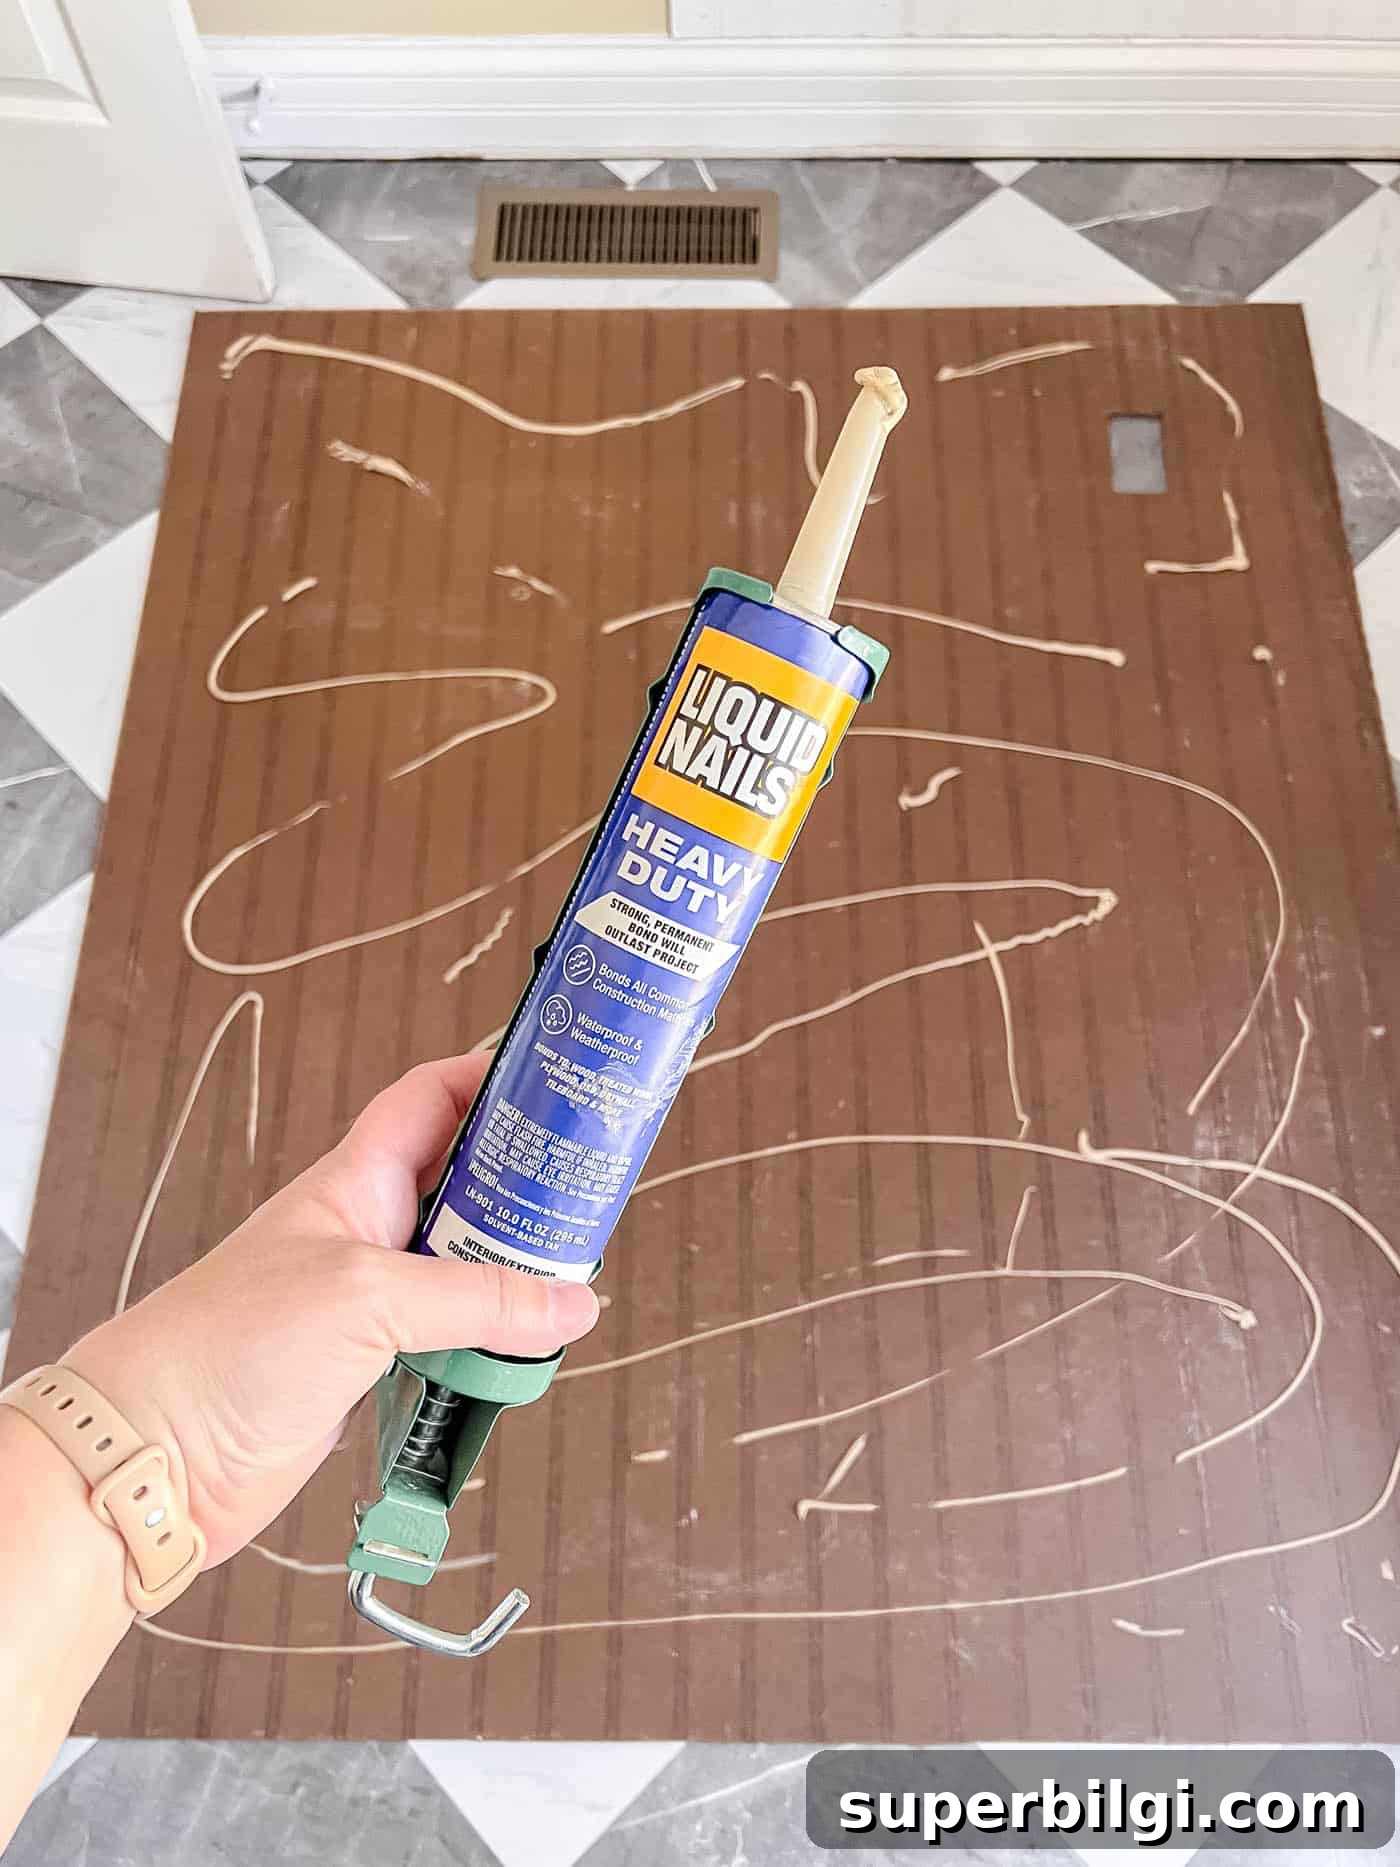
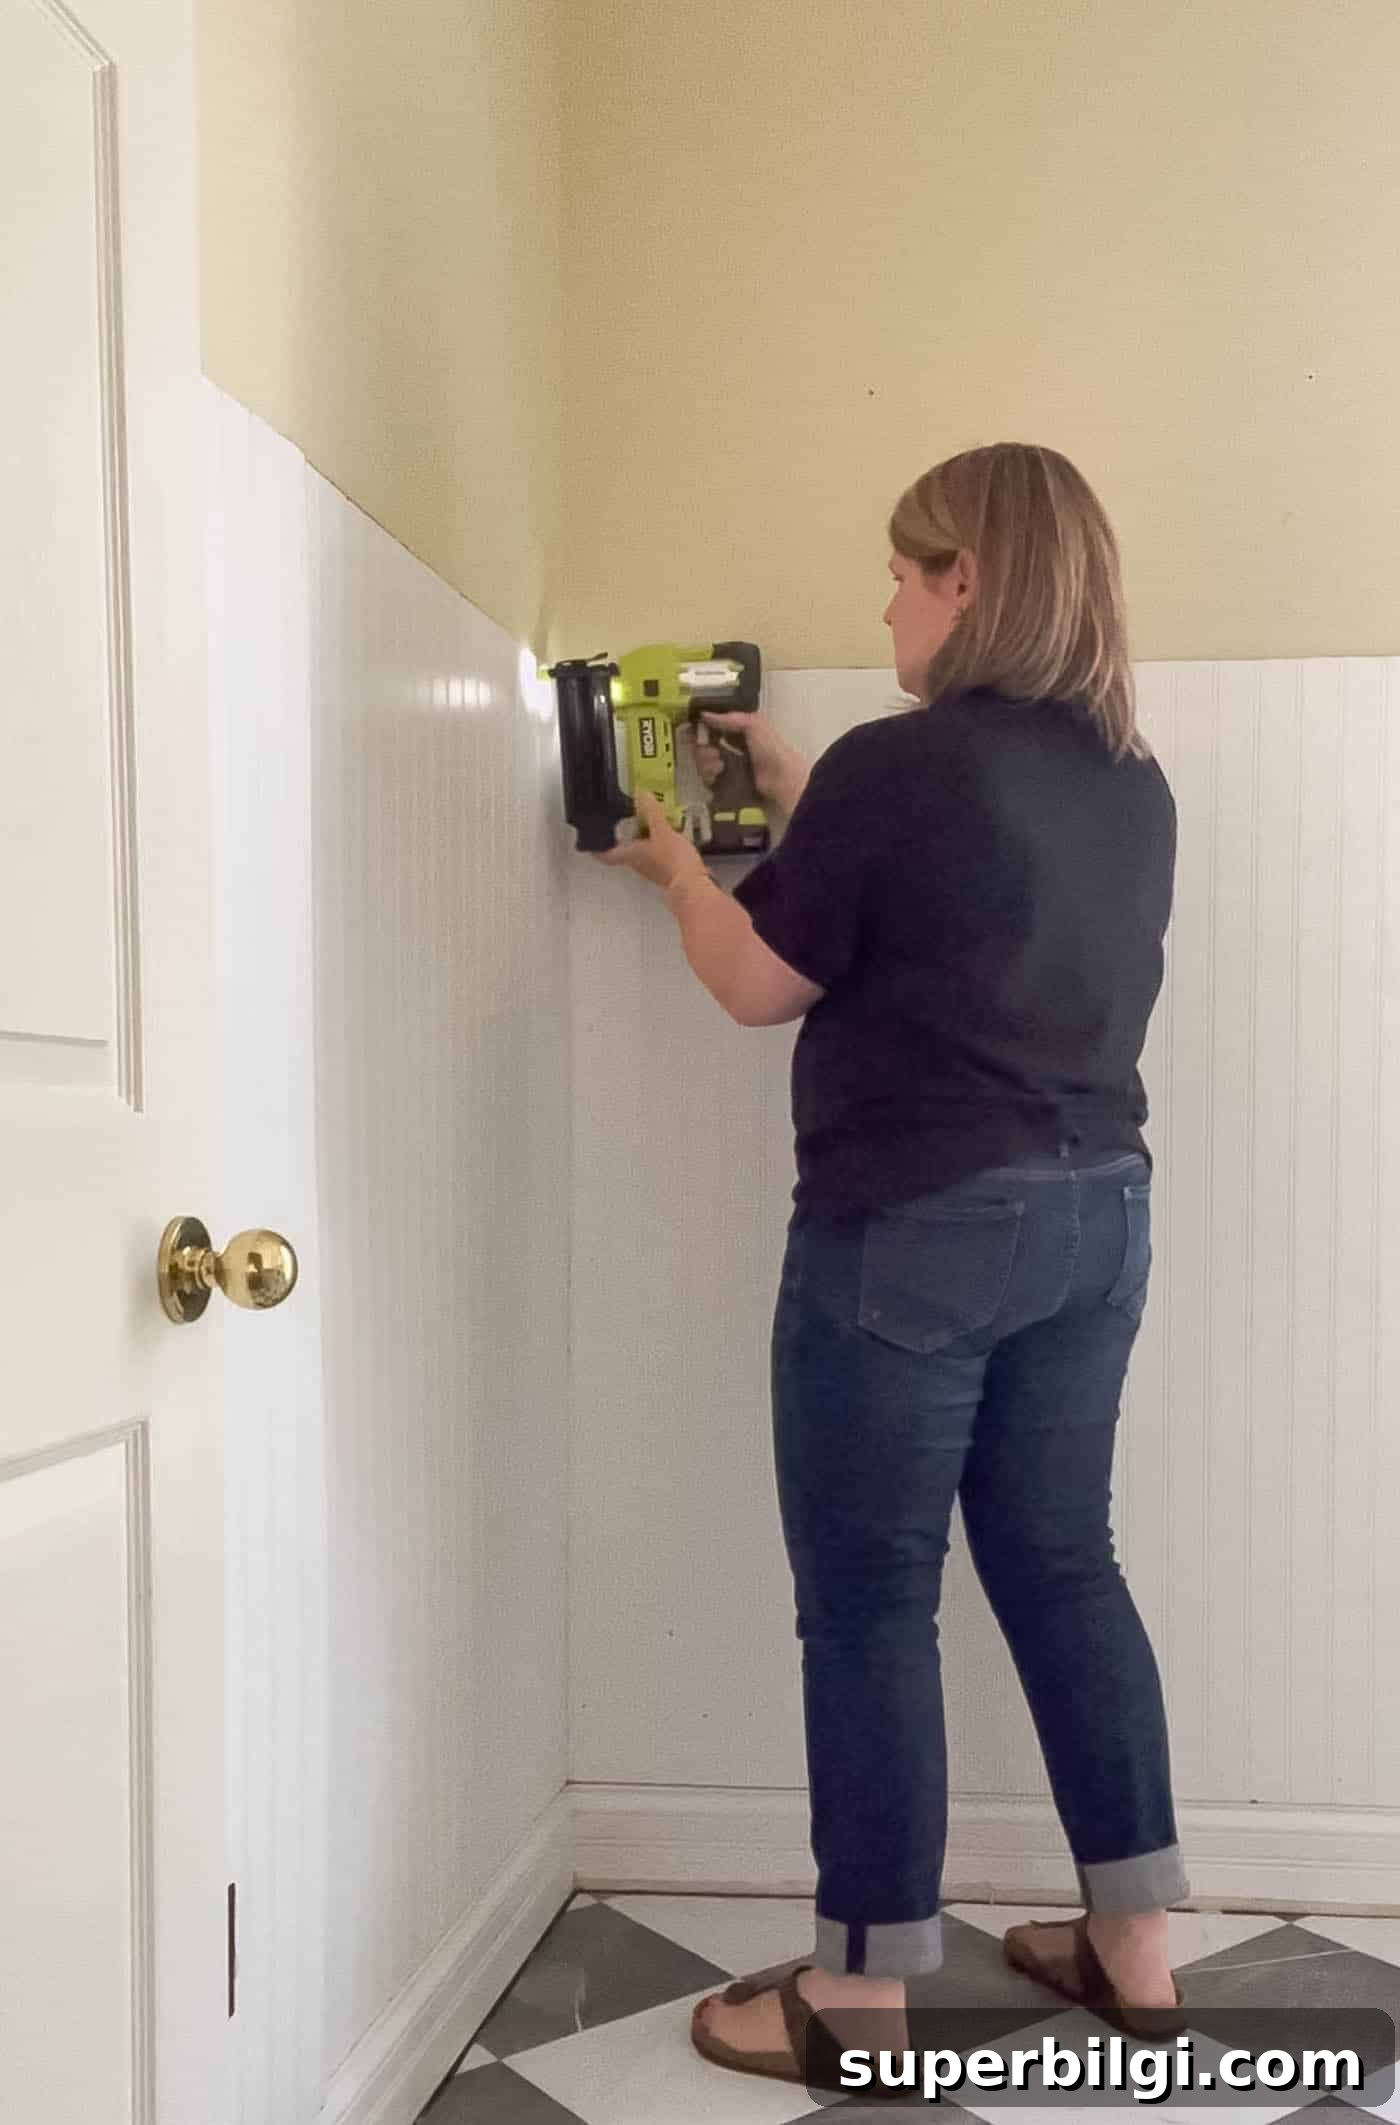
Dry-fit each panel first to confirm placement. Apply construction adhesive to the back and press the panel to the wall. Use a nail gun or finish nails to secure the panels to studs or blocking, keeping them level as you work. Brad nails are ideal for a clean finish and minimal filling.
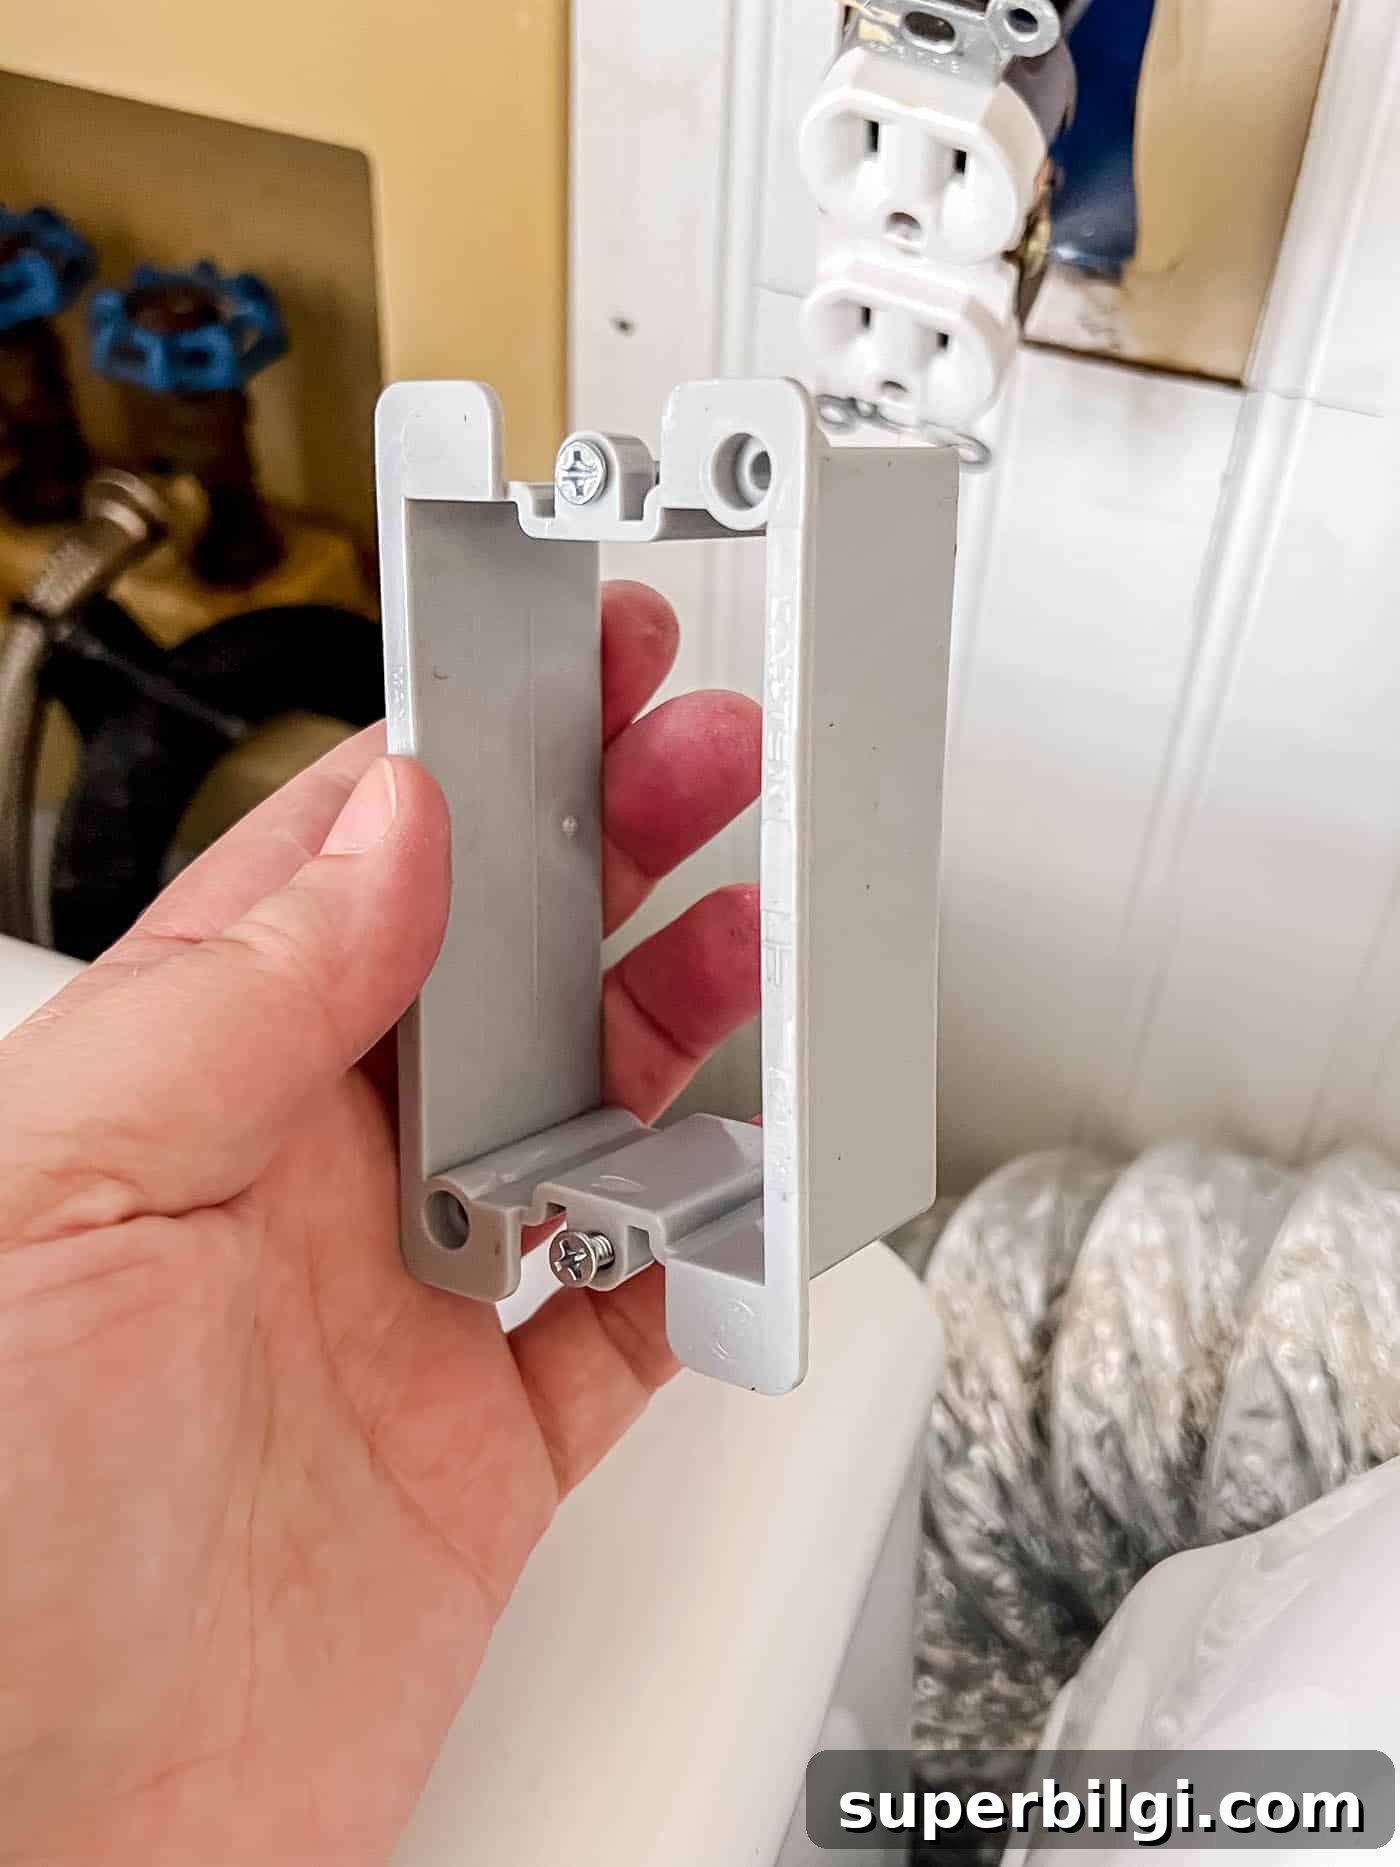
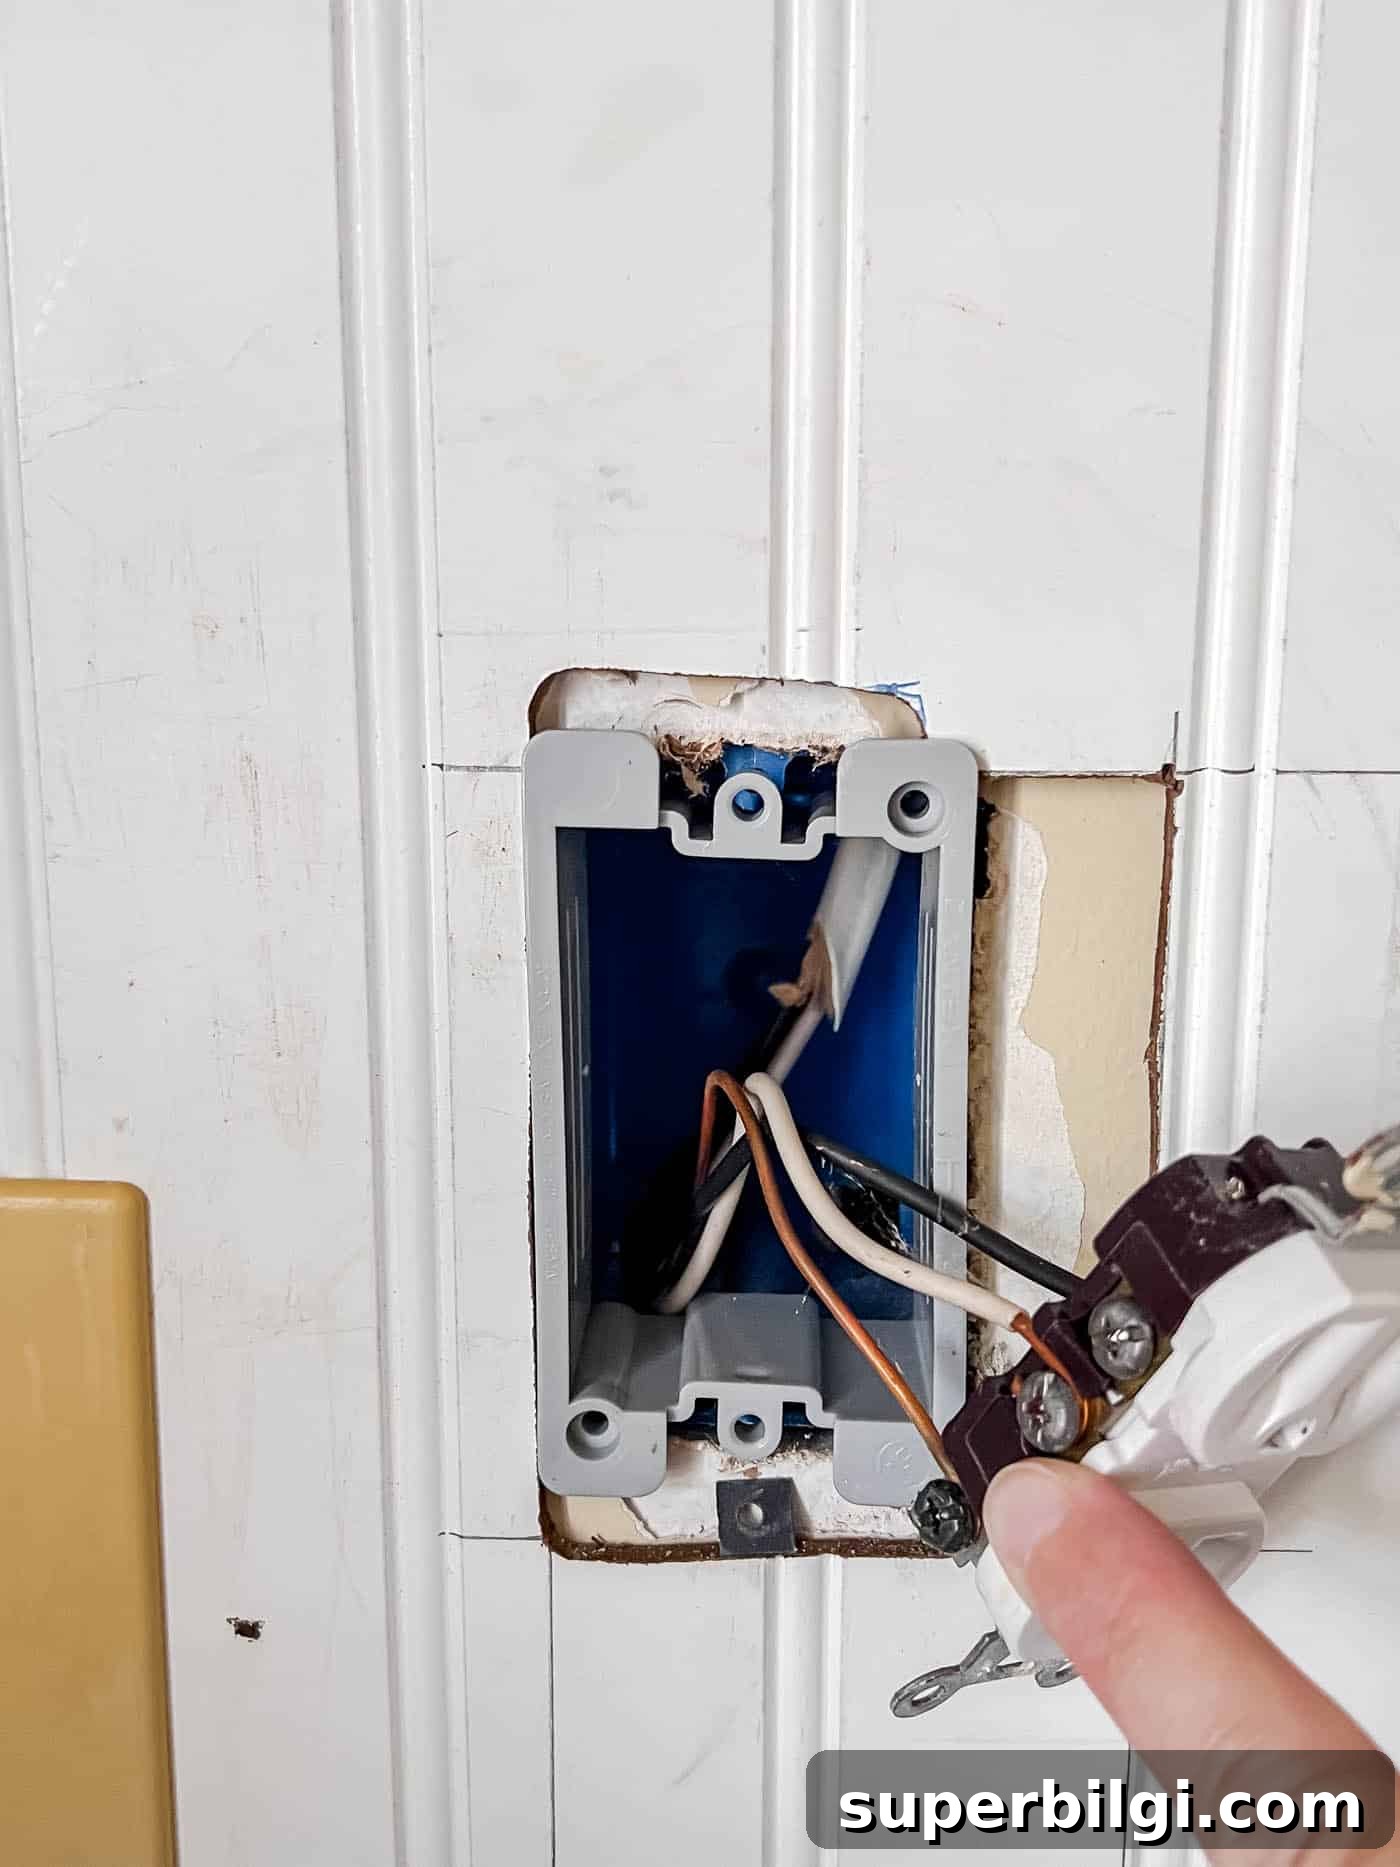
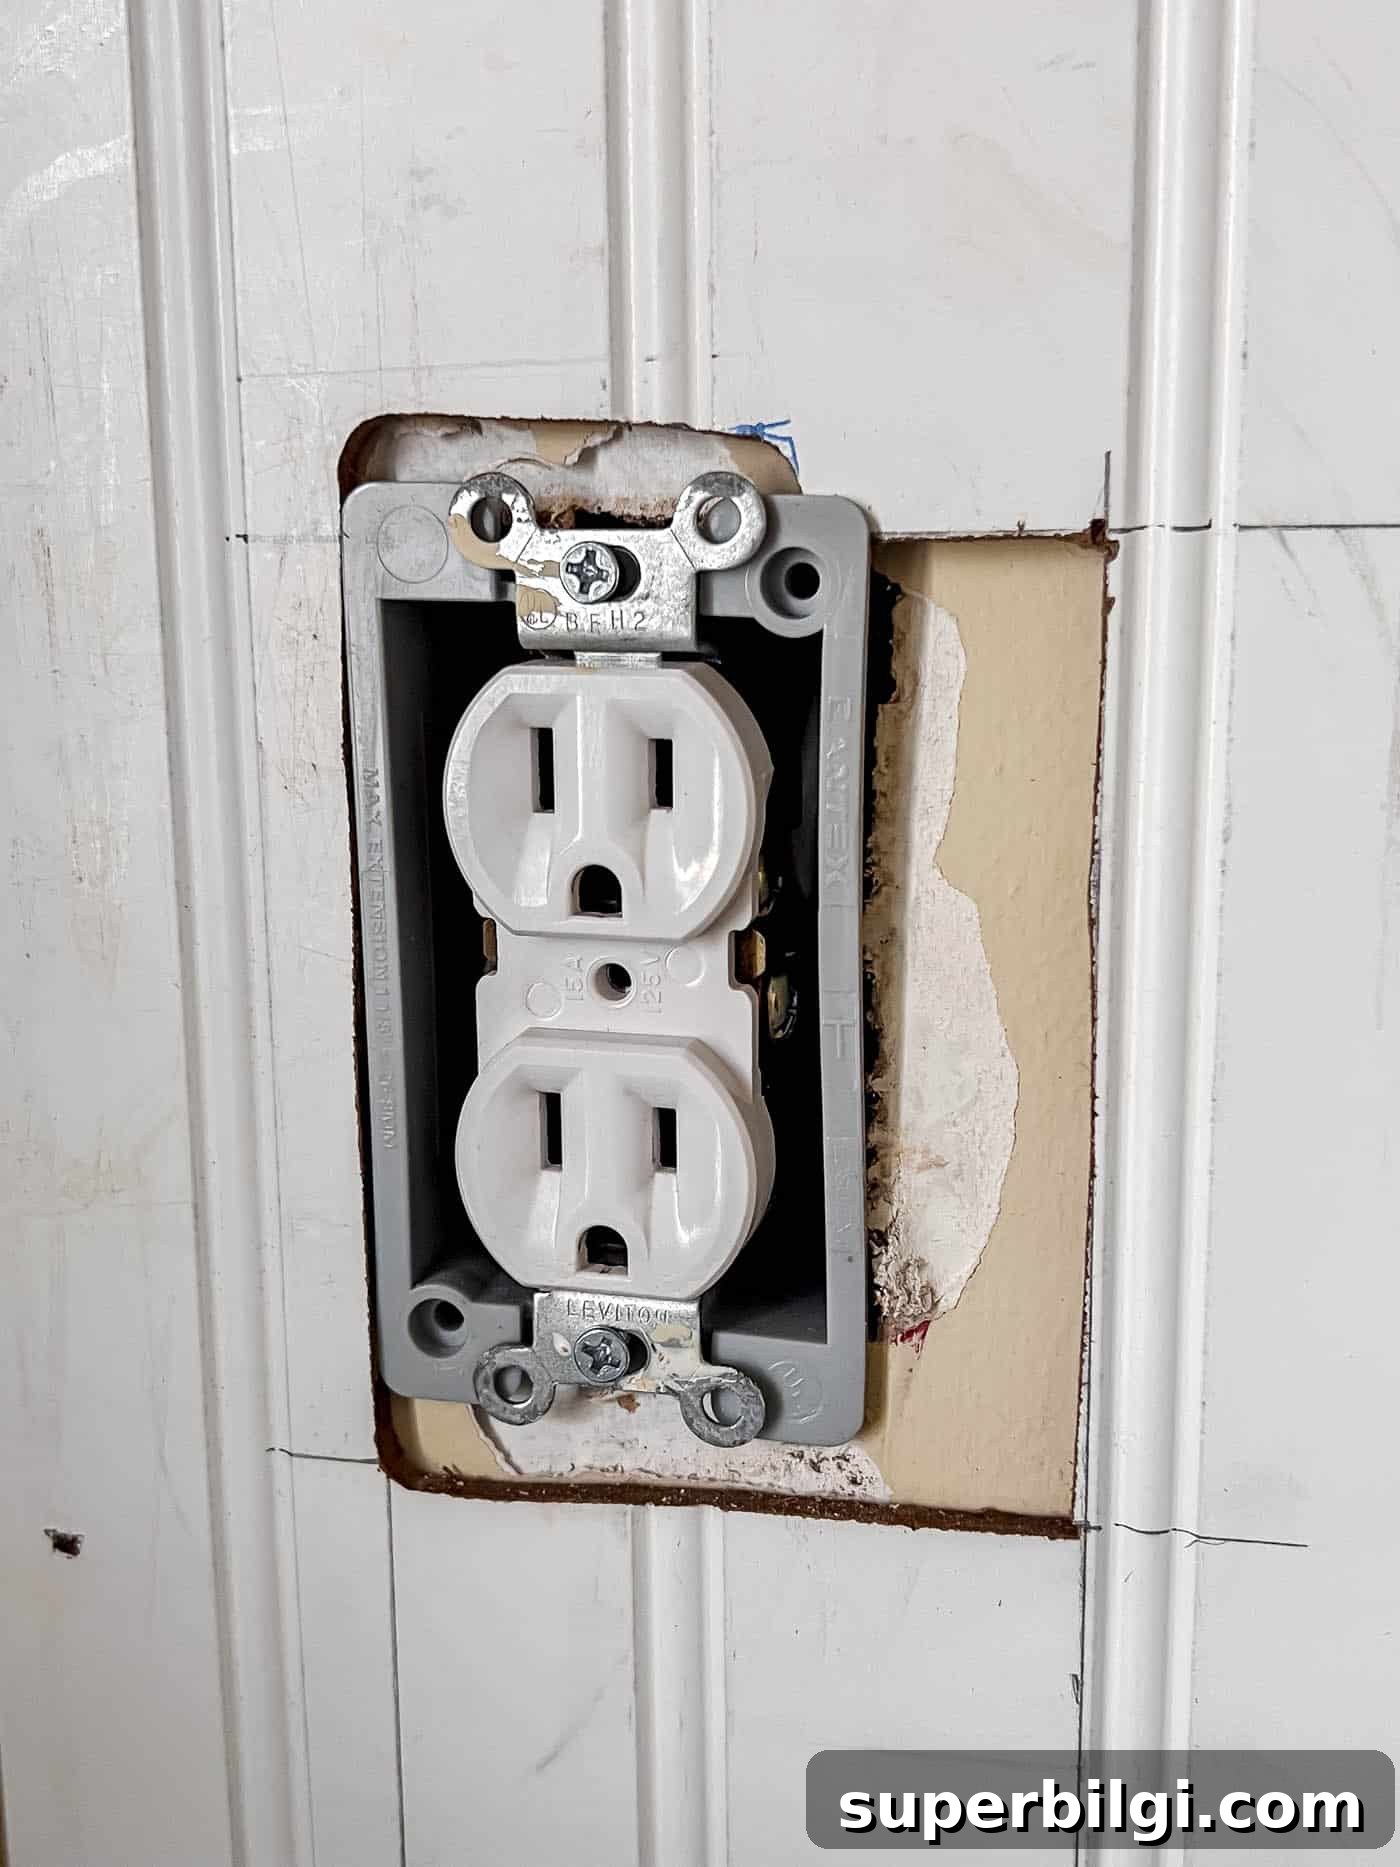
4. Install outlet extenders
If beadboard covers electrical outlets, use outlet extender boxes to bring the receptacle flush with the new surface. Remove the outlet, position the extender box over the original box, thread the outlet through the extender, and reinstall the screws to secure it.
5. Finish the boards
After installing all panels, fill nail holes and seams with wood filler or caulk. Sand any rough spots, then prime and paint the beadboard in your chosen color and sheen. Finally, add baseboard and a chair rail or cap molding if desired for a polished wainscoting look.
How can you customize beadboard?
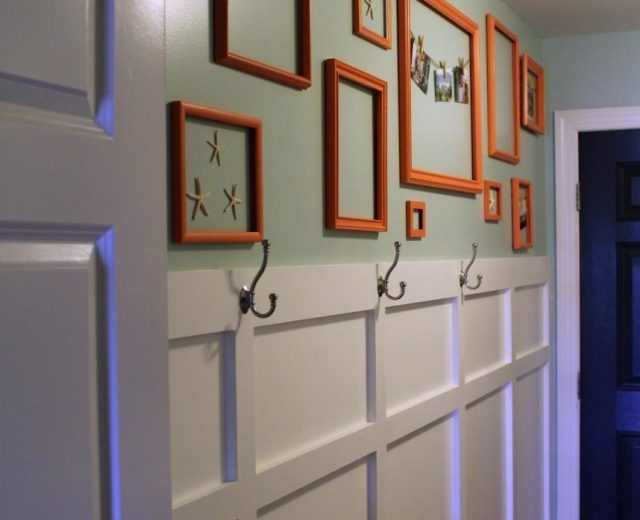
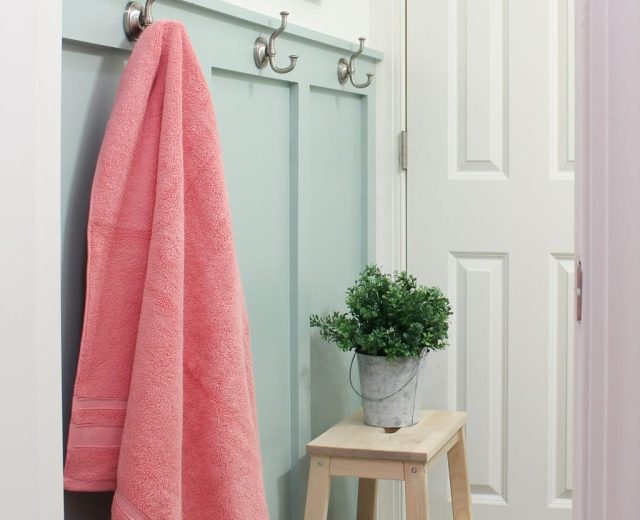
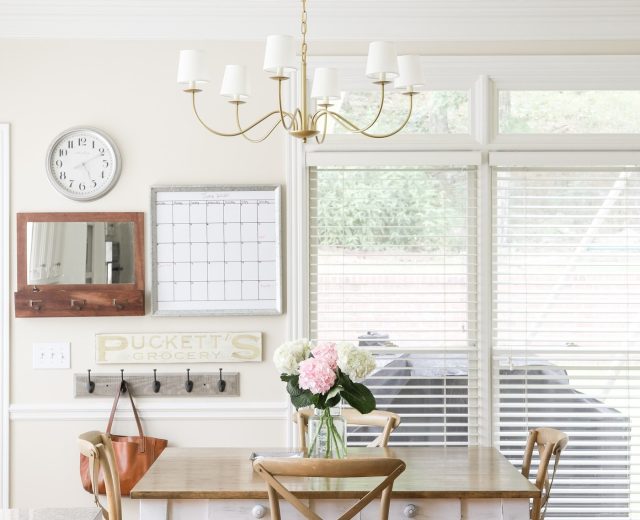
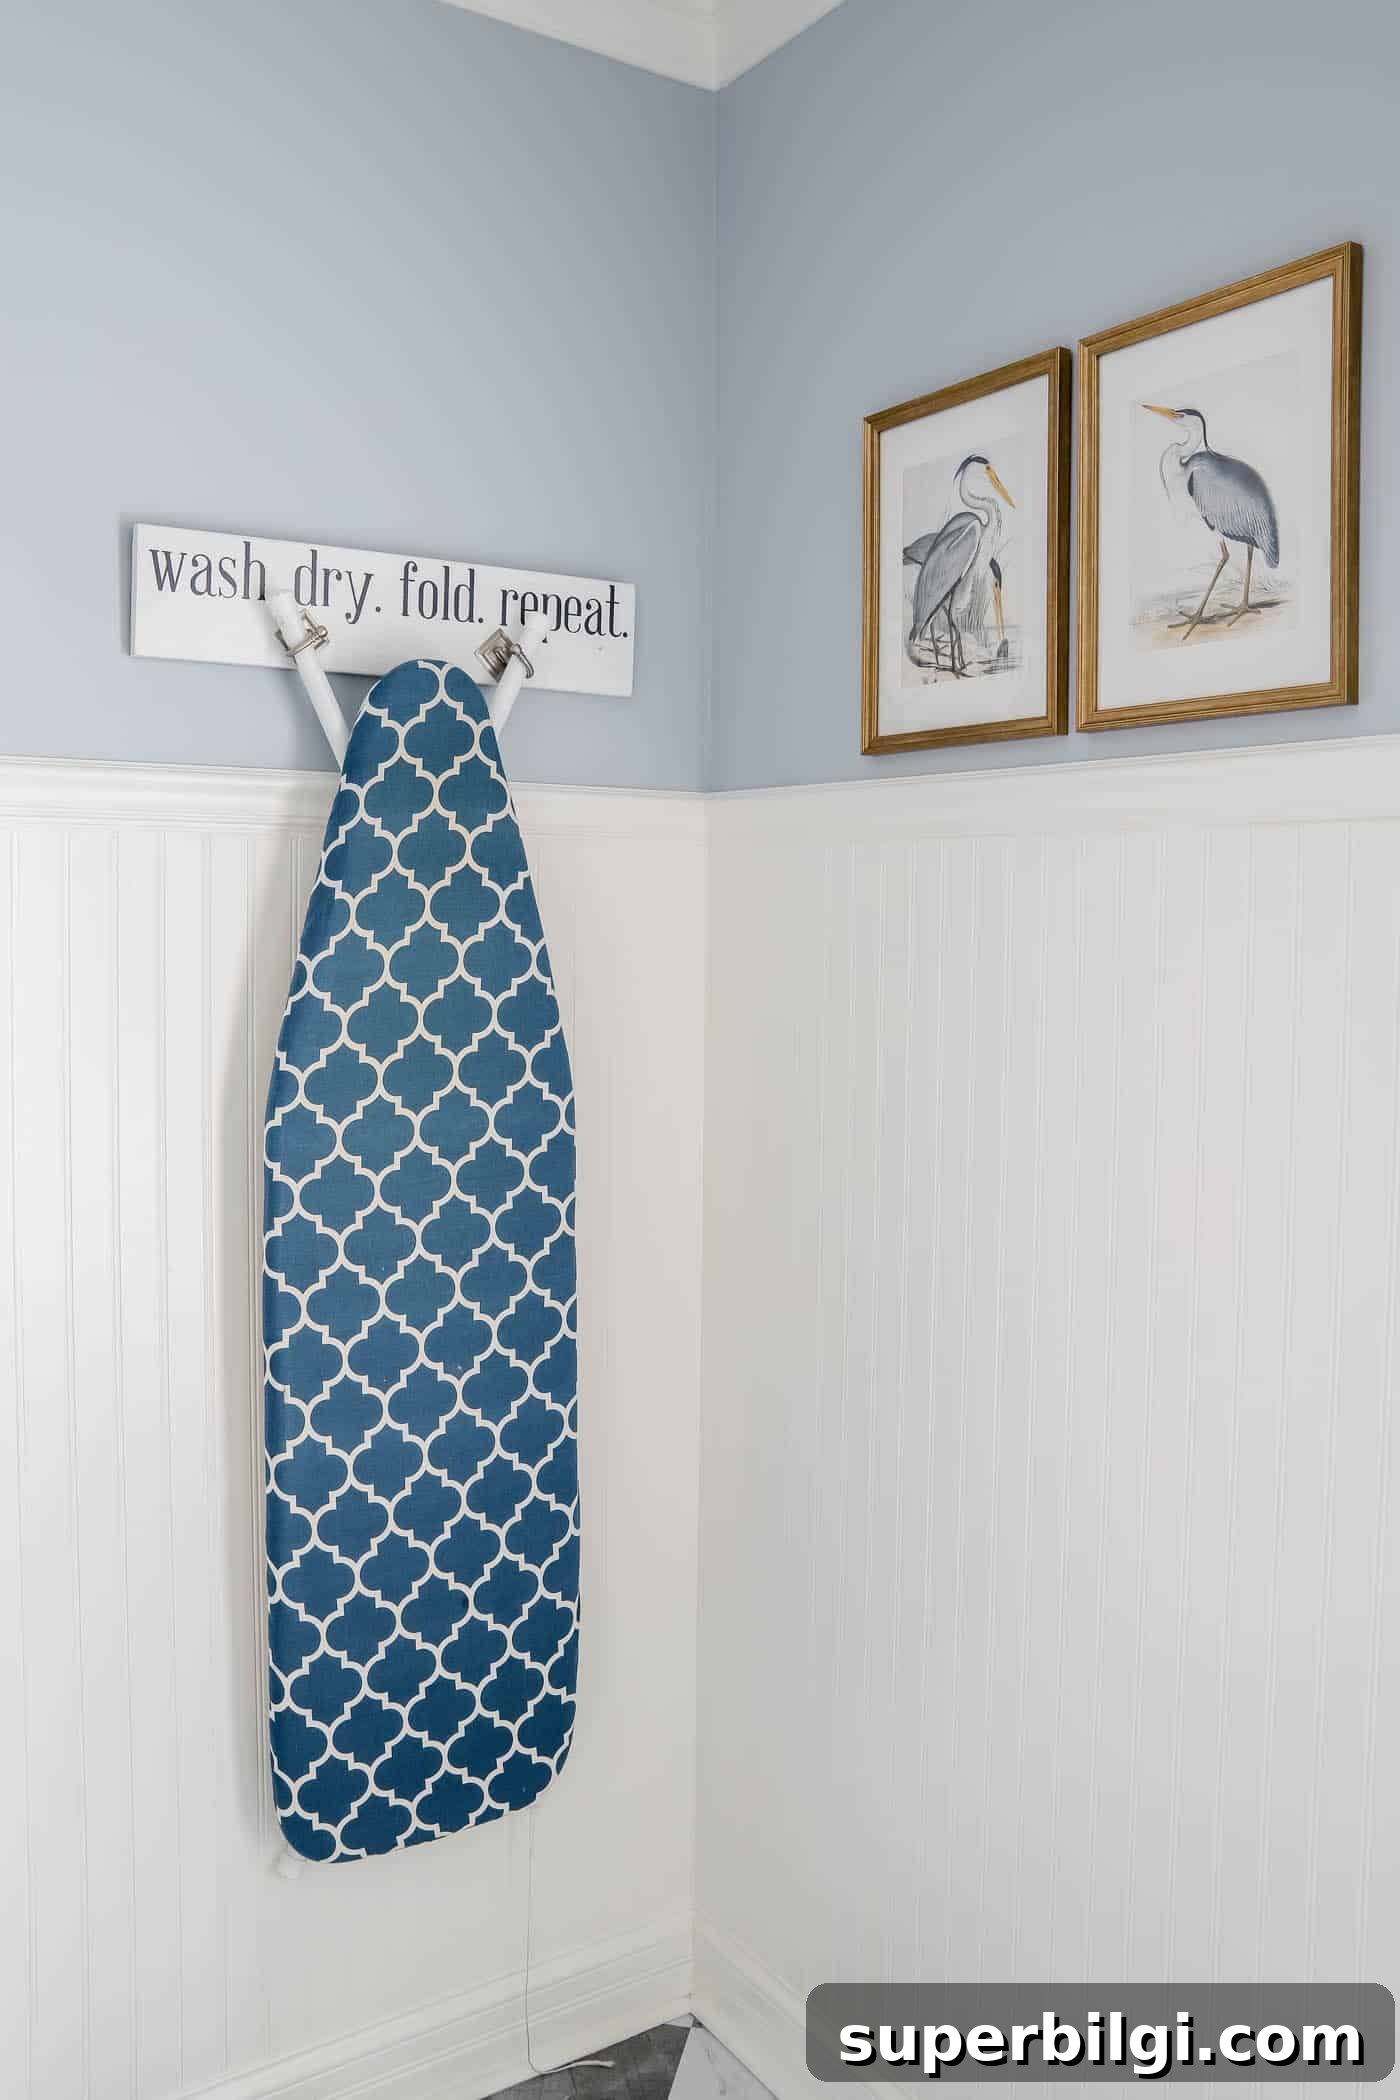
Beadboard is highly customizable. Paint it any color—from bold accent hues to muted neutrals. Top it with a chair rail or cap molding for a finished architectural look. Add a peg rail or hooks for practical storage and to protect walls in high-traffic areas like kitchen nooks or entryways.
Final thoughts
Beadboard is an economical, stylish way to upgrade your home’s look and durability. It works equally well for classic and contemporary interiors, and it can be tailored to almost any room. Whether you’re a seasoned DIYer or new to home improvement projects, beadboard offers a high-impact transformation for relatively little cost and effort.
If you want a simple project that delivers architectural interest, better wall protection, and long-lasting style, beadboard is a smart choice. Consider where texture and vertical lines can enhance your space, and plan a small area first if you’re trying it for the first time.
More posts you may enjoy:
- How to Install Paste-on-Wall Wallpaper
- 15+ Large Wall Decor Ideas
- A Guide to Wall Trim and Wall Molding Ideas
- What Color Walls Go with Dark Wood Trim?
- The Best Window Treatment Options for Every Room