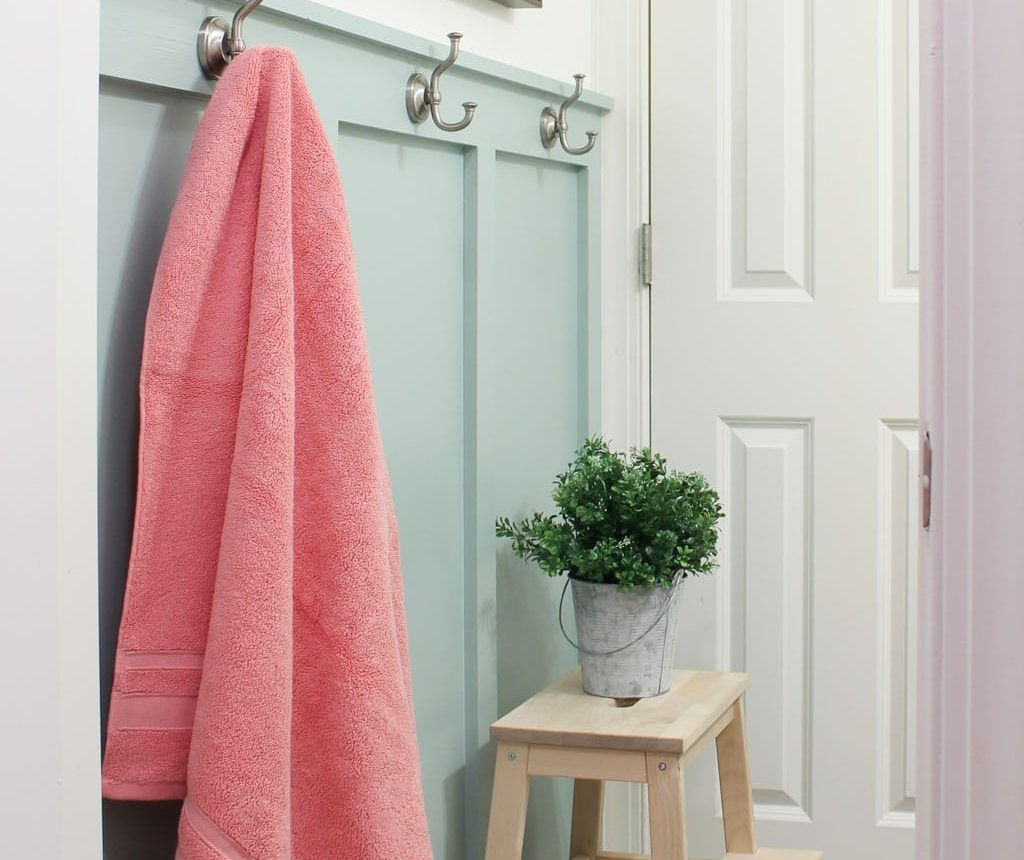
Learn an easy, practical method to install board and batten in your home, with tips for preserving existing baseboards and time-saving painting advice. This DIY makes a big impact with minimal cost and effort.
I first installed board and batten in my living room early in my blogging days. It was a large project for a novice DIYer because the room is so big, but it was well worth the effort. The technique is straightforward and creates a dramatic architectural feature in the space.
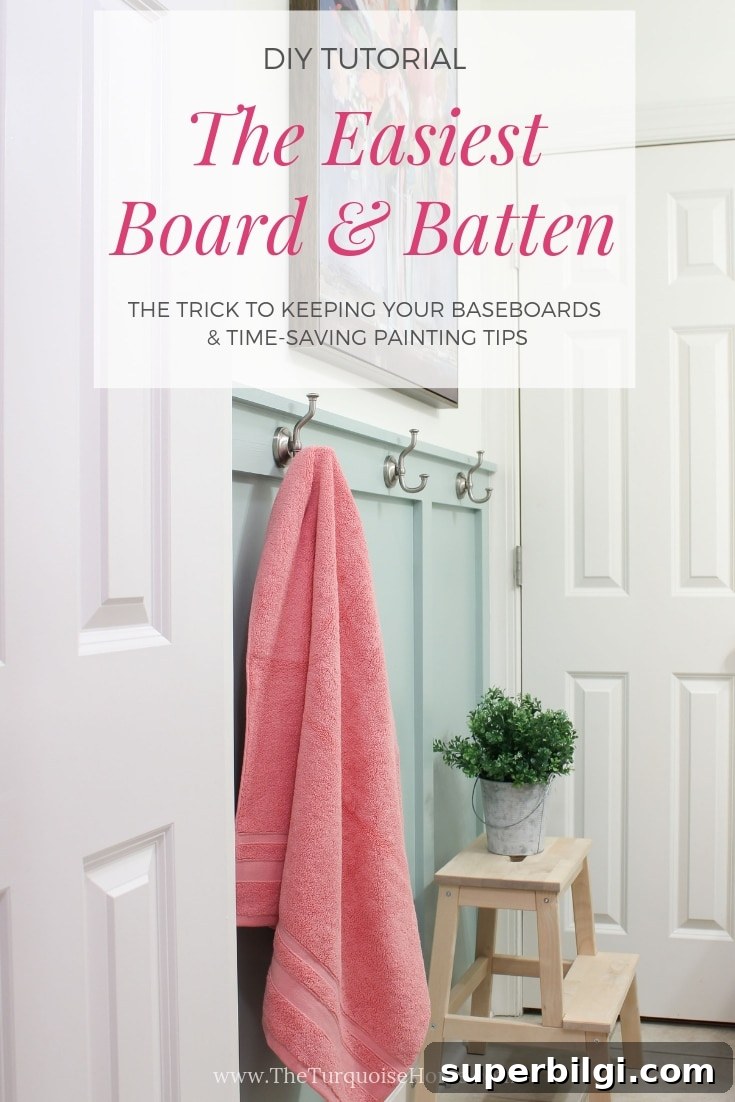
More than ten years later, that project remains one of my favorites. When I planned a refresh for my girls’ bathroom, I wanted a high-impact solution in a very small space and a practical place to add hooks—board and batten was the perfect fit.
At first I considered painting everything white, but I prefer a pop of color. While painting over gray, I realized the room would look too stark if everything stayed white. After thinking it over, I decided to paint the board and batten a blue-green shade for contrast. I wasn’t certain how it would turn out since I didn’t find many examples to follow, but I’m thrilled with the result.
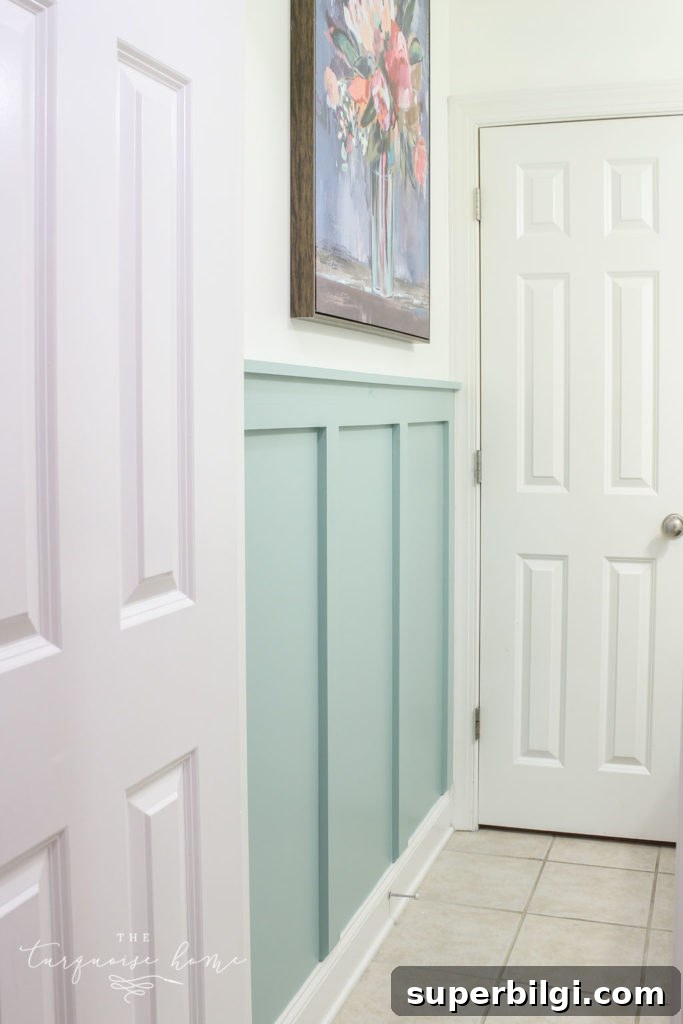
The finished look is exactly what I hoped for. If you want a different approach, try reversing the colors—this treatment is especially effective in bathrooms, laundry rooms, closets, or any small space where a bit of color goes a long way.
This tutorial is part of the girls’ bathroom refresh. With painting finished, I’m ready to install vinyl floor tiles and add the decorative touches.
What is Board and Batten?
Board and batten is a paneling style that began on exteriors and now serves as an attractive interior wall treatment. It pairs flat panels (boards) with narrow vertical strips (battens) placed over the seams. The result is a textured, dimensional surface that works with modern farmhouse, coastal, minimalist, and many other design styles.
It’s a flexible, budget-friendly way to add architectural interest in bathrooms, bedrooms, hallways, or any room that needs visual texture.
How much did the board and batten project cost?
When I did this project in 2016, the boards and paint cost $42 total—about $25 for the lumber and $17 for the paint. I used common pine boards for their straightness and squared corners. Today’s lumber prices are higher, so expect the cost to be more, but the project remains one of the more affordable wall treatments.
If you need to economize, consider furring strips, ripped MDF, or lattice for battens. For small rooms, investing in straight common pine can save cutting and fitting time.
The Planning Phase
Plan the layout before you start cutting and attaching boards. Consider these key questions:
- Board and battens or just battens? Traditional board and batten uses flat boards across the wall with battens over the seams—this is best for textured walls. If your walls are smooth, you can skip the full boards and install only the top trim and vertical battens for a similar effect at lower cost.
- What color will you use? I used Simply White for my living room and Wythe Blue for the girls’ bathroom (both Benjamin Moore), but choose colors that complement your decor.
- Top board height: Decide where the horizontal top rail will sit. A common approach is at one-third or two-thirds up the wall for balanced proportions. Account for fixtures, art, or hooks you plan to place above or below it.
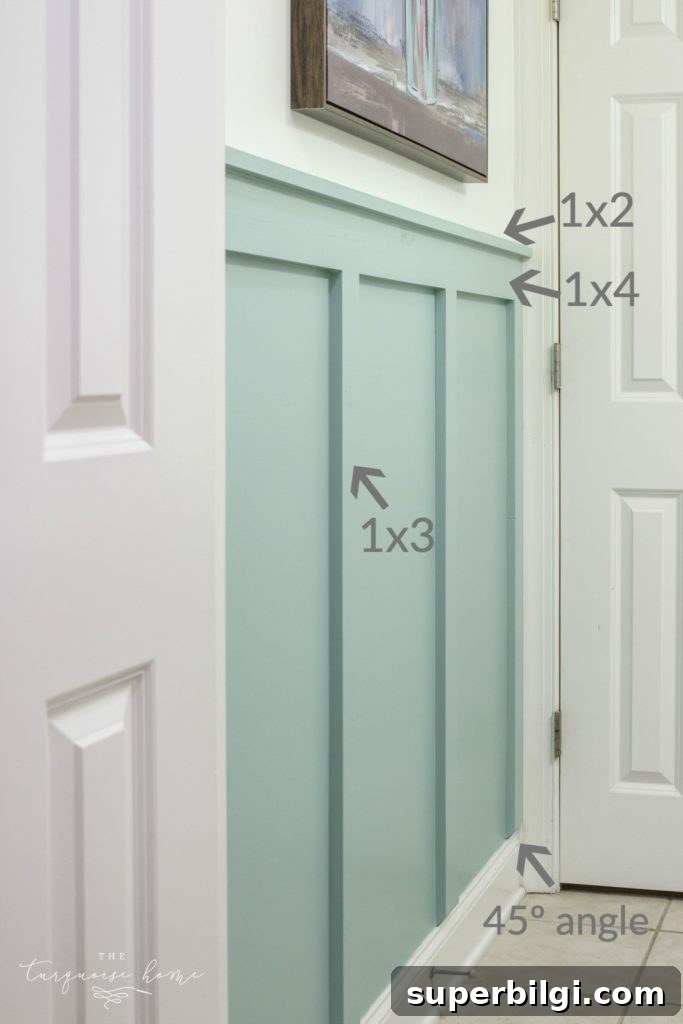
- Keep or replace baseboards? I kept my baseboards and trimmed the battens’ bottoms at a 45° angle so they appear to rest on the baseboard. Thicker baseboards might not require this step.
- Board style and quantity: Will you use chunky boards or thin battens? One horizontal rail or two? Will you place a bottom horizontal board above existing baseboards?
There are many ways to personalize this treatment—review the steps and visualize the final layout before you begin.
This post contains affiliate links for convenience. See my full disclosure policy.
Supplies for DIY Board and Batten
- Boards. For the look in this tutorial I used:
- 1 x 4 for the horizontal rail (length of the wall)
- 1 x 3 for vertical battens (height of the boards × number of battens)
- 1 x 2 for the small top shelf ledge (length of the wall)
- Paint — I used about half a quart for my small bathroom; adjust quantities for larger rooms. Colors used: Simply White and Wythe Blue (Benjamin Moore).
- Primer — for raw wood.
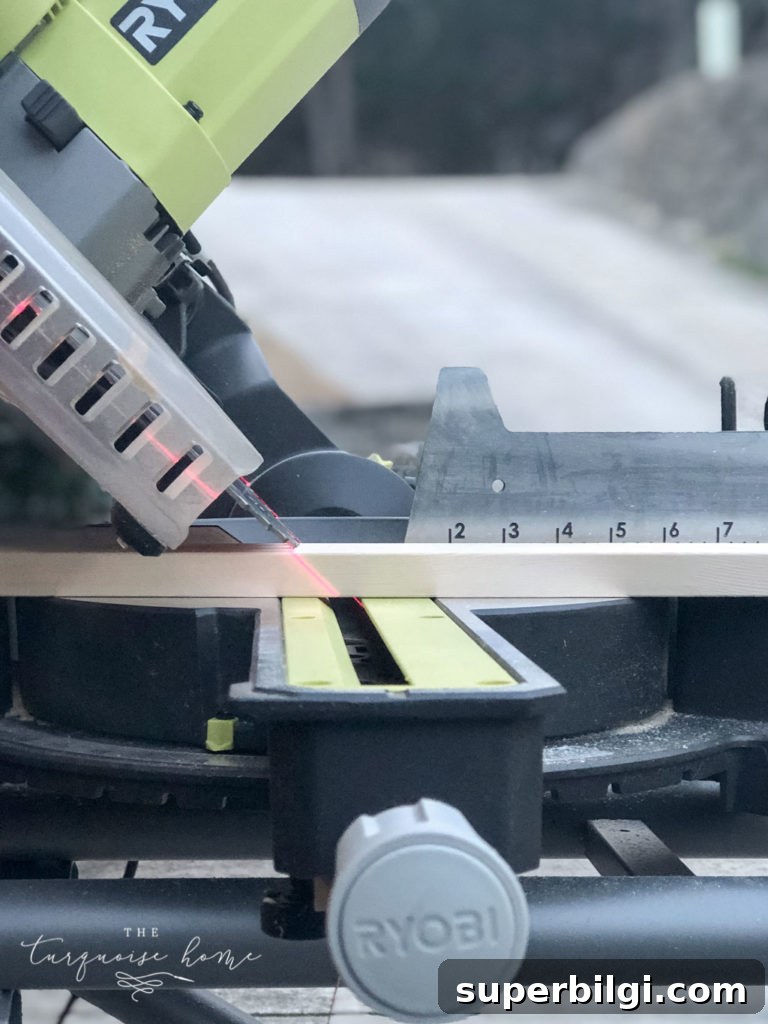
- Miter saw — or have boards cut at the store; a miter saw makes angled cuts easy.
- Brad nailer — or hammer and finish nails if you prefer.
- 2″ brad nails
- Level and ideally a laser level for long runs.
- Spackling compound
- Paintable caulk
- Medium-to-fine grit sandpaper
- Liquid Nails (optional)
This is a relatively simple project that uses basic tools and suits a confident beginner.
Instructions for DIY Board and Batten
1. Start at the top
Decide and mark the height of the top horizontal board. A good rule is one-third or two-thirds up the wall. Consider reach (for hooks) and the placement of artwork or fixtures. My top board sits 42″ above the top of the baseboard. This line will guide your painting in a later step.
2. Plan your battens
Choose the number and spacing of your vertical battens. Use a stud finder and try to align battens with studs for secure nailing. Typical stud spacing is 16″ or 24″. I placed battens at studs and added boards at each end of the run for a finished look.
3. Cut your boards
Measure each location because baseboards and floors can be uneven. For battens that will sit over existing baseboards, consider trimming the bottom at a 45° angle so they appear to rest on the baseboard instead of overlapping it. Thinner battens like lattice usually don’t require angled bottoms.
4. Paint everything first
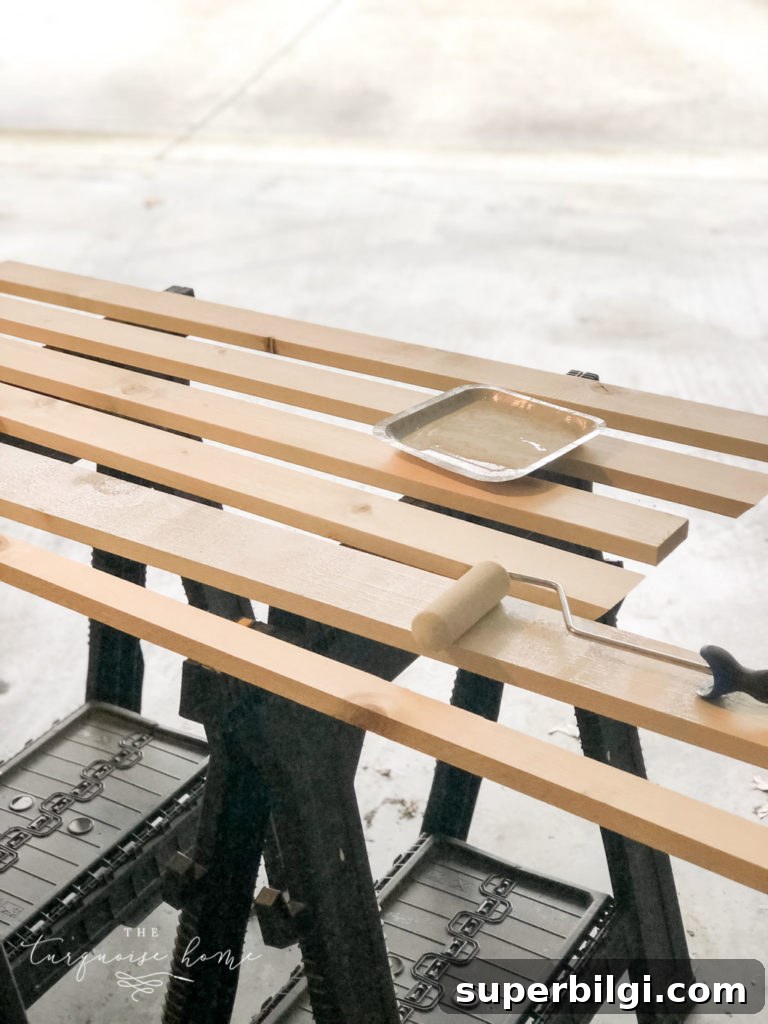
Big tip: Paint the wall and the boards before installing them. Prime raw wood, then apply paint to the boards and paint the wall up to the top-board line. Later, after nailing and filling holes, you’ll only need a quick touch-up coat.
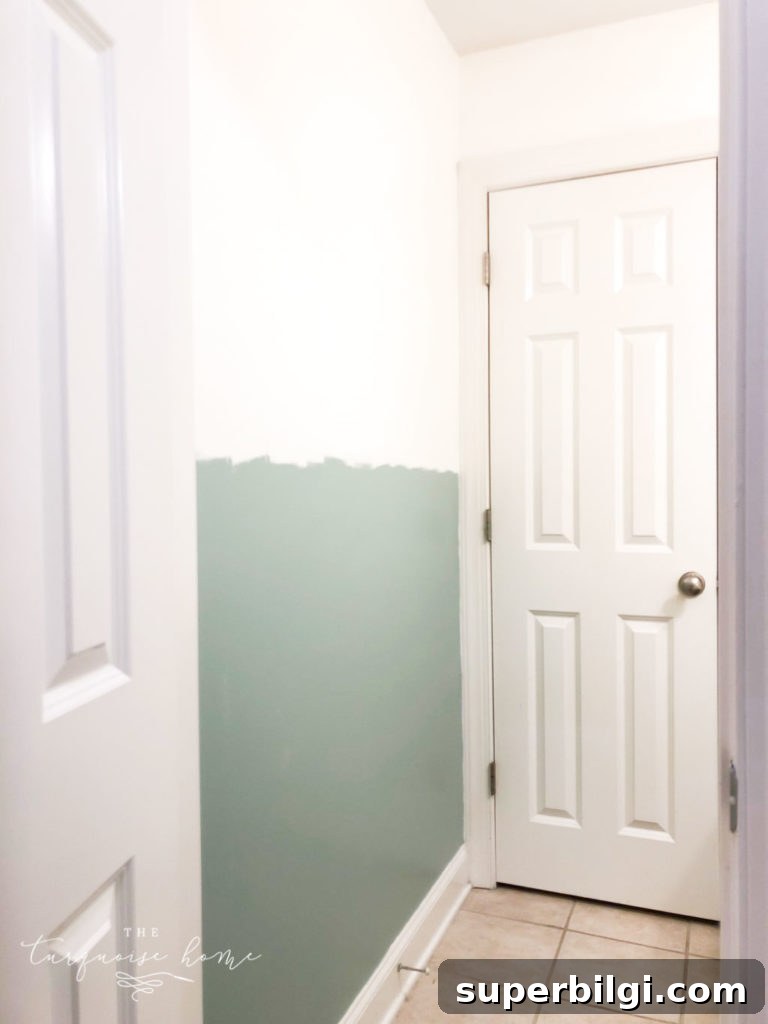
I painted the wall twice, primed the raw boards once, and applied two coats of paint to the boards. That approach minimizes touch-up work later.
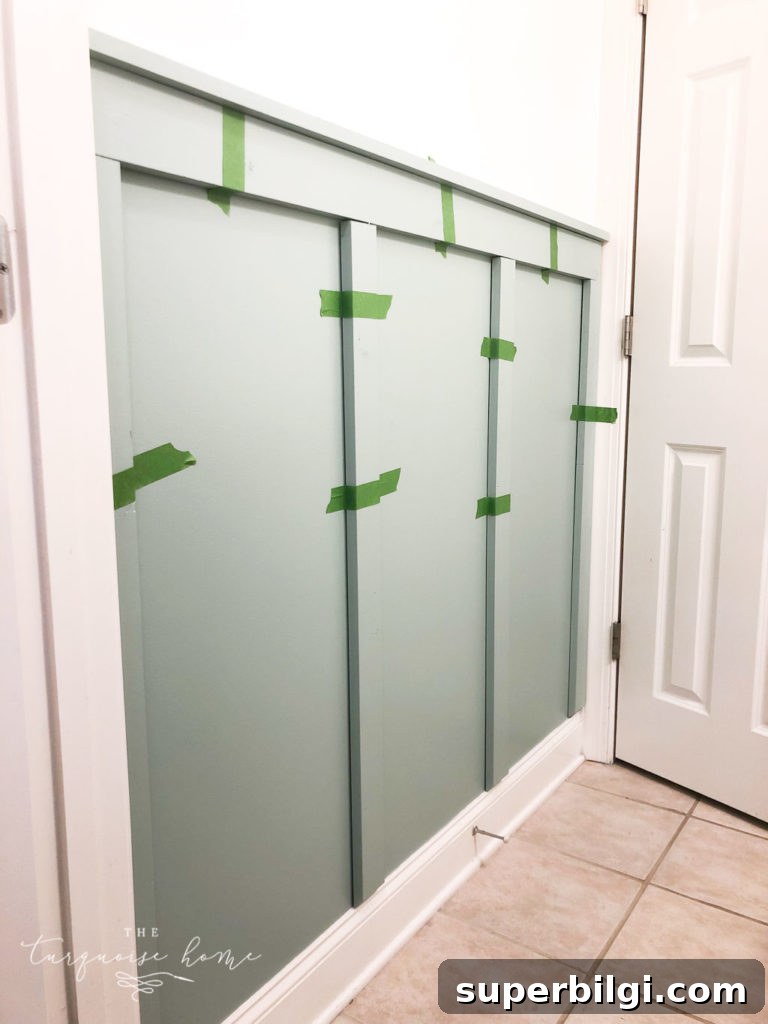
5. Mark where you will place each board
Before nailing, hold the boards in place with painter’s tape to visualize spacing and final placement. Mark the centerlines and stud locations for each batten.
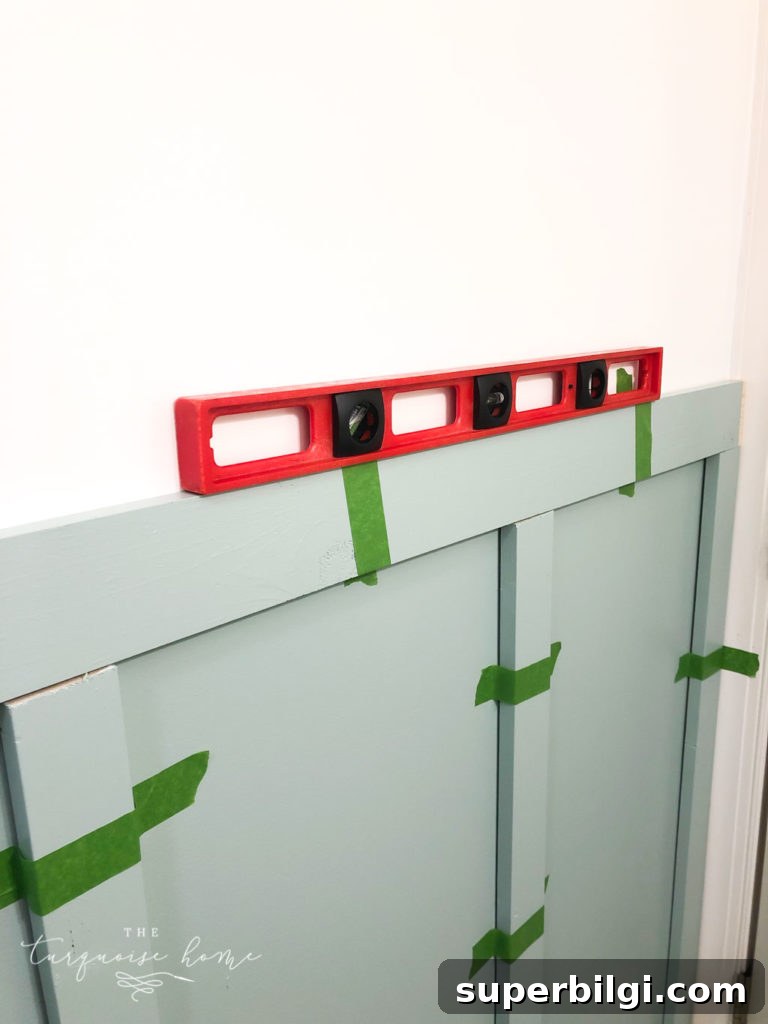
6. Nail up the horizontal board first
Use a level—or a laser level for longer runs—to ensure the horizontal board is perfectly straight. Nail into studs when possible using 2″ brad nails or finish nails. Liquid Nails can add adhesion but will make later removal more difficult.
7. Nail up the vertical boards
Attach each batten, keeping them plumb and, where possible, nailed into studs. Use just enough nails to secure the boards—excessive nailing increases the amount of patching required.
8. Patch any nail holes
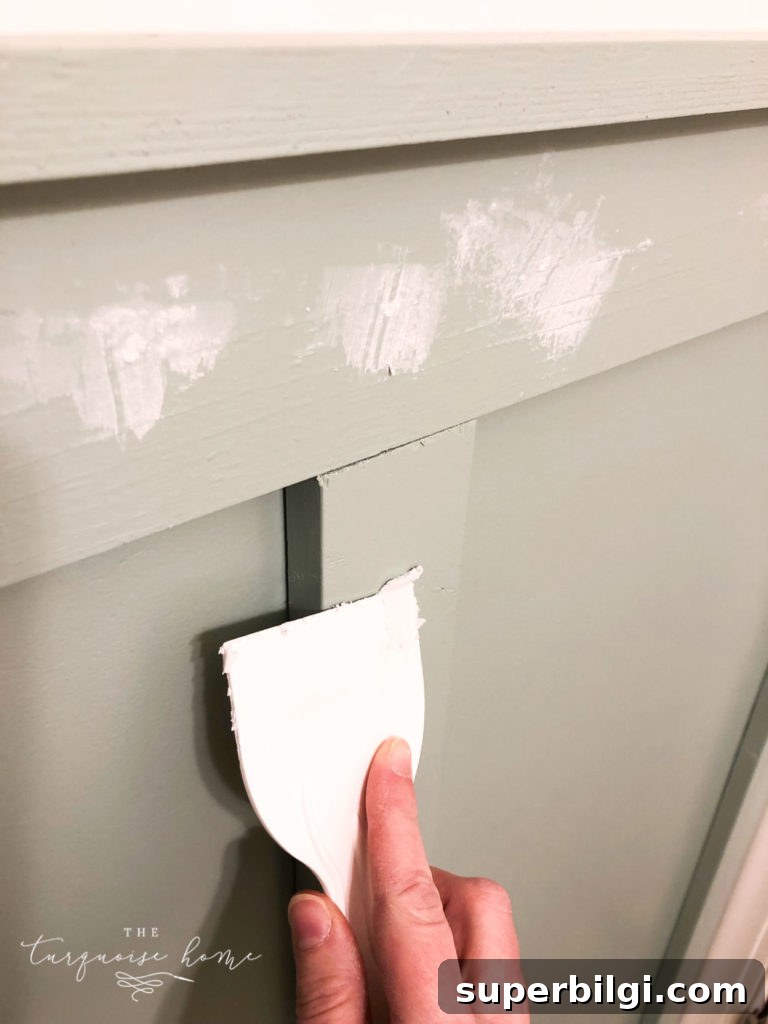
Fill brad holes with spackling compound and let it dry. Since these holes are small, they’re quick to repair.
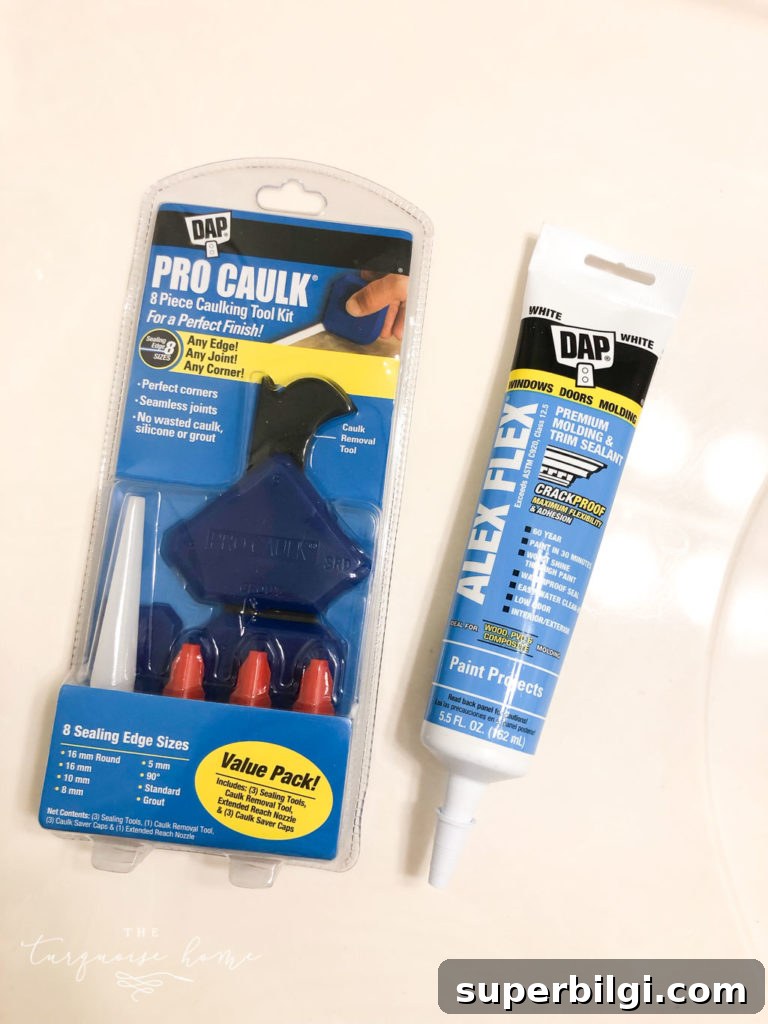
9. Caulk seams between boards while spackling dries
Run a bead of paintable caulk along seams and smooth it for a seamless look. Some prefer using a caulk finishing tool; others smooth with a damp finger. Wipe excess promptly for the cleanest result.
10. Sand spackling until smooth
Once the compound is dry, sand the areas smooth so paint will lay down evenly. Address any imperfections now before the final paint coat.
11. Paint it
Touch up over spackling and caulk, then apply a final coat to the boards and any small wall areas that need coverage. With that, your board and batten wall treatment is complete.
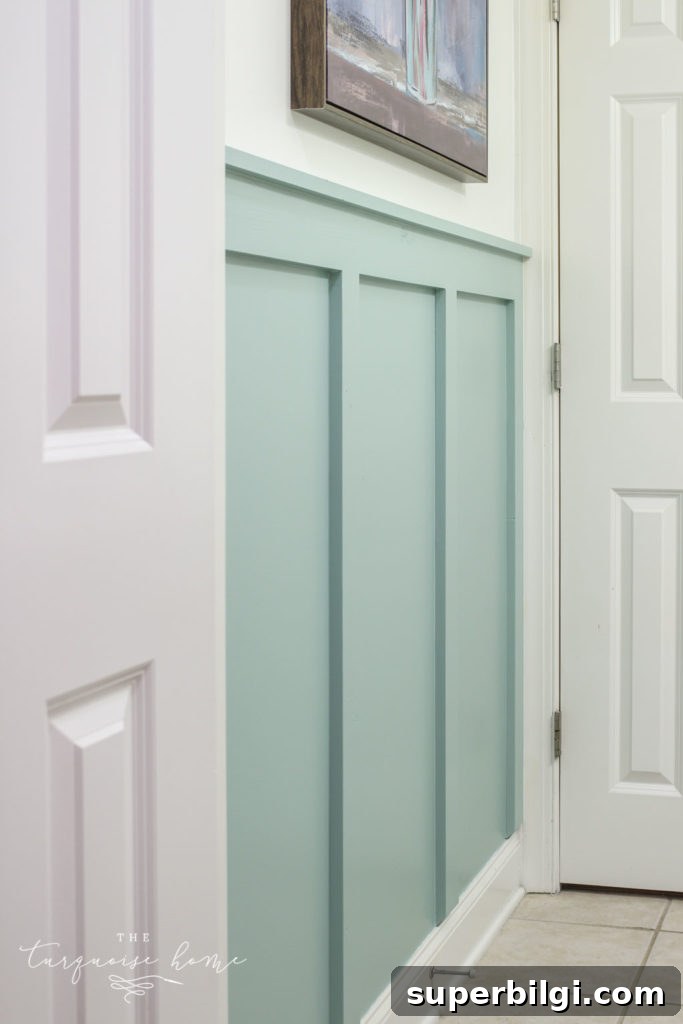
The process involves several steps, but none are technically difficult. It’s an ideal project to practice on a small space like a bathroom before tackling larger rooms. With planning, basic tools, and the painting-first approach, you can achieve a professional-looking board and batten finish.
More posts you may find helpful:
- A Guide to Wall Trim and Wall Molding Ideas
- How to Frame a Canvas (for Cheap)
- DIY Rustic Snowman Door Hanger
- 15+ Large Wall Decor Ideas
- Benjamin Moore Palladian Blue {Paint Color Spotlight}