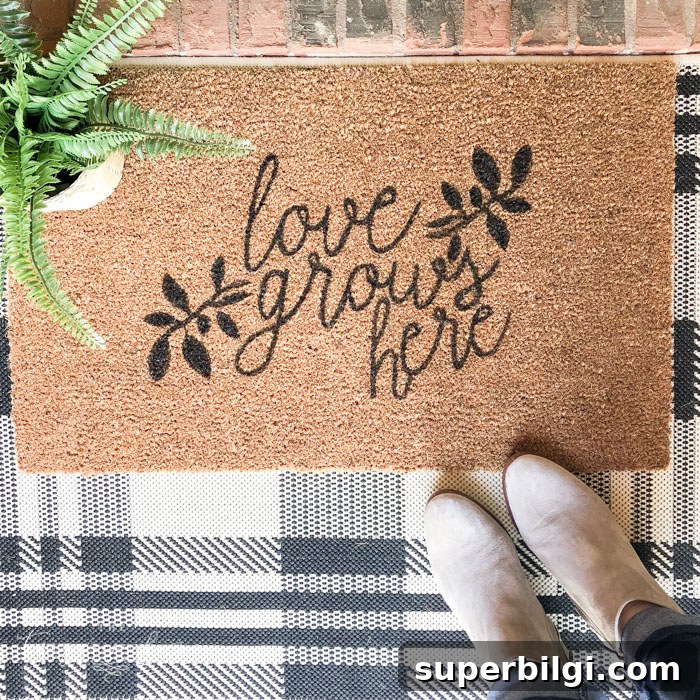
Learn how to make an adorable DIY doormat with a charming slogan for under $20. This simple project delivers a custom, professional-looking result for a fraction of the cost. A free “Love Grows Here” Silhouette .studio file is included. Have fun!
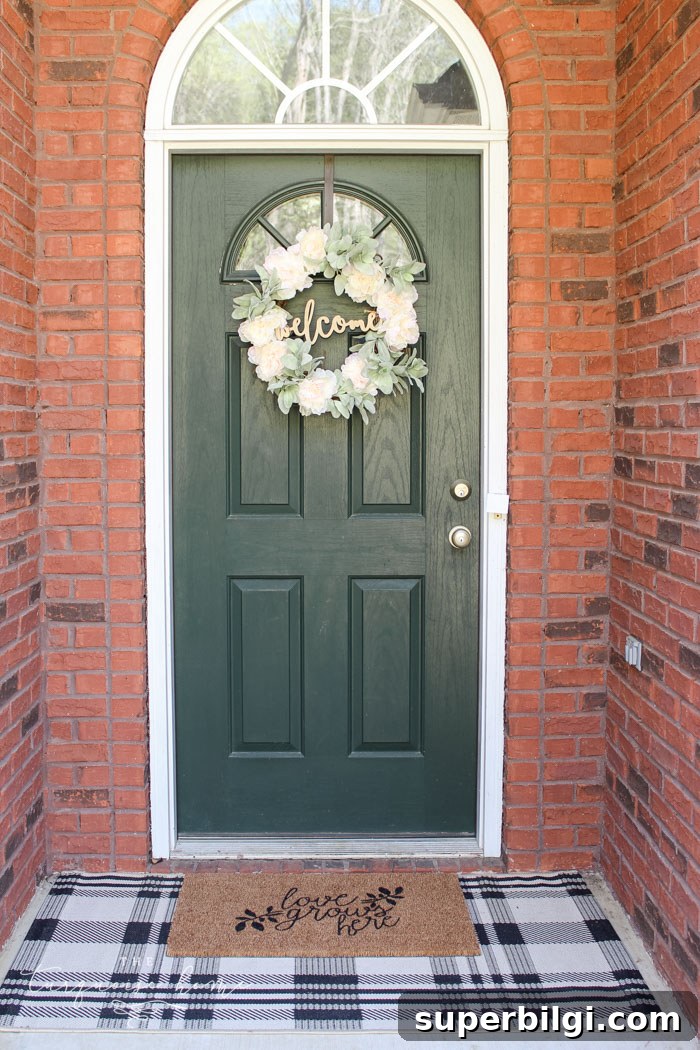
Doormats with playful sayings like “welcome y’all,” “oh hello,” or “wipe your paws” are everywhere. The possibilities for wording are endless, but ready-made custom mats can be surprisingly expensive. Making your own custom doormat is a quick, budget-friendly alternative that still looks great.
Below I’ll walk you through the exact process I used, including what worked well, what I’d do differently next time, and a few helpful tips so your project goes smoothly the first time.
The black-and-cream plaid rug I use is one of my favorite purchases — it’s held up well and still looks great. I use the 2’7″ x 5′ size on my porch. If you have a similar shape doormat, you’ll see how the size influences stencil placement.
I learned a few useful lessons while making my own rug, so I’ll share those along the way. There are easier ways to achieve a crisp result than I used originally, and I’ll point them out so you can avoid the same pitfalls.
Supplies Needed for the DIY Doormat
1. Plain coir doormat (natural fiber doormats work best).
2. Stencil cutting machine such as a Silhouette Cameo (optional — see the tip below if you don’t have one).
3. Cardstock or thicker stencil material for the stencil. Cardstock is inexpensive; reusable stencil sheets are ideal if you plan to make multiple mats.
4. Black outdoor acrylic paint suitable for rough surfaces.
5. Stencil brush with bristles (avoid foam brushes for this surface).
6. Small art brush for filling and touching up details.
7. Exterior clear coat spray to protect the finished design.
Instructions for Making a DIY Doormat
1. Make your stencil
Choosing the right stencil material is one of the most important steps. I originally used adhesive vinyl, which did not adhere well to the coarse coir surface and shifted while I painted. Instead, use cardstock or purpose-made stencil material and secure the stencil to the mat with straight pins or tape designed for rough surfaces. Thicker paper gives you a cleaner edge and is easier to pin down on a textured doormat.
If you want to use my design, I’ve prepared a Silhouette .studio file for the phrase “Love Grows Here.” You can also create your own layout; just keep the overall mat size and your cutter’s maximum cut area in mind as you design.
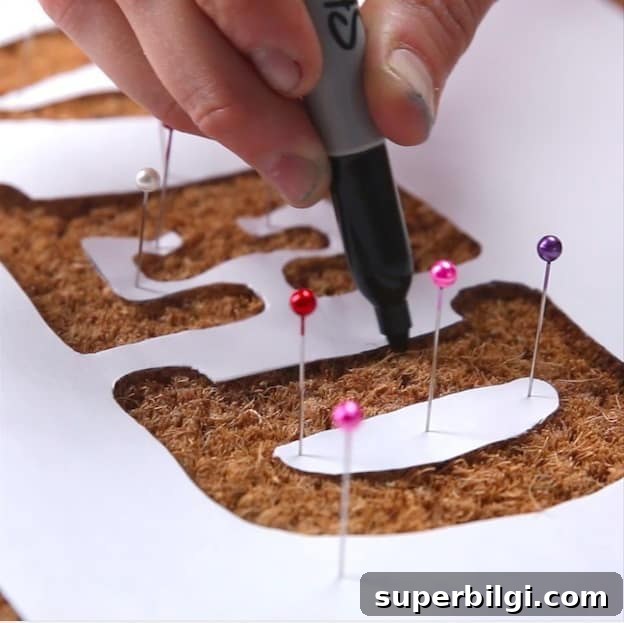
Tip: If you don’t have a cutting machine, print large letters on cardstock or trace a printed template and cut by hand. Hand-cut stencils work fine for simple shapes and fonts.
2. Gather your supplies
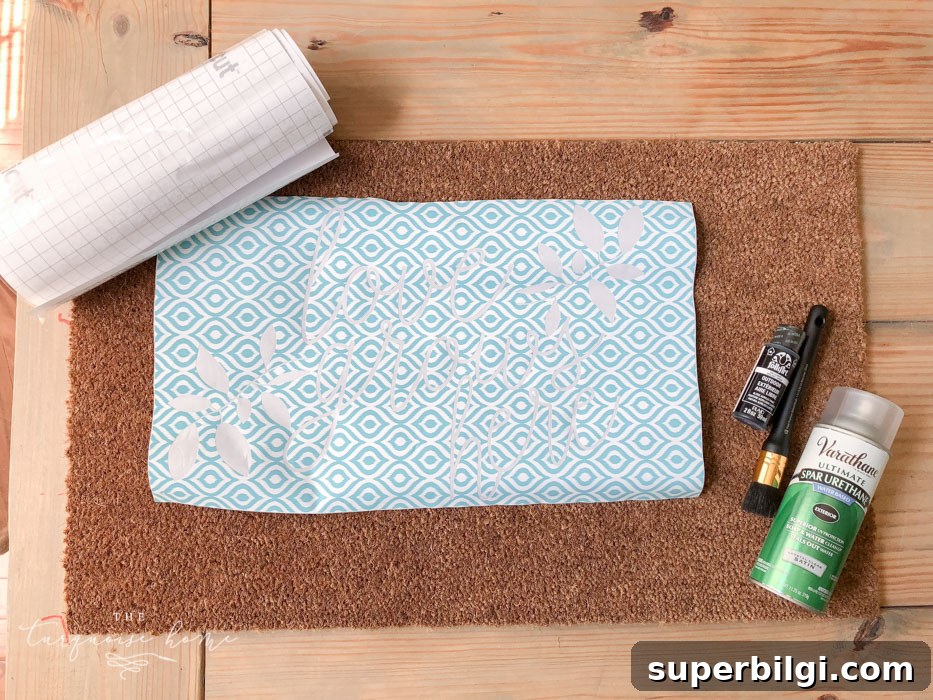
Have everything within reach before you start: the stencil, paint, brushes, pins or tape, a flat surface to work on, and gloves if you prefer. Working on a raised surface at a comfortable height will make it easier to control brush strokes over the textured fibers.
3. Stencil your image
Center the stencil on the doormat and secure it so it won’t move. If you used thin adhesive vinyl, press carefully so it doesn’t shift; thicker paper or stencil sheets are easier to pin in place. When you paint coir, use a stencil brush and a dabbing or stippling motion rather than brushing side-to-side — that helps the paint reach into the fibers instead of sitting on top and smudging.
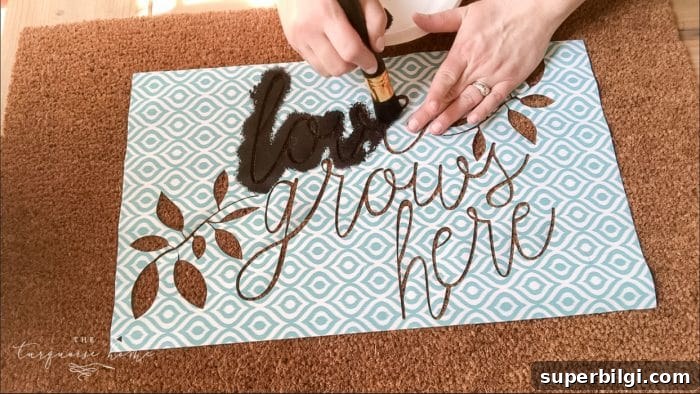
I started with a light first pass to get an outline, then removed the stencil to freehand fill and darken the design with a small art brush. For the fibers of a coir mat, use an up-and-down motion and load the brush with paint so it penetrates the fibers. Allow at least 24 hours to dry before applying any sealer.
4. Finish the doormat with a clear coat spray
Once the paint is fully dry, spray a few light, even coats of exterior clear coat over the painted area. Coir is a rough, porous surface, so the sealer won’t make the mat indestructible, but it will help protect the paint from fading and wear. Allow the sealer to dry according to the product instructions (I used three light coats and let the mat cure for 24 hours).
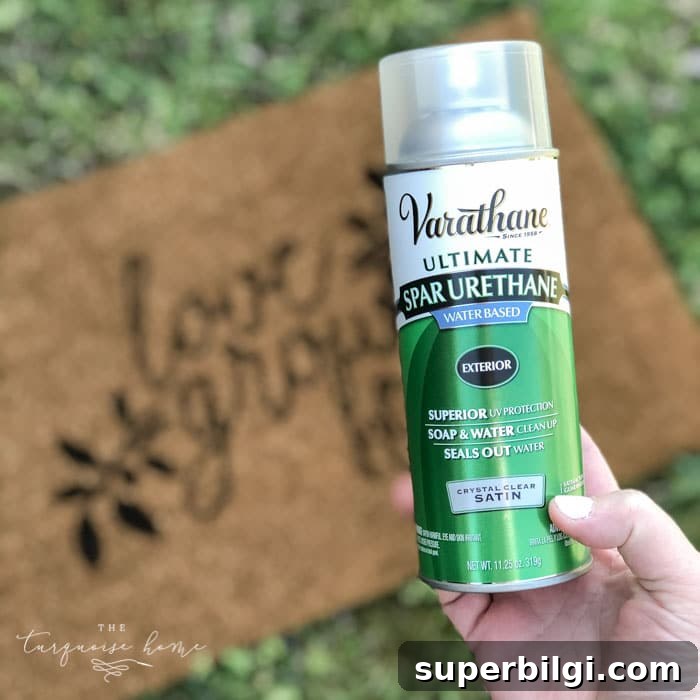
After the sealer is dry, your doormat is ready to greet guests with personality. This simple project is inexpensive, customizable, and makes a great welcome for your porch or a thoughtful handmade gift.
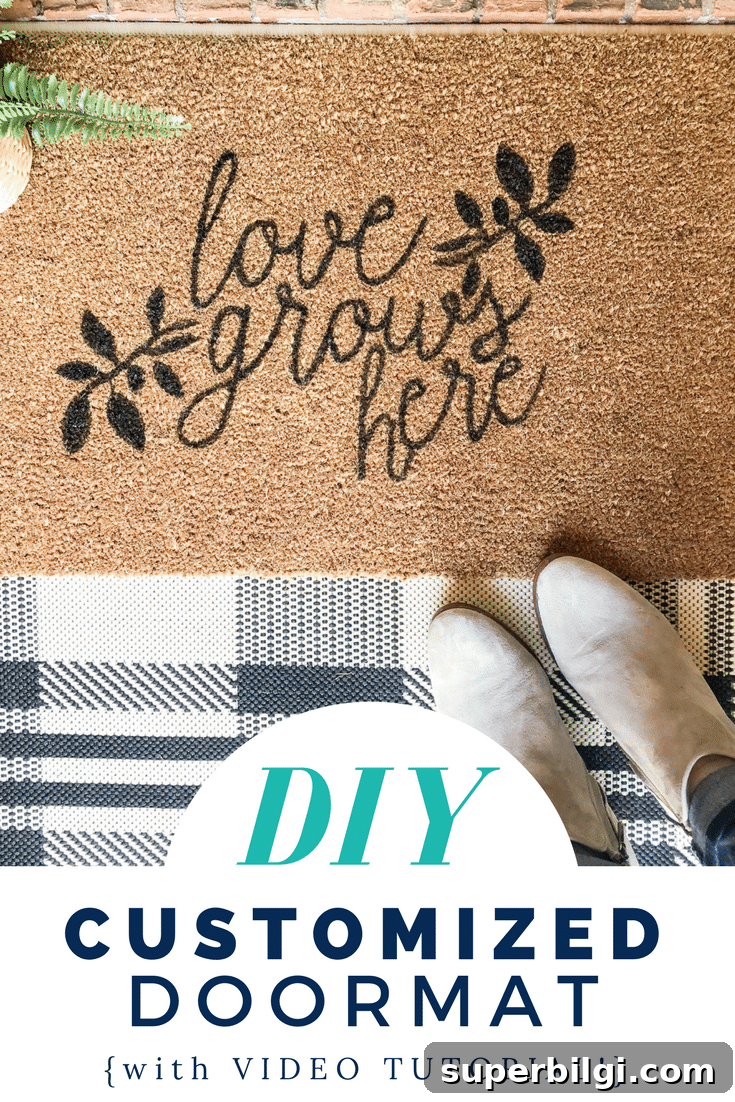
I also recorded a short video demonstrating my process to help you visualize each step — watching the brush technique and stencil removal can be especially helpful.
Free “Love Grows Here” Silhouette .studio File
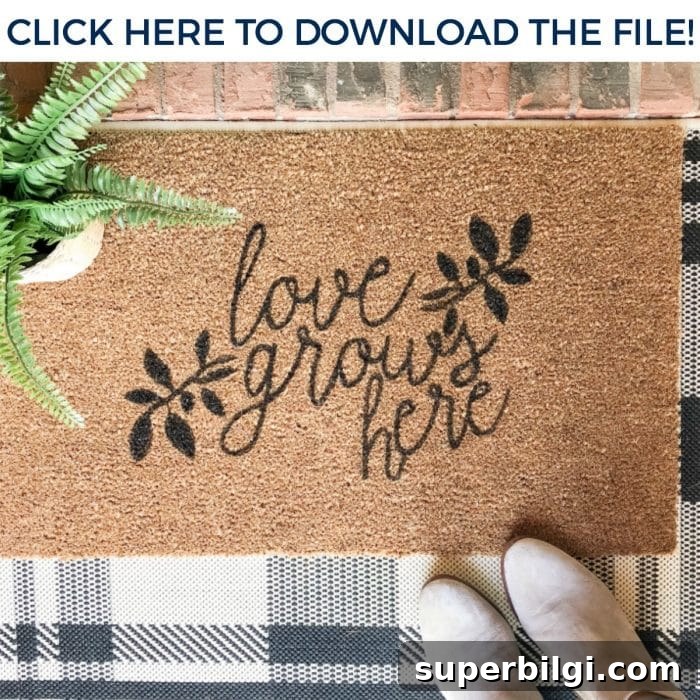
If you’d like to use the exact wording shown here, look for a downloadable “Love Grows Here” Silhouette file or create a similar layout in your cutting software. When designing, keep margins in mind so letters don’t extend too close to the edge of the mat.
Thank you for reading this guide on making a custom DIY doormat. I hope these tips help you create a mat you love — if you make one, share a photo on social media and tag the maker or project source you used so others can get inspired.
More posts you might enjoy:
- DIY No-Sew Garden Flag
- No-Sew Bunting Tutorial
- How to Make a Patriotic Wreath
- DIY Chinoiserie Egg Wreath
- DIY Lighted Pumpkin Candy Holder